

BTL15
-
Posts
21 -
Joined
-
Last visited
Content Type
Profiles
Forums
Events
Media Demo
Store
Collections
Videos
Posts posted by BTL15
-
-
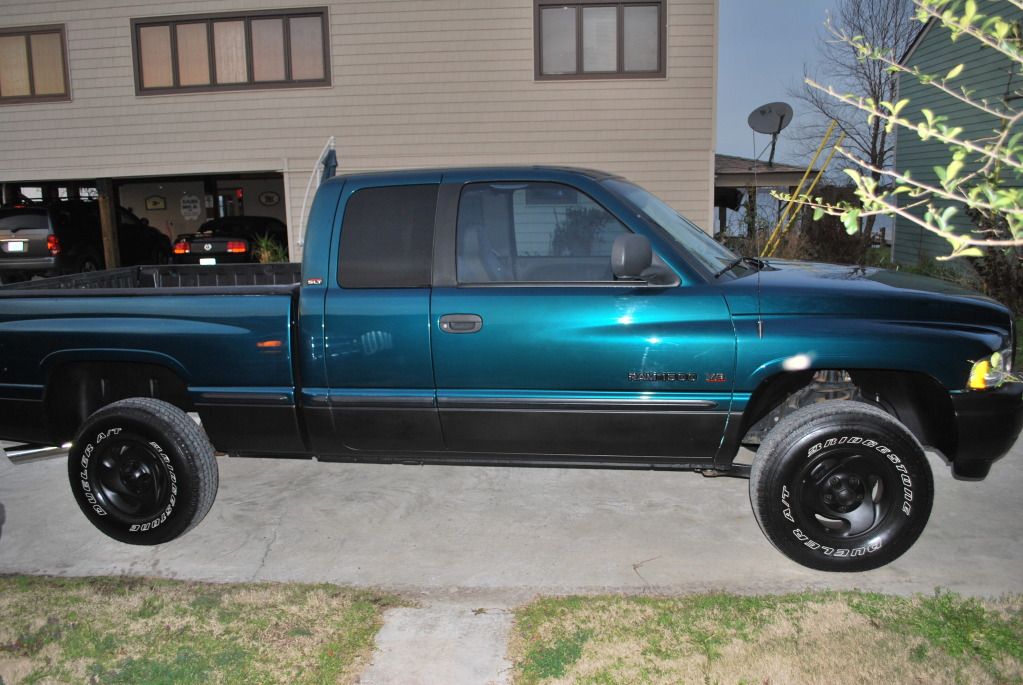
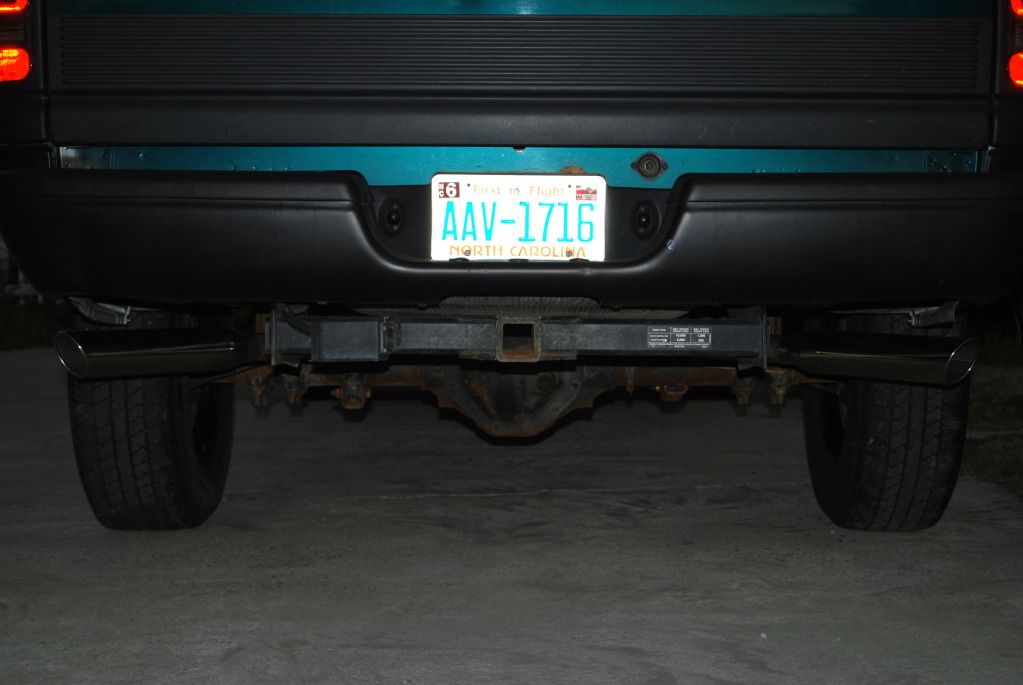
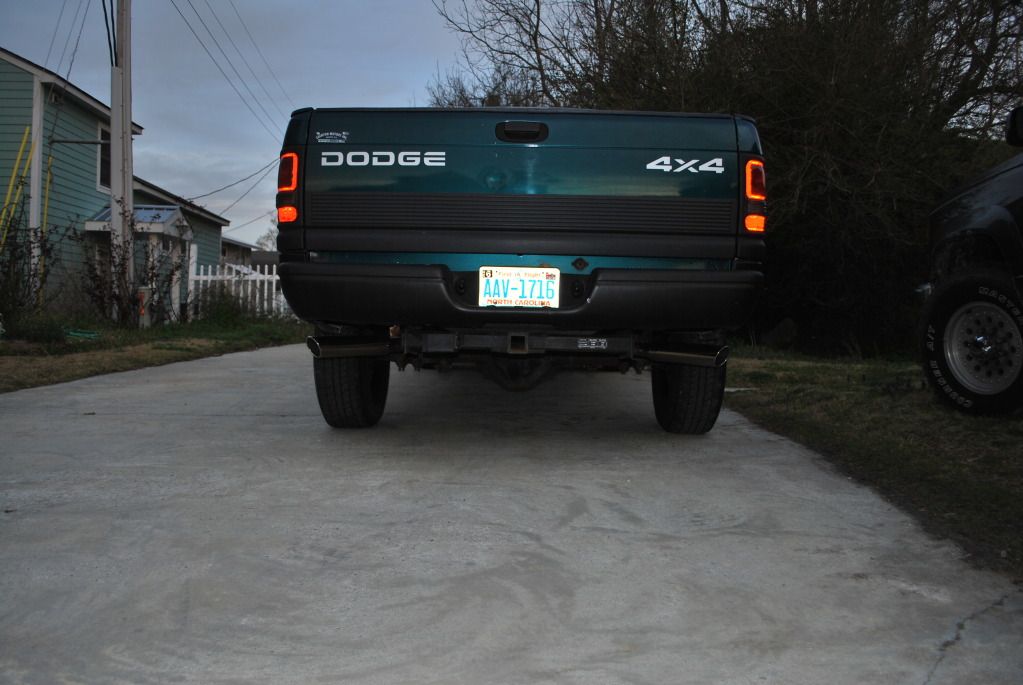
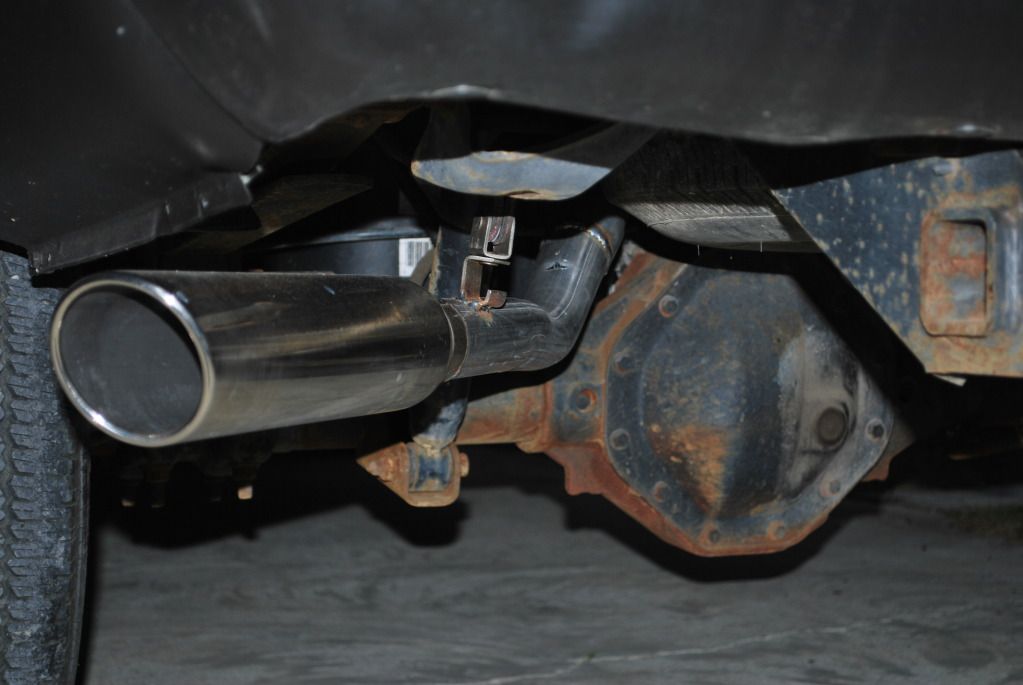
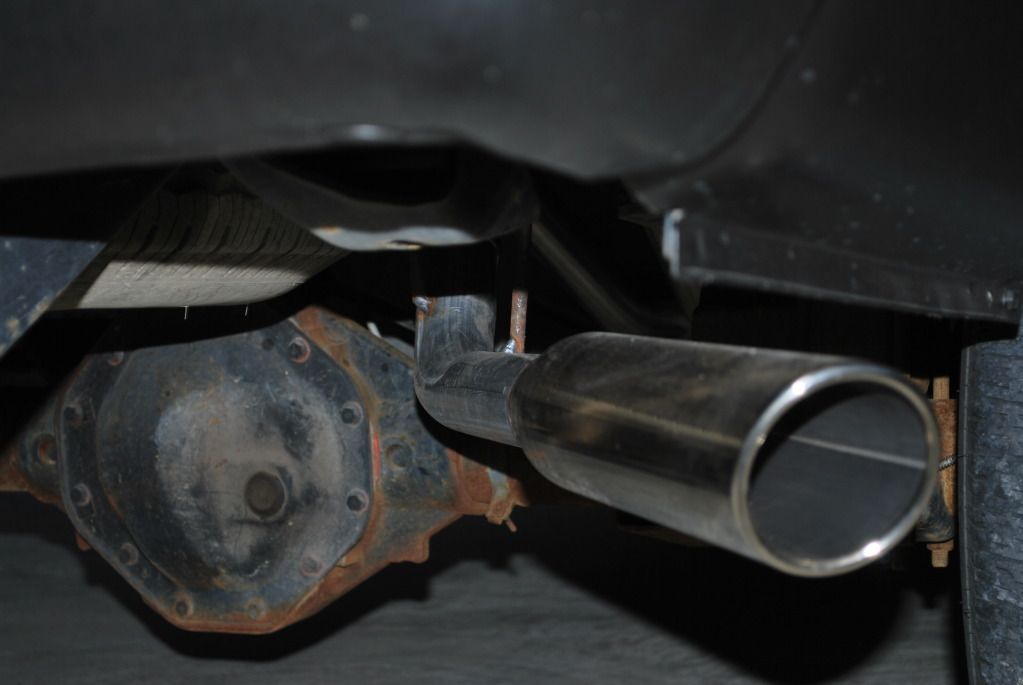
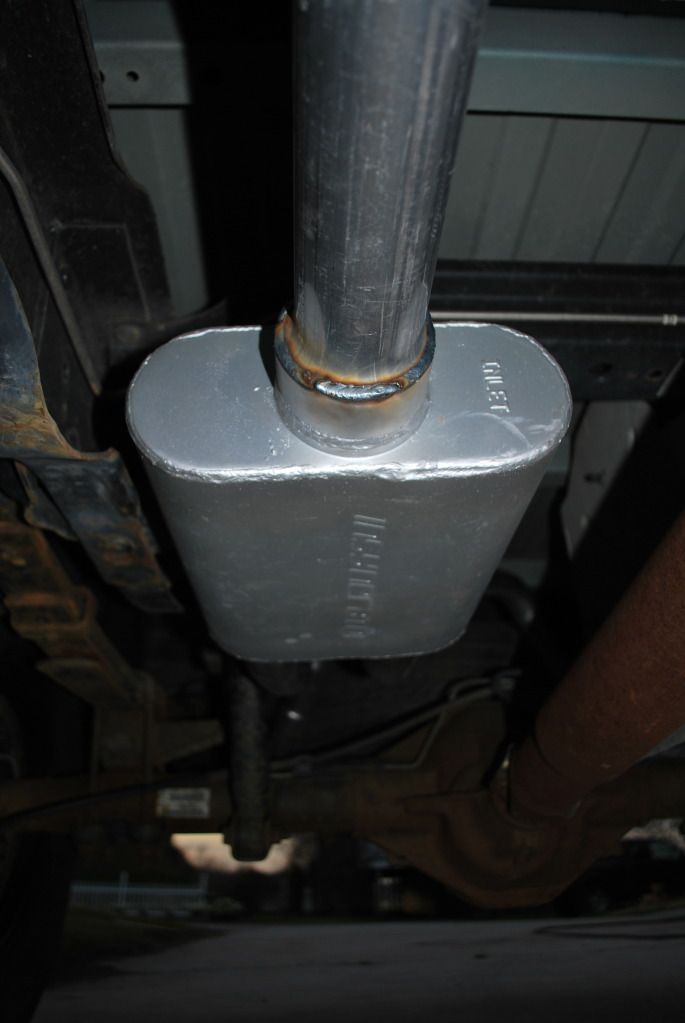
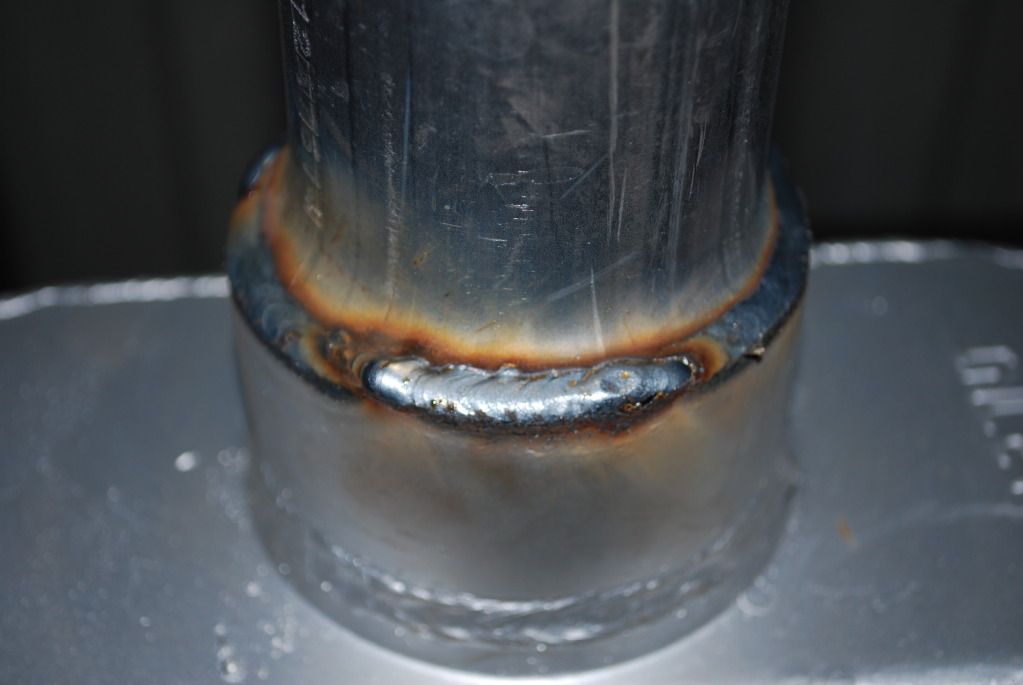
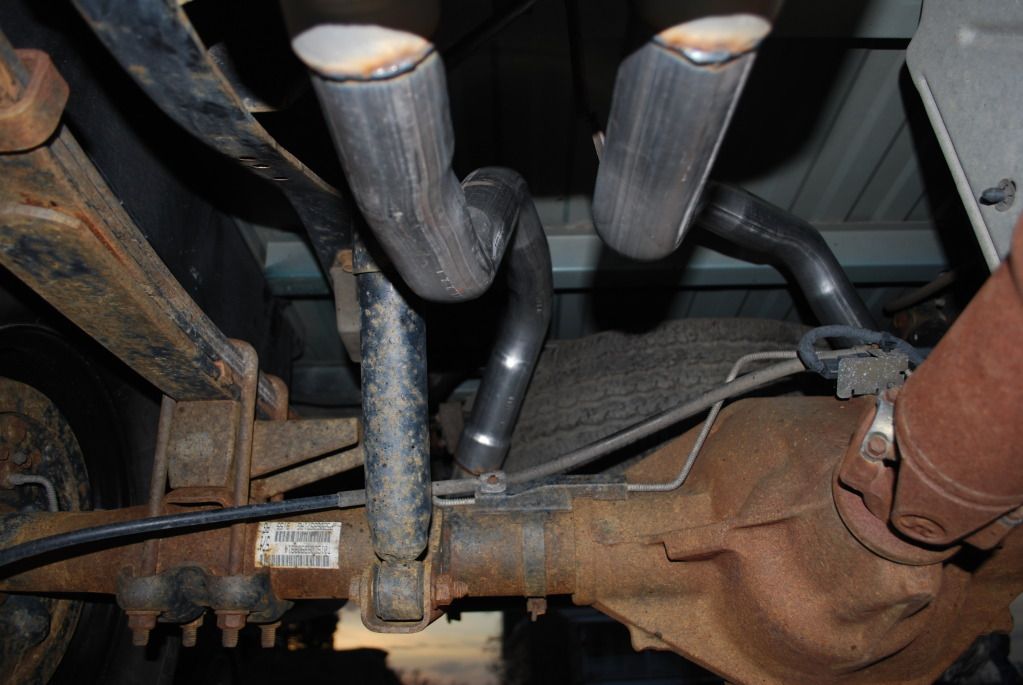
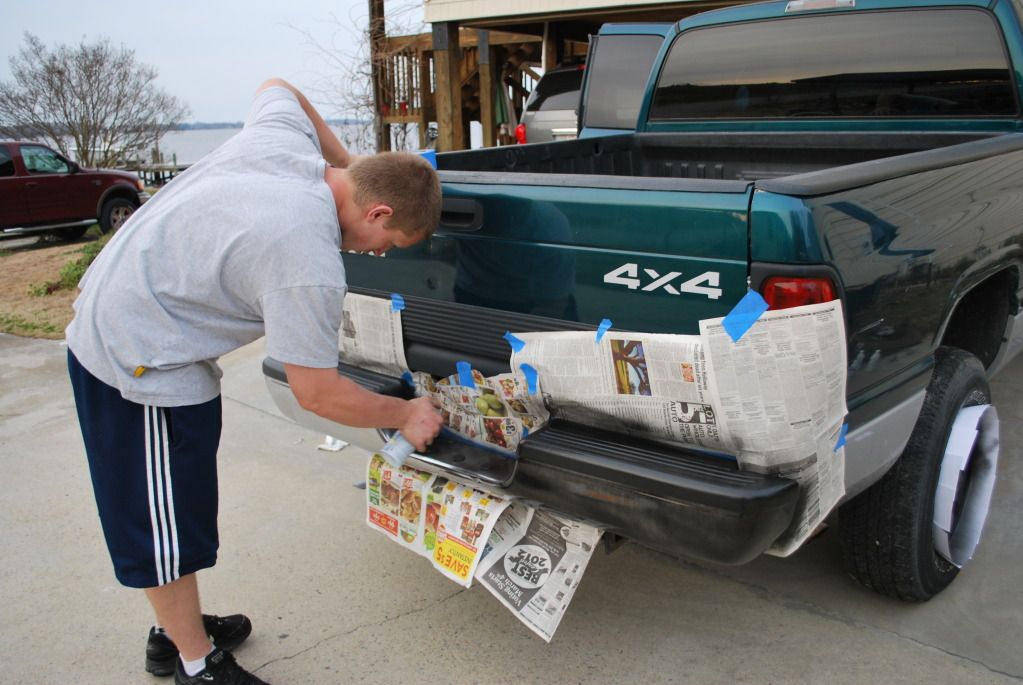
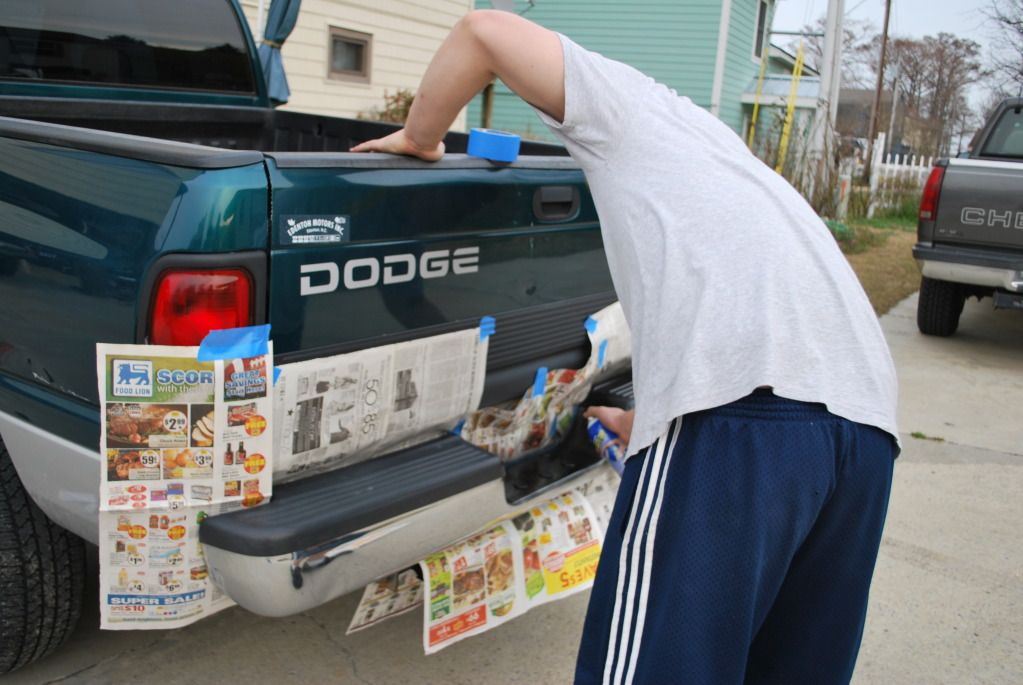
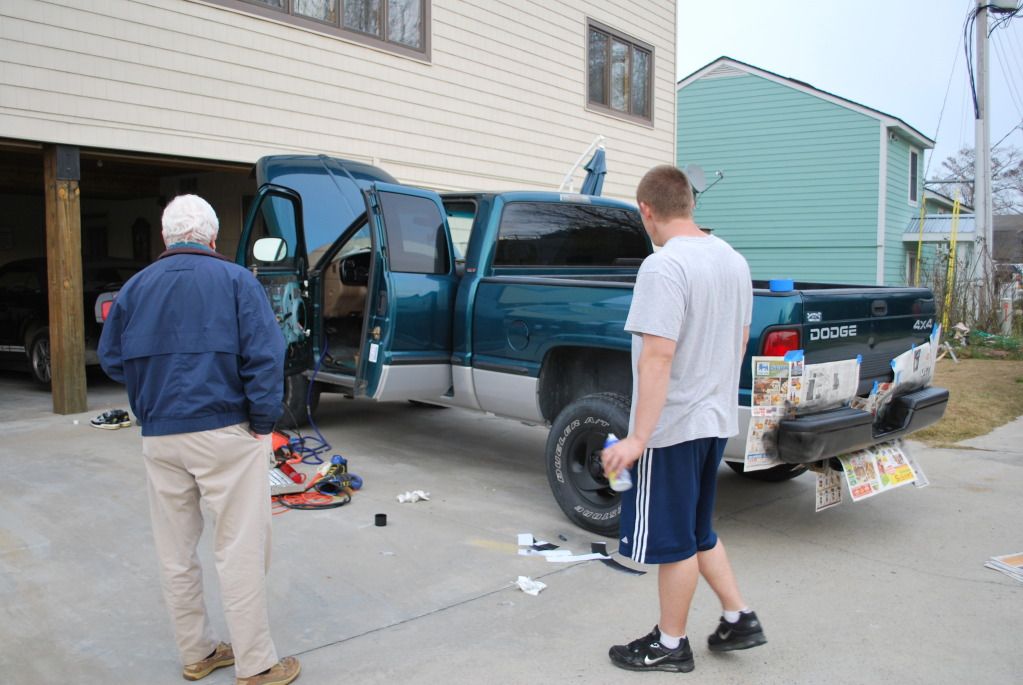
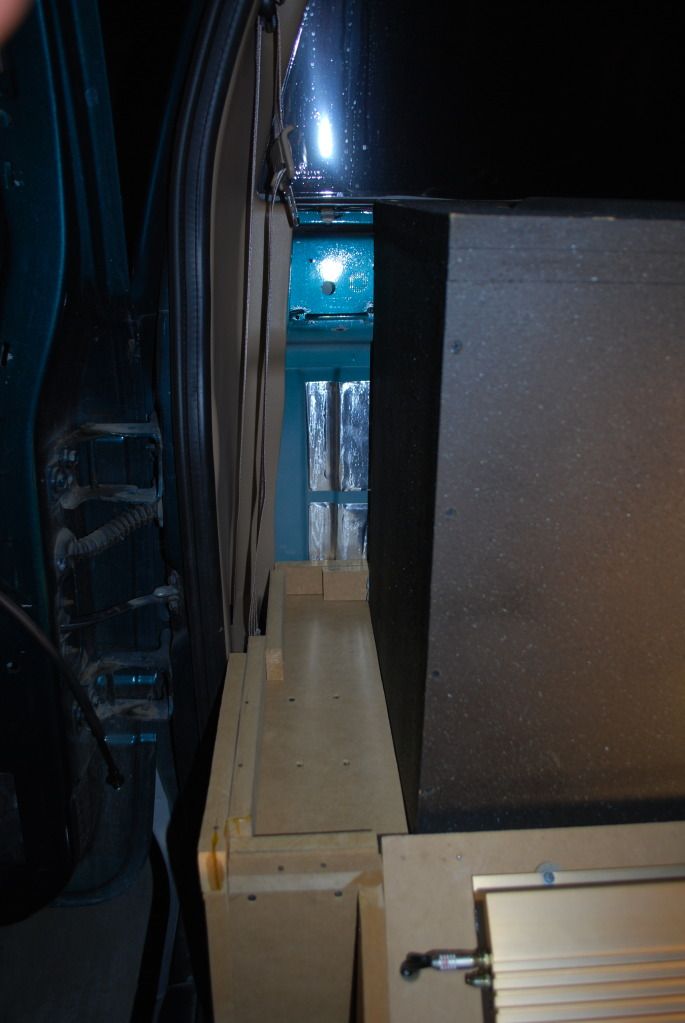
Ok so it's time for some more updates. From where I last posted I've finished all plasti dipping along with the install of my new exhaust and I couldn't be happier with everything. If tomorrow is warm I will remove the box and repaint with the same paint as before ( Spatter Paint). Unfortunately I don't think I will have the time to carpet the amp rack/ seat, hopefully I can have this done soon though. Anyway lets get to the pictures.

-
Great build so far!
Thanks man... I'm getting my exhaust put on tomorrow so I'll see if I can get some before and after pictures along with videos if possible.
-
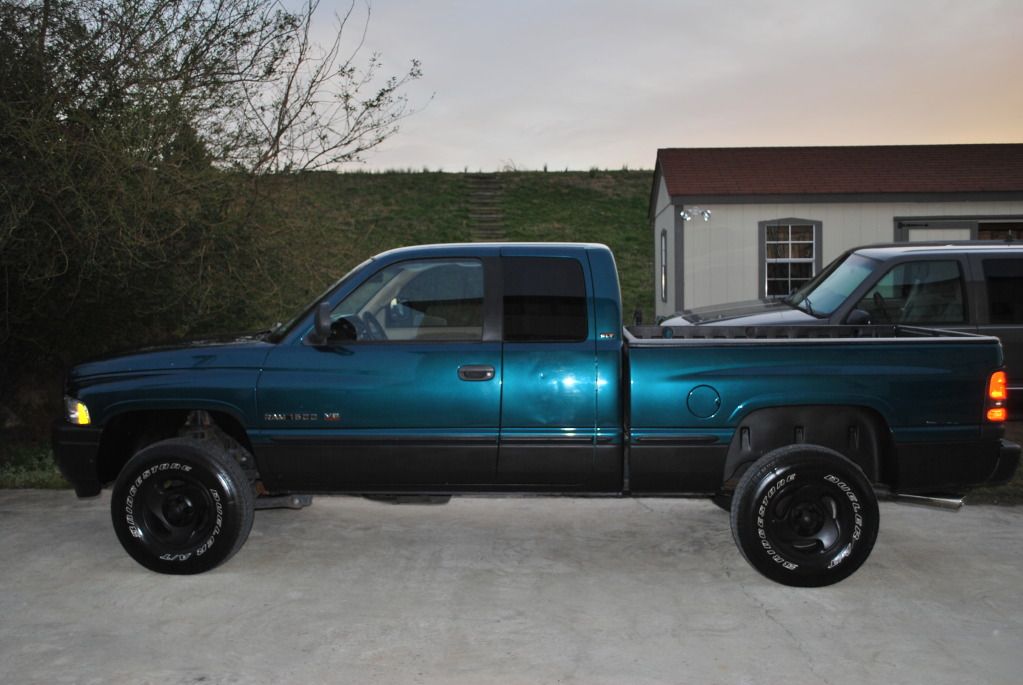
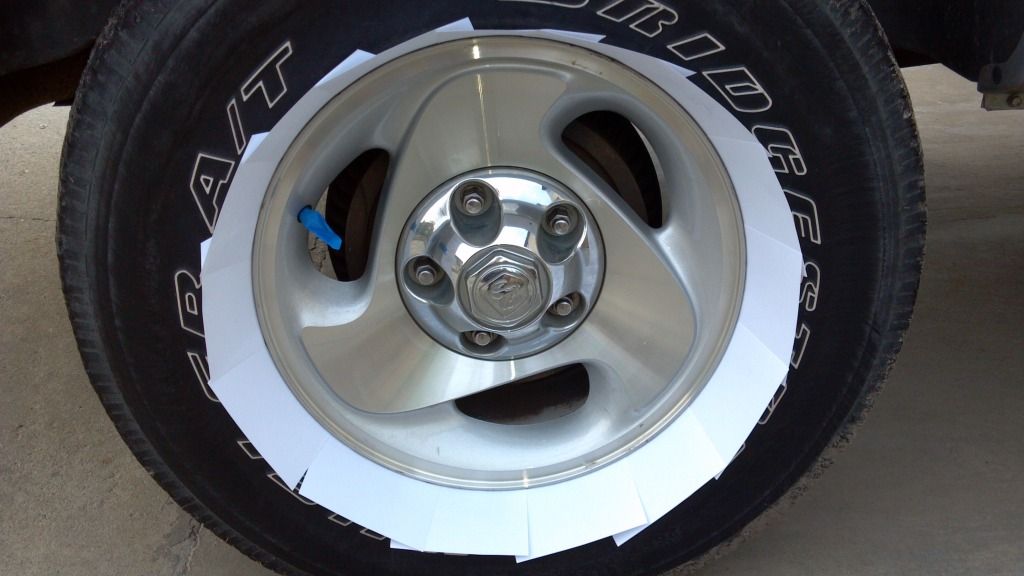
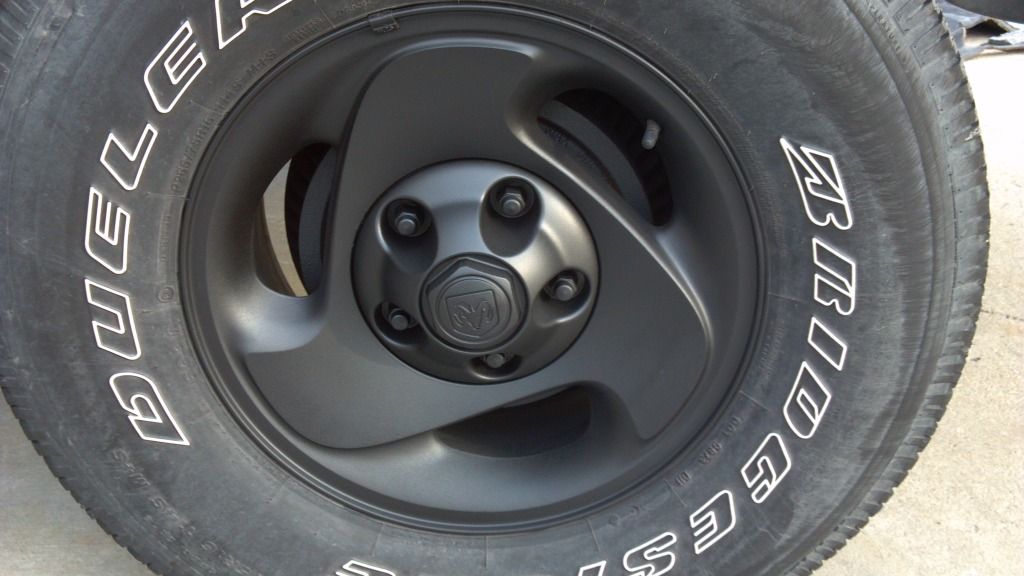
Alright guys so it's time to post some more pictures. Heres some of the front and rear bumper along with the rims plasti dipped. I could have finished everything,but it began getting too cold and the spray was getting thick so i'll just finish the rest tomorrow. I gotta say this stuff is pretty nice; I love how if I don't like it I can just peel it right off. So far I'm loving the matte black look to it and VERY excited to see it when completely finished.
I completely forgot to take initial pictures, but luckily for me my mom is a picture nazi so I have some that she took.
-
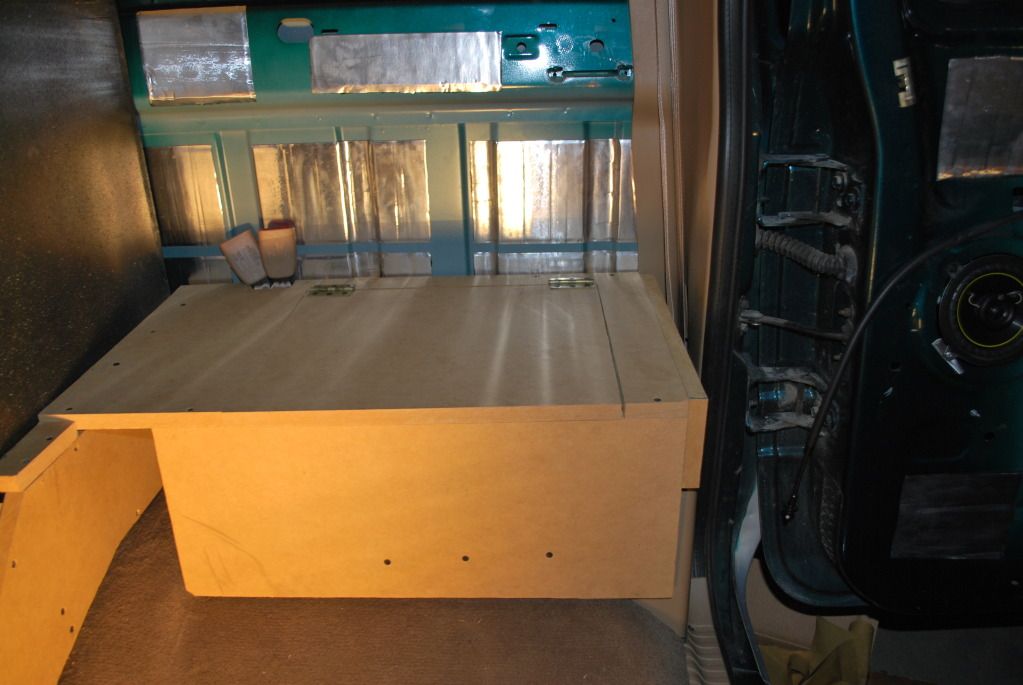
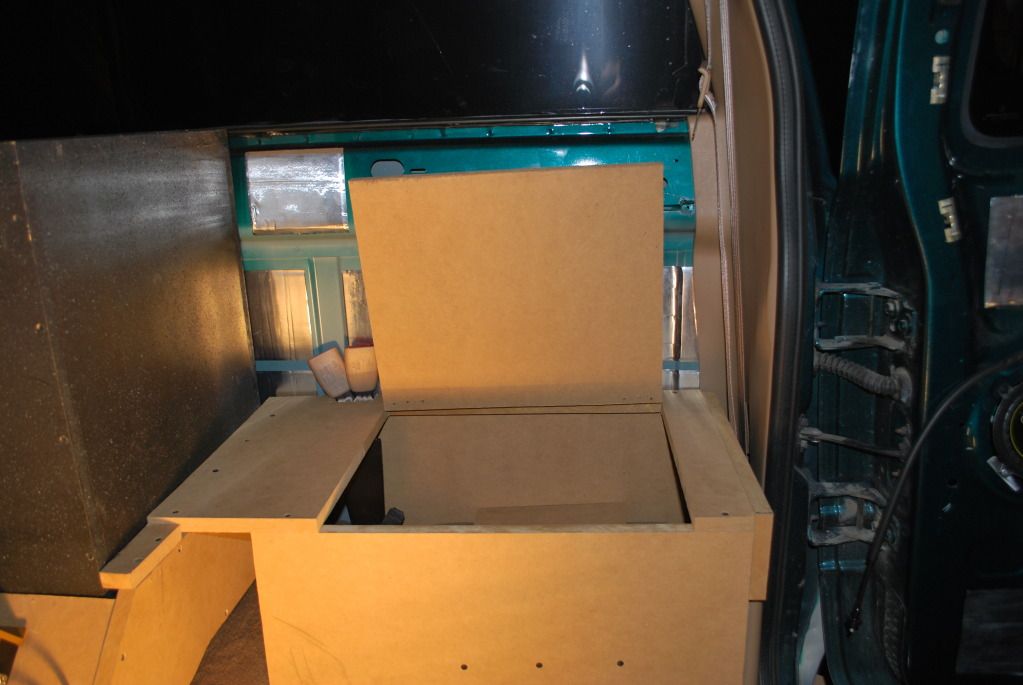
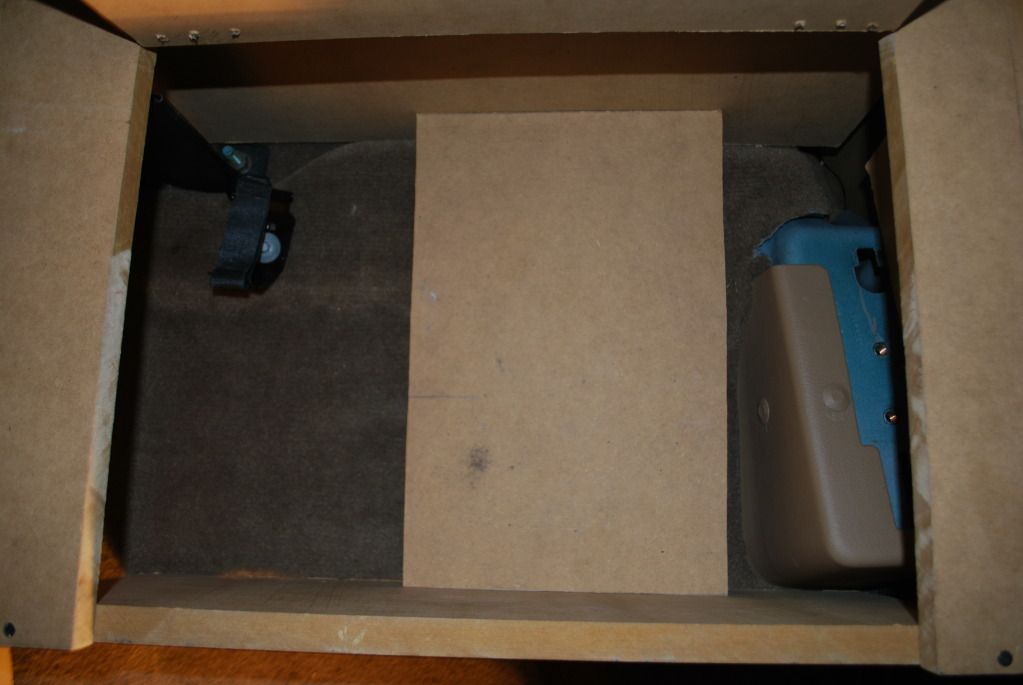
is the mdf seat cubby for batteries or what? i am also thinking of deadening my car with some deadener. i want to cut down the road noise on the freeway and also stop things from rattling, lol.
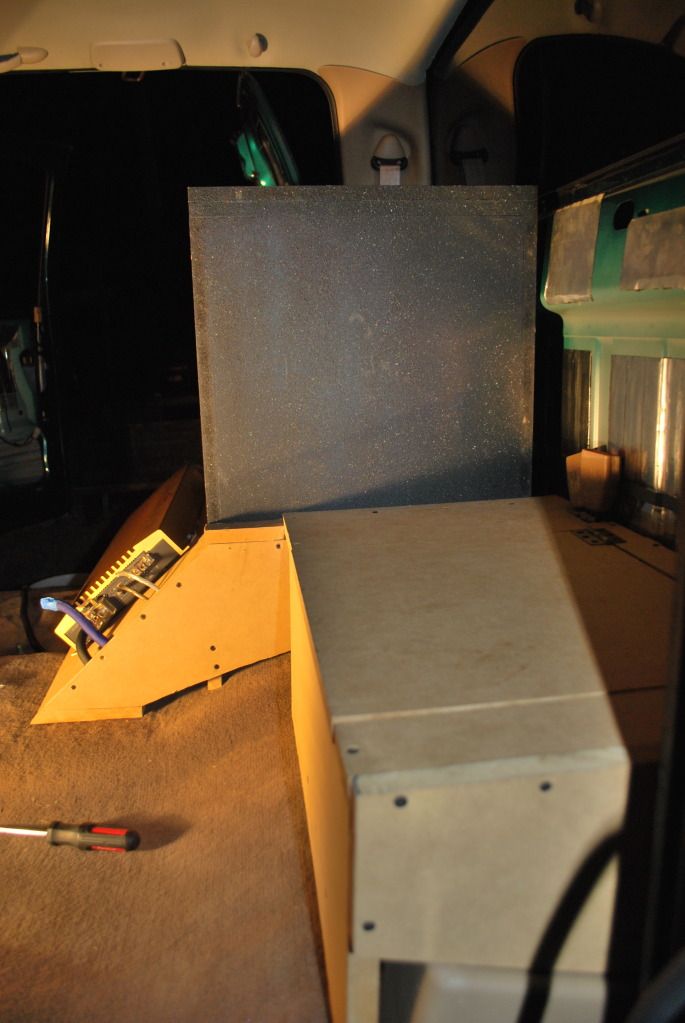
I originally and currently have it just as a storage space, but I will make it my new battery bank once I buy the batteries and I will probably replace this storage with a stealth black toolbox. As for the CLD tiles I couldn't be more pleased with the results. If your trying to stop road noise your going to need more than CLD tiles. I would recommend you email Don at SDS and he can tell you exactly what you need to best fit your needs.
-
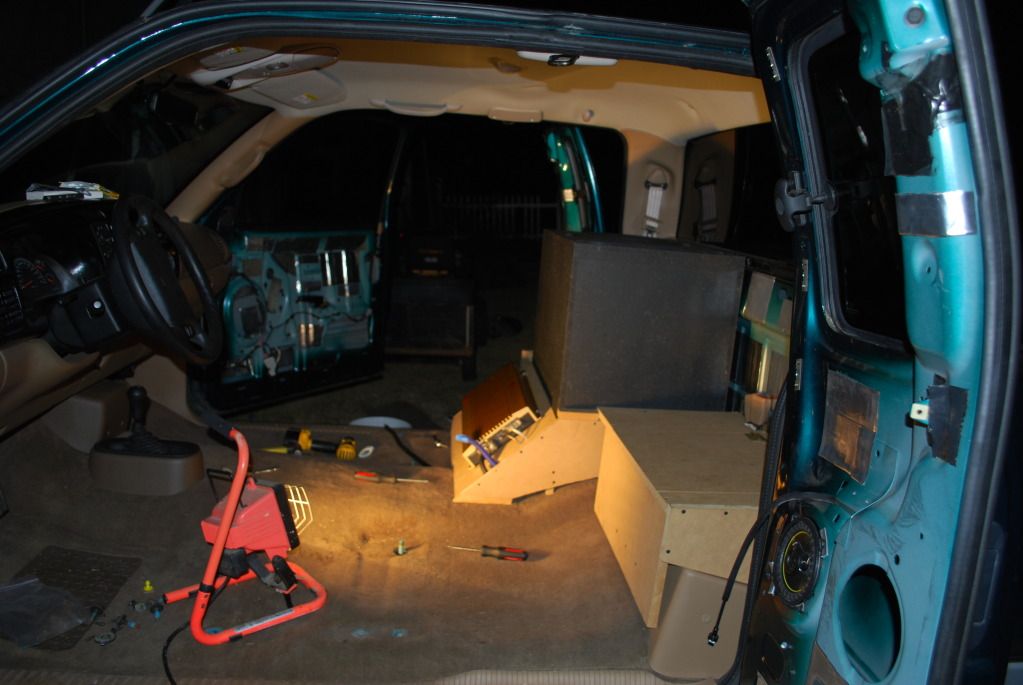
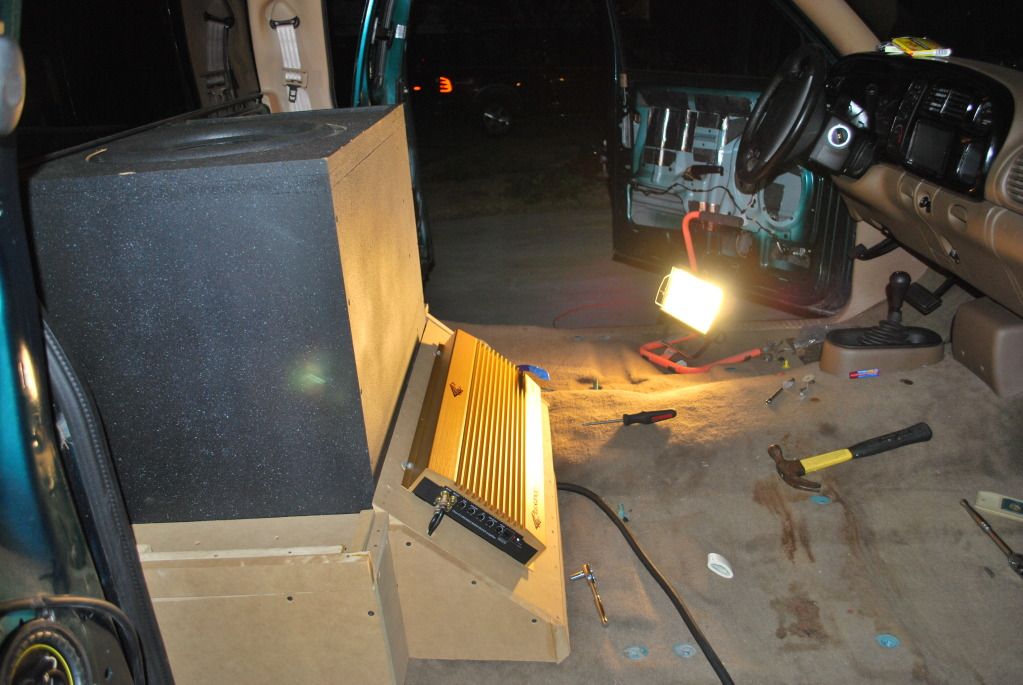
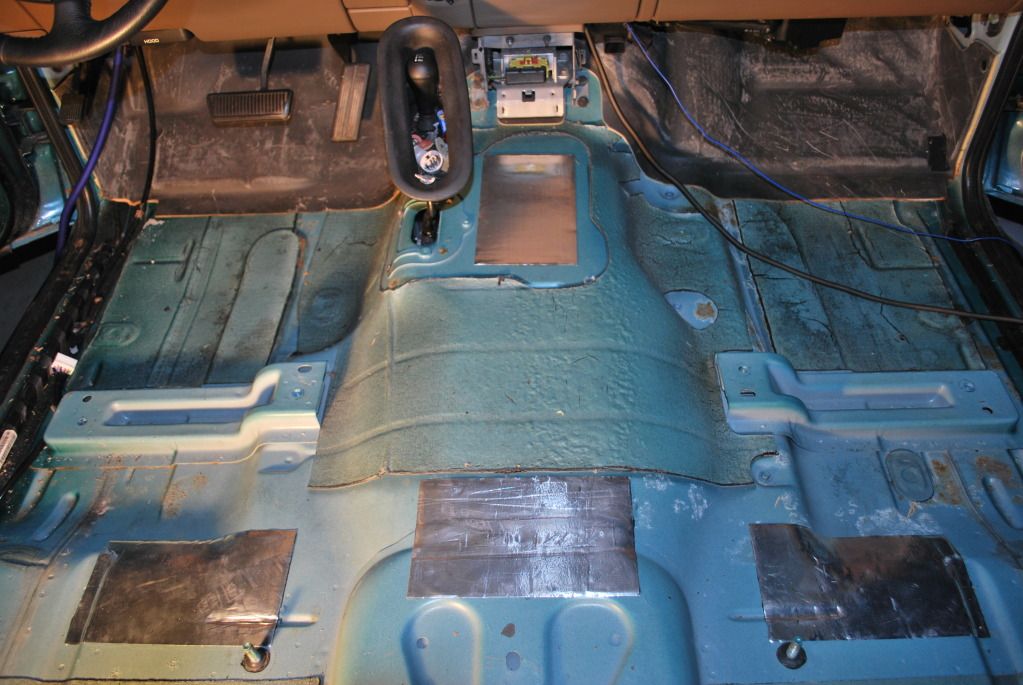
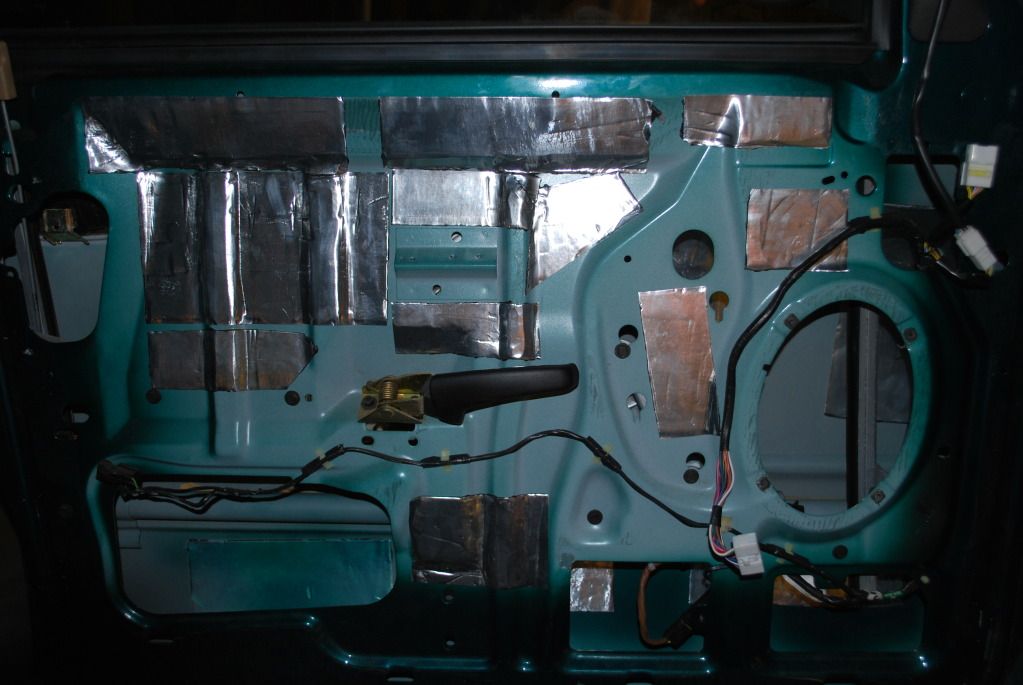
Some pictures of everything reinstalled. I plan on removing the box and amp rack/seat when it warms up again to carpet and repaint the box.
-
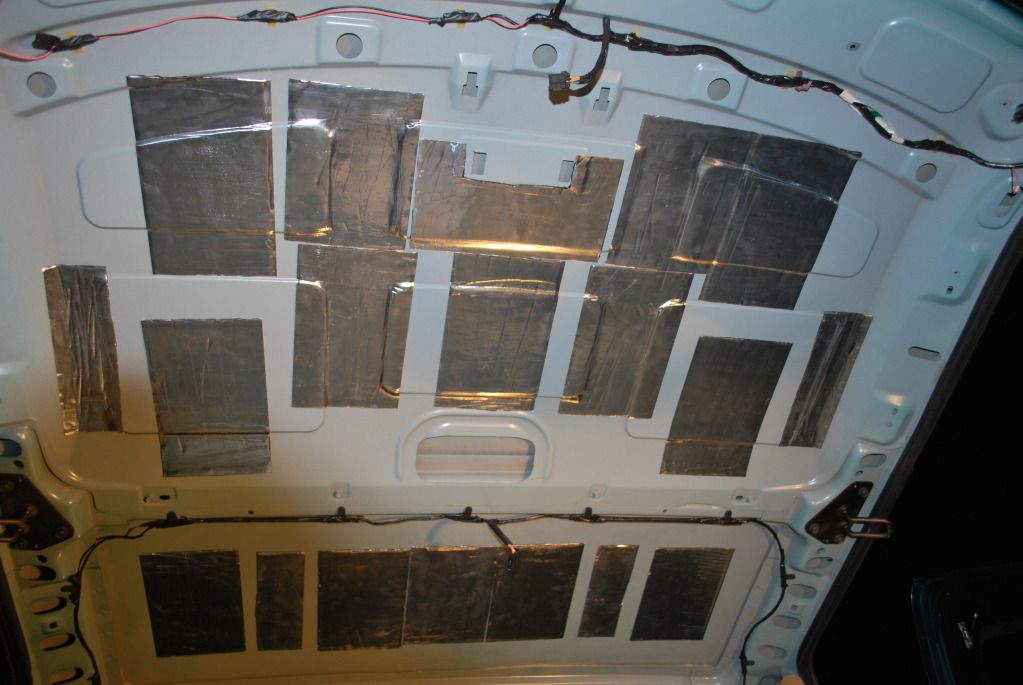
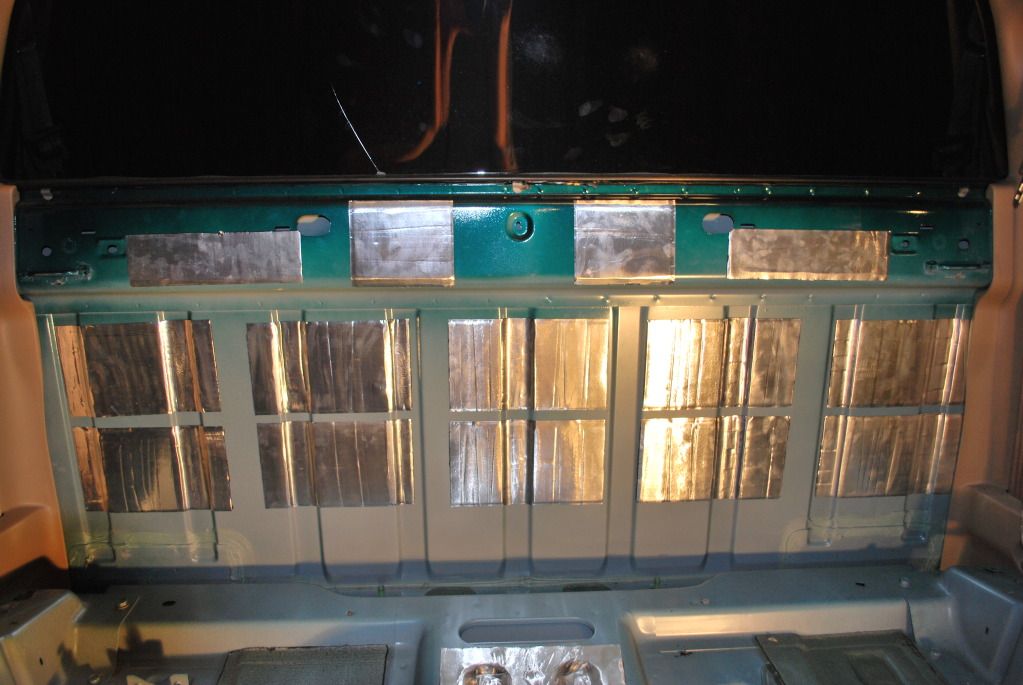
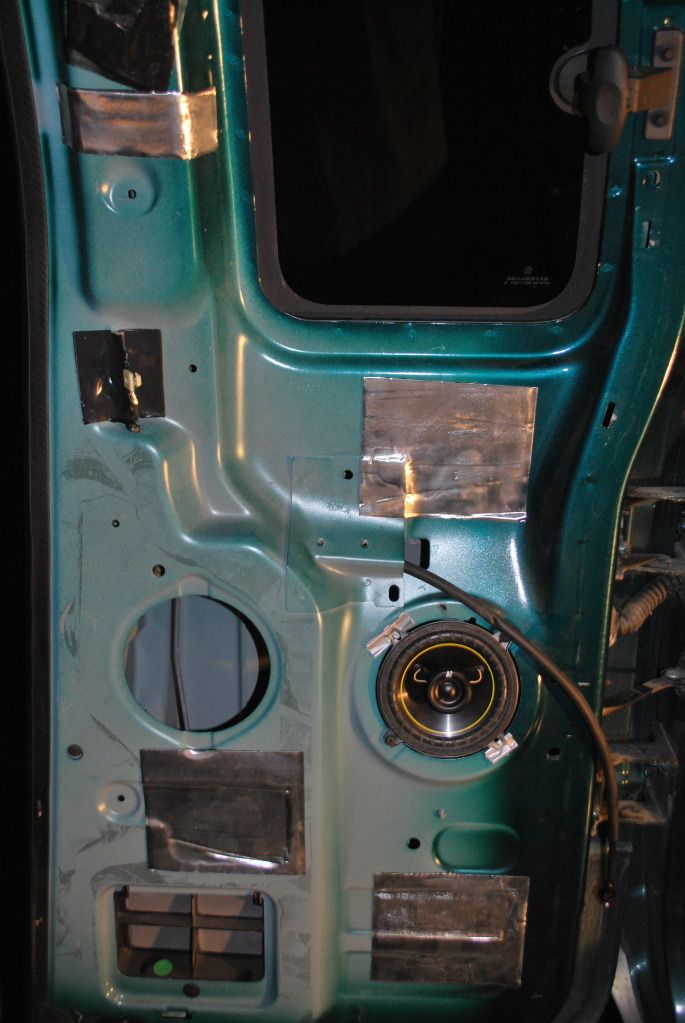
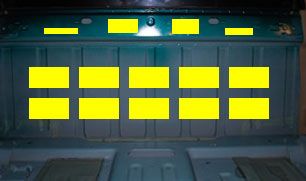
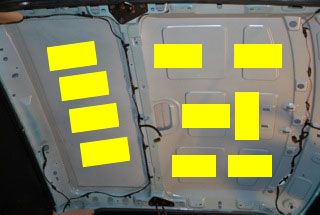
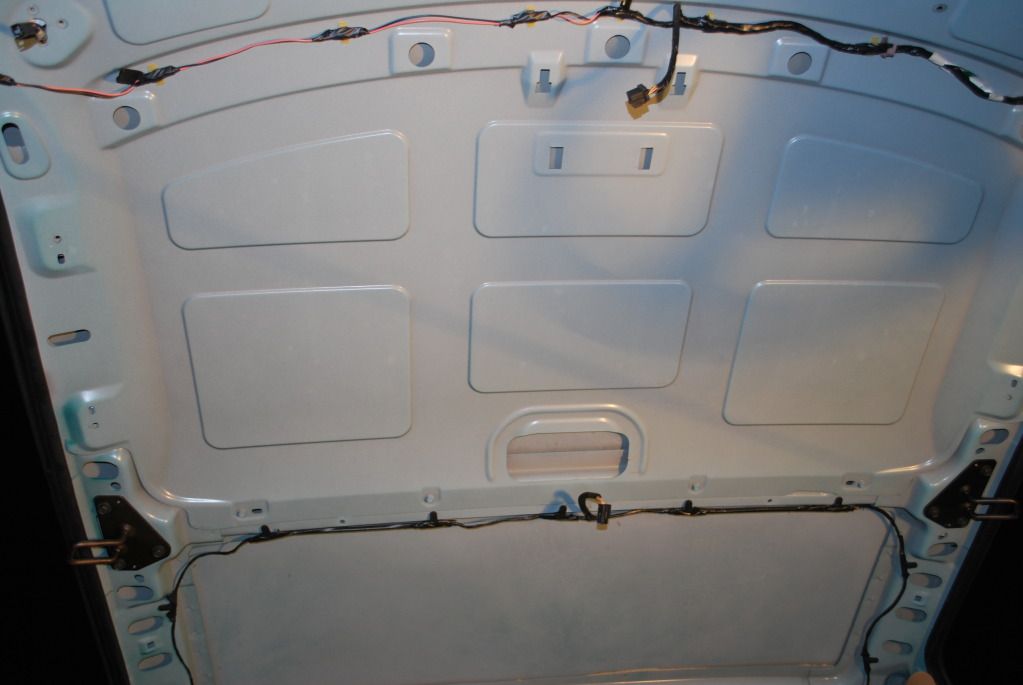
Here's some pictures of the SDS CLD tiles installed. Just from the sound when tapping the doors and roof seems it like it's 100X better.
Floor
Roof
Back Wall
Rear Doors
Front Doors
-
nice truck
i prefer the look of 100% coverage tho on the deadener bc i never put my headliner back in after i apply deadener
Yea I wanted to do full coverage, but saw no need in wasting money that I don't really have so I went with what would give me the best results with the lowest cost. Should have pictures of CLD tiles layed out later today. I had a lot more than what he placed on the pictures so I just put it wherever I thought it was needed.
-
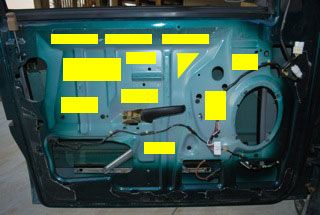
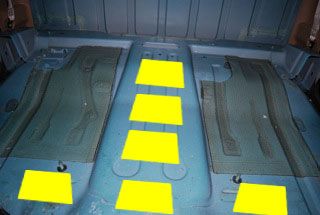
Just a few more pictures I sent to Don at SDS and asked him to label where I should place each tile. Great fast response and I love how he wants the best for everyone by providing excellent services and products. Back to the pictures.
All photos are edited by Don to show future CLD Tiles locations.
Front Door
Floor
Back Wall
Roof
-
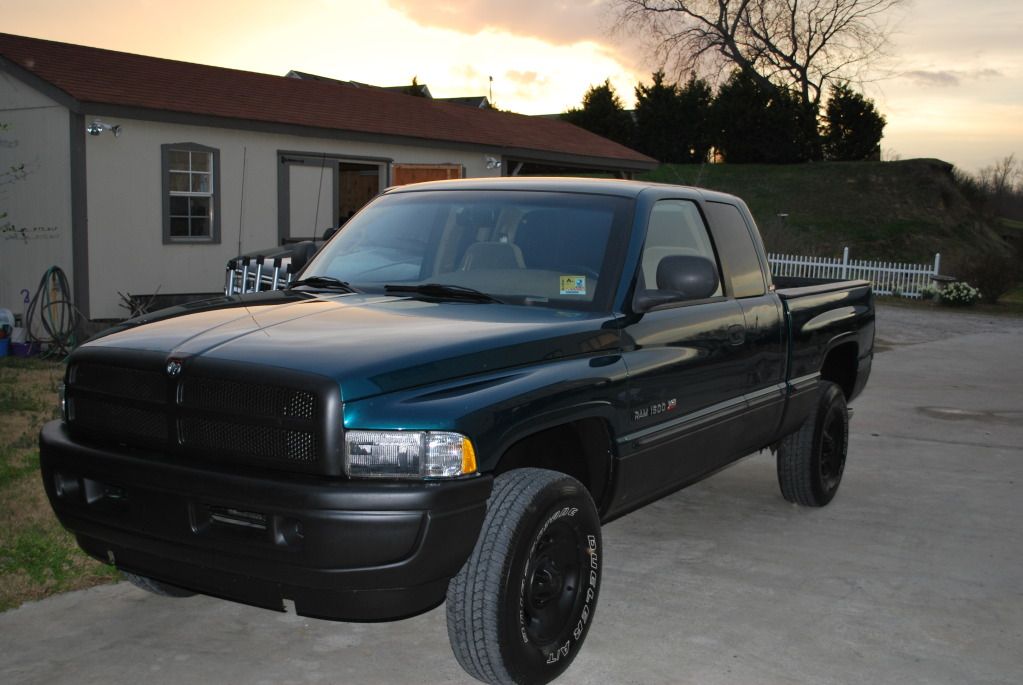
Hey guys it's spring break so it's time to start working on my truck again. For those that do not know I drive a 1999 Dodge Ram 1500 Ext. Cab 5.9L Laramie SLT. It may be old but it's only got 45K miles on it. Anyway I plan on removing everything and rebuilding from the ground up. I will be using the same equipment and box, but I will make everything neater and more professional. Over this weeks break I plan on repainting my box, carpeting my amp rack and rear seat combo, installing SDS CLD Tiles, Plasti dipping all chrome and silver parts, along with either an exhaust install or new headlights and hids (or both). Along with these upgrades and installs I plan on adding plenty of additional add-ons to this setup over the next few months.
Lets begin with the original picture of the truck (this is just a pic. from online, but is the exact same truck as mine rims and all)
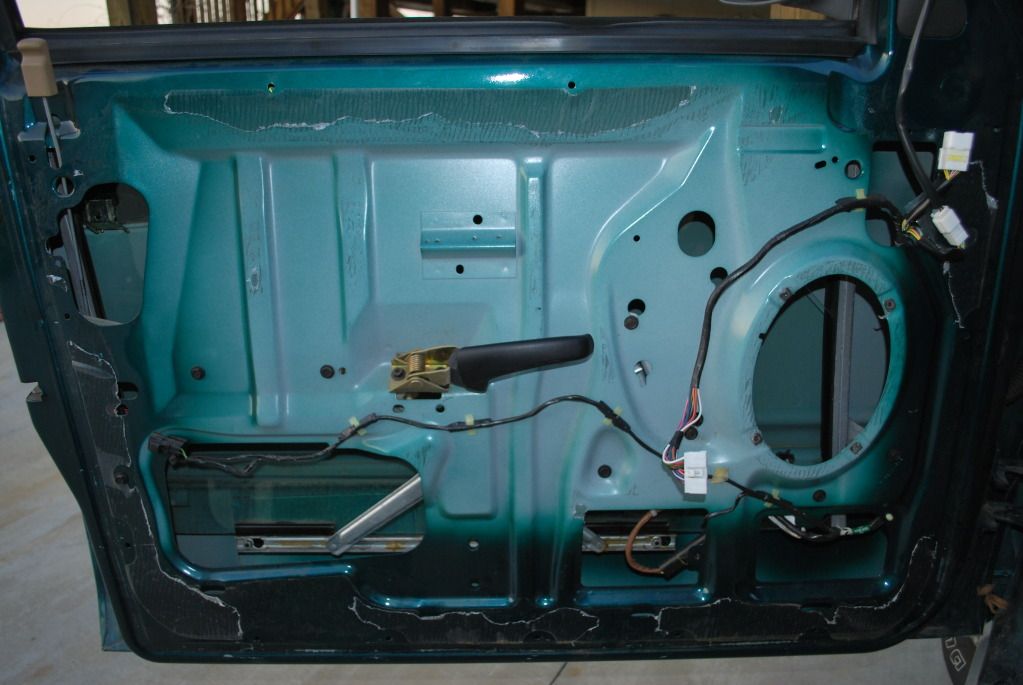
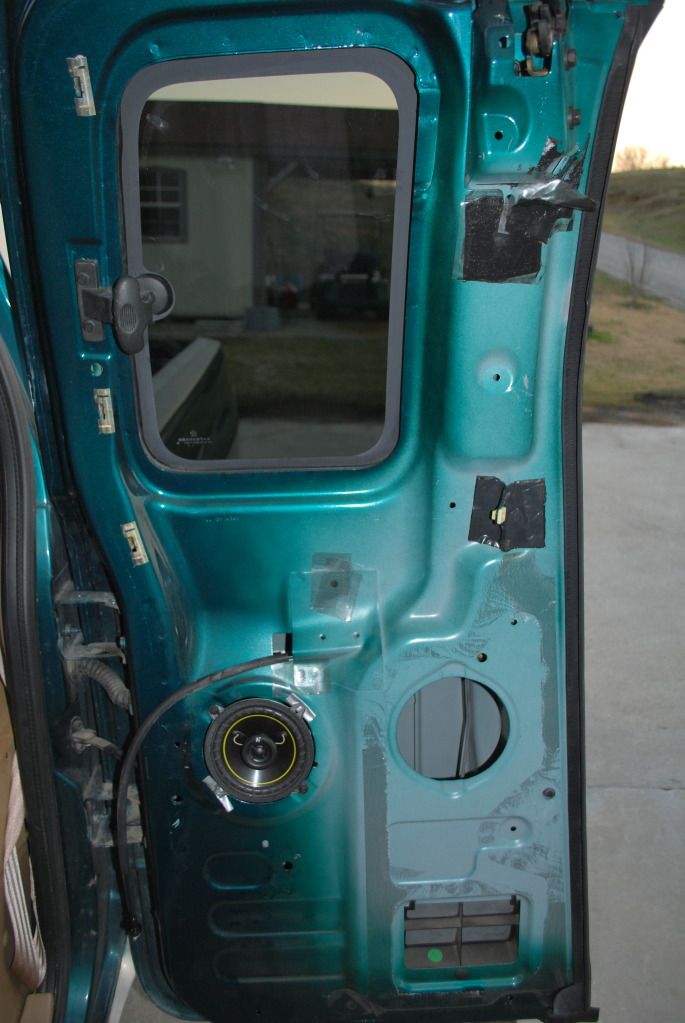
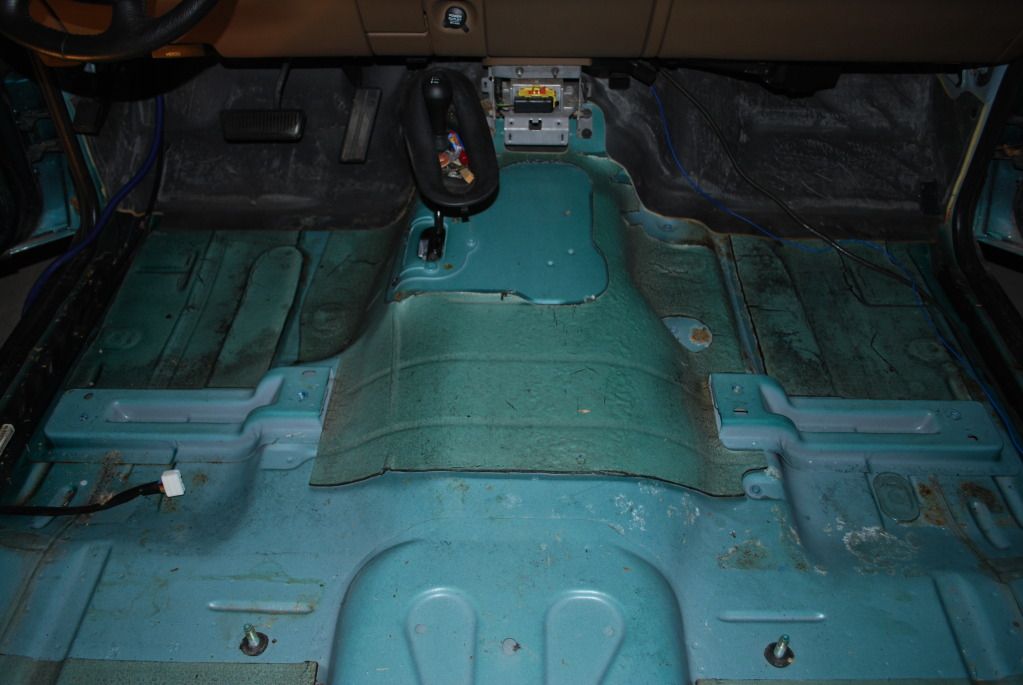
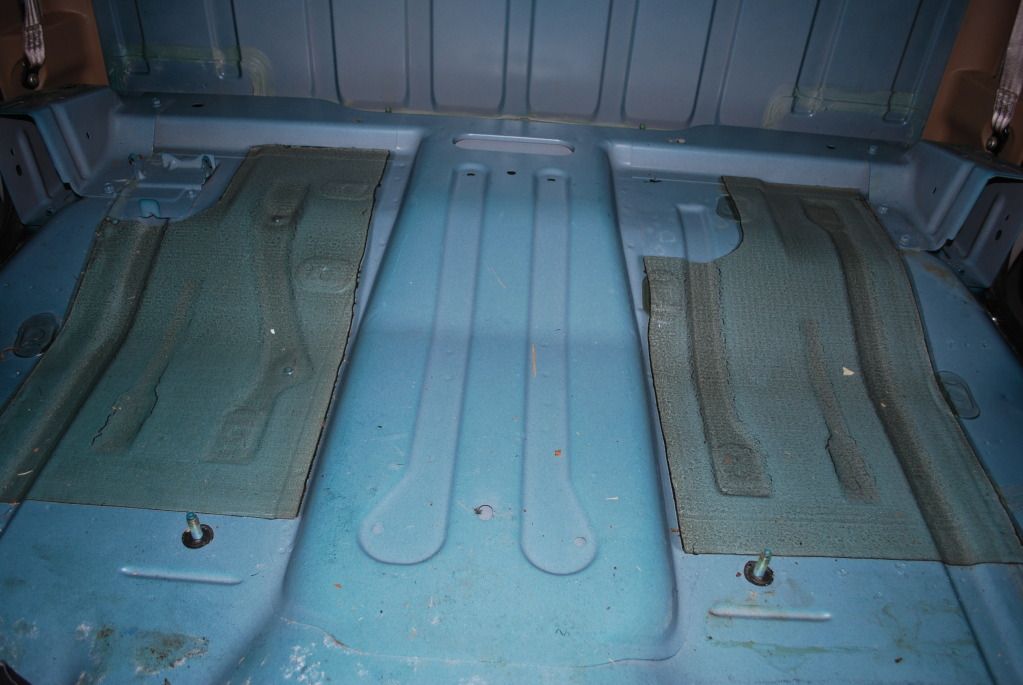
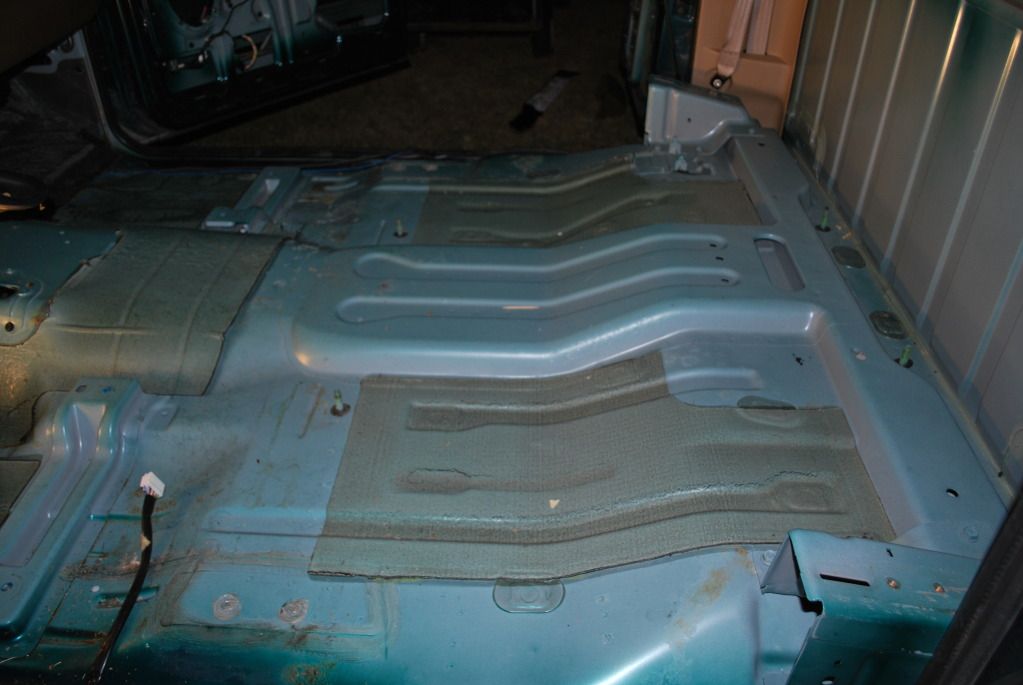
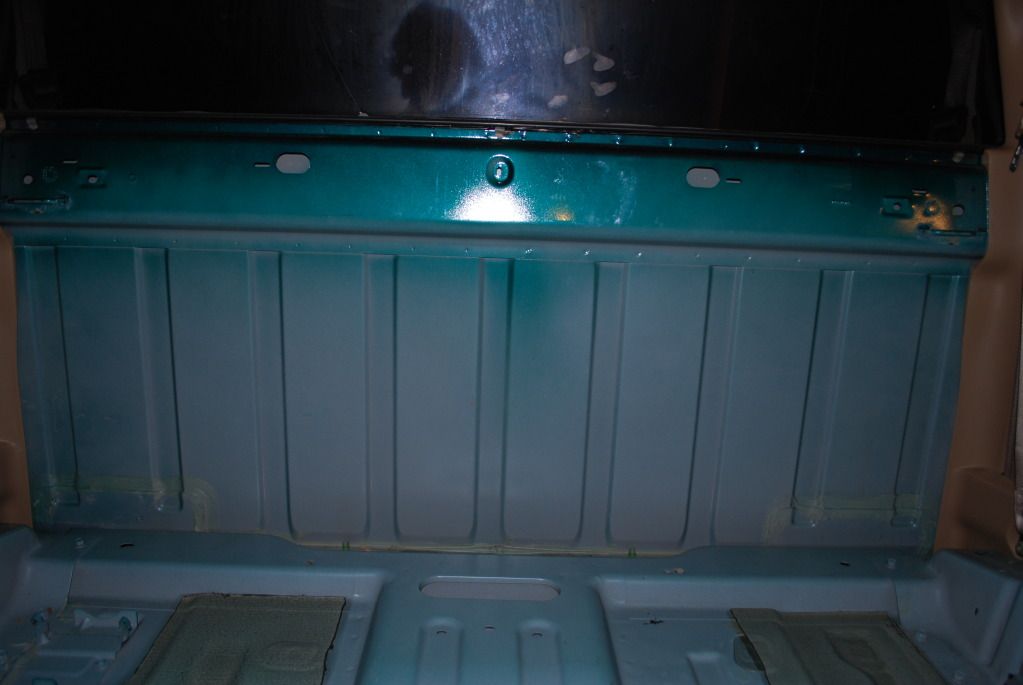
The first thing I did was strip down all things inside of the truck to prepare the metal to be cleaned and covered in SDS CLD Tiles. All doors are exact reverse replicas so there is no need to show both sides.
Back Doors
Floor
Back Wall
Roof
Pictures will be posted when I have the time to upload them so they may be a few days late.
-
Got my 6x9's from here and love them to death and at a good price.
-
Hey guys I'm looking to upgrade my electrical and will be in need of some power wire. I would prefer OFC, but will entertain CCA offers.
-
"AGM compatible (max 14.4V) and around 15amps charge rate. It would be better to charge at 10amps than 25amps though on a single battery. Its better to look for a intellicharger type that will actually go into a float mode and maintain the battery while it is being charged. This way if you had to or wanted to you could leave the battery hooked up to the charger 365 days out of the year and not have to worry about it overcharging the battery." from Nathan himself. The main thing you want to make sure is that it doesn't charge over 14.4 because this will vent the battery according to Nathan and ruin the battery.
-
Nice it's good to know I have some NC people up here. Looking forward to getting to know you guys and maybe meet up one day.
-
I go to ECU in Greenville, where are you from?
-
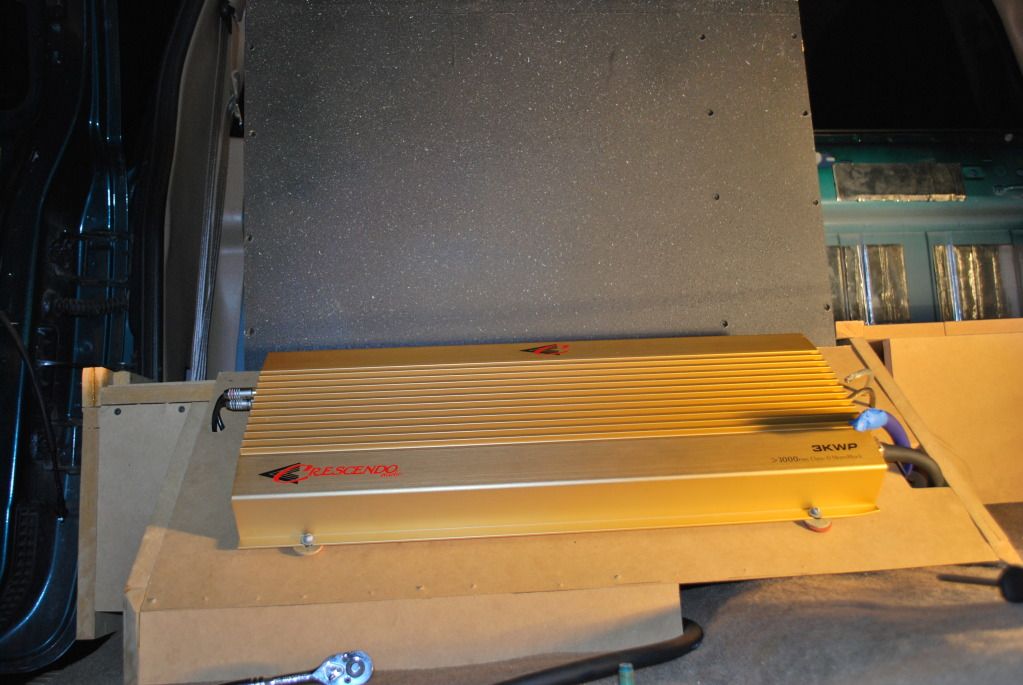
Hey guys I've finally decided to join and look forward to getting to know a lot of you and hopefully learn a lot down the road. Just to give you a slight background of myself. I've been into the whole car audio thing for about 3 years. I've learned a lot and still have a long way to go. I'm from NC and drive a 1999 Dodge Ram 1500 5.9L. She may be old but she only has 44K miles on her. Being in the audio world for such a short period of time I haven't had the time to build up a nice resume as some of you guys have. I've only had 2 setups and plan on changing again and hopefully multiple times again in the future. My first setup was an Alpine Type X 12 running on a Alpine MRD M1005 tuned to 32 hz. While this setup had excellent SQ I wanted more power and deeper chest rattling bass. This desire eventually lead me to my current setup, which is a FI BTL 15 UFO slug motor running on a Crescendo Audio 3KWP with KnuKonceptz 1/0 Kolossus Flex in a 5 cu. ft. box tuned to 33 hz. I plan to upgrade my electrical soon and will be looking forward being able to have
.


 .
.
Fiberglass Door Pods for 99 Dodge Ram
in Member Rides & Builds -- Show off your whip, Show off your System!
Posted
Looks good so far keep it up. Hopefully I can upgrade my electrical soon so I can get an amp for my mids and highs.