

CarAudioFab
-
Posts
1145 -
Joined
-
Last visited
-
Days Won
1
Content Type
Profiles
Forums
Events
Media Demo
Store
Collections
Videos
Posts posted by CarAudioFab
-
-
Here is some footage from over the weekend. Its pretty neat to watch as I bunker some people out and shoot them up close. I play on a pretty heavily involved tournament team that is up and coming so its some good footage...
One on One Drills:
Please rate if you have a youtube account, and post up here what you think!
-
recognize your work from FGforums, good to see ya over here
-
Great looking kerf work!
-
Real nice work man keep us updated!
-
-
Yeah I didn't have any pics of using it with vinyl but I still have to say it has helped a lot for me, for instance say you have a piece that sits up flush against wood, when you rabbet it it allows the vinyl to sit flush with the back of the trim piece, thus you get no waves, and the two pieces will hold more evenly to one another, I have also found on your hard corners doing a small radius of about .25" to .5 inch helps drastically with the wrap. And in the end it isn't noticeable.
For instance I did this one these pieces you see here...

Give it a try man, I know you will like it
Bad ass build btw!
-
Steve, <Read me>
Hey Steve,
The vinyl wrapping is coming along well, here is a little tip that I have benefited from greatly, hopefully it will help you out...
In the picture below you will note the trimming is good, but not perfect, and you still have a few problem areas that are kinda wrinkling, over time these wrinkles can move around to the front of the piece, obviously not a good thing. The wrap is a little rough...
To make this process a lot faster, cleaner, and easier, go out and grab a "rabbiting" bit for your router, Hell you probably have one! Haha It will look like this...
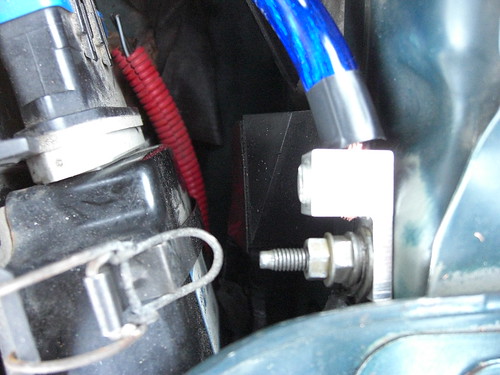
You can see an example of this used here for my amp rack with a different application of stretching the material to glass too, with vinyl you do it on the back of your work piece, cut in like 3/8" and have a depth of 1/8". This gives you a little ridge to run your staples against, and also a channel to run a razor blade through.
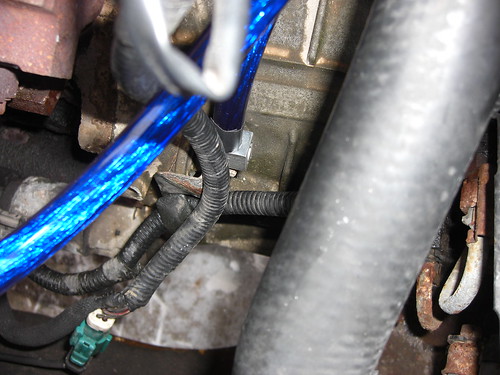
Here is another example on a speaker ring, obviously in your situation you do the channel on the back side of the piece you are covering..
Well I hope I helped you, thanks for all the help you provide us!
~Mark
-
Thanks guys, I already got a pm with questions about the kerf here is a quick response, on my next one I will take more pics
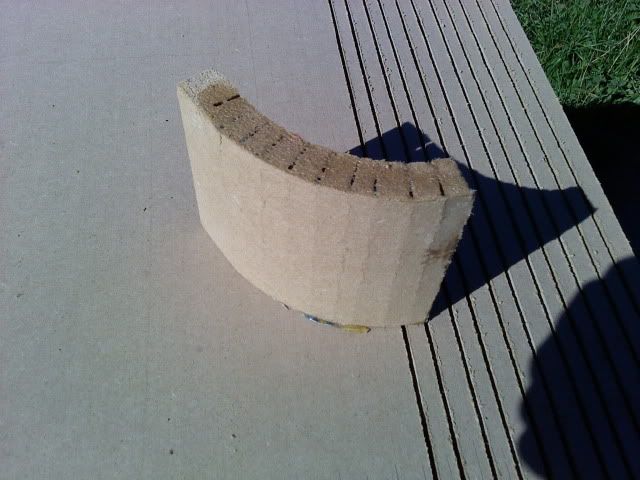
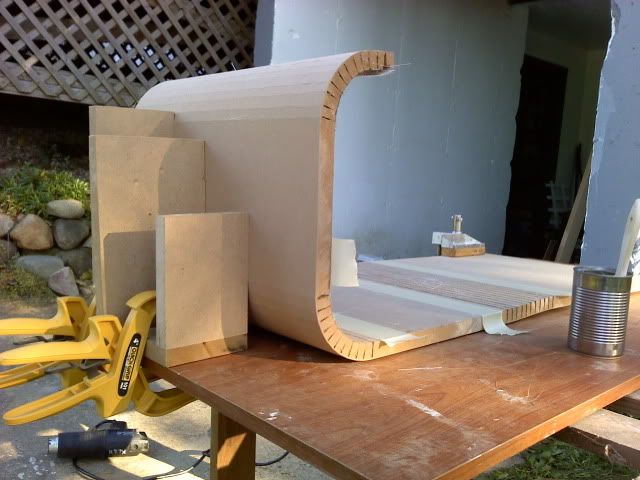
"In a basic explanation you run a circular saw in parallel lines that nearly cut all the way through the mdf but leave about 1/16-1/8 an inch. To get a 3 inch radius I did 11 cuts at 1/2 inch intervals,for 6 inch just do 11 at 1 inch. When you go to bend the wood you slowly work it back and forth in order to avoid it snapping. Then clamp it in place (you dont have to do 90 degree angles) and fiberglass it together, it went pretty smoothly, just make sure your lines are real straight, a table saw with fence would be optimum but I got away with just using a jig I made with my circular saw"
-
So guys my Taurus has went through many a system but is time to let loose and get it to the point I have always wanted. Crisp clean highs and solid bottom end, by no means "sq" perfect but close as I can still being loud.
Plans include:
AQ2200D Amplifier
Fi BTL 15" Loaded D2
2 Batteries
Upgraded Alt
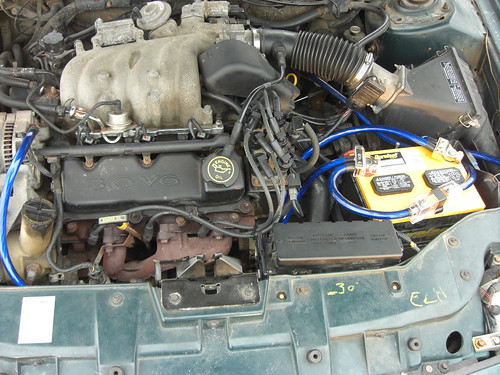
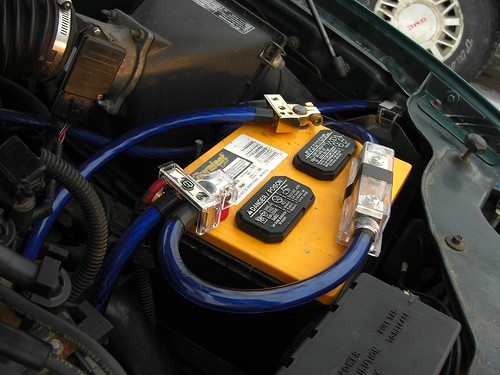
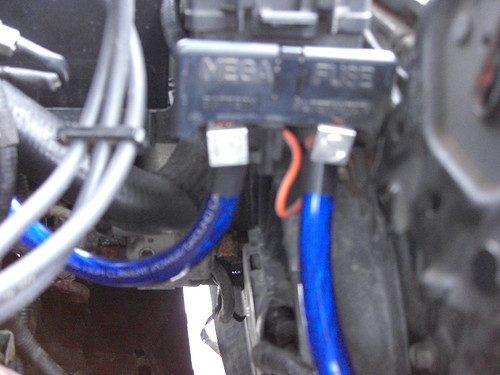
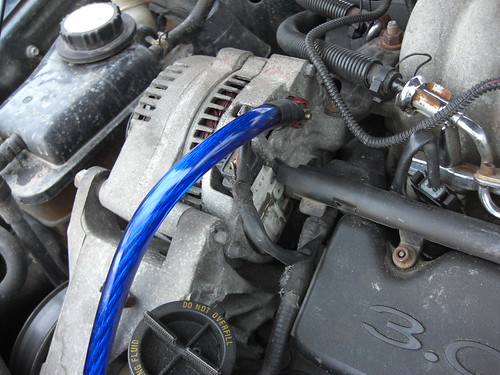
1/0 Gauge Runs and Big 3 (Complete)
Fully Deadened Front doors (Complete)
Trunk Deadened
4 Cubic Foot Box at 34 Hz with Kerfs (In progress)
Pioneer Door Speakers and 12 Gauge Ran through molexes (Complete)
Amped Front Speakers off Profile AP400 (Complete)
Some pics of the big 3
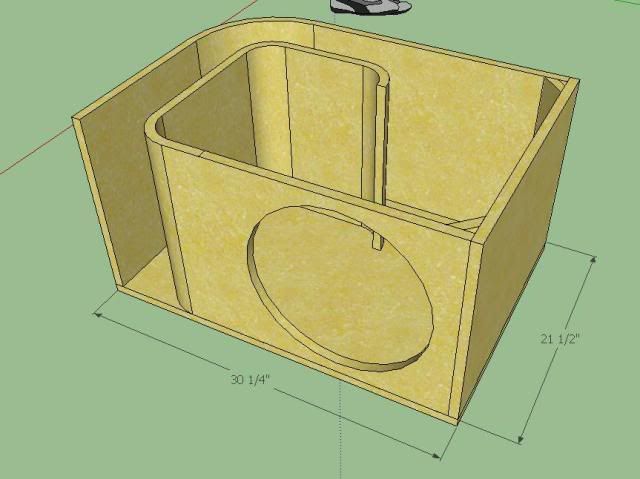
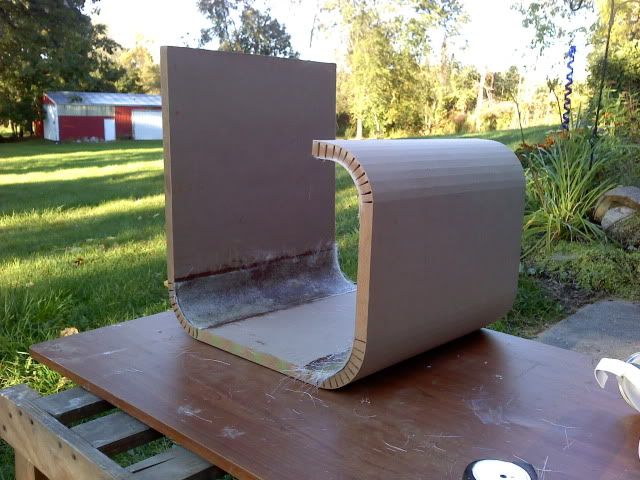
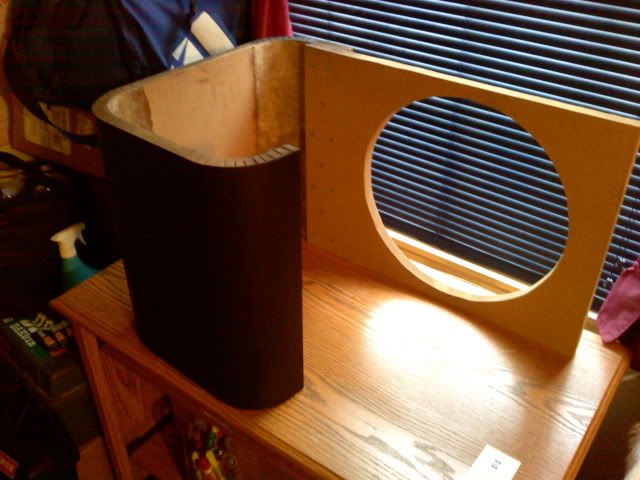
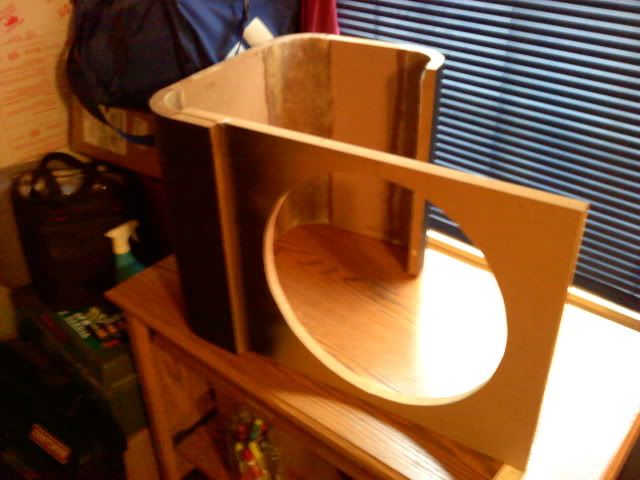
Started the box:
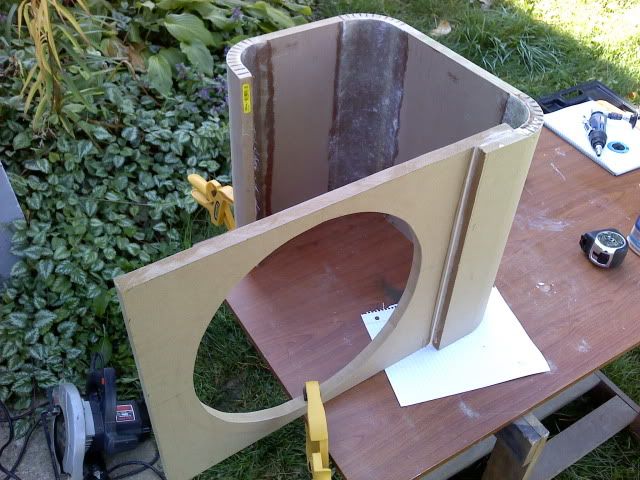
Here is a sketchup model of it, the front will be double baffled, hence the offset you will see inthe build pics, so far there is only the back section
Practice kerfing
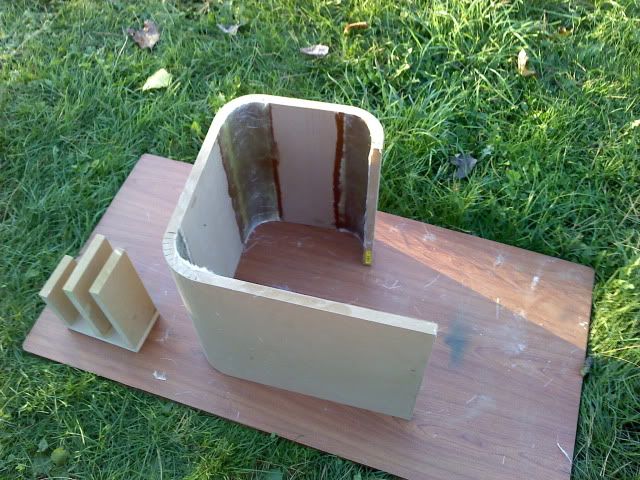
THis is the inner port section
Port painted
Thats it for now, I love input, let me know what you guys think, I learned a lot about kerfing, so any questions ask...
-
Go for it man, and go hard, otherwise you will leave yourself wanting to do more
-
Got rid of the rattles huh? I like it man, check out my doors I did on the Taurus in this same section
-
Here is more of a finished application, I did the drivers side too just didnt take any pics, it sounds awesome!
-
So I recently won a contest on another forum for a door pack of Damplifier Pro from Second Skin Audio, I was a little skeptical but began the build anyhow.
I also amplified the door speakers in this process and switched to some 6.5's. You will also note I used fiberglass to block off the large holes in the panels.
First off here is a picture of materials
Panel before being removed
Panel Removed, the water shield has to go
Water shield gone, gotta cover the holes
Taped up, draw an outline, apply mold release wax
Fiberglass away
Clean the panel completely with windex and rags inside and out
Fiberglass pieces removed
Deaden everything, you get 4 rectangles per front door. Stuff is really thick and heavy!
Inside picture
Zipscrew these in
Finally deaden the outer skin
I also applied a foam to the outer skin but forgot pics I will get some tommorrow, I still have another 4 sheets for the drivers door. I must say the sound difference was pretty incredible. I was skeptical not thinking it would make much of a deal but the lows are stronger and highs crispier. Haha maybe Ant will send me a trunk pack. The biggest change is the door literally feels heavier, and closes with a nice thud, cant wait to drive and hear how much the road noise cuts down!
~Mark
-
1500 Words isnt all that bad, my research paper last term was 6000 that was rough
-
It would be hard to work with with anything more than that as well haha
-
I see it being hard to get ahold of in that thickness... What else would anyone ever use MDF that thick for?
-
you are right man that looks real clean, love the look of your truck!
-
I would say you must look into "AT LEAST" 12 gauge
-
Good job man, I am sure a lot of people will mention a port but it looks good, nice shop to work in there as well
-
Matter of fact i took today off but it turns out my boss needed some drawings and FAST. So i had to spend most of my day working (CAD drawings).
CAD as in AutoCAD? One of my specialties, send em my way so you can keep going on the audio! haha
What were you drawing? I spend a lot of time designing conveyors and such for factory flow along with factory layouts
-
Jenson was the other one I was trying to think of this morning, my buddy had one but the thing was also like a joystick and it always thought you were pushing a direction while turning it, I wouldnt advise using that line of Head Units...
-
Install the speakers and do a comparison from left to right using the fade and see what happens
-
I really like the head unit, nice clean install, you ought to buy some of second skins accoustical foam as well for behind your speakers and see how much of a difference it makes... and then report back to us!
-
Nice install there, hoping to win some this time around


Paintball Barrel Cam Footage from over the weekend
in Member Videos - Host 'em & Post 'em! System Vids / Off Topic
Posted
haha for sure, let me iknow what you think once you watch them!