meade916
-
Posts
27684 -
Joined
-
Last visited
-
Days Won
379
Content Type
Profiles
Forums
Events
Media Demo
Store
Collections
Videos
Everything posted by meade916
-
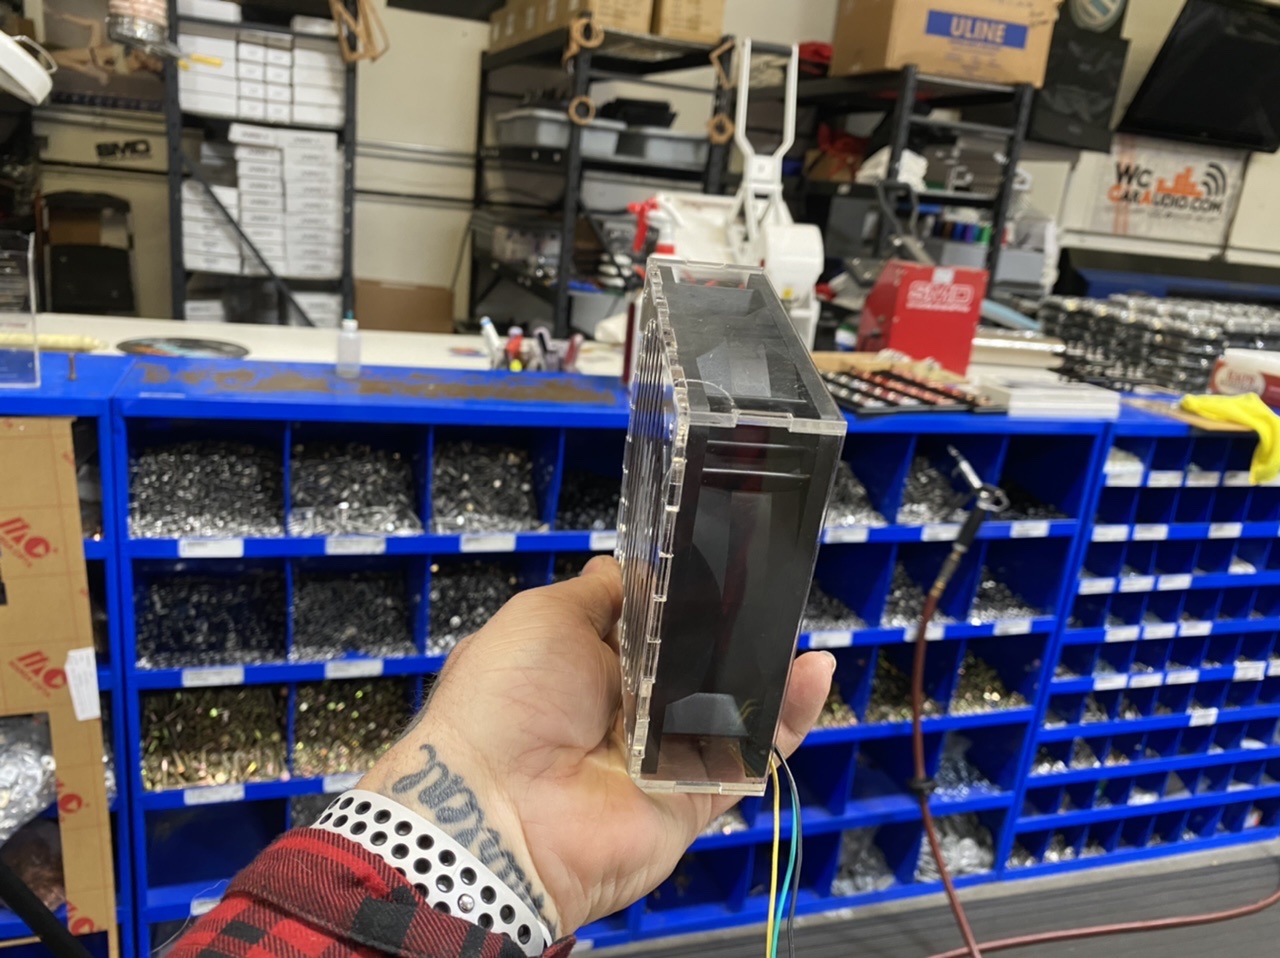
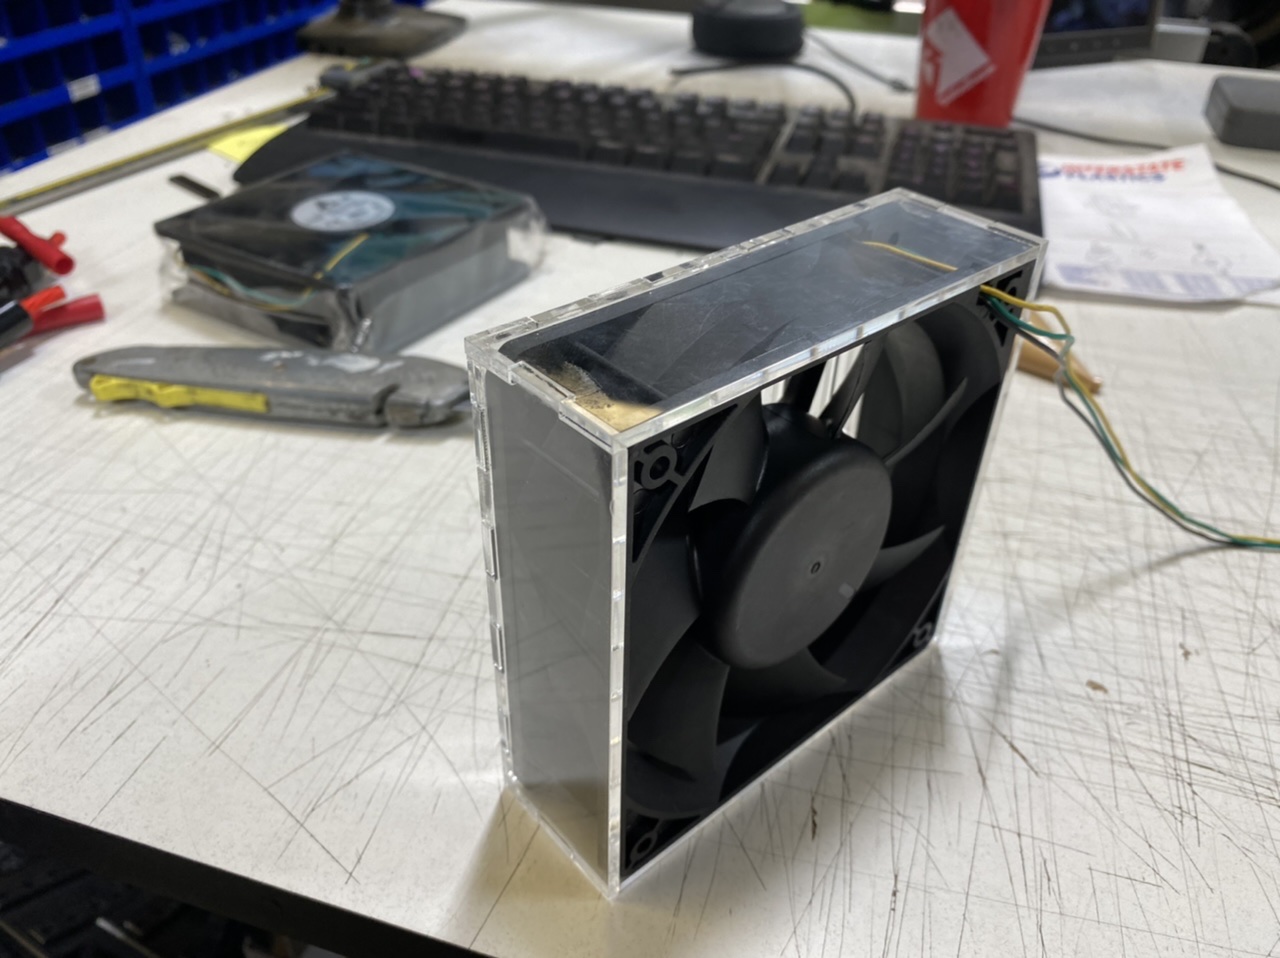
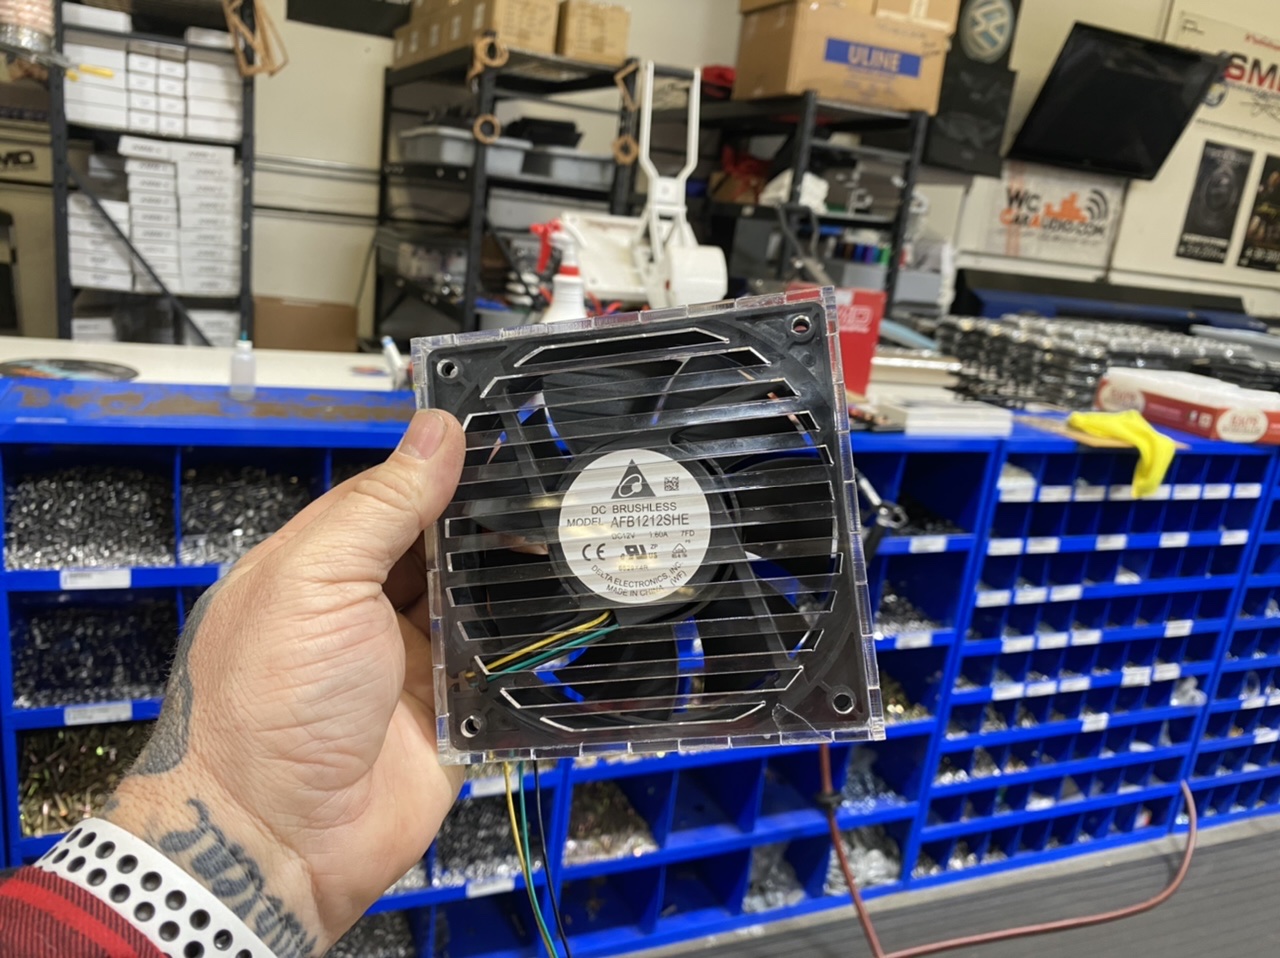
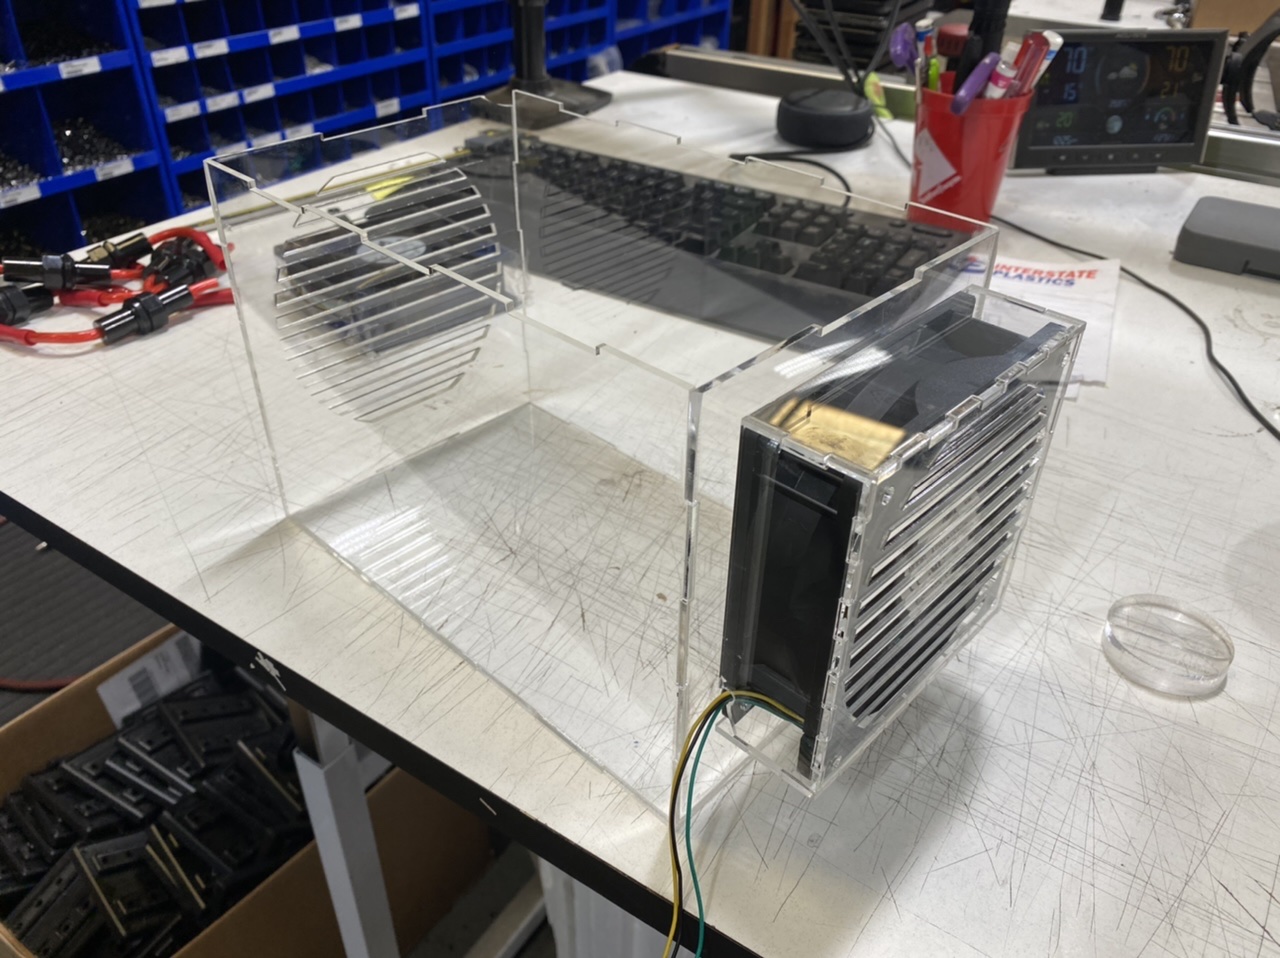
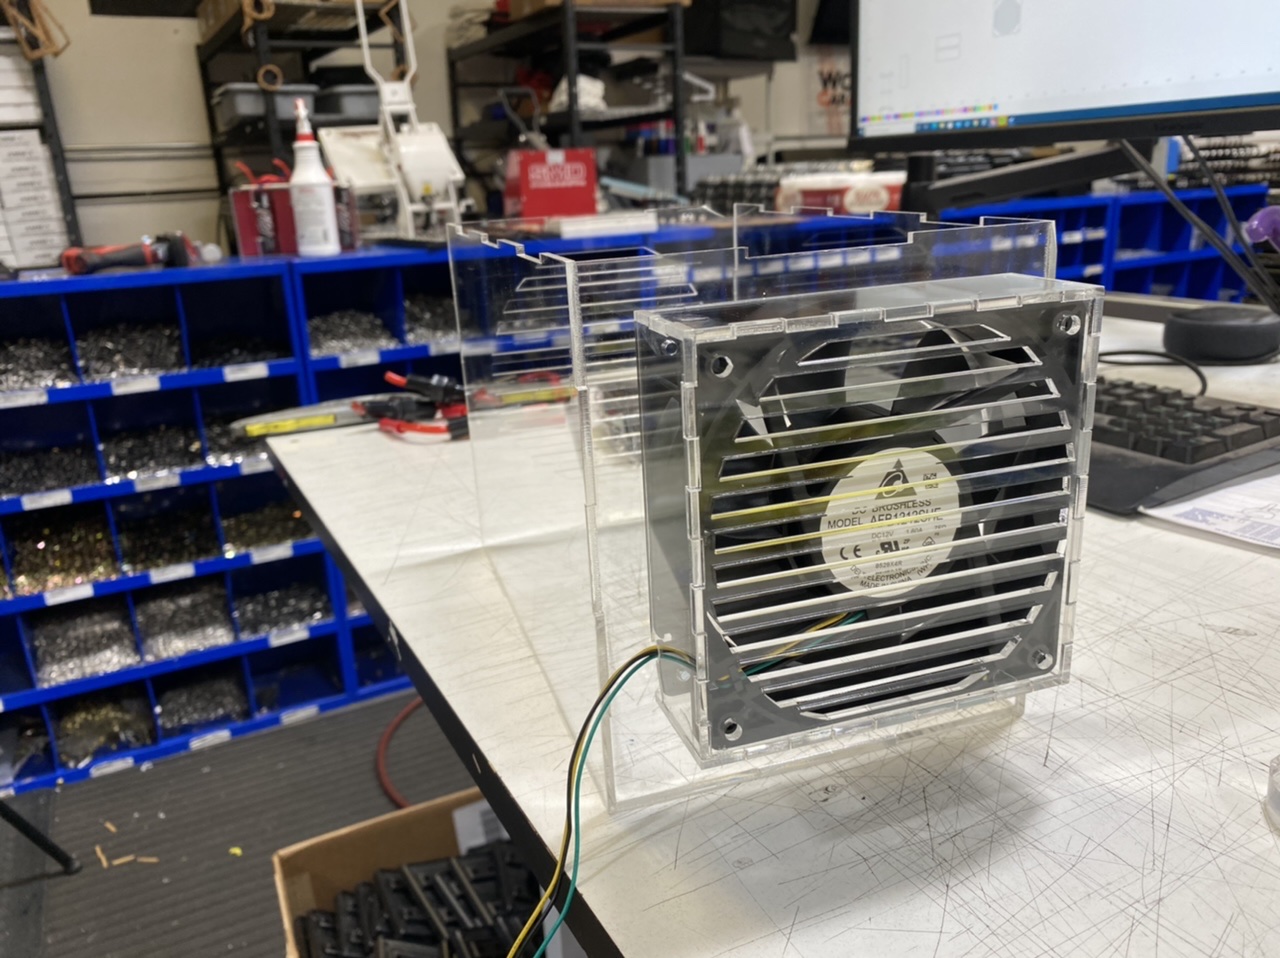
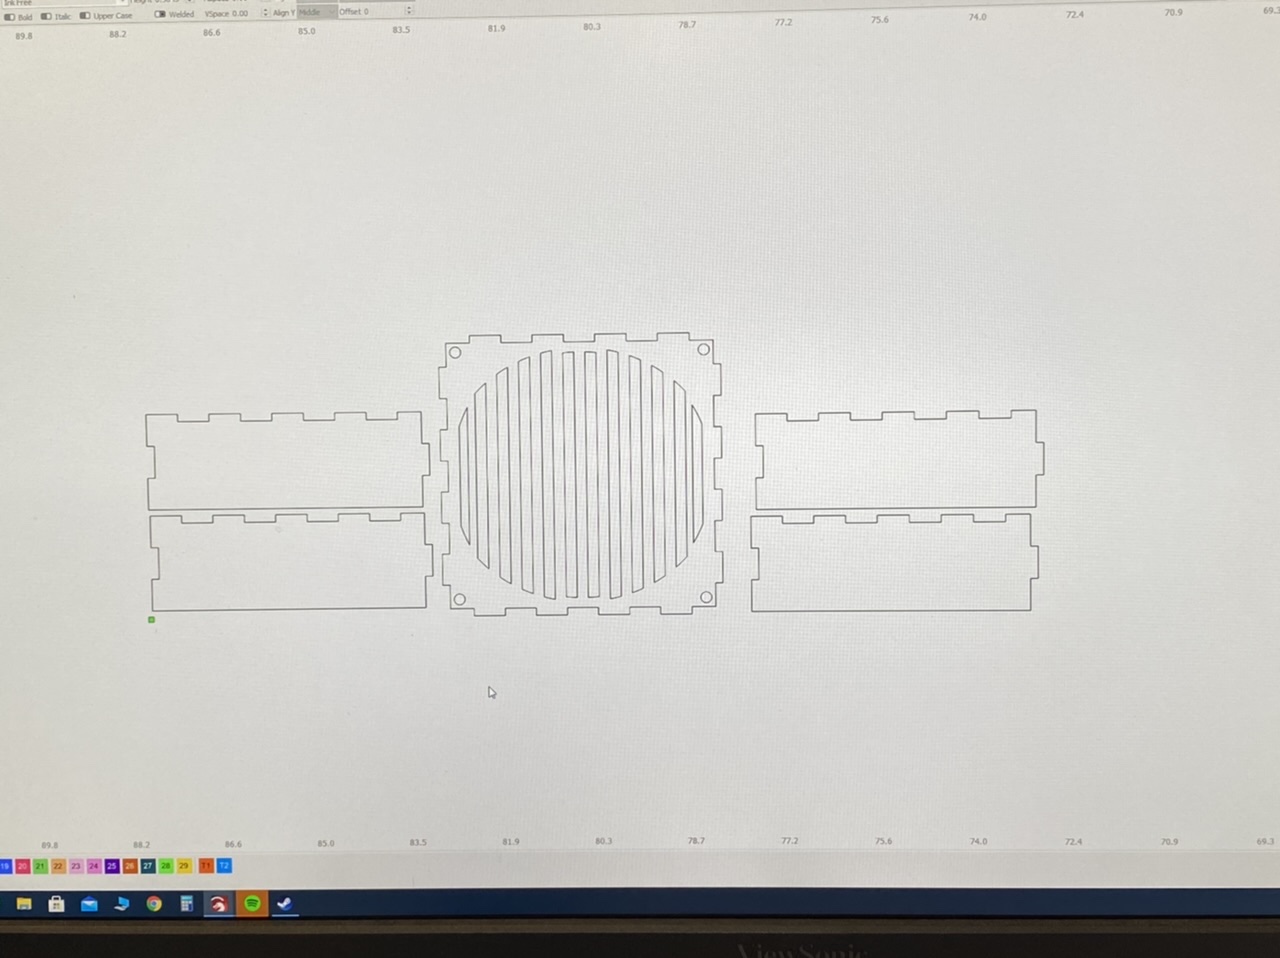
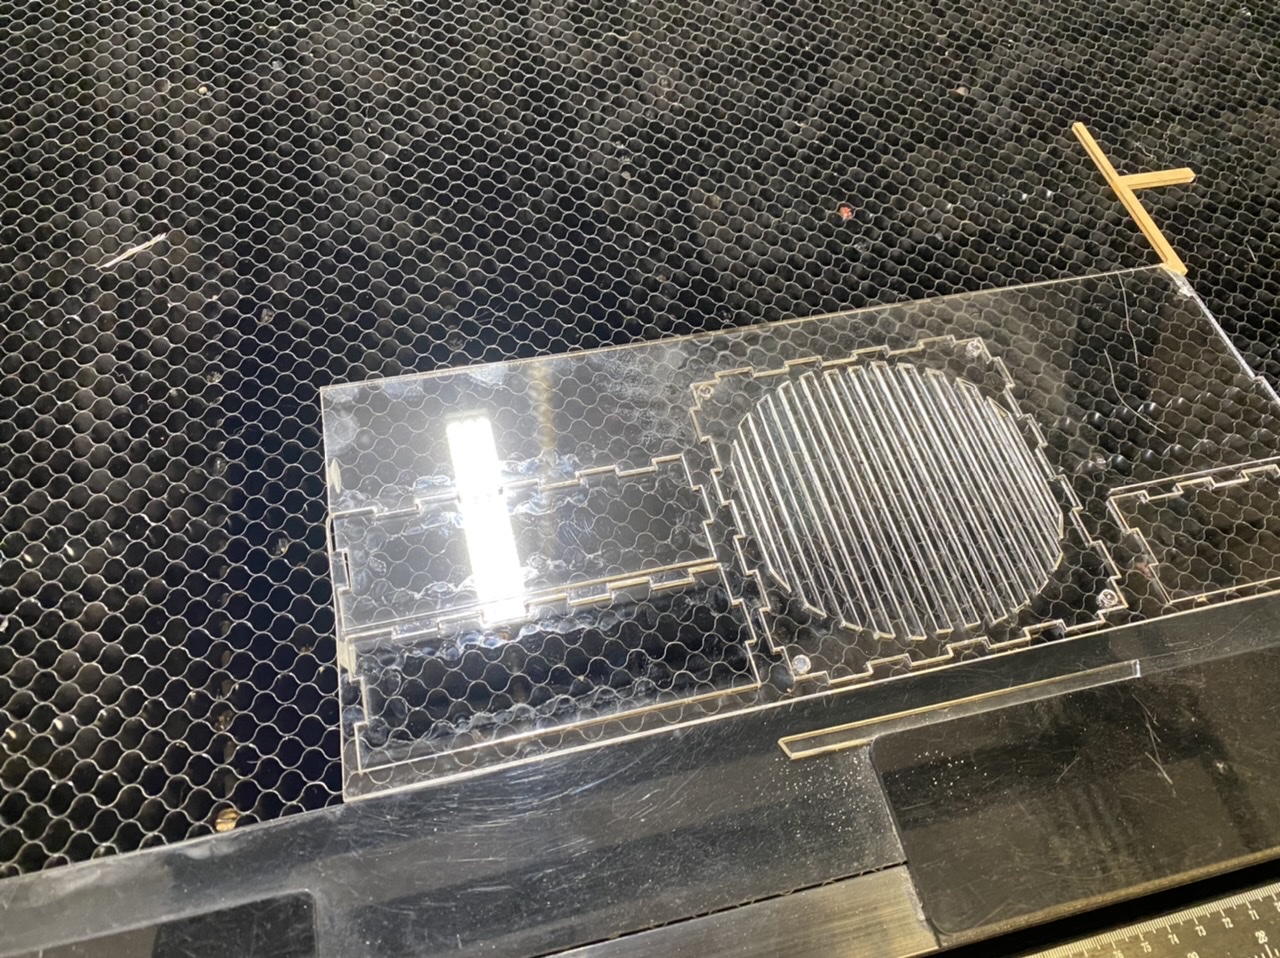
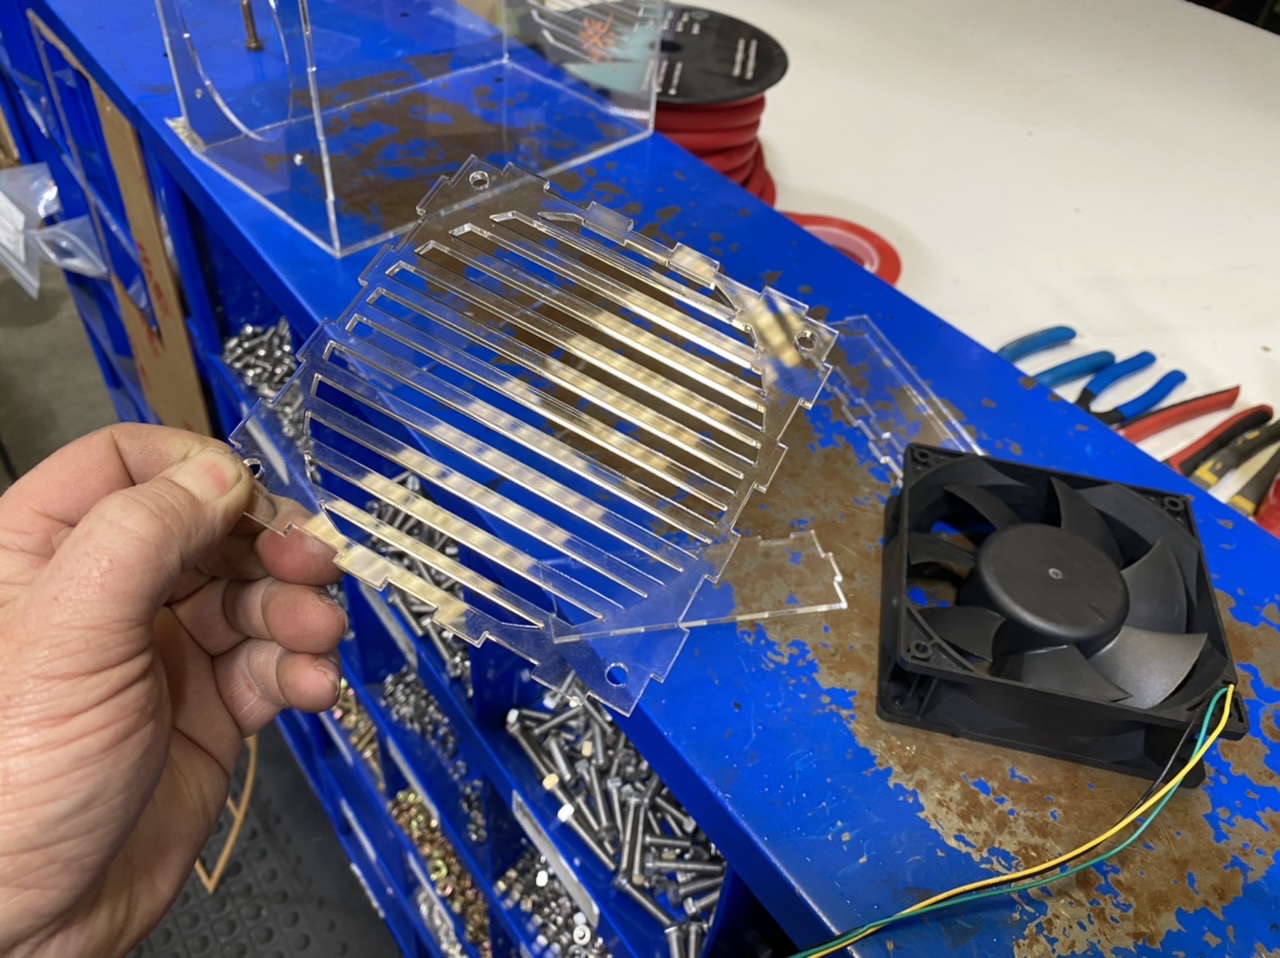
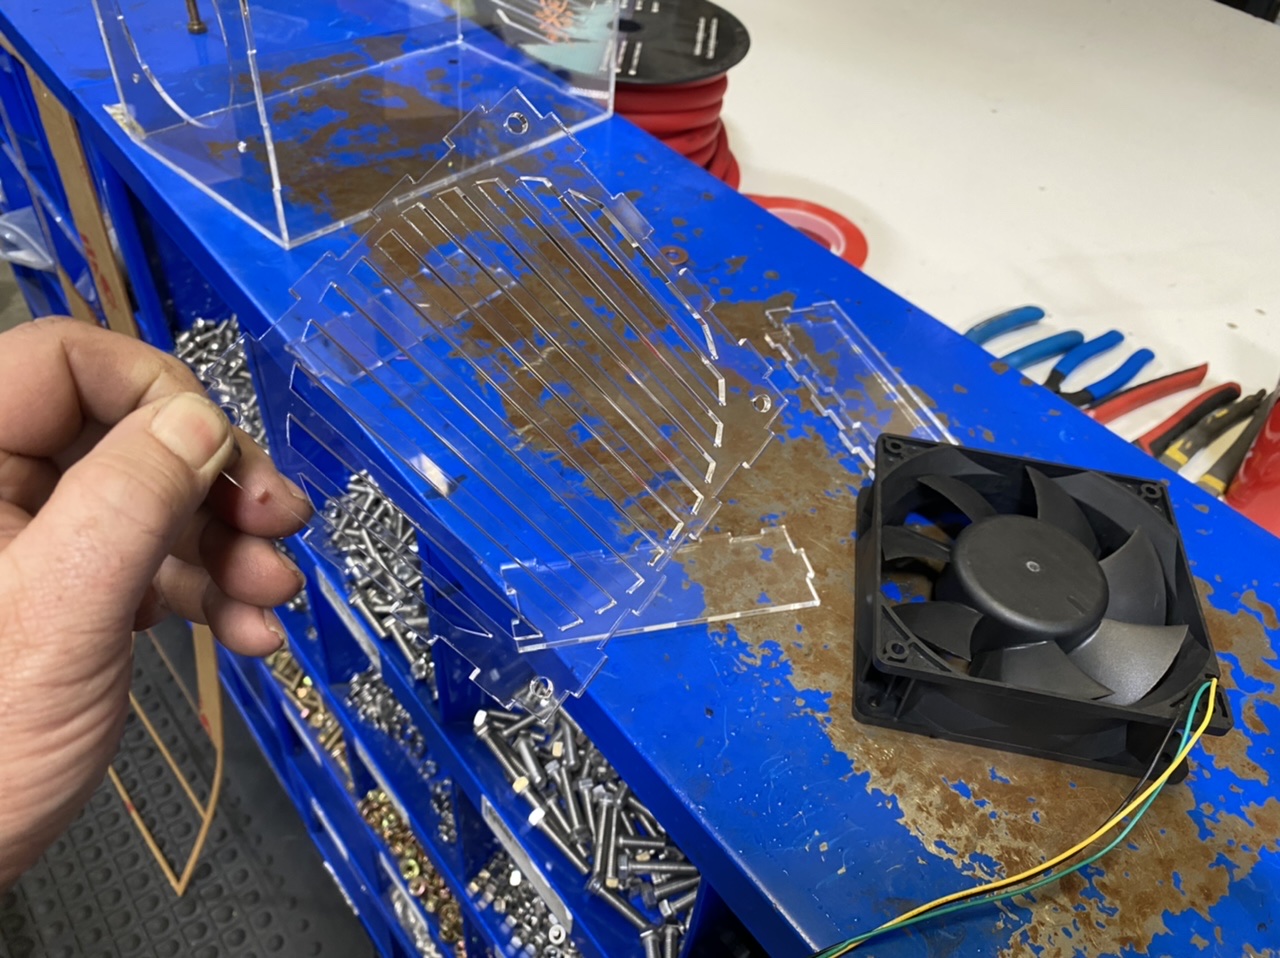
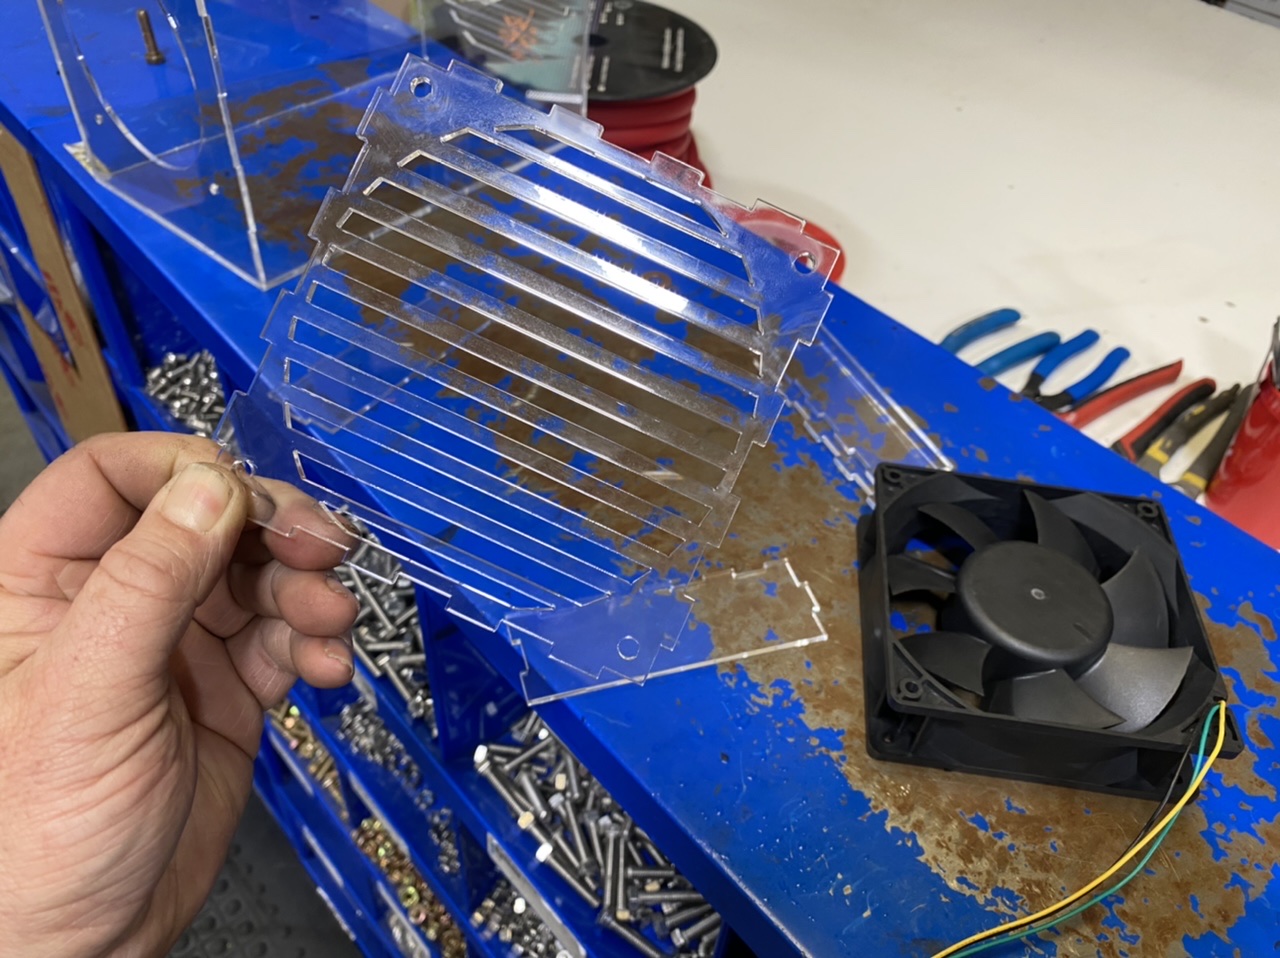
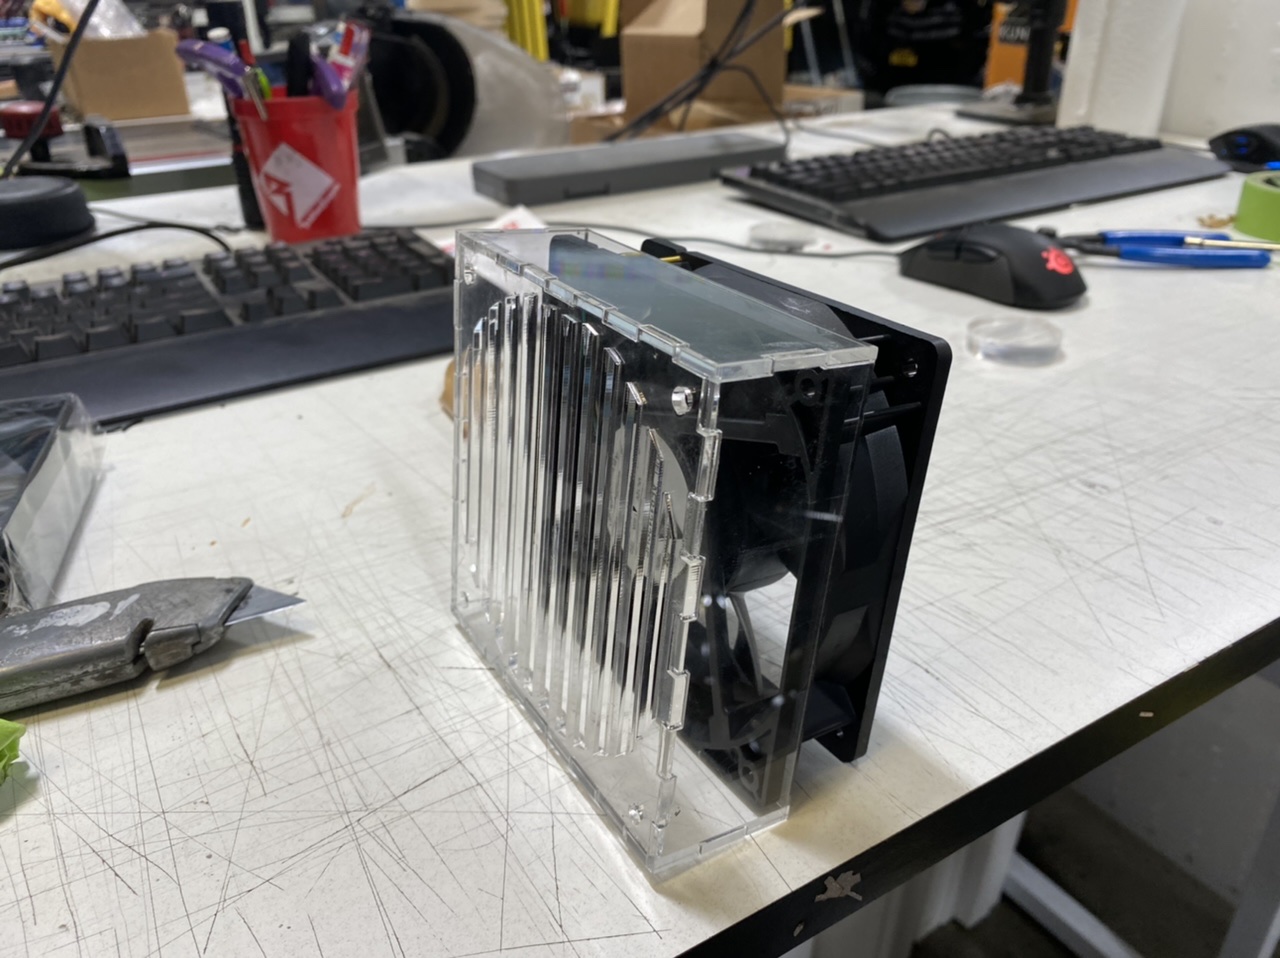
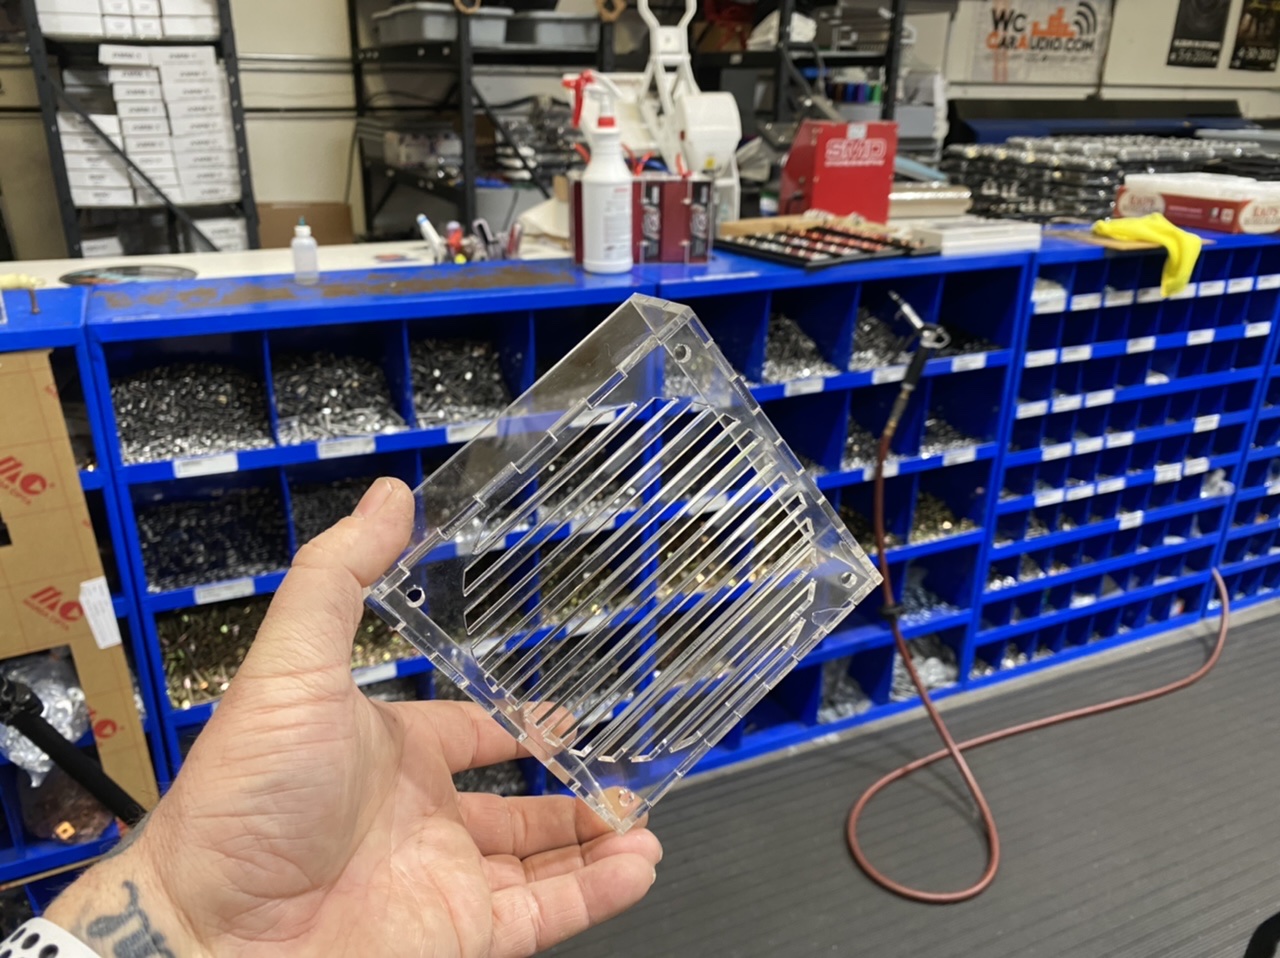
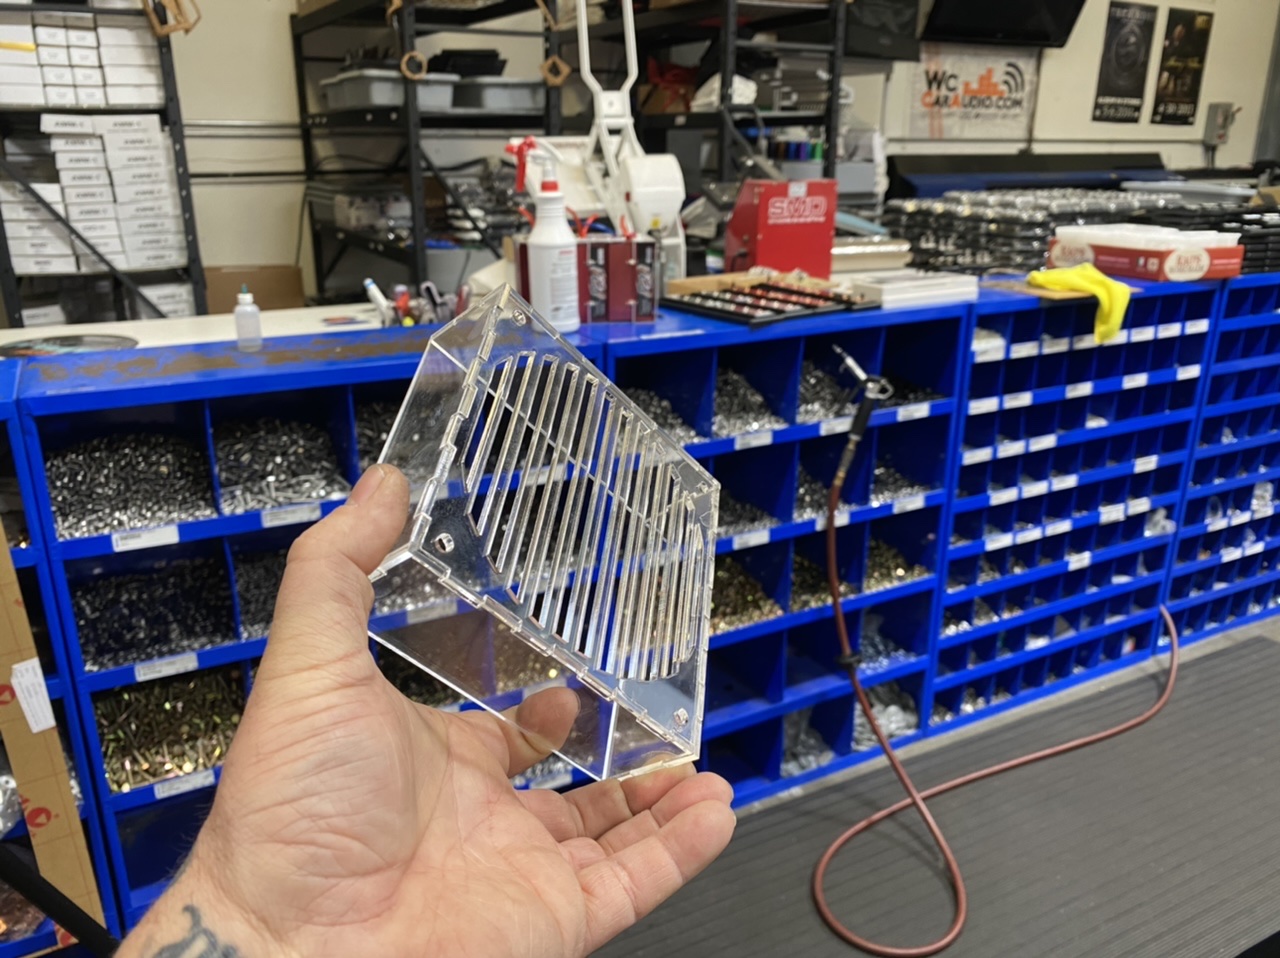
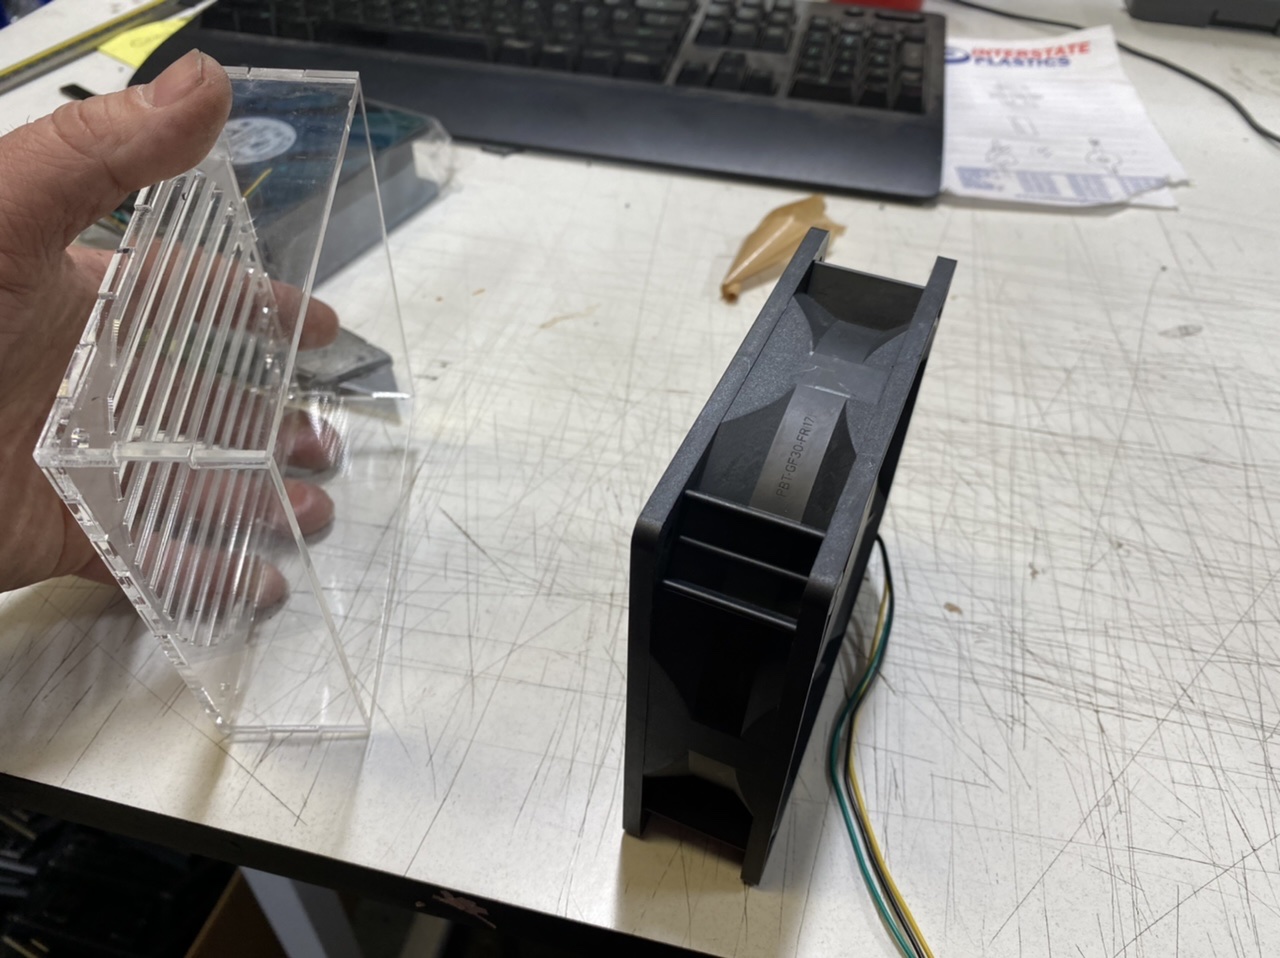
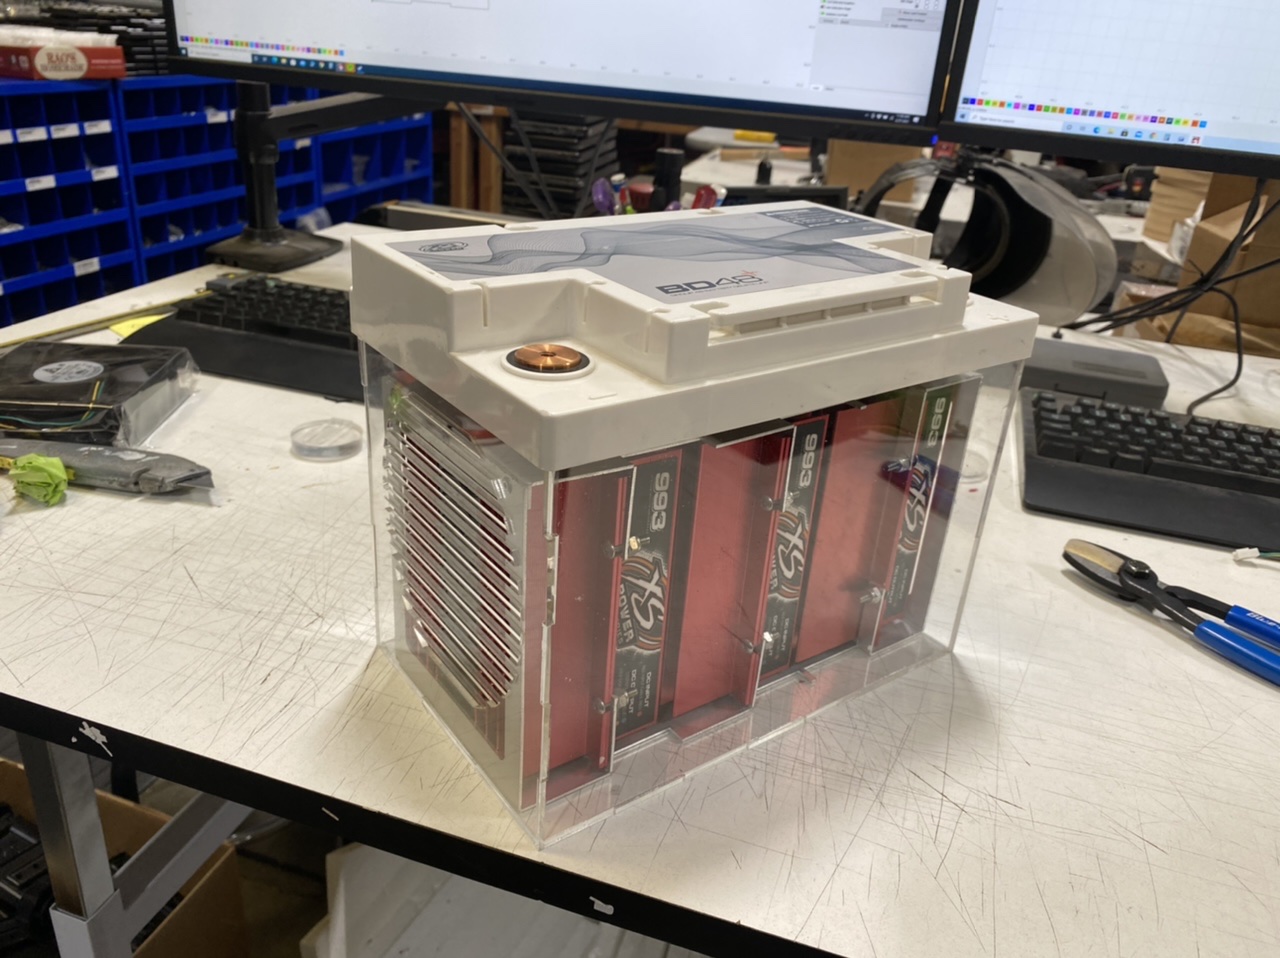
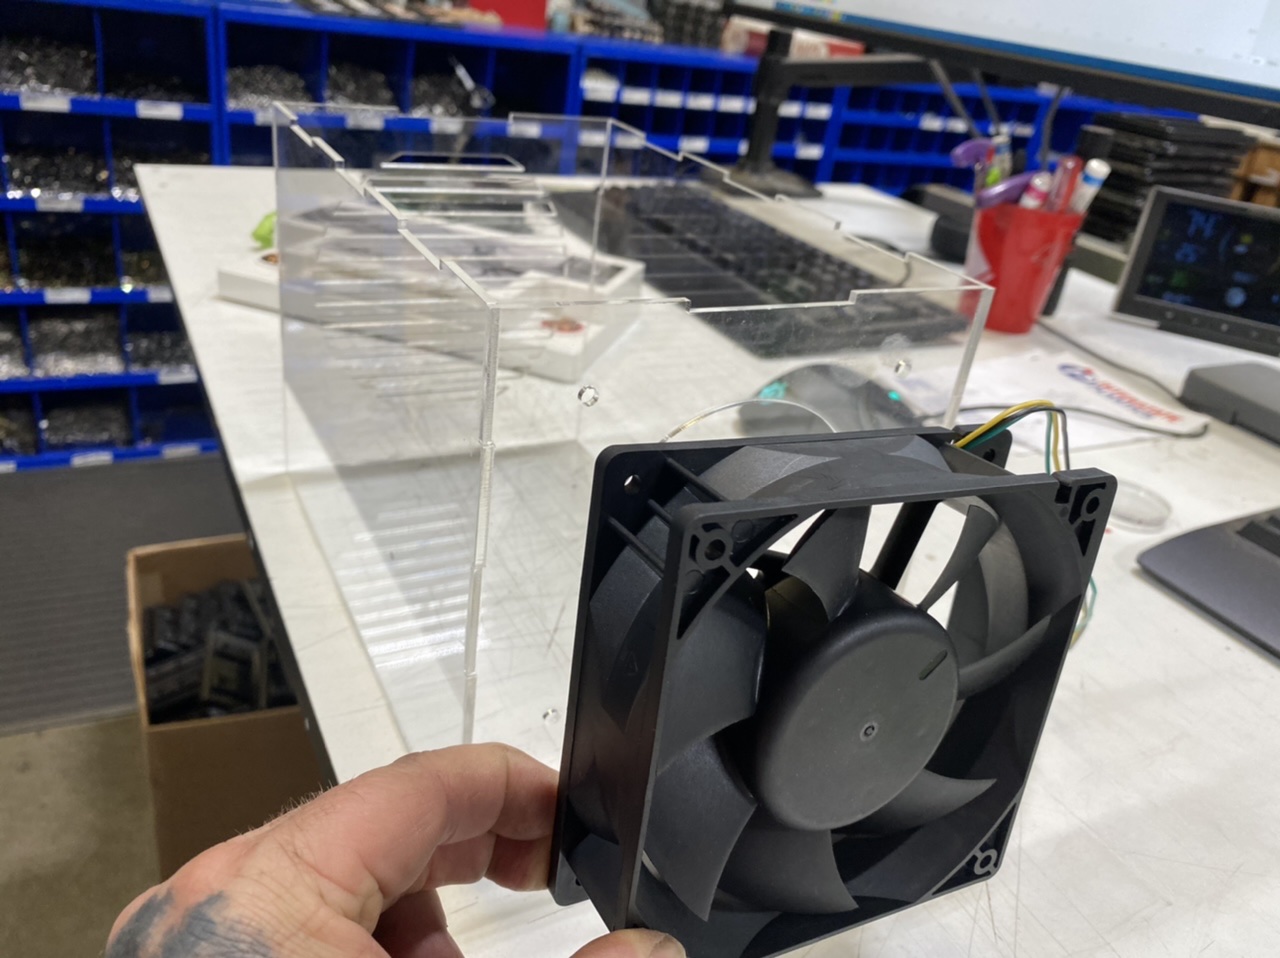
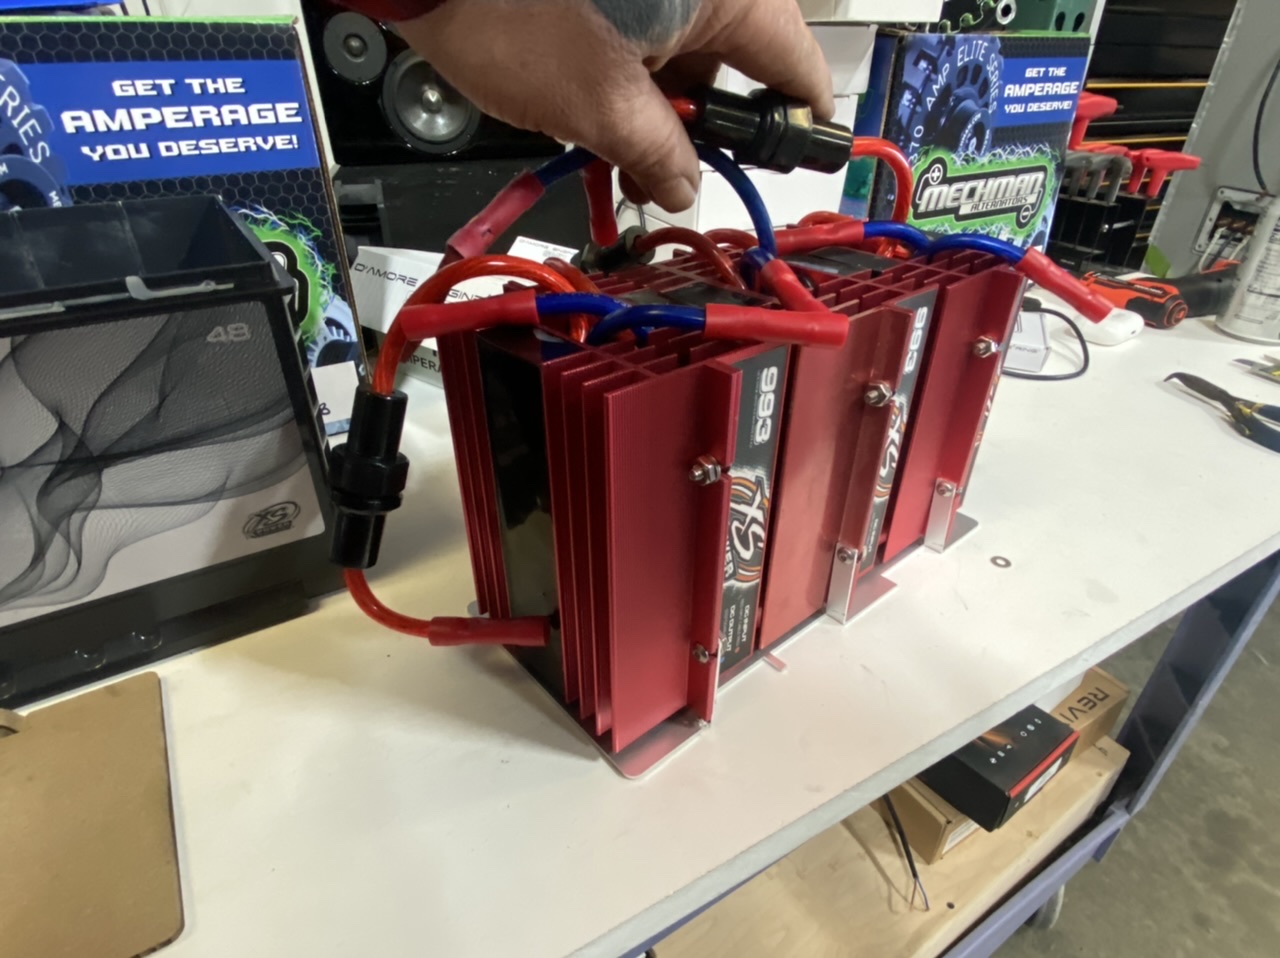
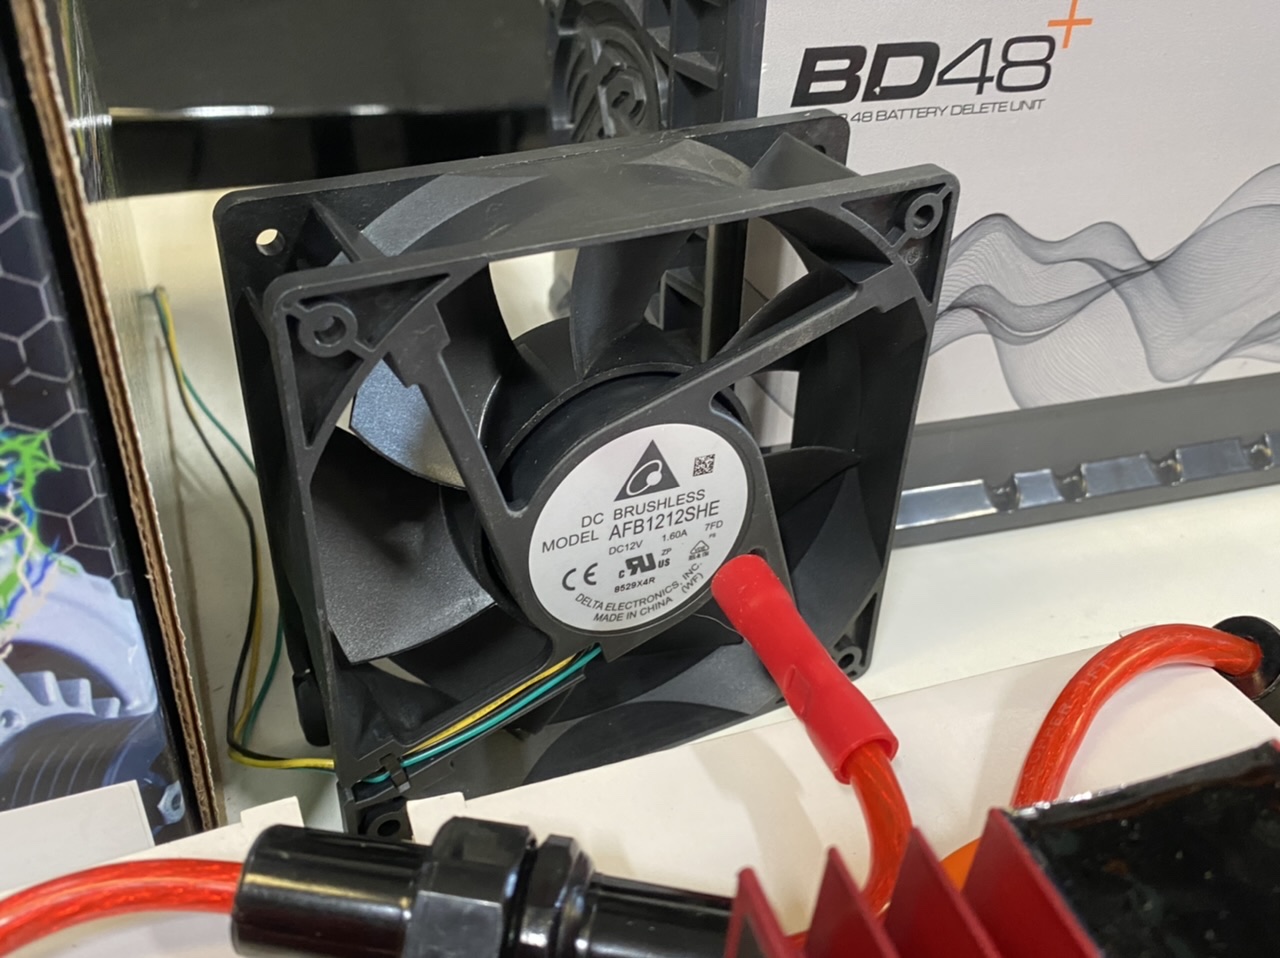
 I decided to make a little fan shroud so it won't look as ugly and also might save a finger. This fan is no joke. It will take your finger off...
-
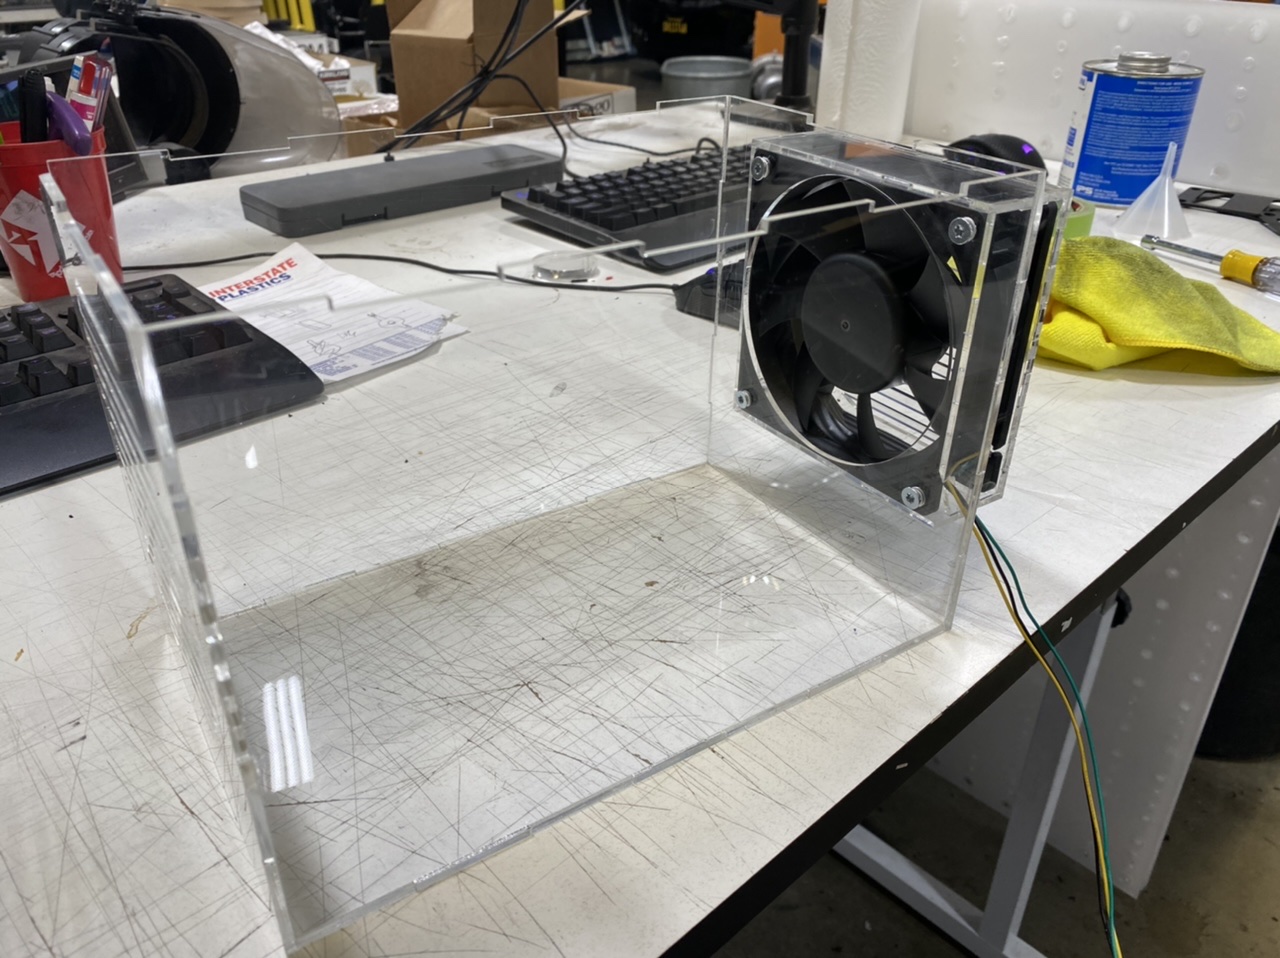
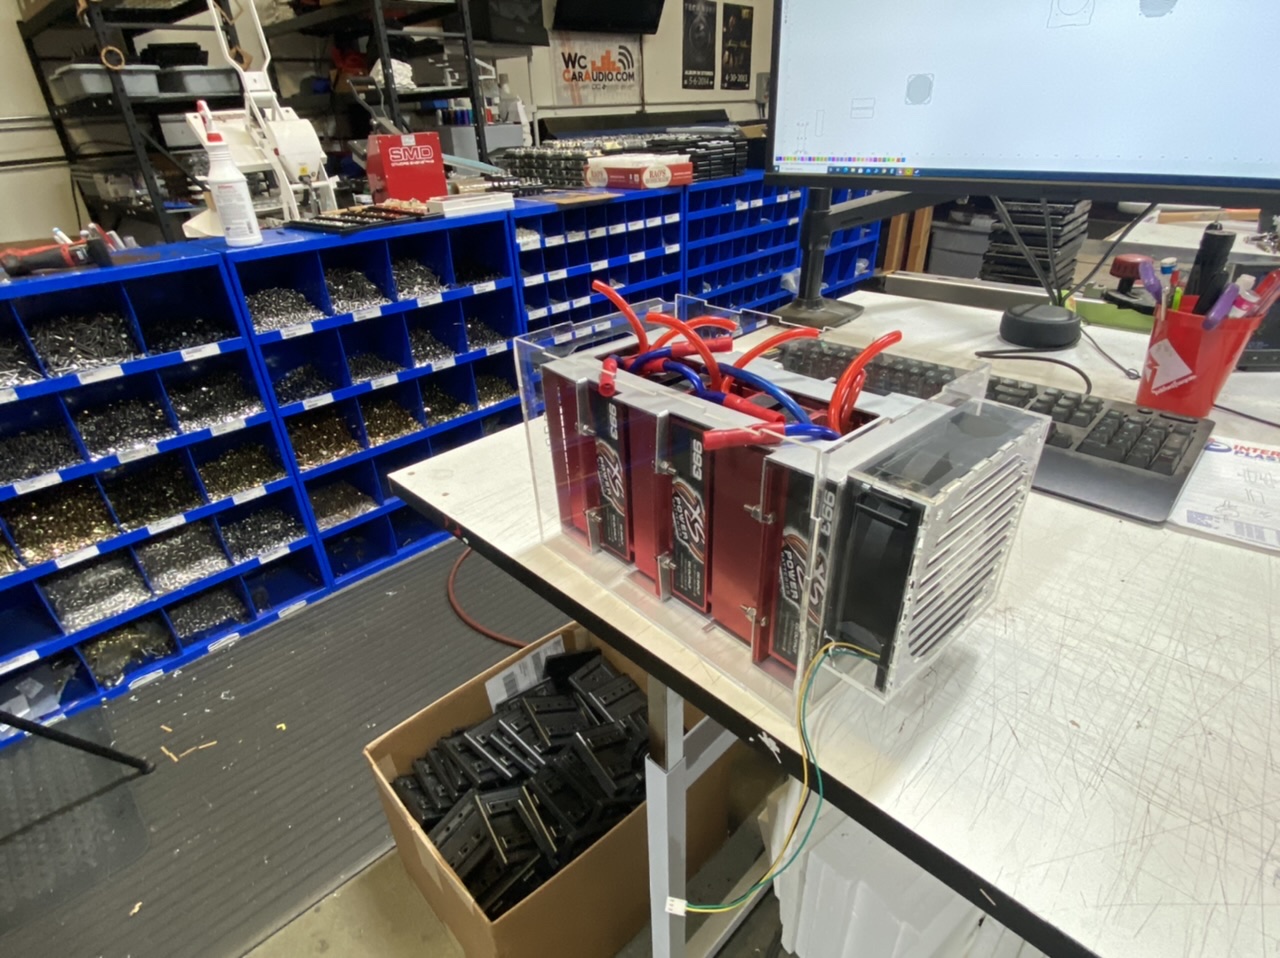
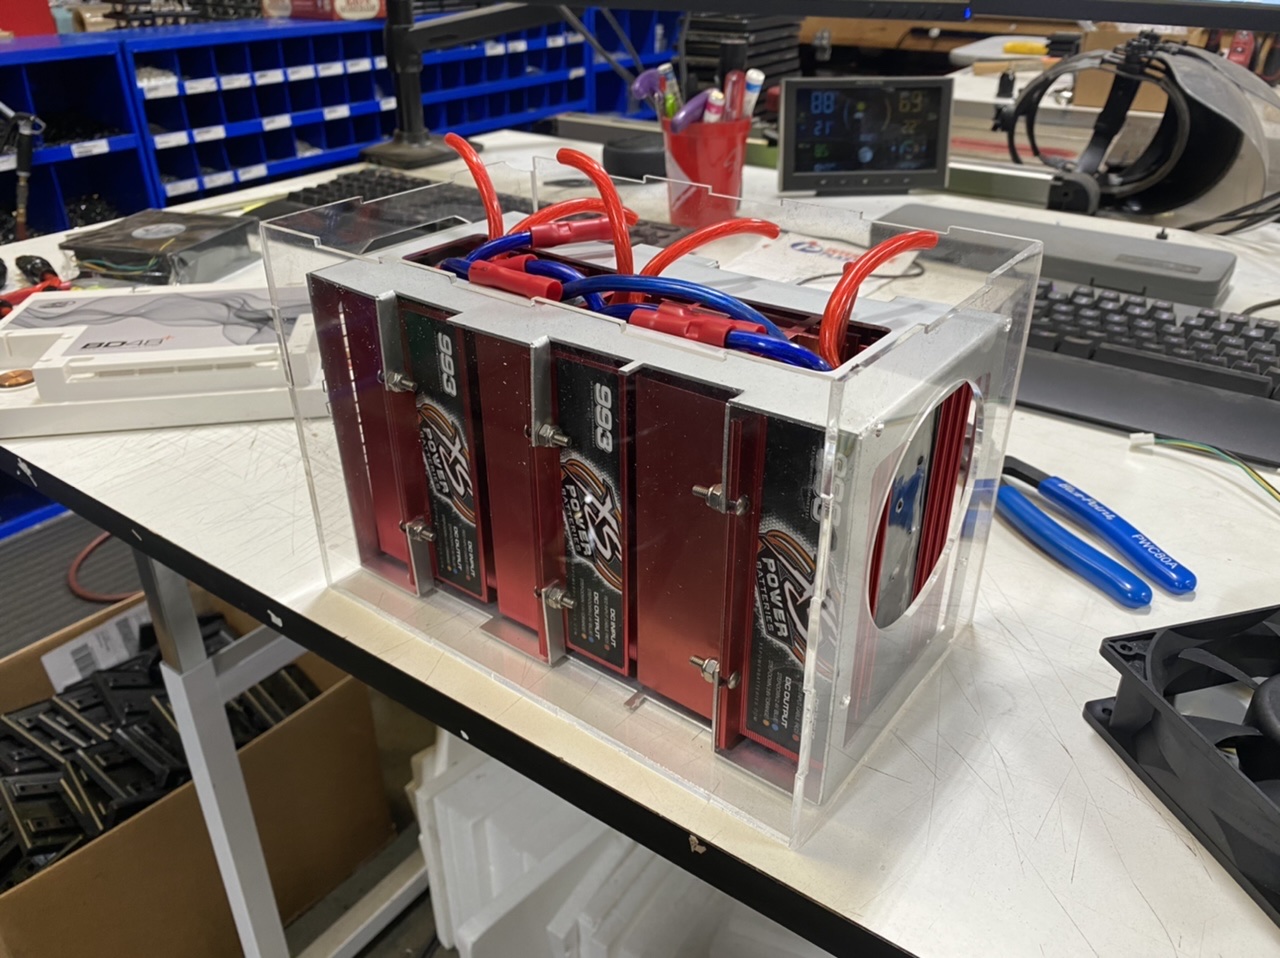
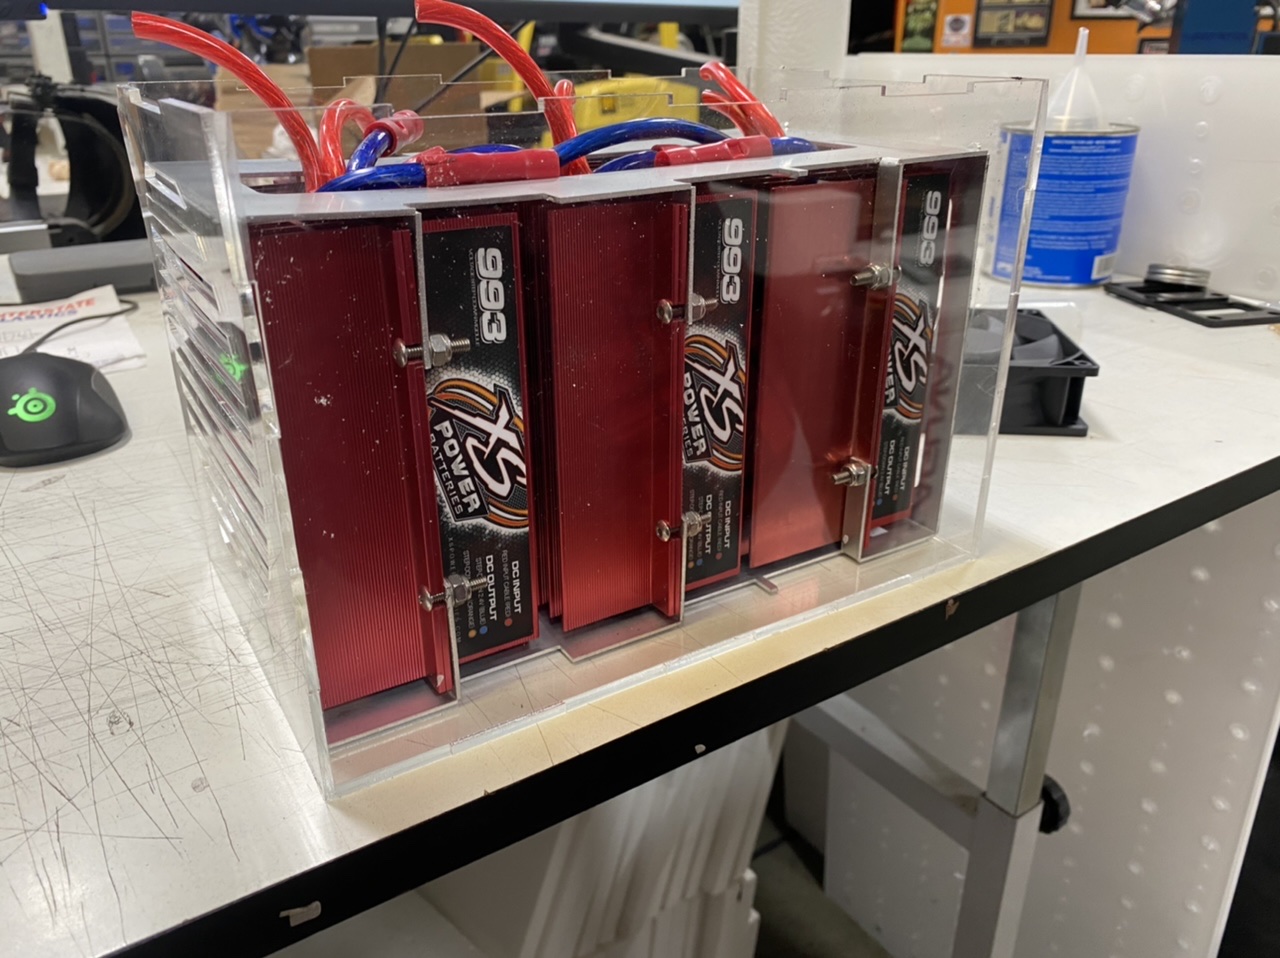
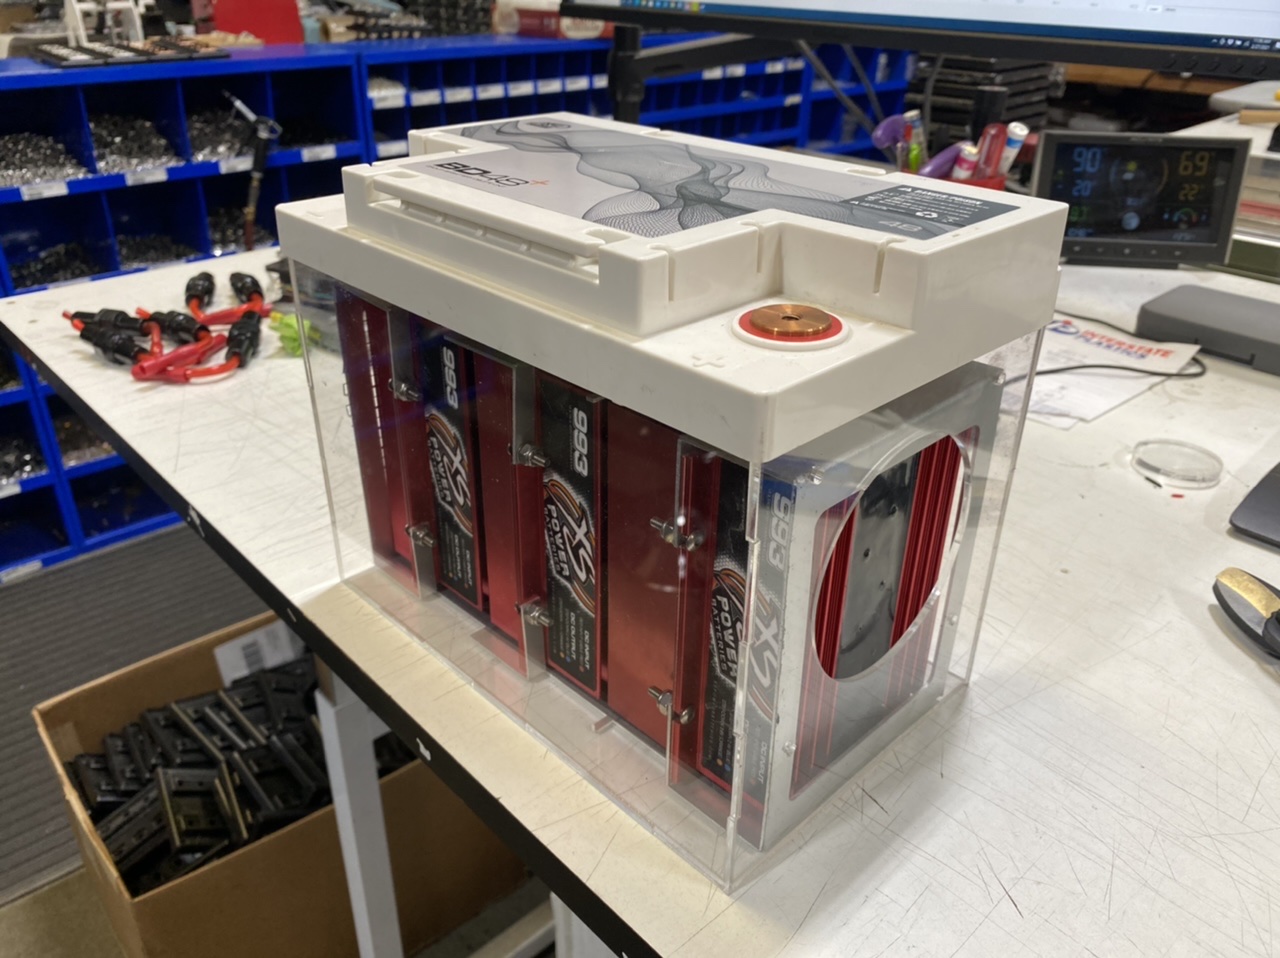
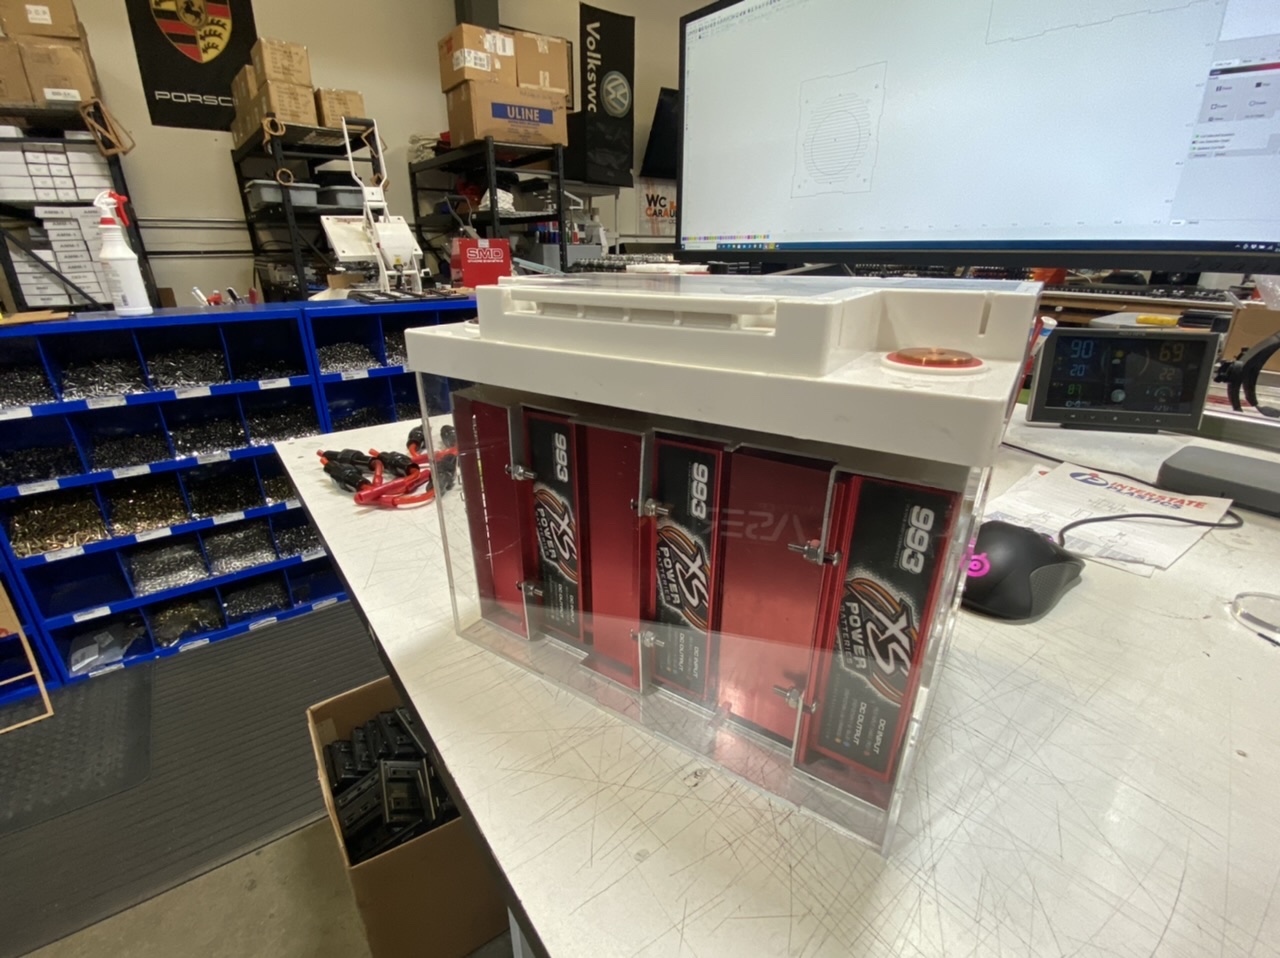
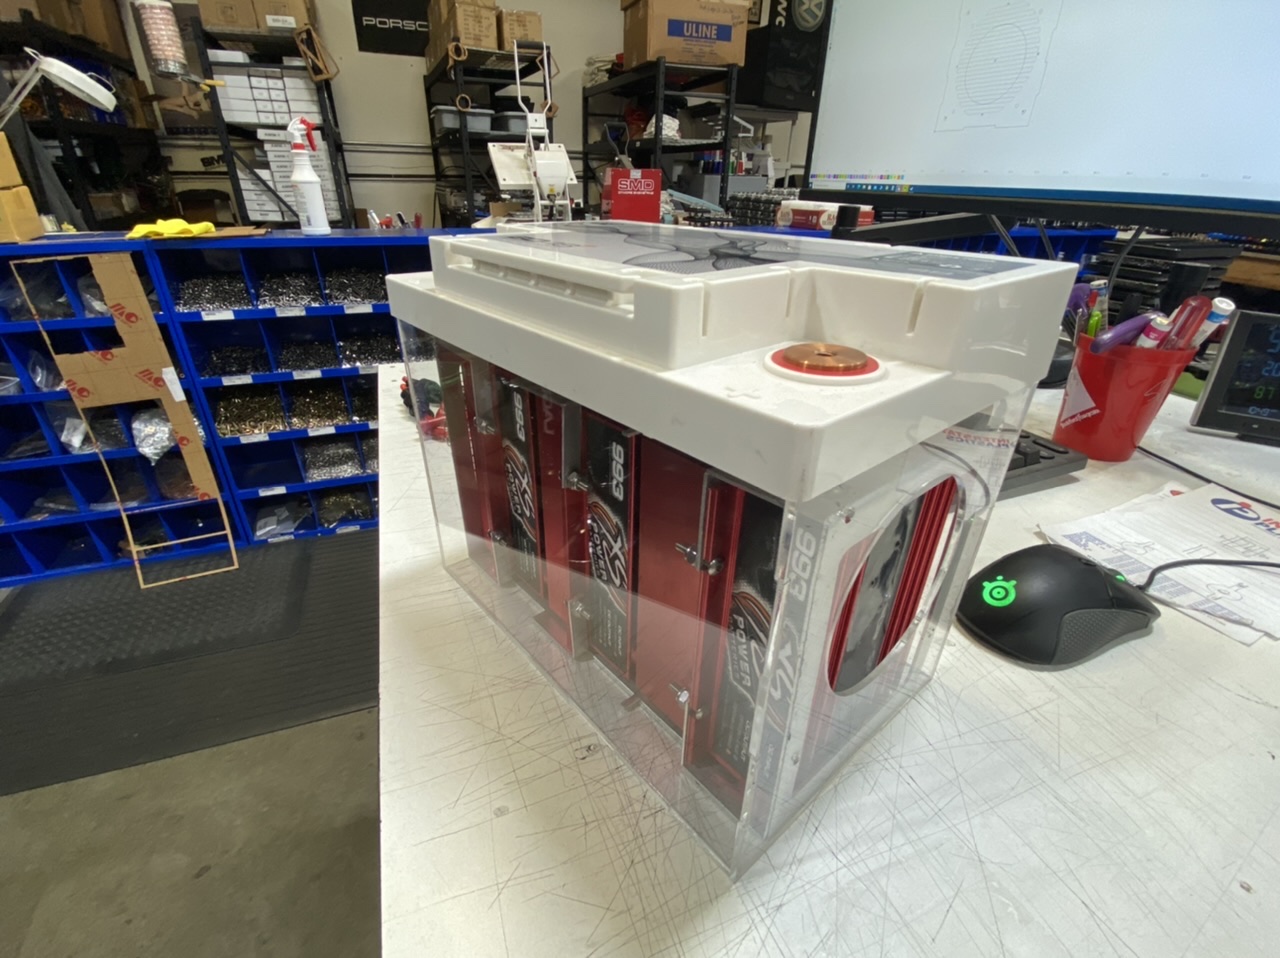
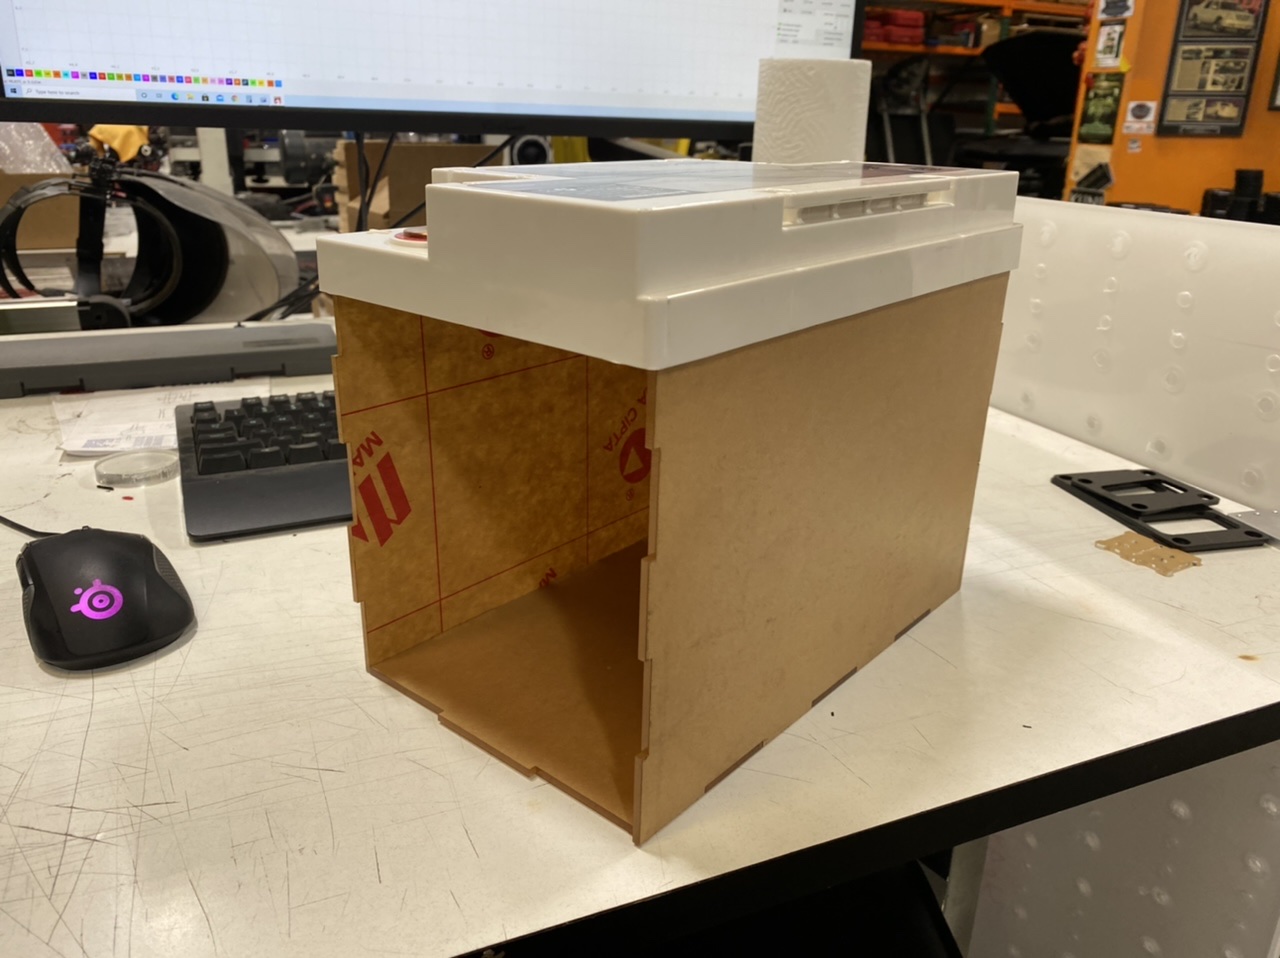
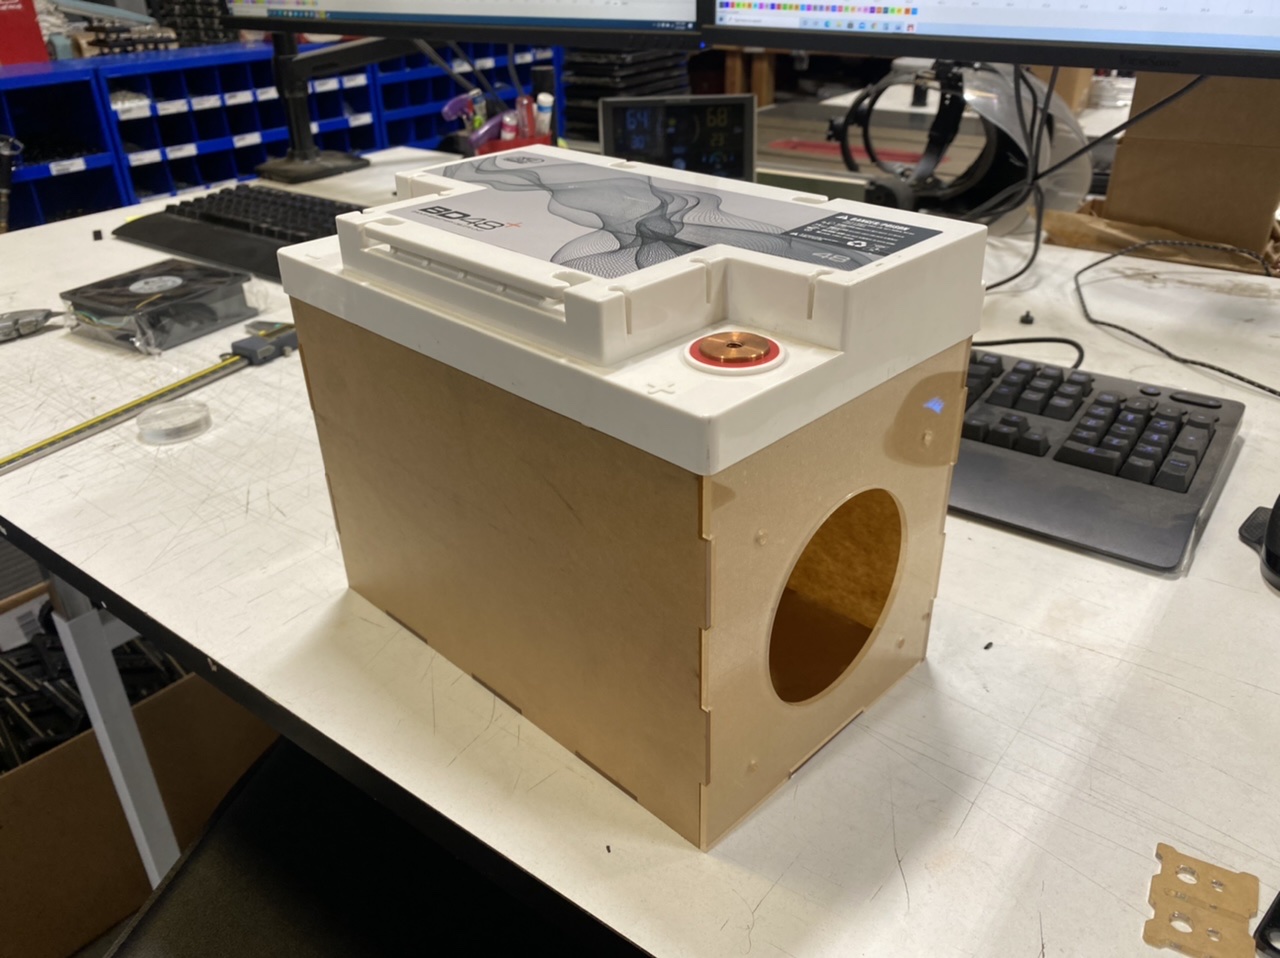
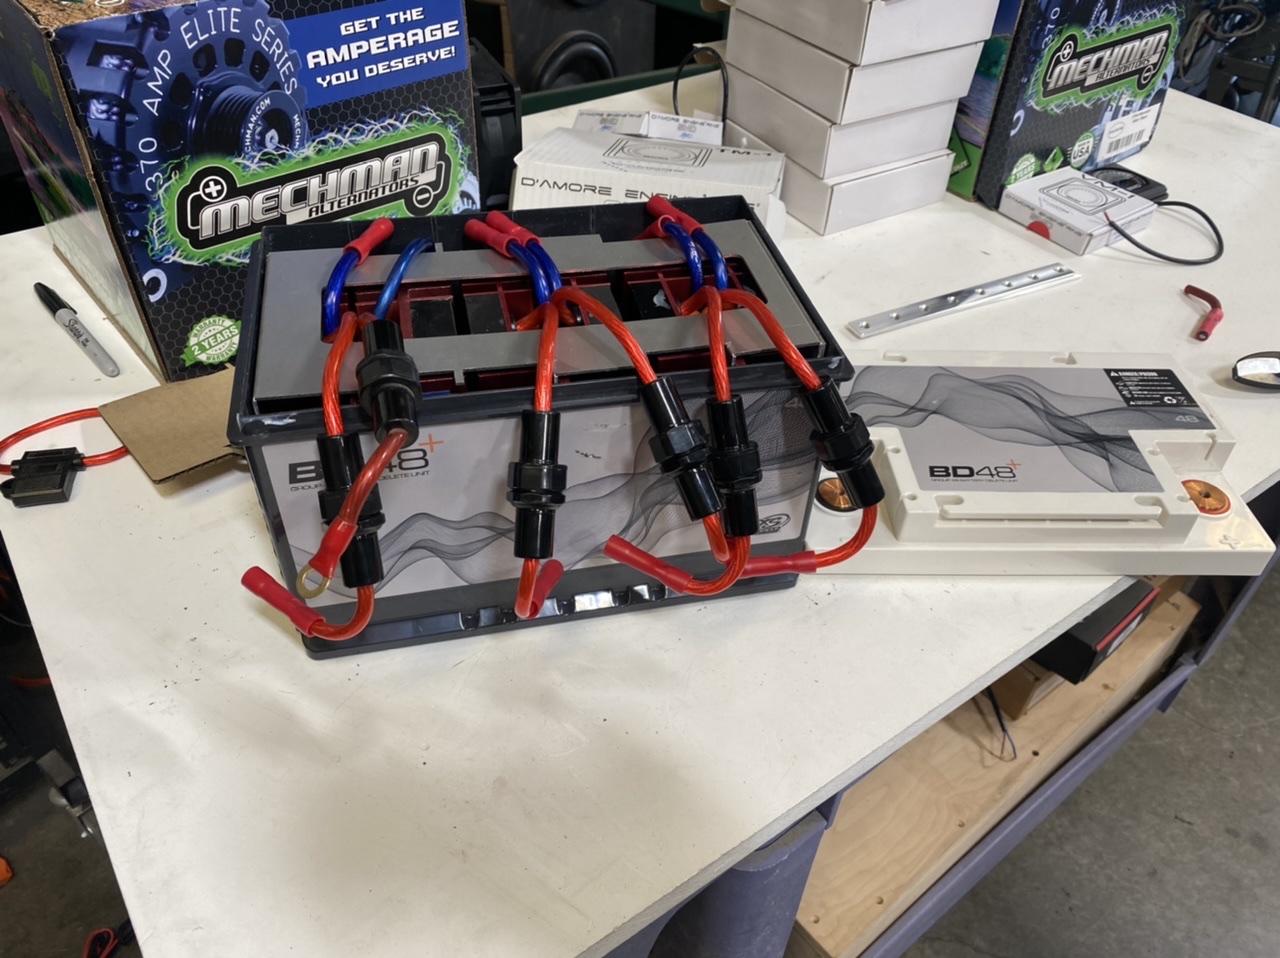
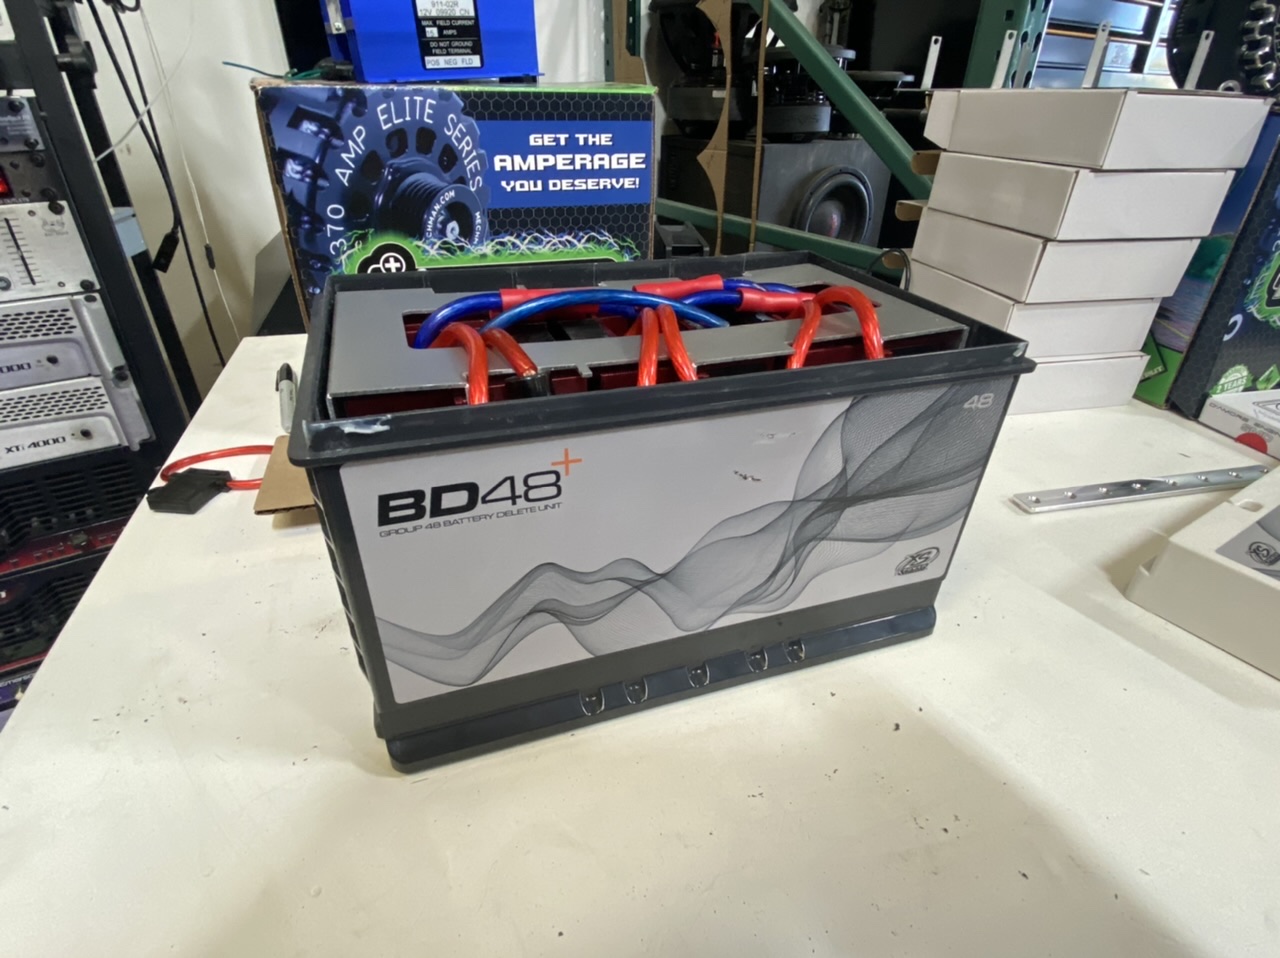
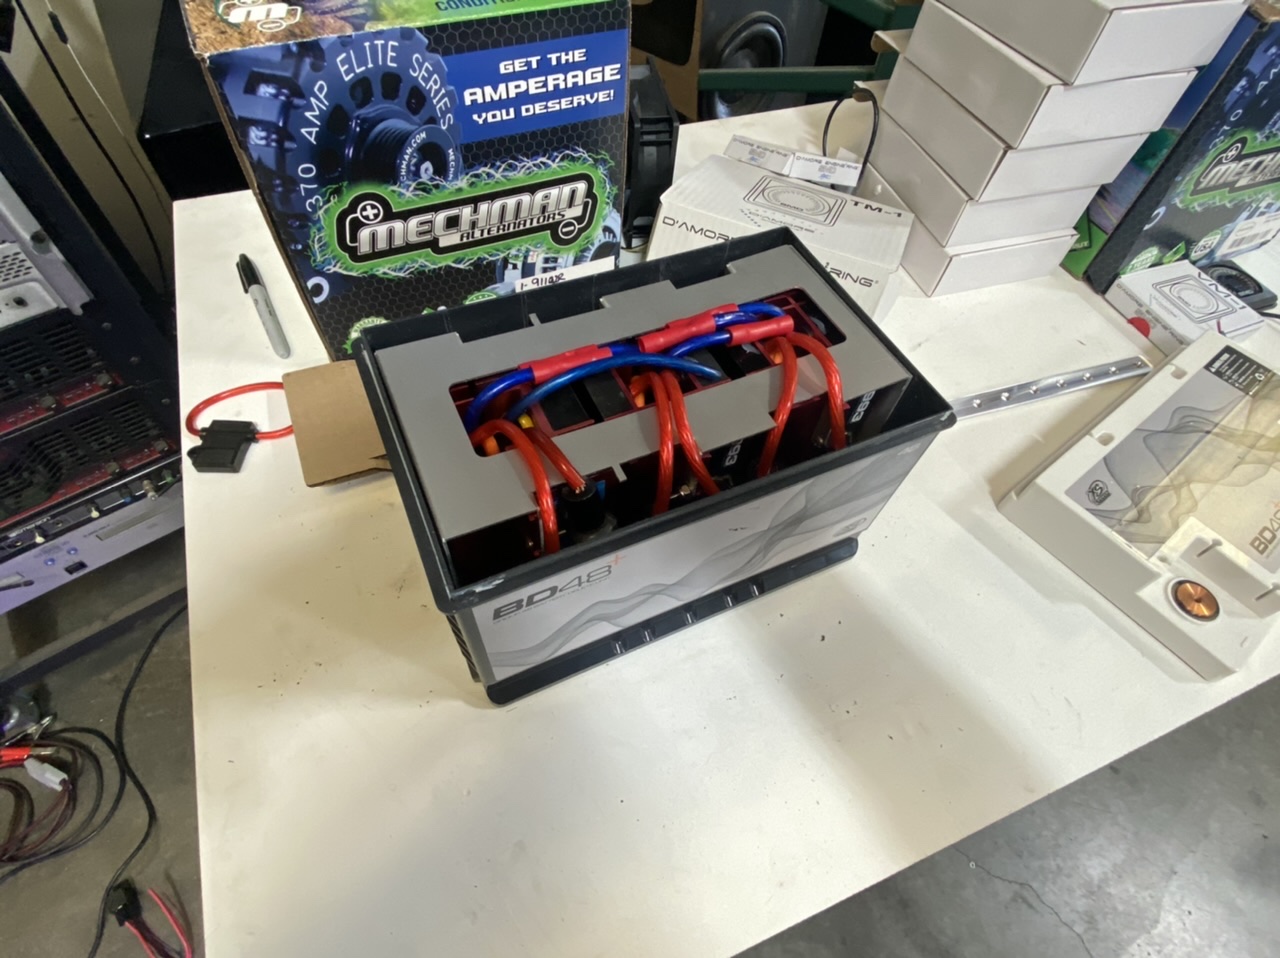
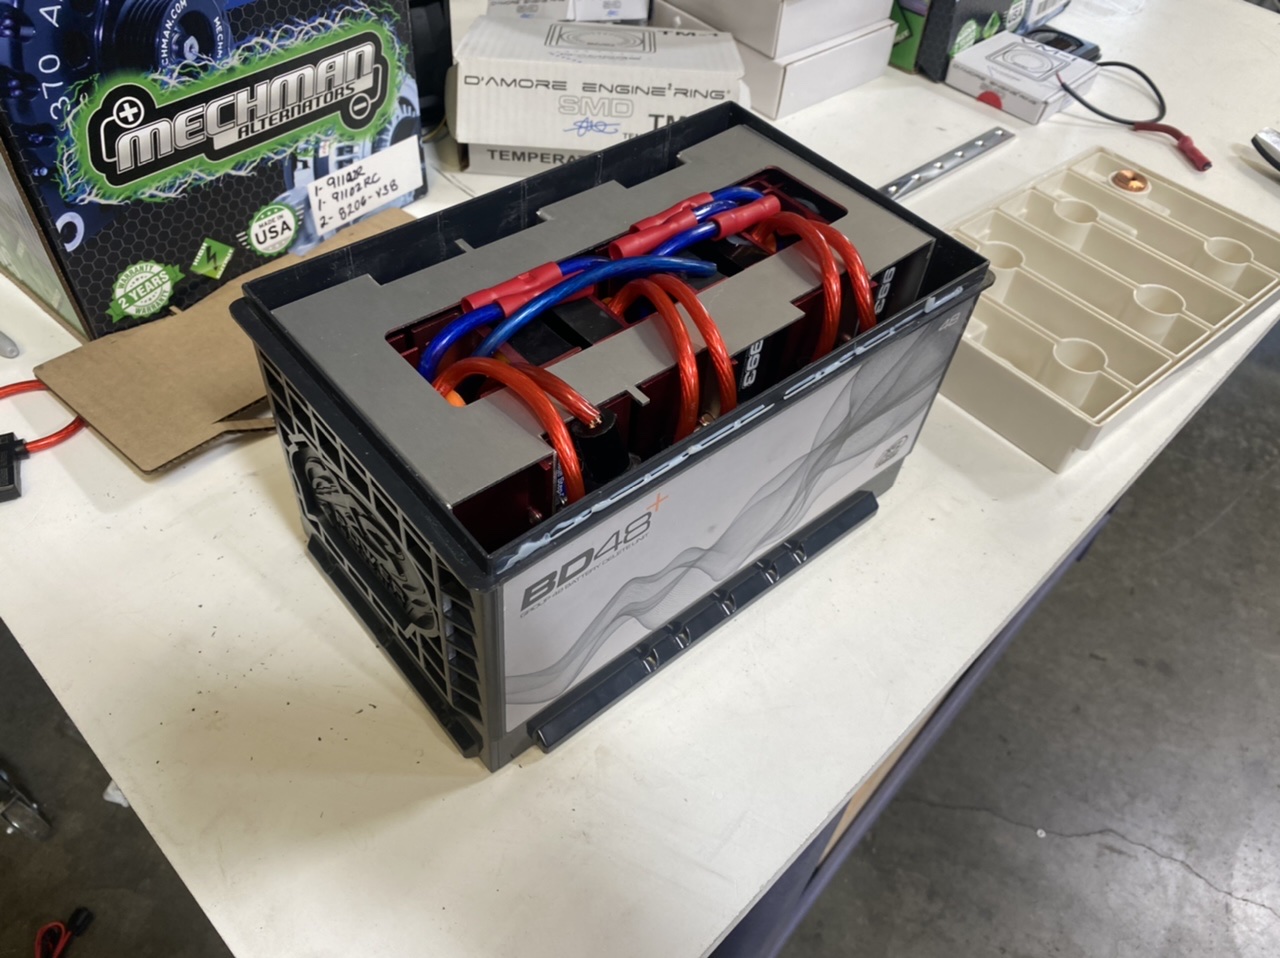
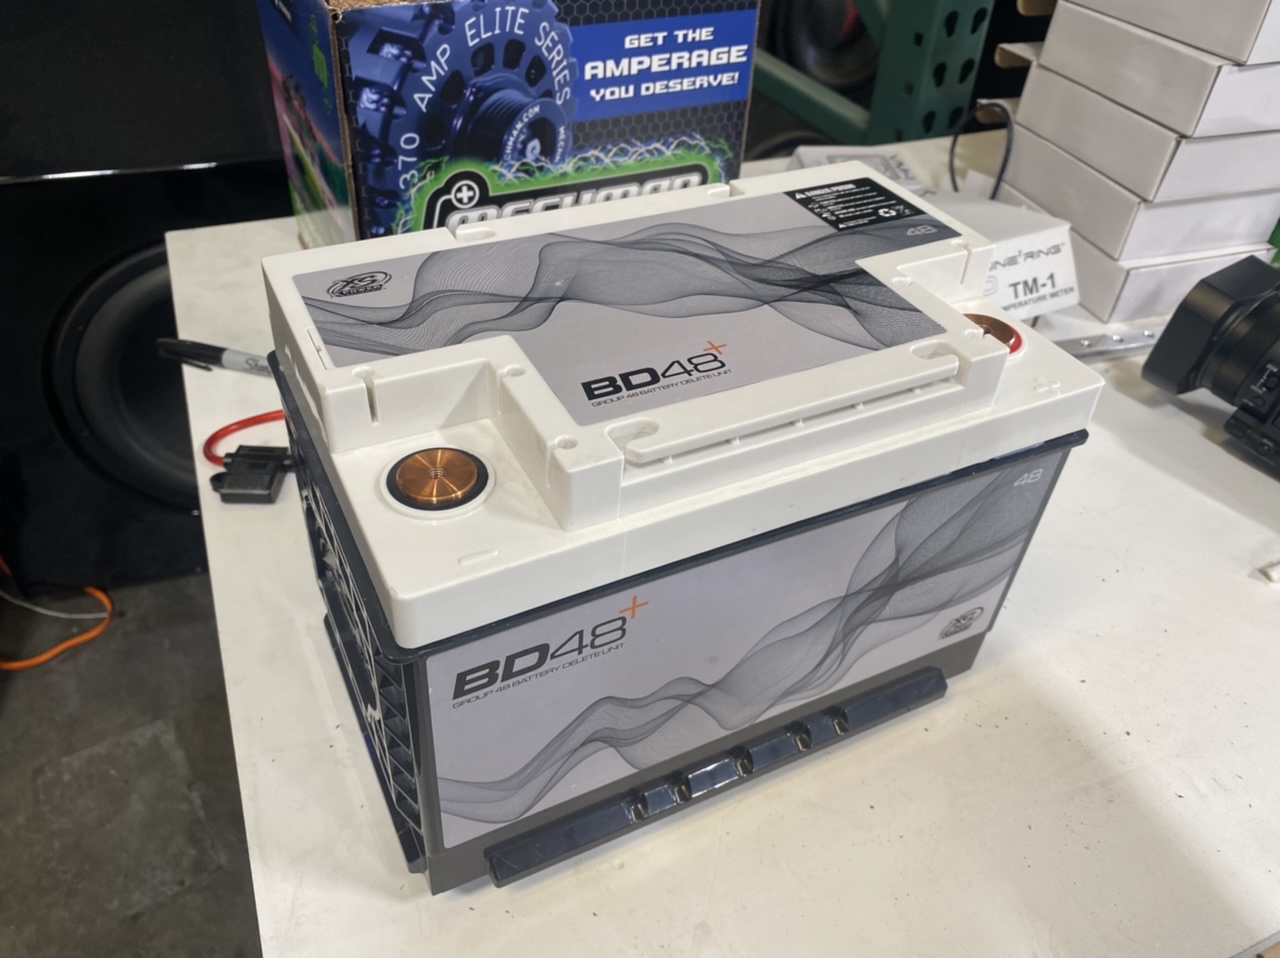
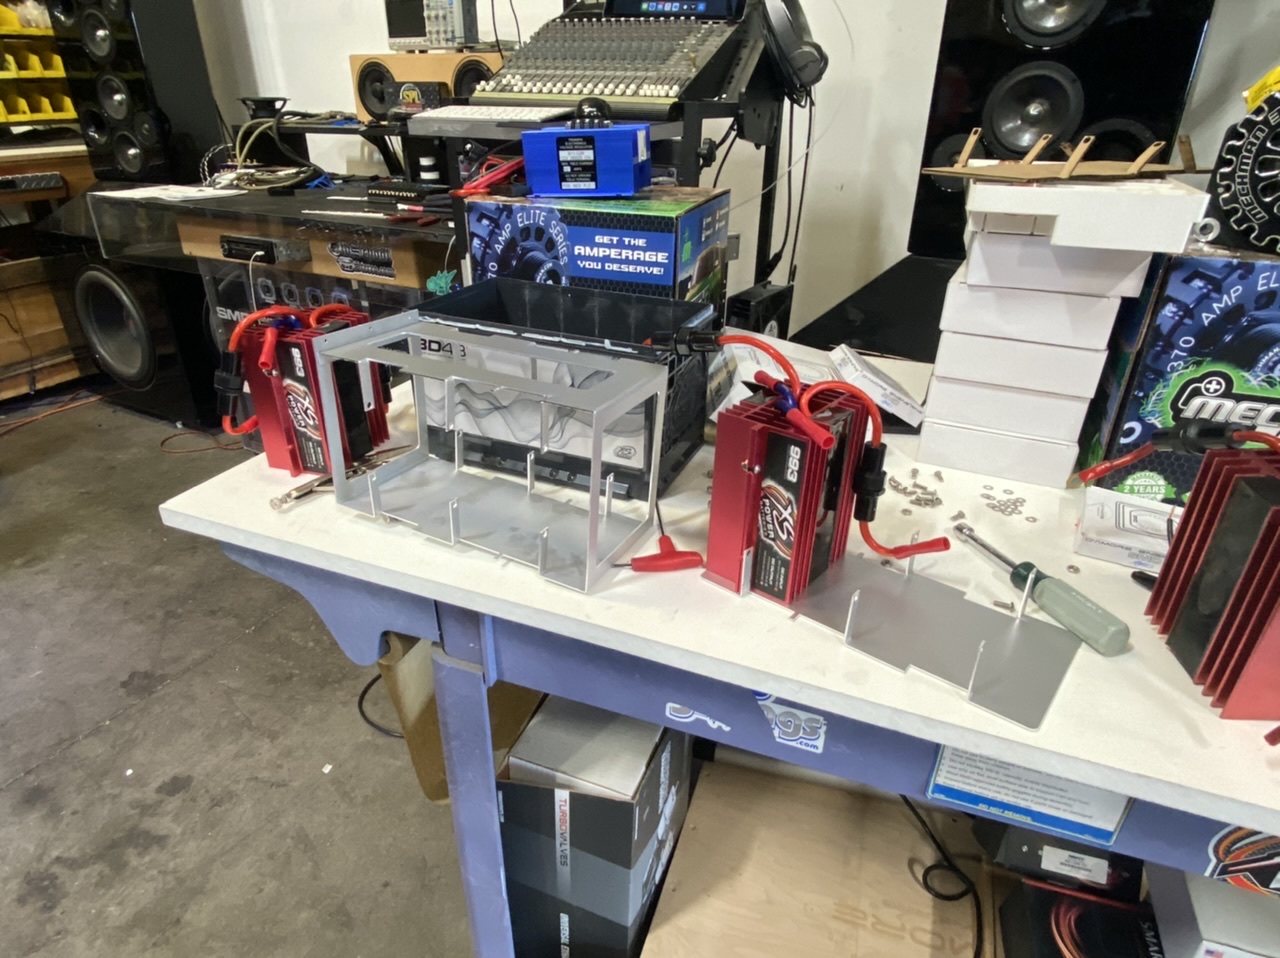
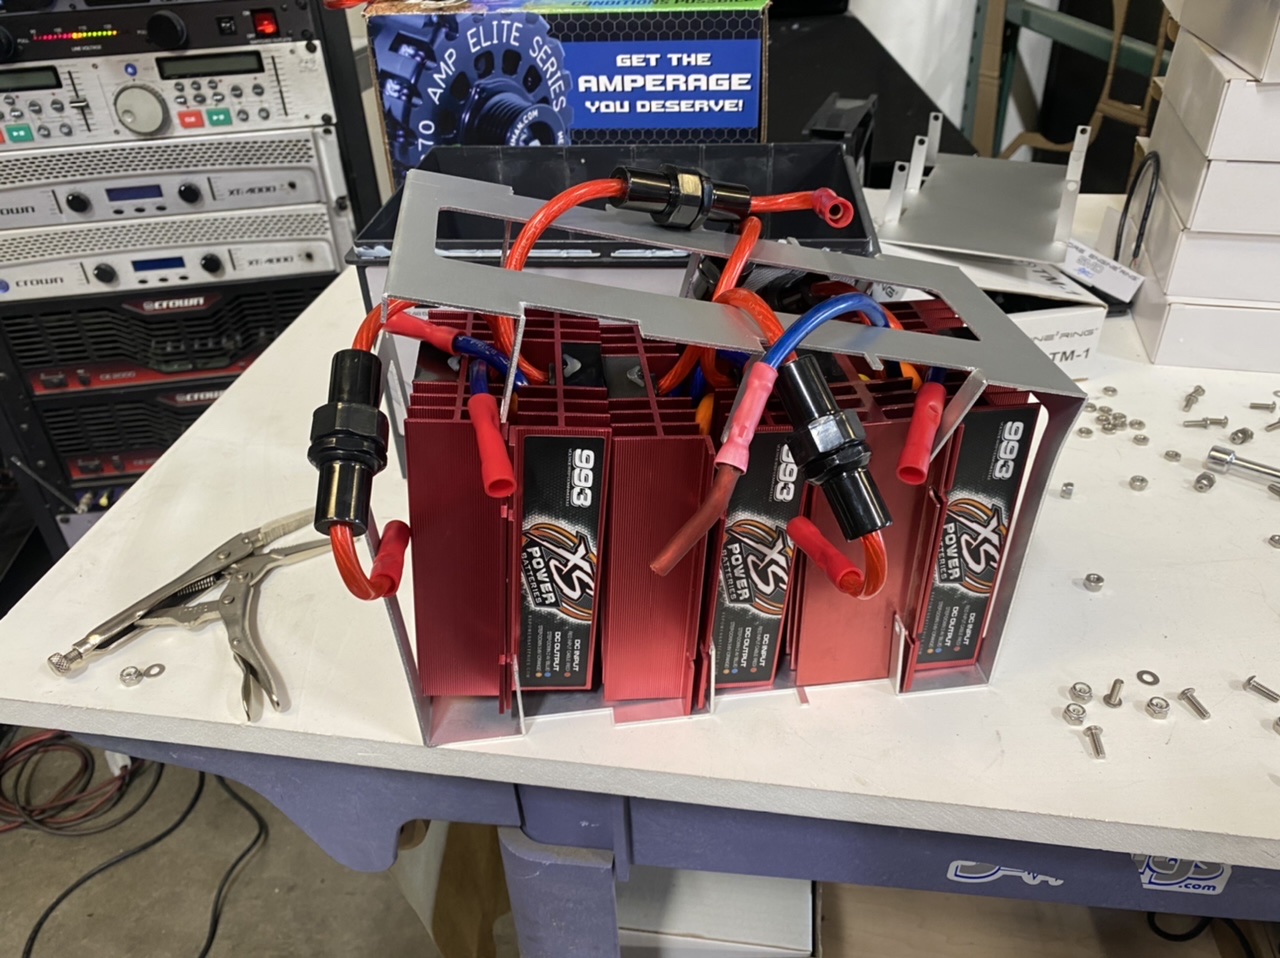
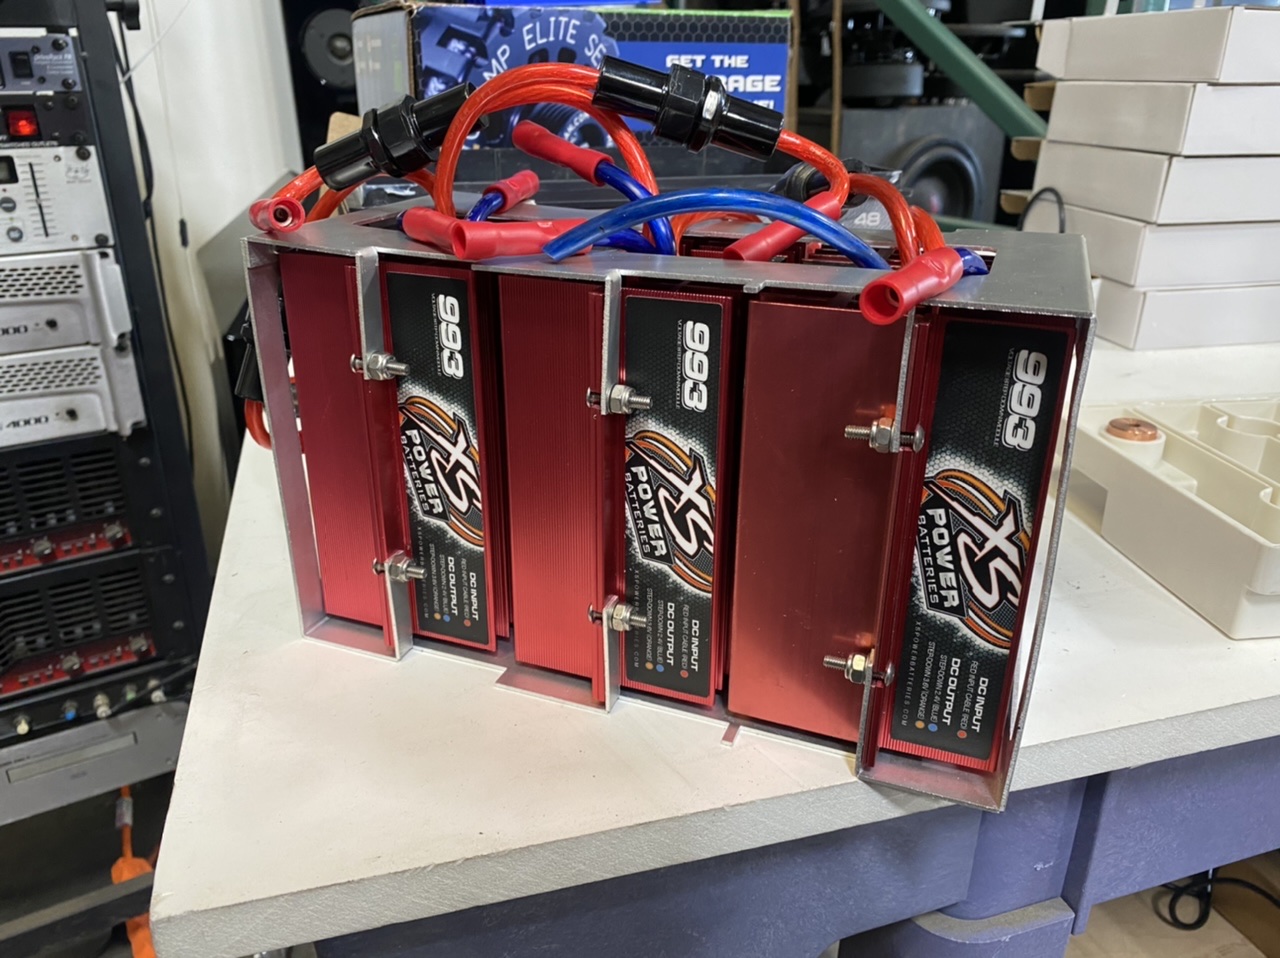
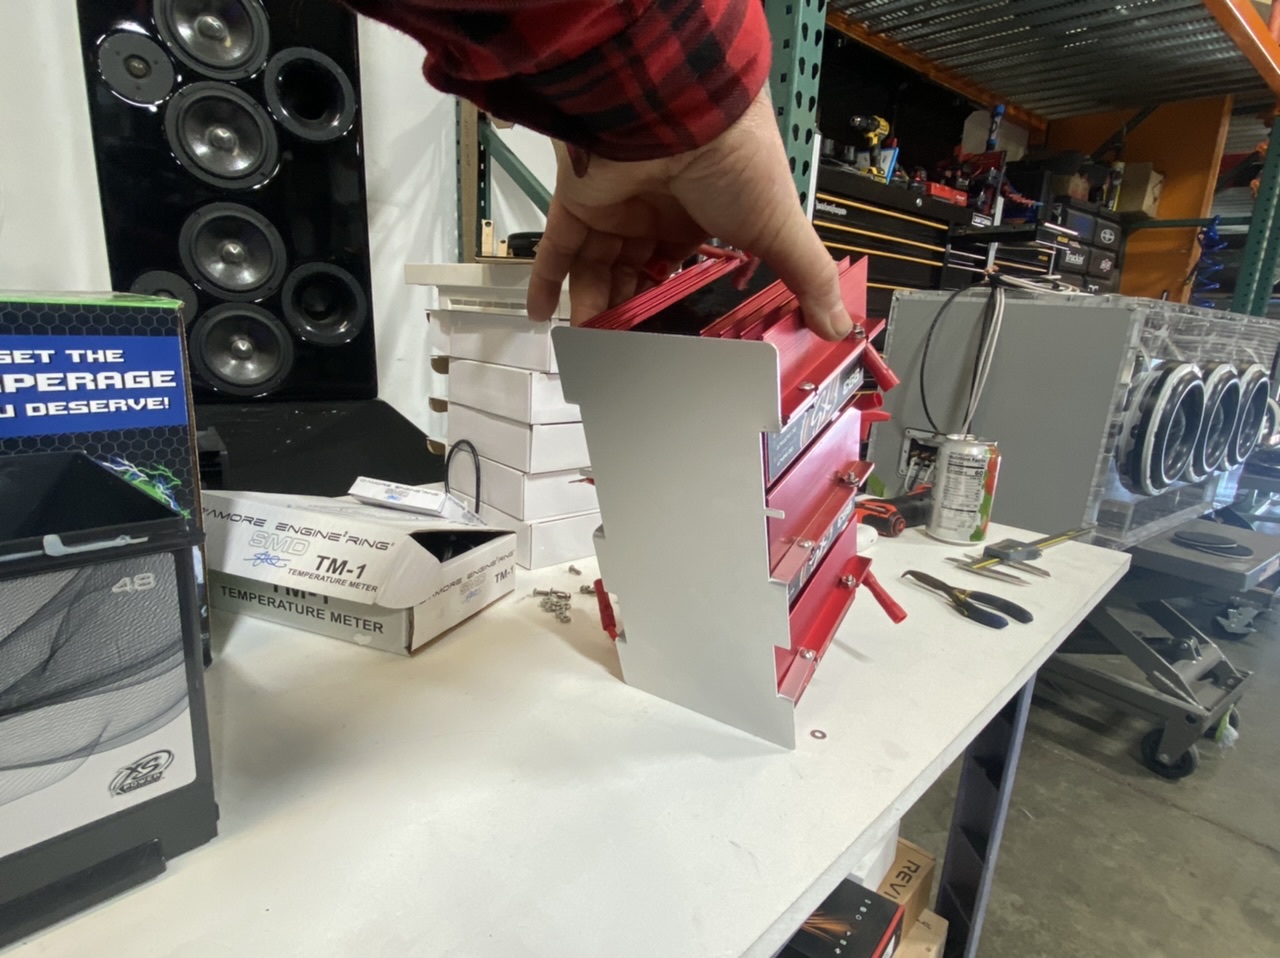
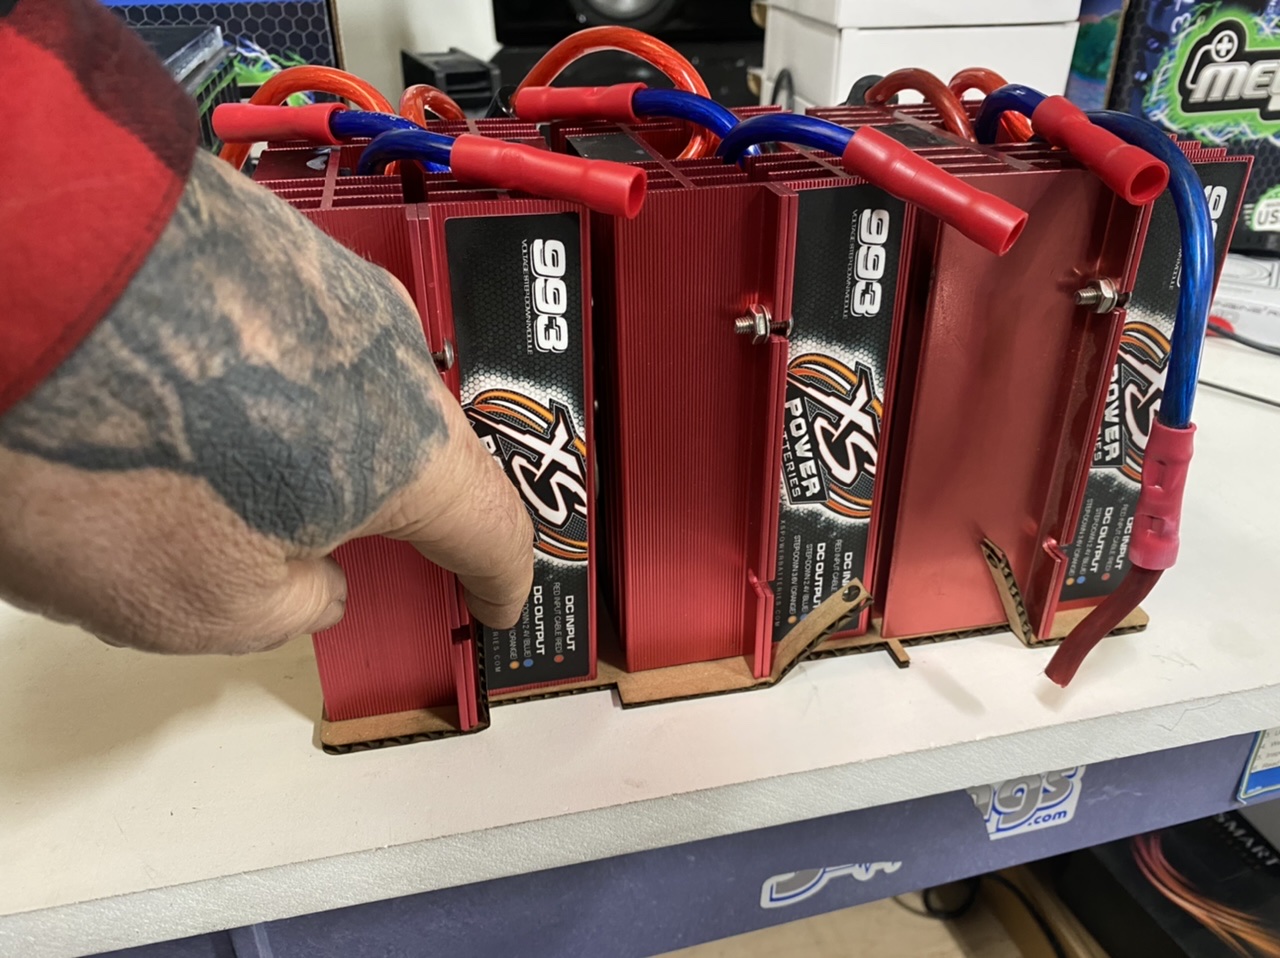
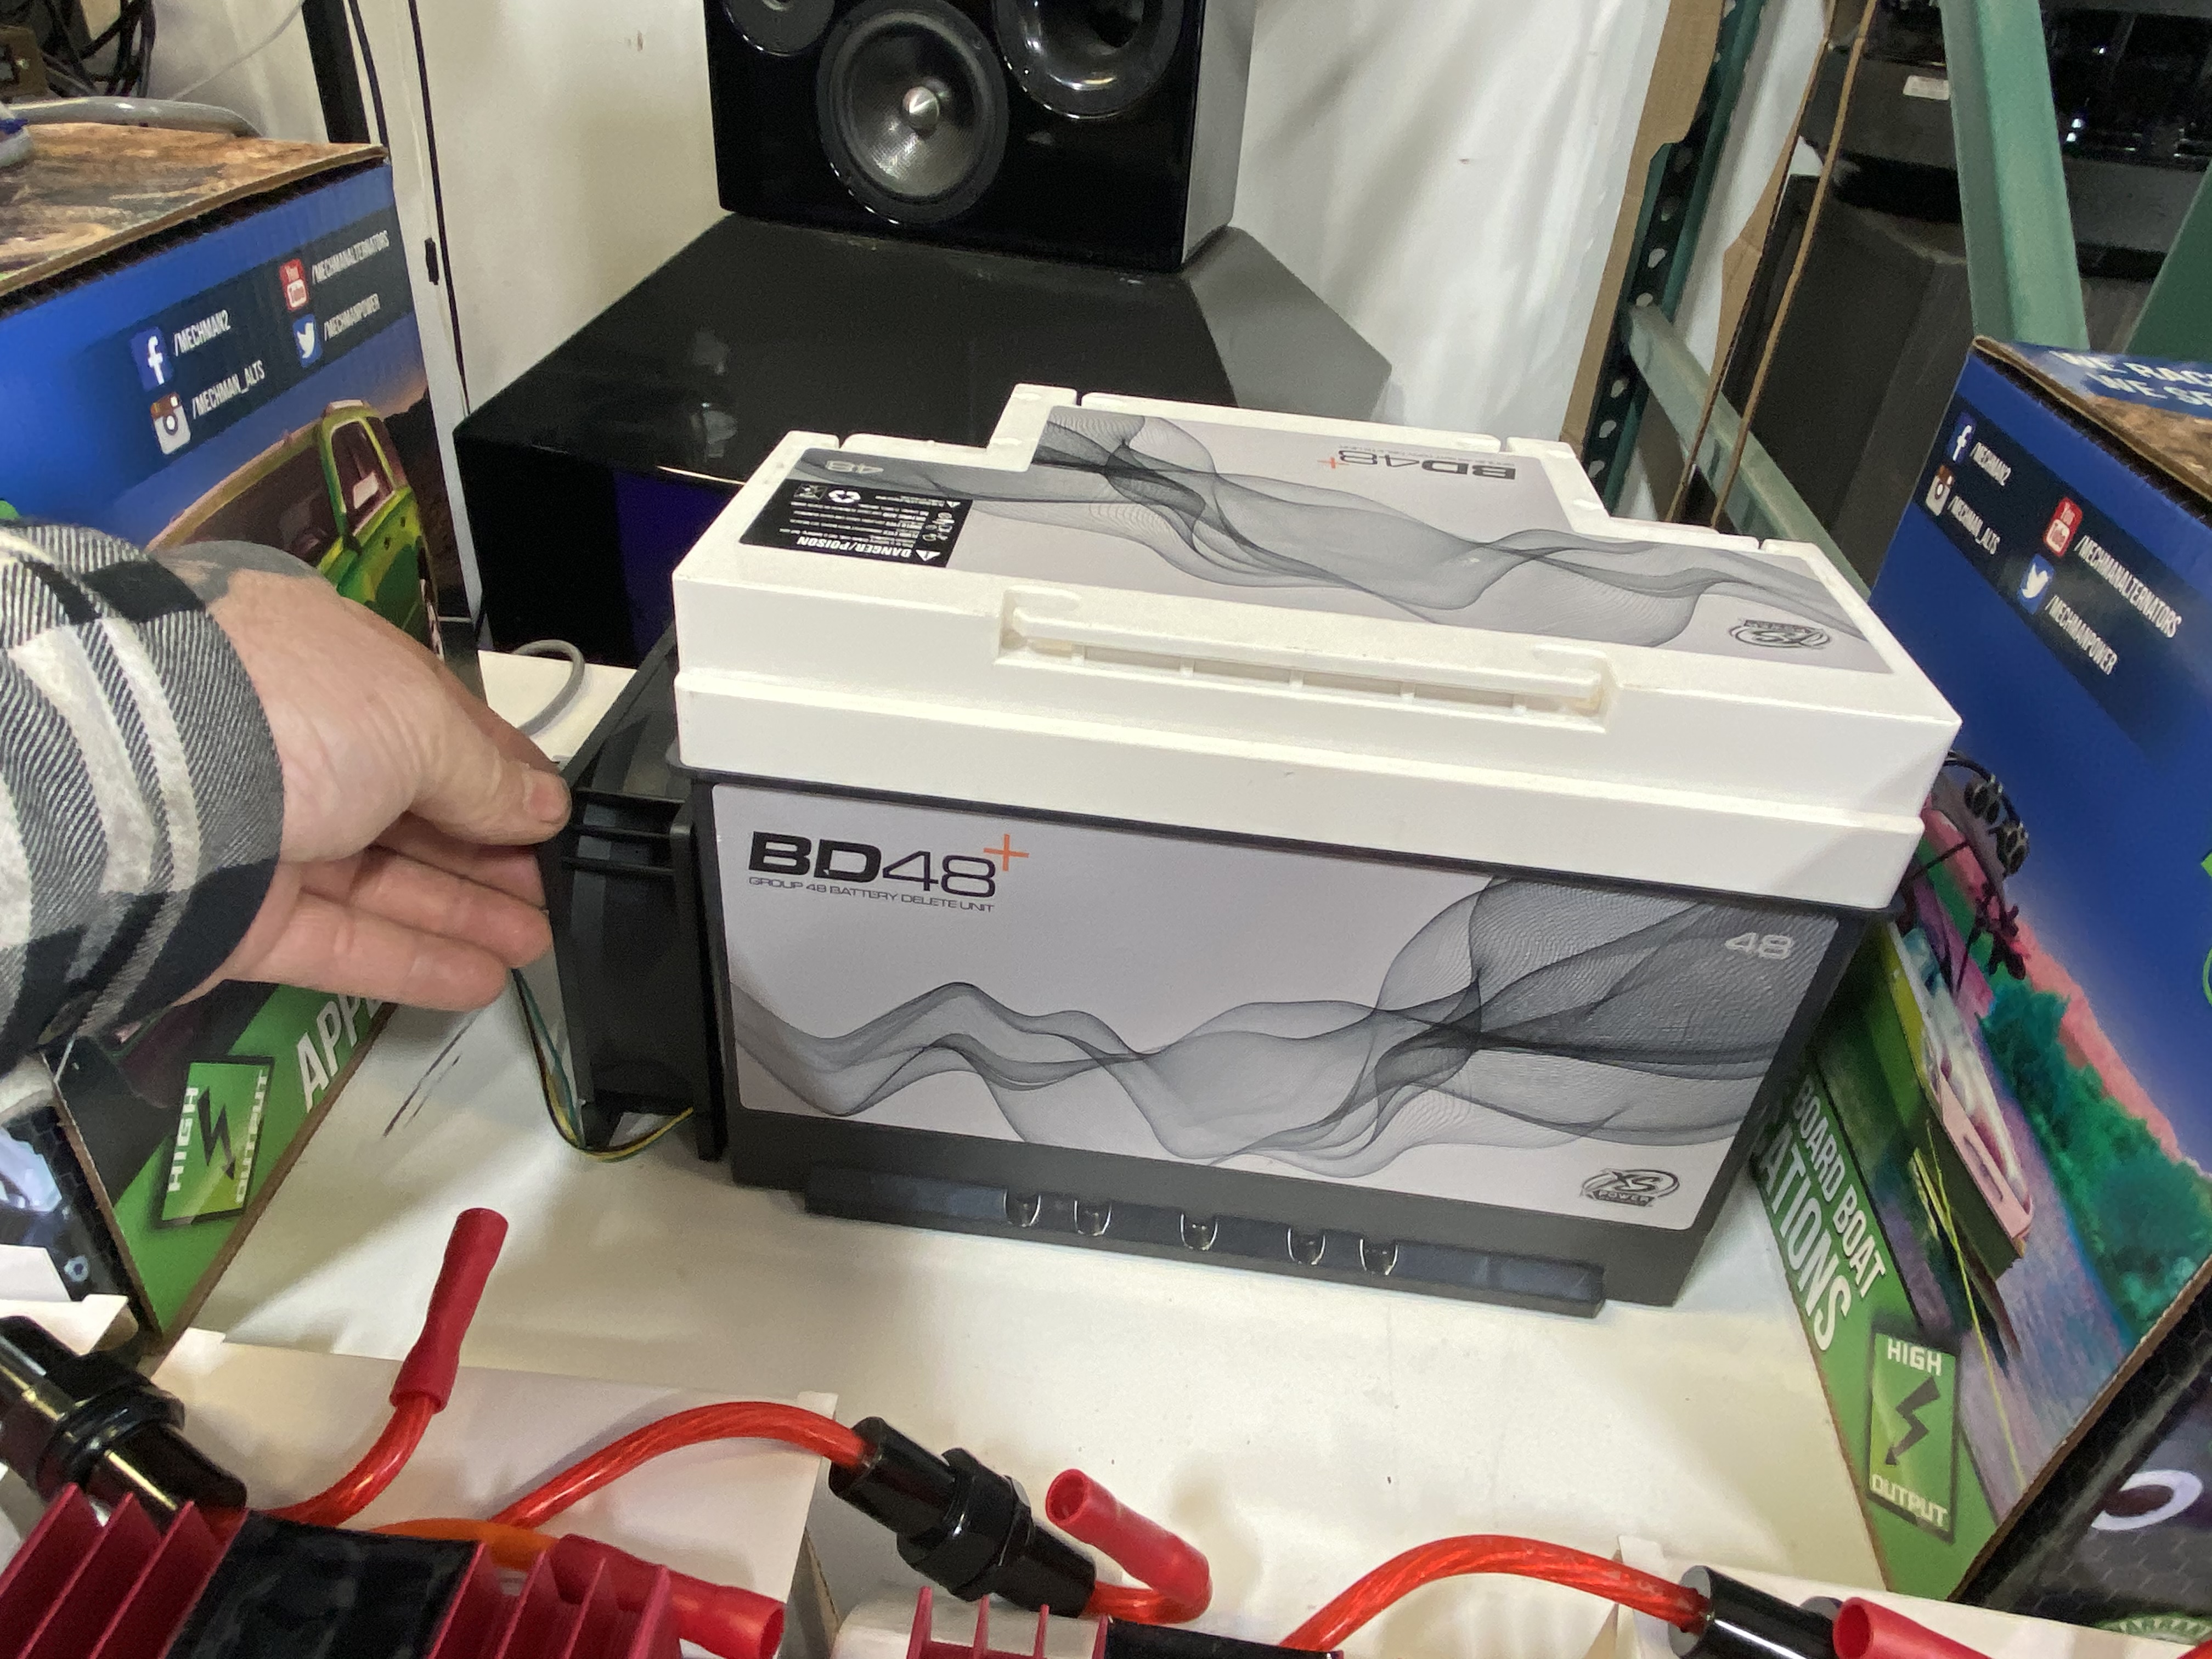
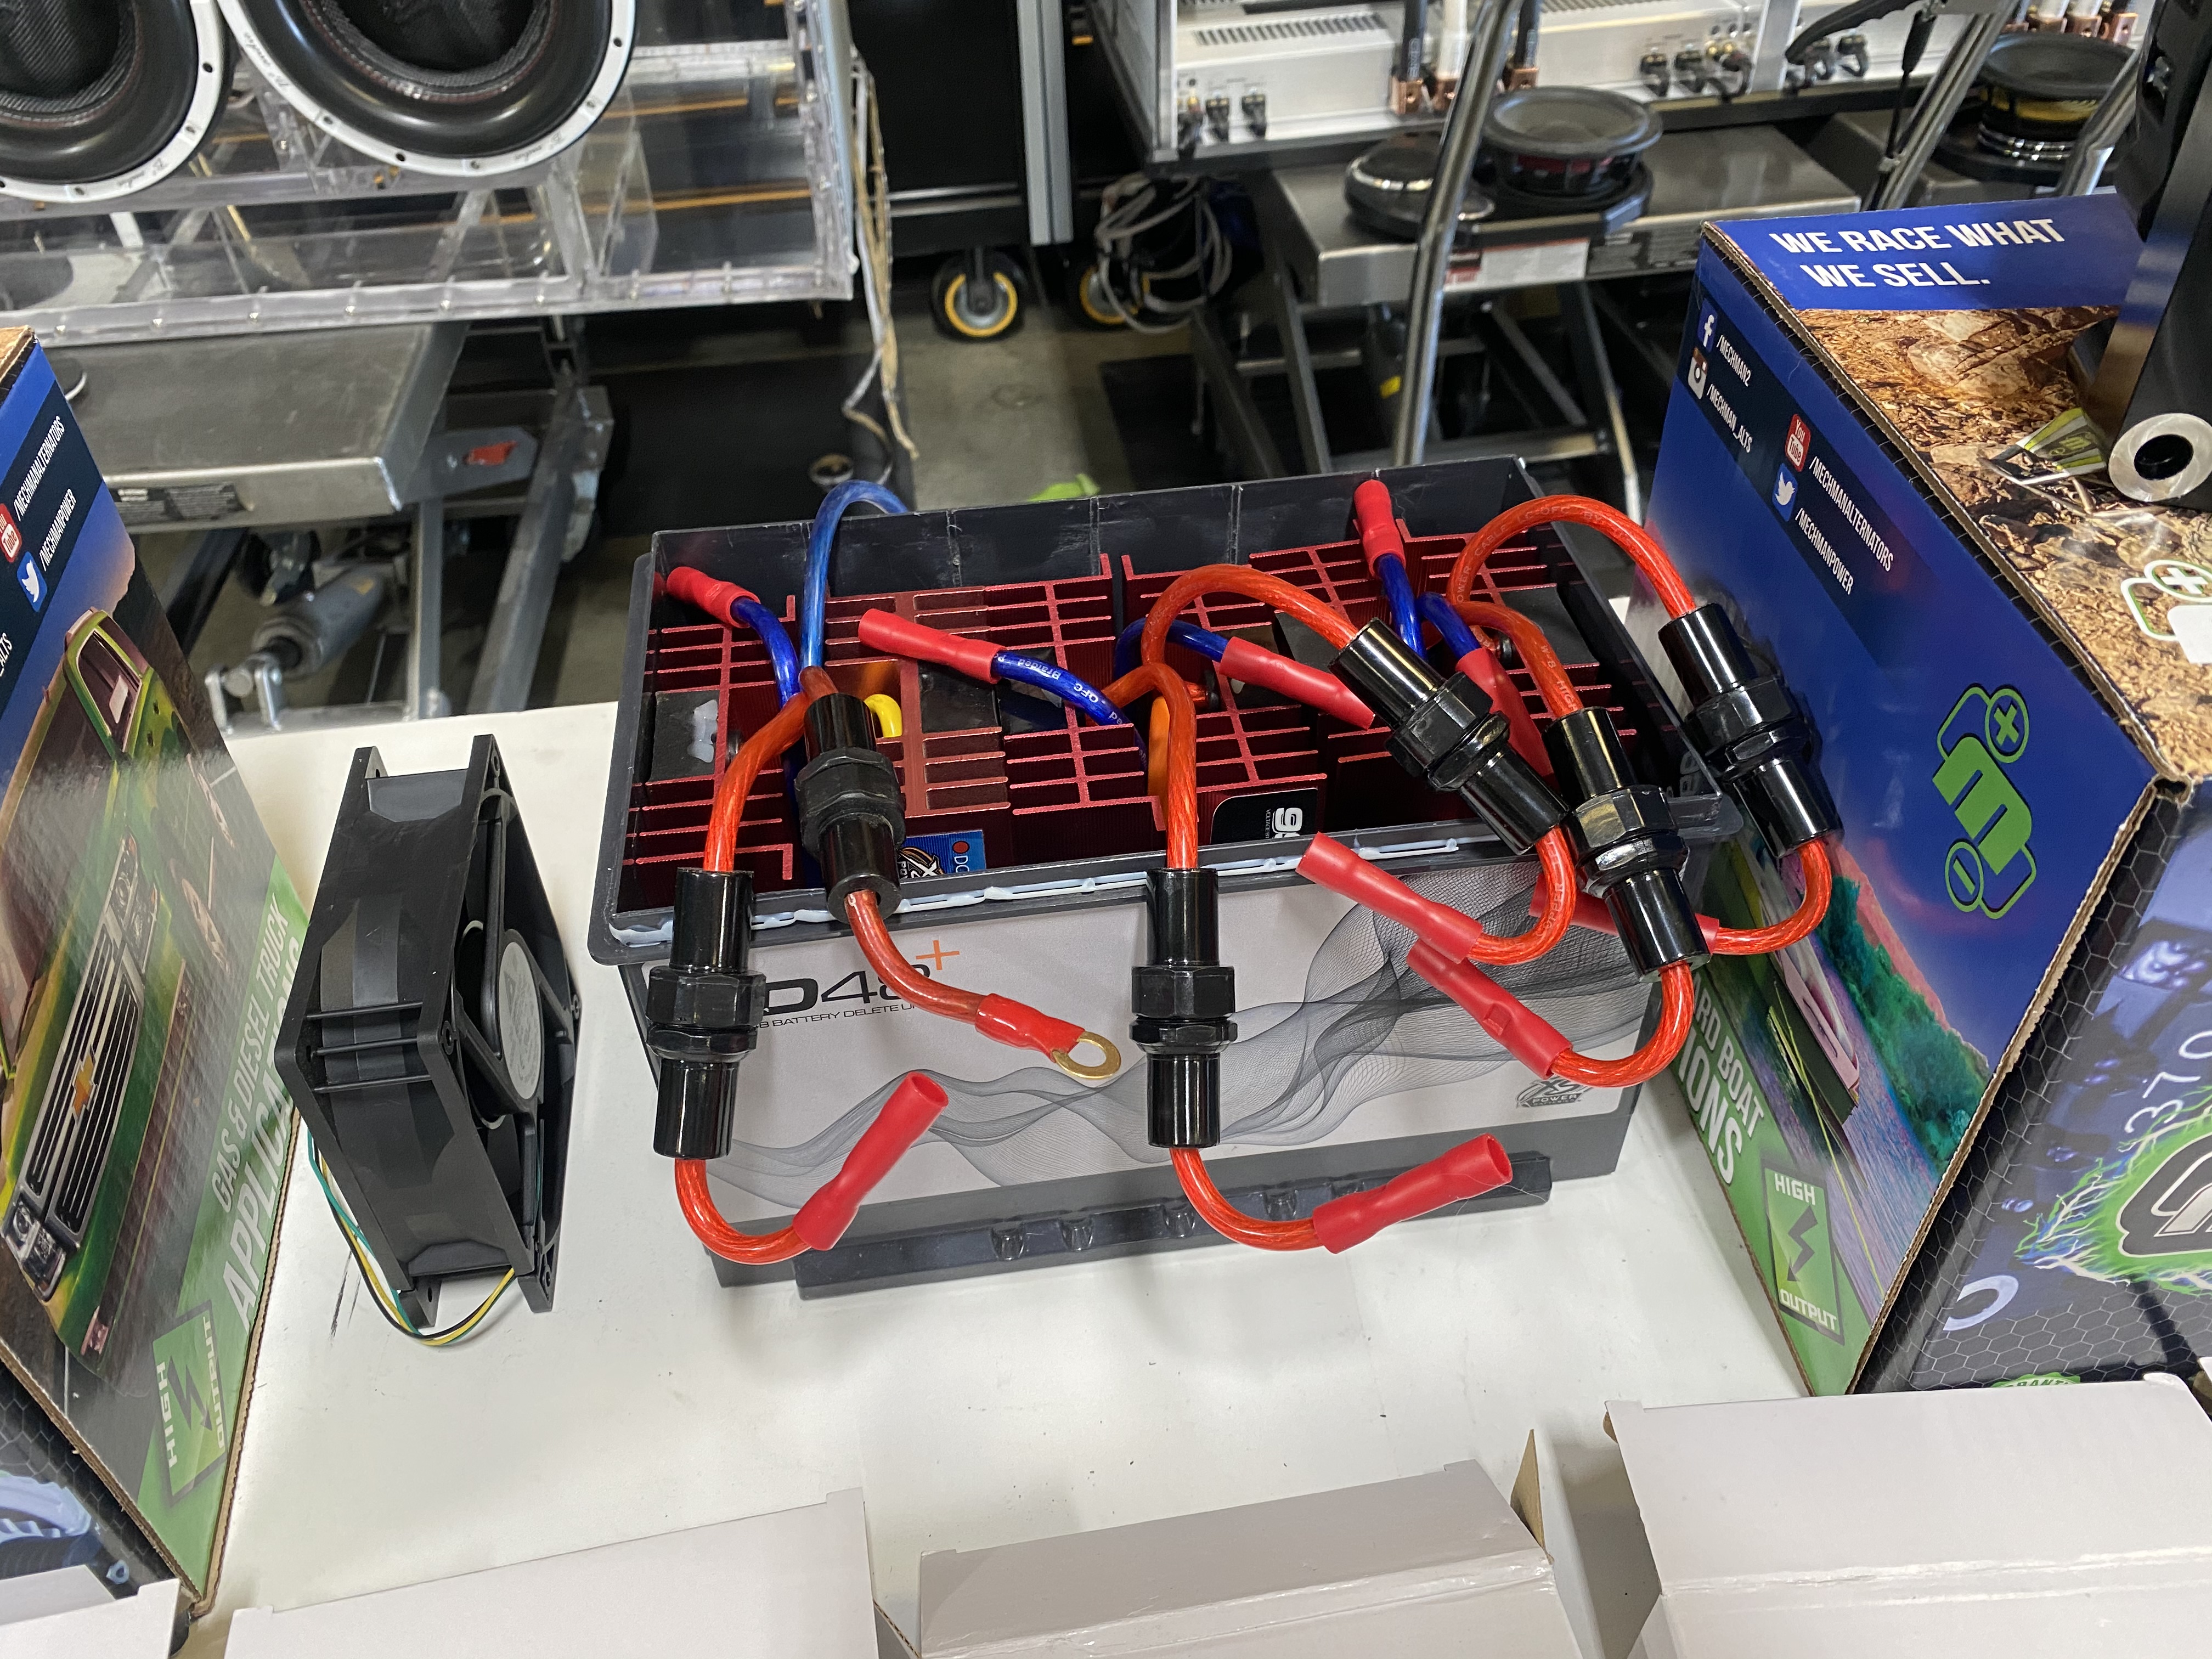
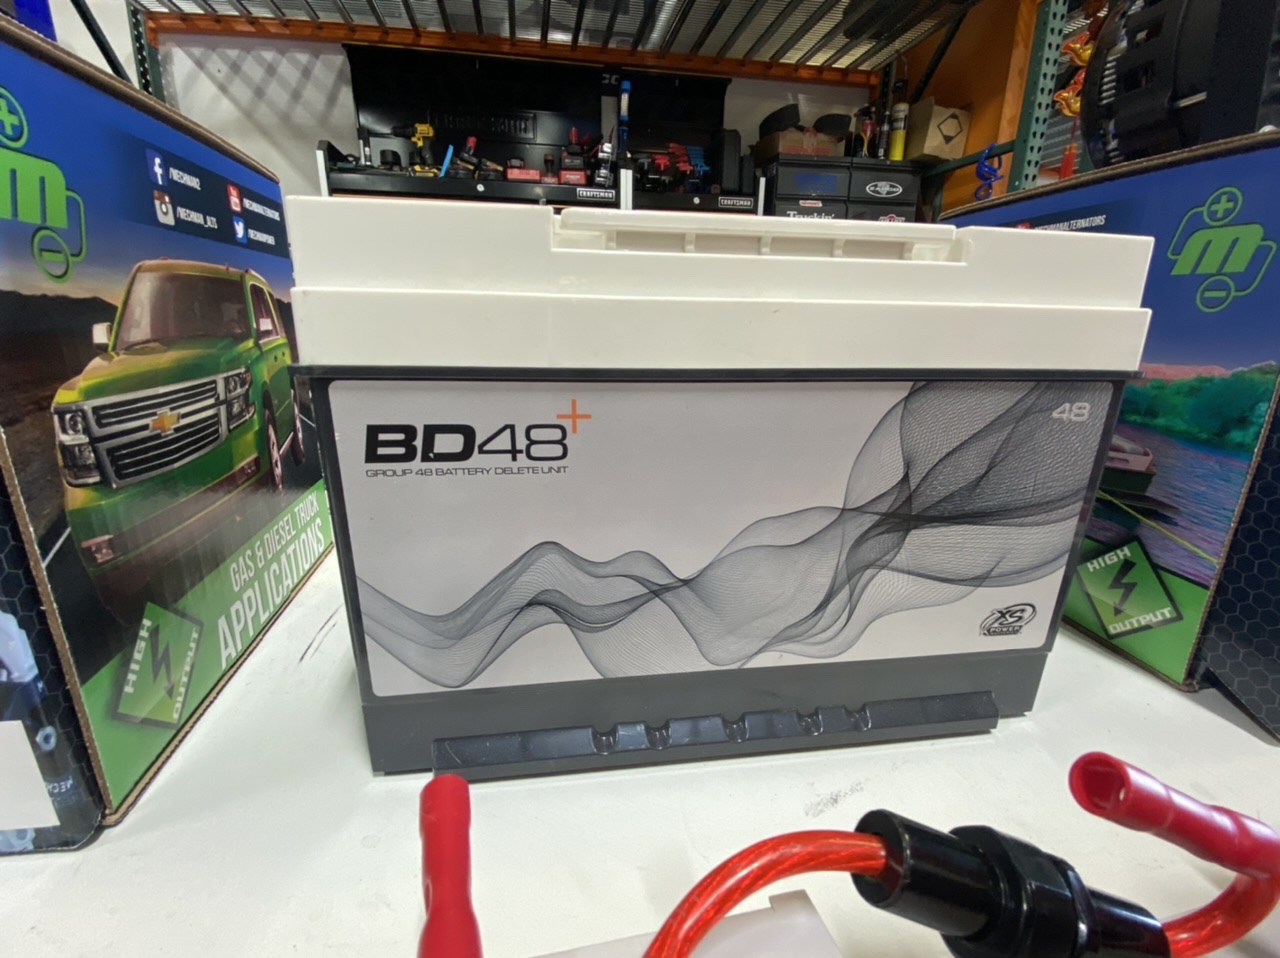
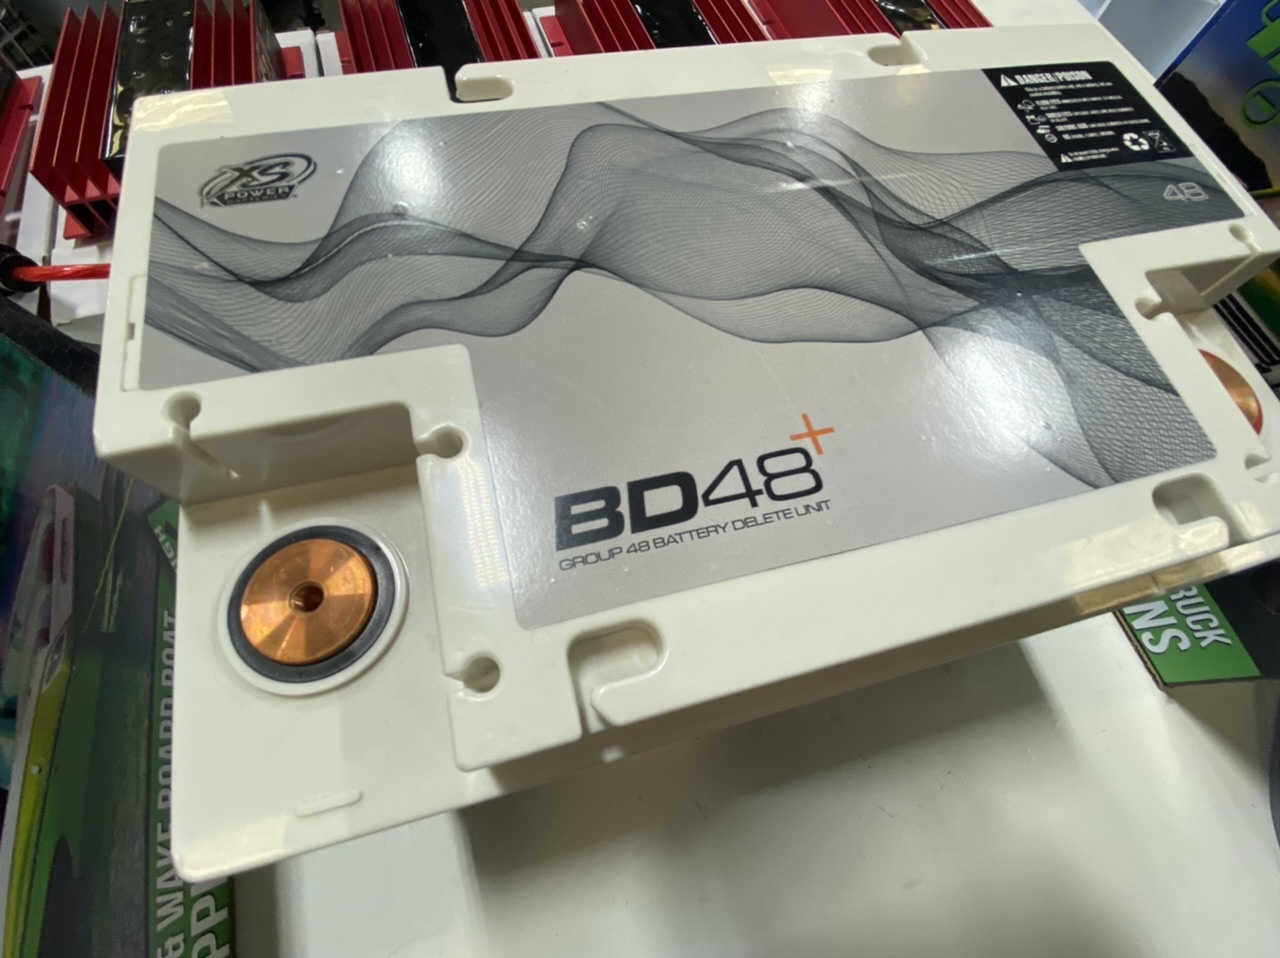
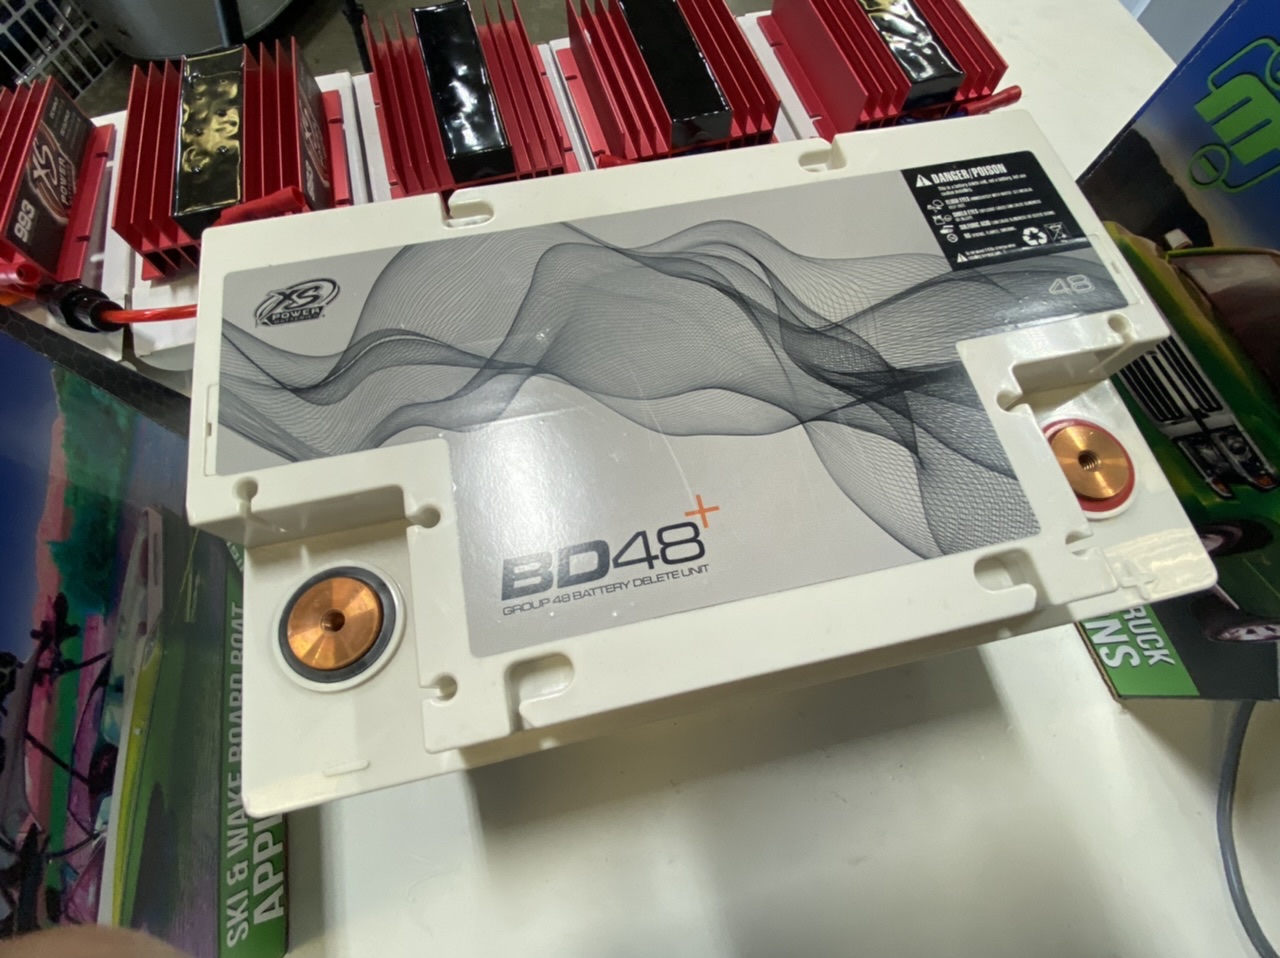
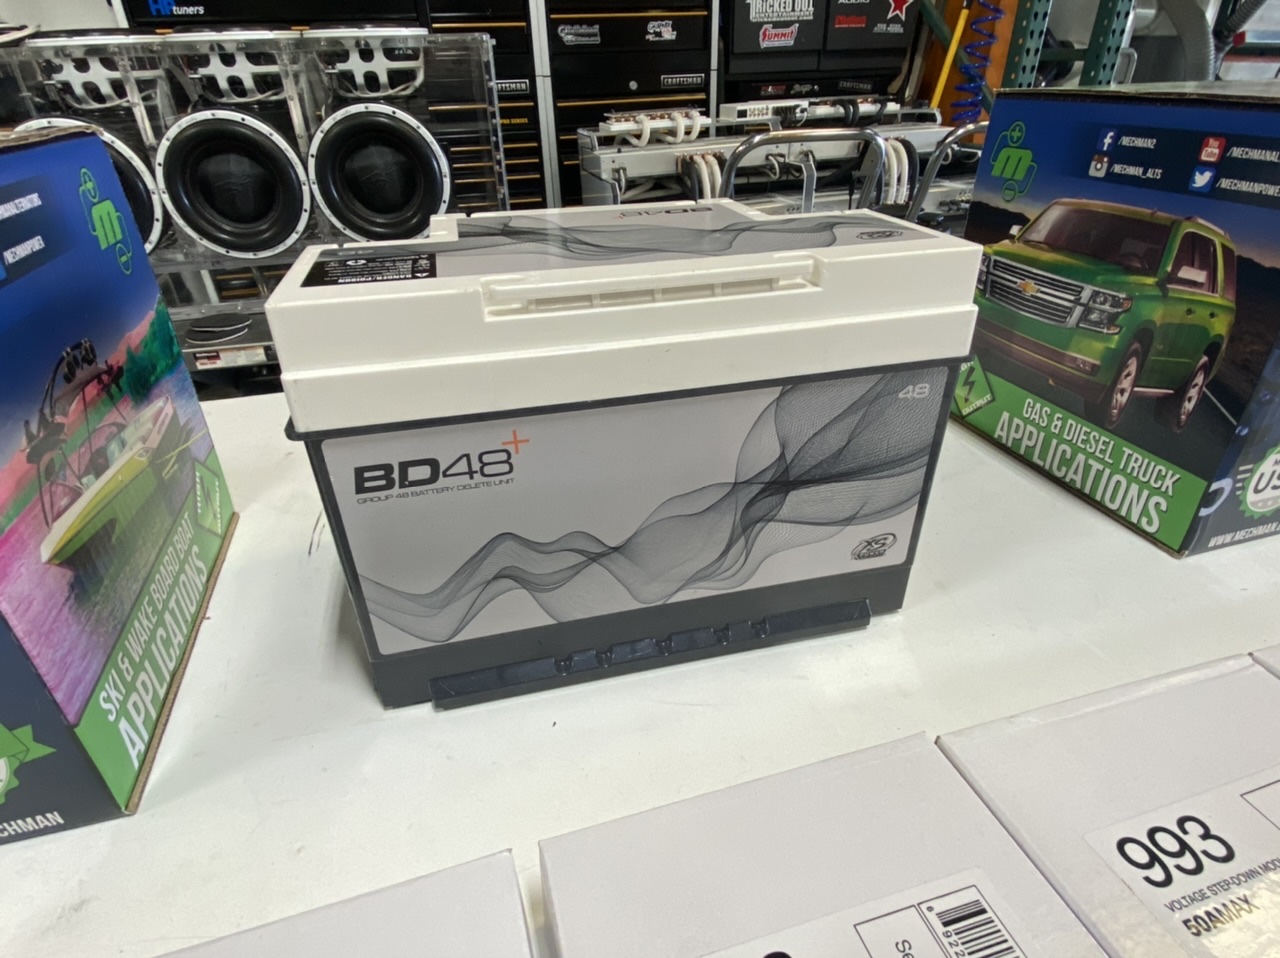
it fits pretty nicely into this empty battery (it is the stock group 48 size). I just have to start wiring it up. Maybe tomorrow. In case you are confused...there will be a bolt on the side and all the red wires will connect to it. This bolt will take the 16.5v from the alternator (that is also hooked up to my 5 Lithium batteries) and convert it down to 14.5ish. The blue wires are stepped down and will go to the bottom of the copper terminal on the battery lid. Once i put it all back together it will be just one big fat dummy step down block. So the TRUCK (my Escalade) will THINK it is seeing normal voltage while the amps and rear battery bank enjoys the un-interrupted juice in the back.
-
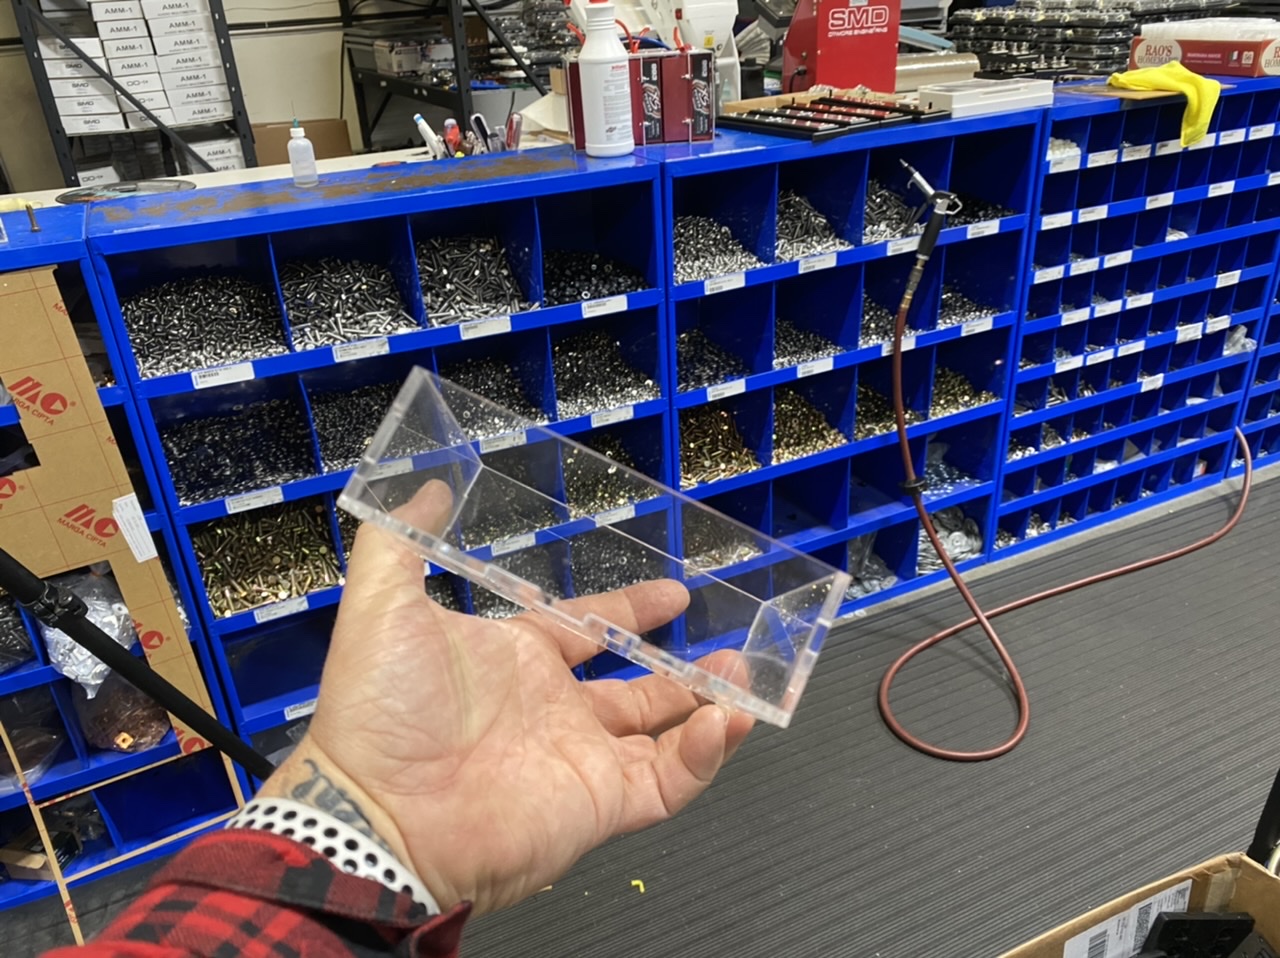
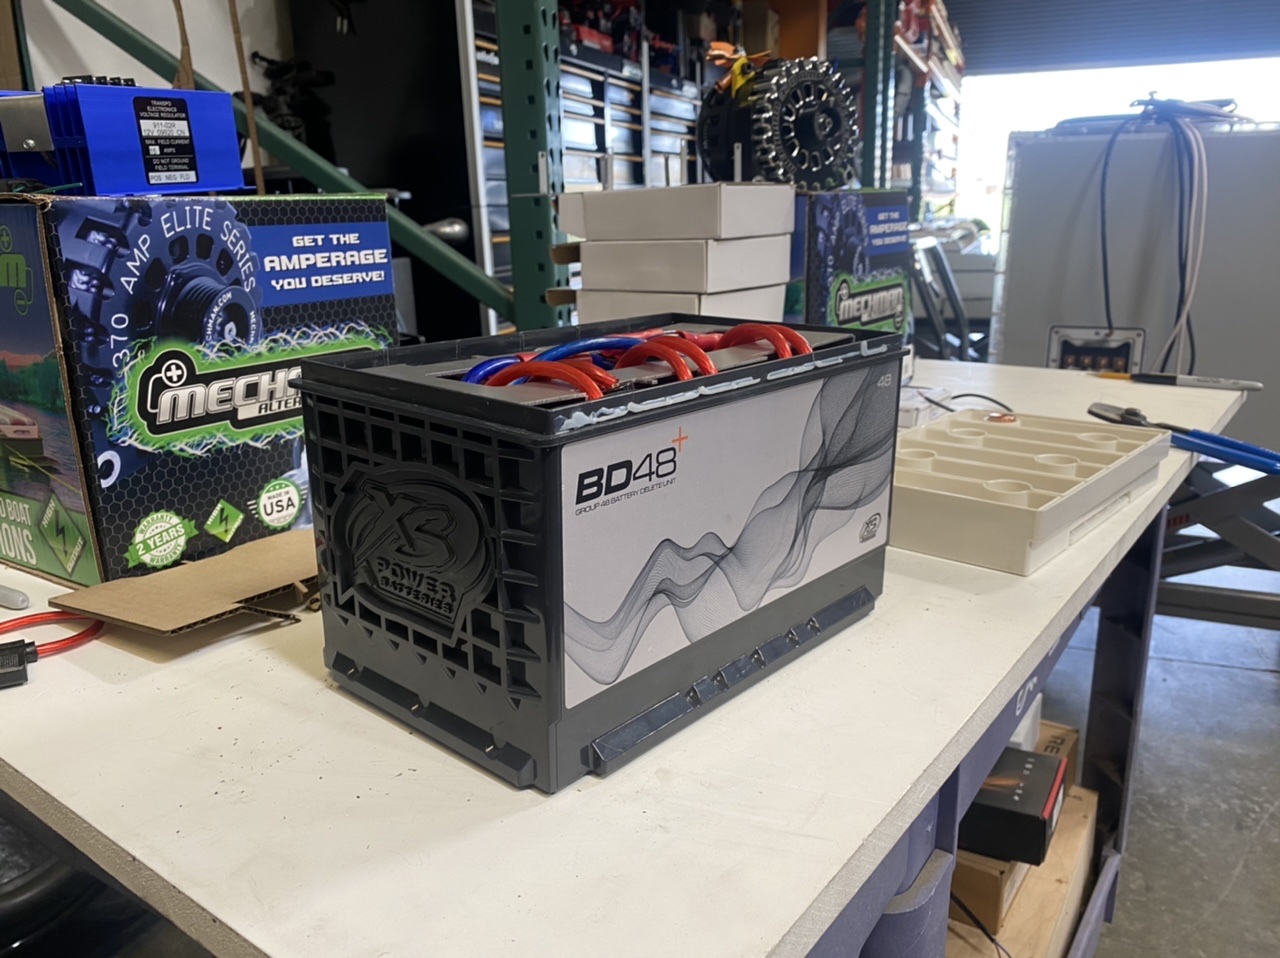
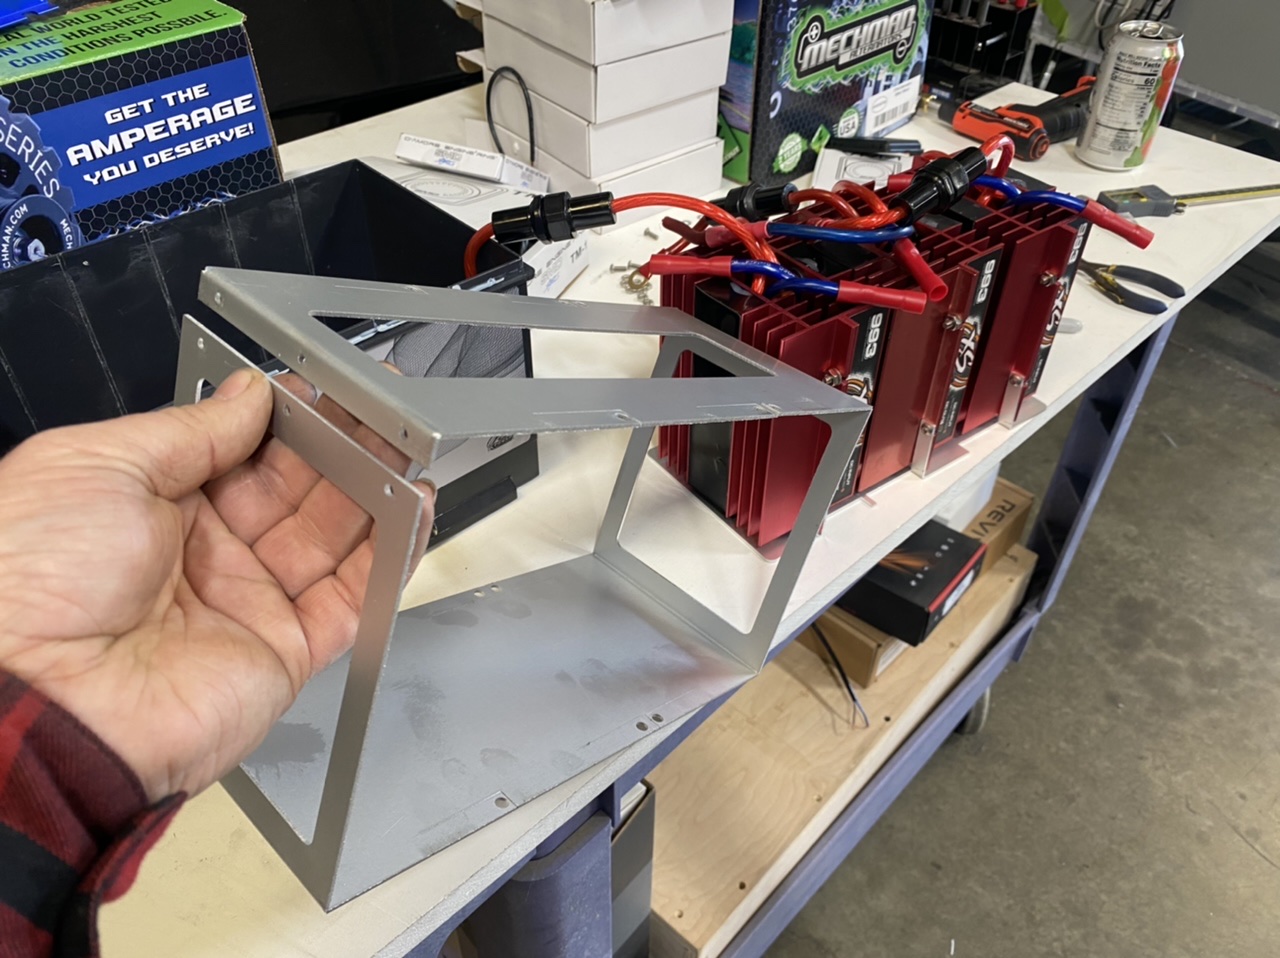
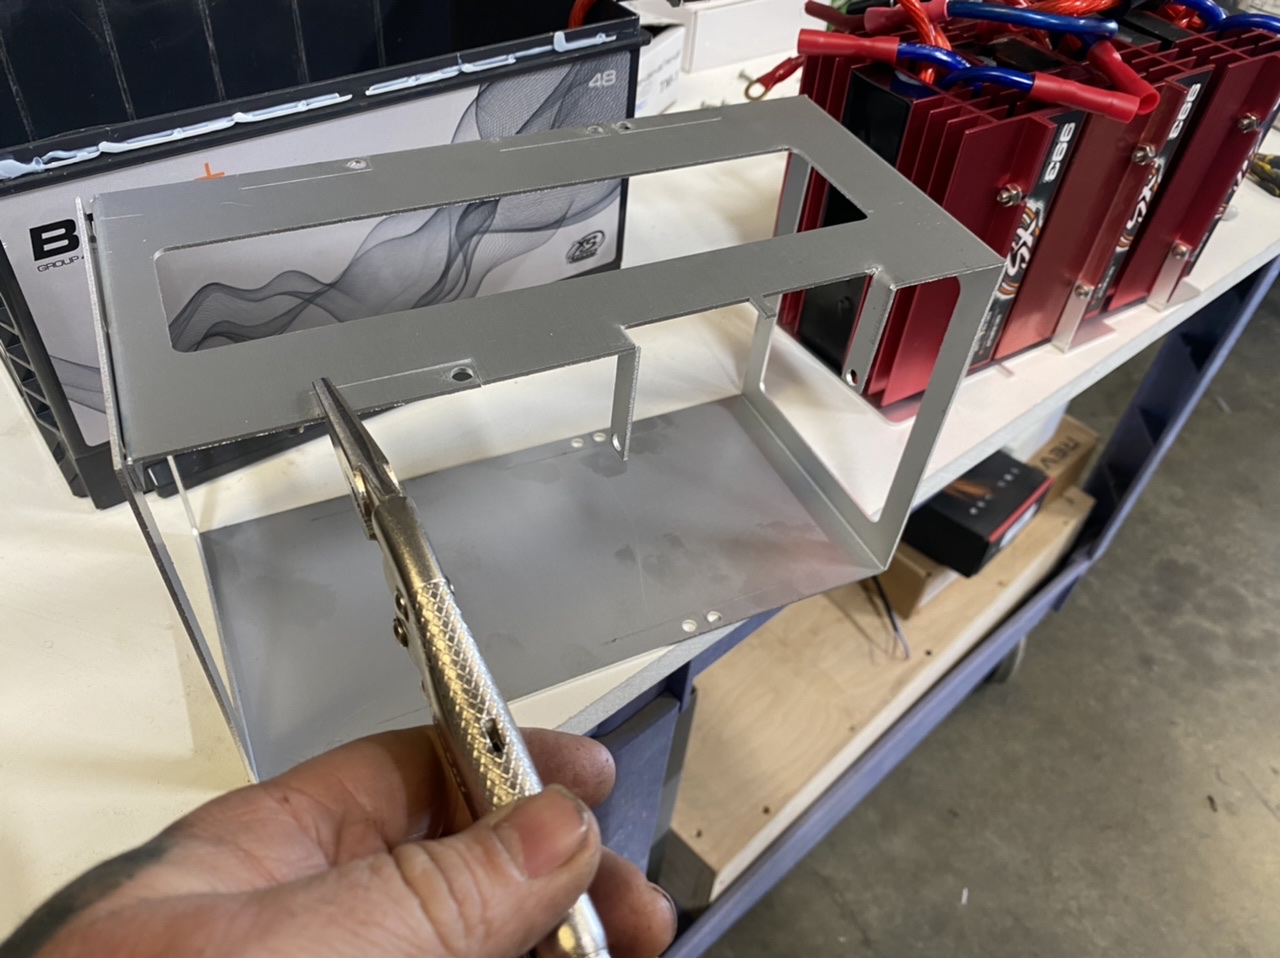
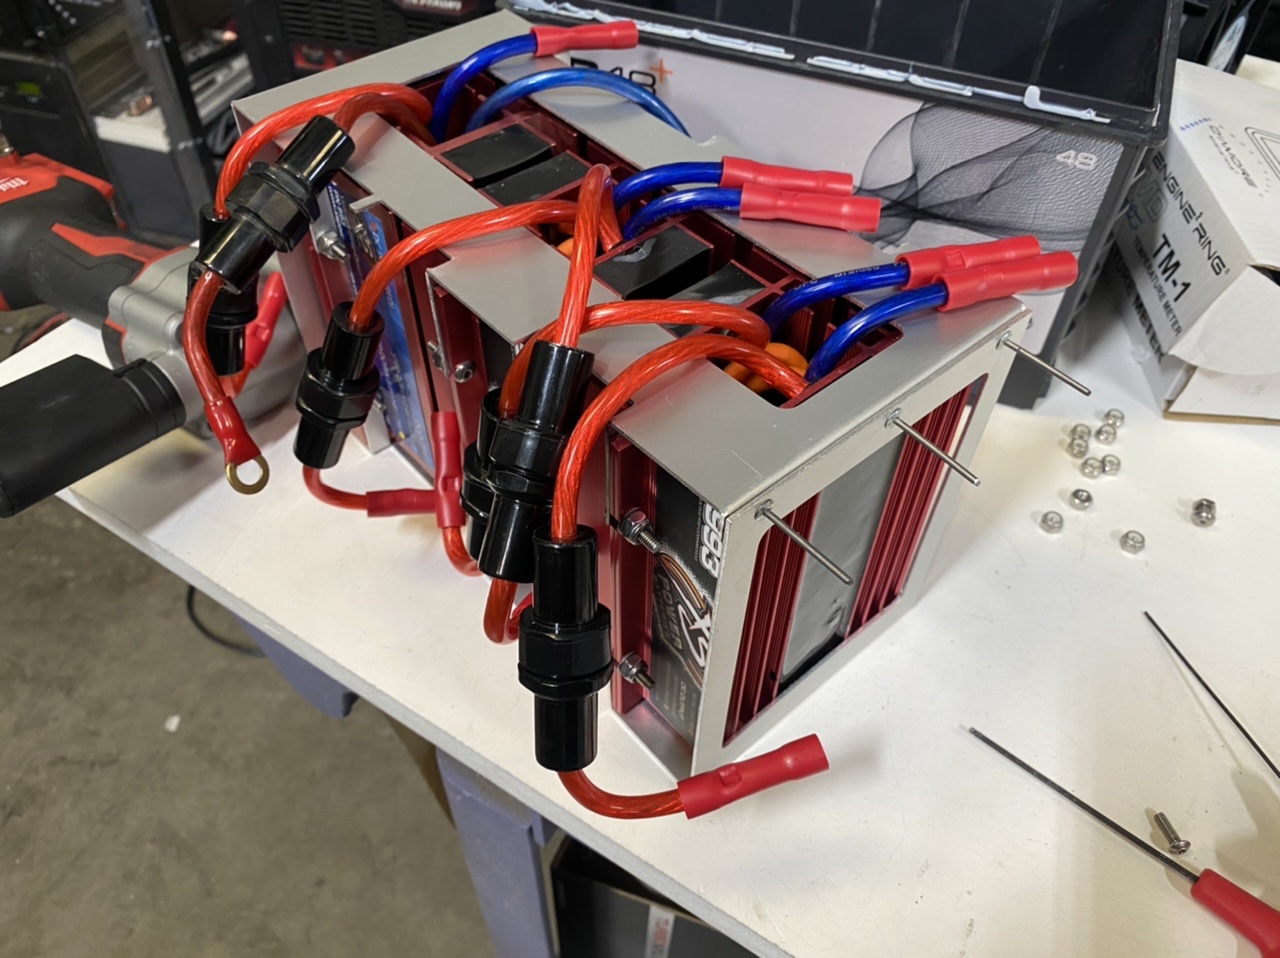
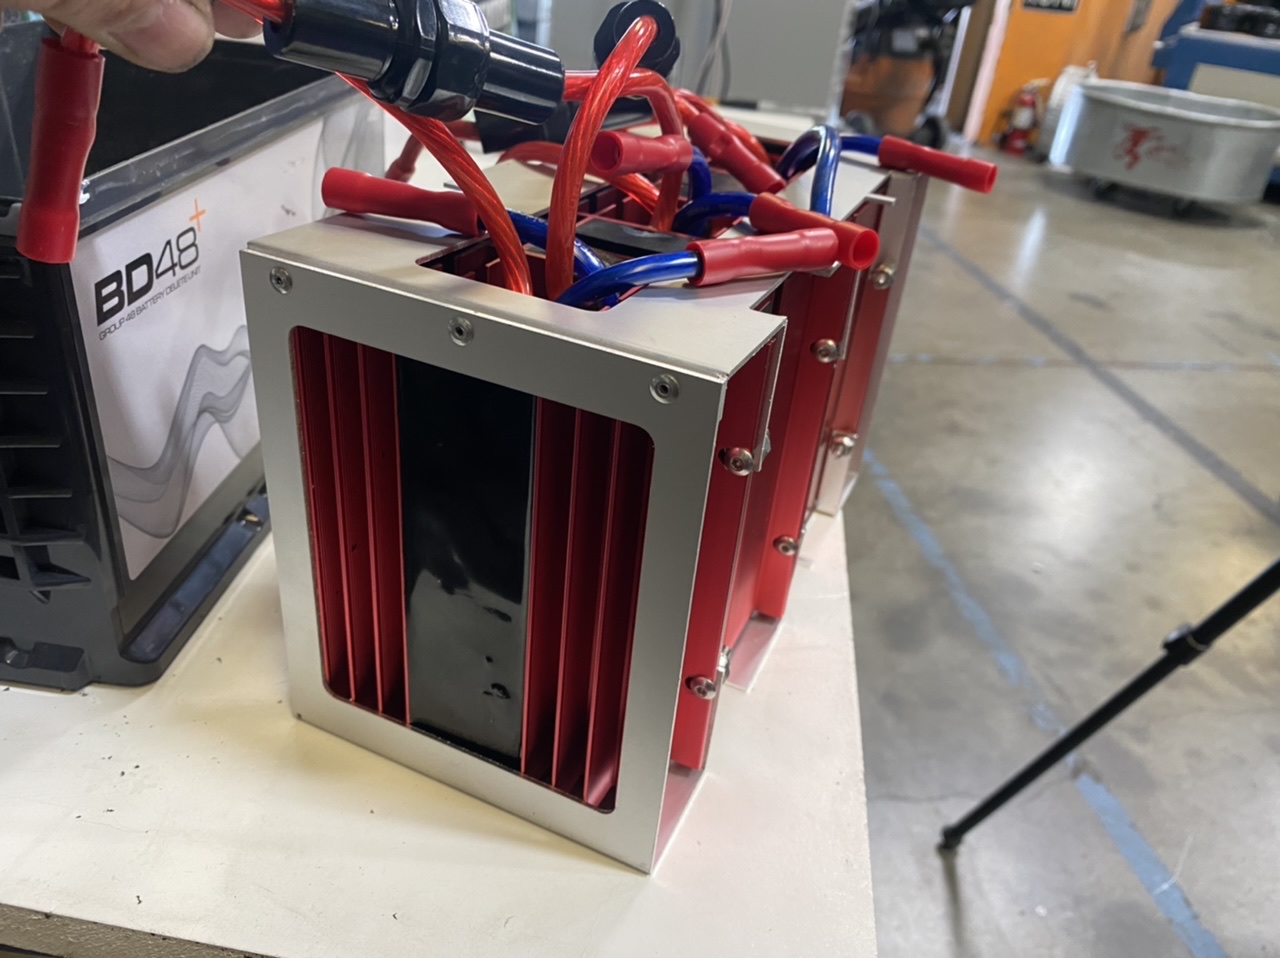
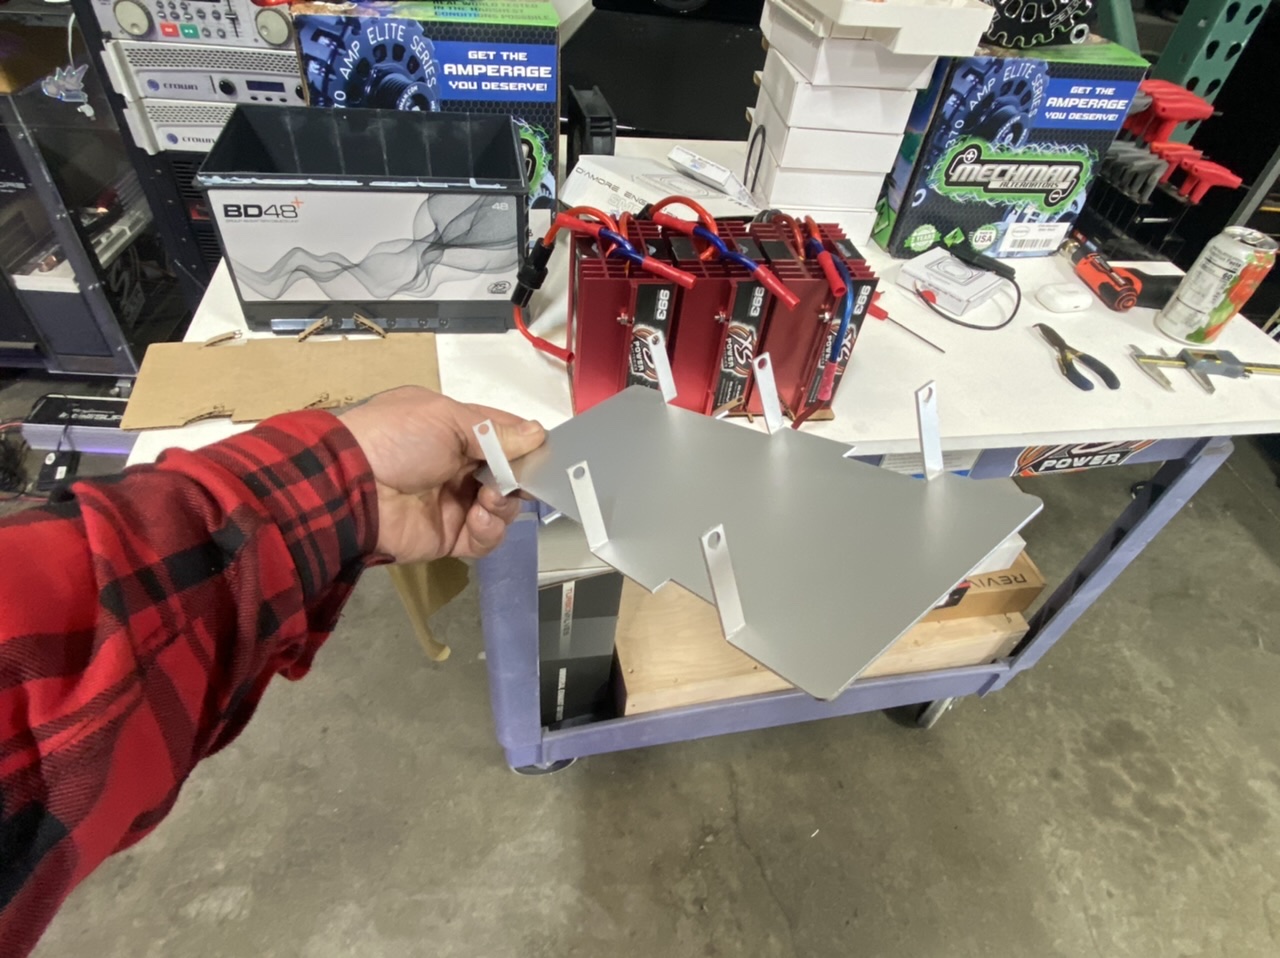
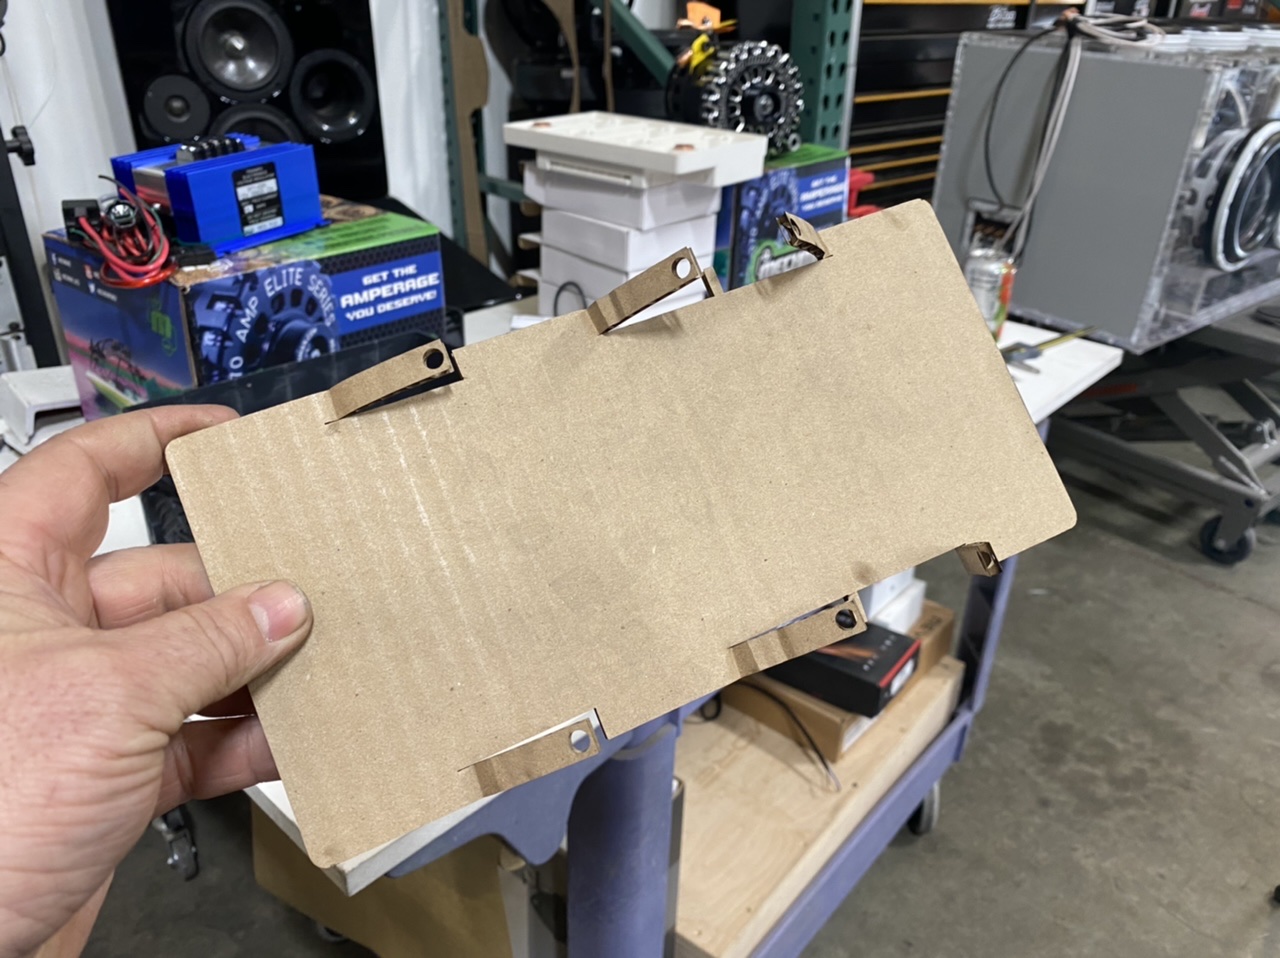
Now that i know that works, it is time to go the extra mile and do a complete 1 piece wrap around with laser cut and bent tabs. I will pop-rivet it together once they are all in place. a nice little 90 on all the tabs. Not gonna lie. It was kinda a bitch to get them in there. At least the first set. It got easier as i got to the more open area. Aluminum pop-rivets to close the deal. 8x32 Stainless allen head fasteners with nylock nuts and a little washer.
-
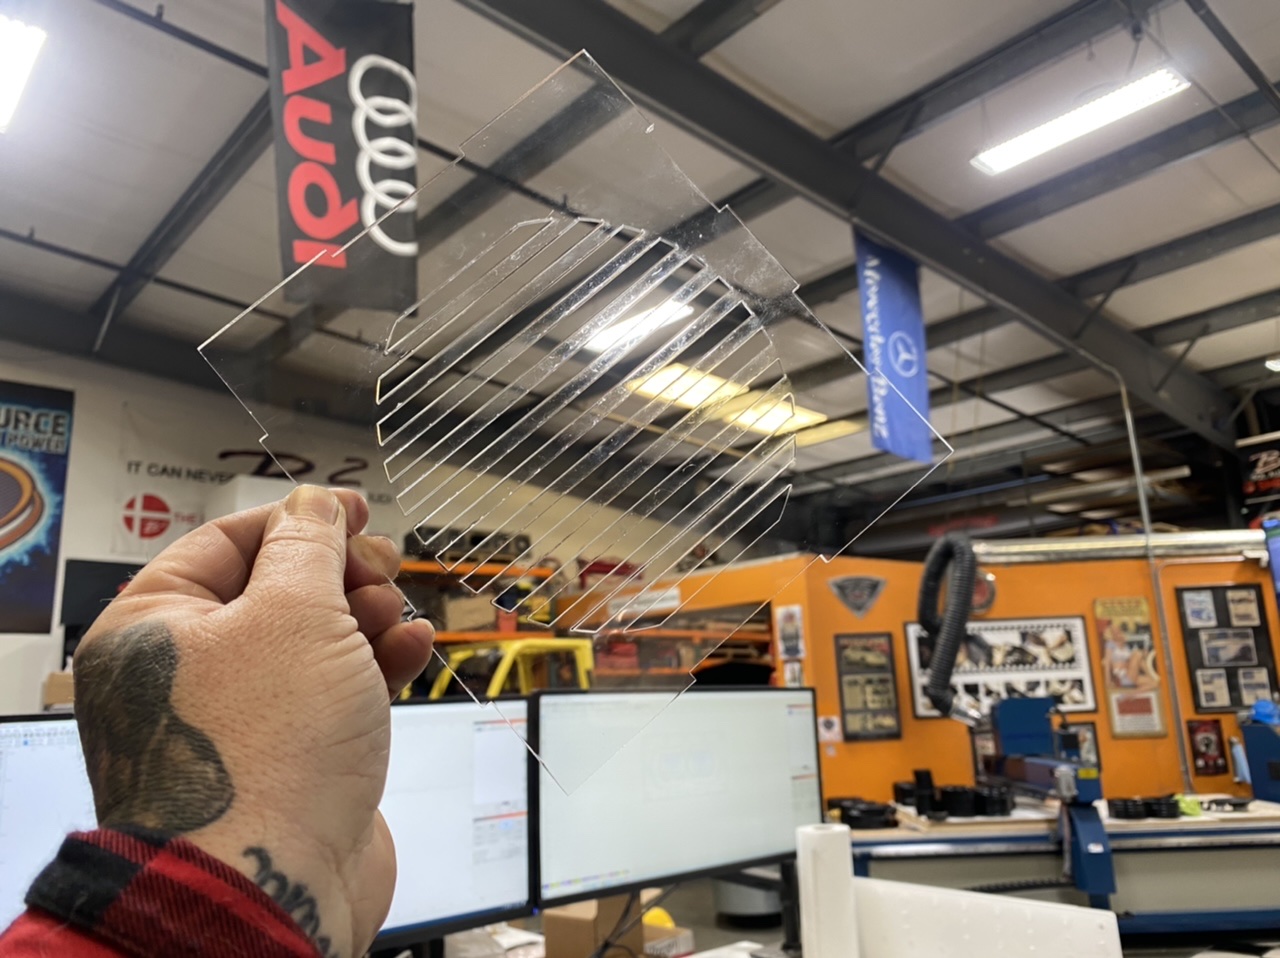
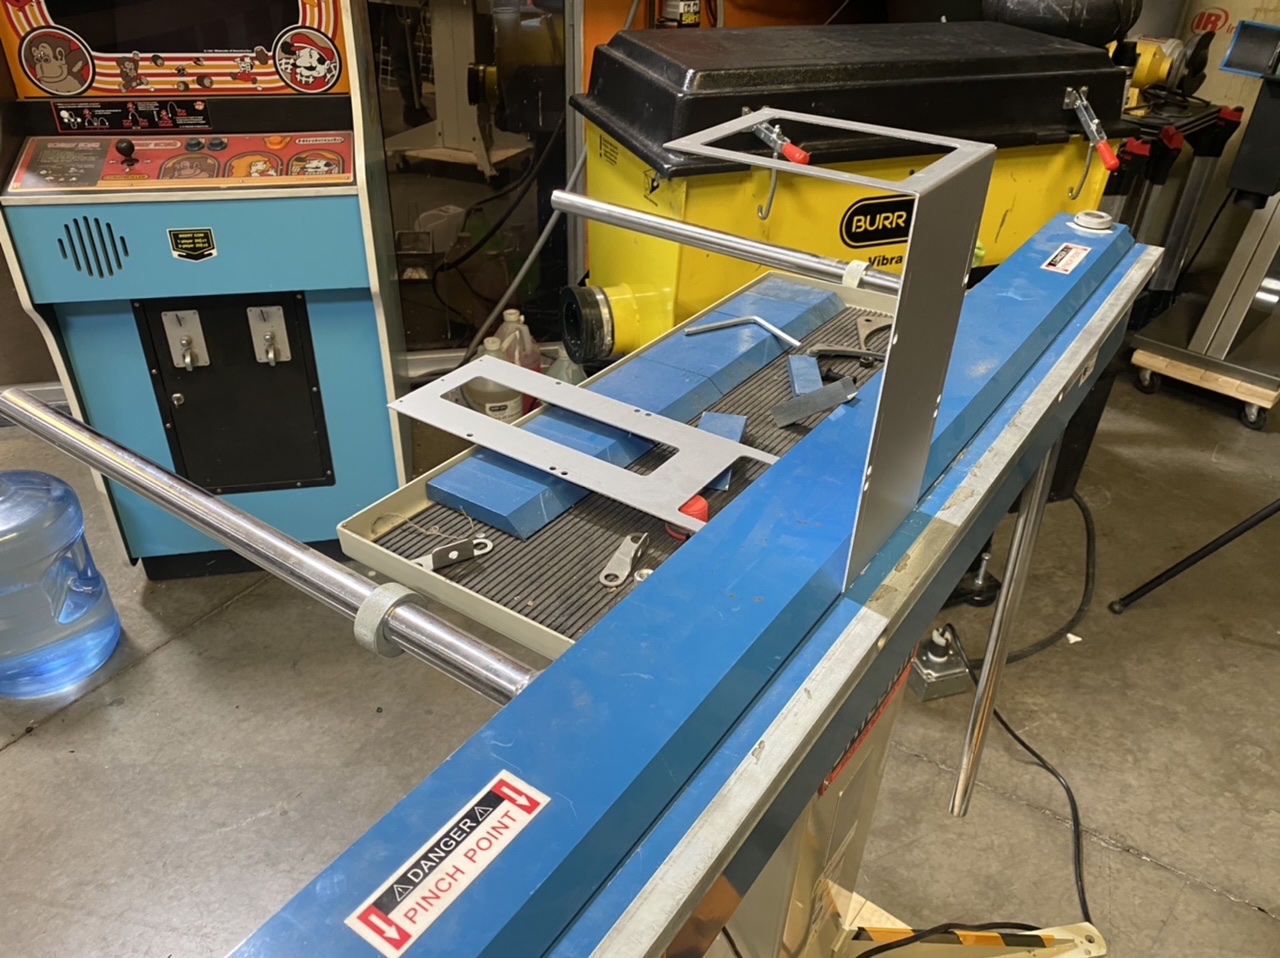
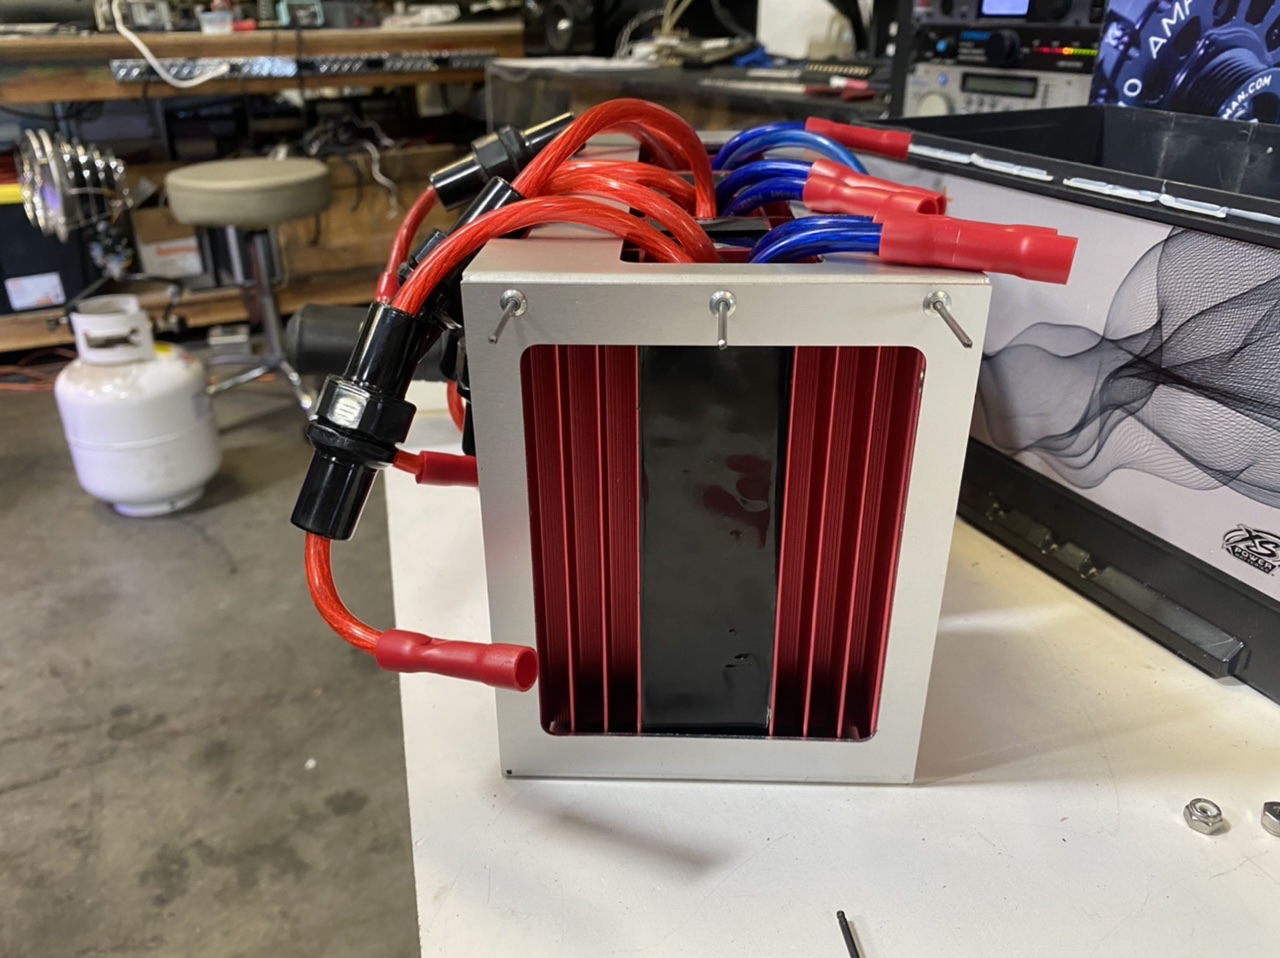
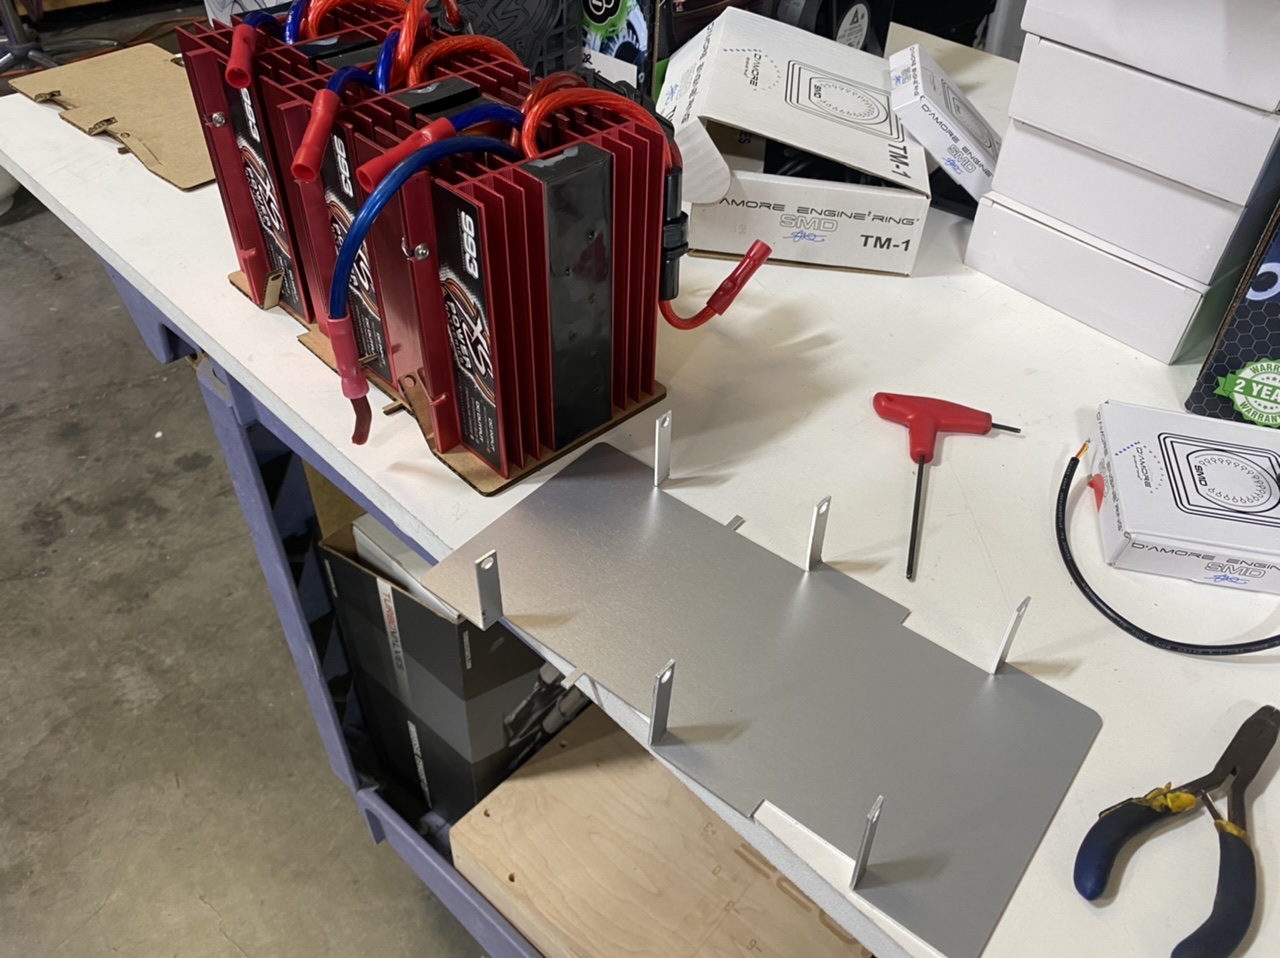
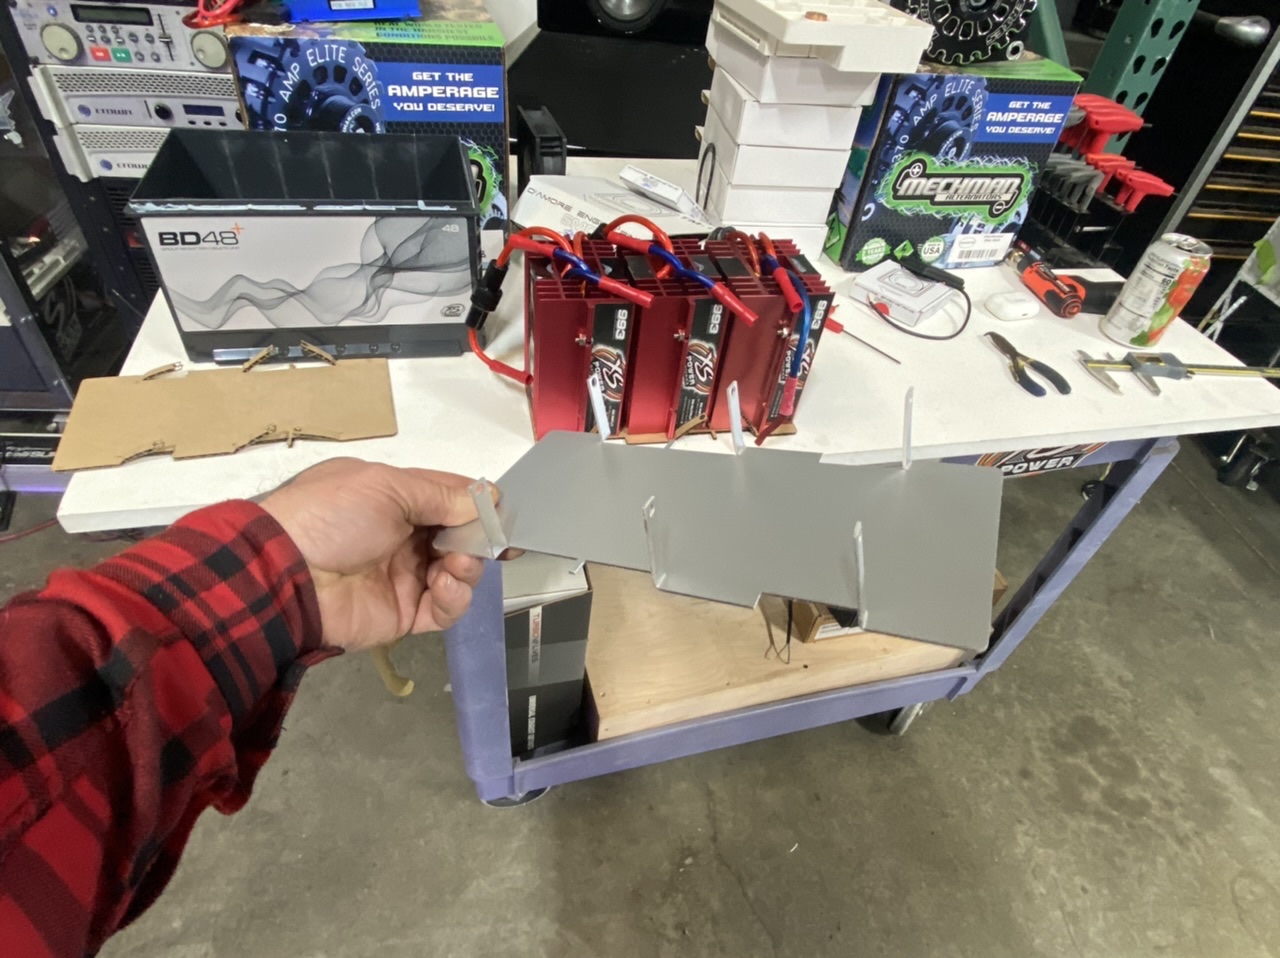
Once i see that it MIGHT work, i start making the next one out of metal. This is aluminum. I didn't measure how thick it is, it is just some stuff i had on the shelf. If i had to guess it is probably .060. I blasted it pretty fast with my laser.
-
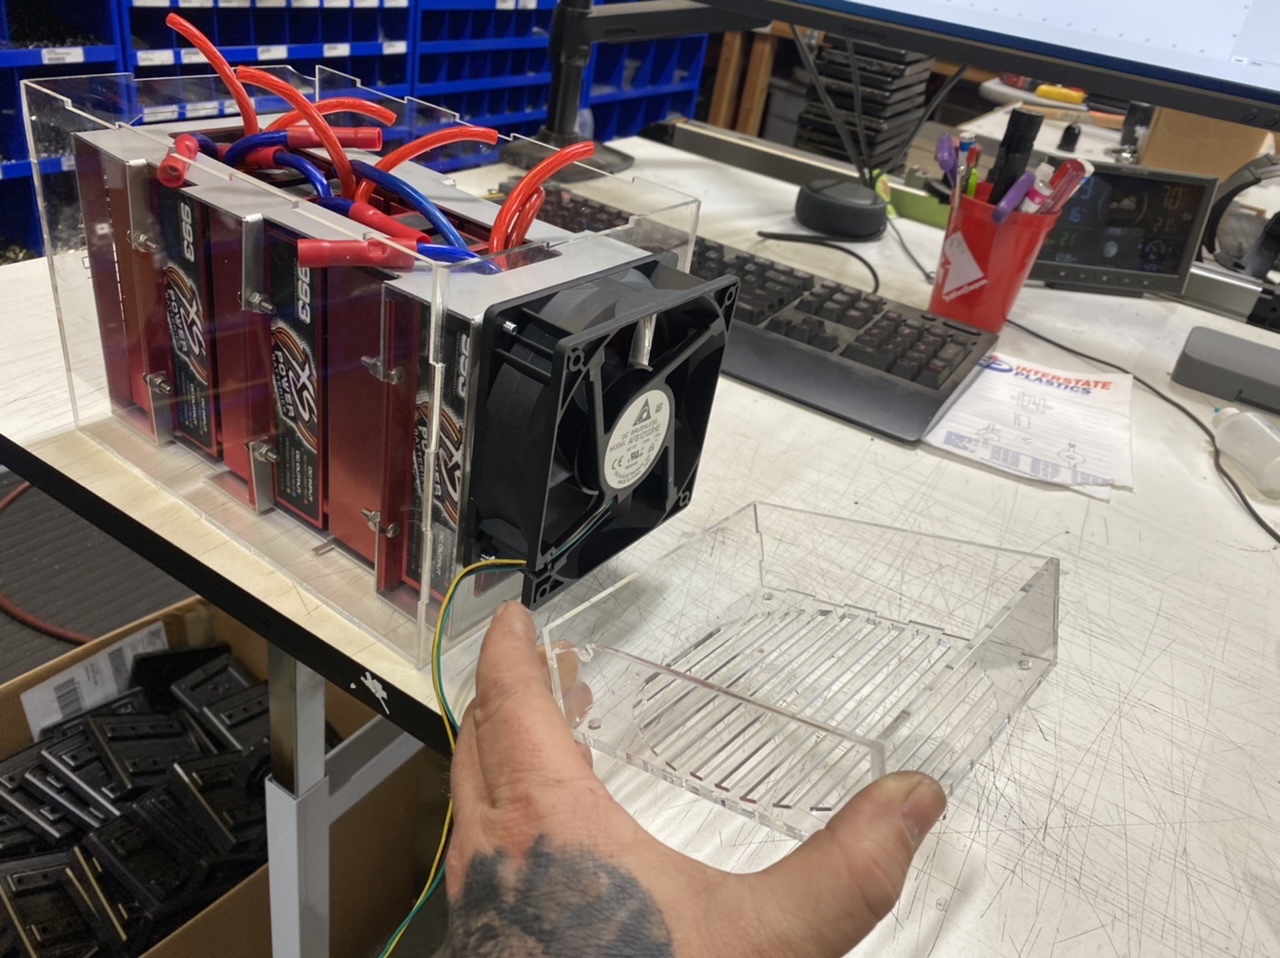
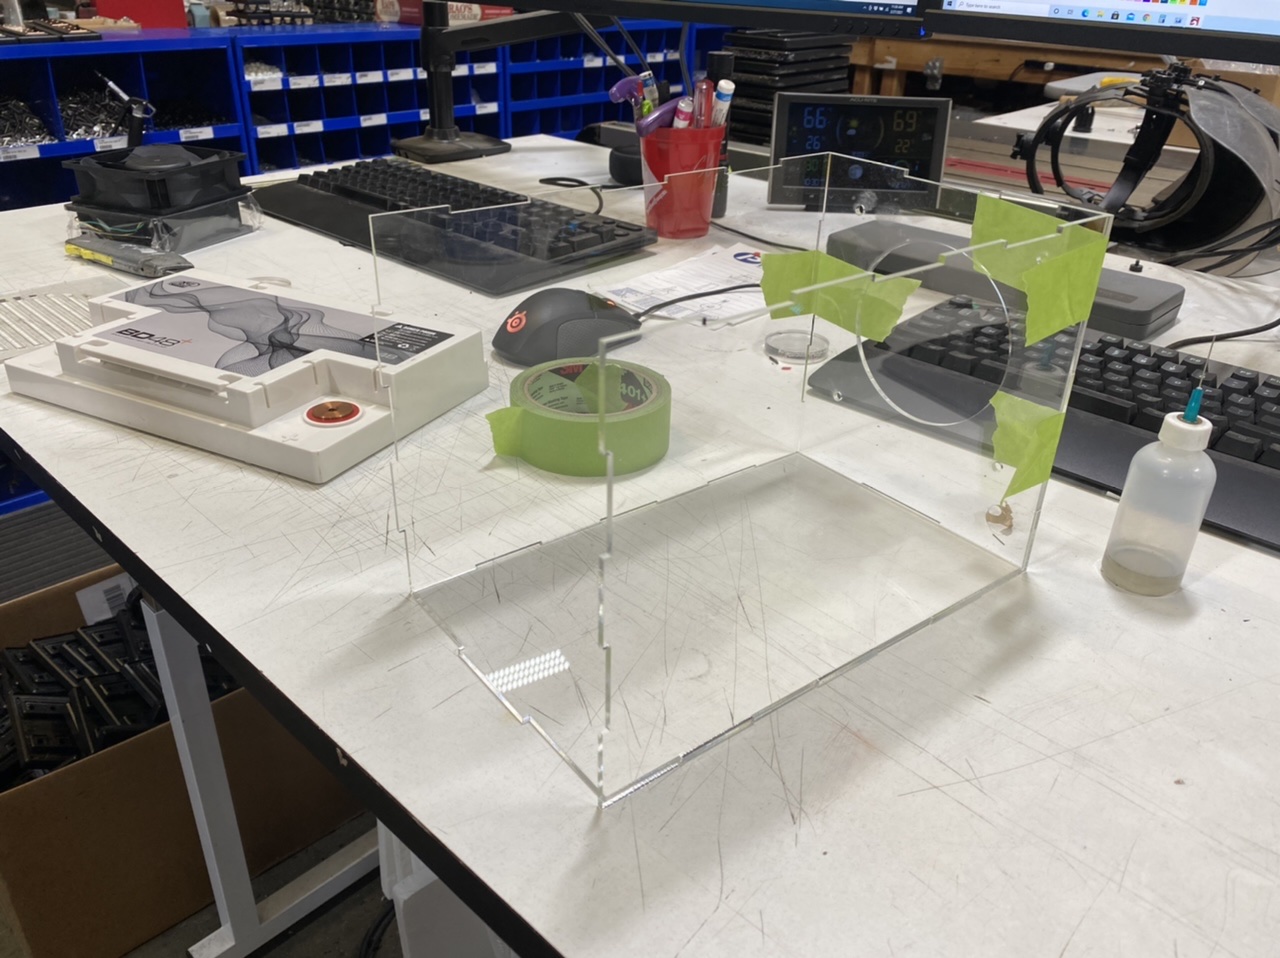
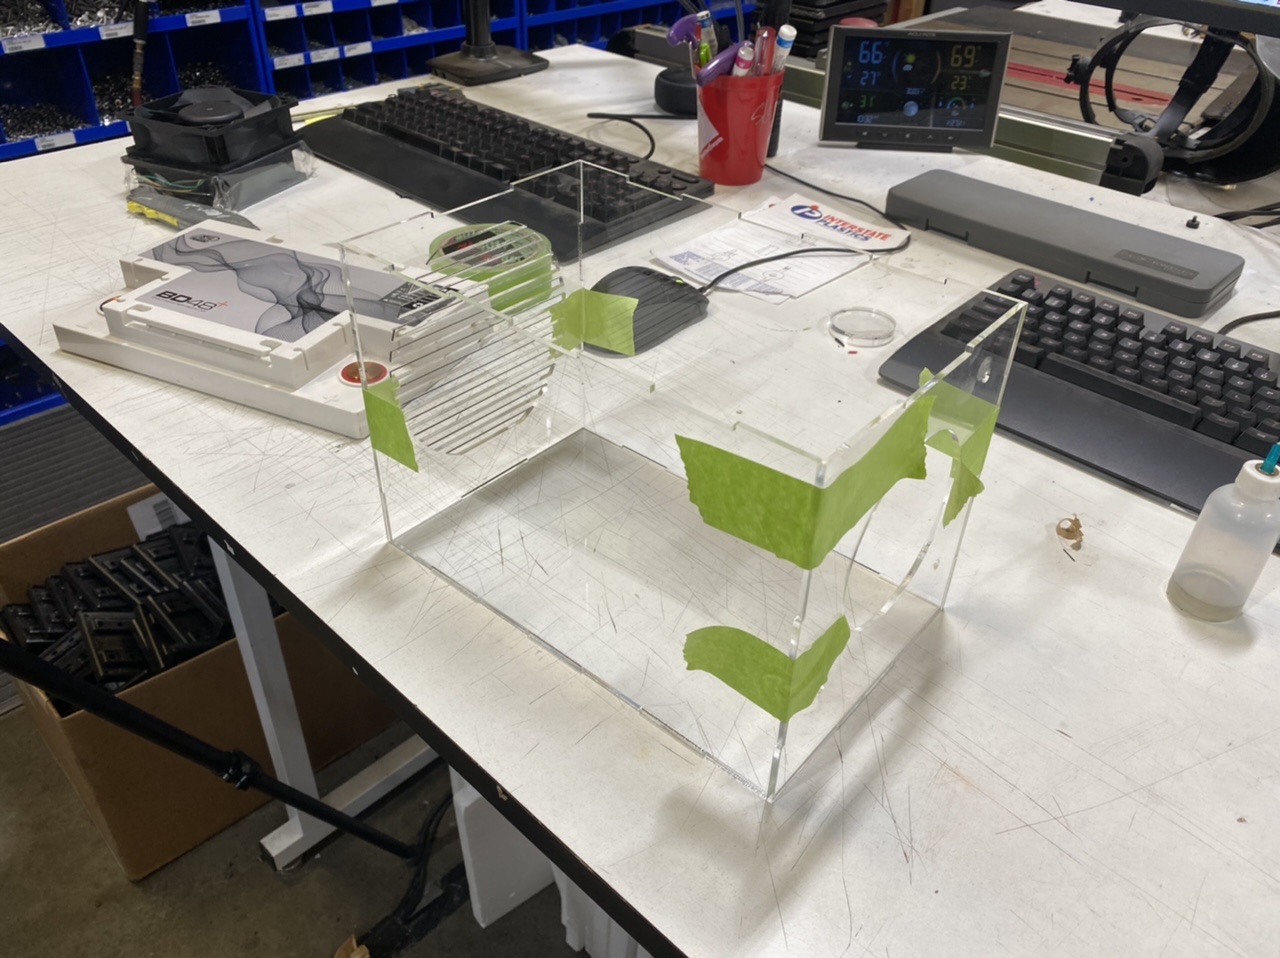
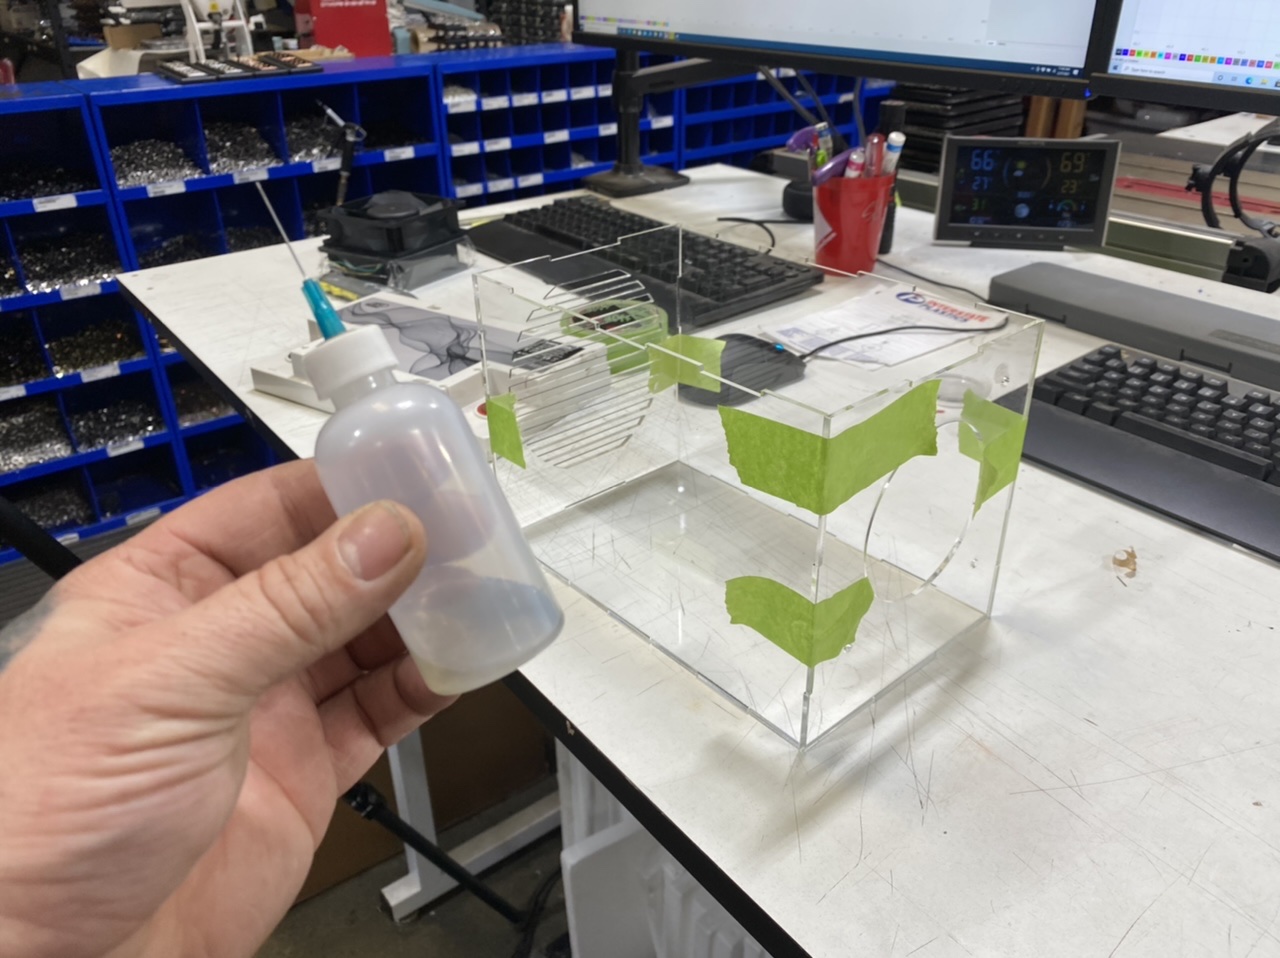
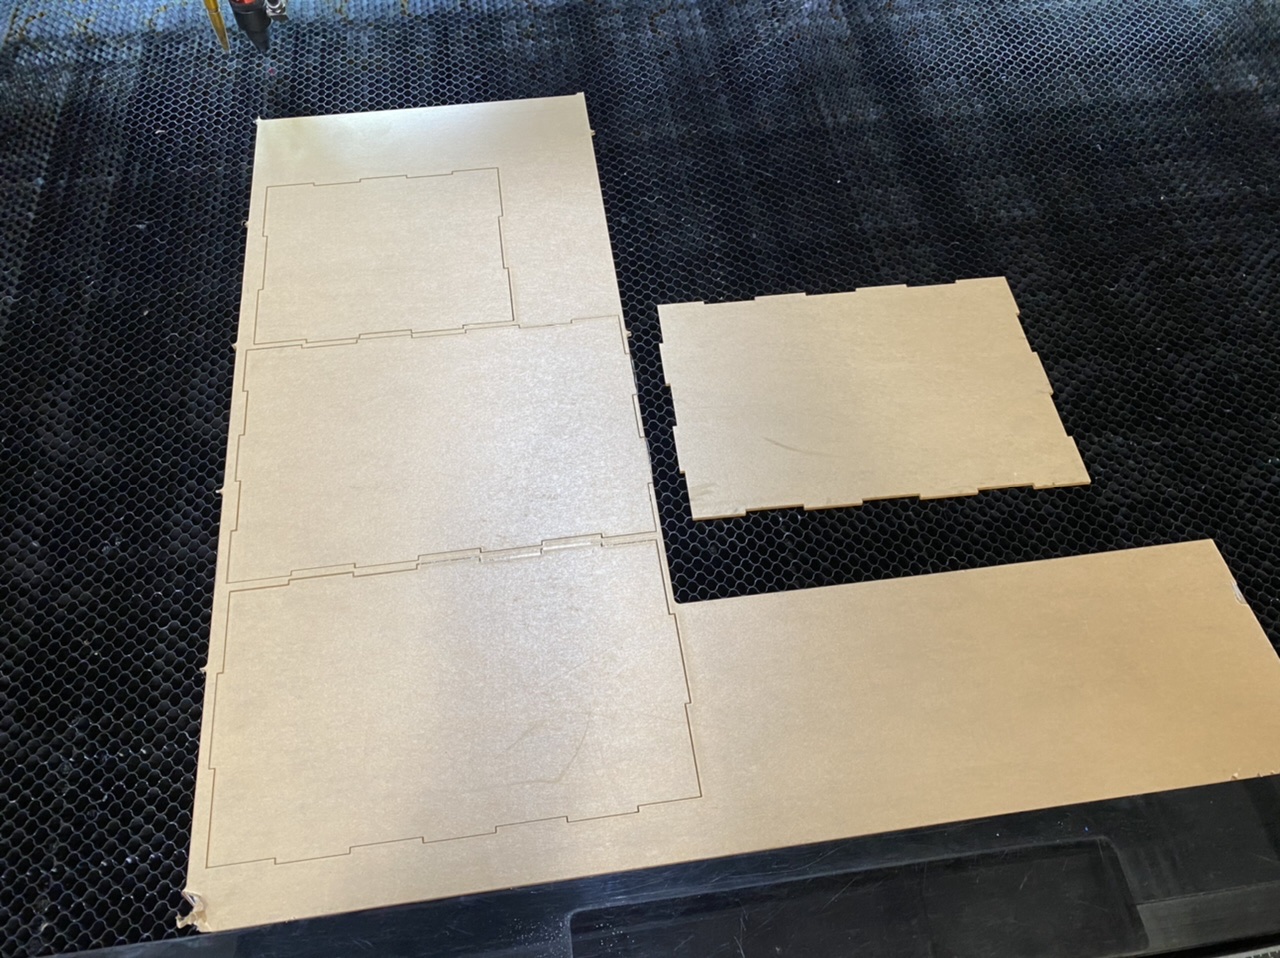
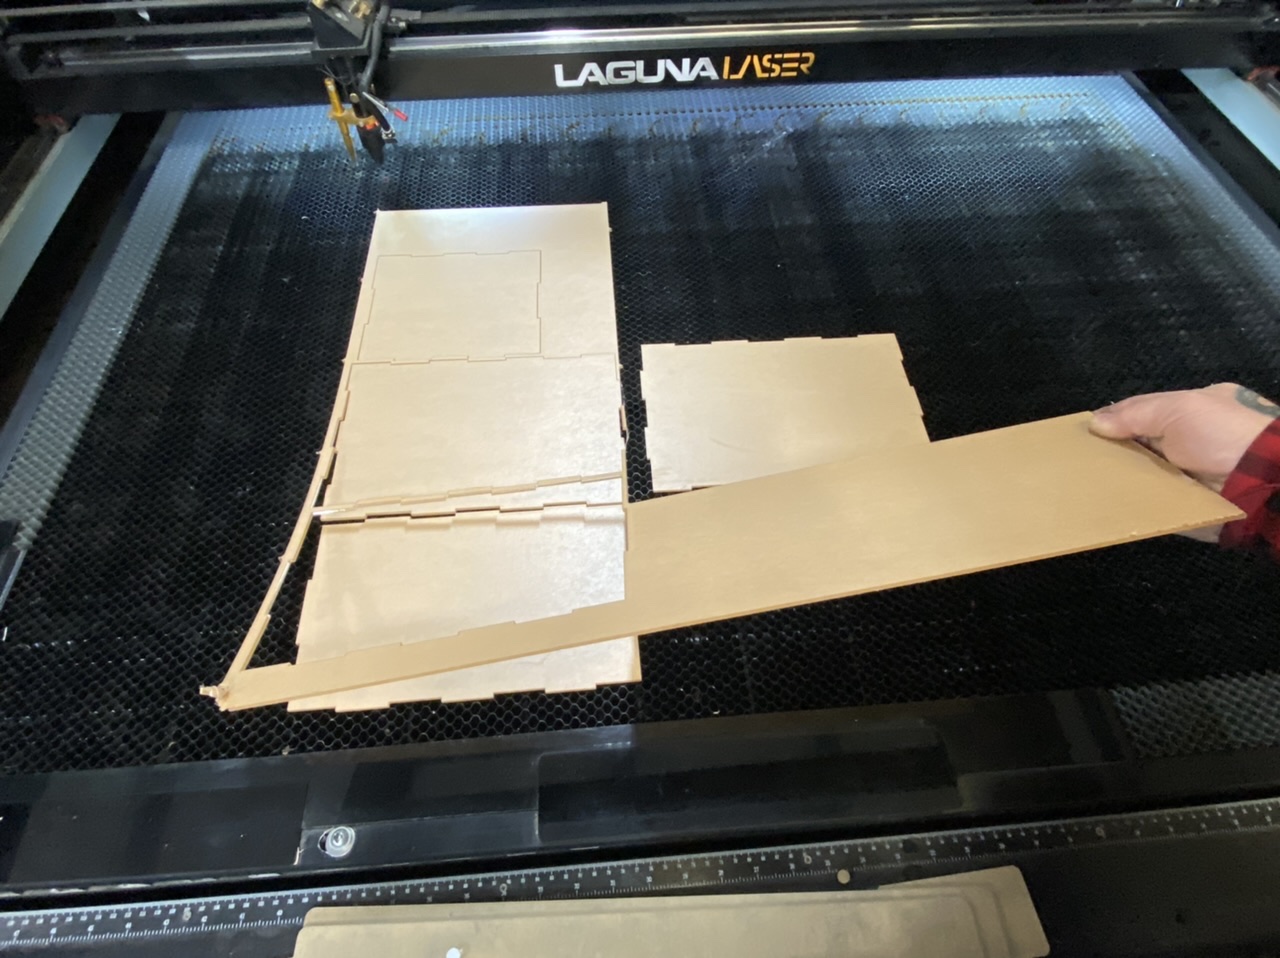
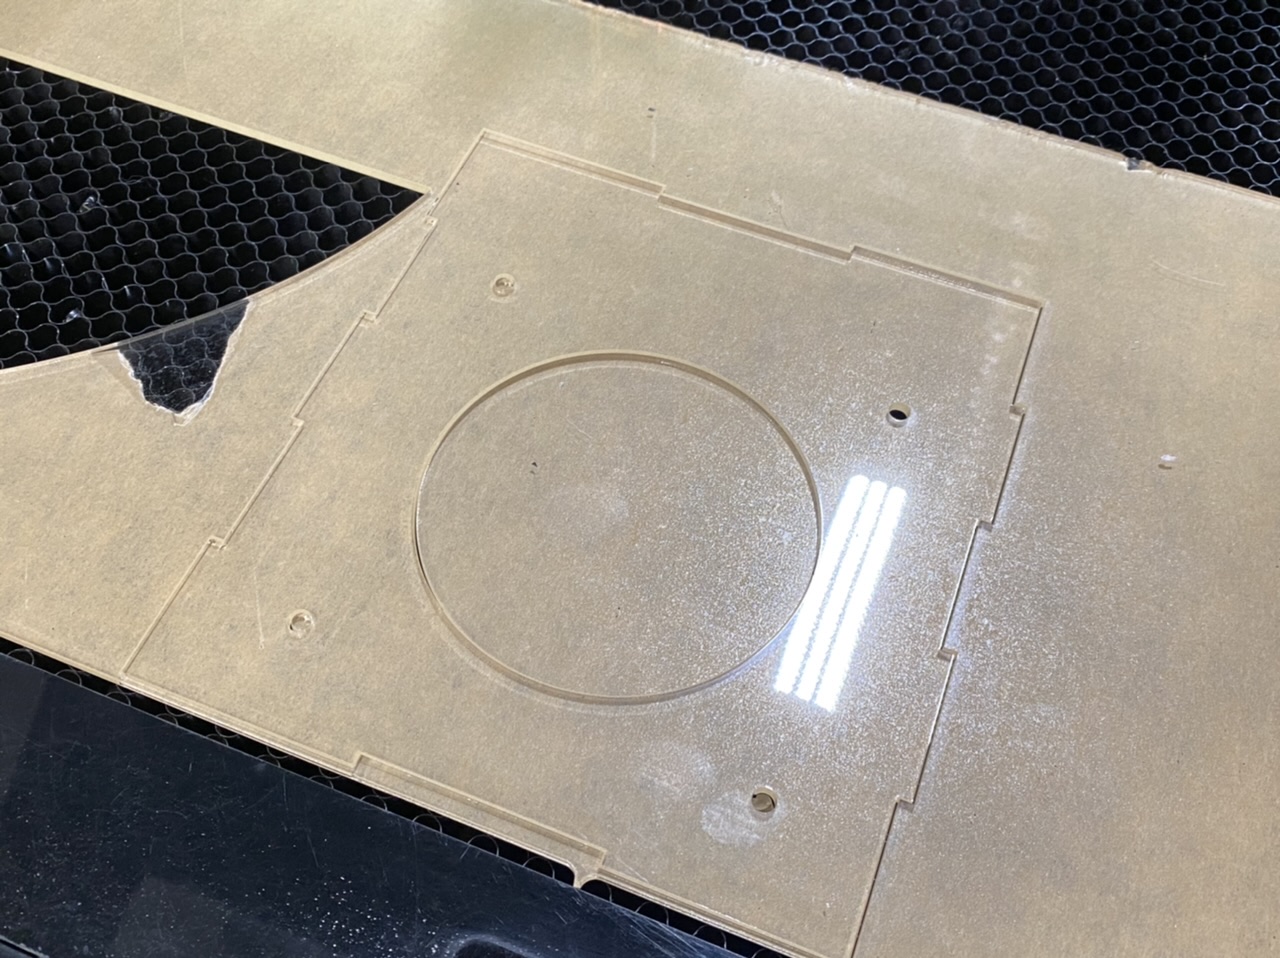
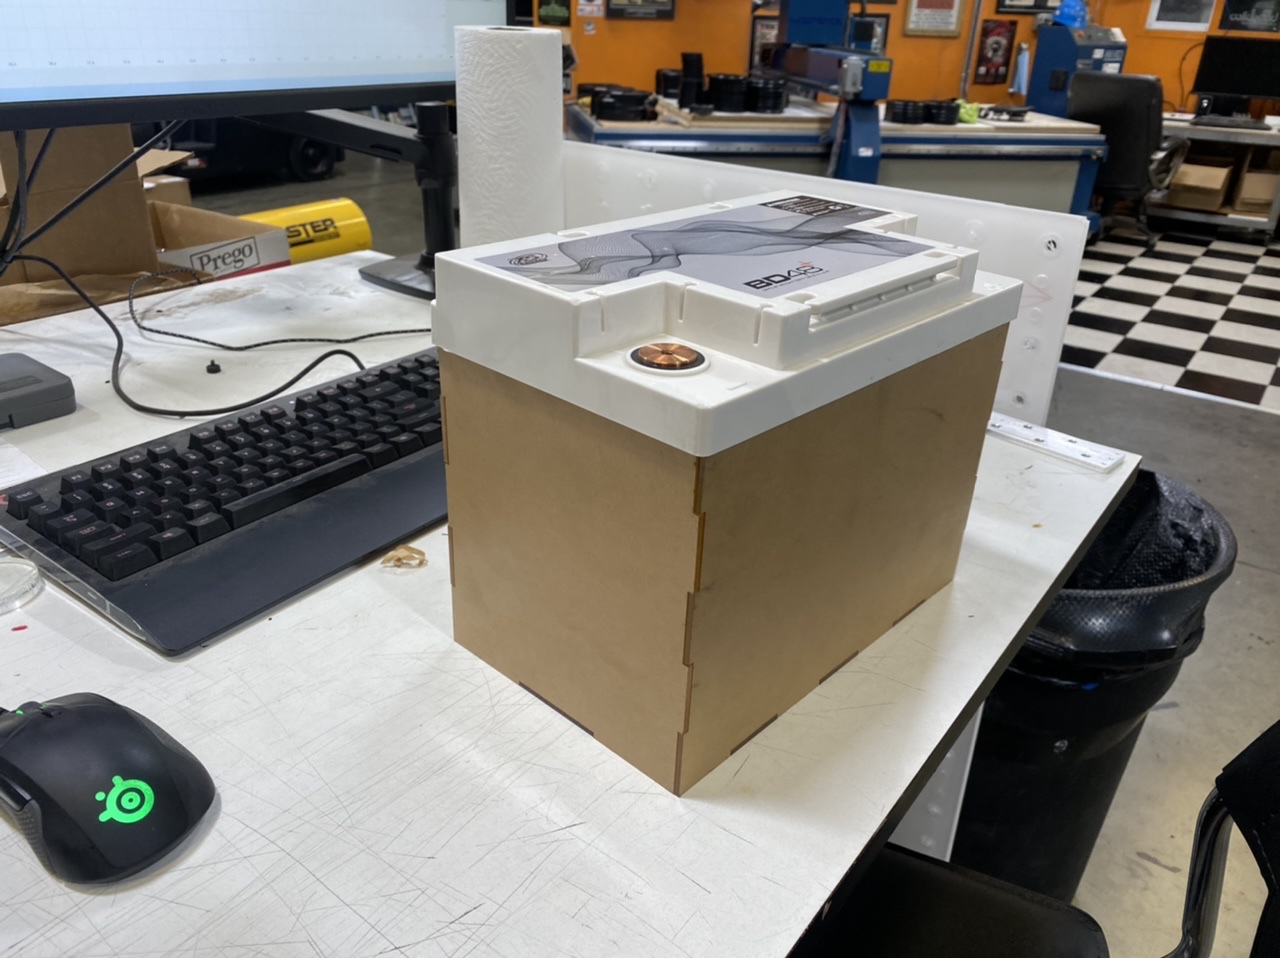
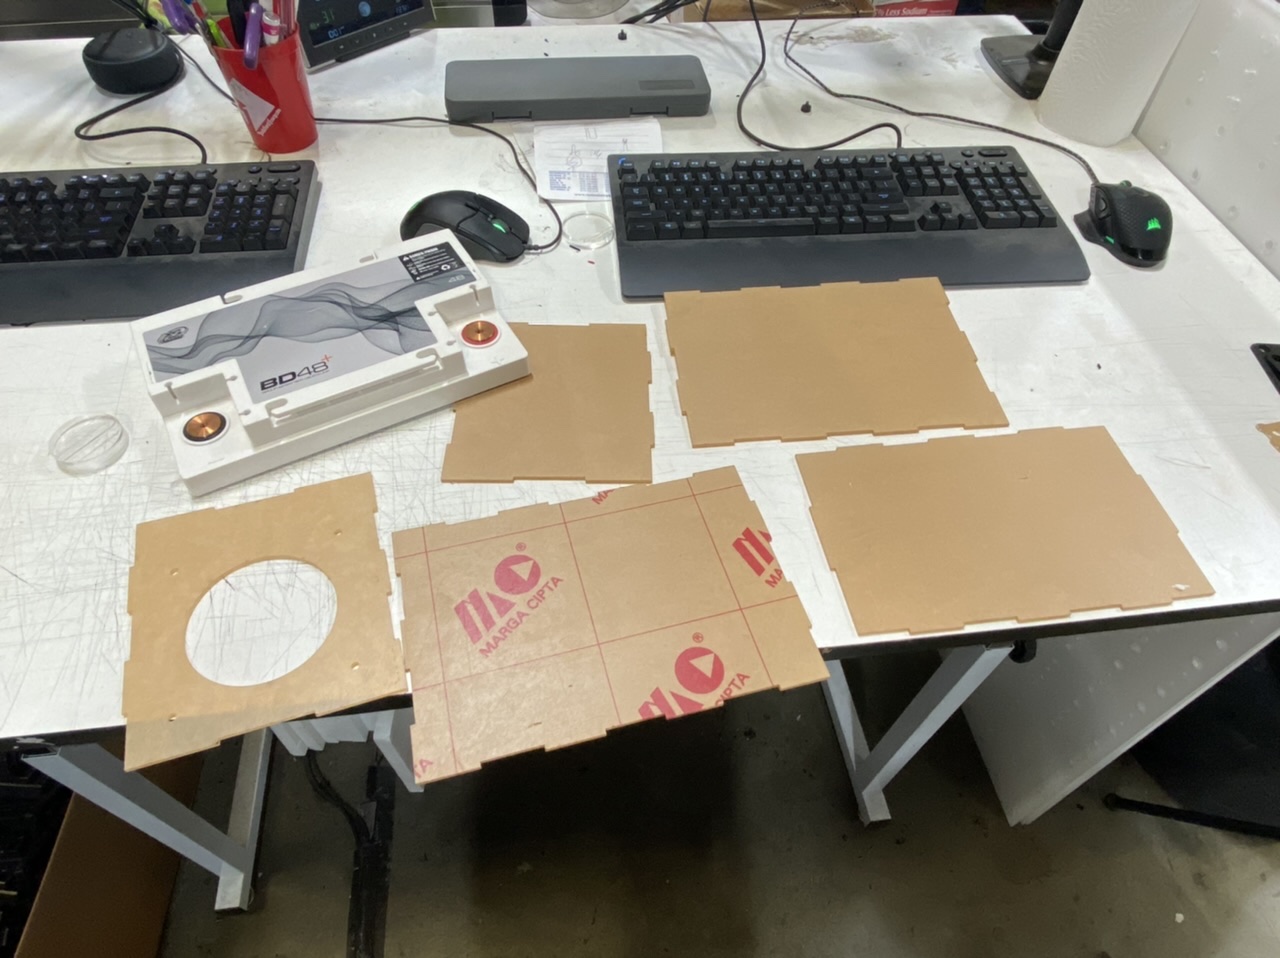
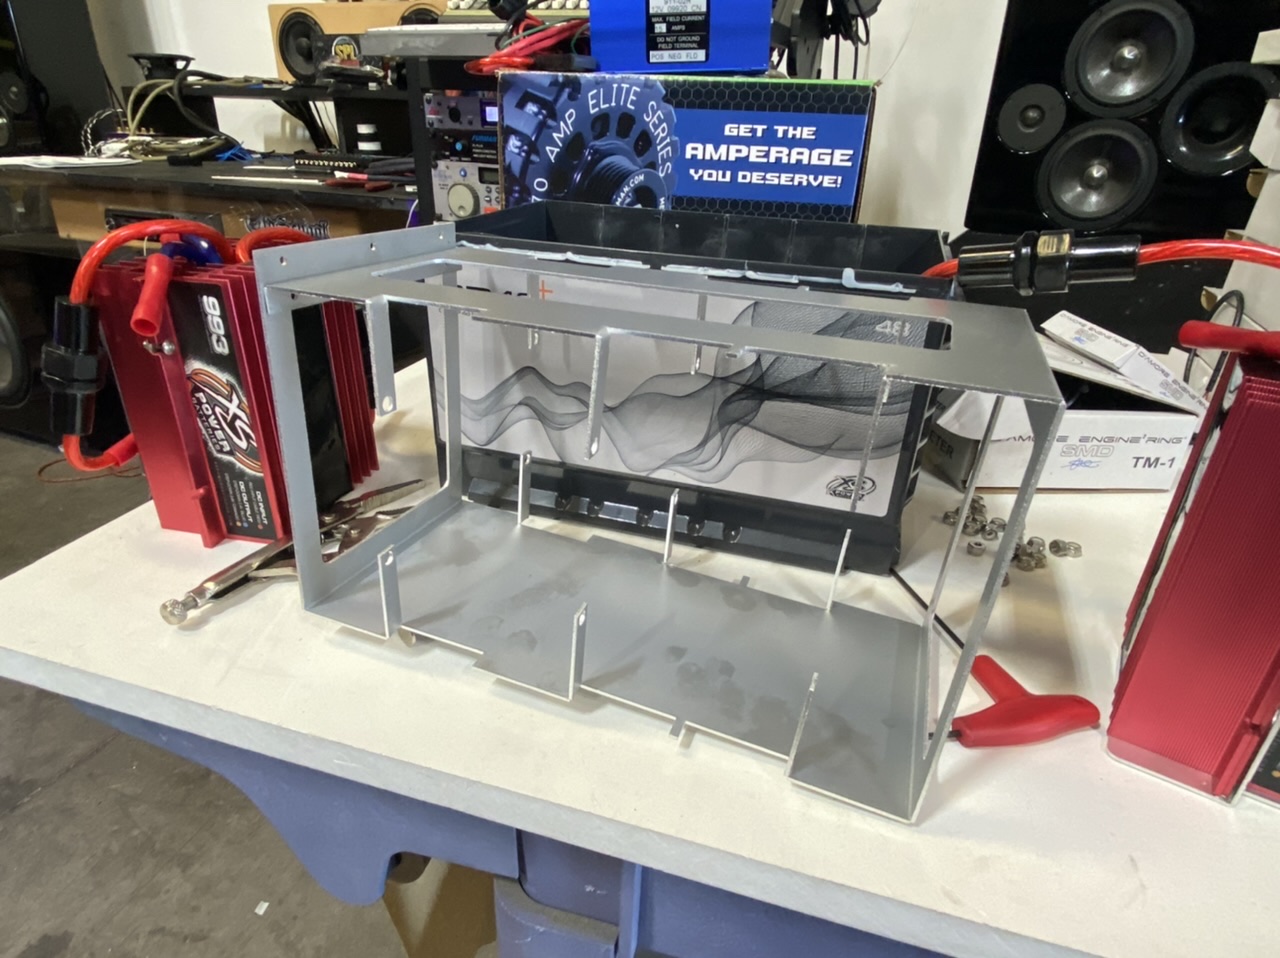
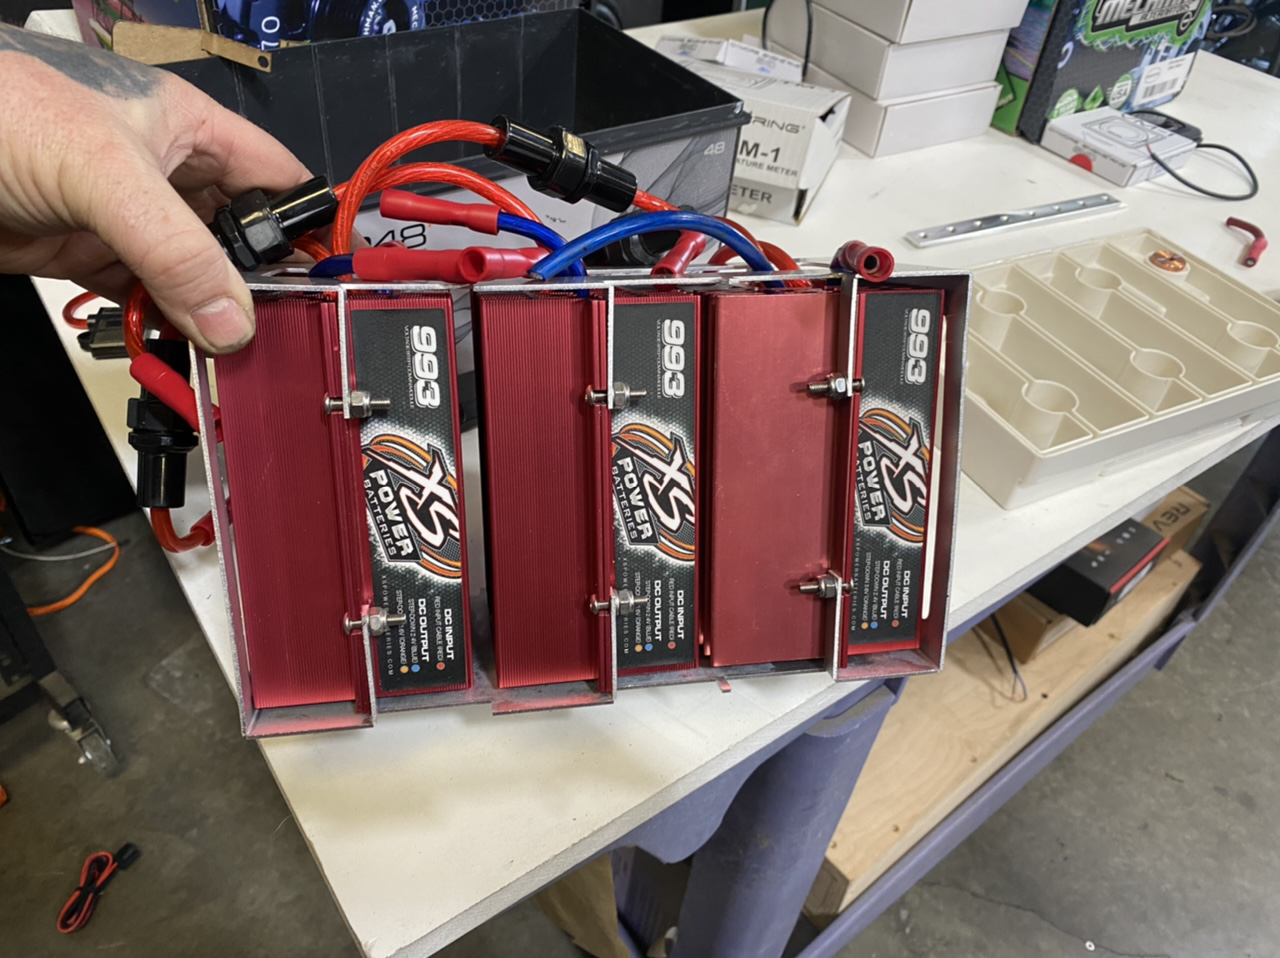
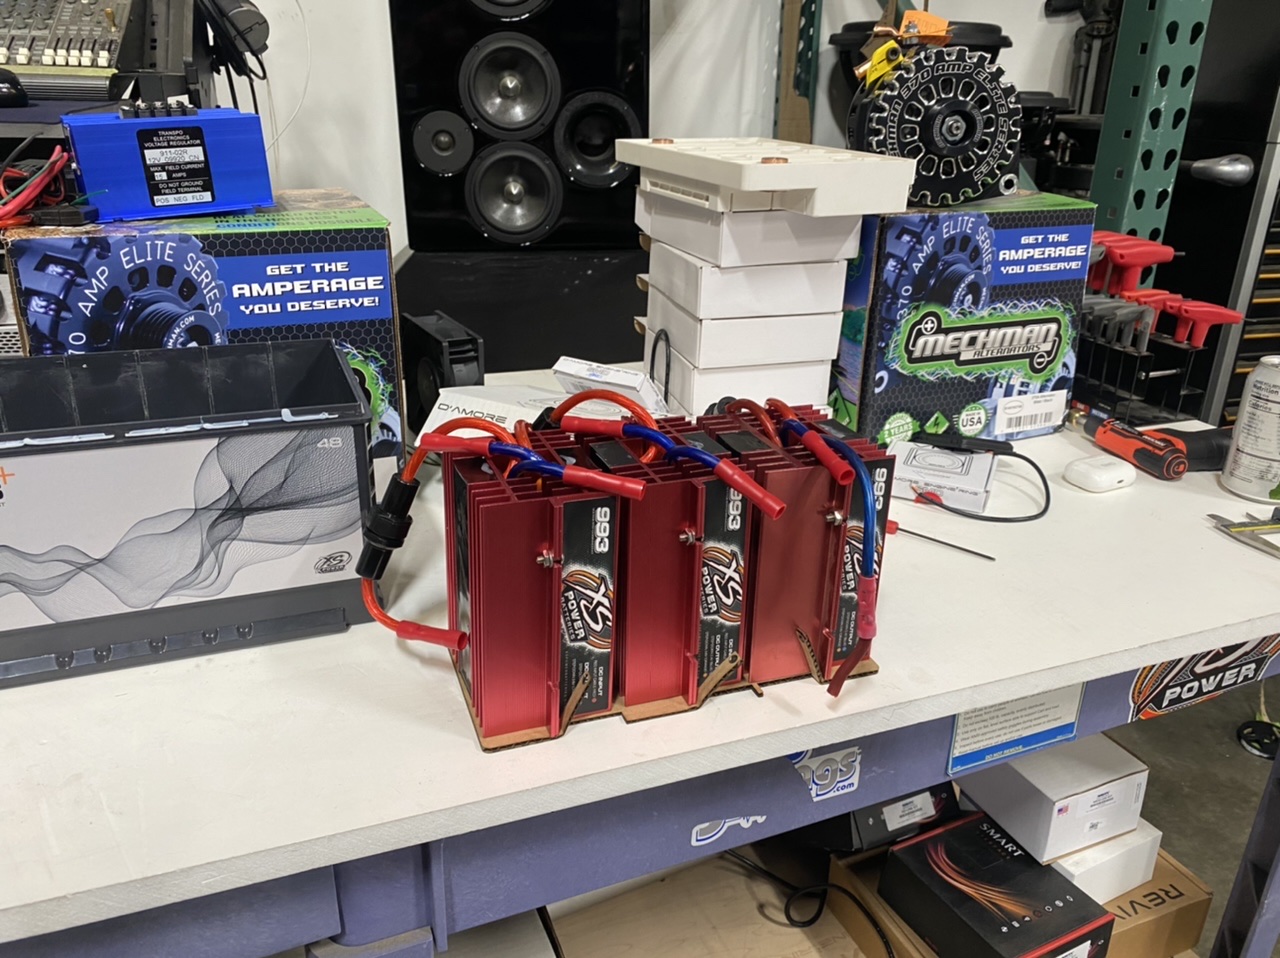
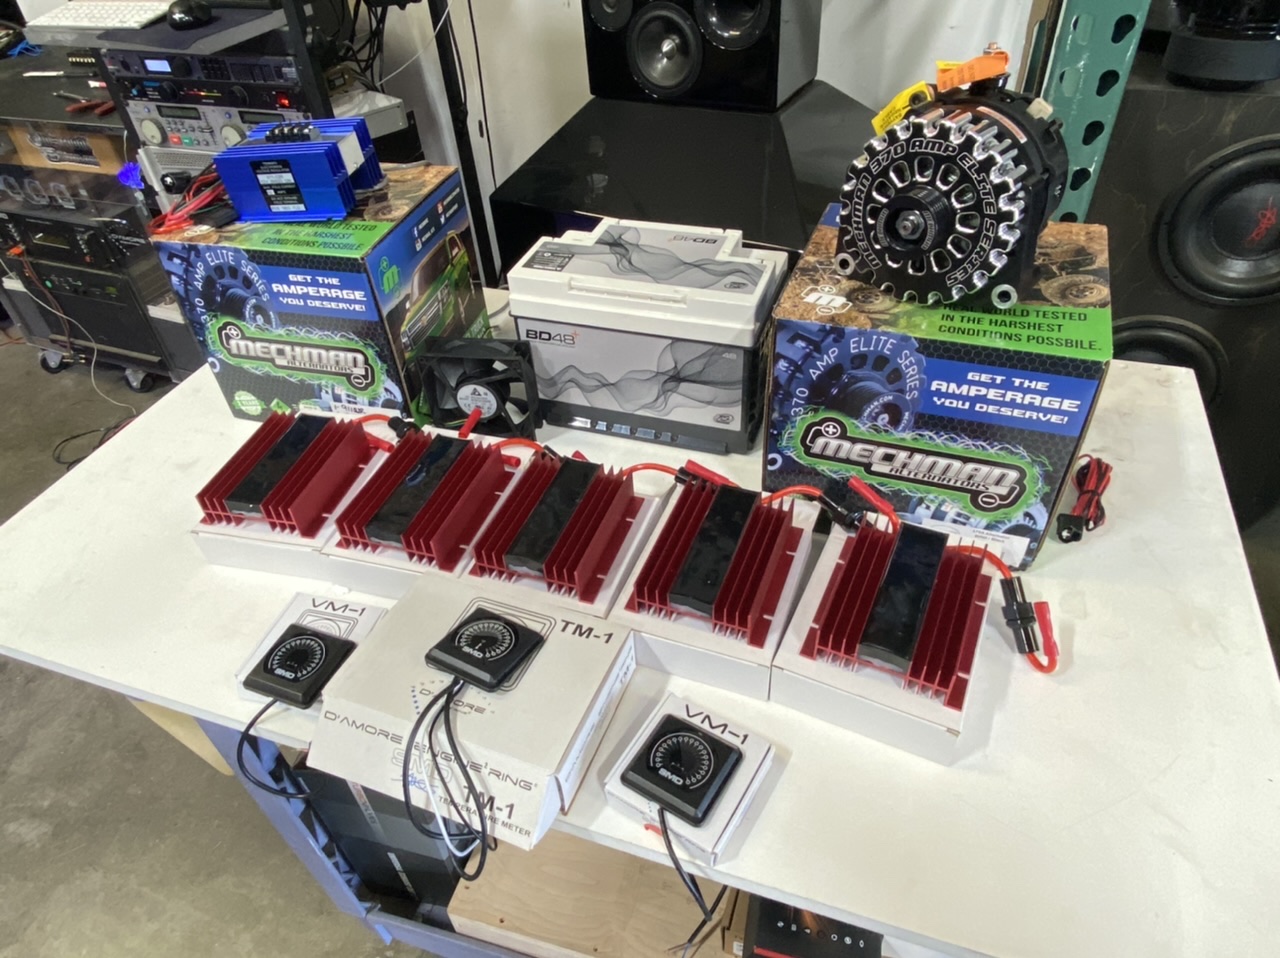
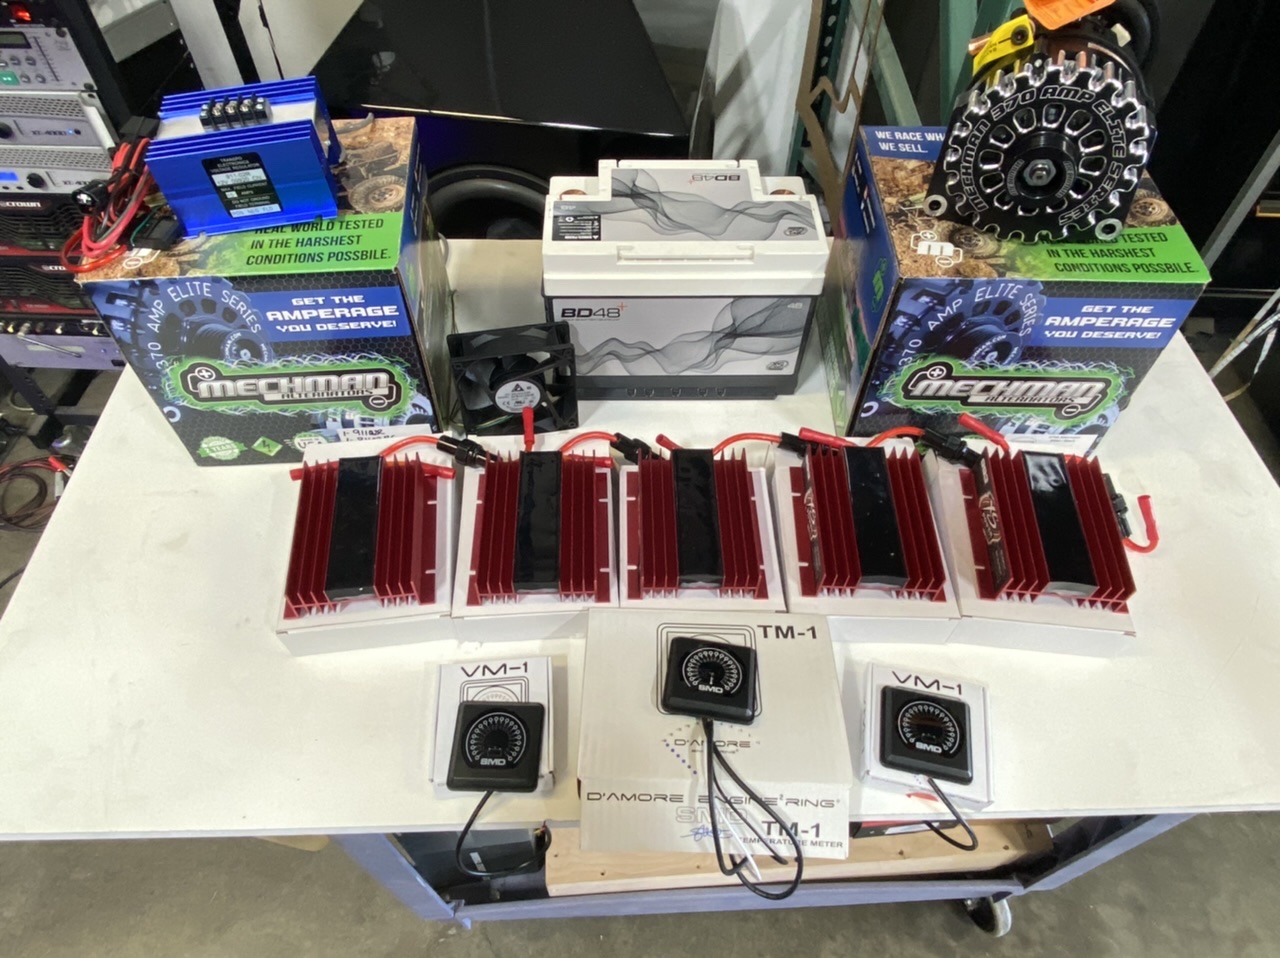
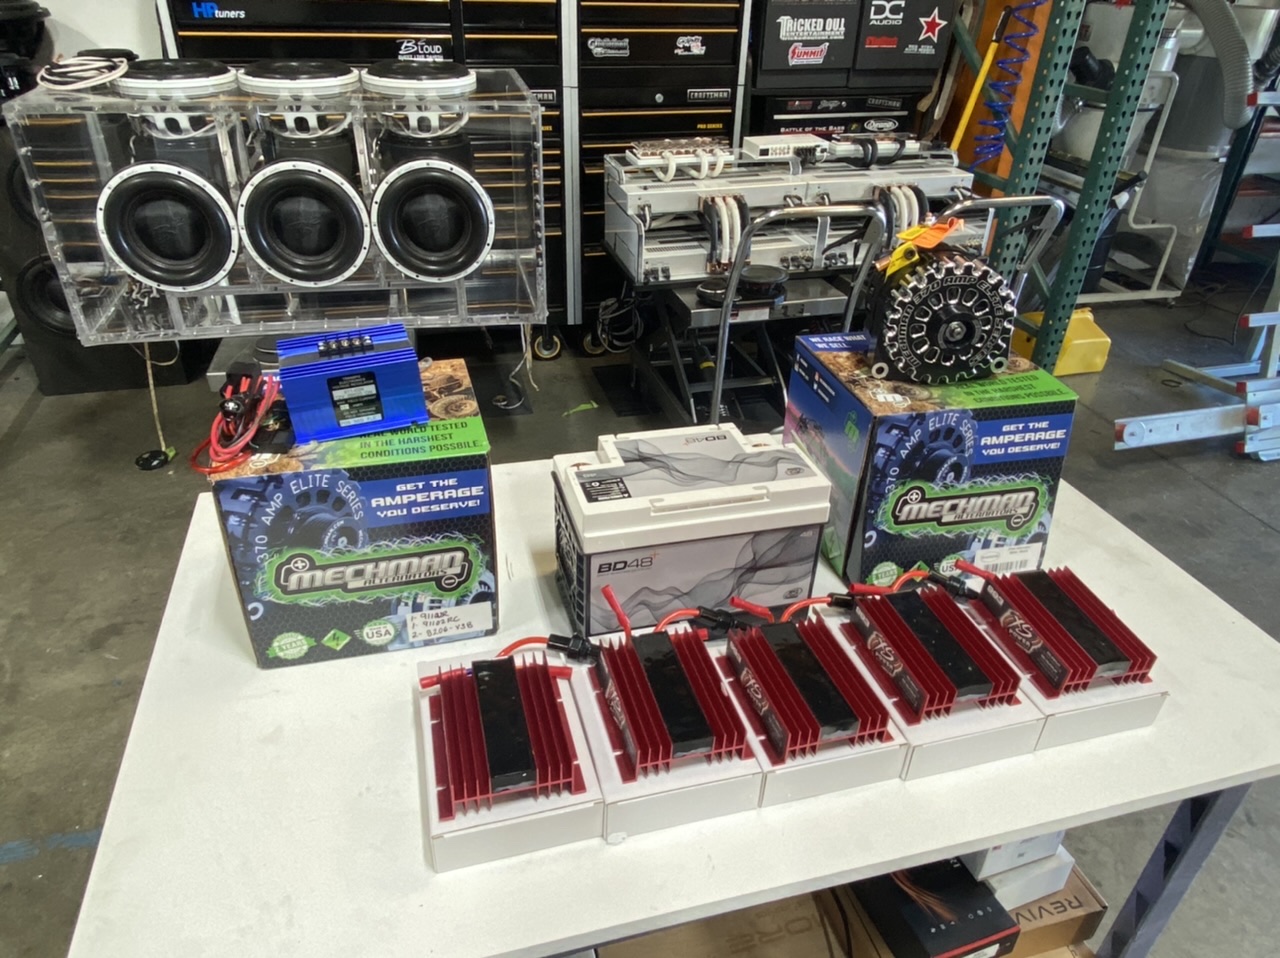
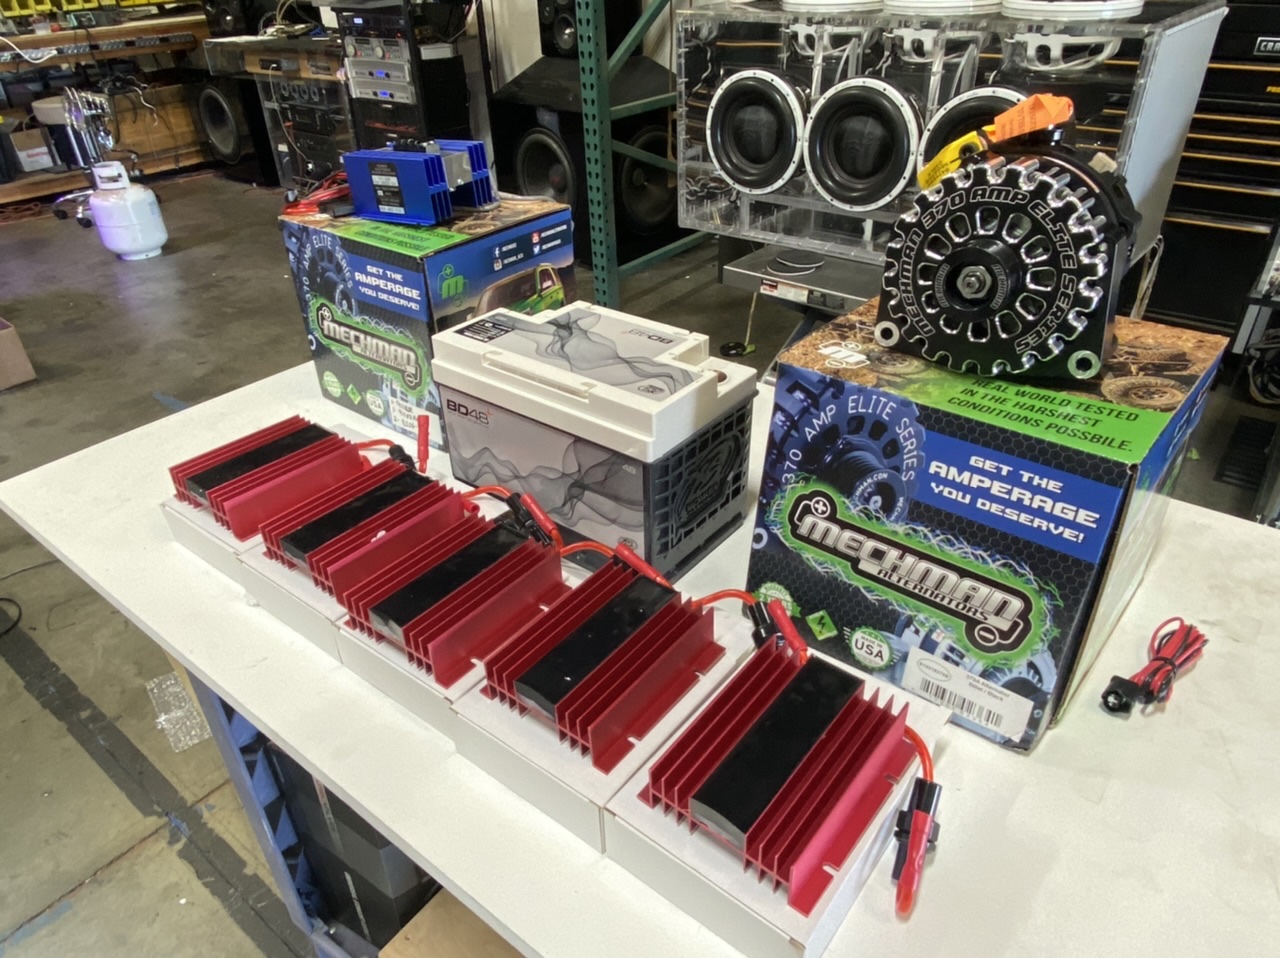
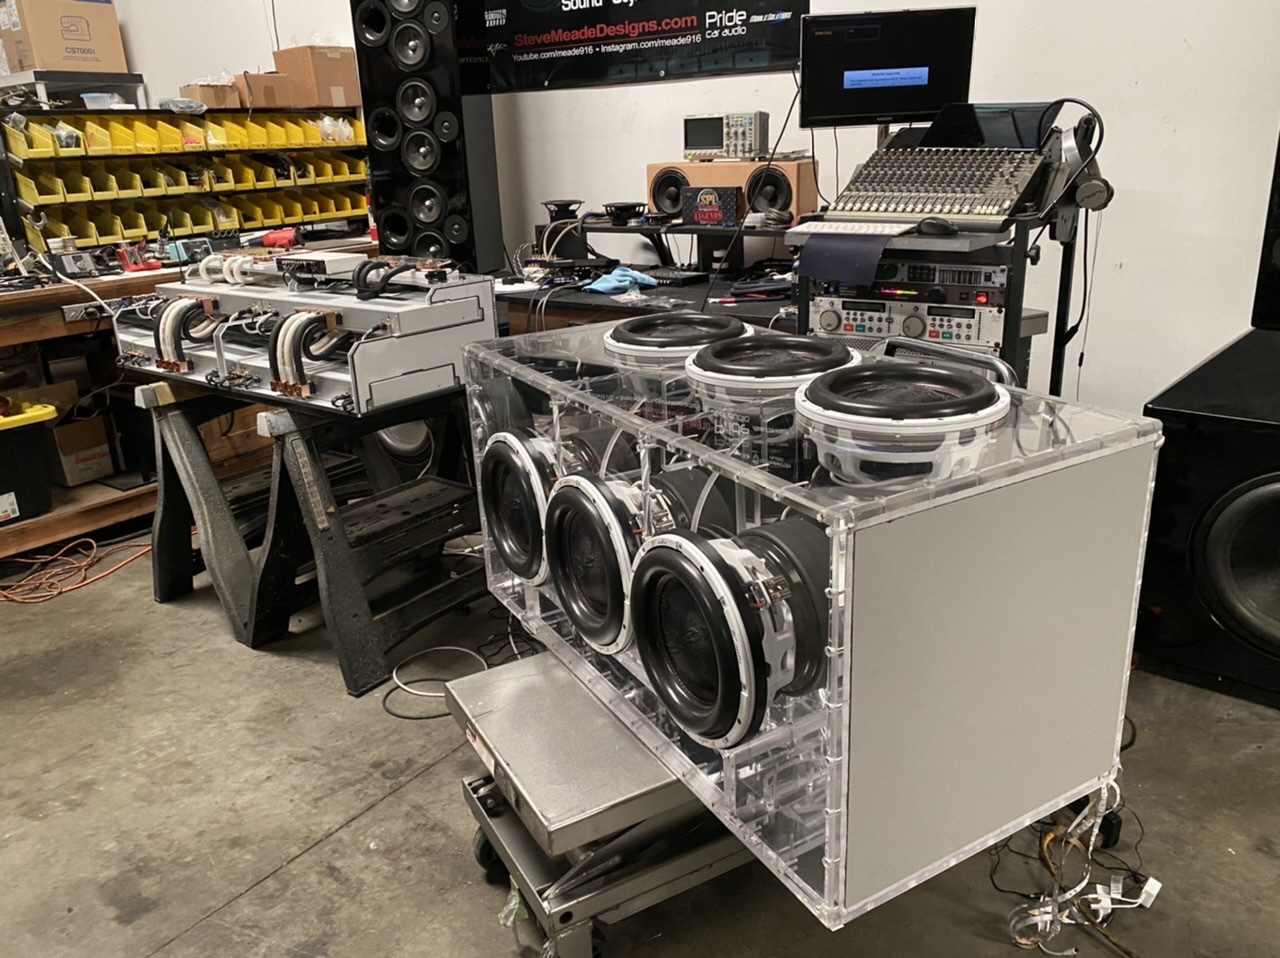
Time to step my game DOWN. In order to get these 6 modules in the empty battery, i had to get creative. I didn't want to just throw these in there and call it done. I wanted something at least half way proper. It always starts with cardboard though!
-
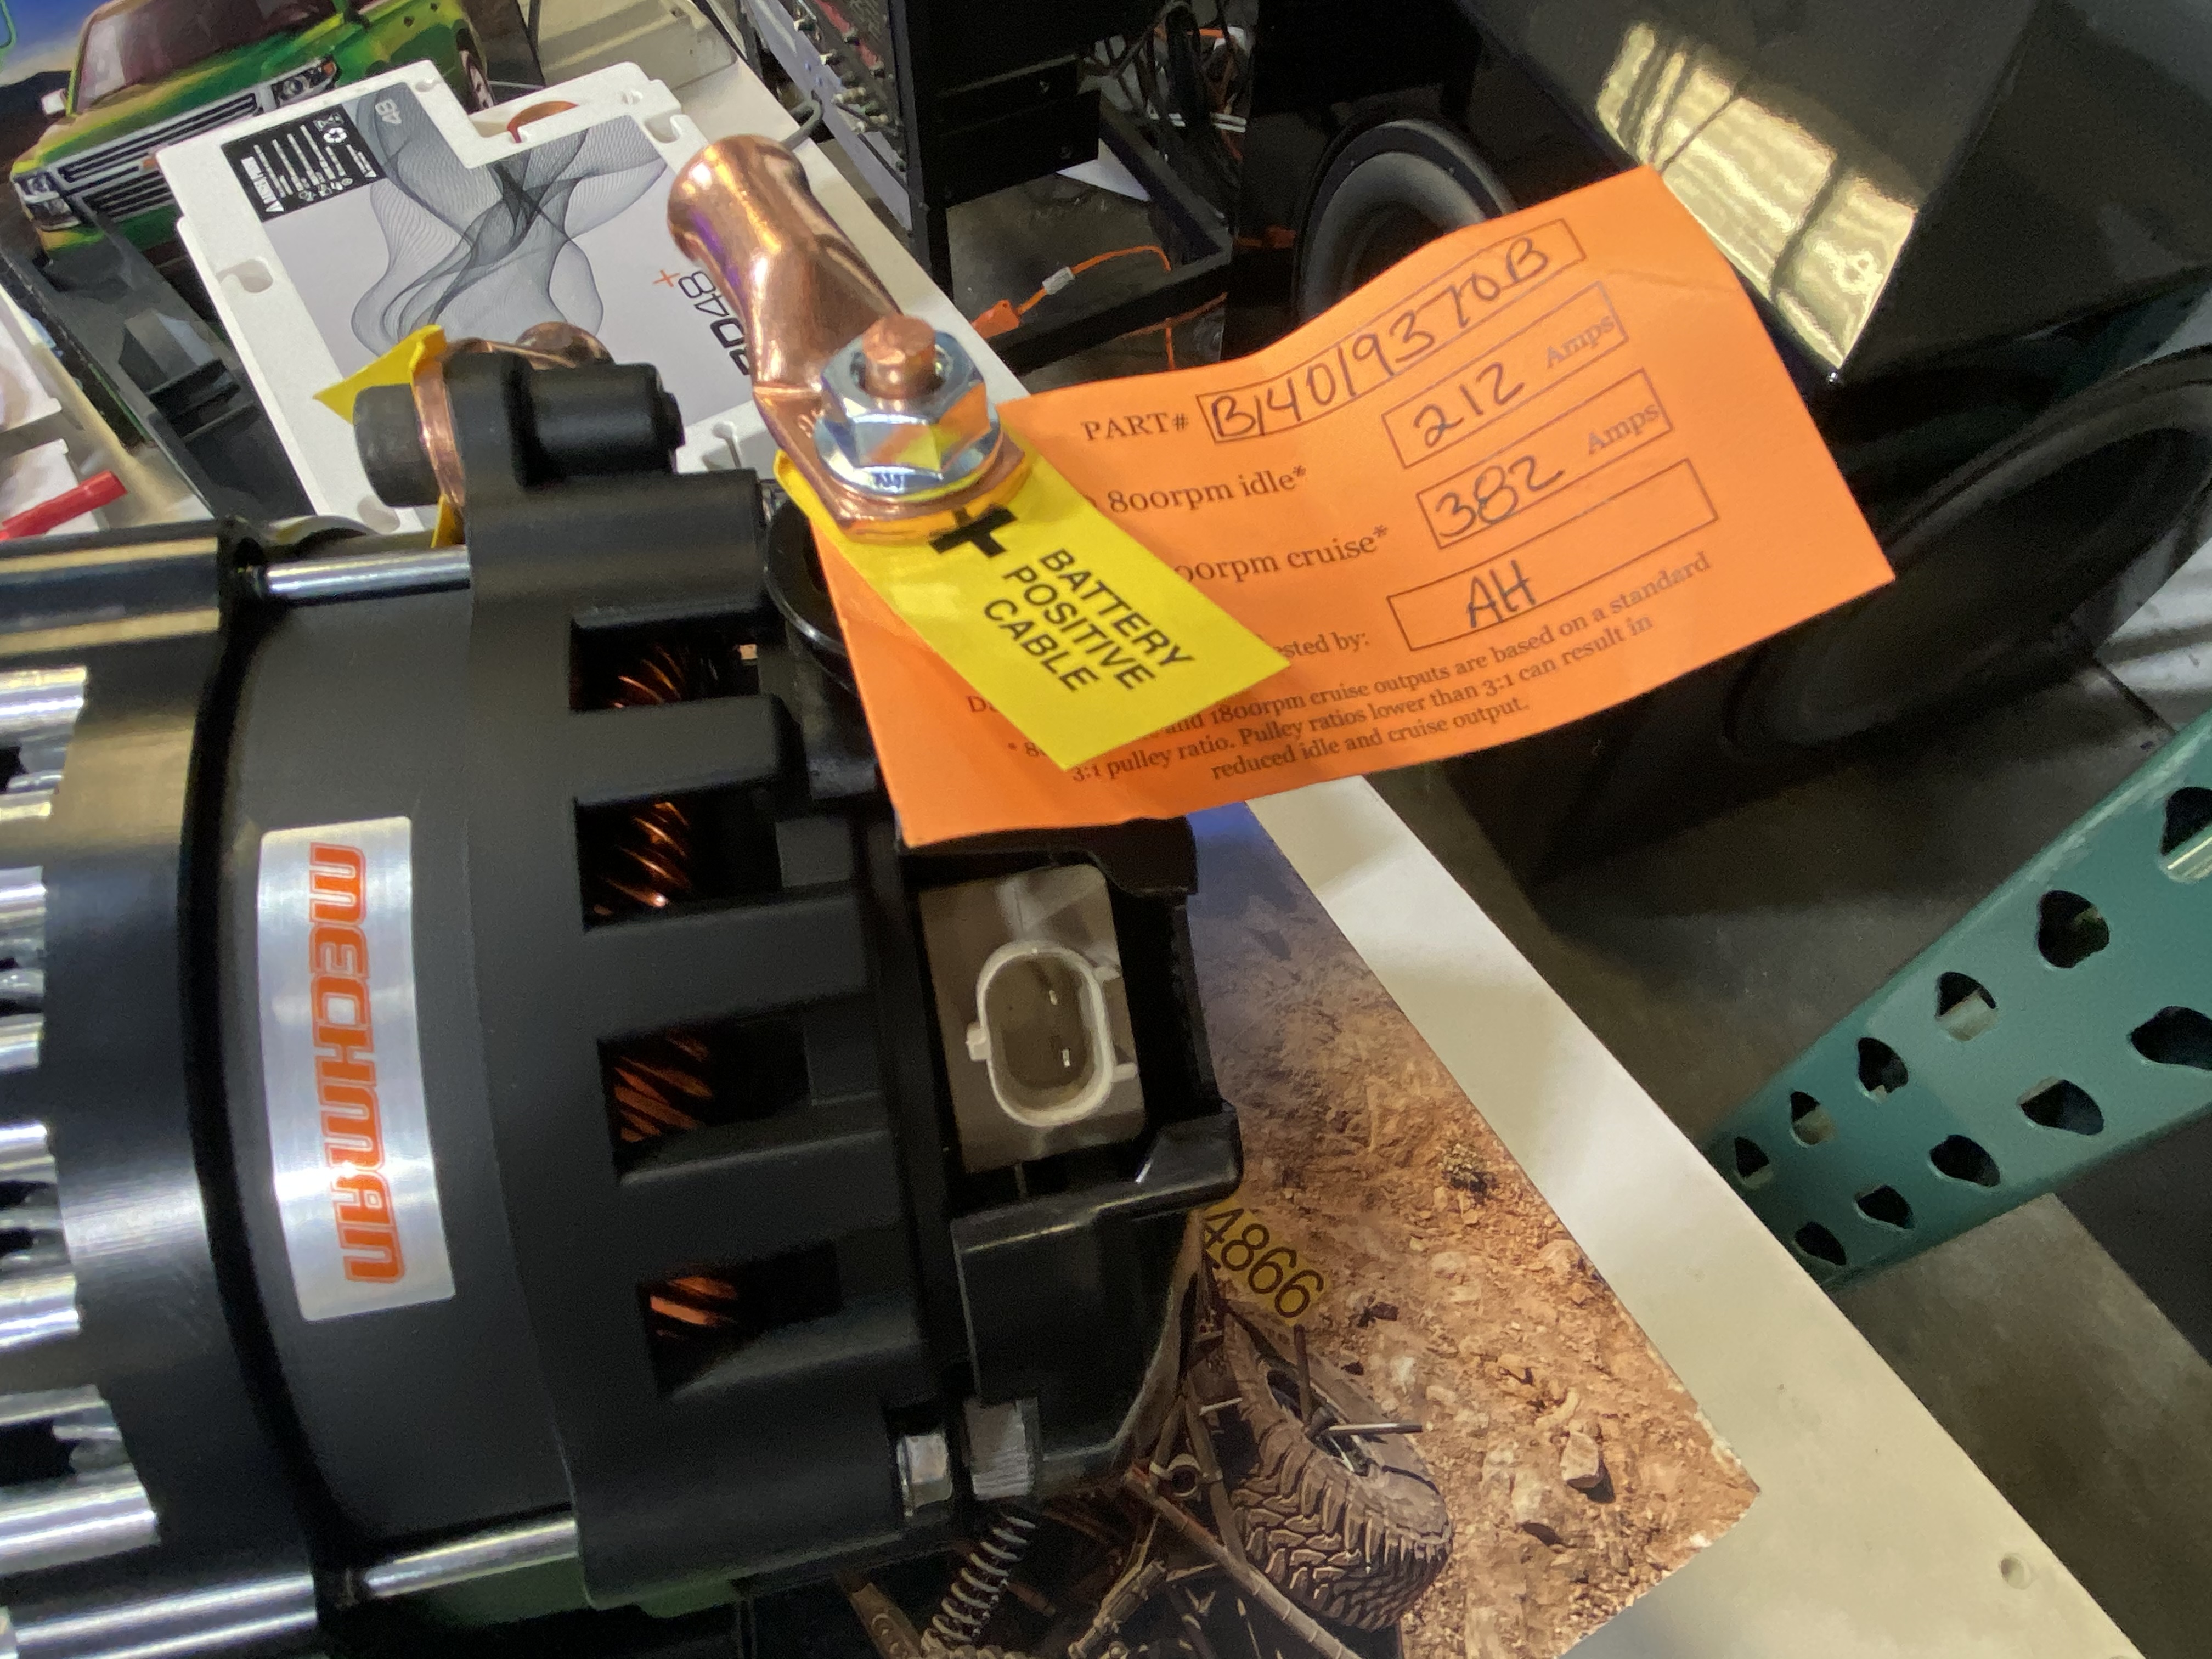
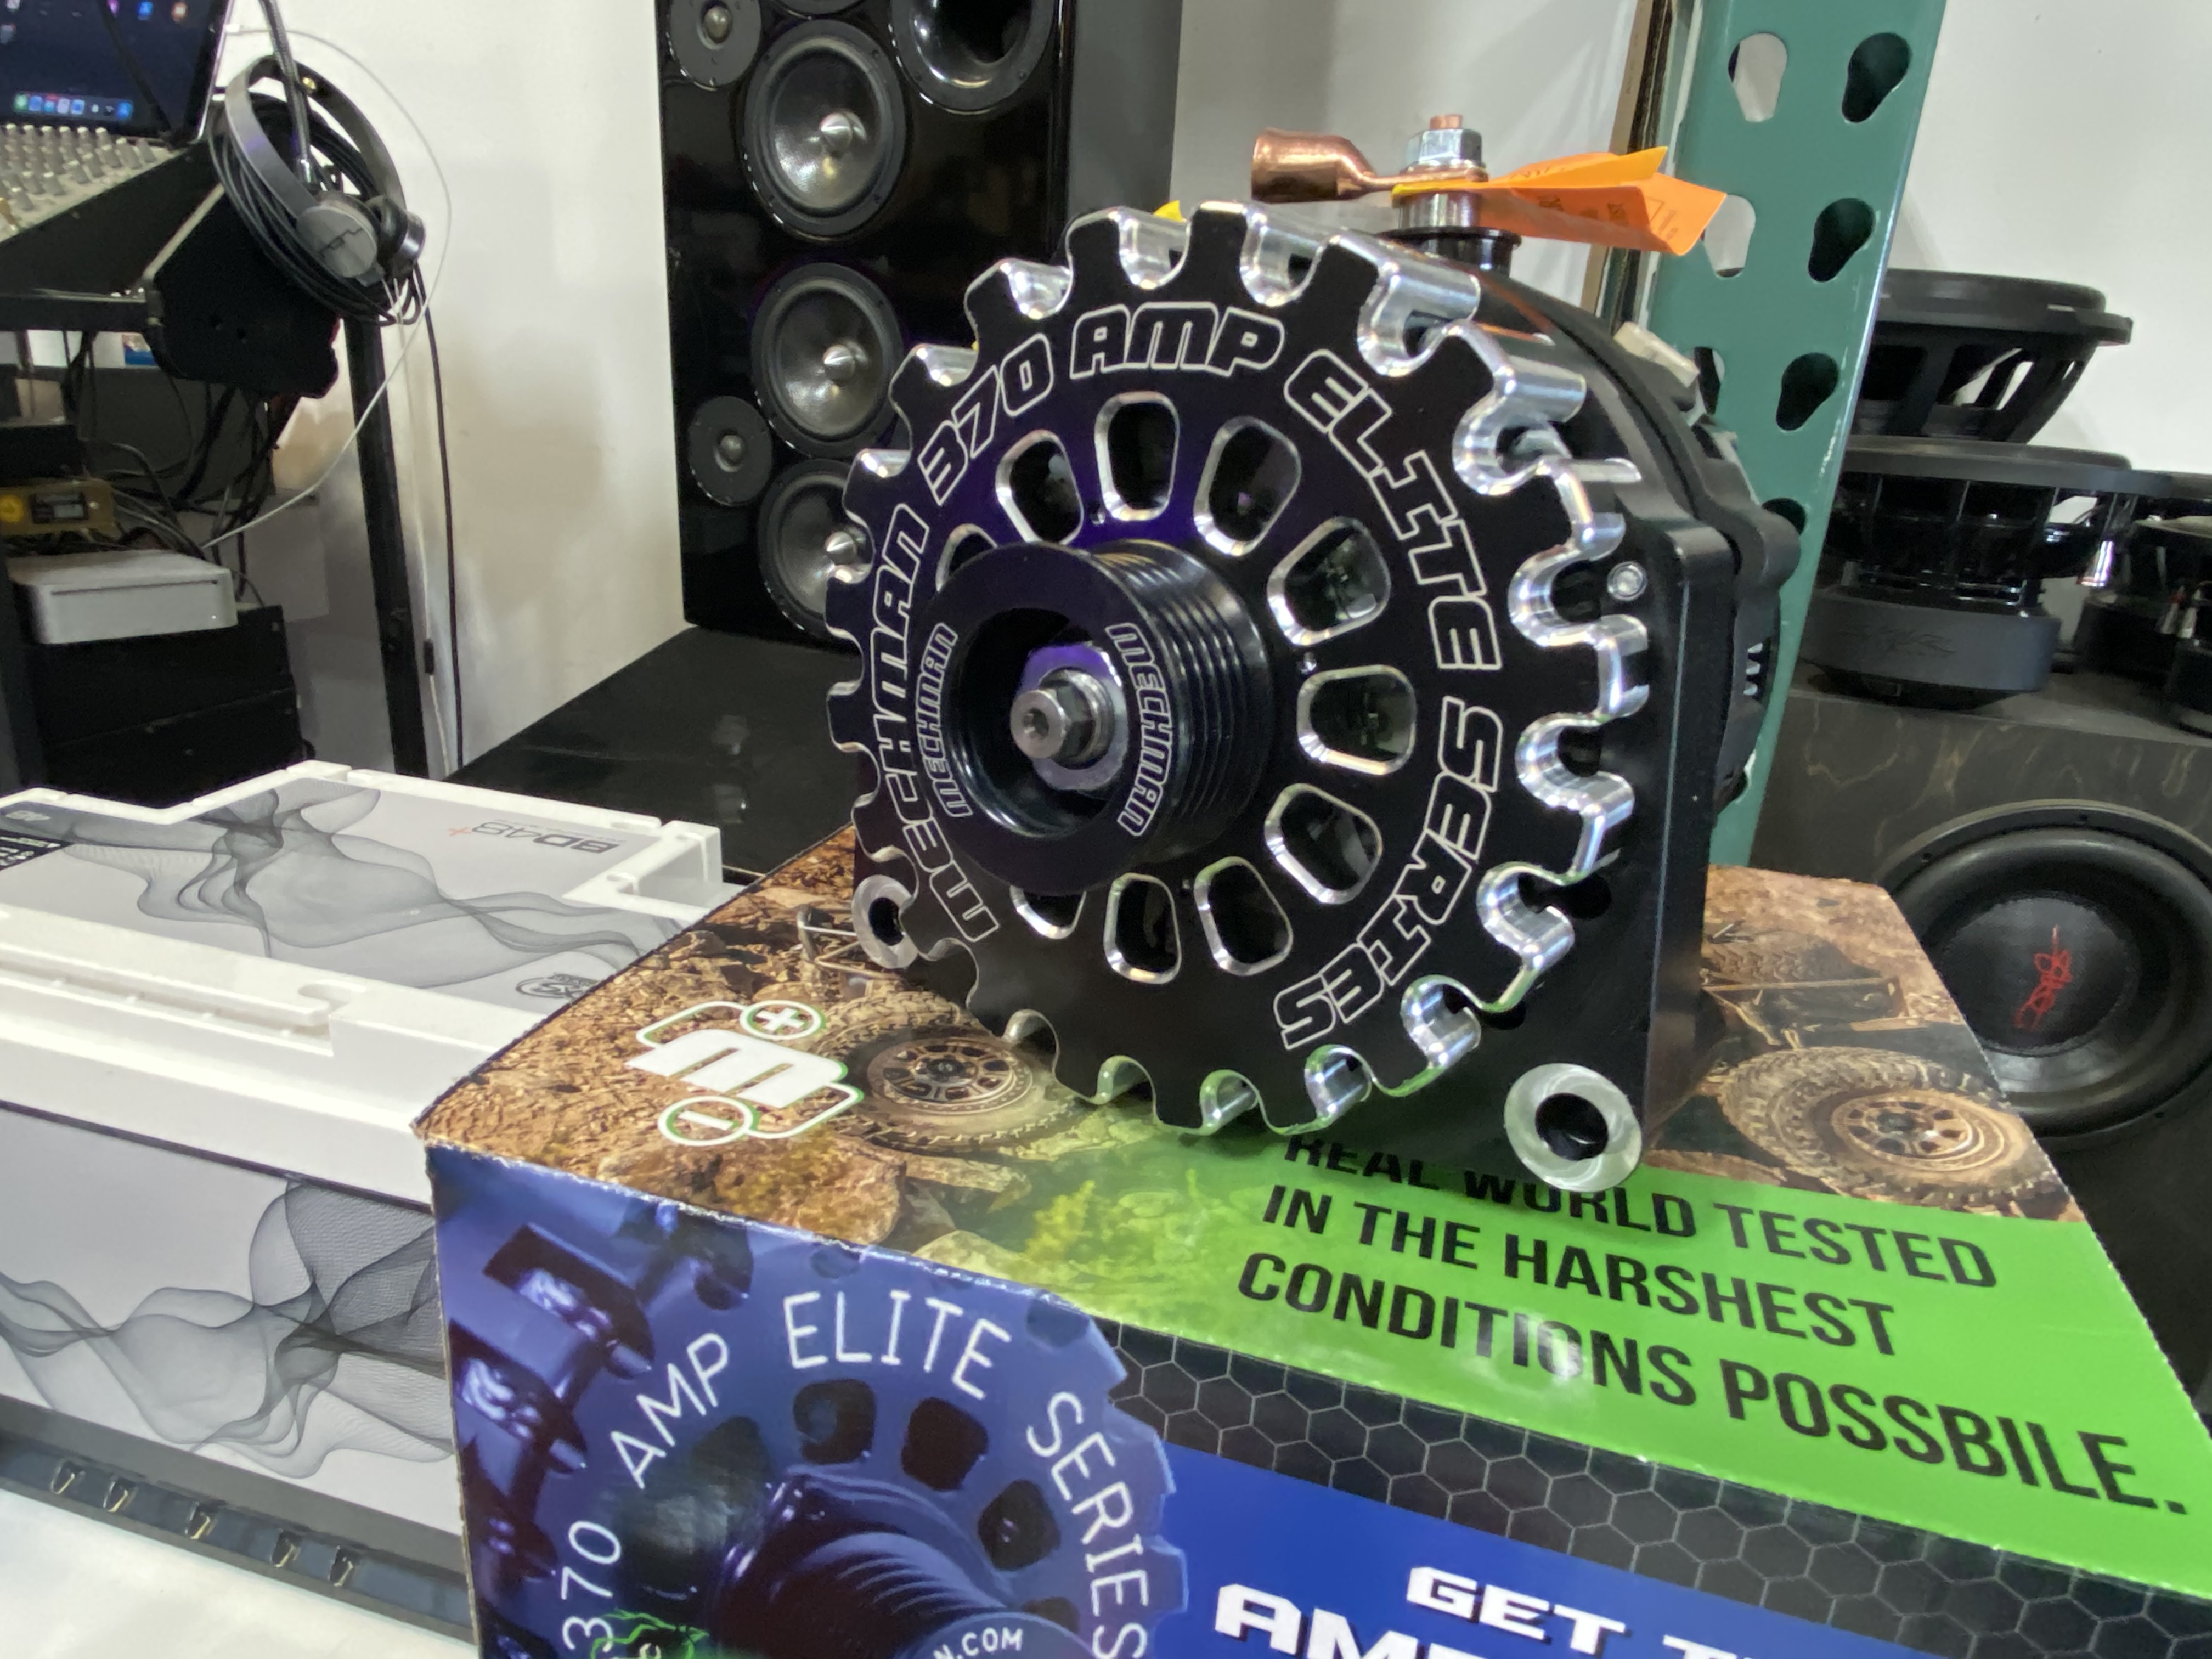
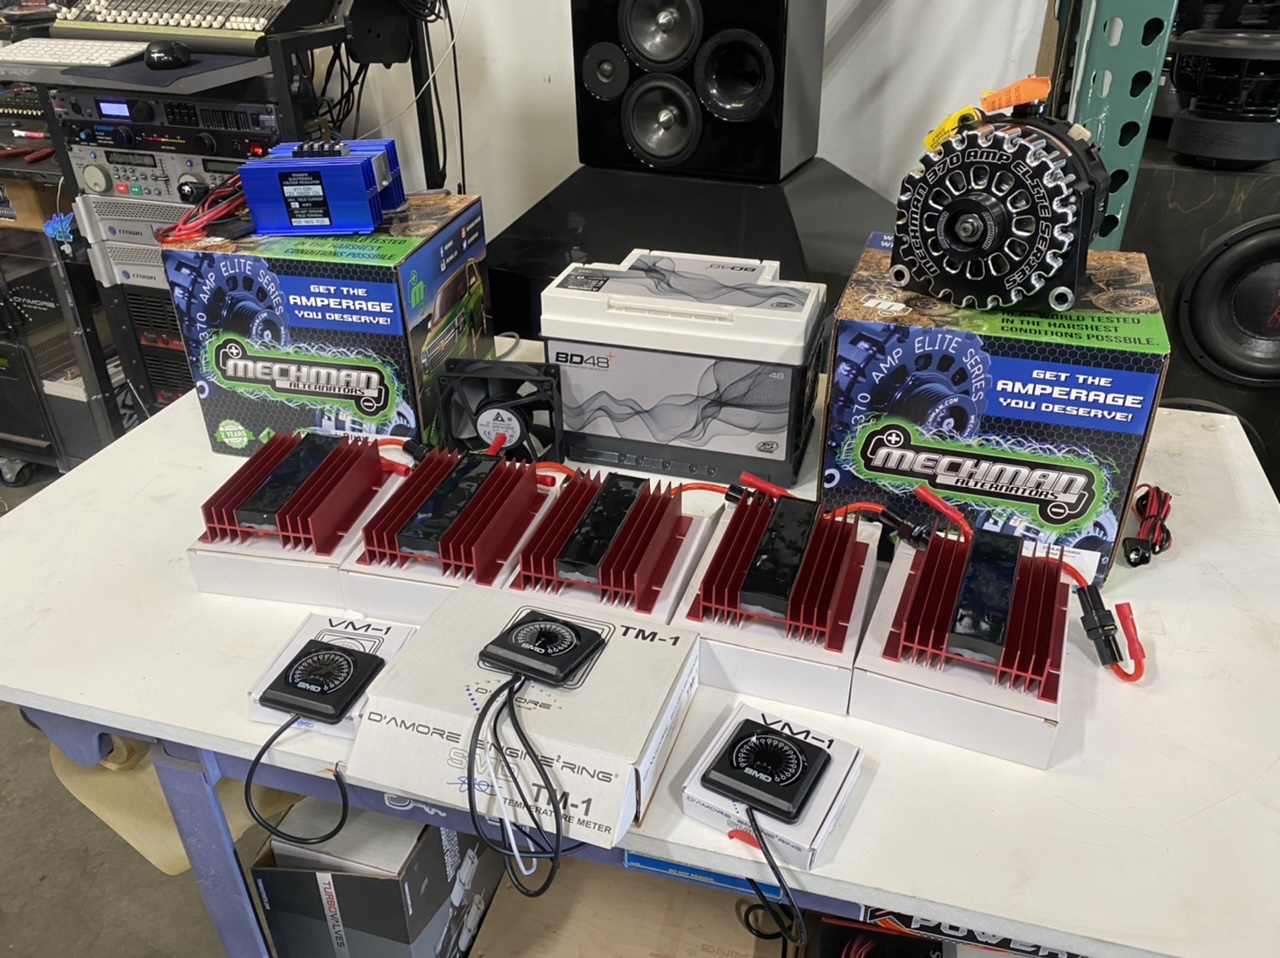
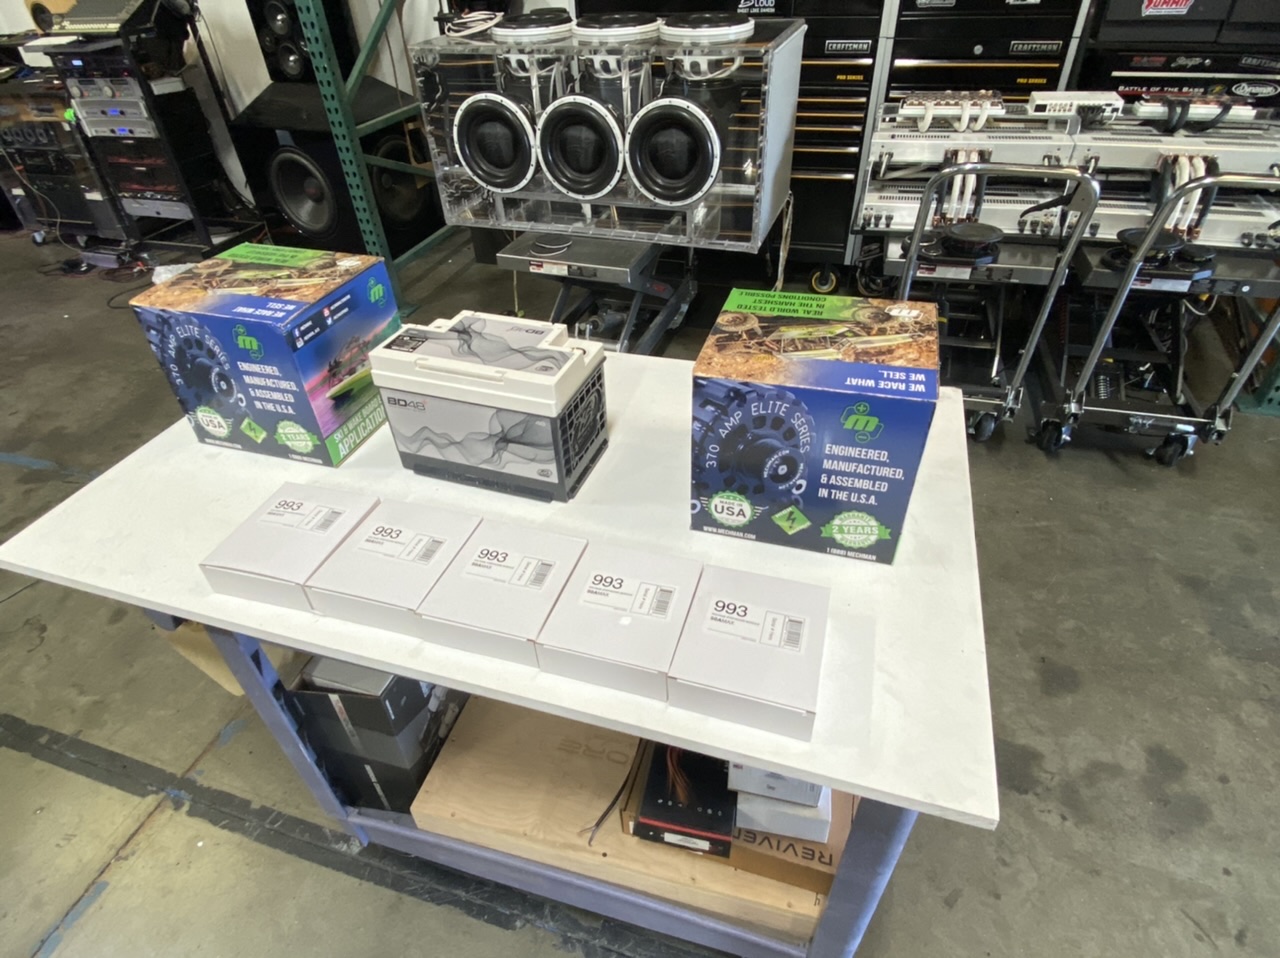
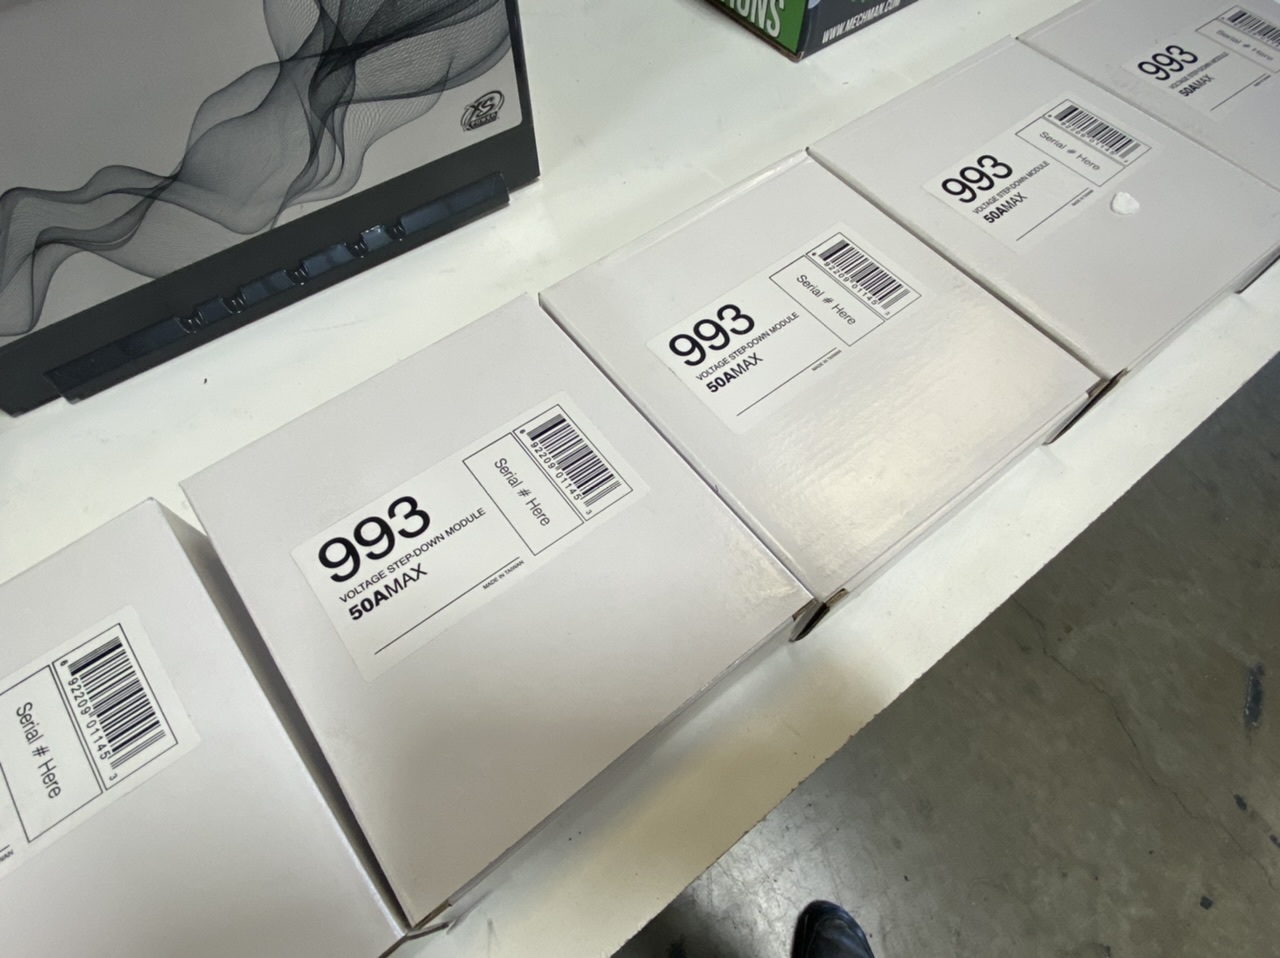
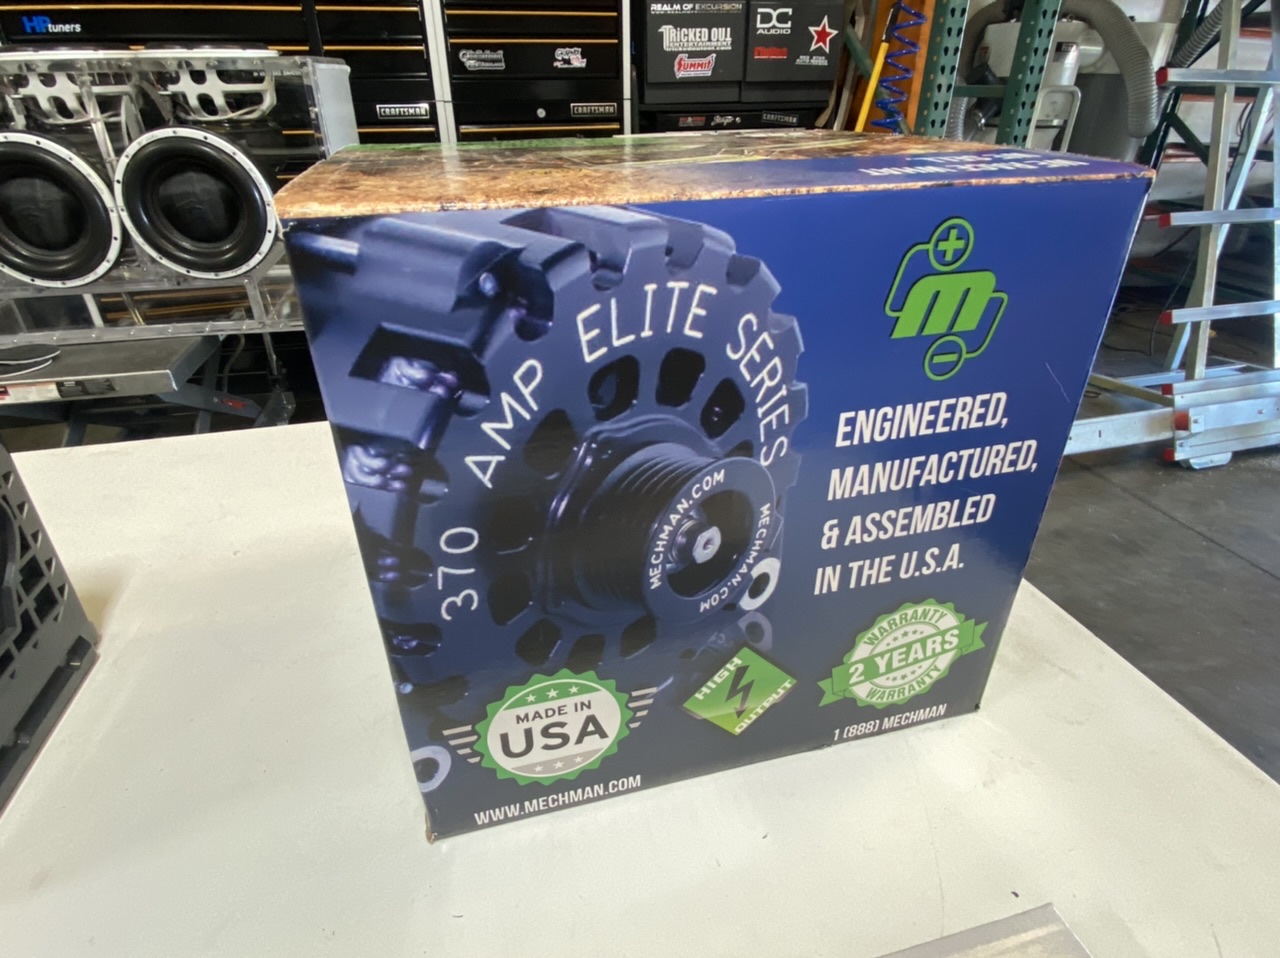
time to step up, delete, and step down. since i will be running 16.5v to my XS Power S6 Titan 8 Lithiums, i will need to bring it up with the new Mechman 370 (and external regulator). The caddy will probably not like it so i plan on stepping it back down with an empty battery case full of step down modules.
-
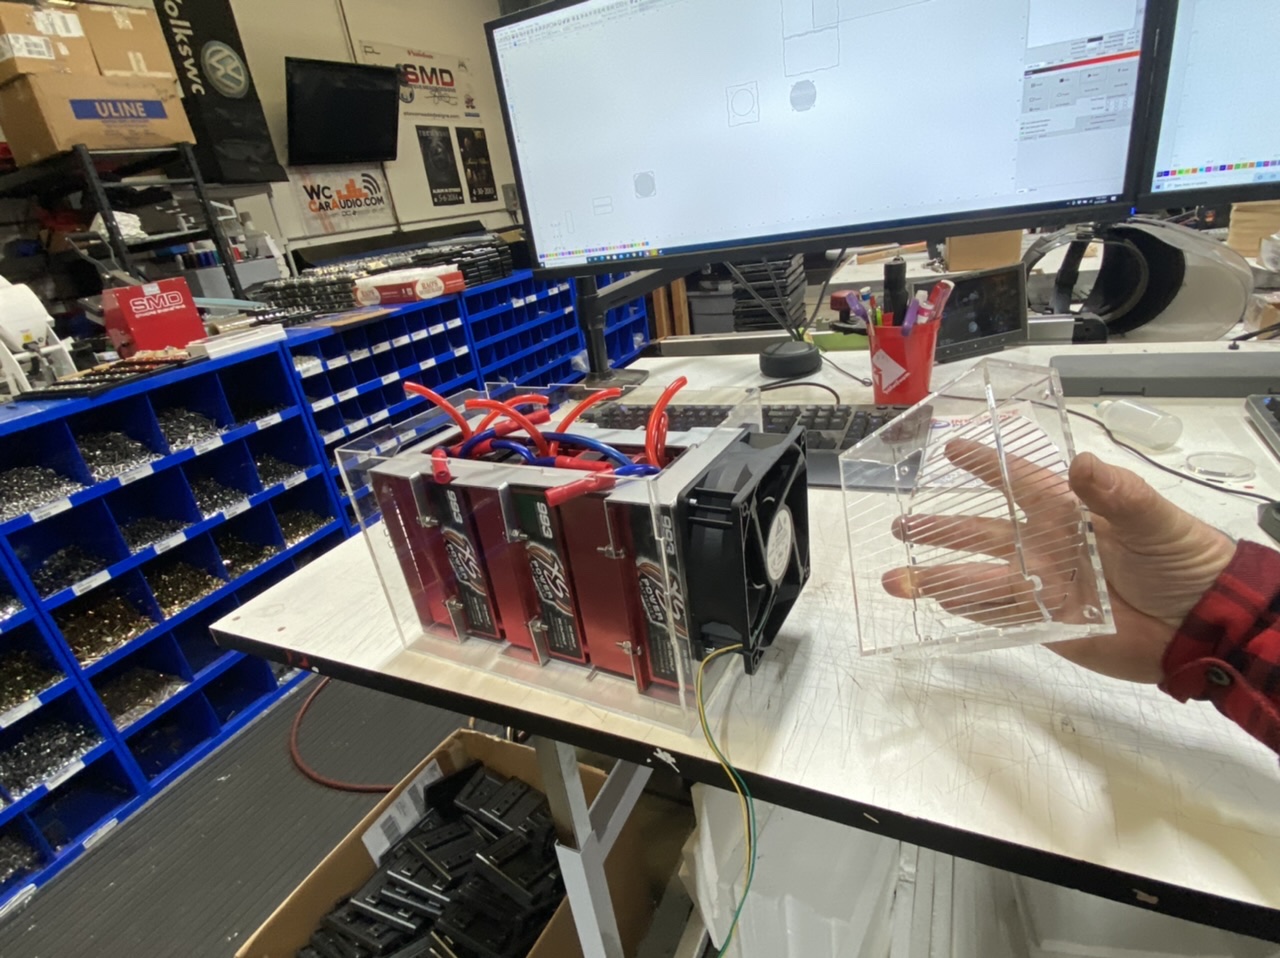
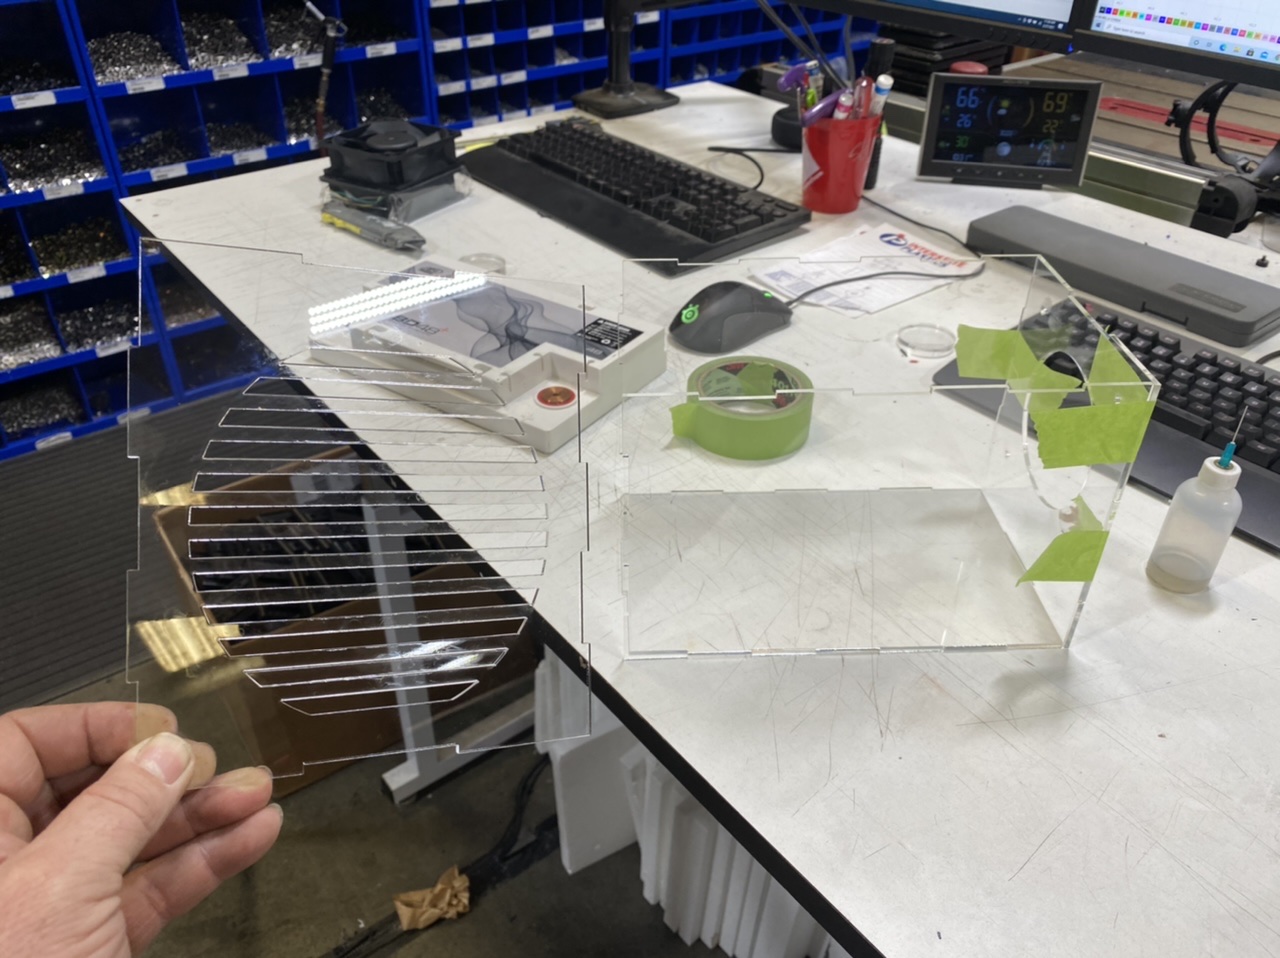
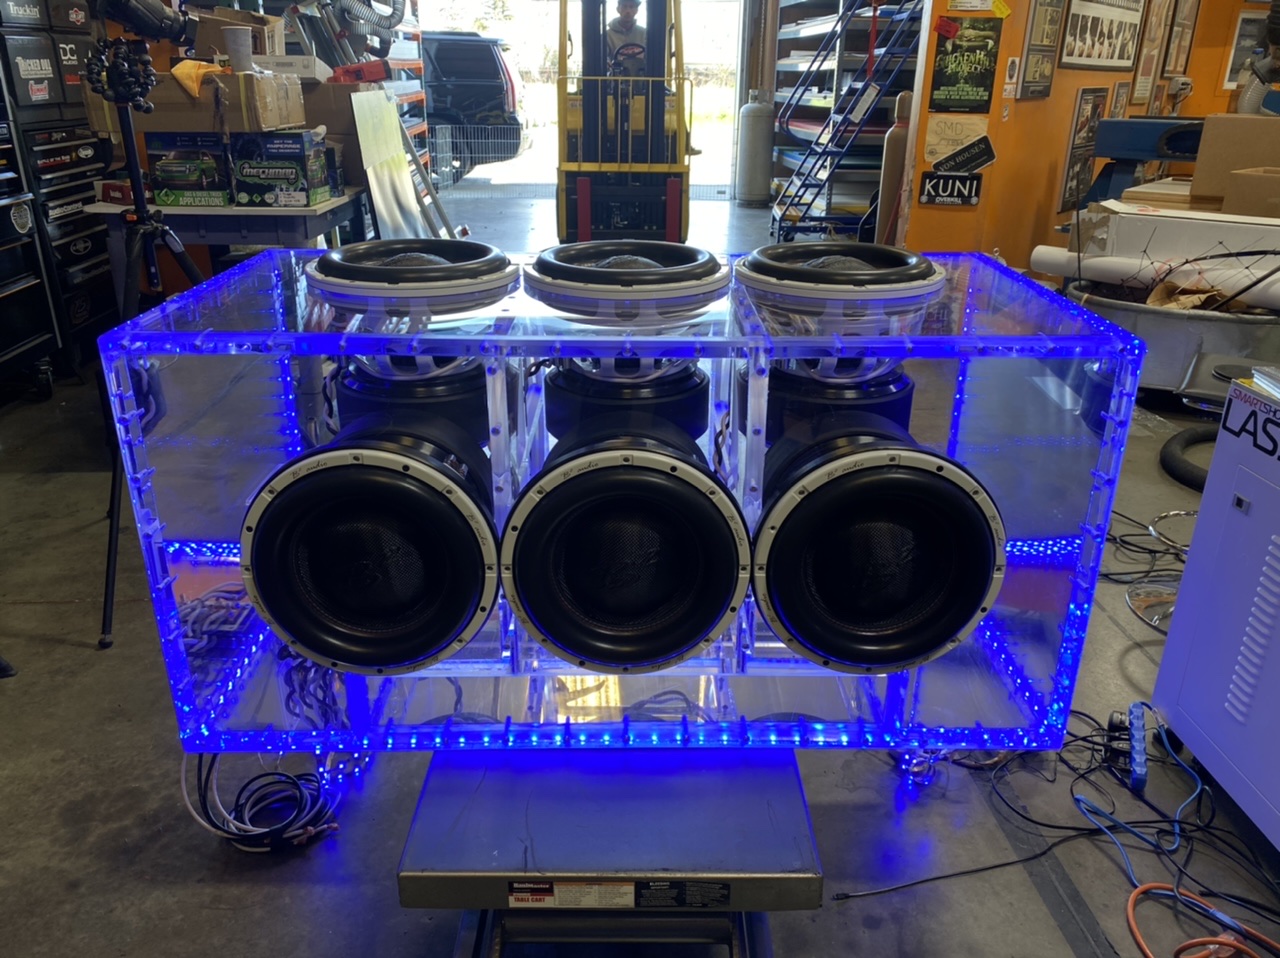
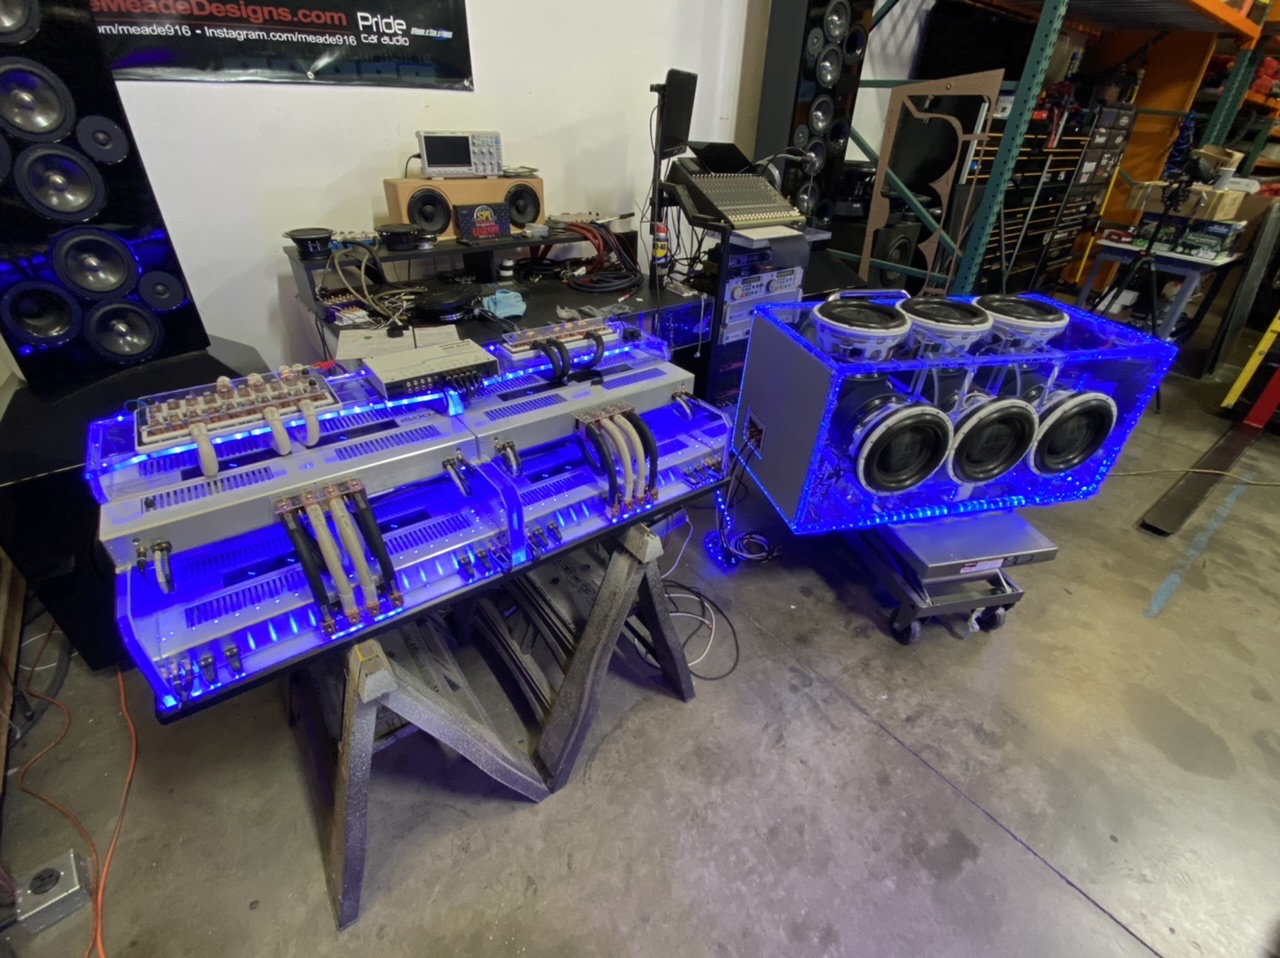
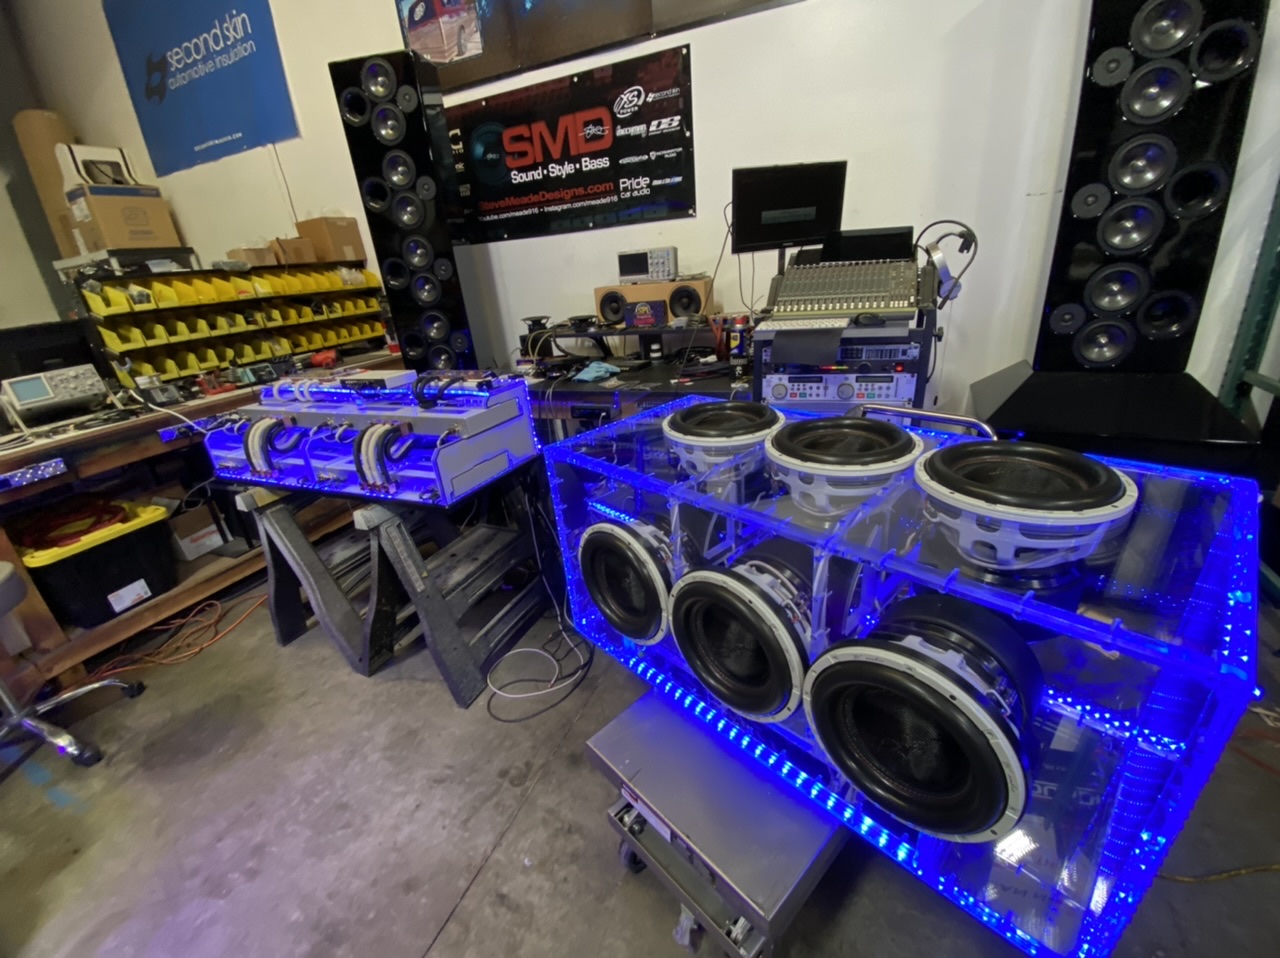
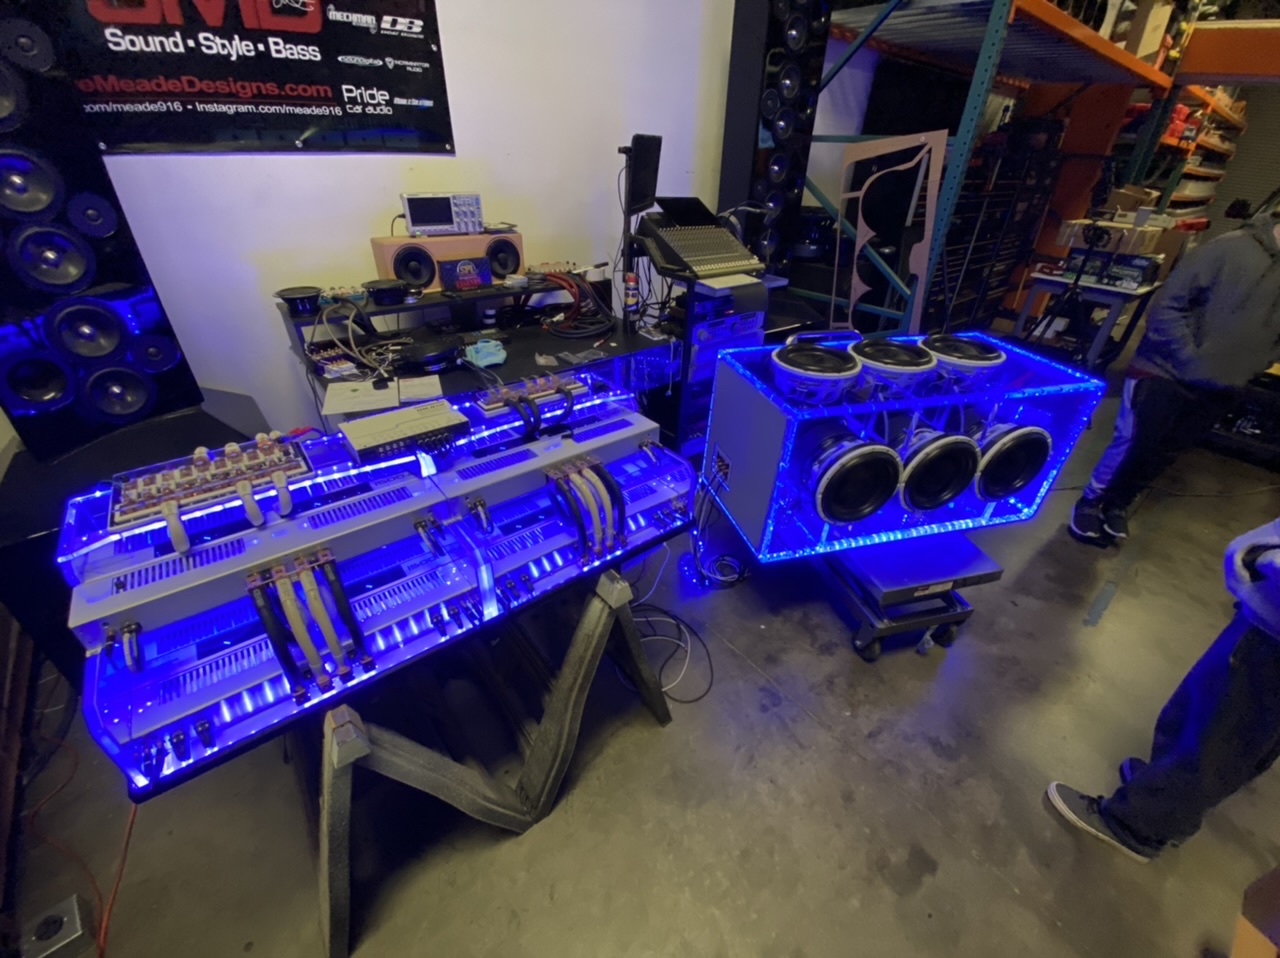
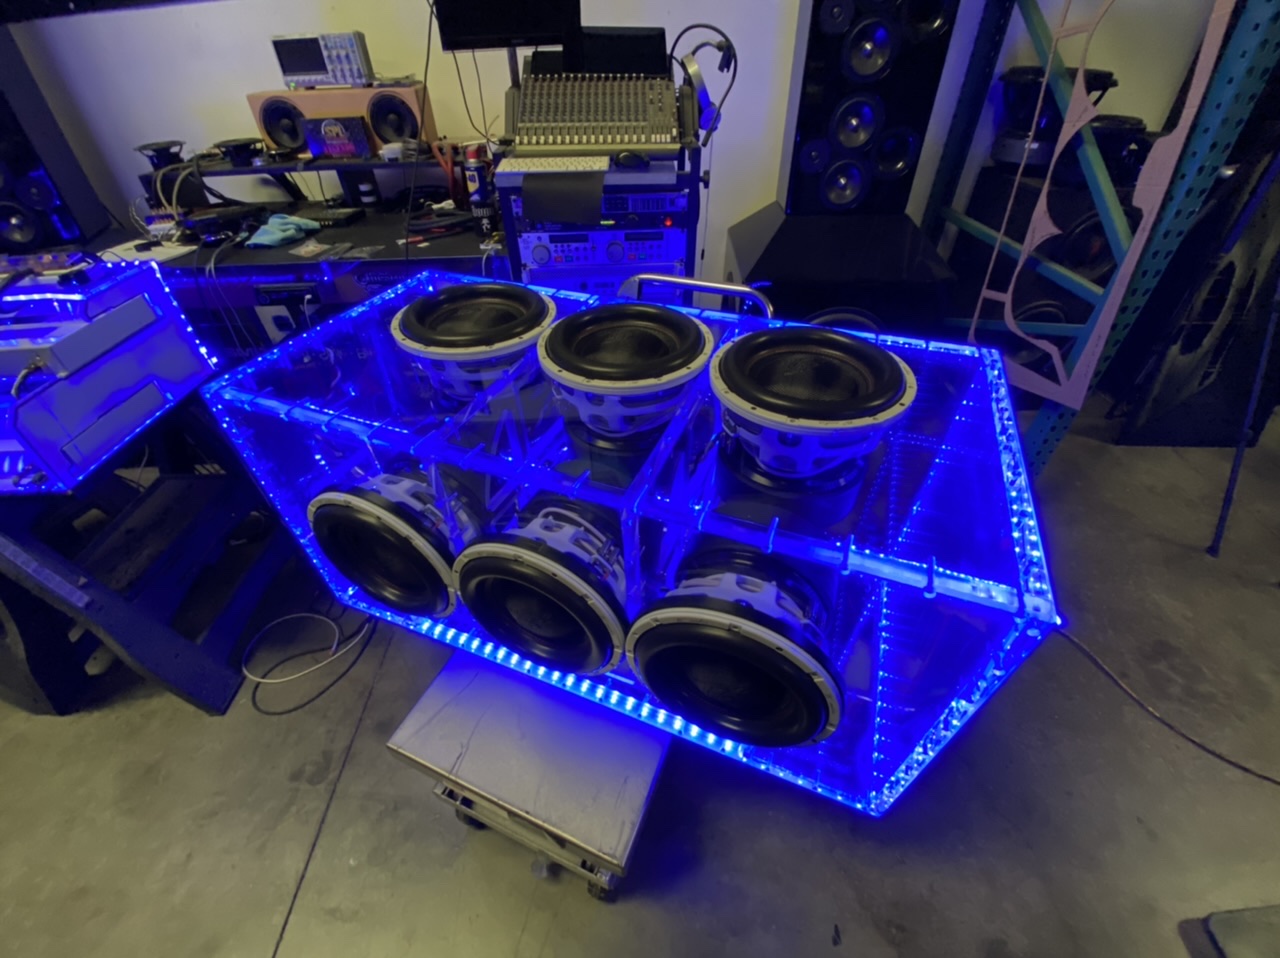
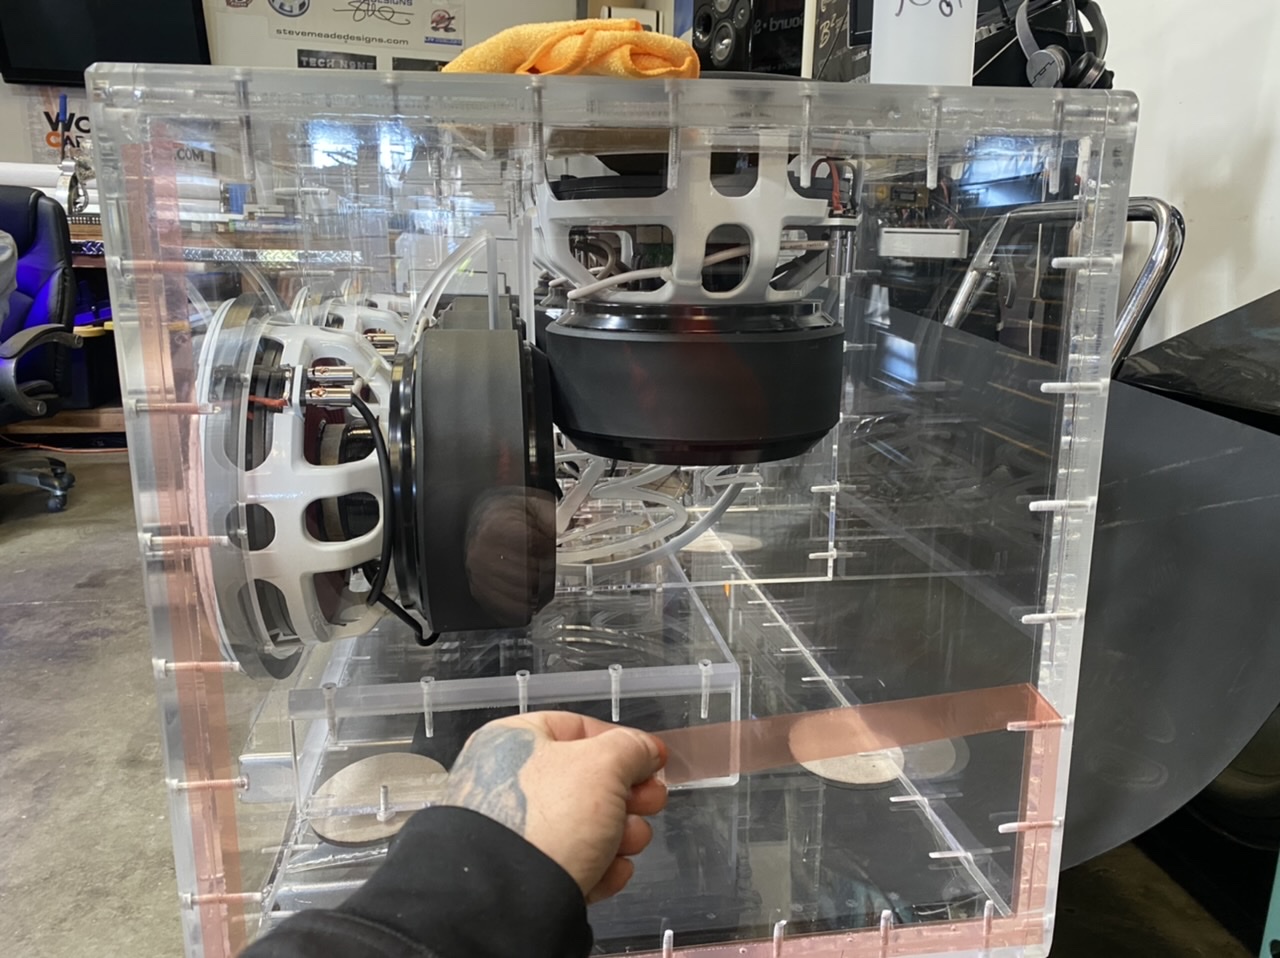
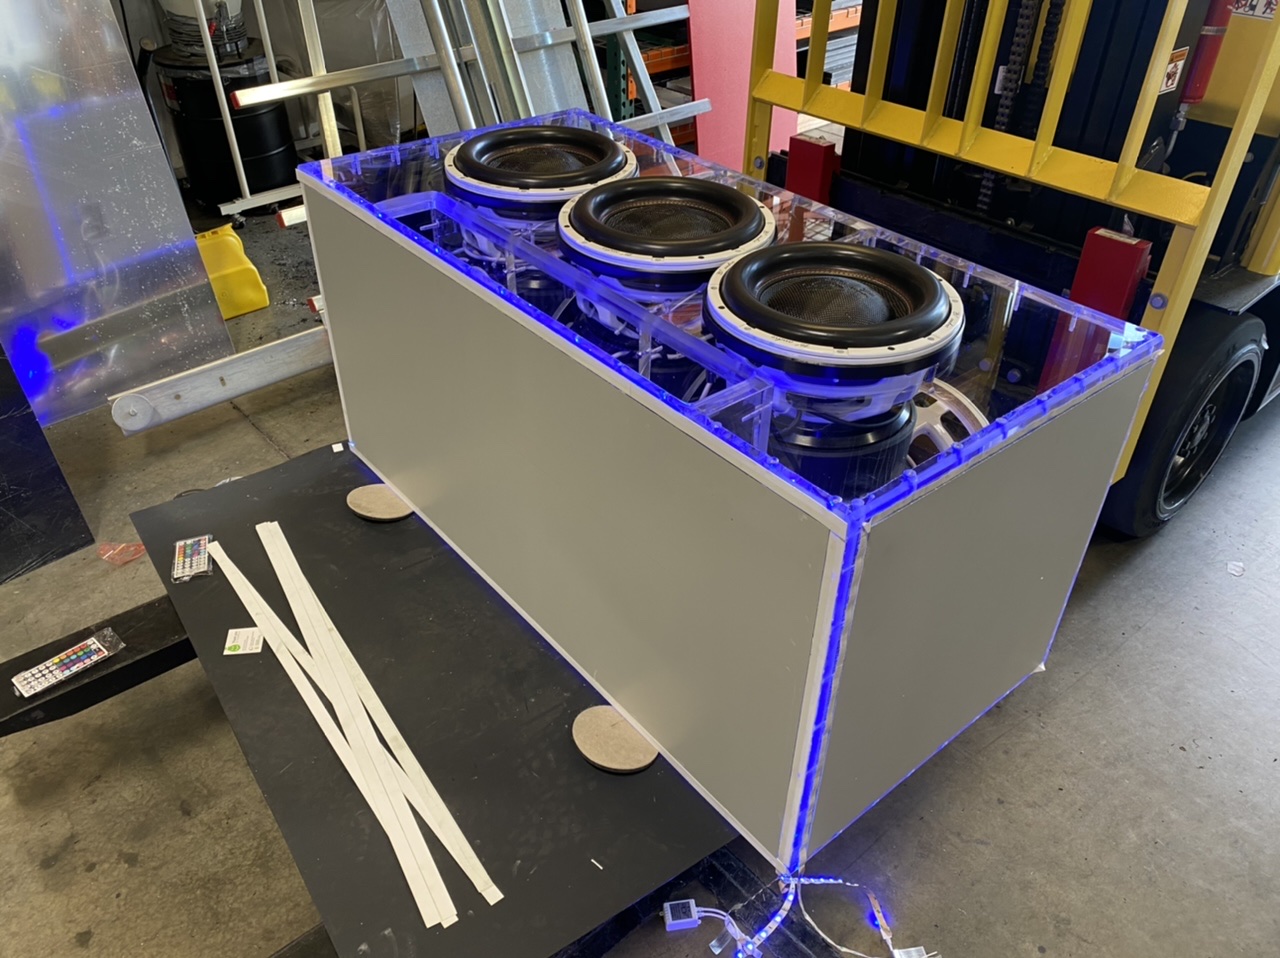
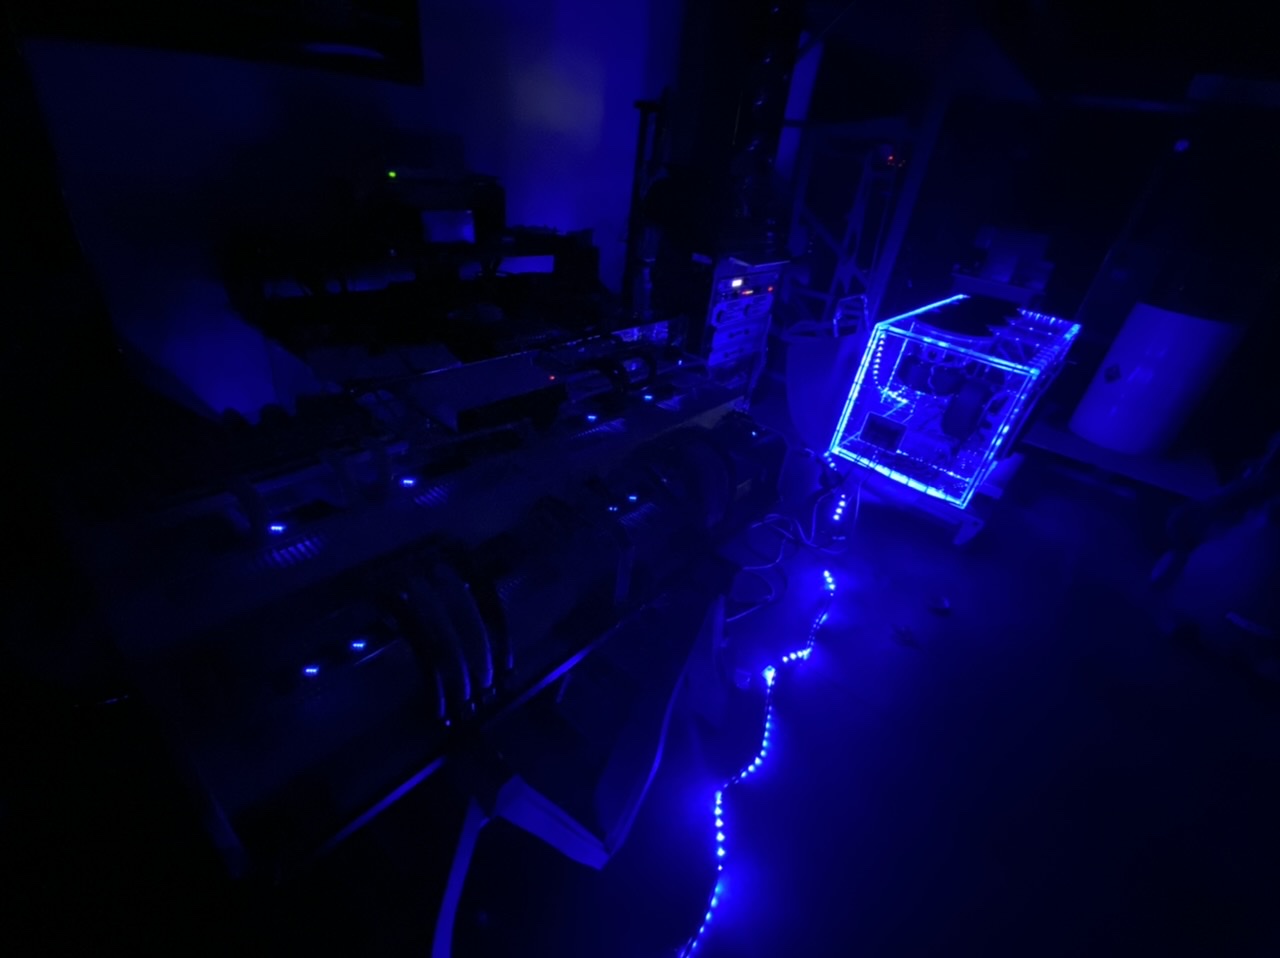
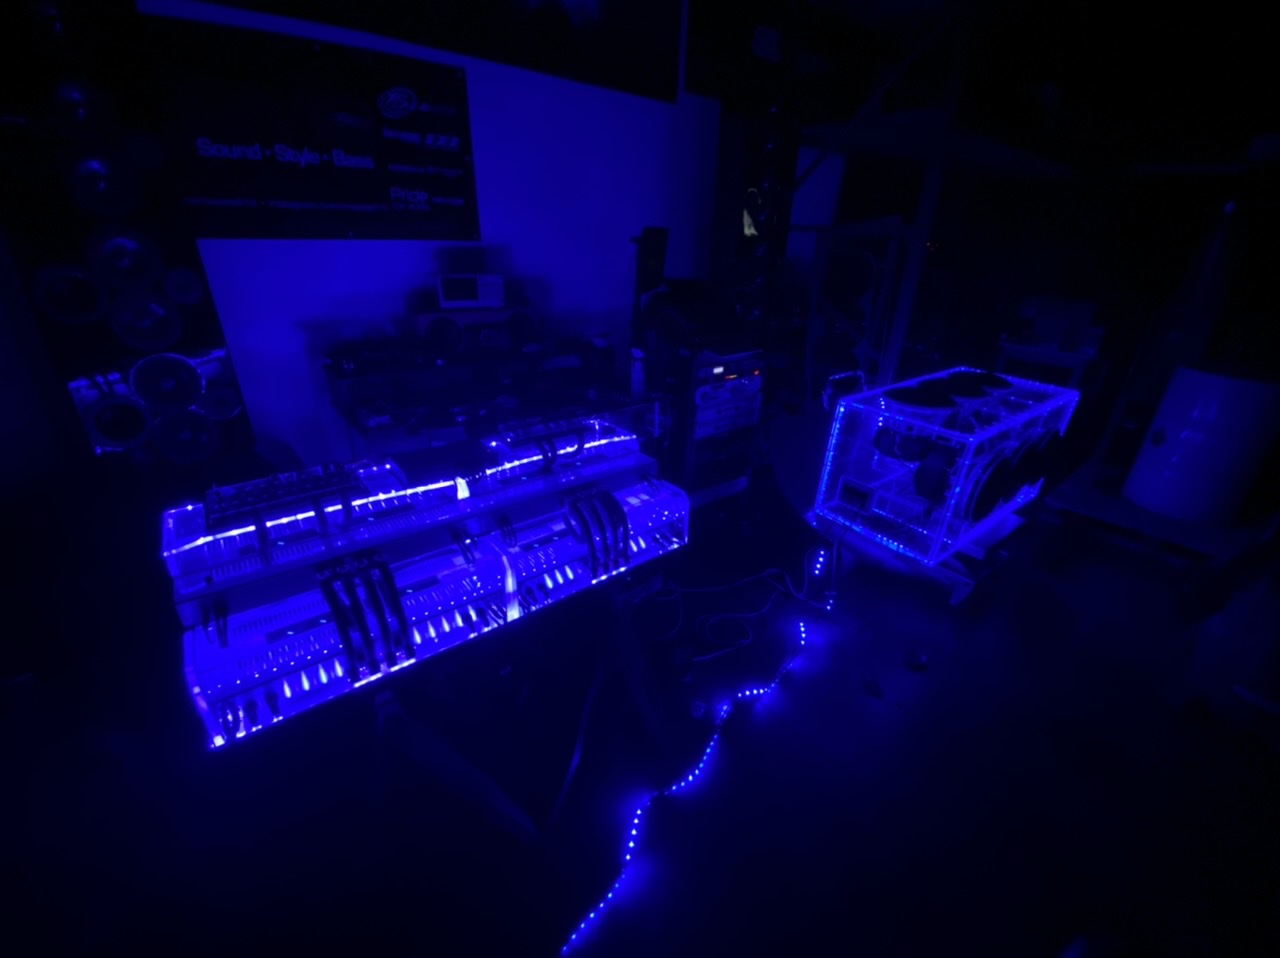
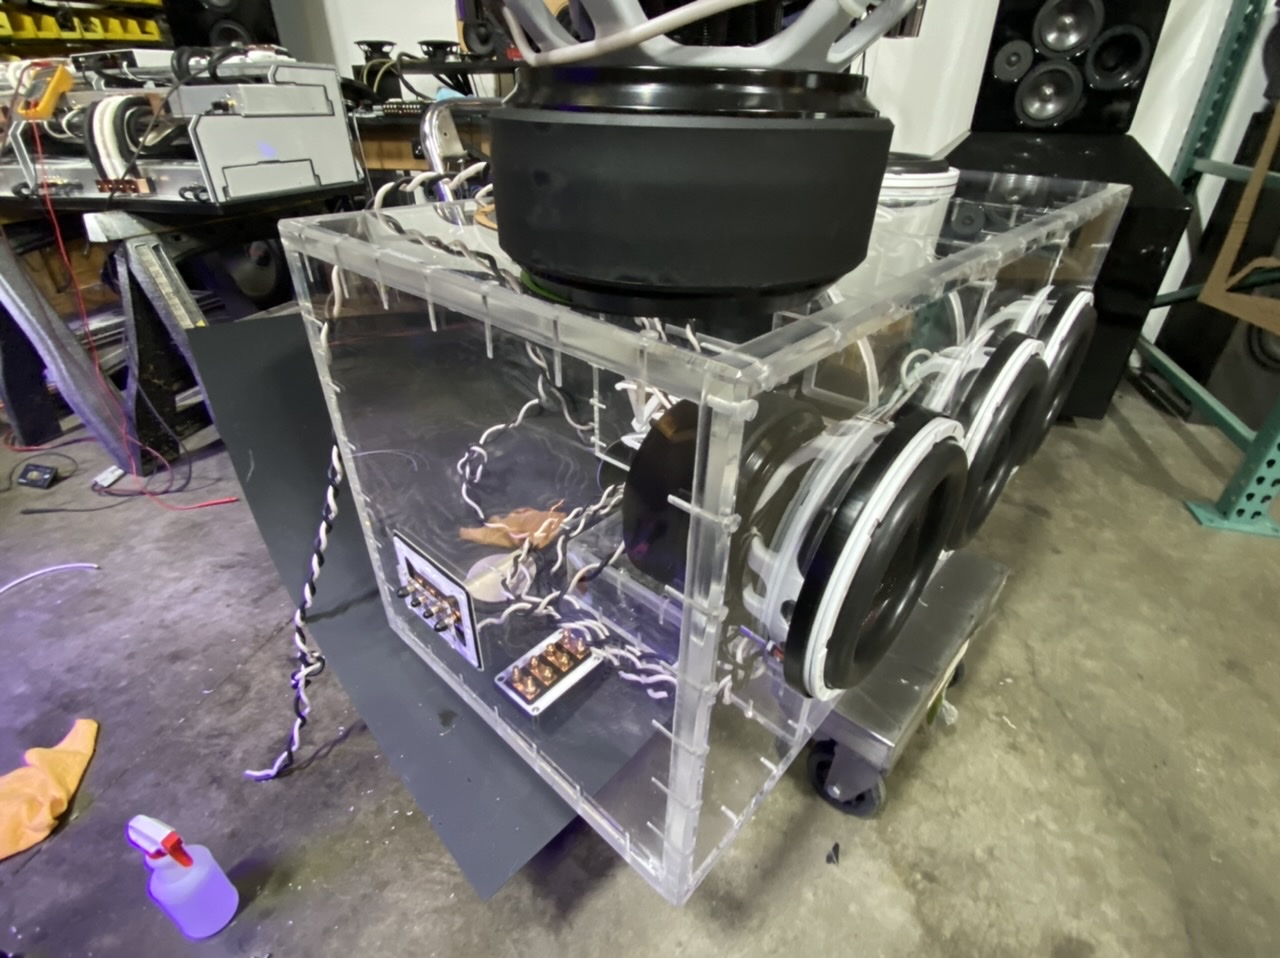
I hate to take a clear box and block some of it but honestly, once it is in the vehicle i dont need to see the carpet under it or the plastic panels on the sides. So i (as long planned) added mirrors to those areas. I left it offset a little to make room for LED’s. There will be lots more trim work once it is in the truck but this is todays progress so far.
-
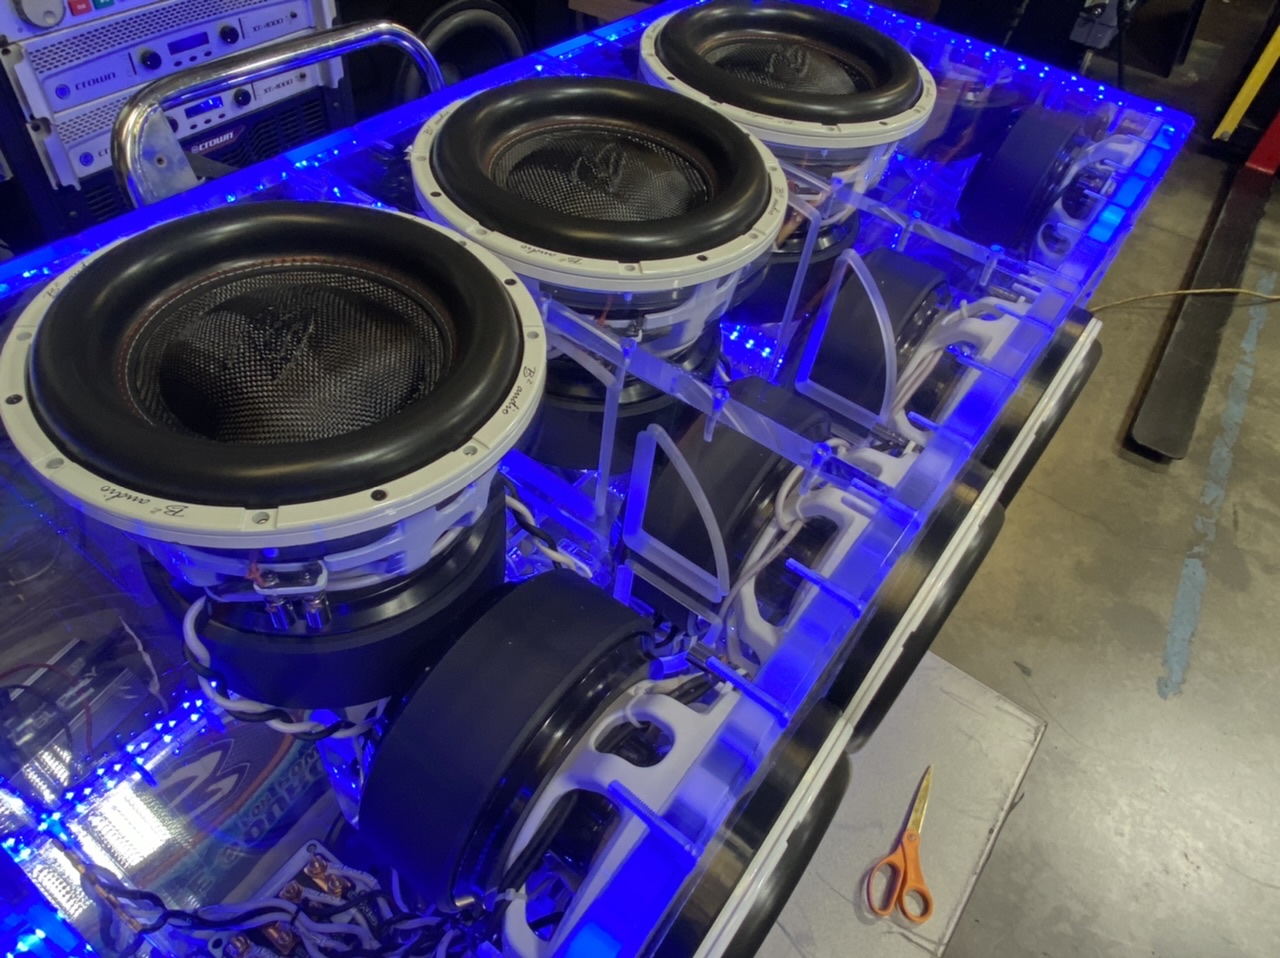
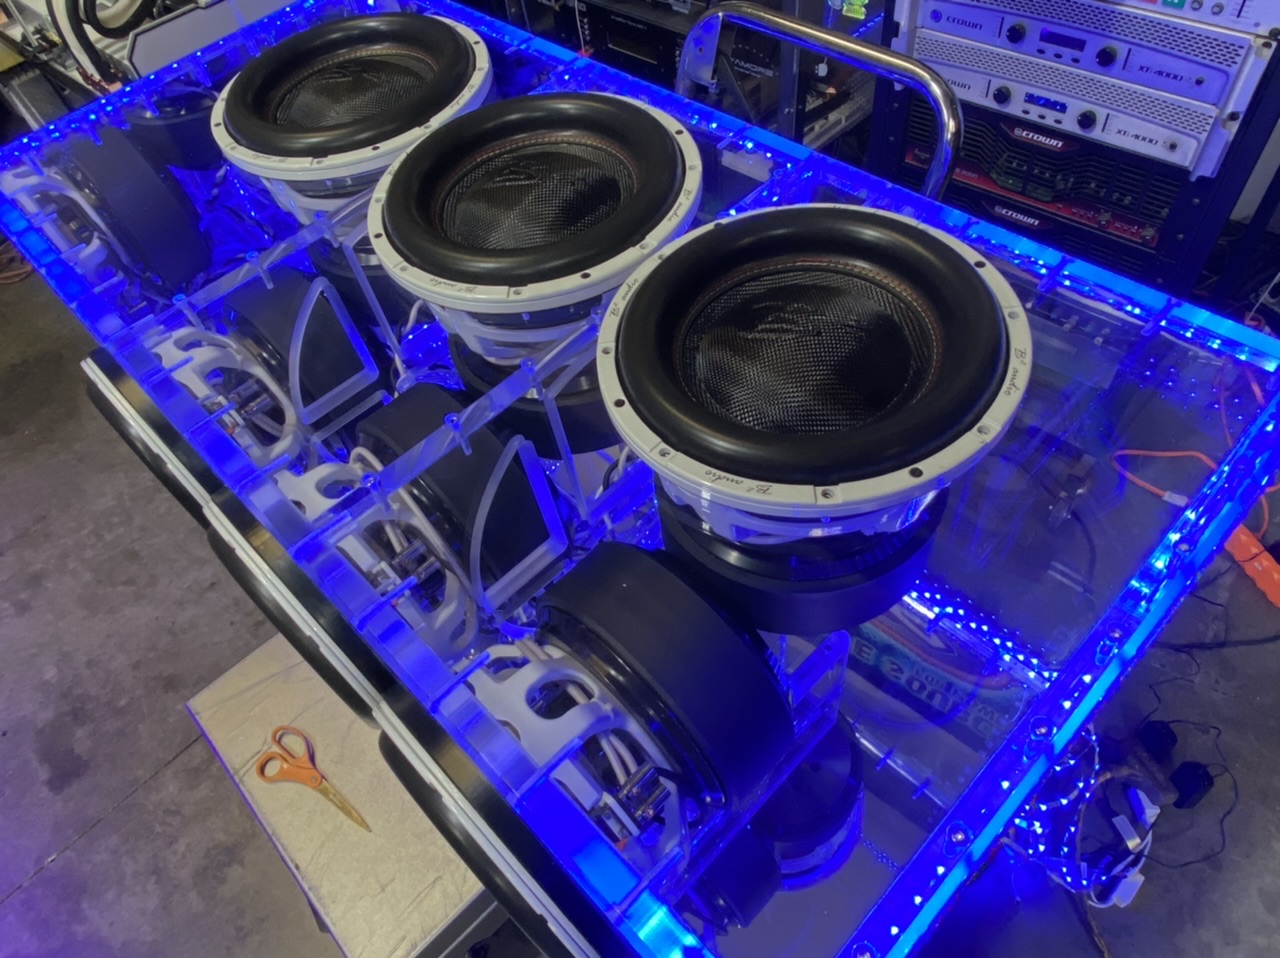
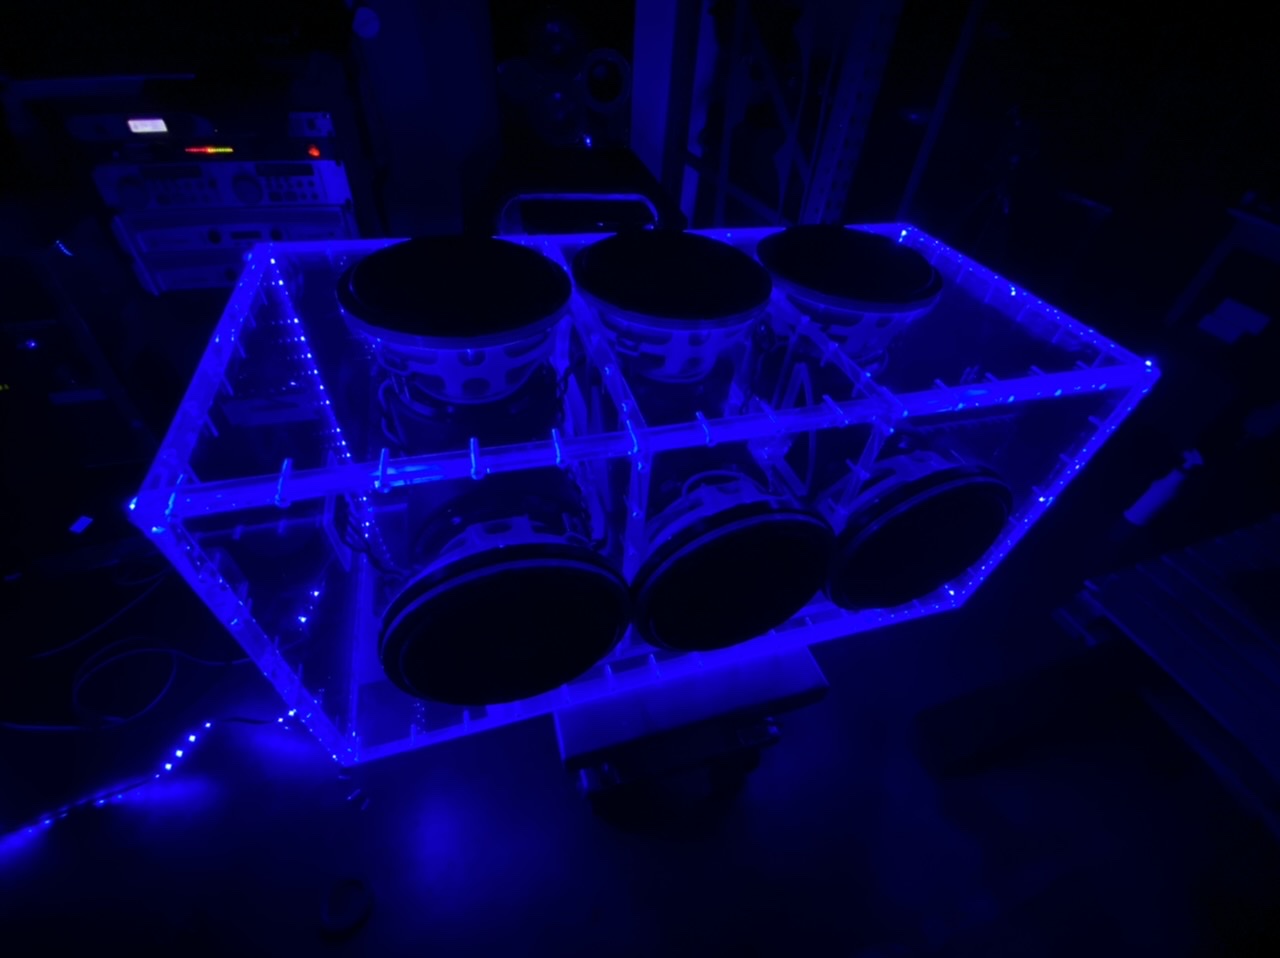
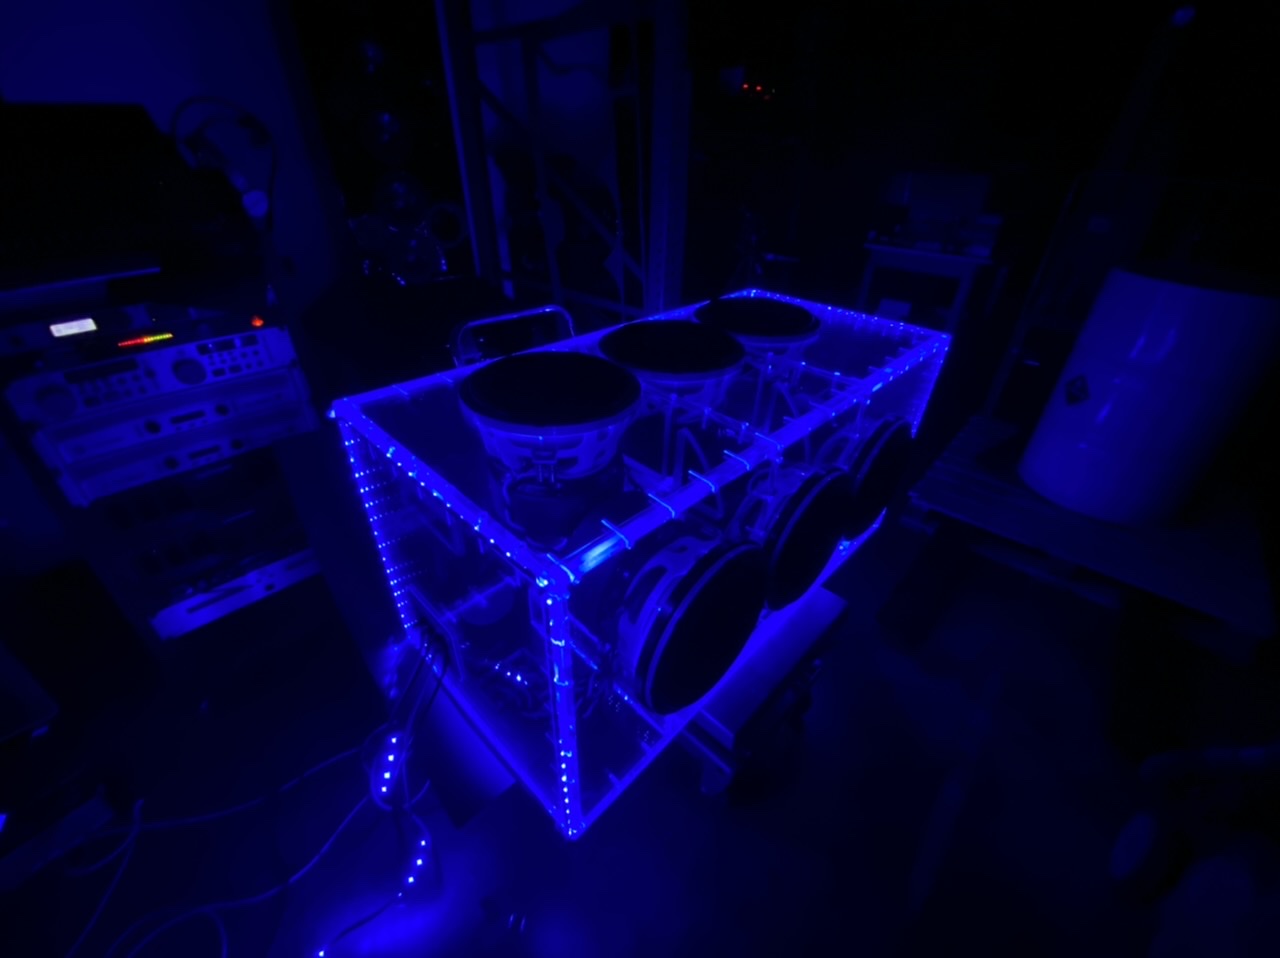
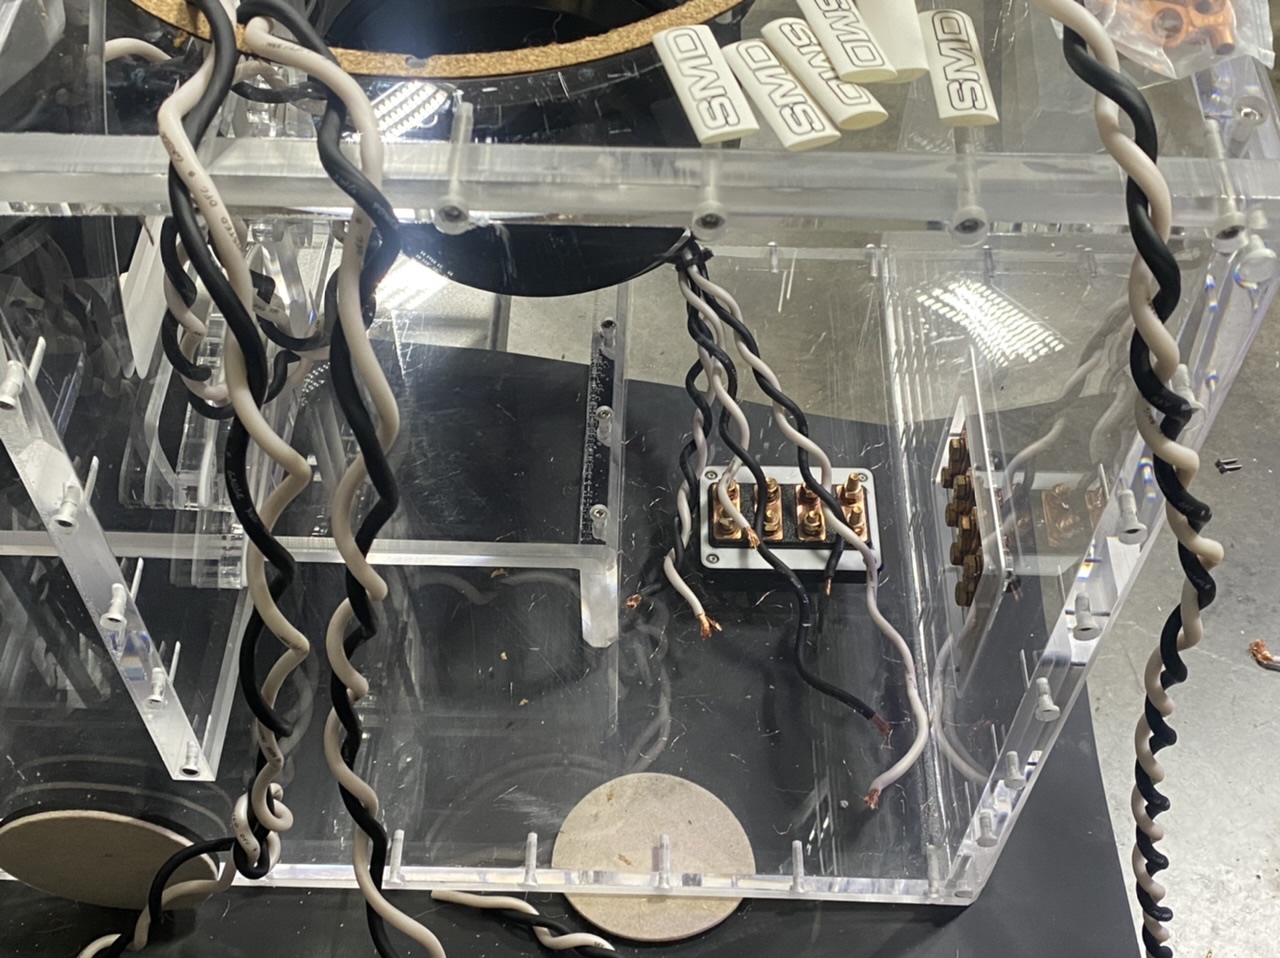
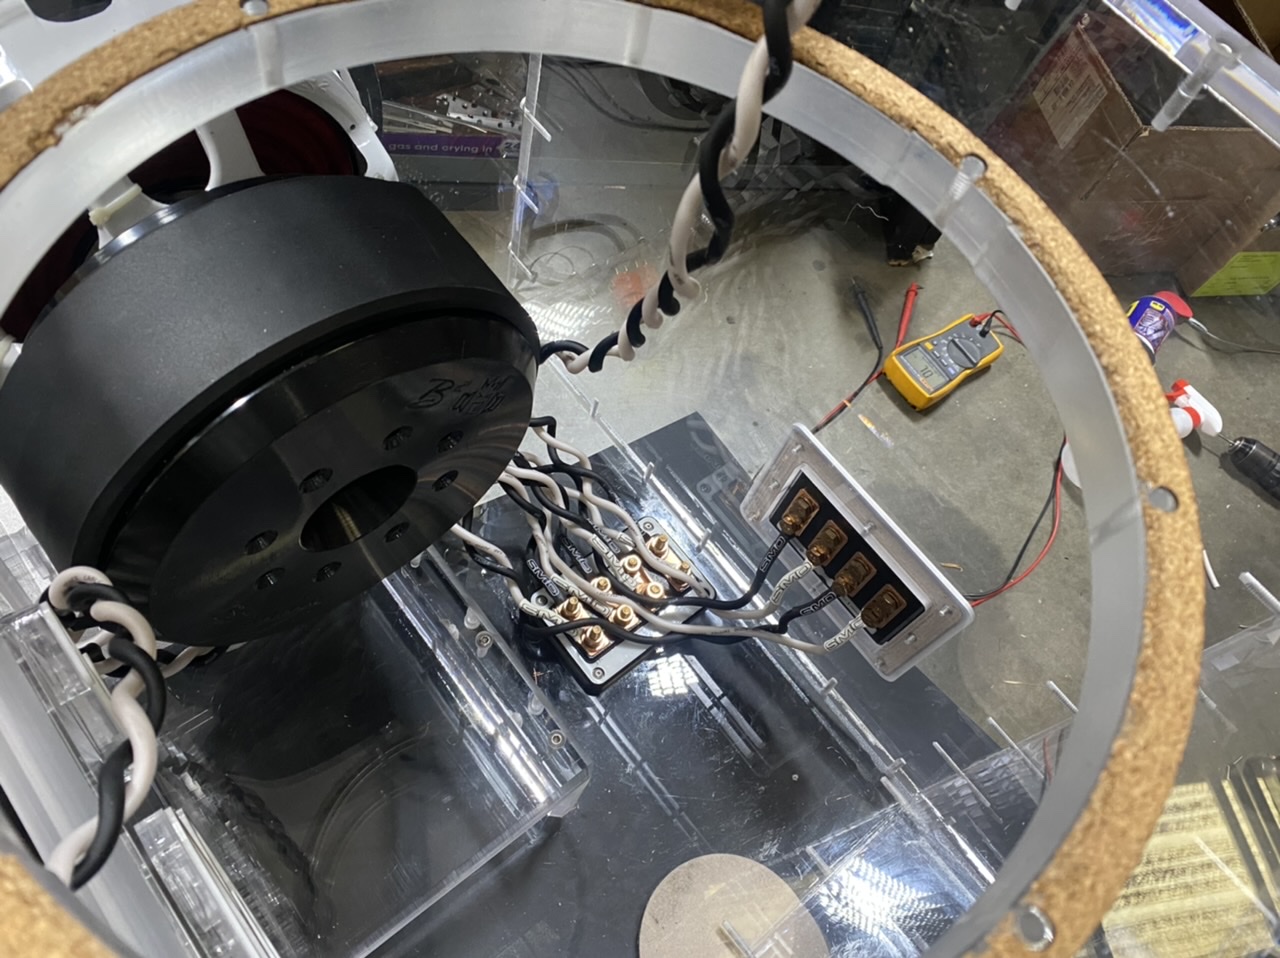
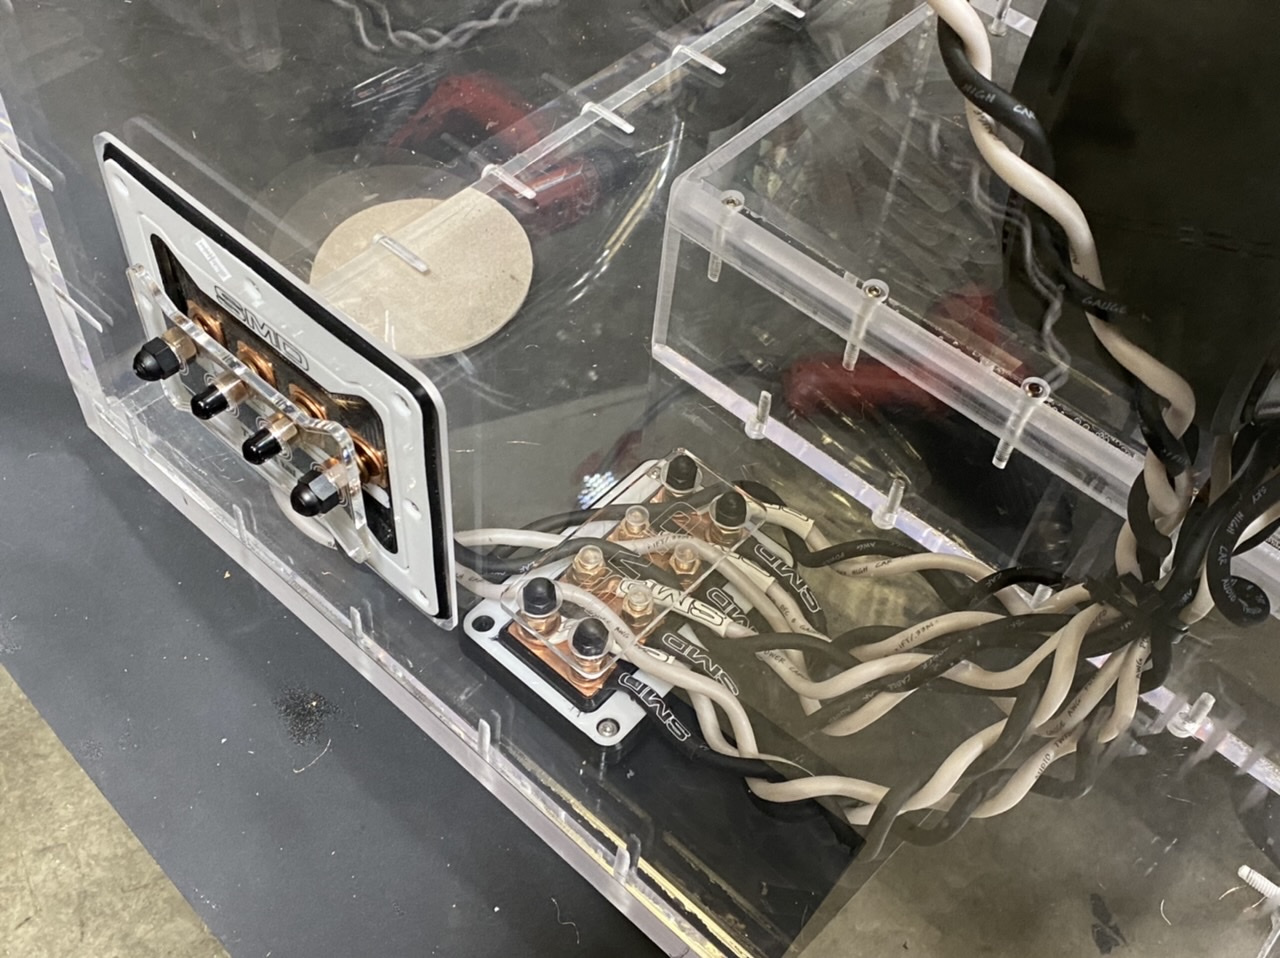
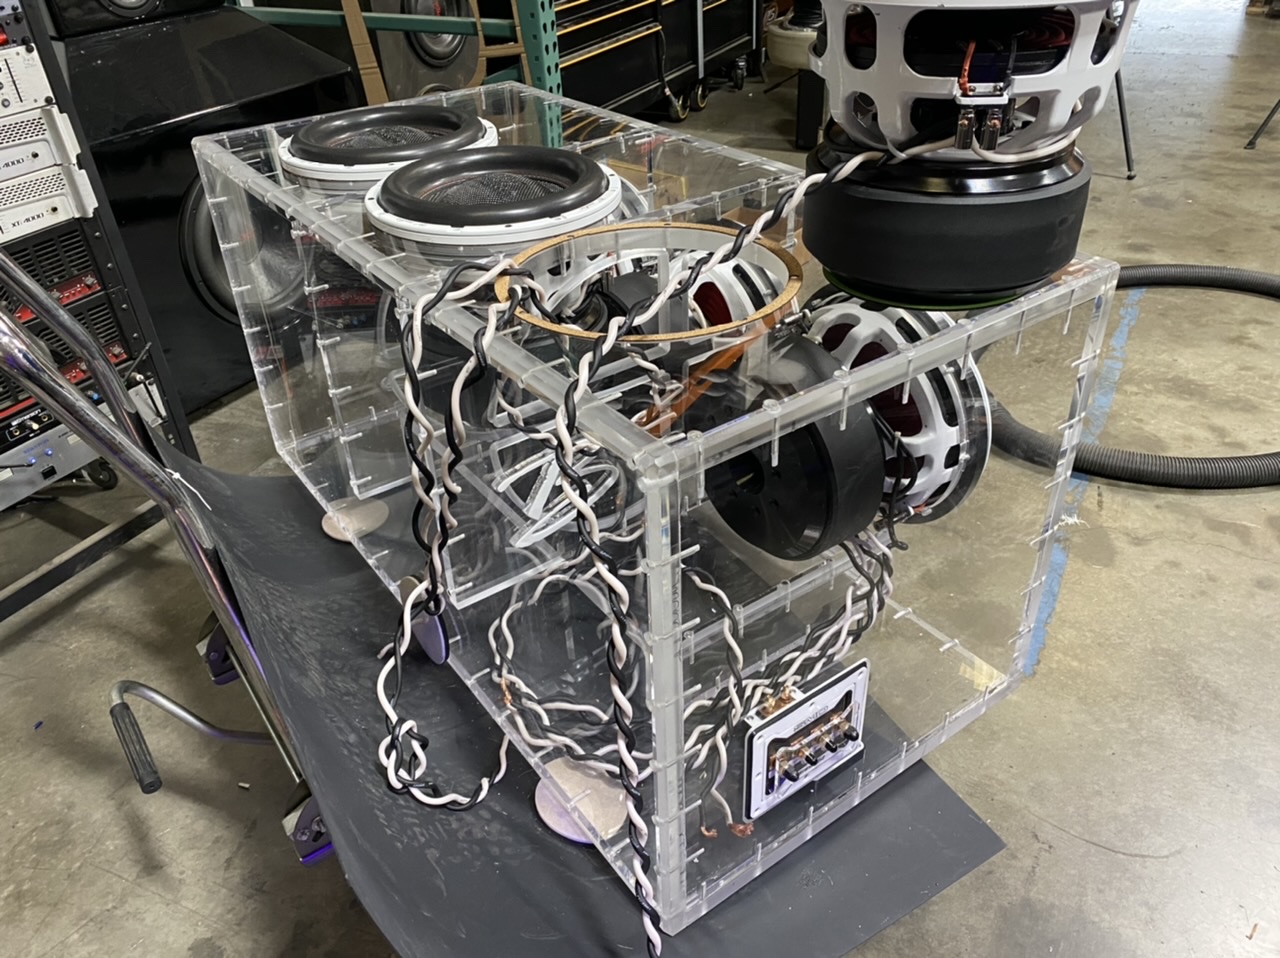
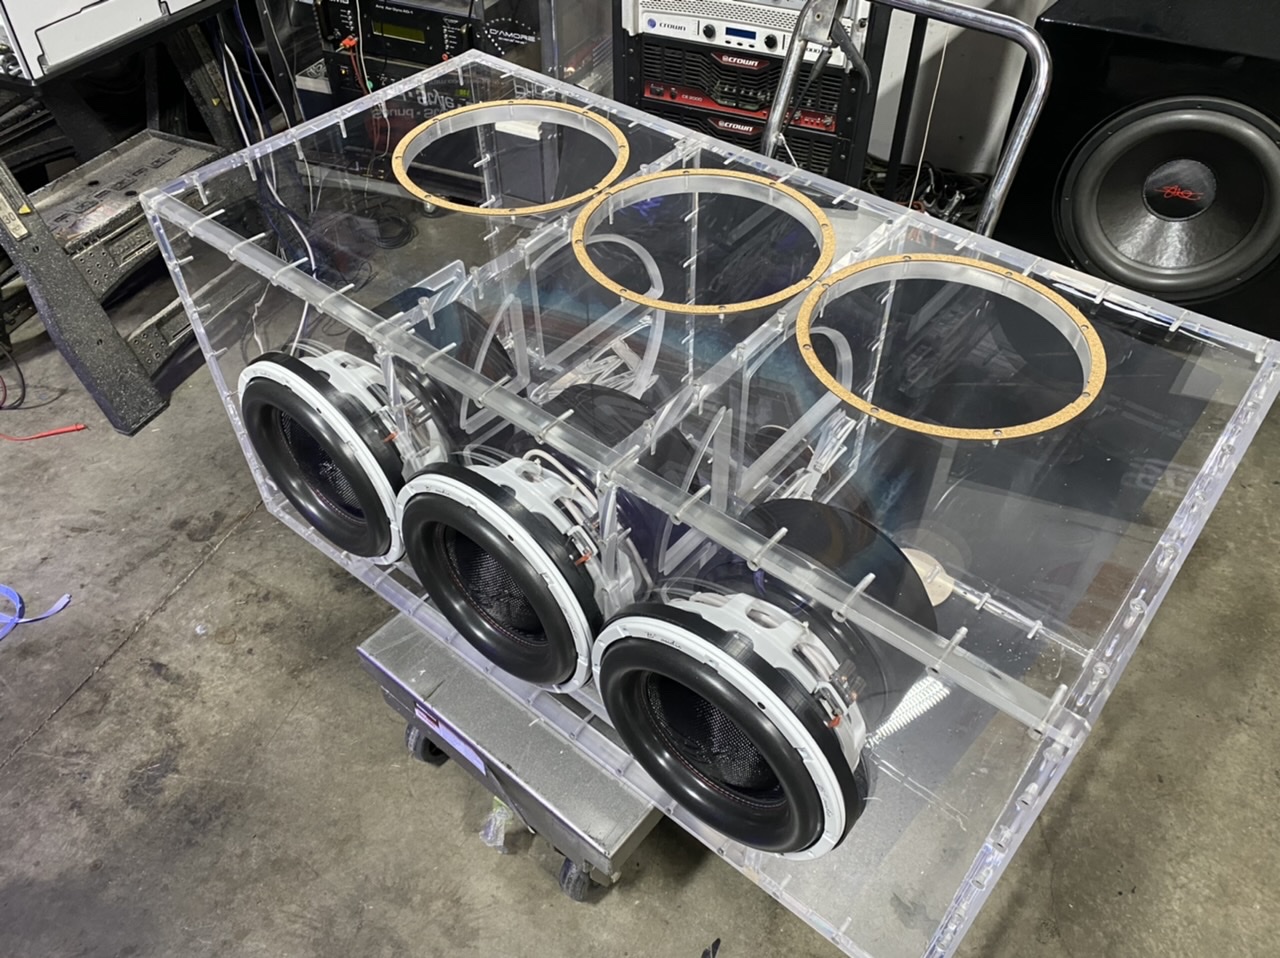
Positive on channel one comes in, goes into one sub and out the other, then into another sub, then the last negative in the chain comes back out to the terminal cup.
-
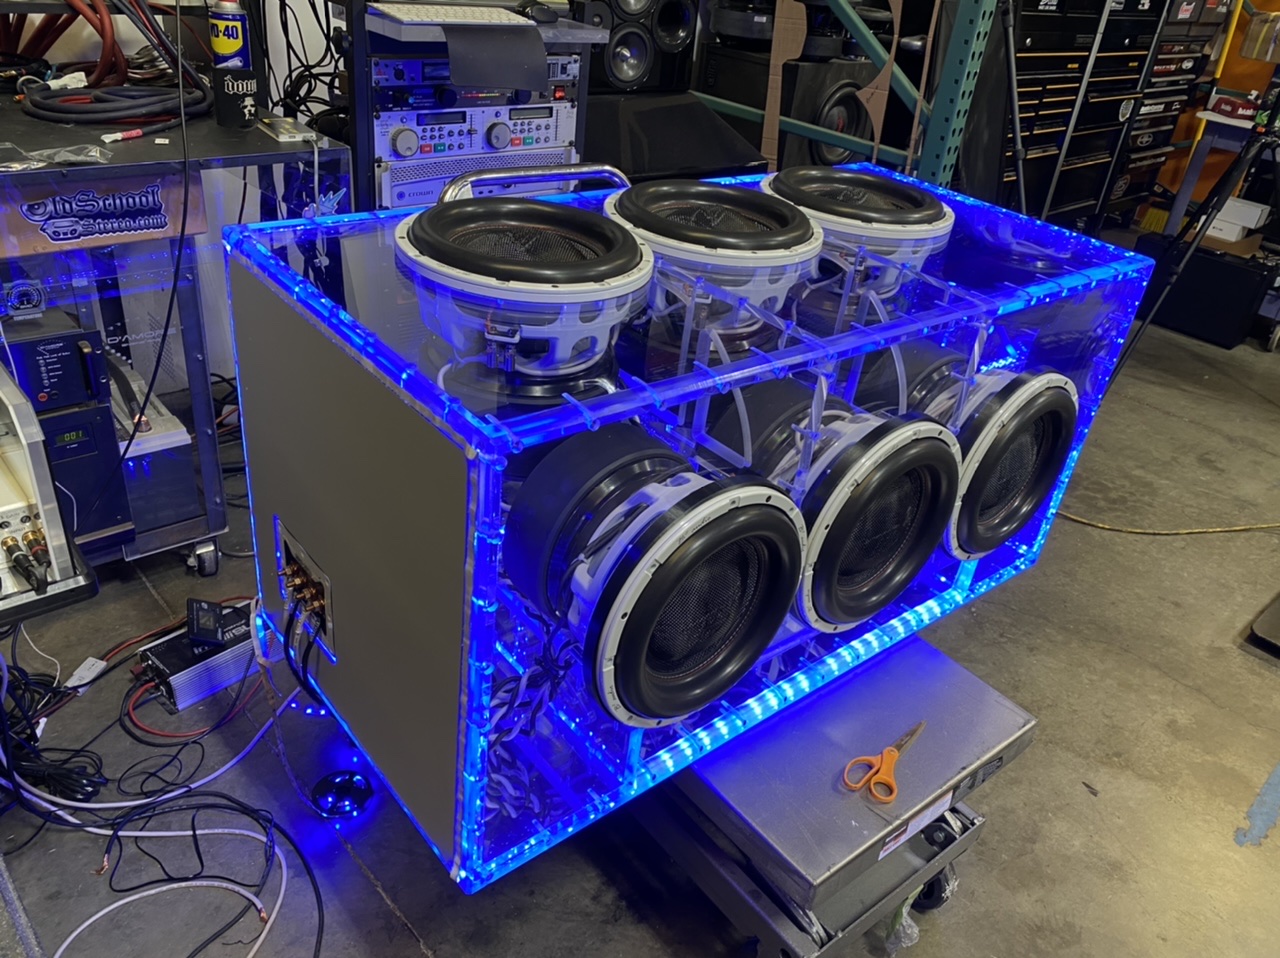
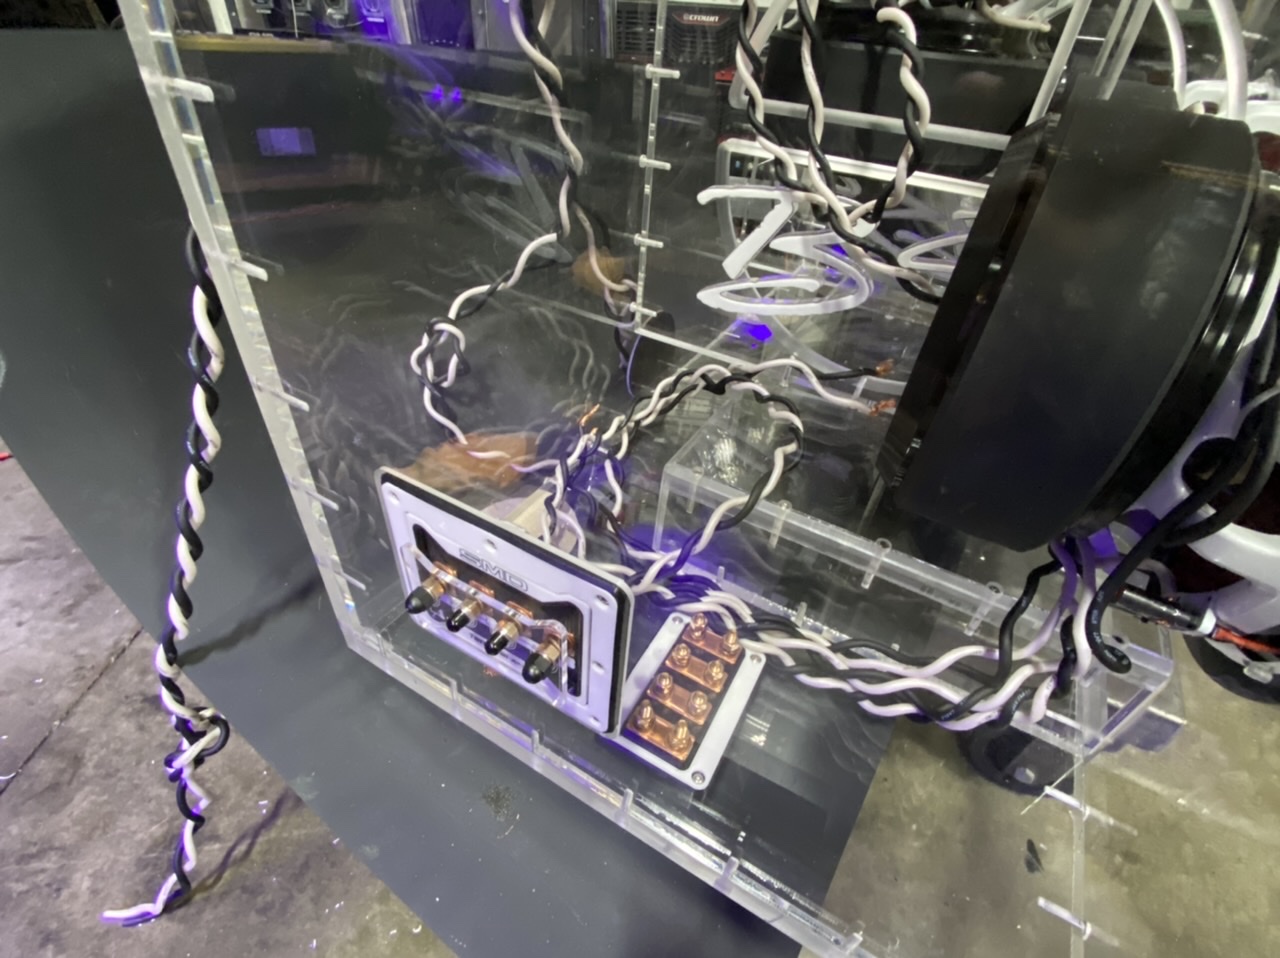
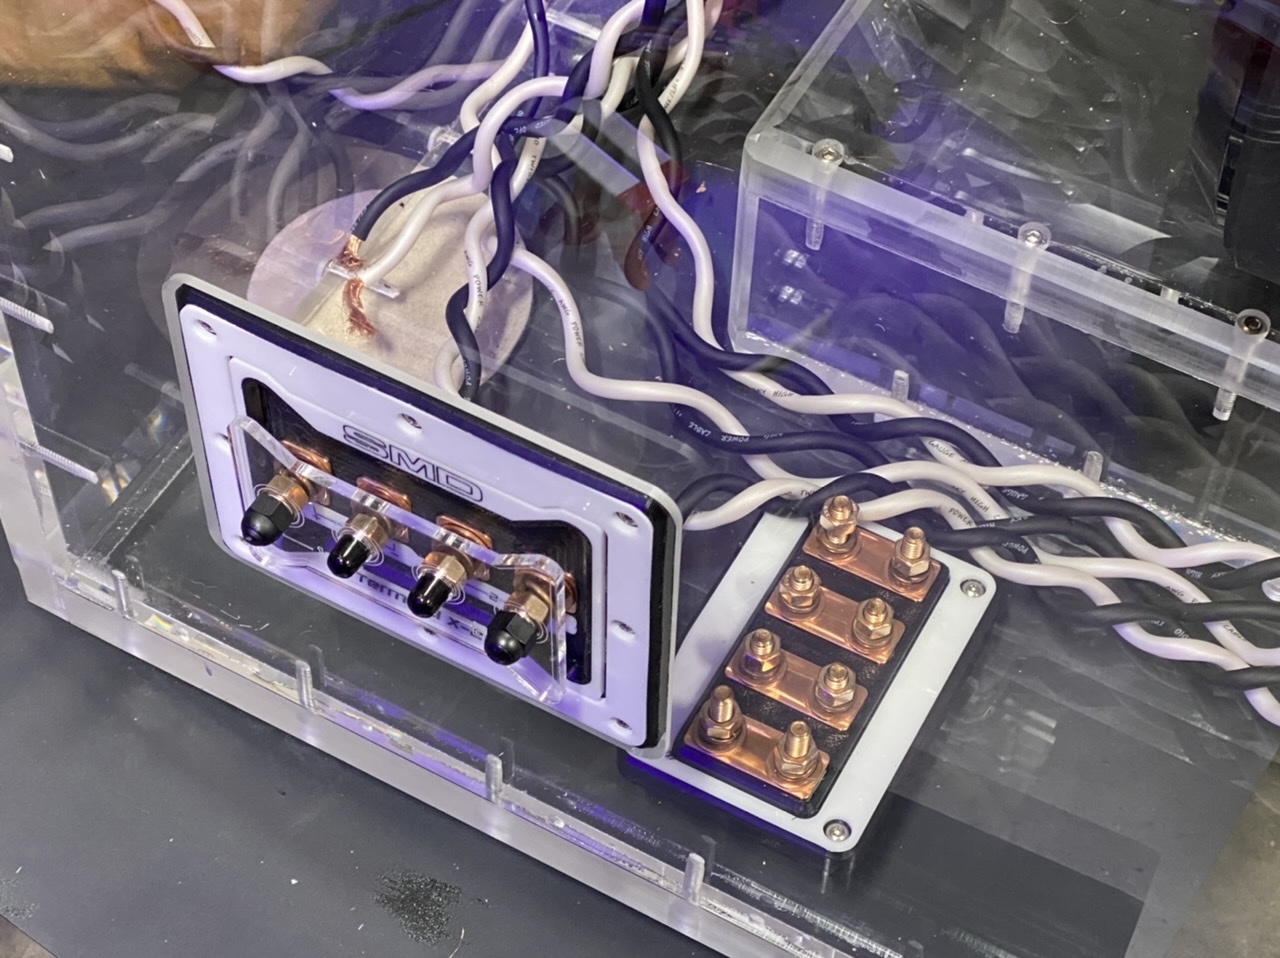
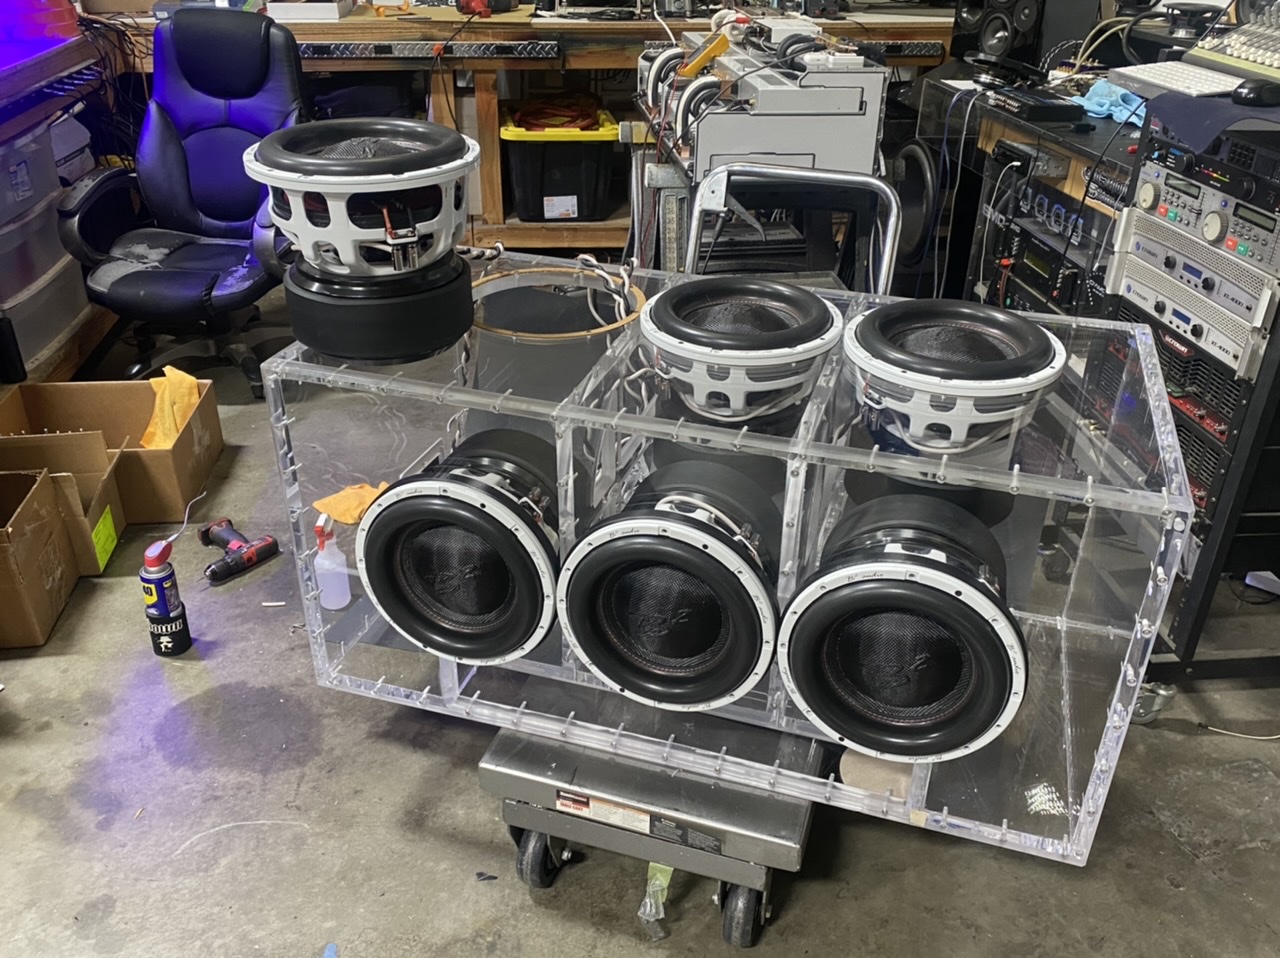
Time to start wiring up the terminals. For this i am using an SMD DCL 4.2 and a SMD TX-2. The DCL 4.2 will help me wire up the series/parallel stuff clean. It might look straight forward (and it is kinda) but it is a little more complicated than it looks. These subs are dual 1's. They are each wired in parallel. Then they are wired in series (each group of 3) to bring that set down to 1.5 ohms. The amps they are being hooked to are rated at 2ohm bridged so this is a little lower than i am supposed to but that should be OK. More power! Both the DCL 4.2 and the TX2 are mounted with TAPPED 8x32 stainless allen-head bolts.
-
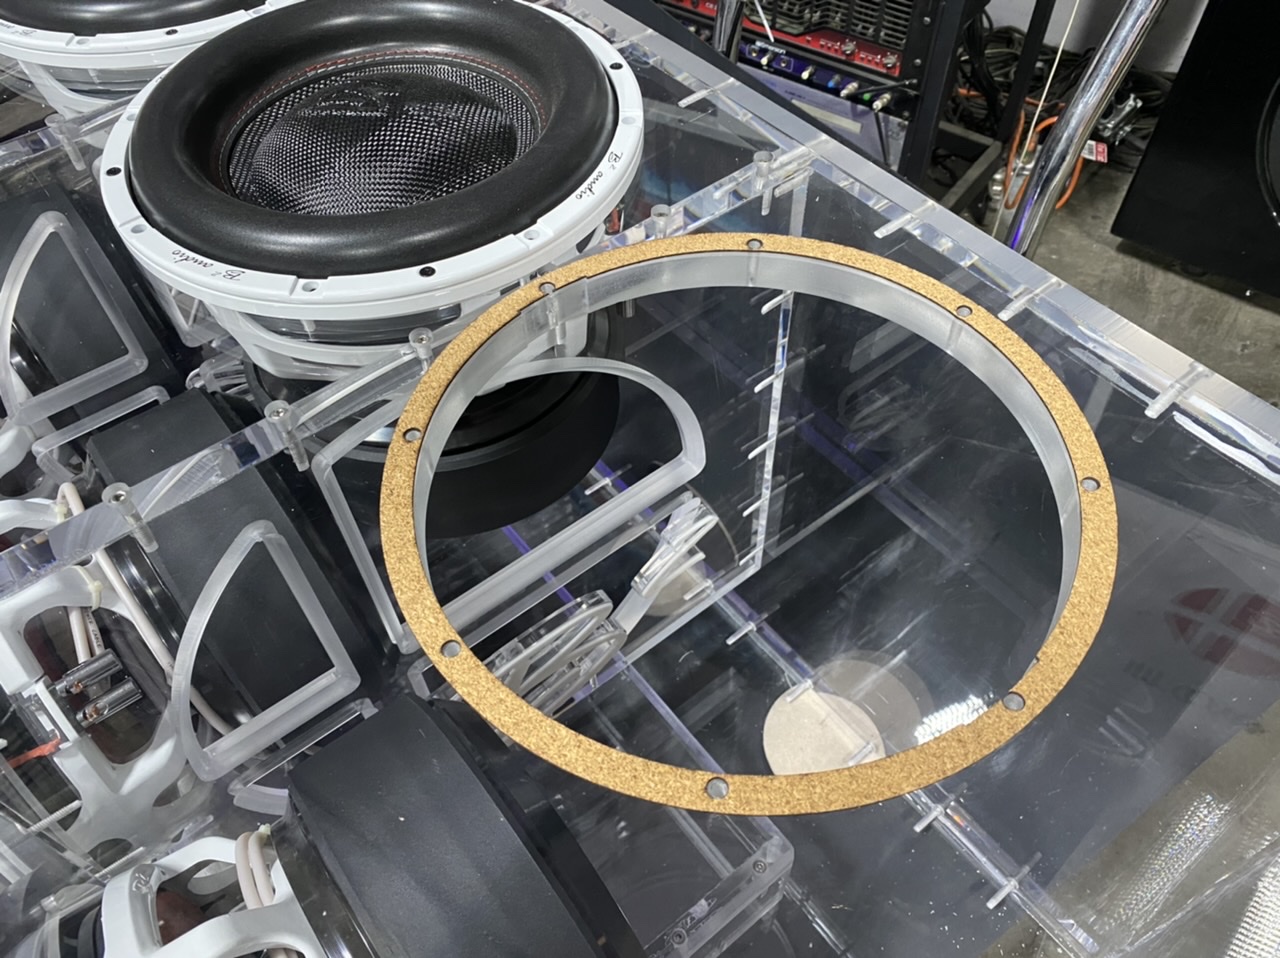
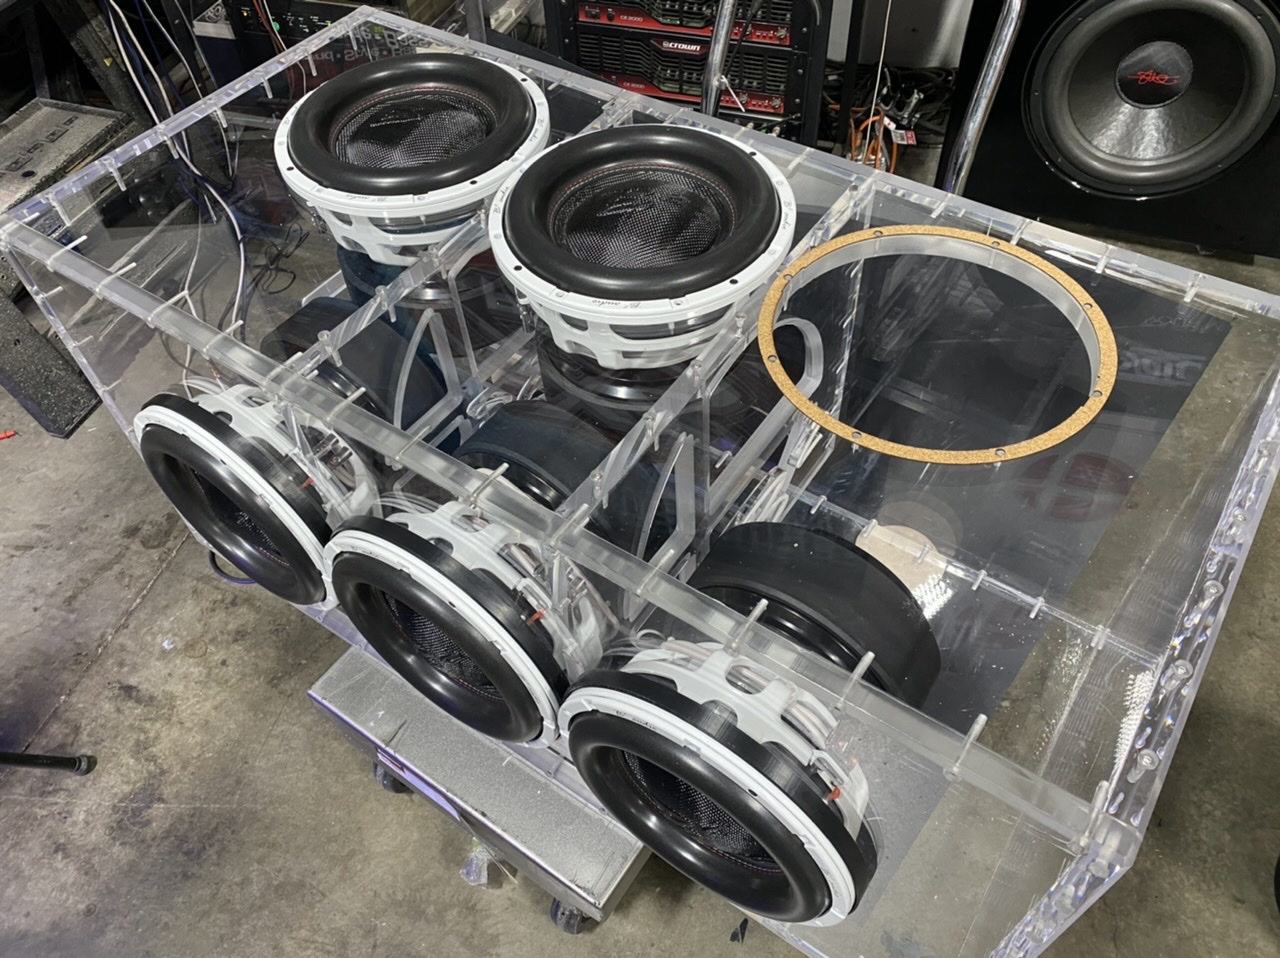
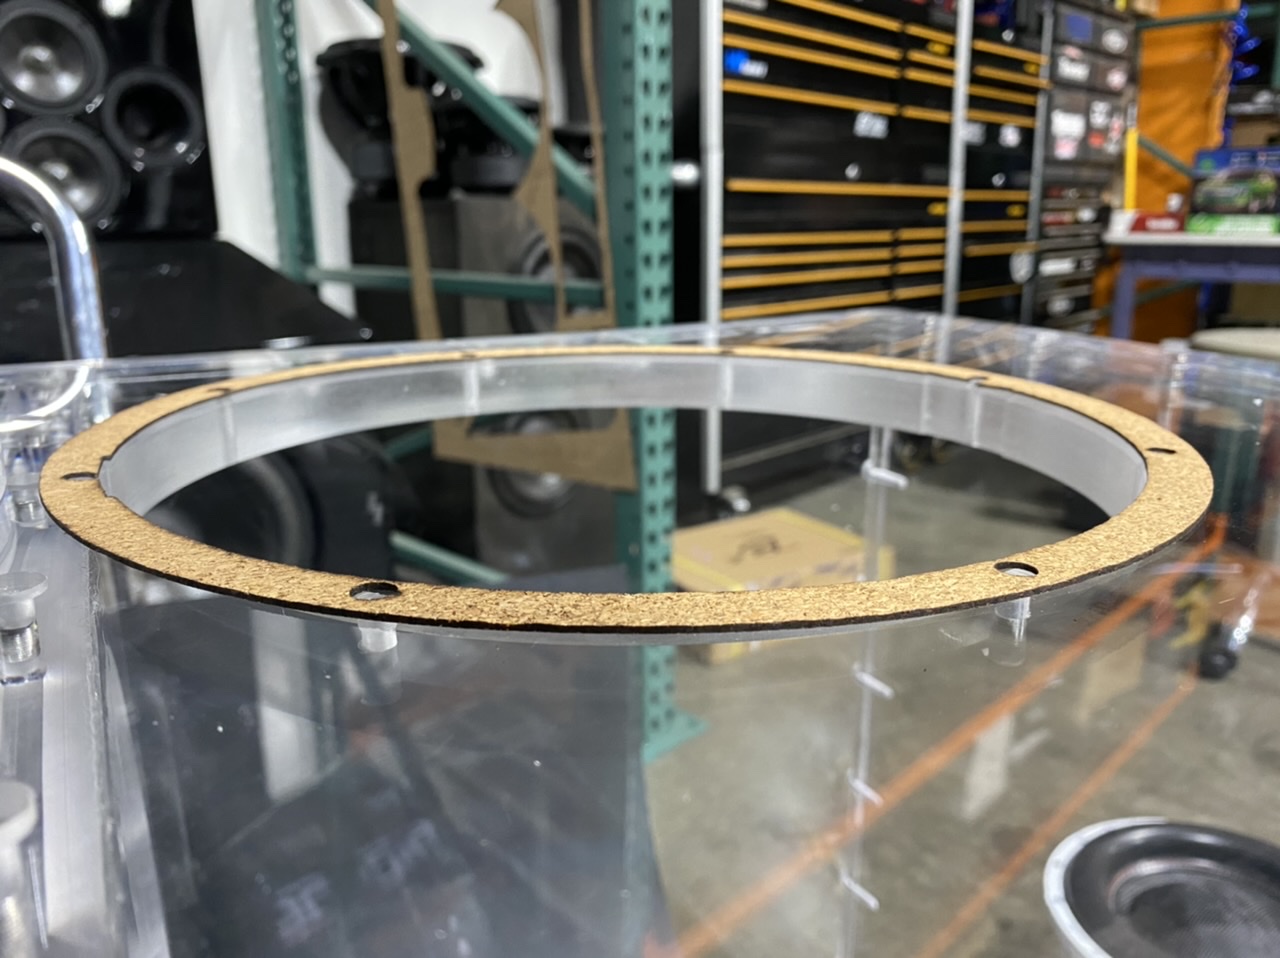
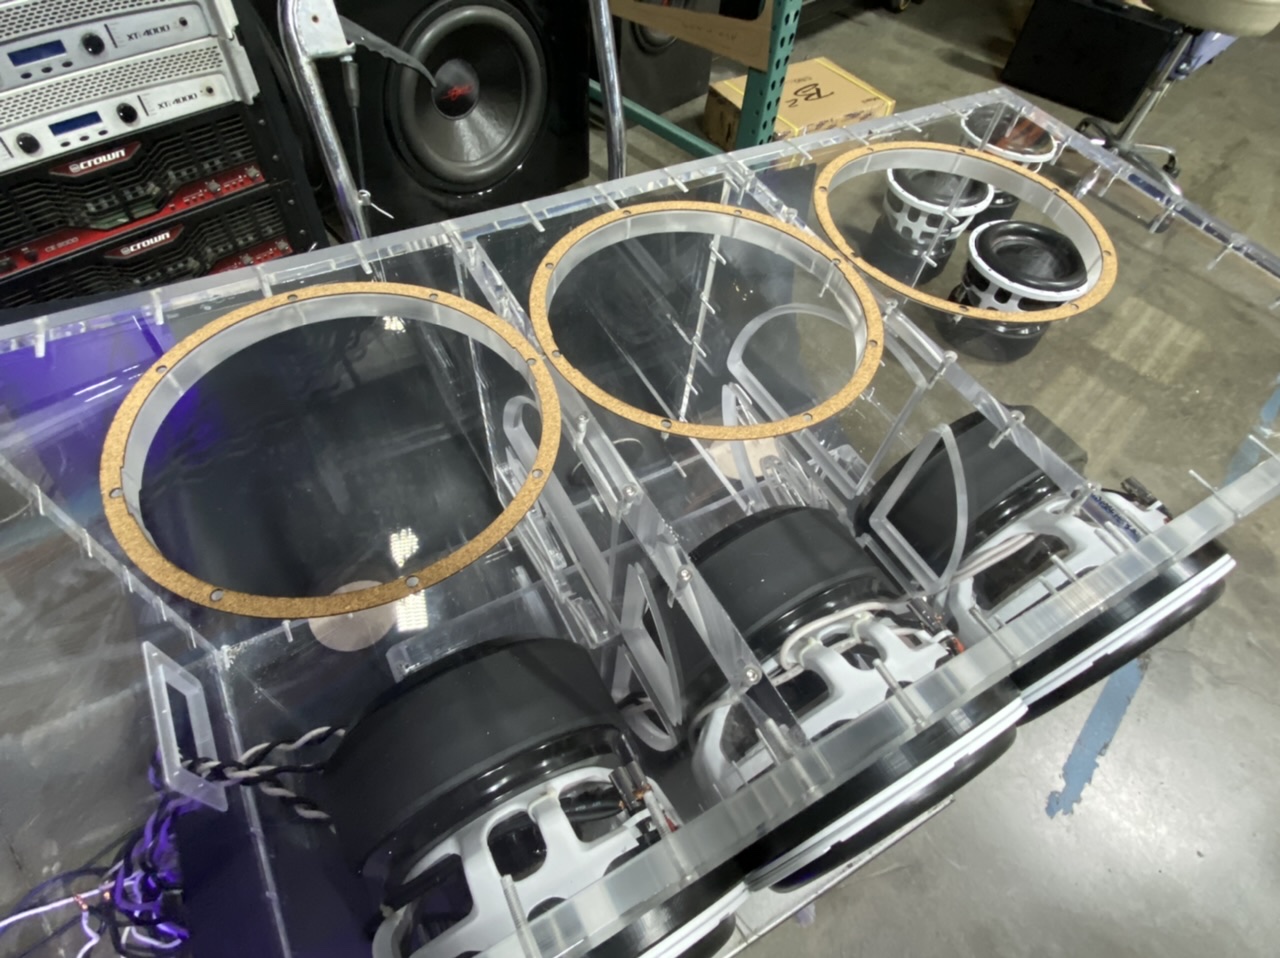
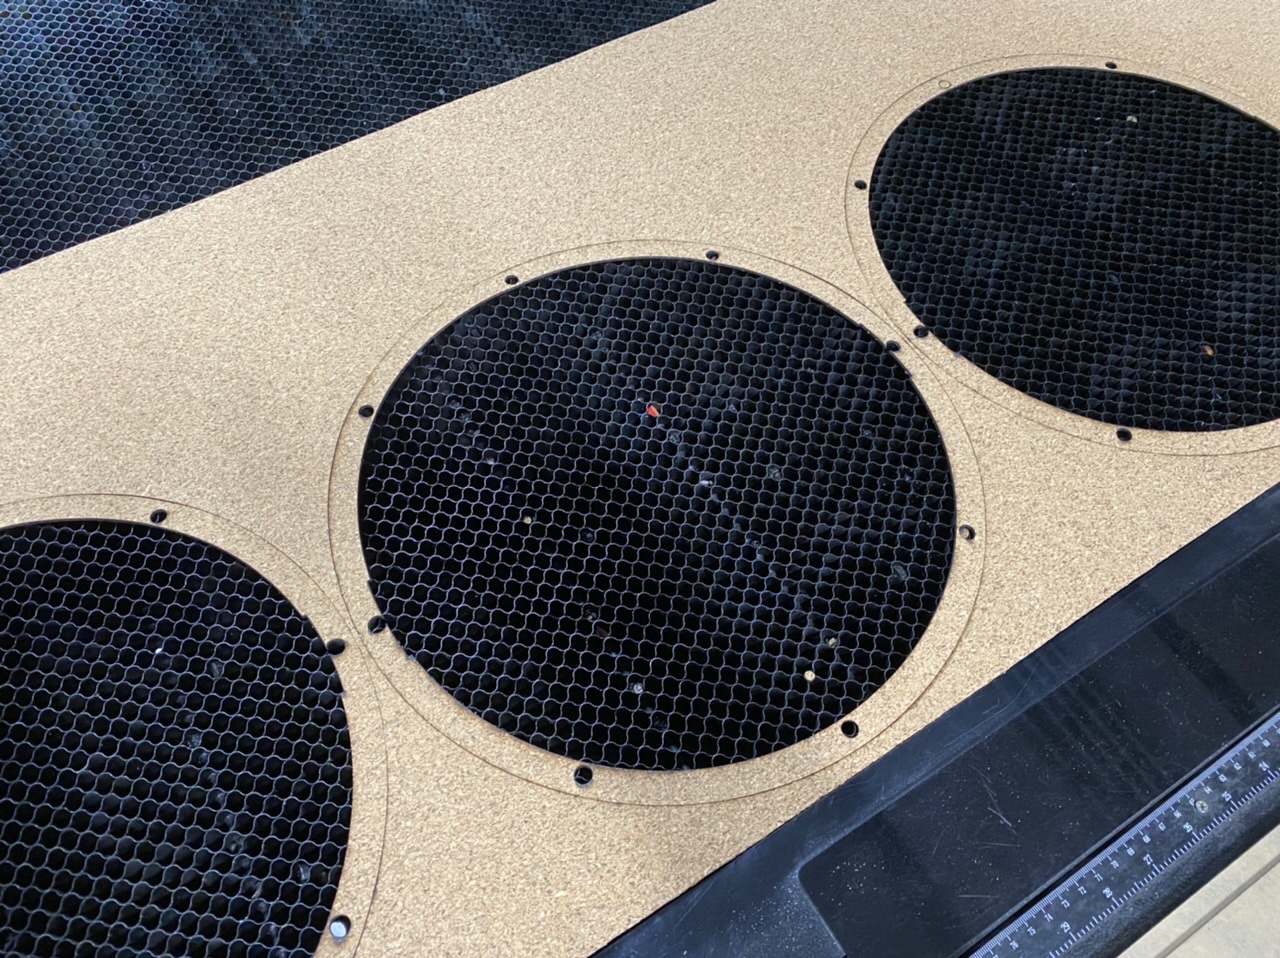
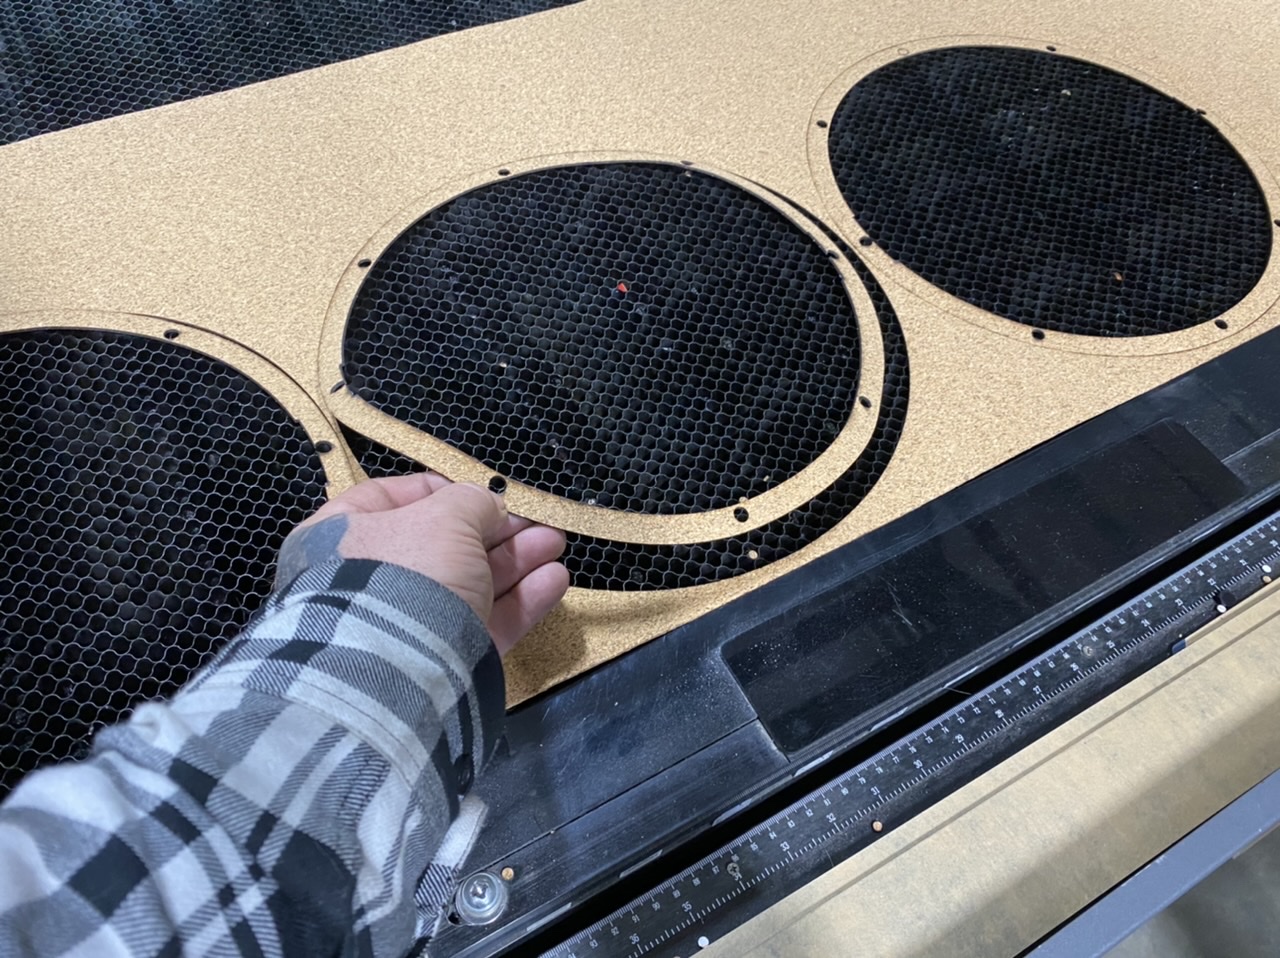
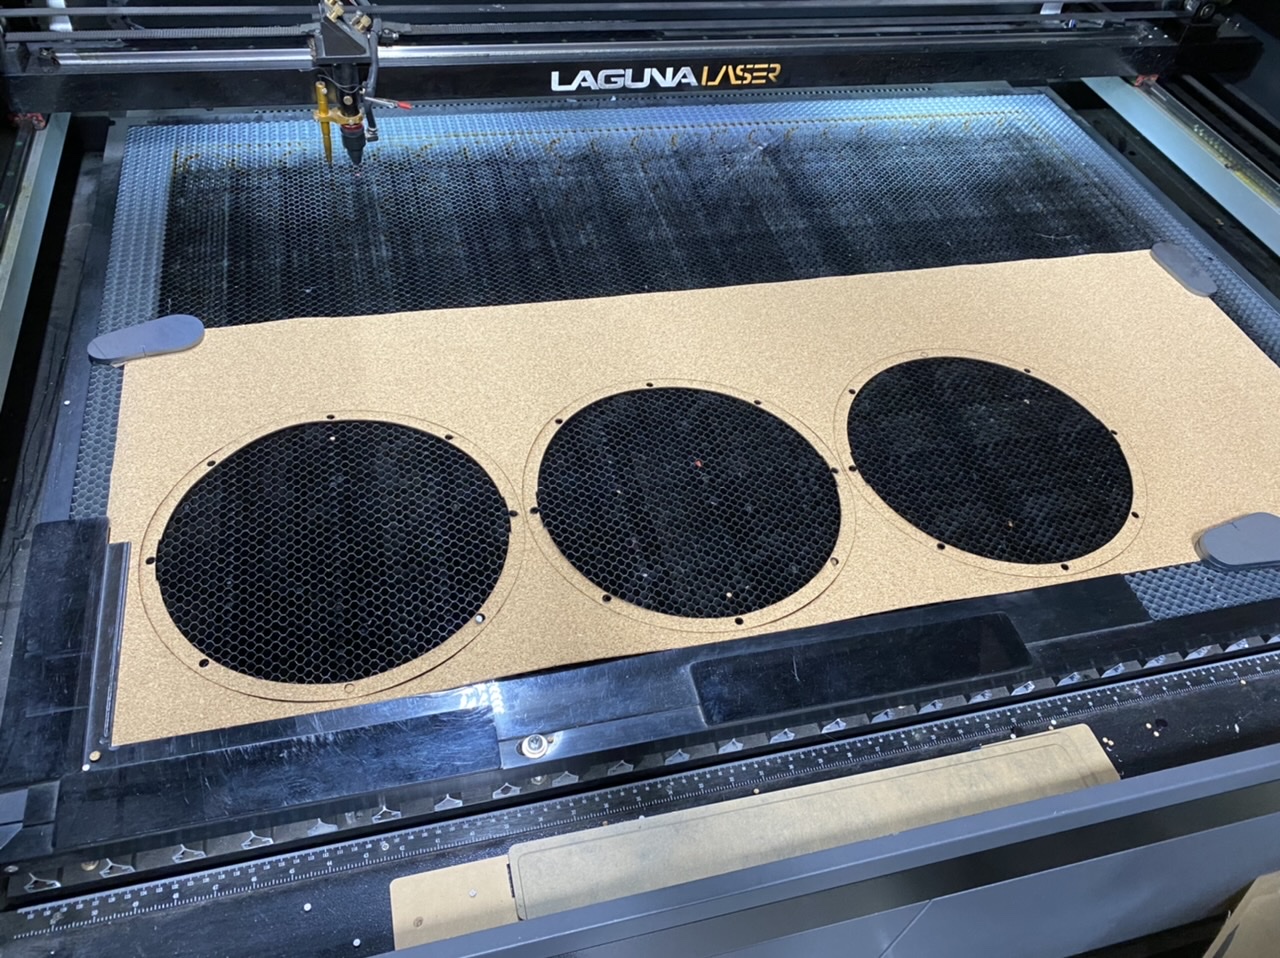
some laser cut gaskets made today
-
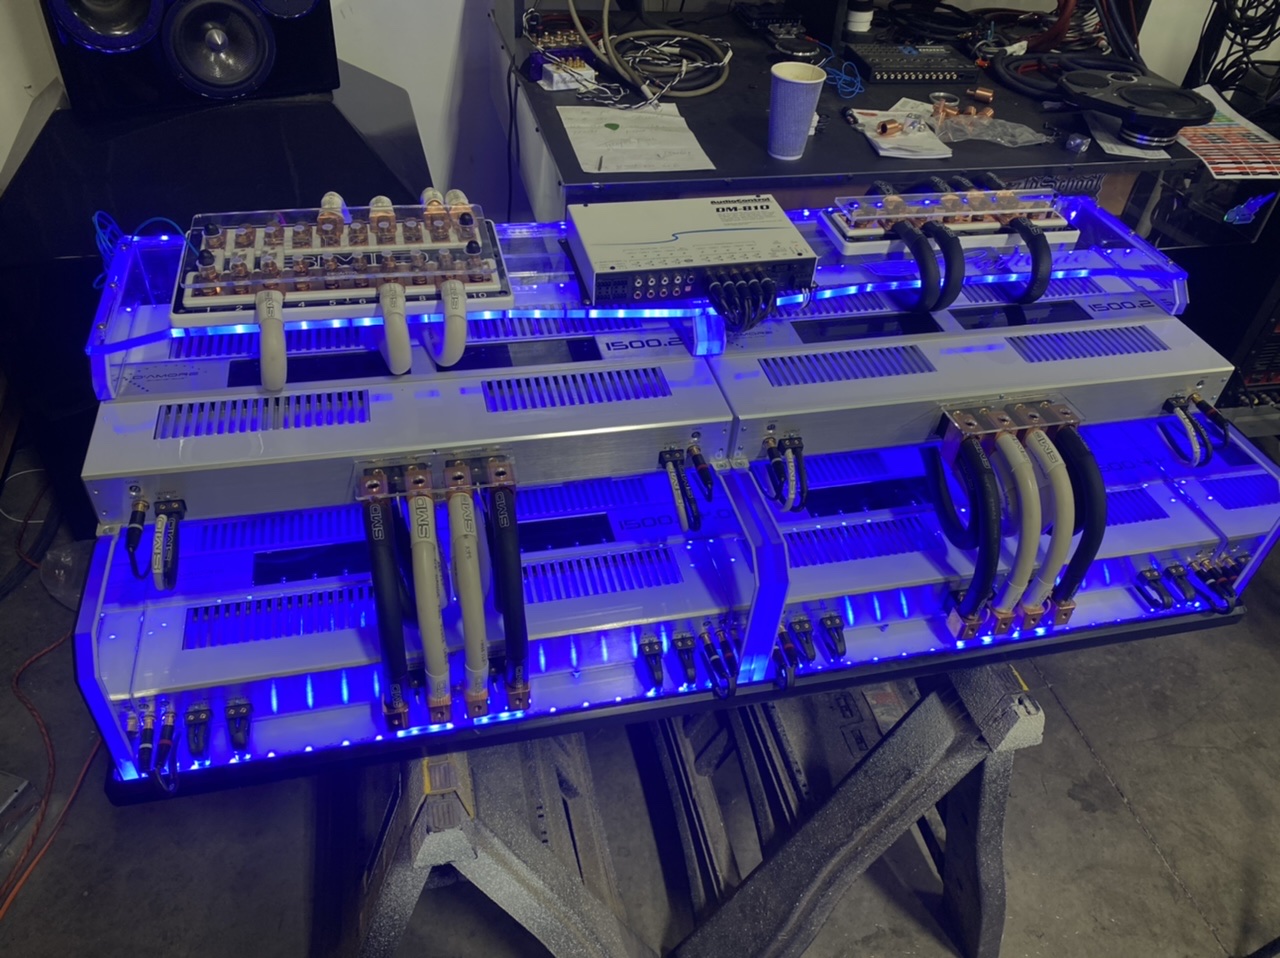
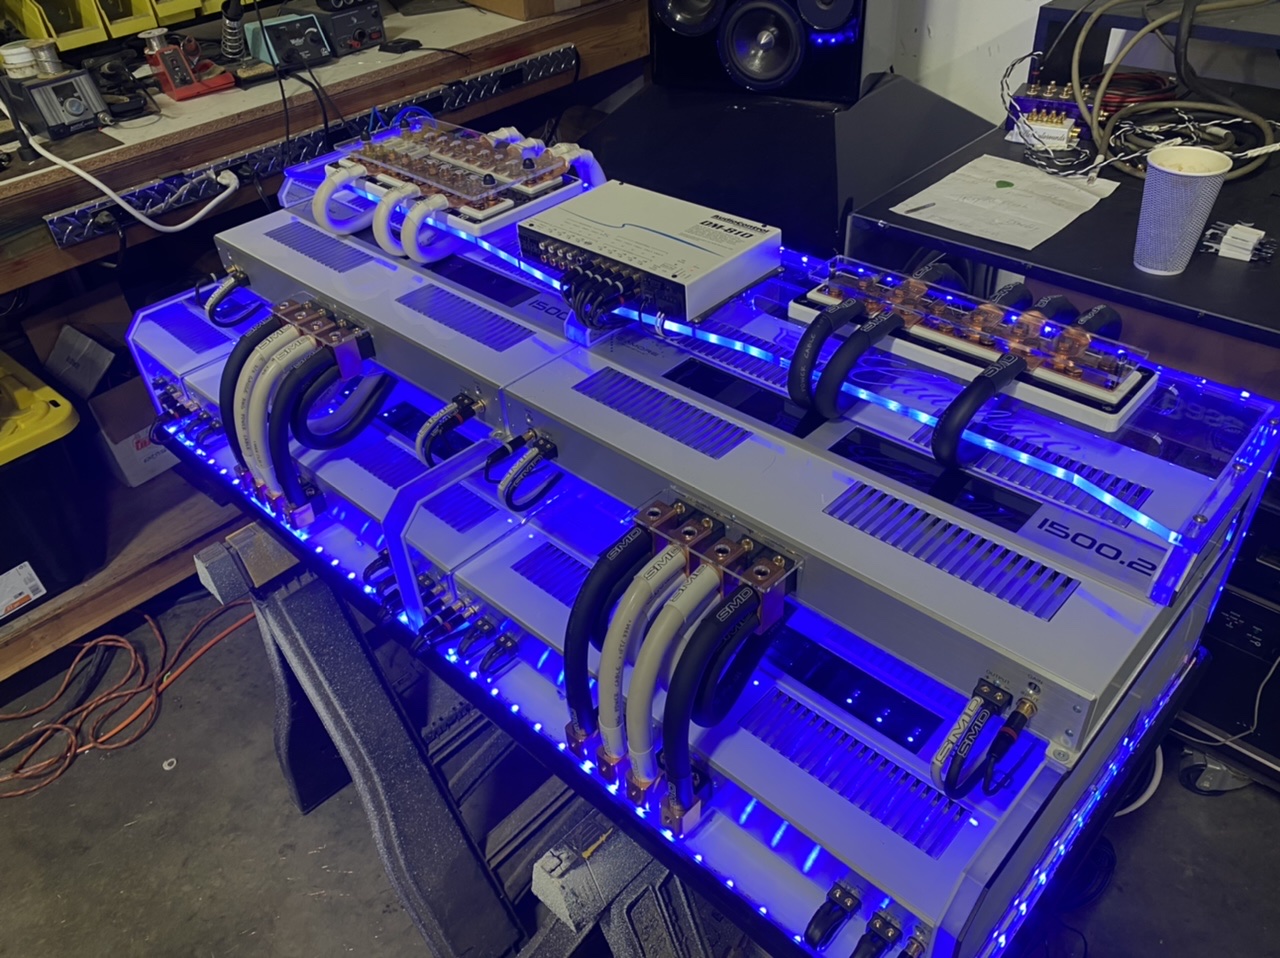
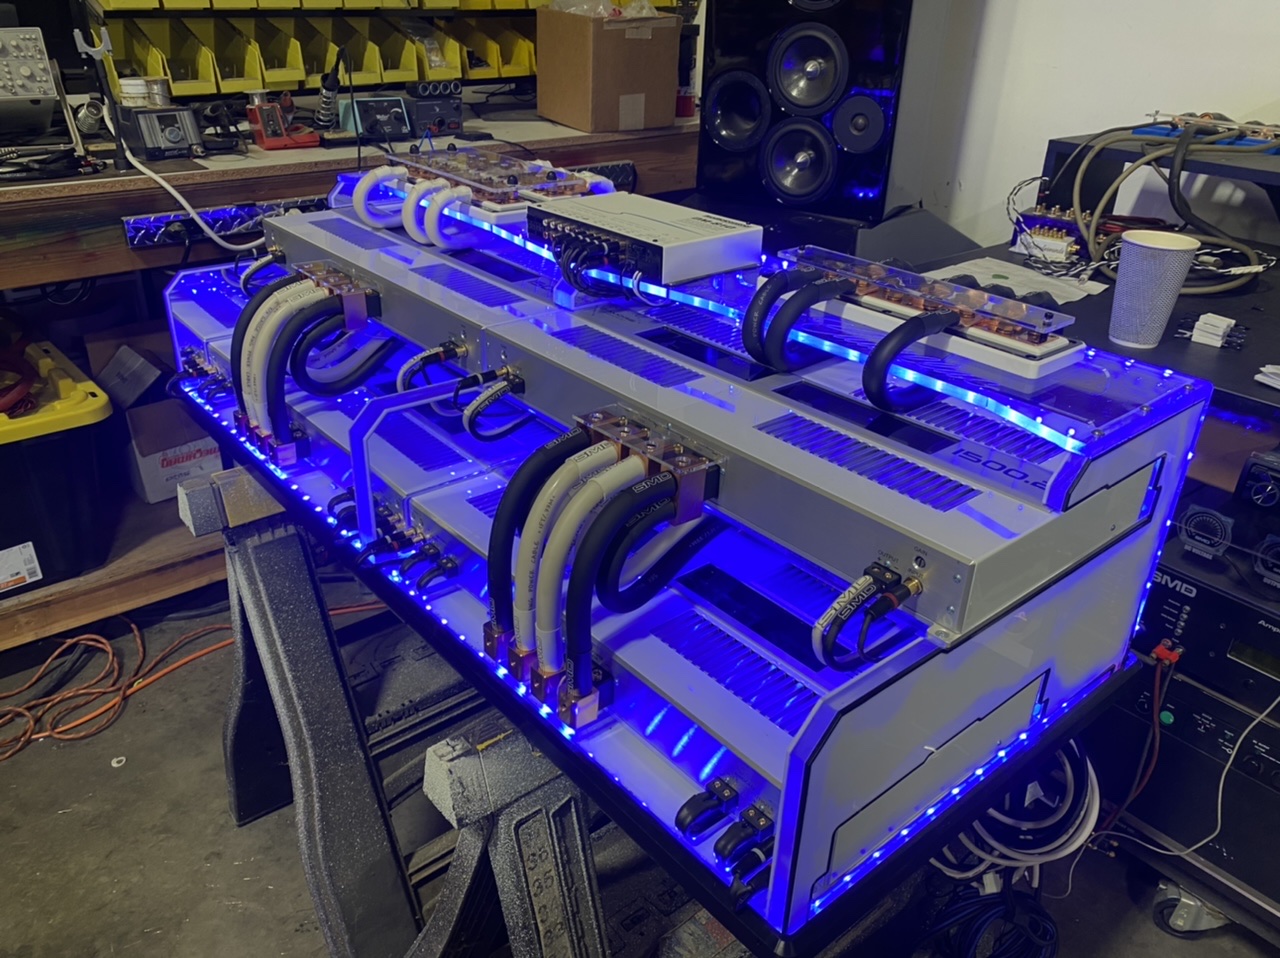
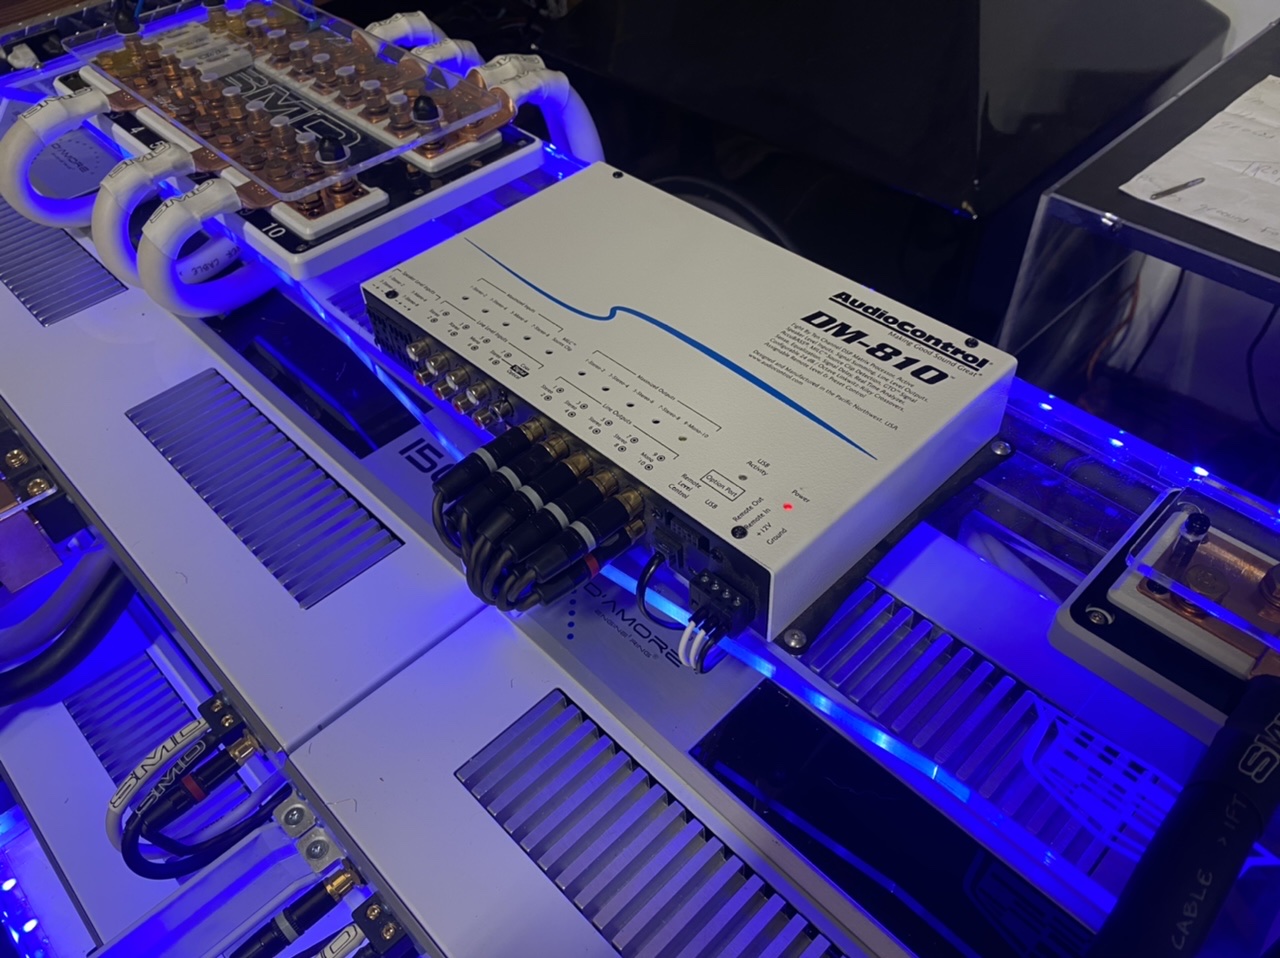
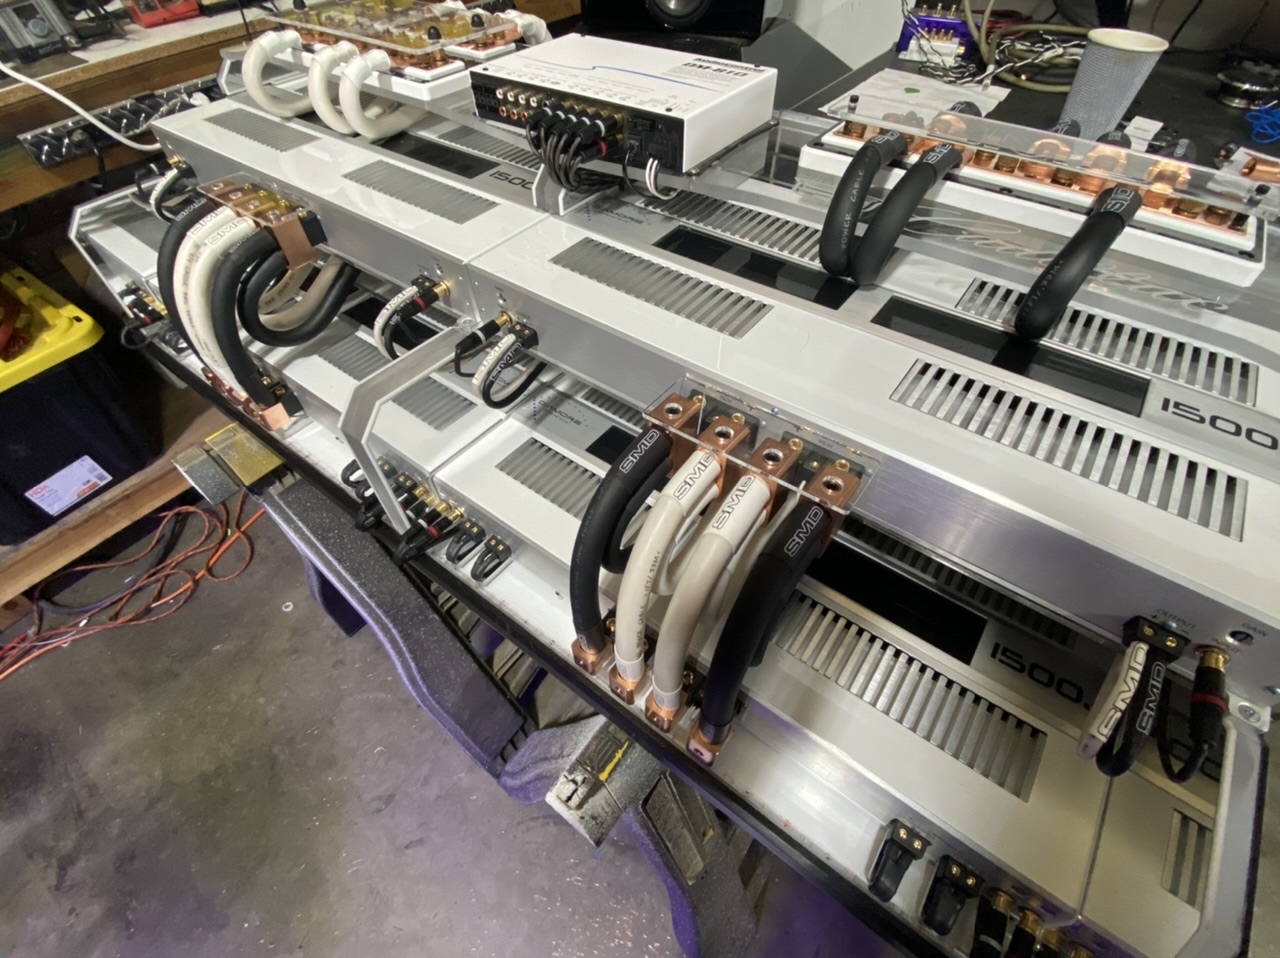
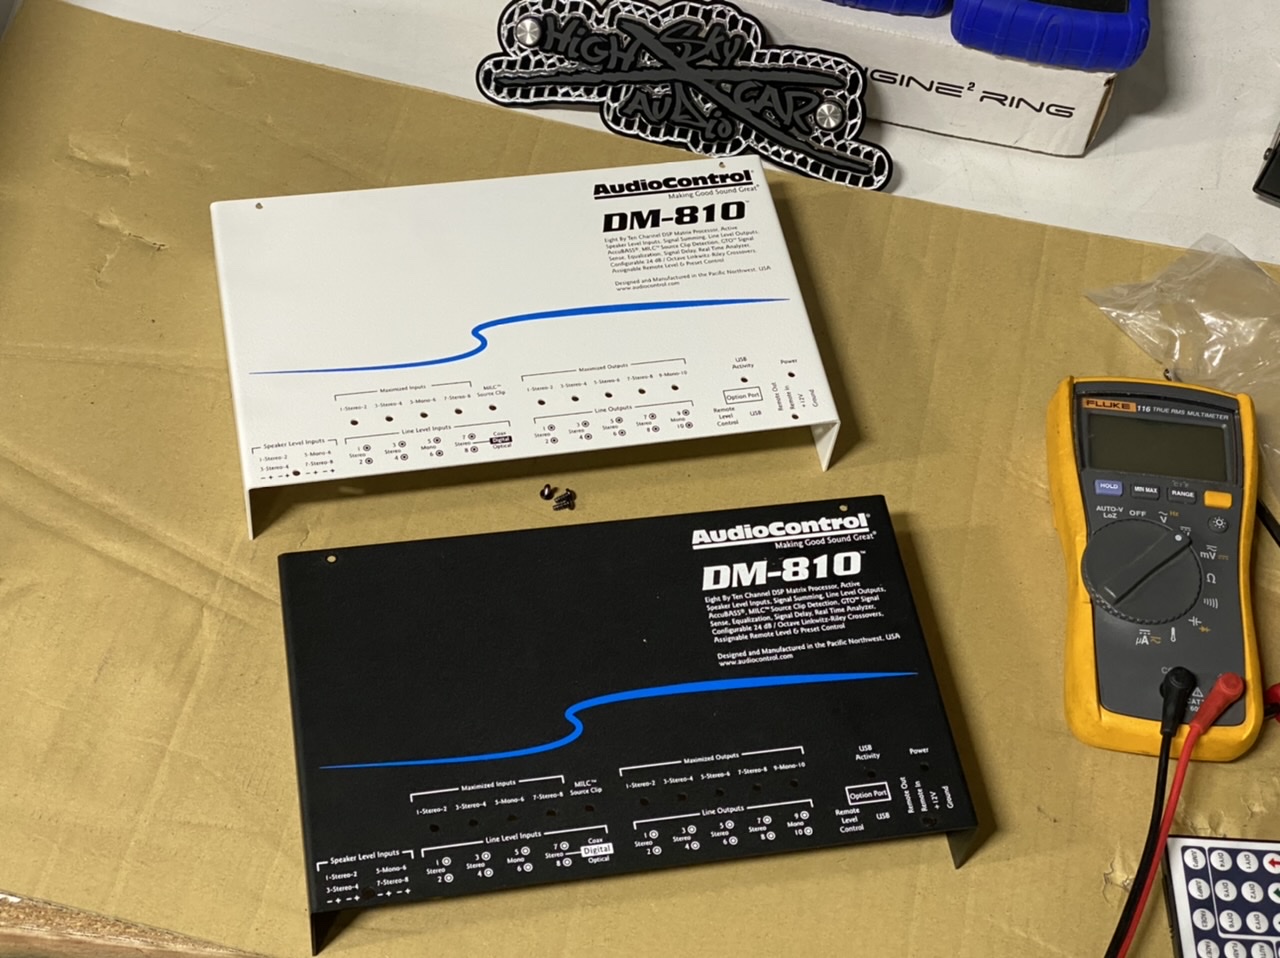
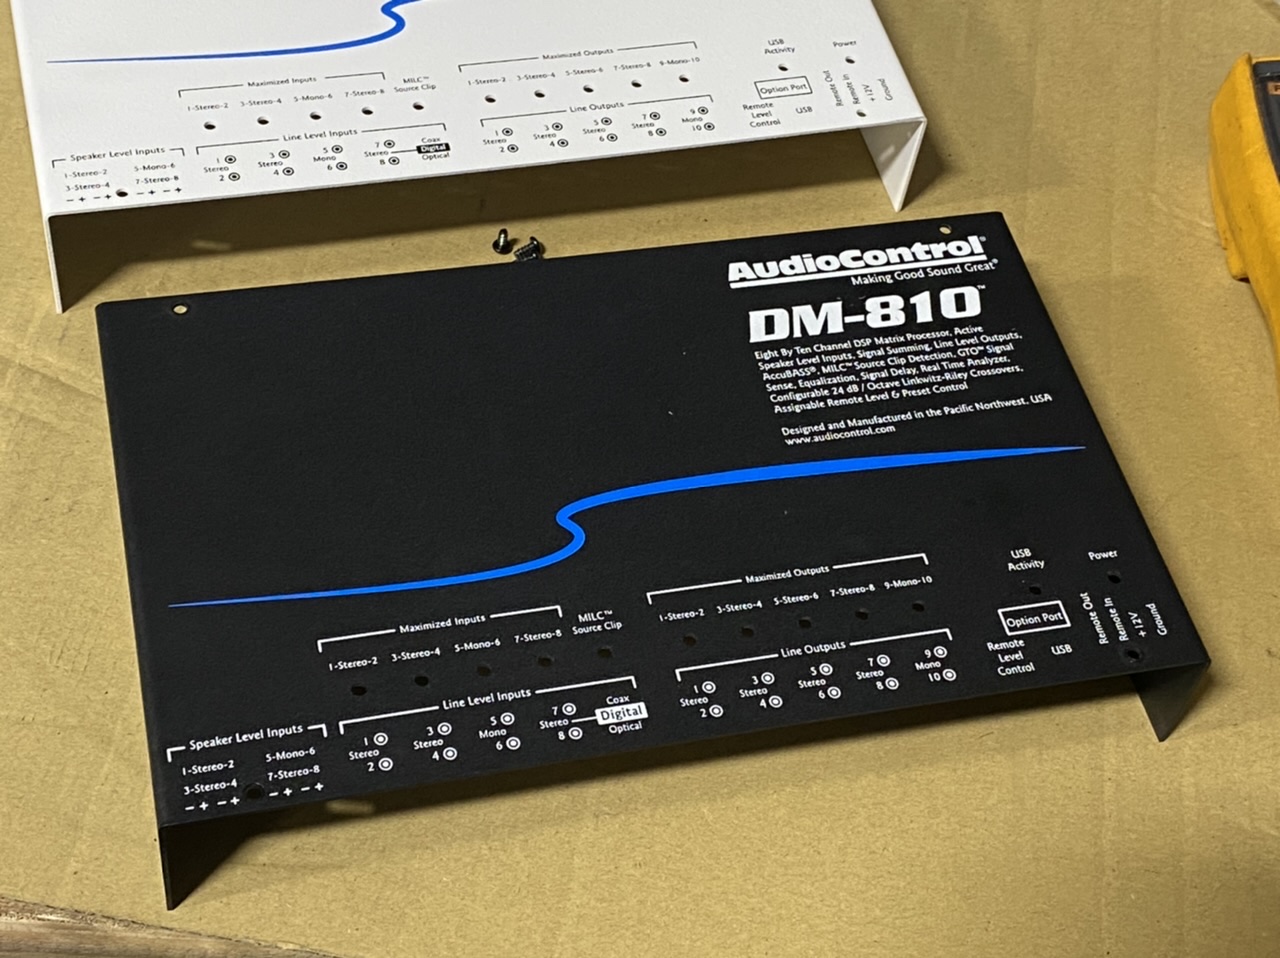
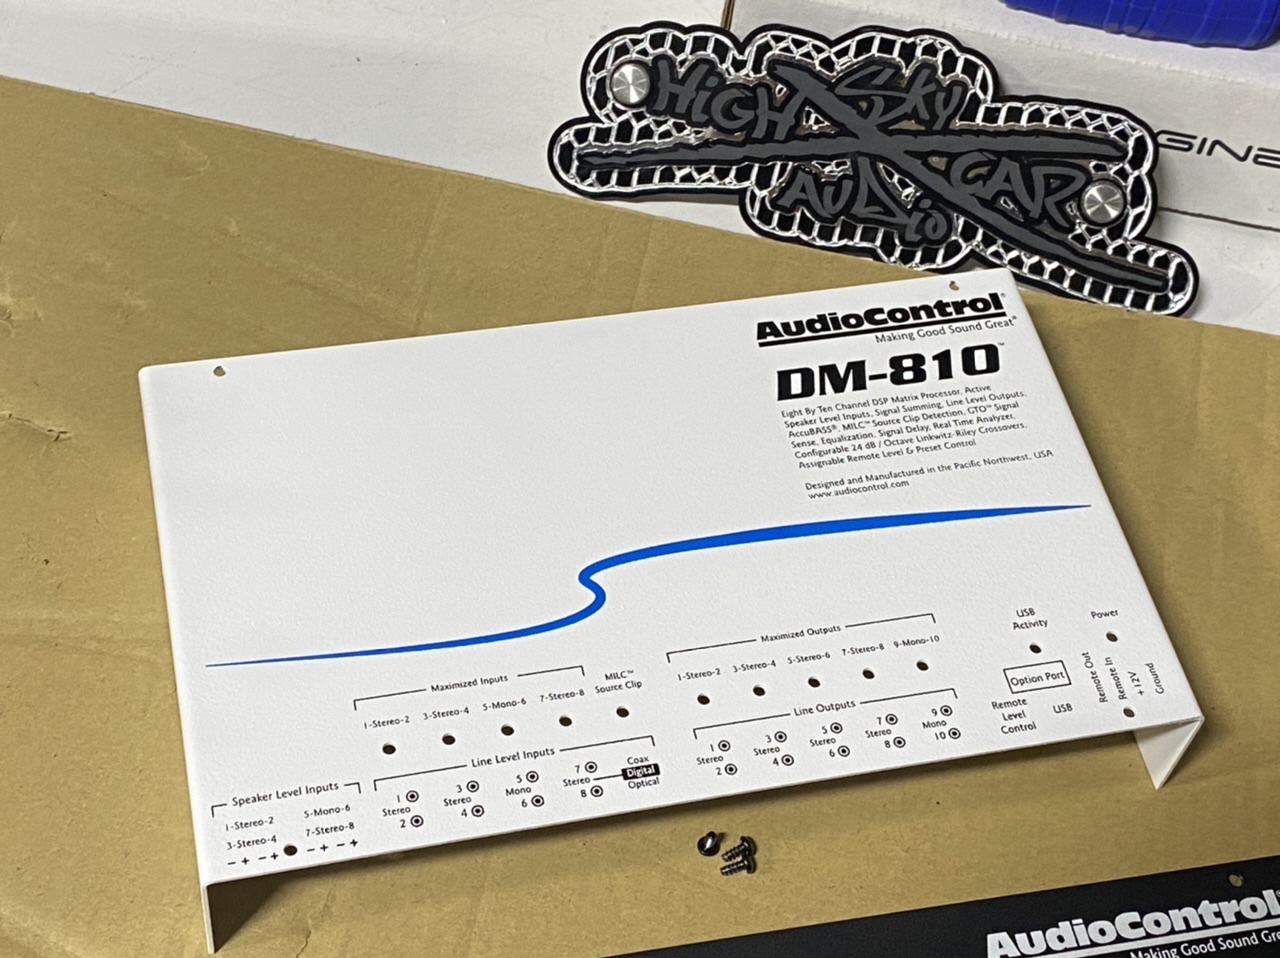
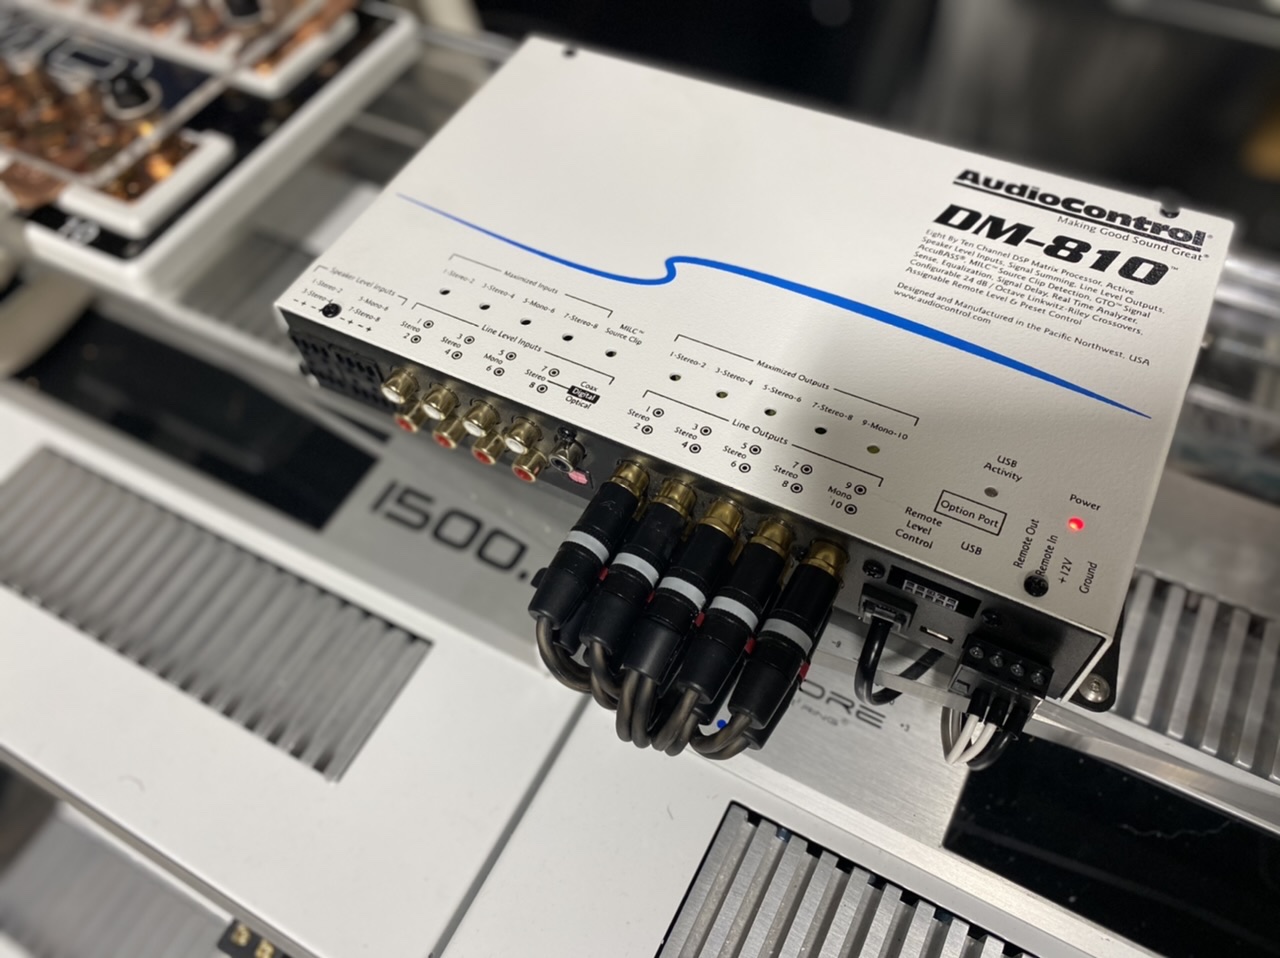
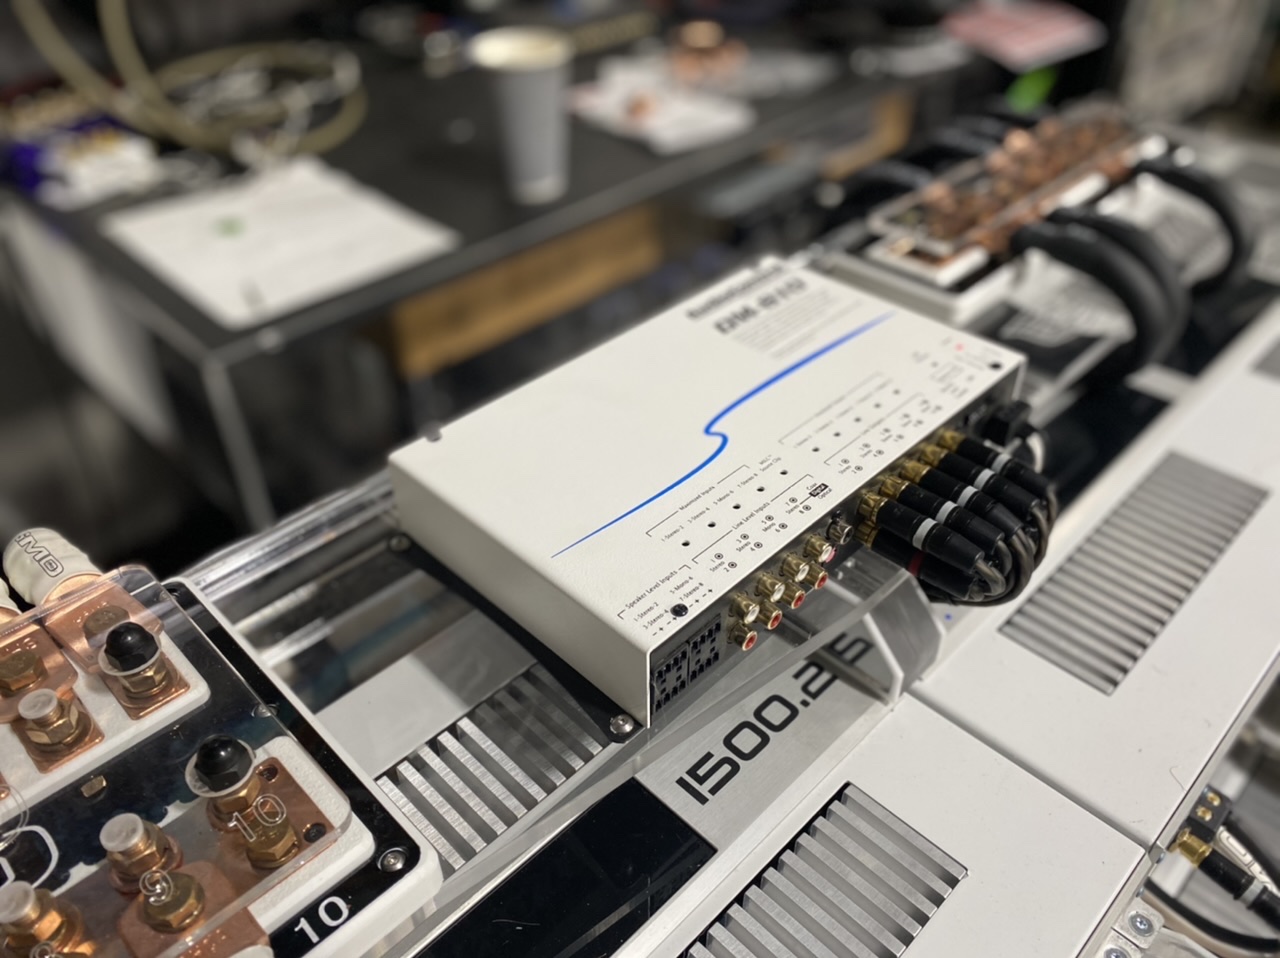
I haven't really talked about or posted pics of this next series anywhere else on the net (yet). So if you are looking at these photo's you are catching it first. You gotta see the white cover for the processor! It's PERFECT!