

meade916
-
Posts
27668 -
Joined
-
Last visited
-
Days Won
377
Content Type
Profiles
Forums
Events
Media Demo
Store
Collections
Videos
Posts posted by meade916
-
-
-
-
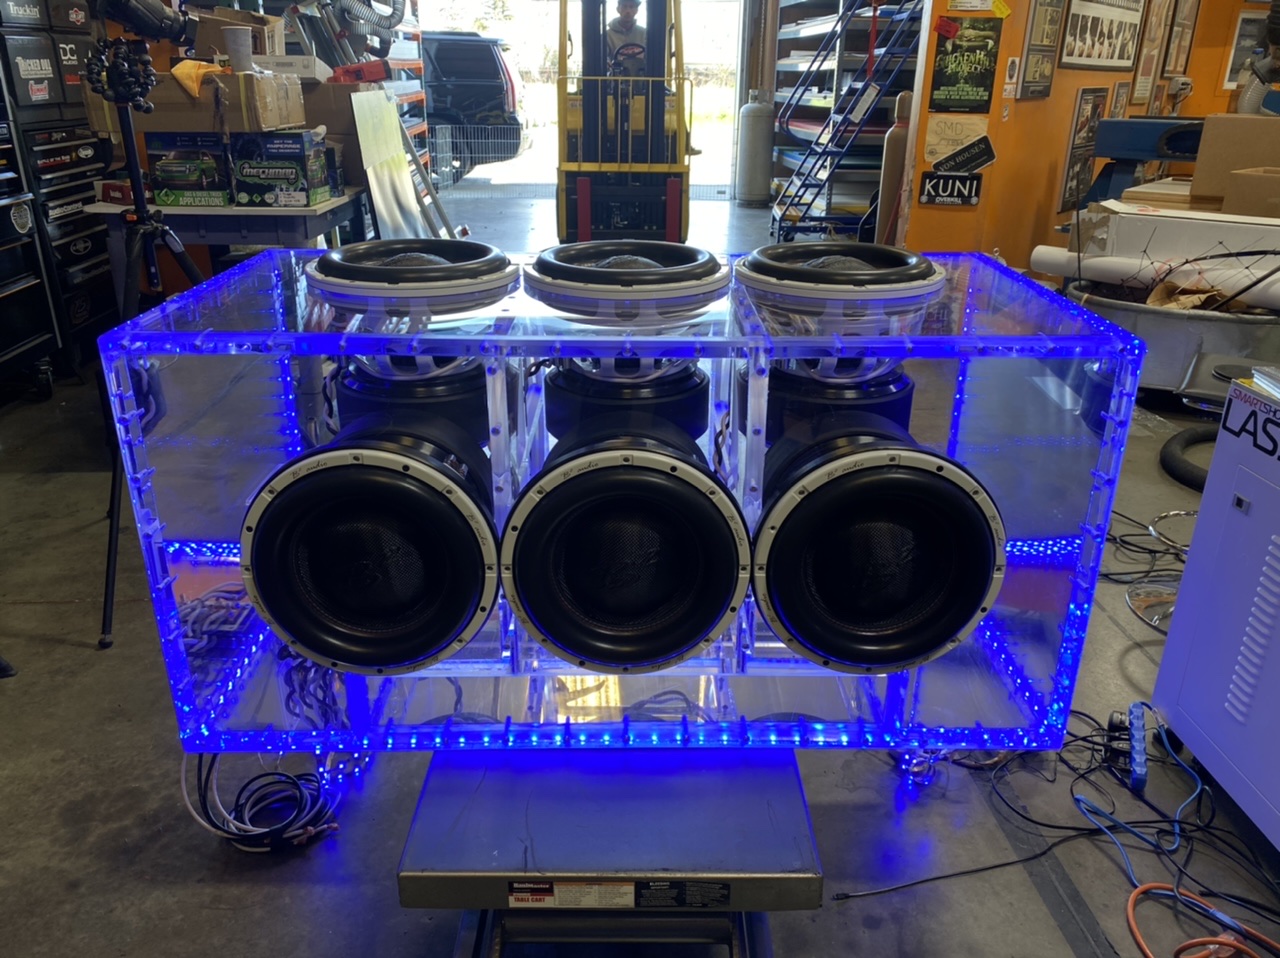
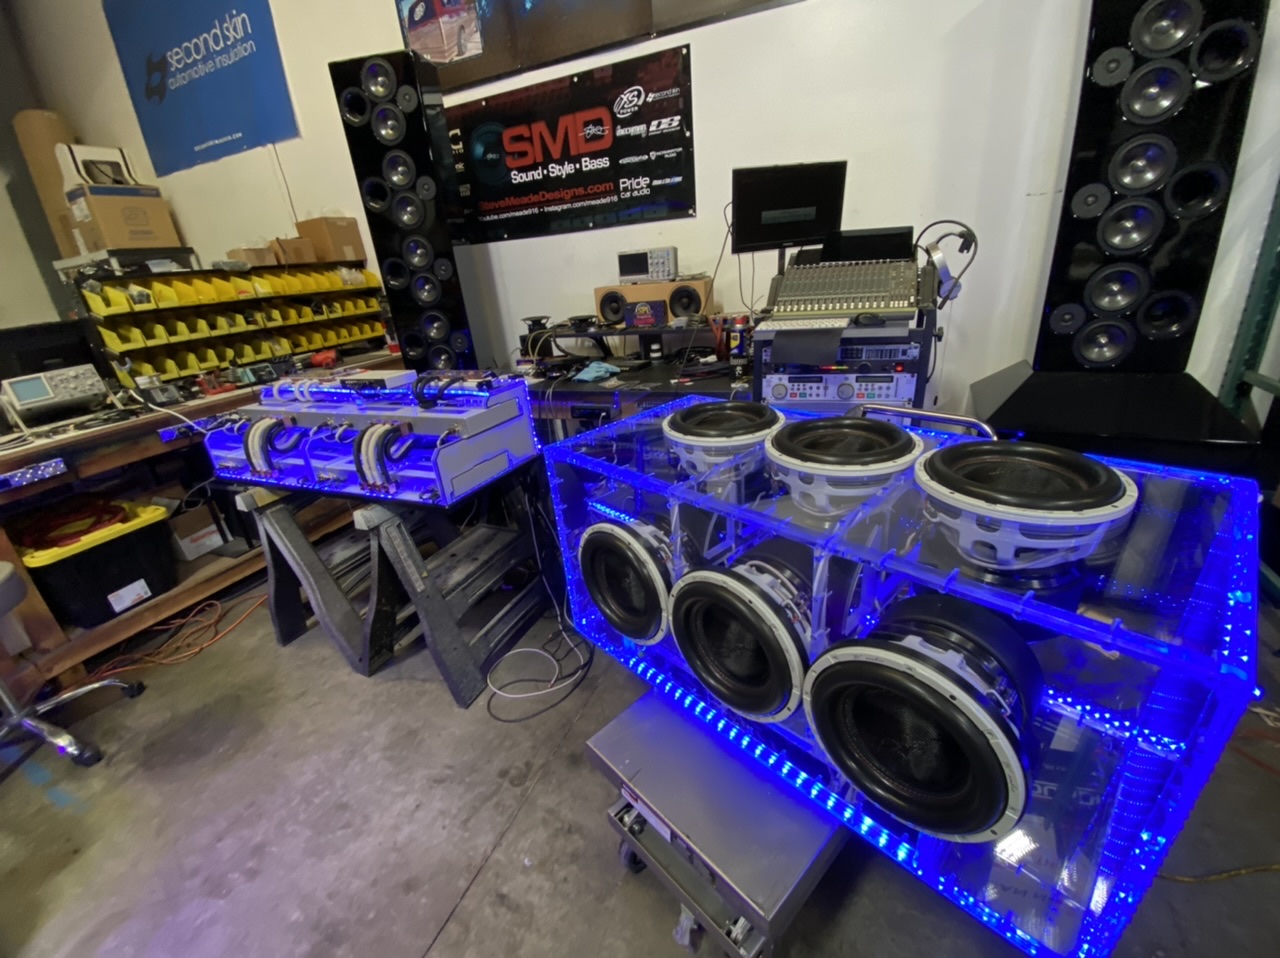
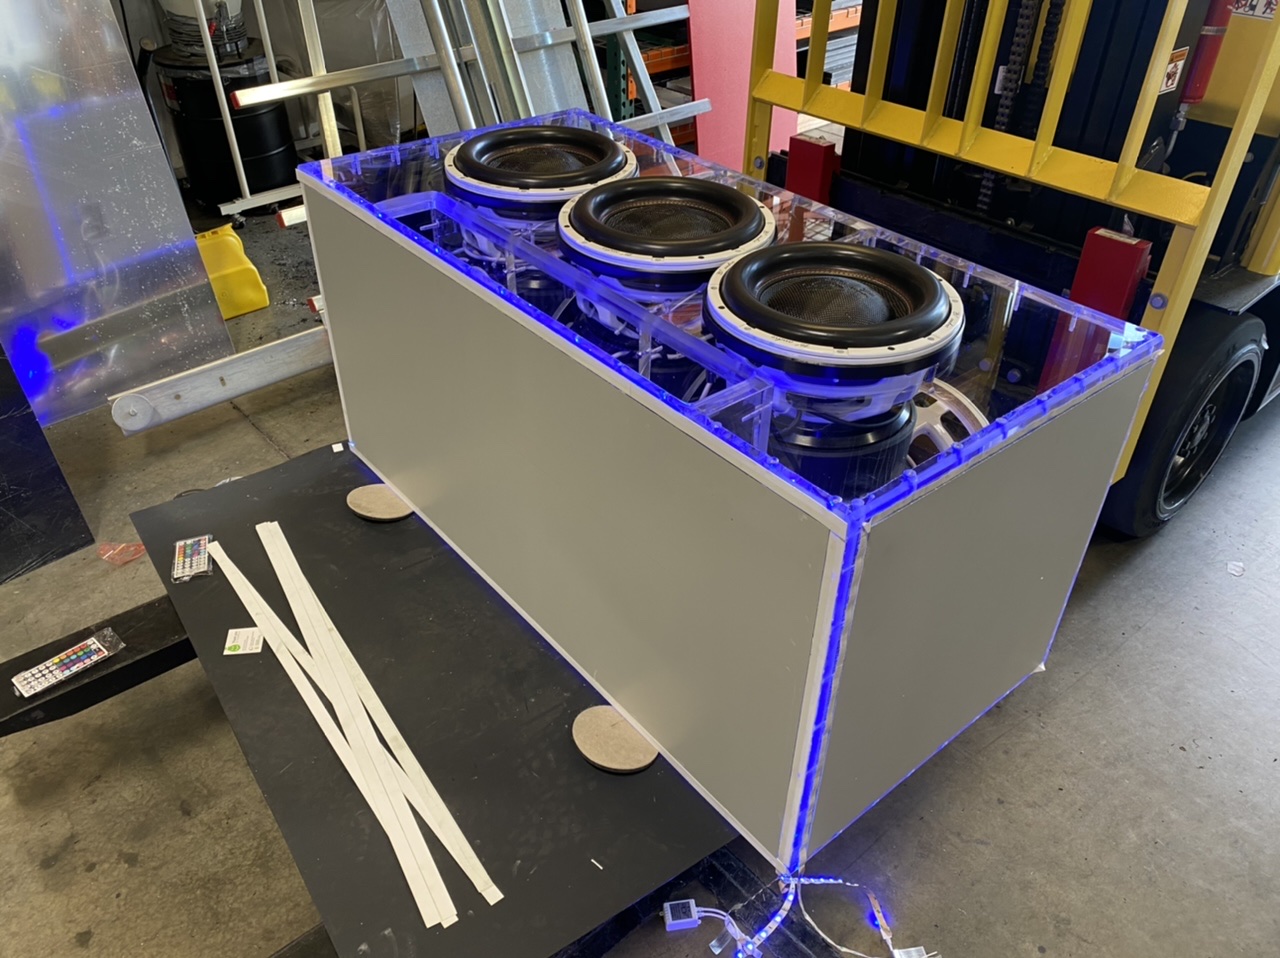
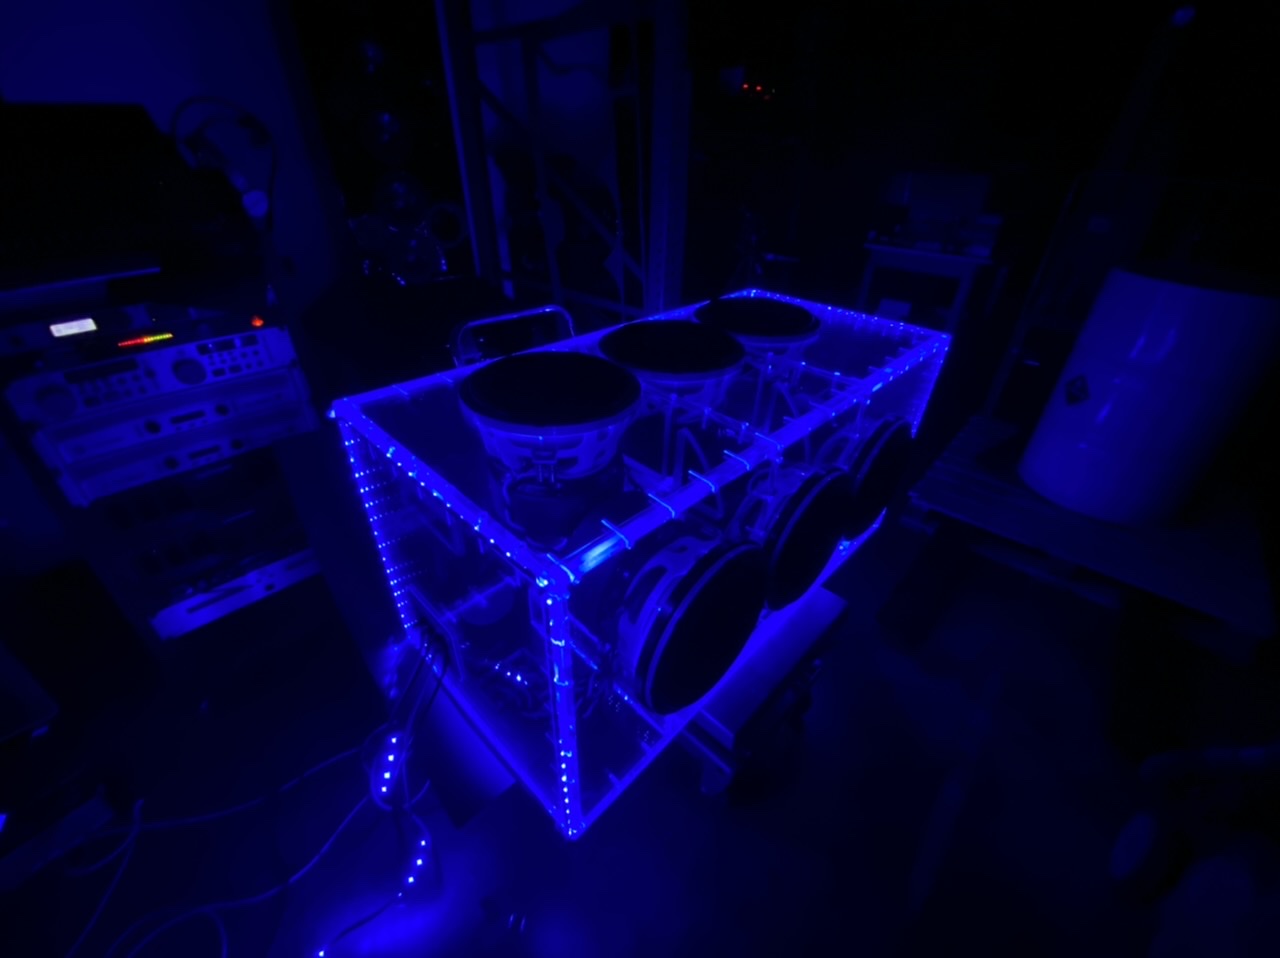
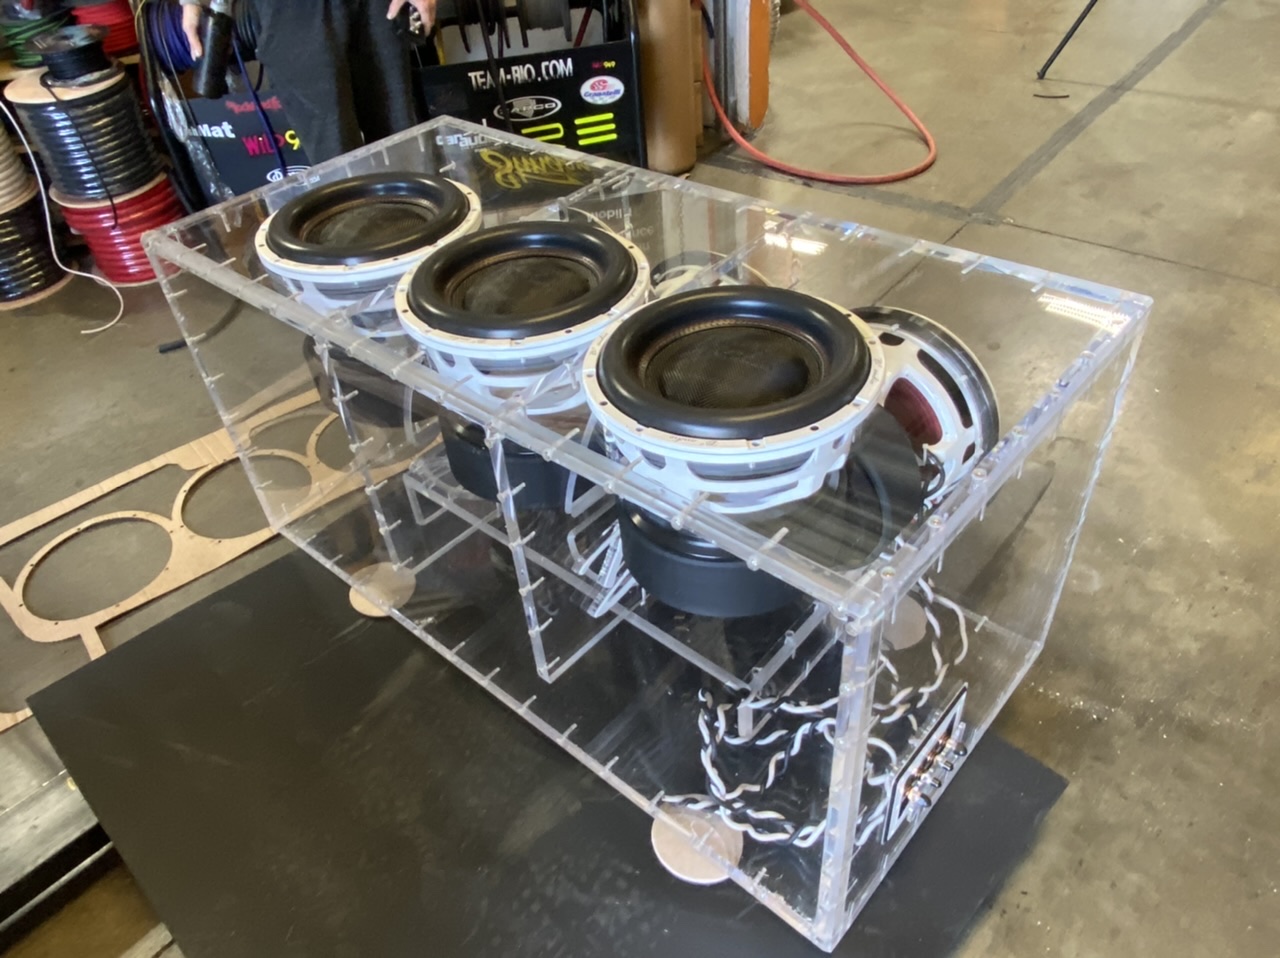
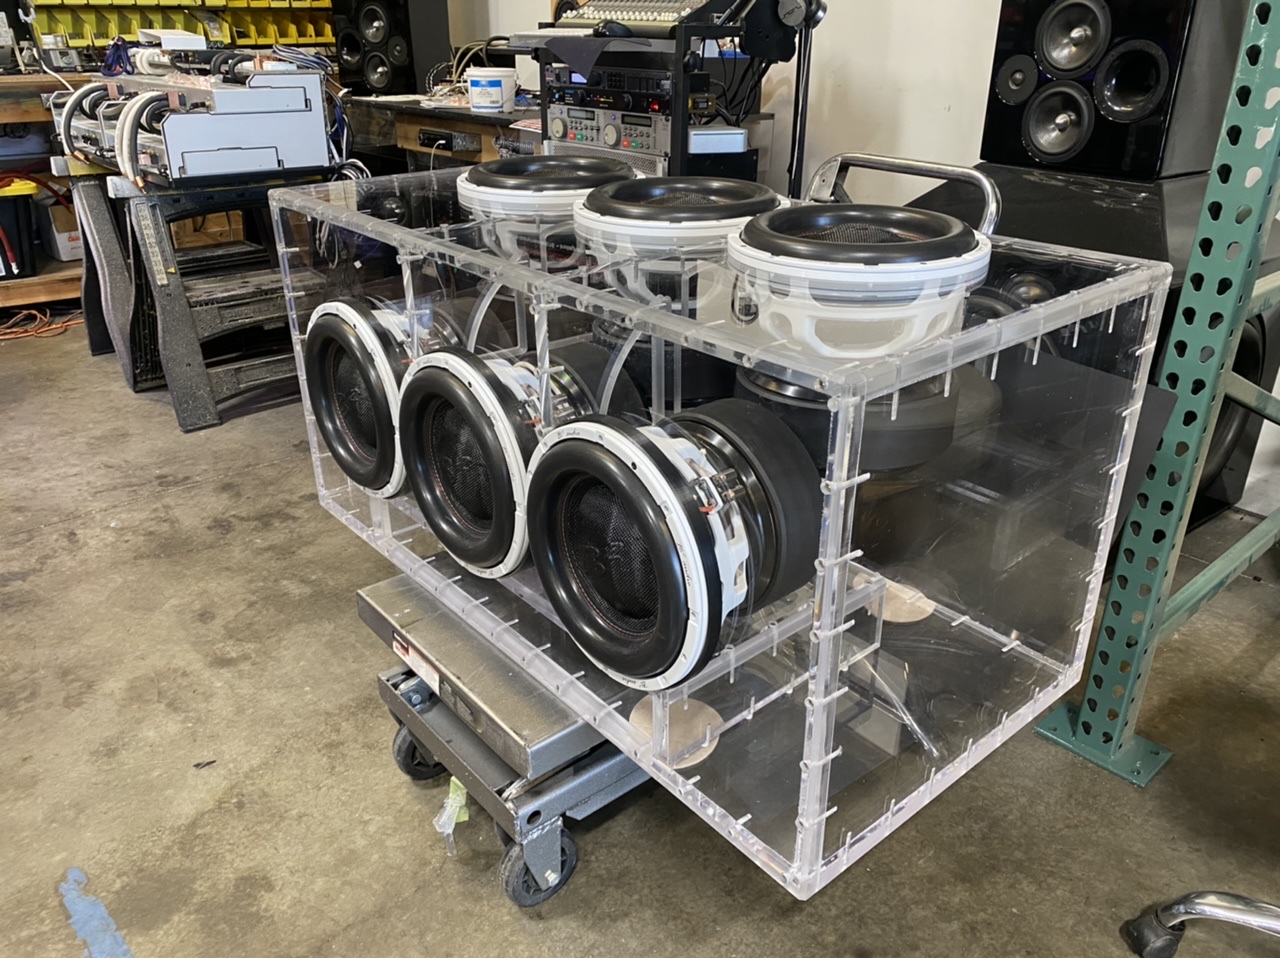
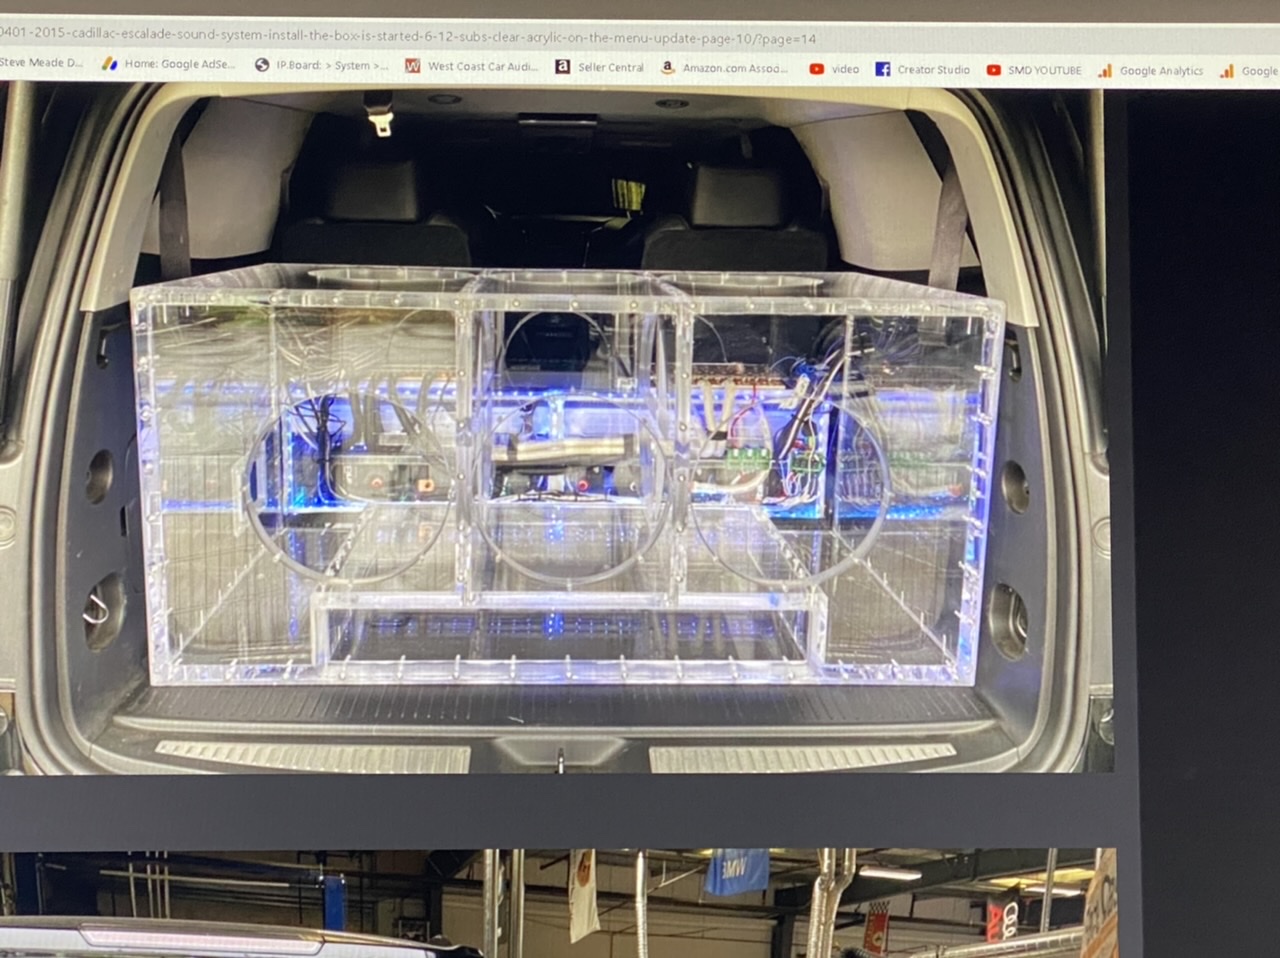
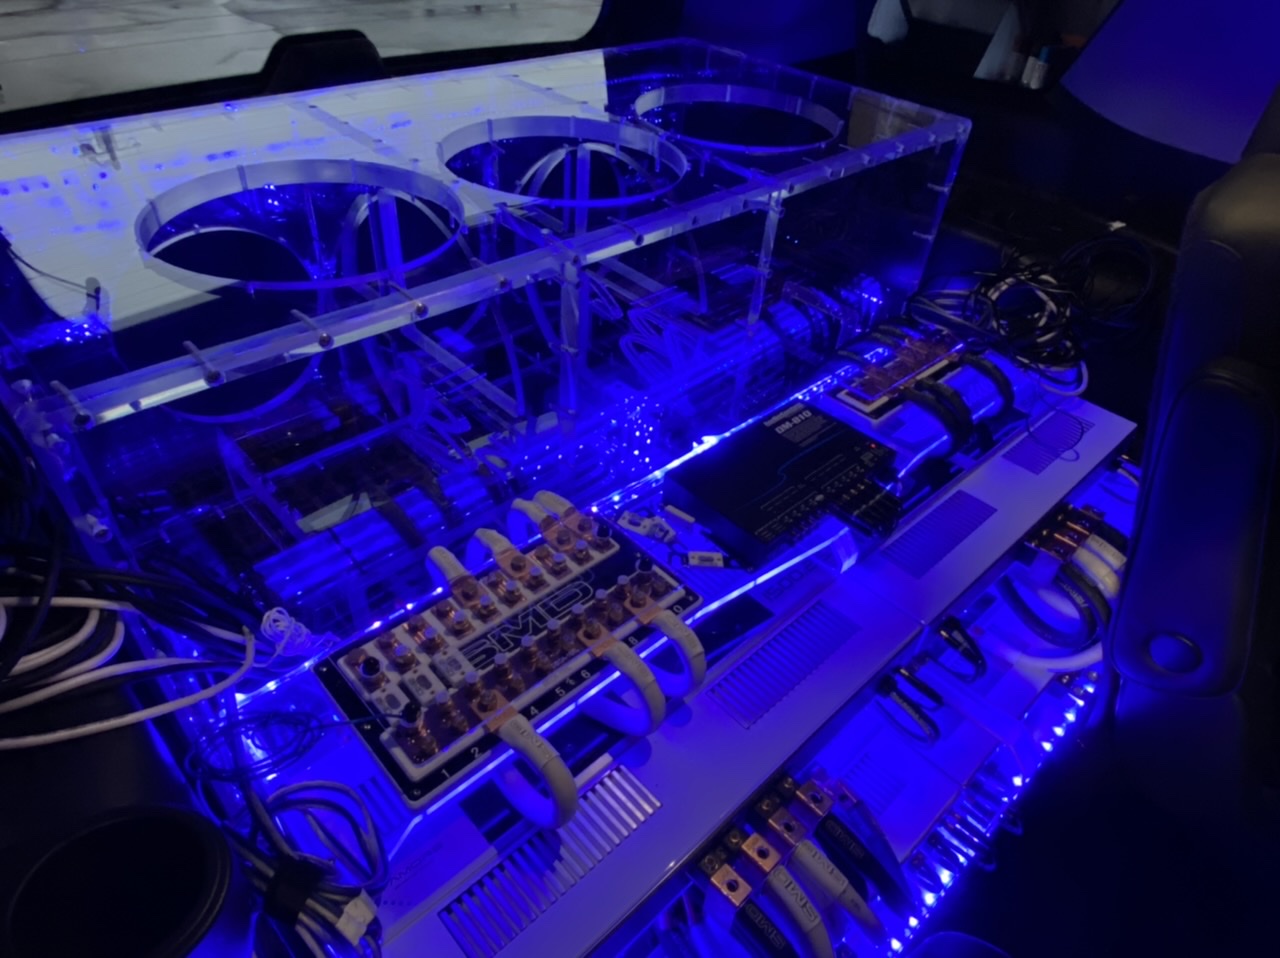
I hate to take a clear box and block some of it but honestly, once it is in the vehicle i dont need to see the carpet under it or the plastic panels on the sides. So i (as long planned) added mirrors to those areas. I left it offset a little to make room for LED’s. There will be lots more trim work once it is in the truck but this is todays progress so far.

-
-
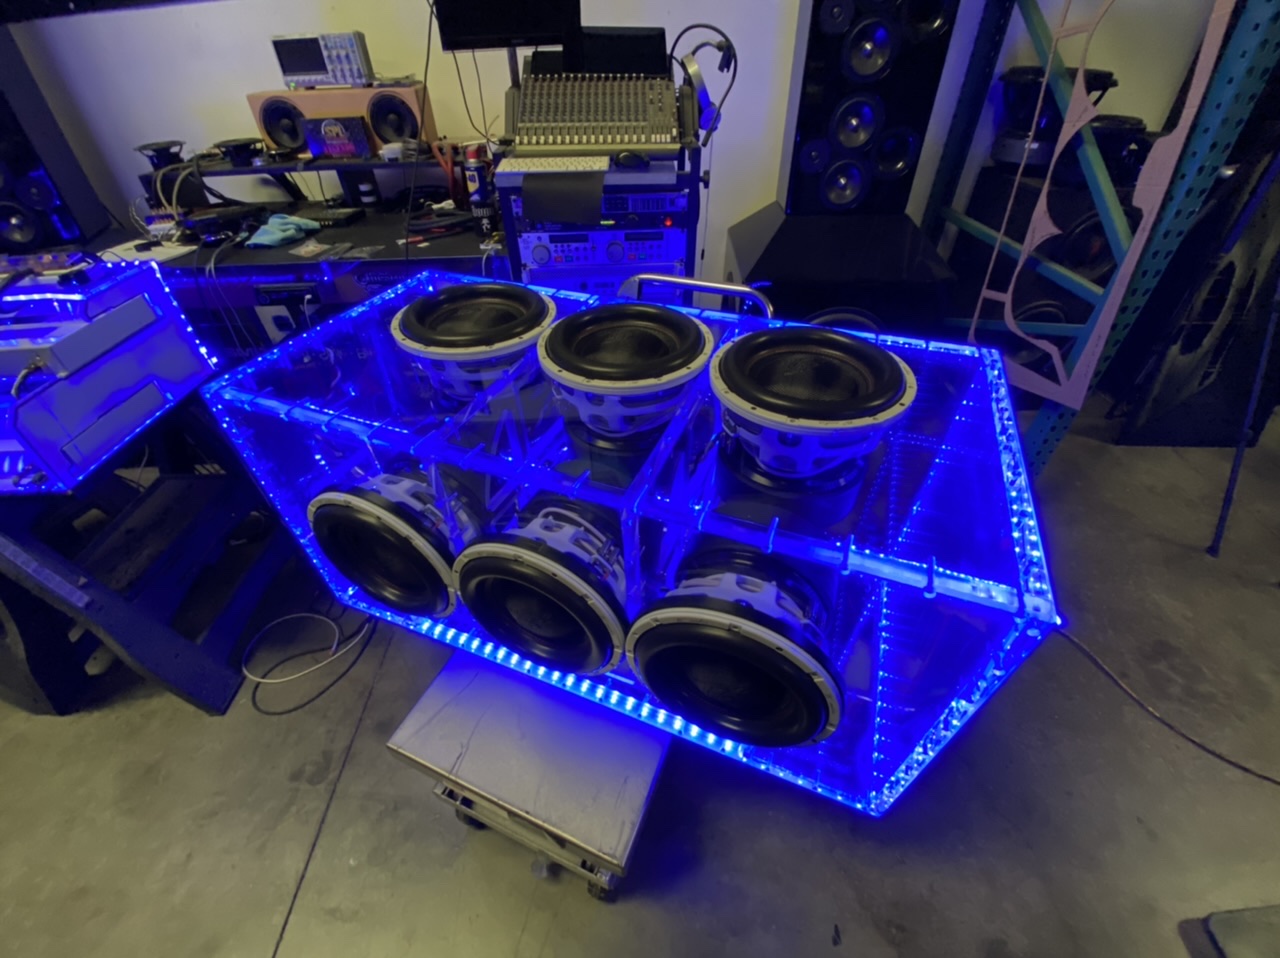
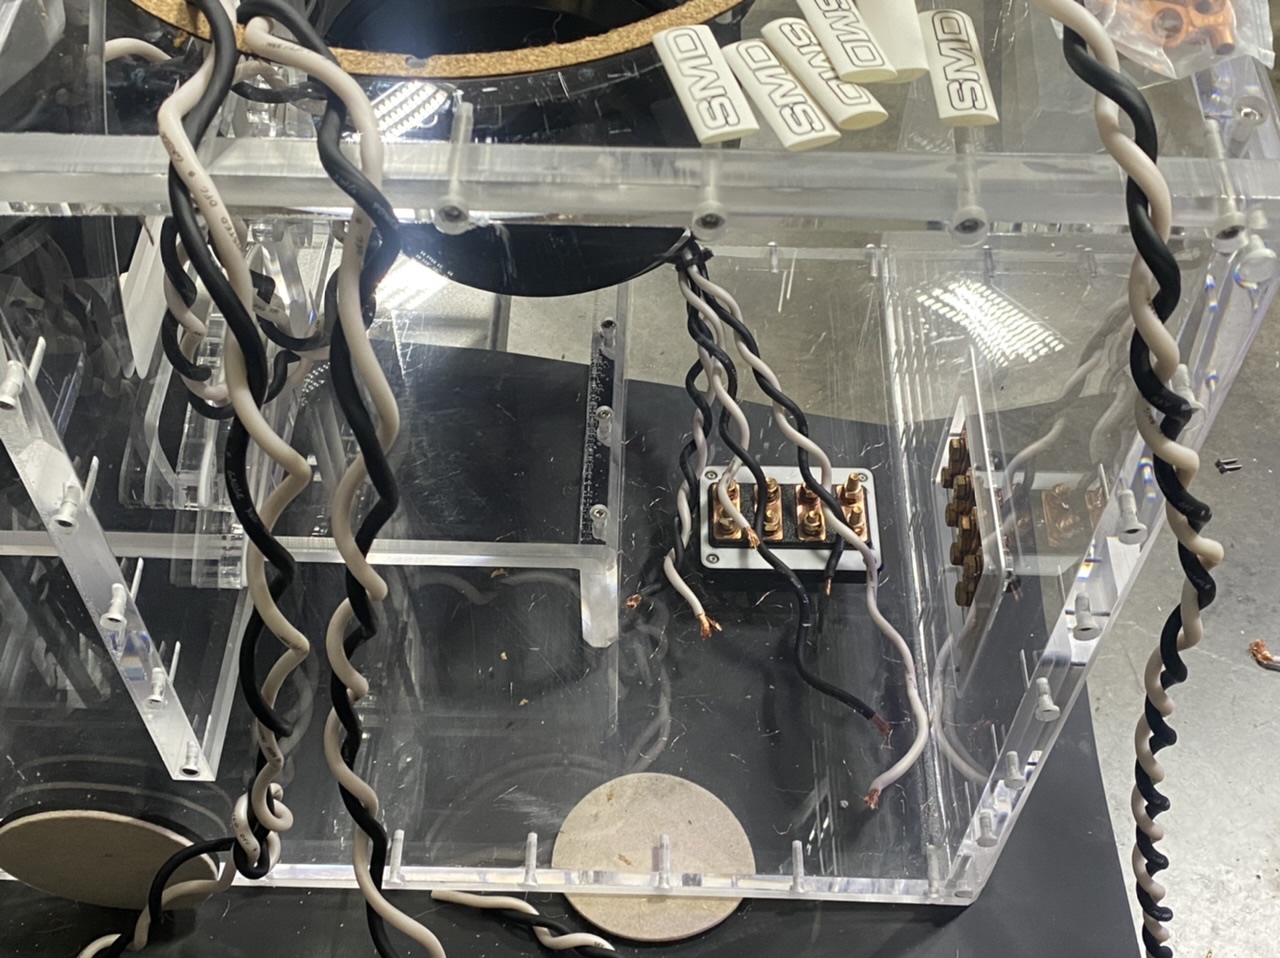
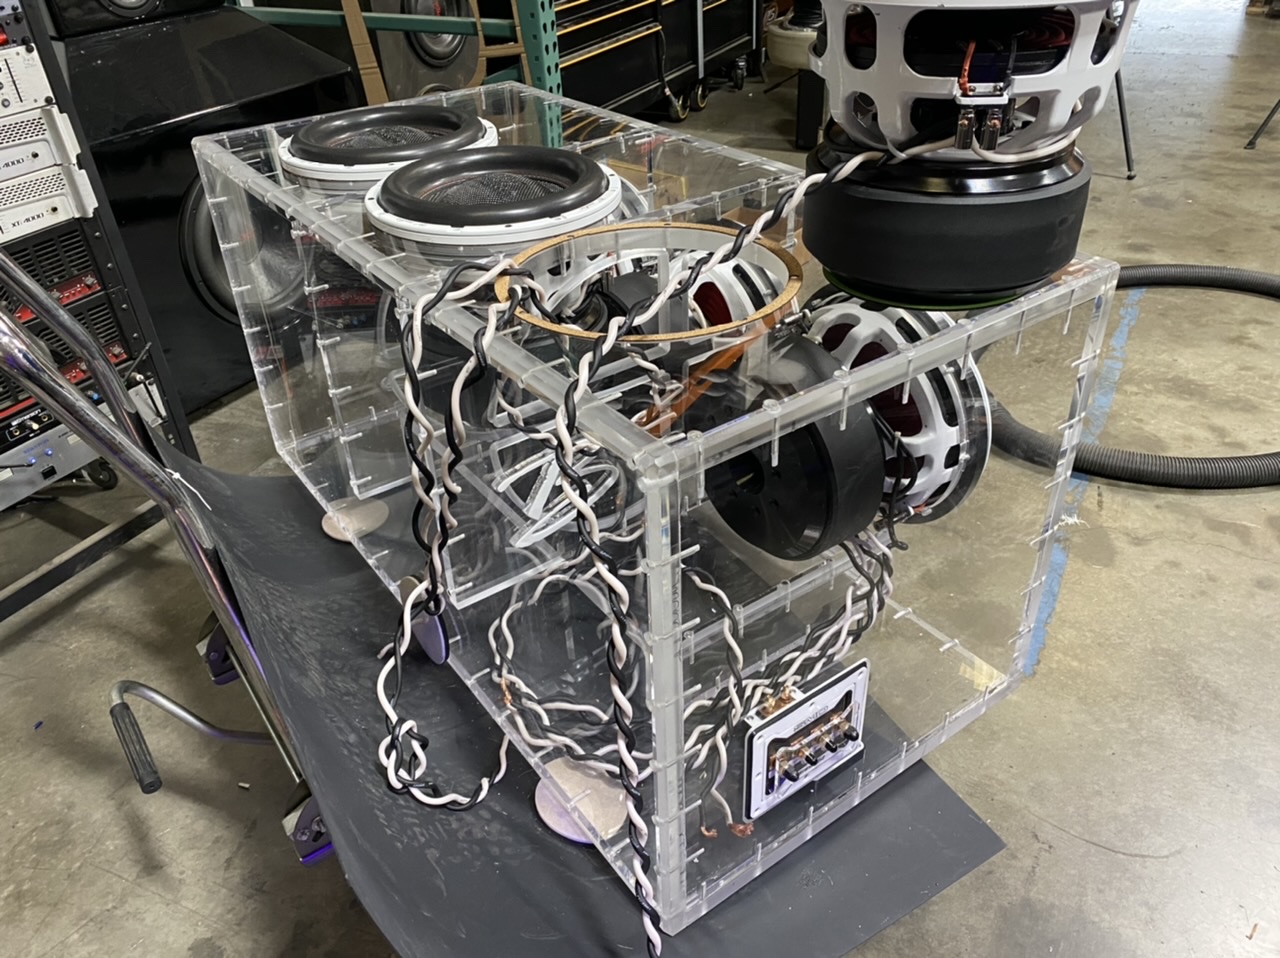
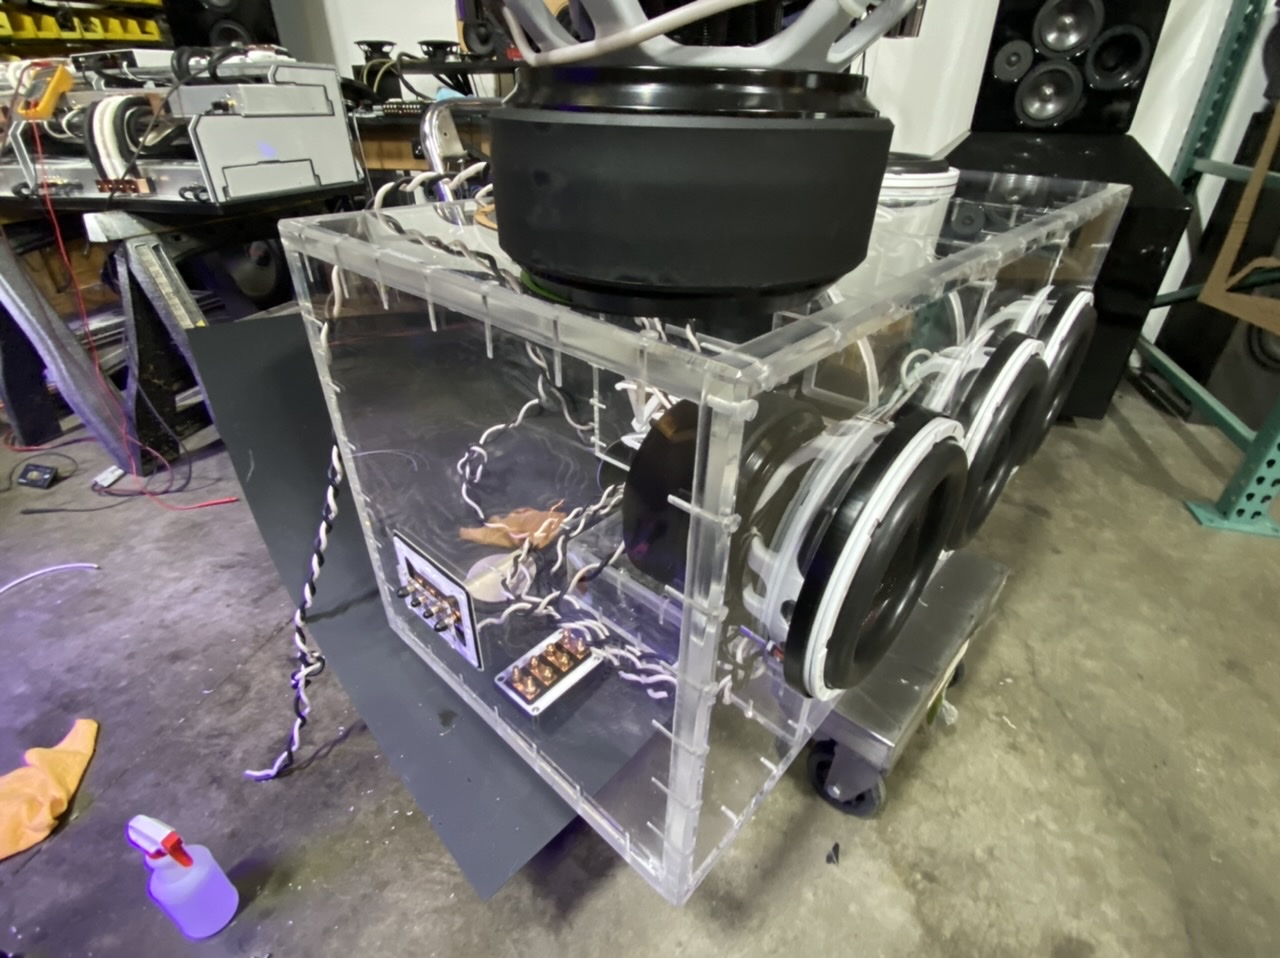
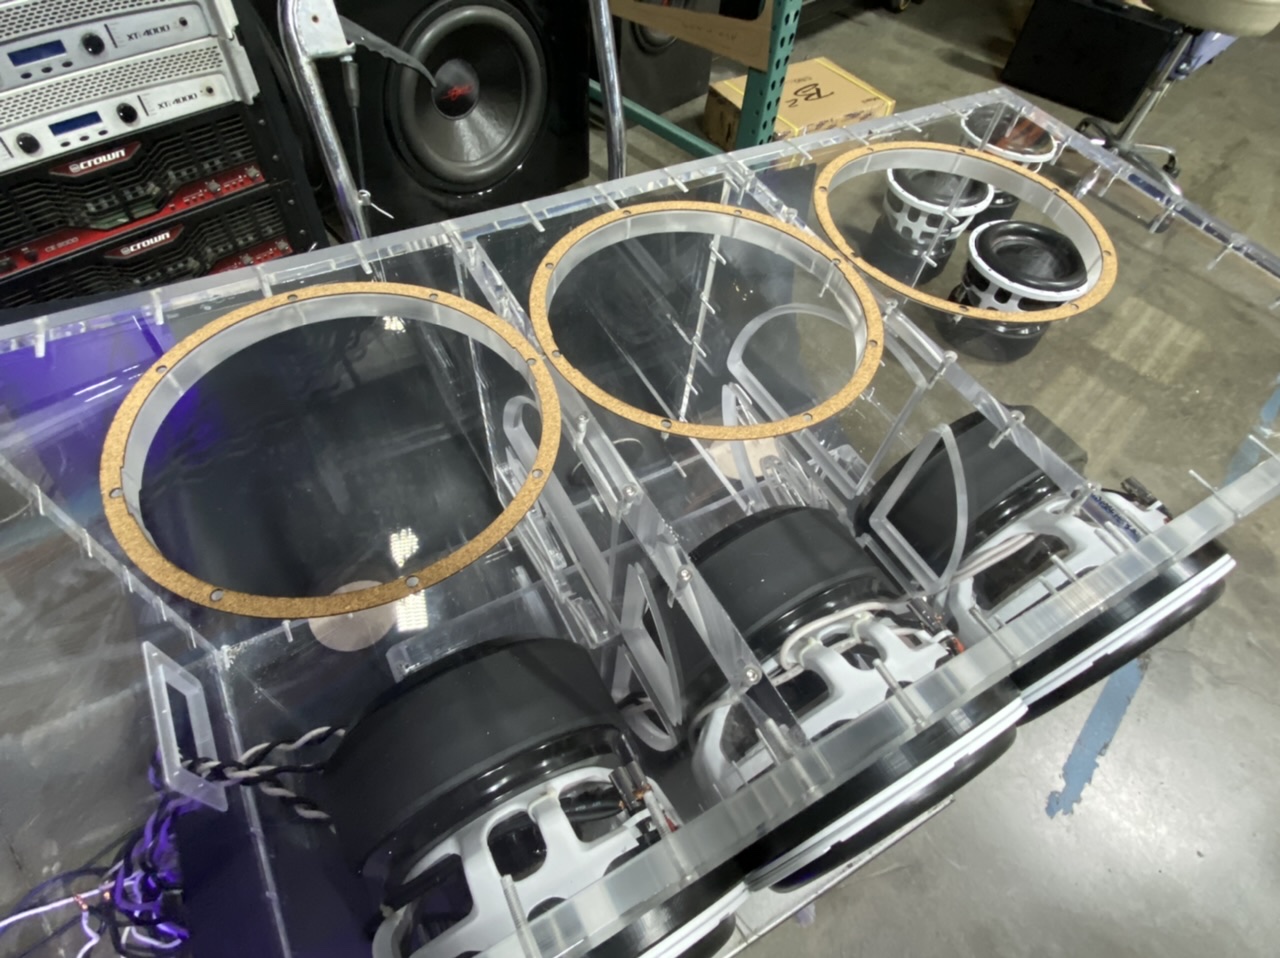
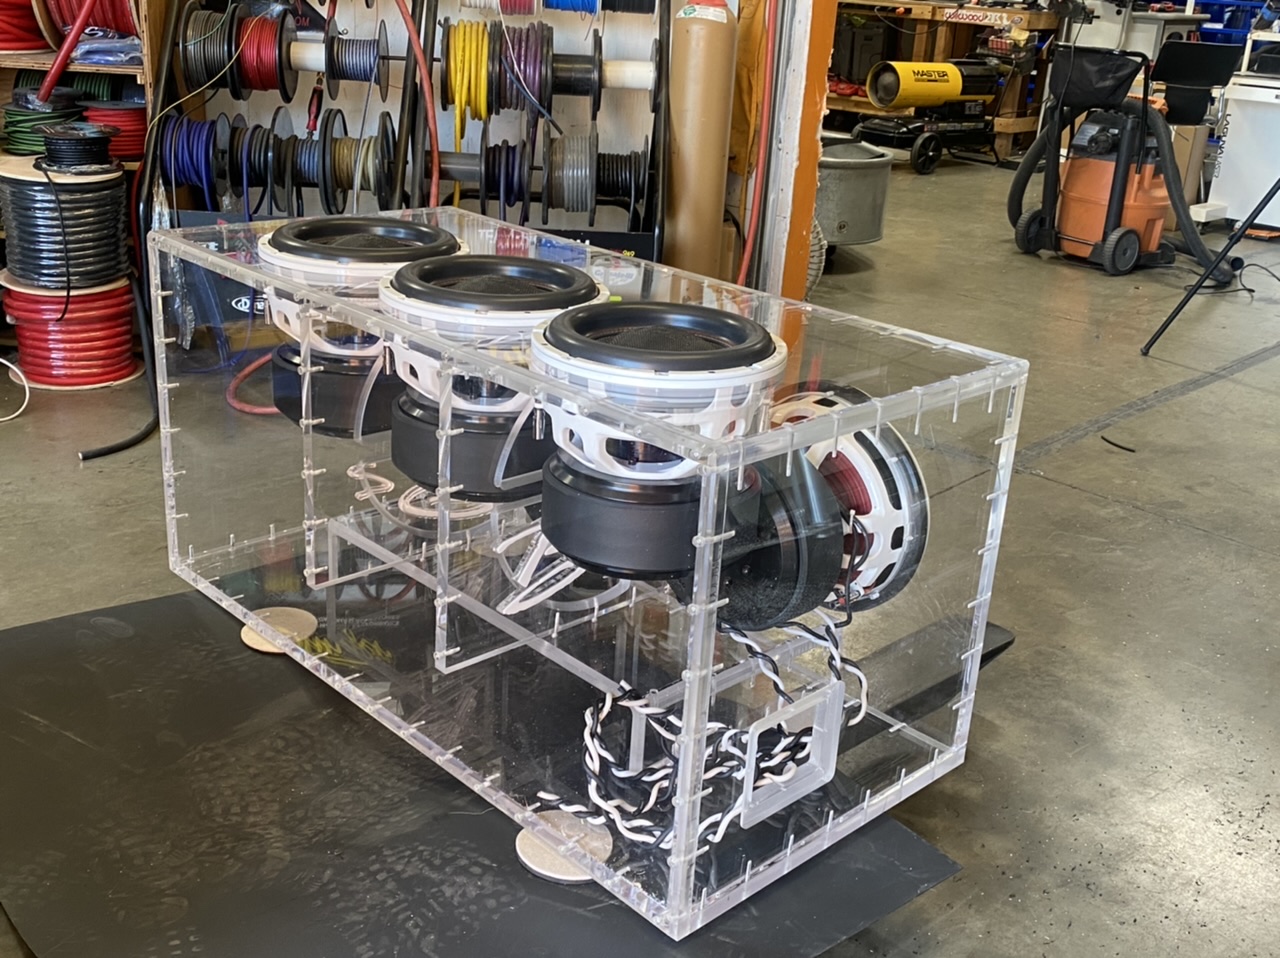
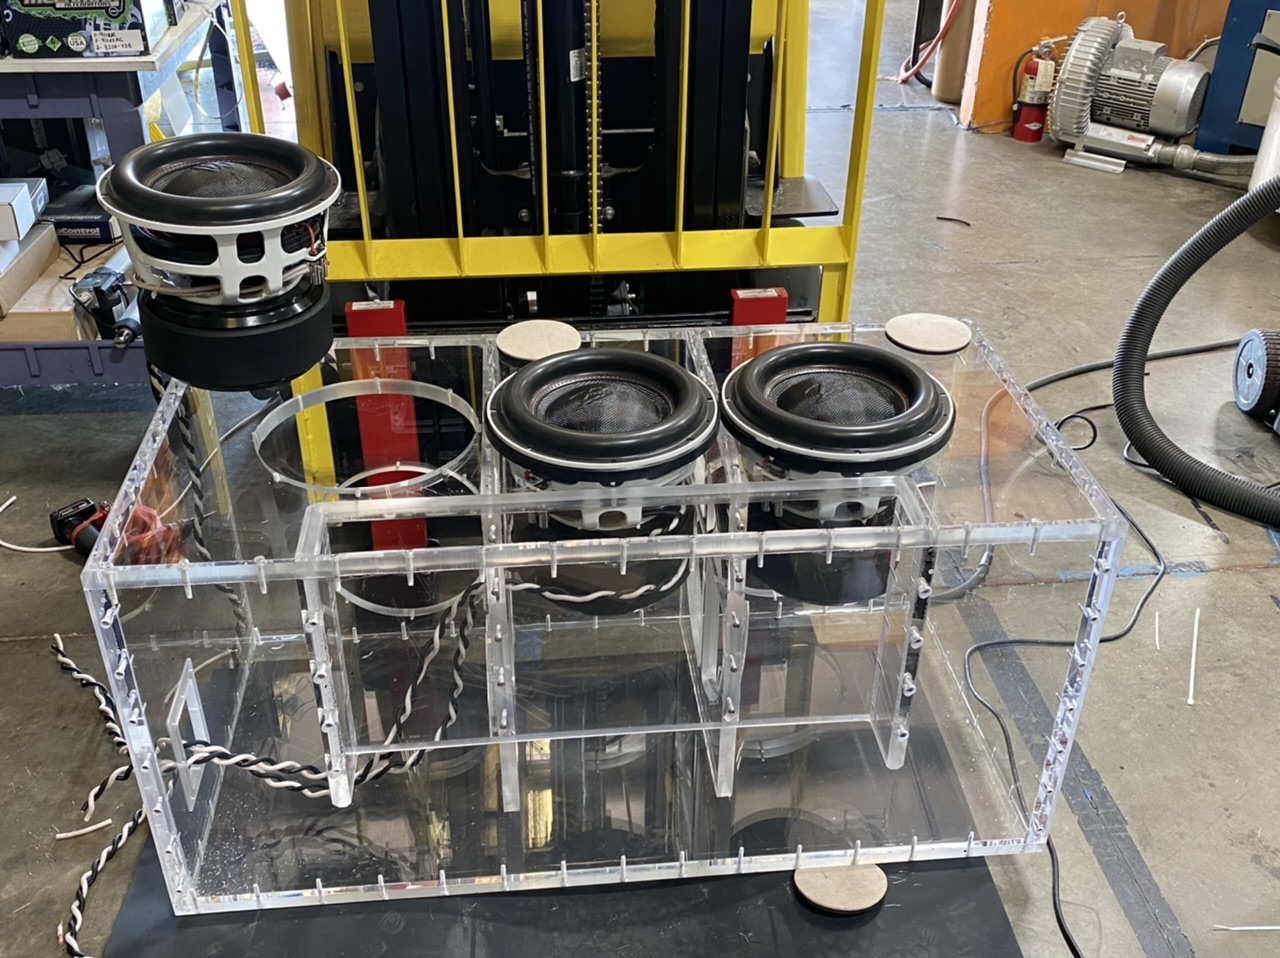
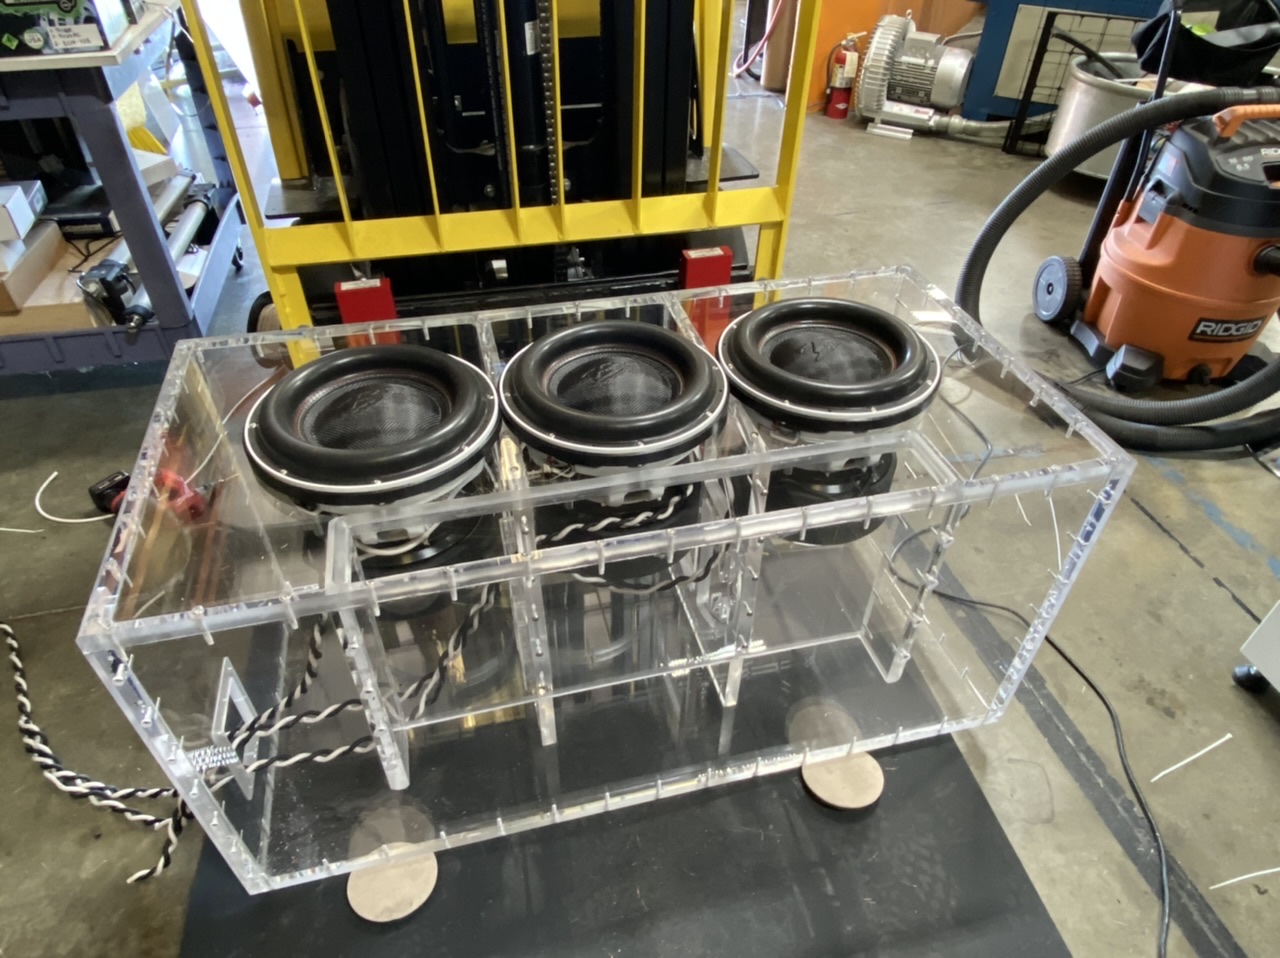
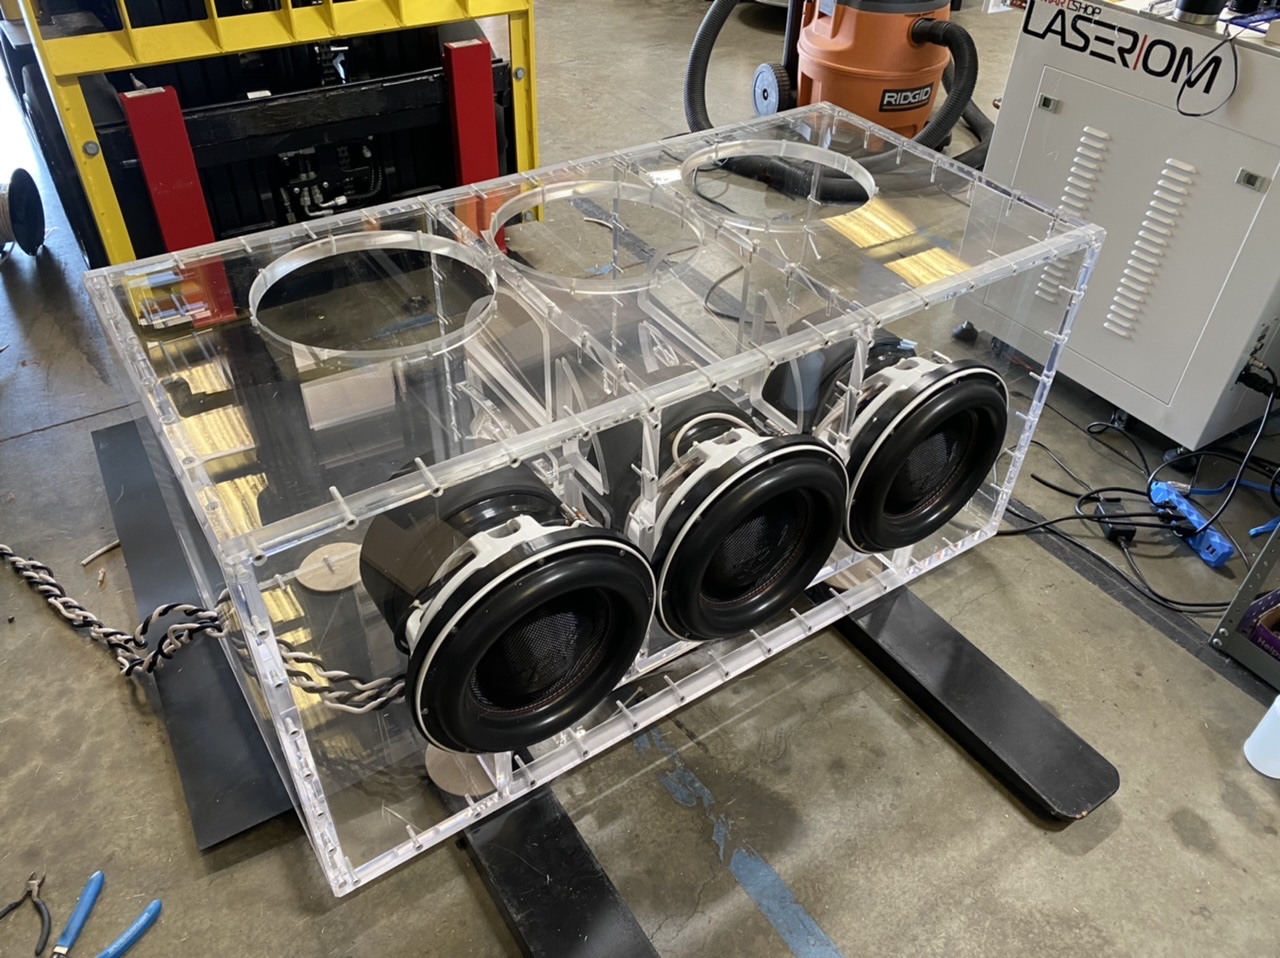
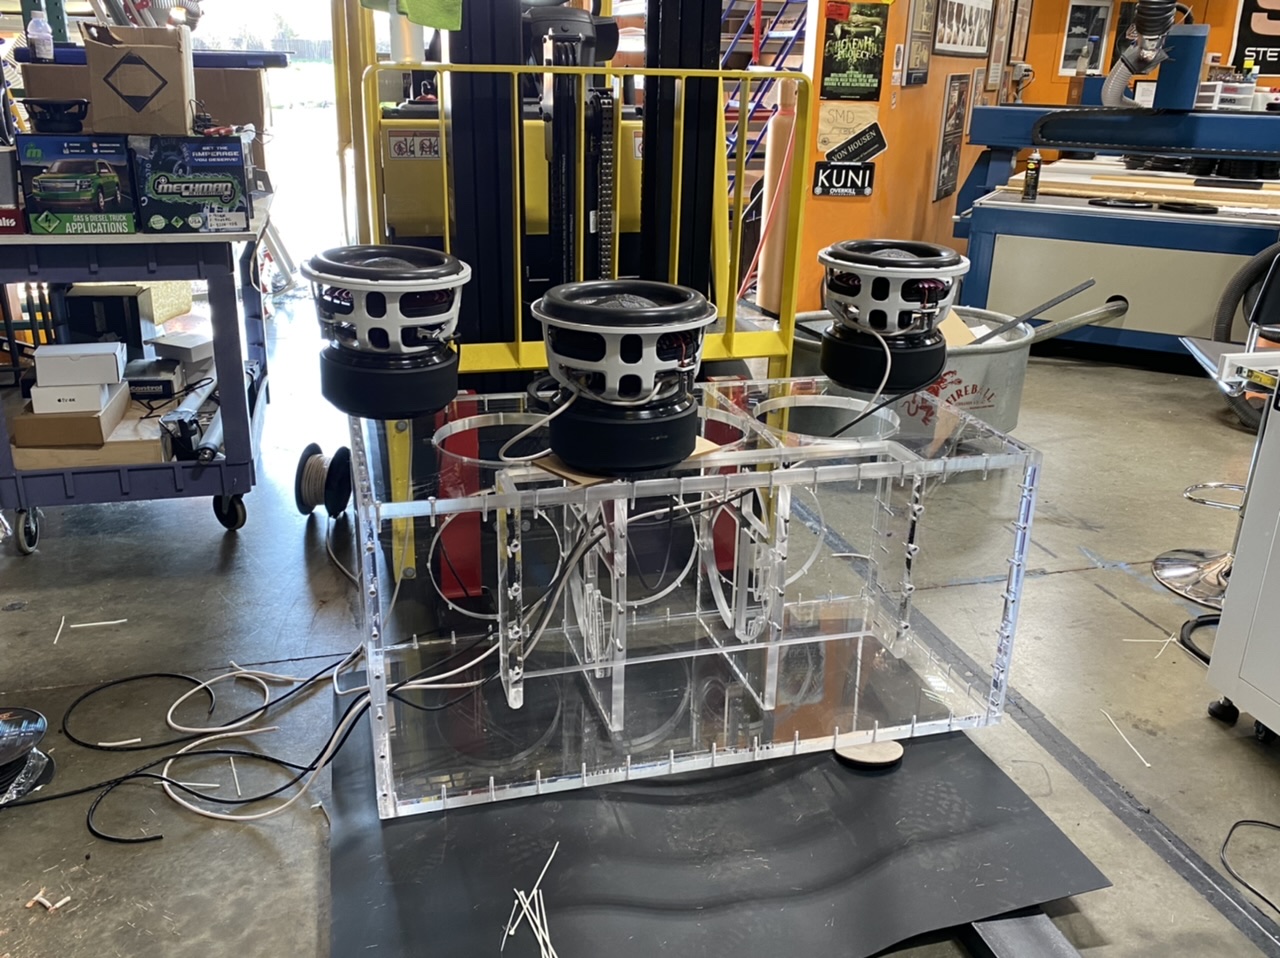
Positive on channel one comes in, goes into one sub and out the other, then into another sub, then the last negative in the chain comes back out to the terminal cup.
-
 2
2
-
-
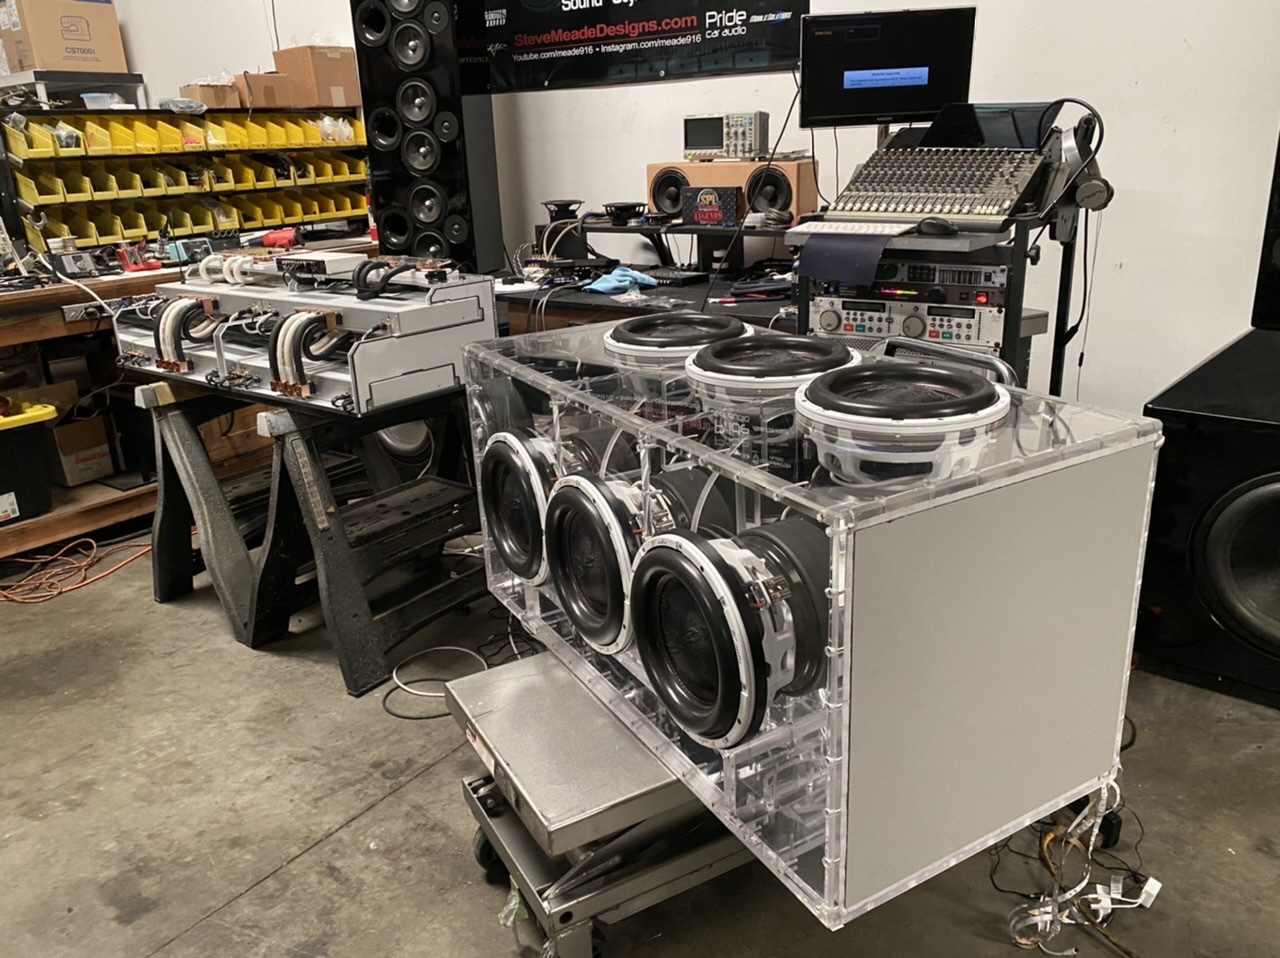
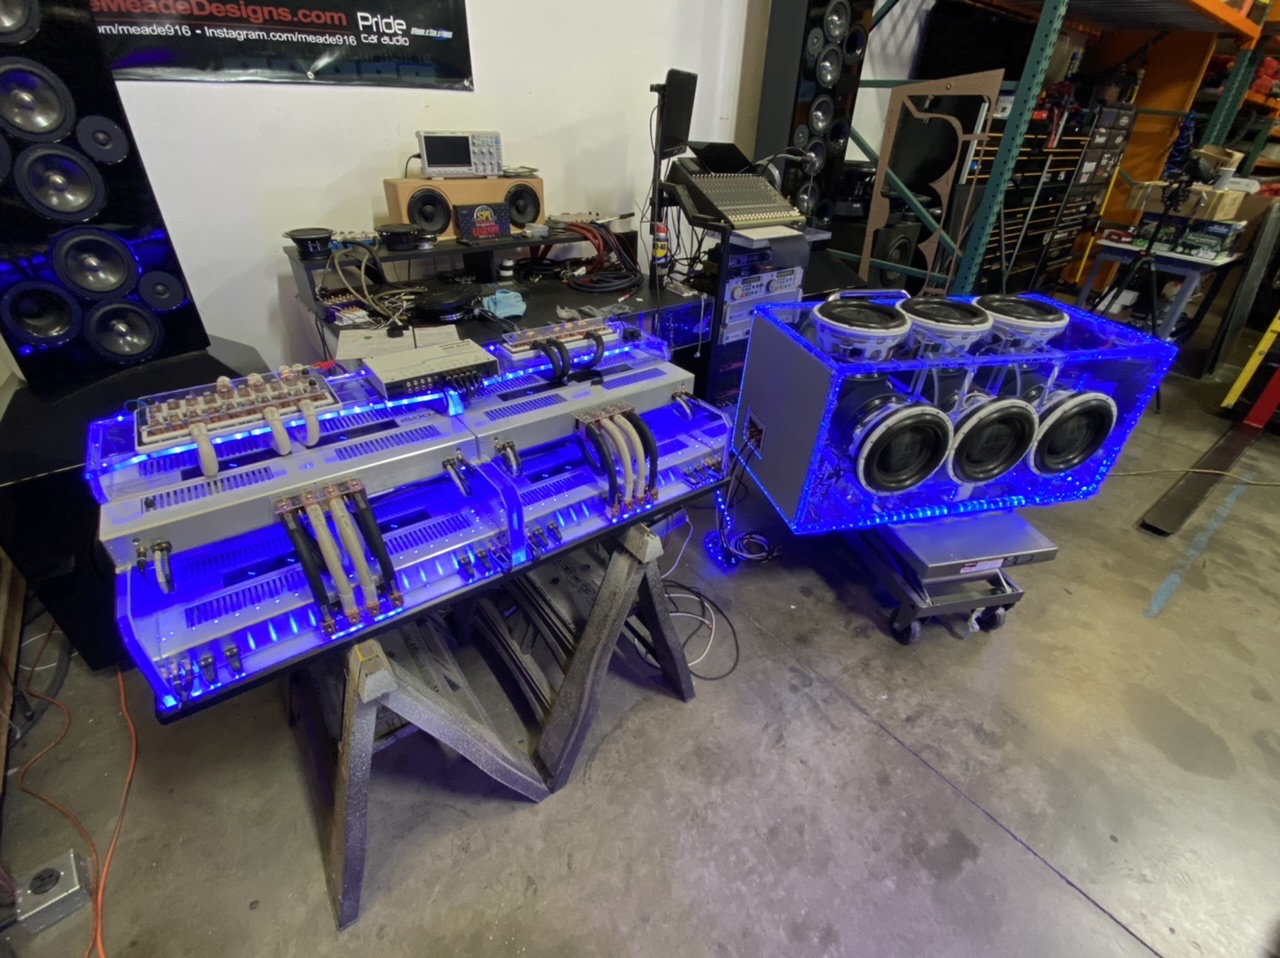
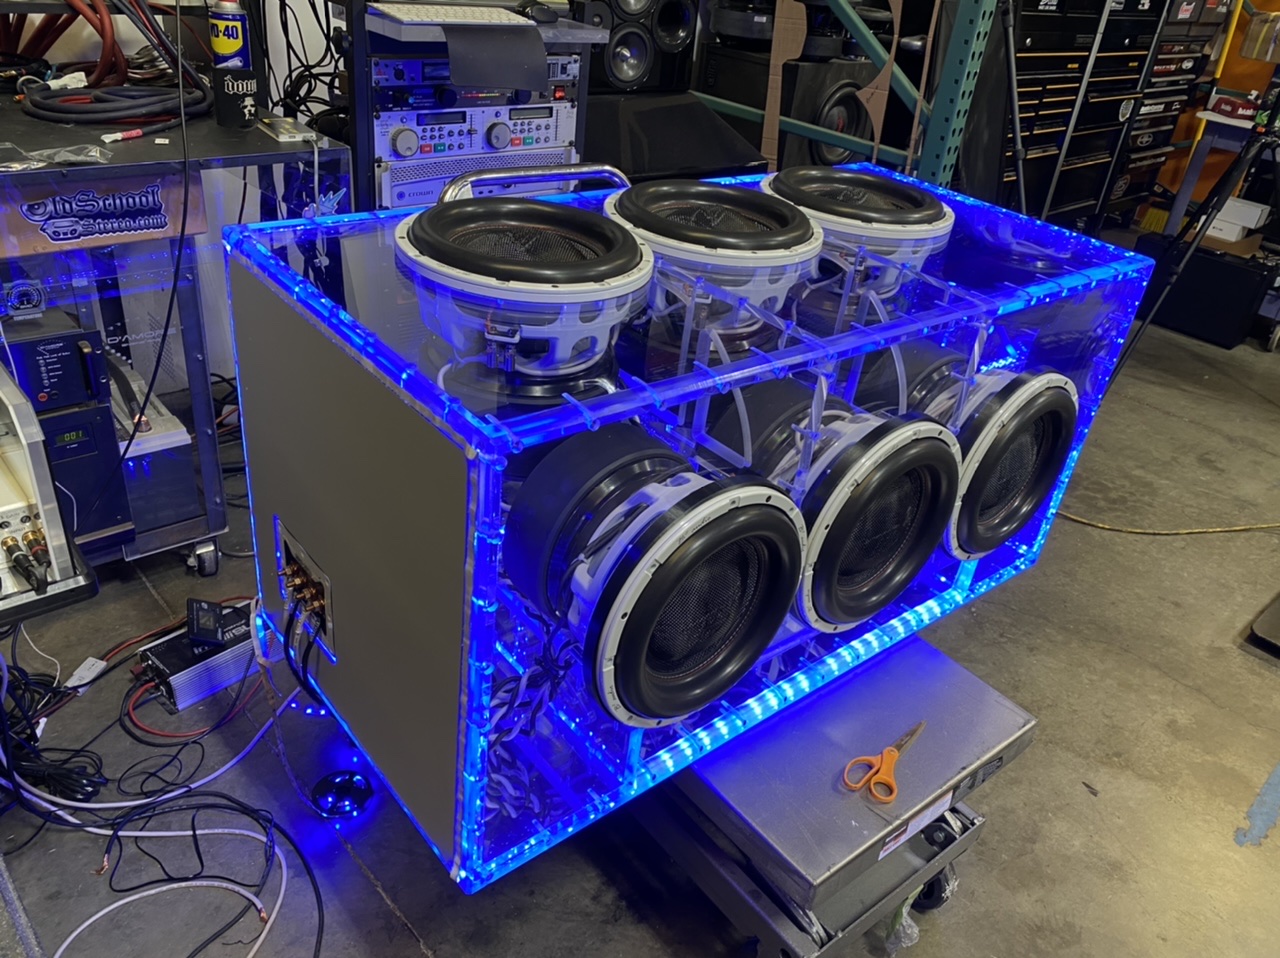
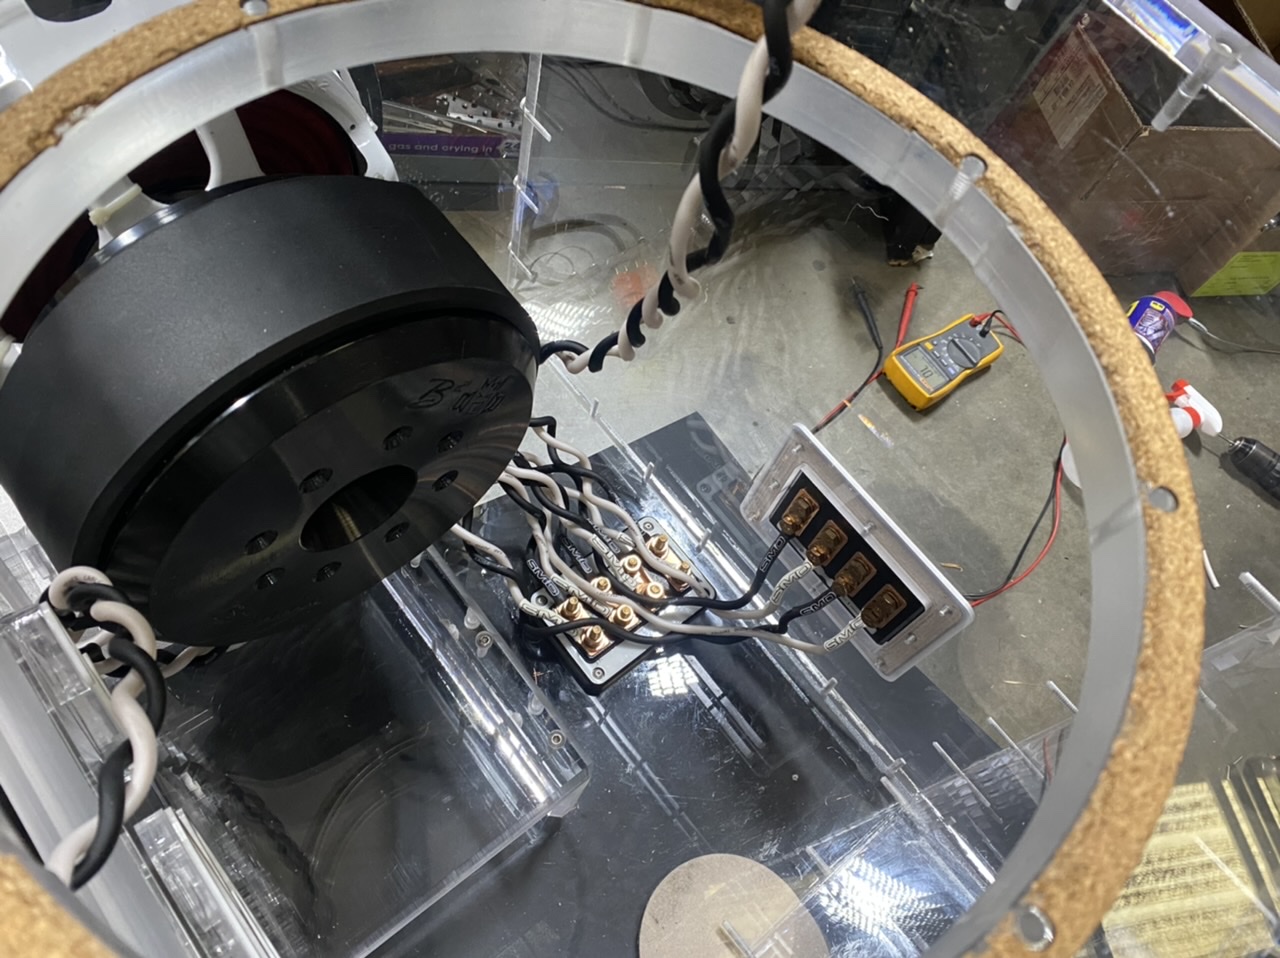
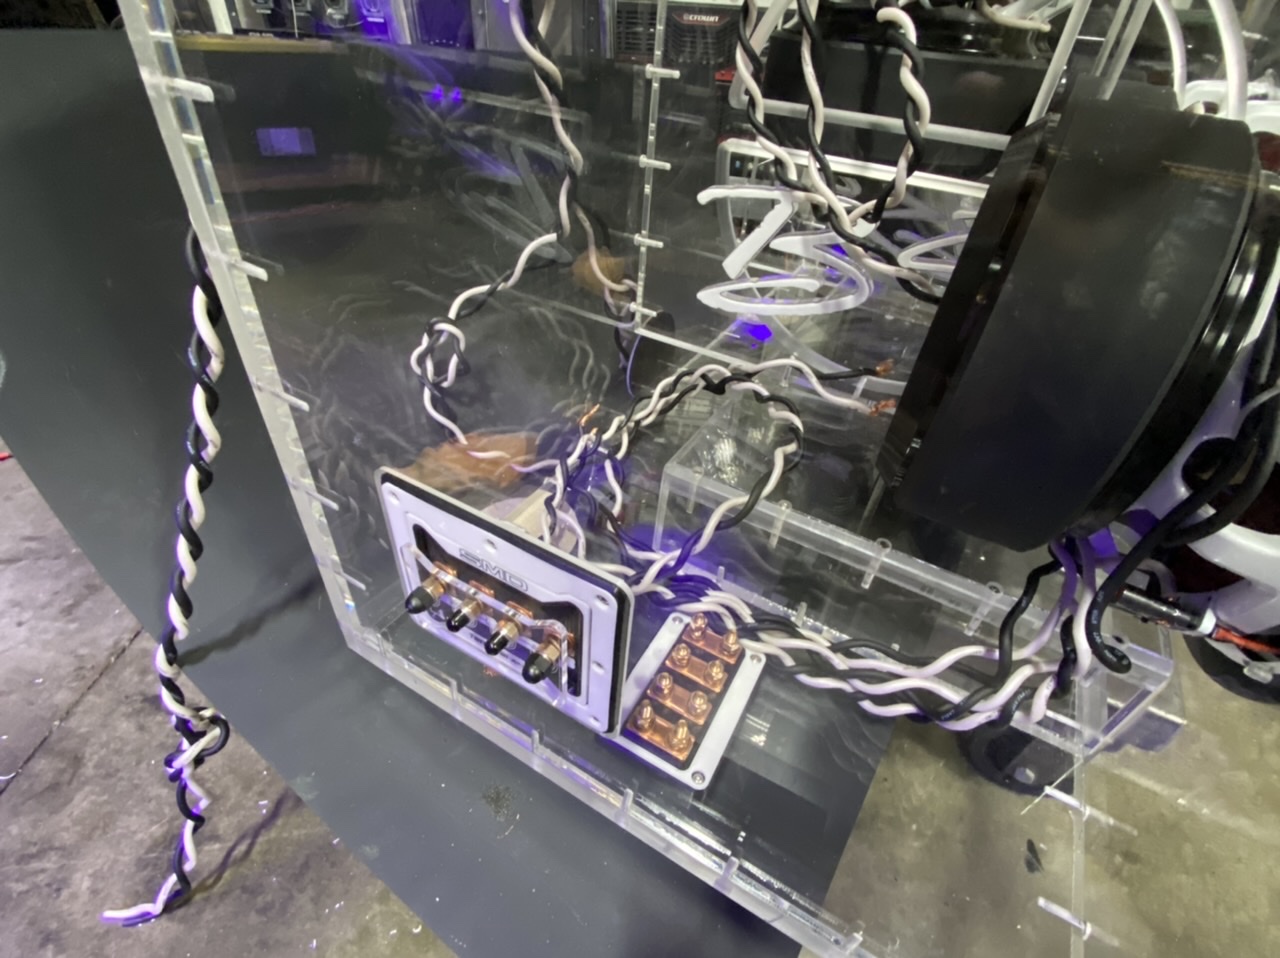
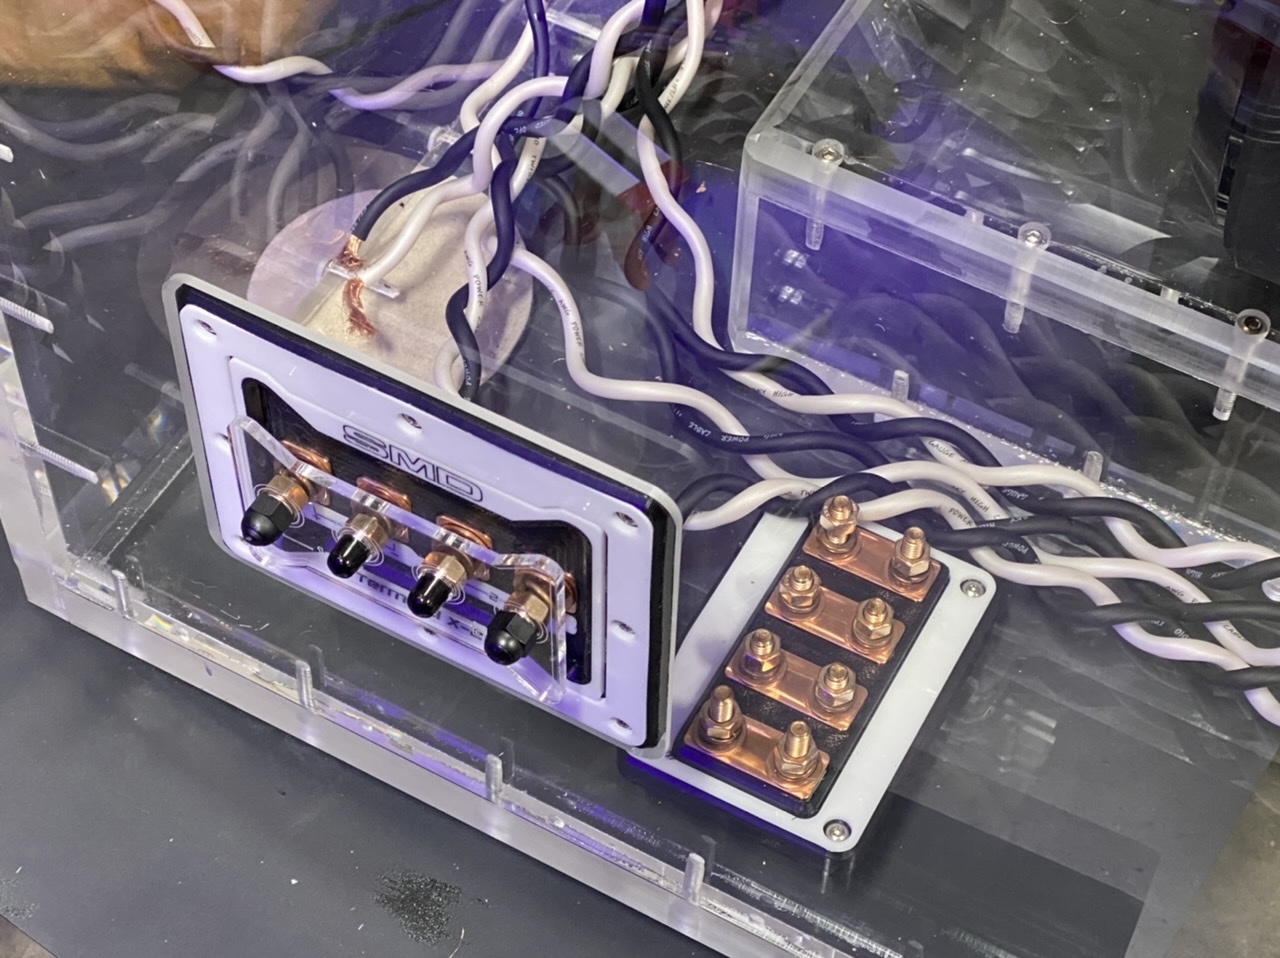
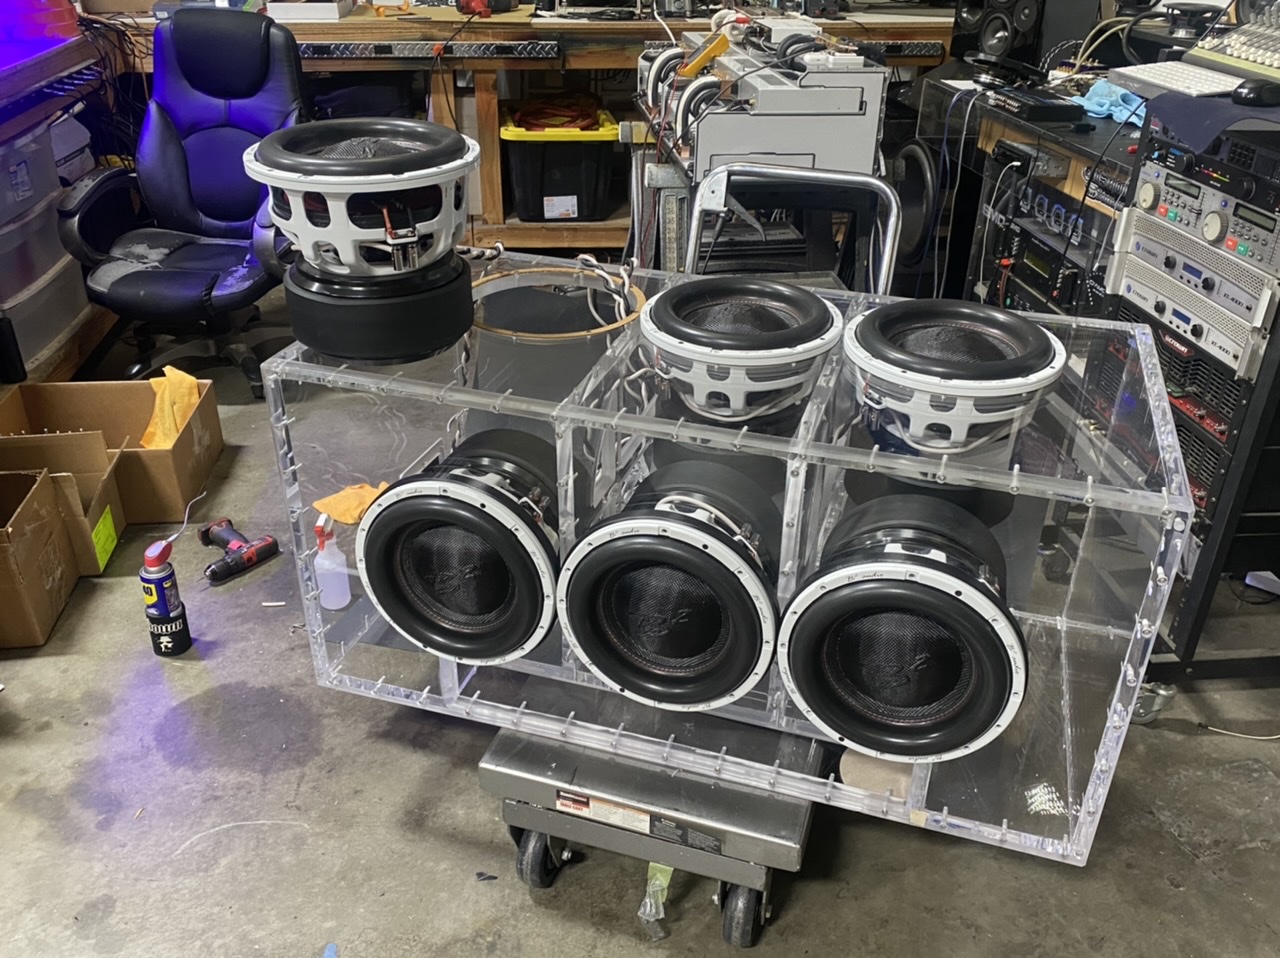
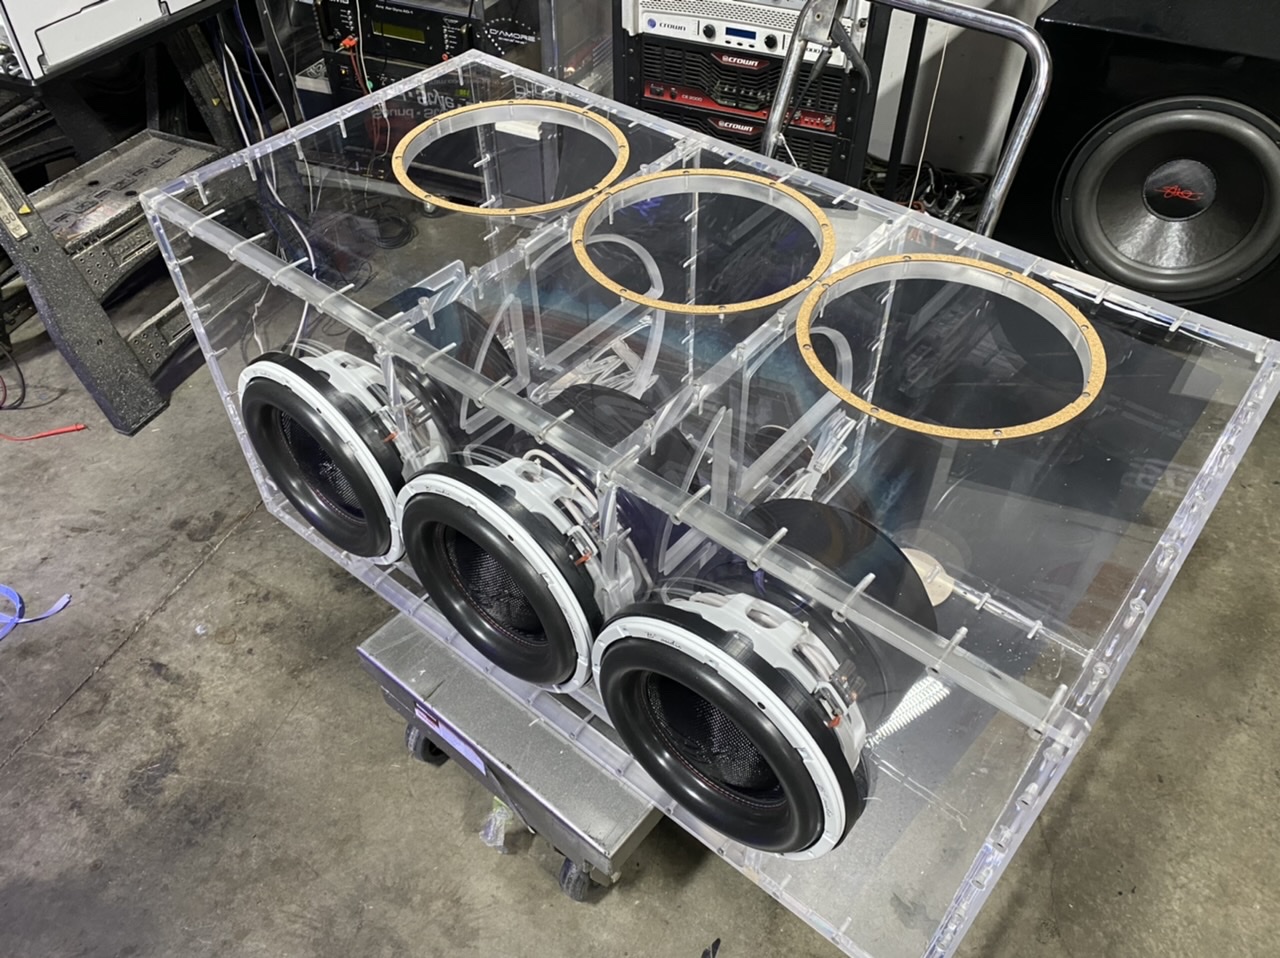
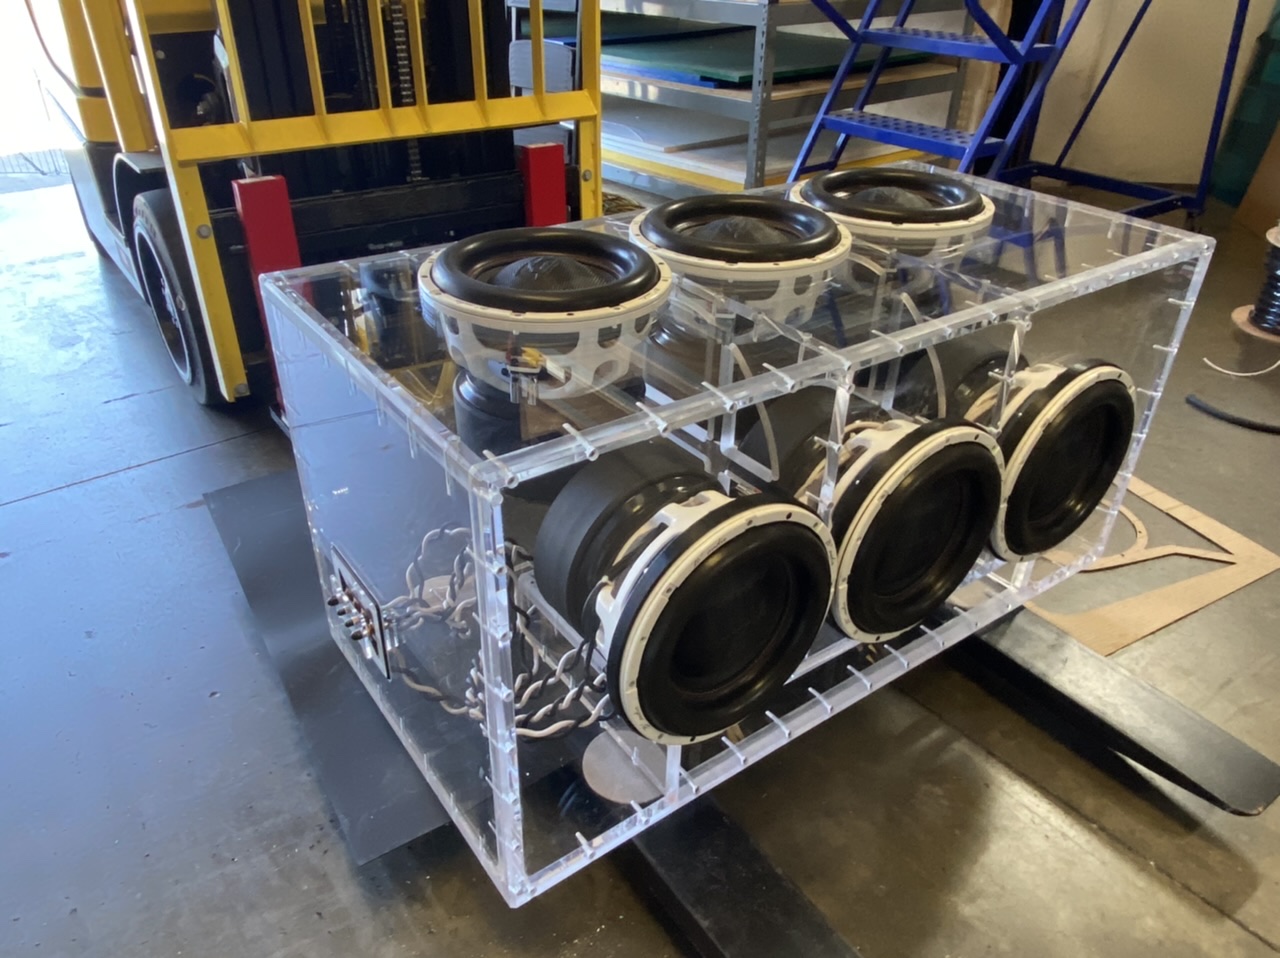
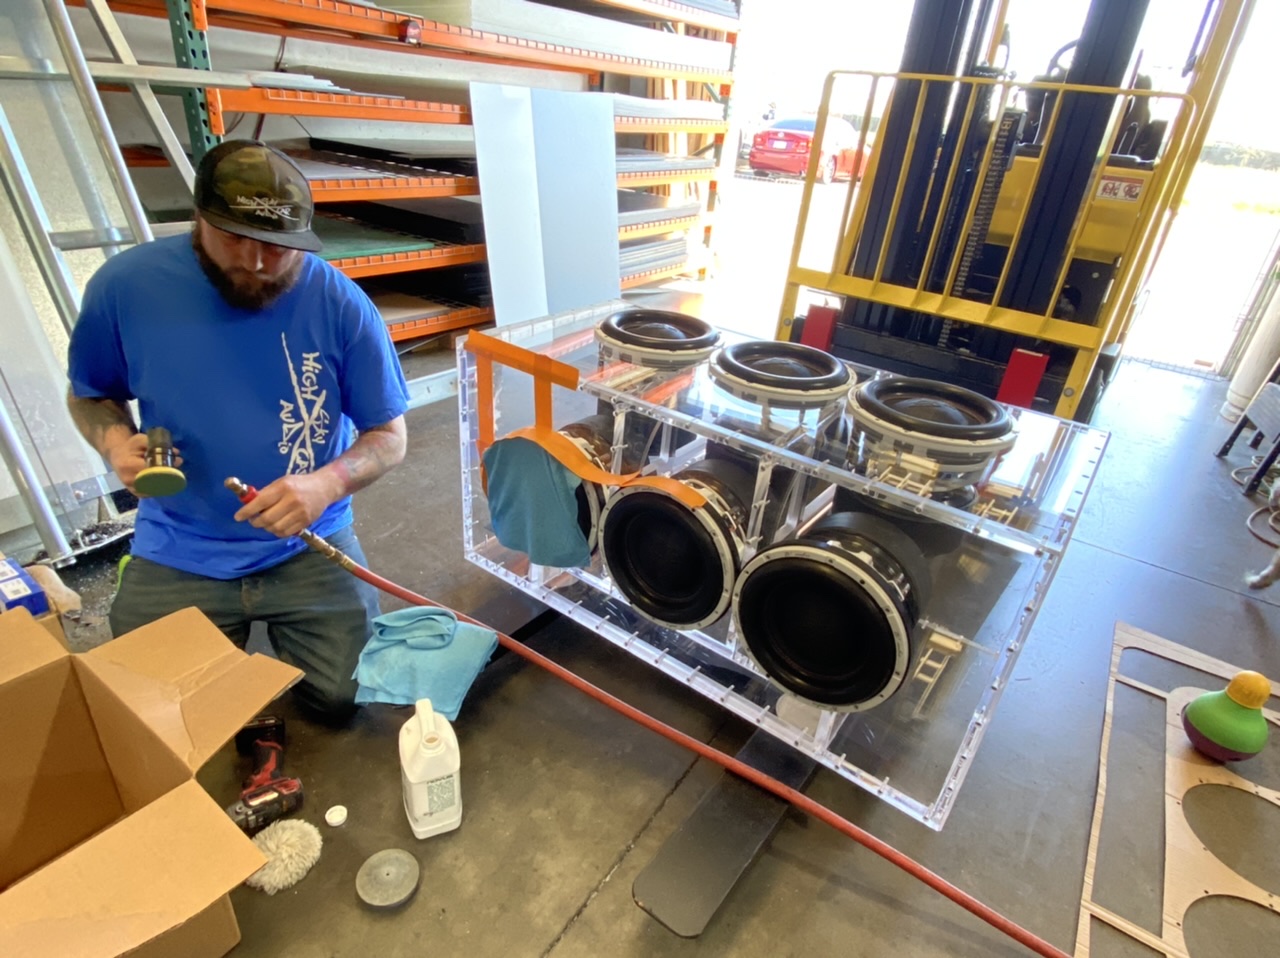
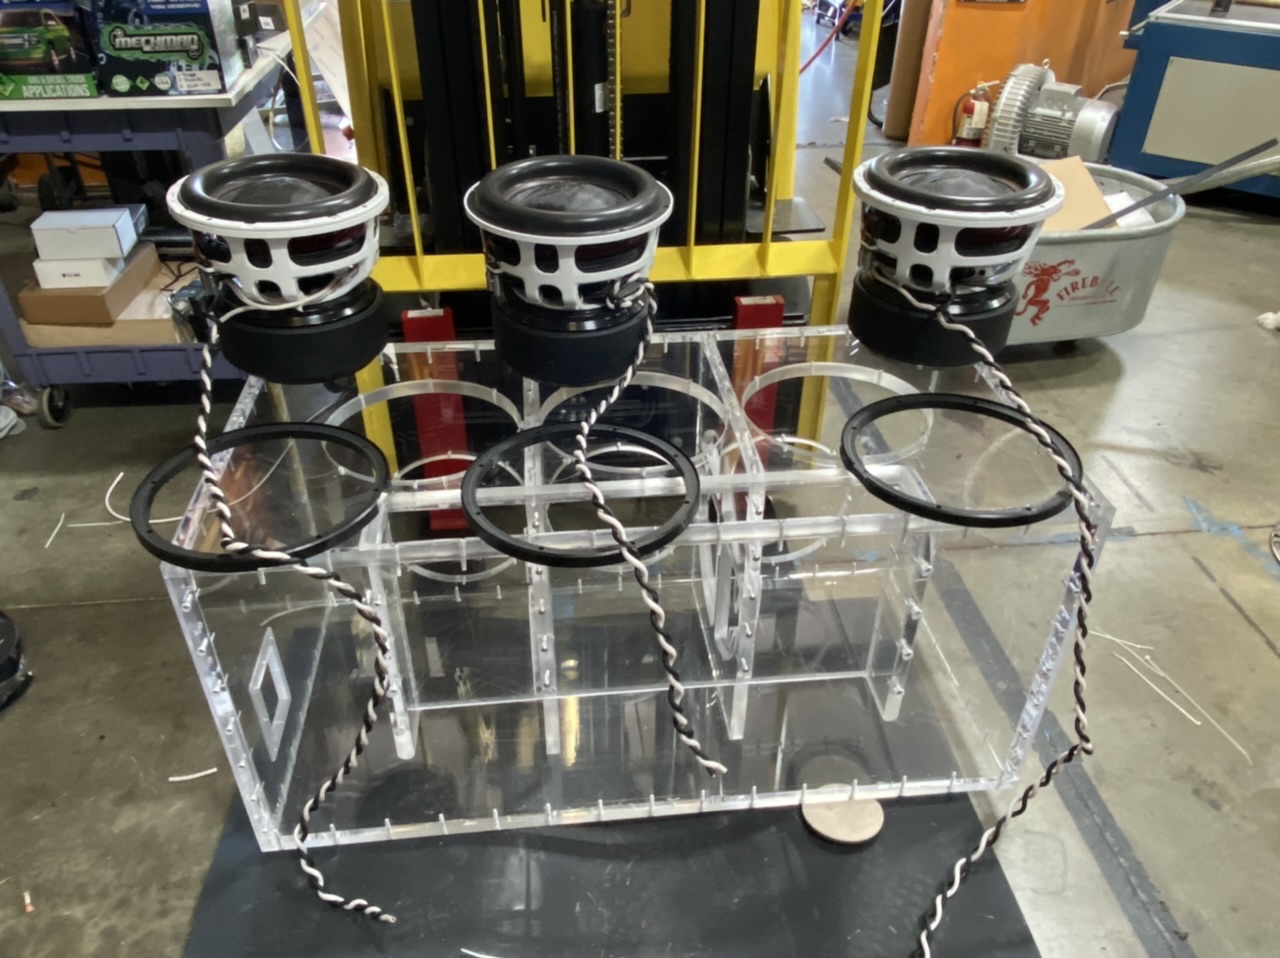
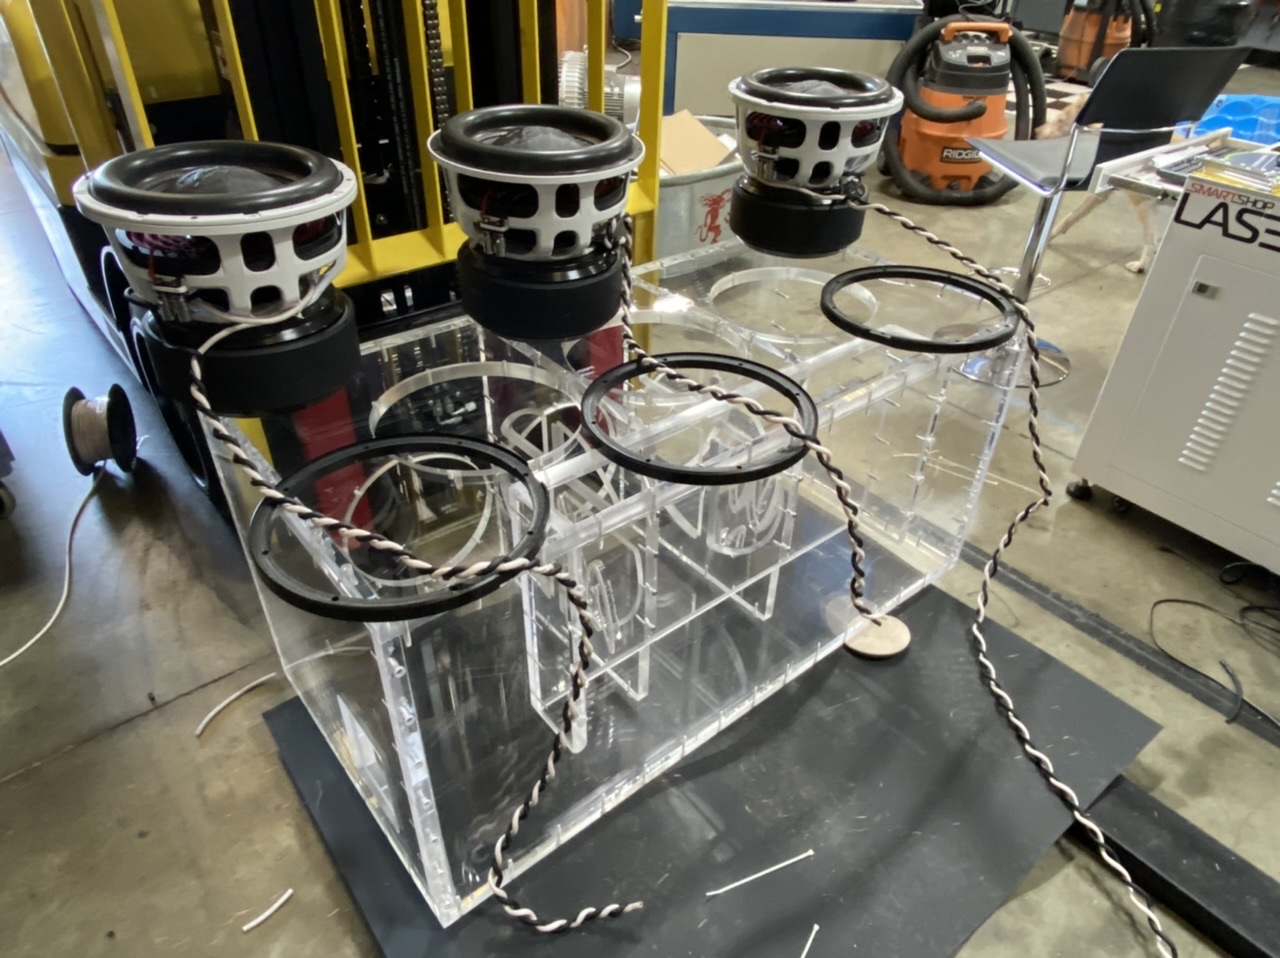
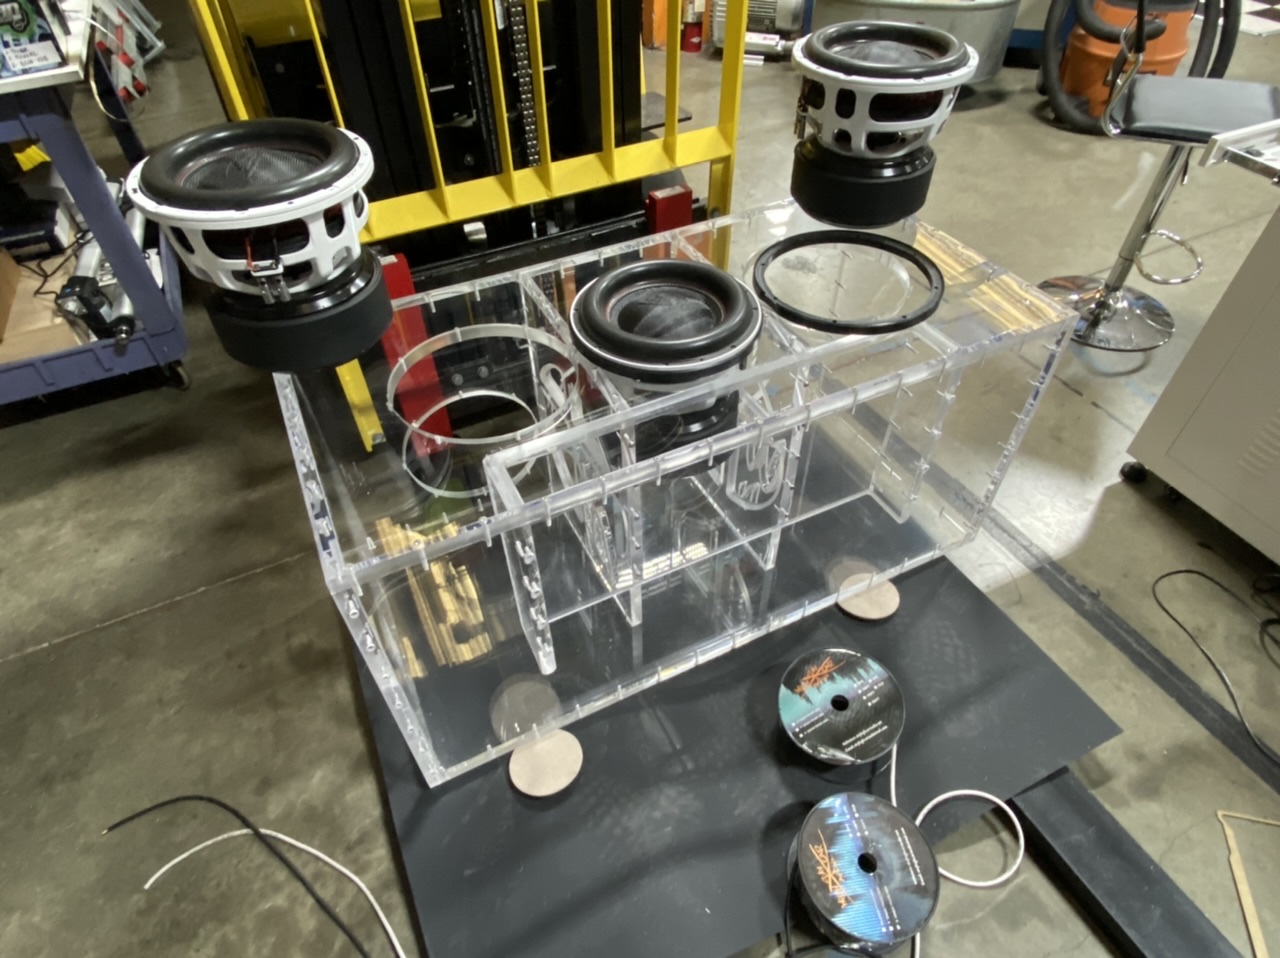
Time to start wiring up the terminals. For this i am using an SMD DCL 4.2 and a SMD TX-2. The DCL 4.2 will help me wire up the series/parallel stuff clean. It might look straight forward (and it is kinda) but it is a little more complicated than it looks. These subs are dual 1's. They are each wired in parallel. Then they are wired in series (each group of 3) to bring that set down to 1.5 ohms. The amps they are being hooked to are rated at 2ohm bridged so this is a little lower than i am supposed to but that should be OK. More power!
Both the DCL 4.2 and the TX2 are mounted with TAPPED 8x32 stainless allen-head bolts.
-
3
-
-
-
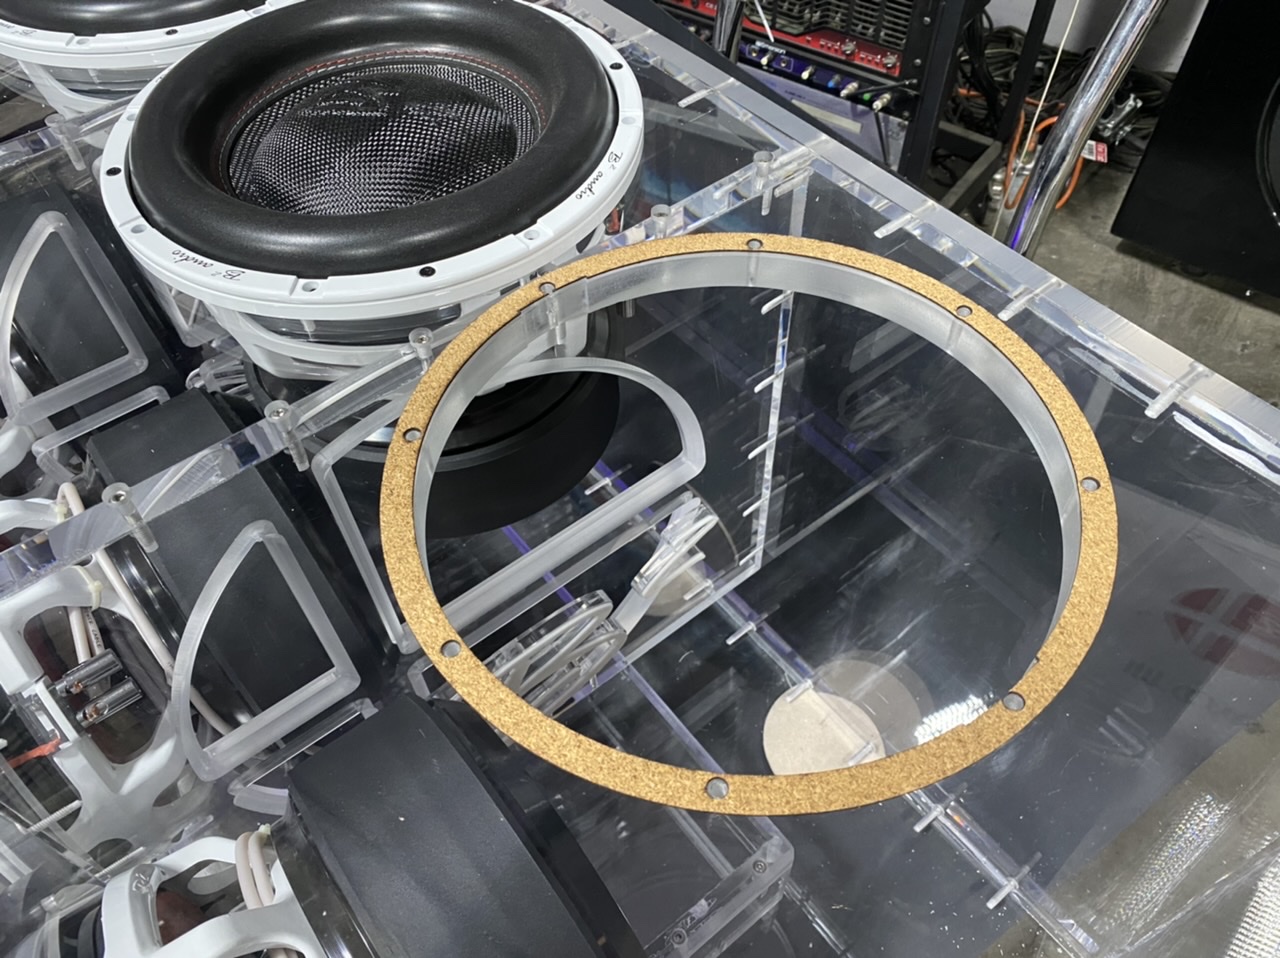
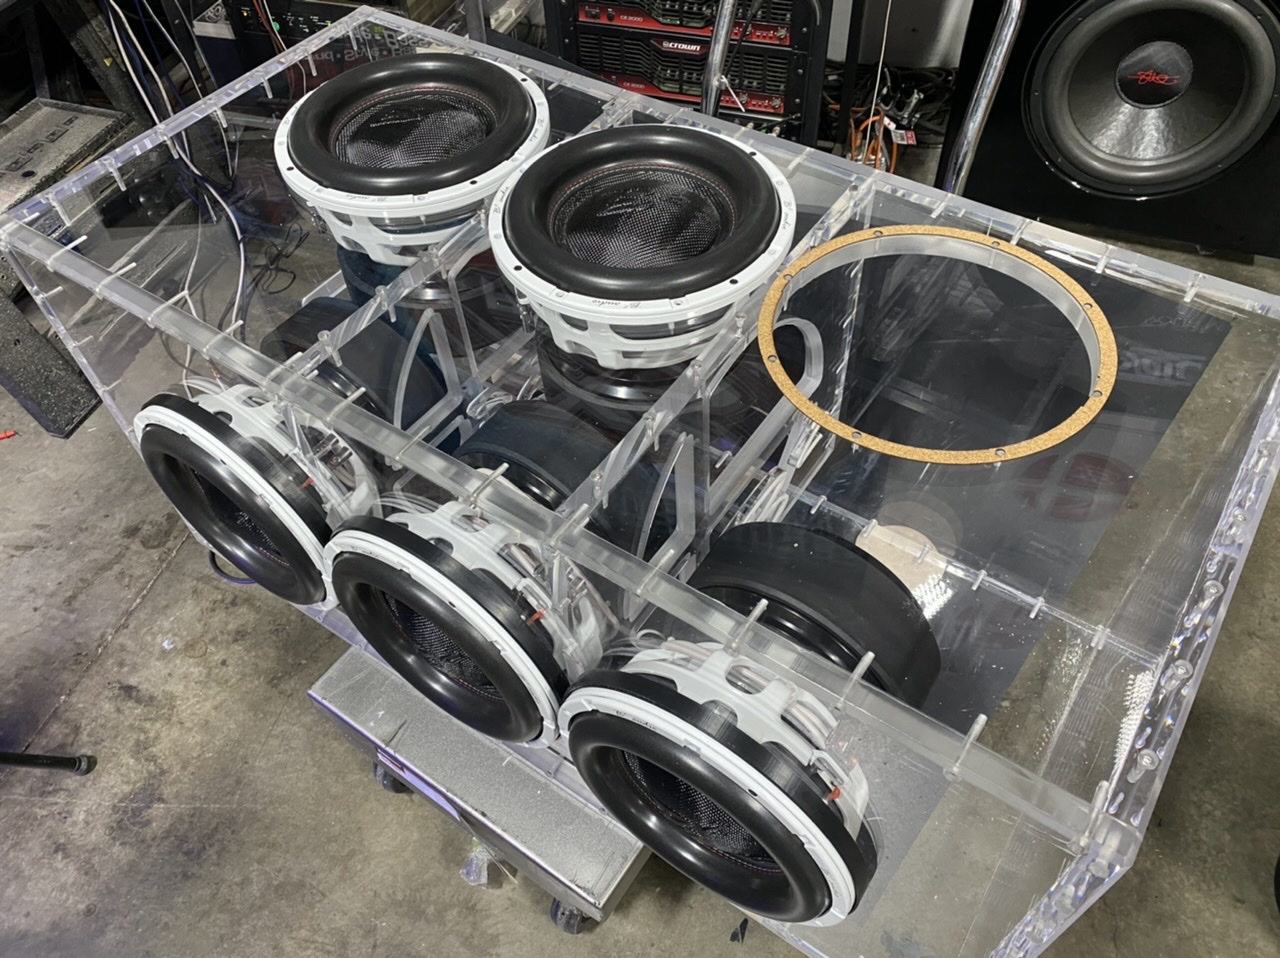
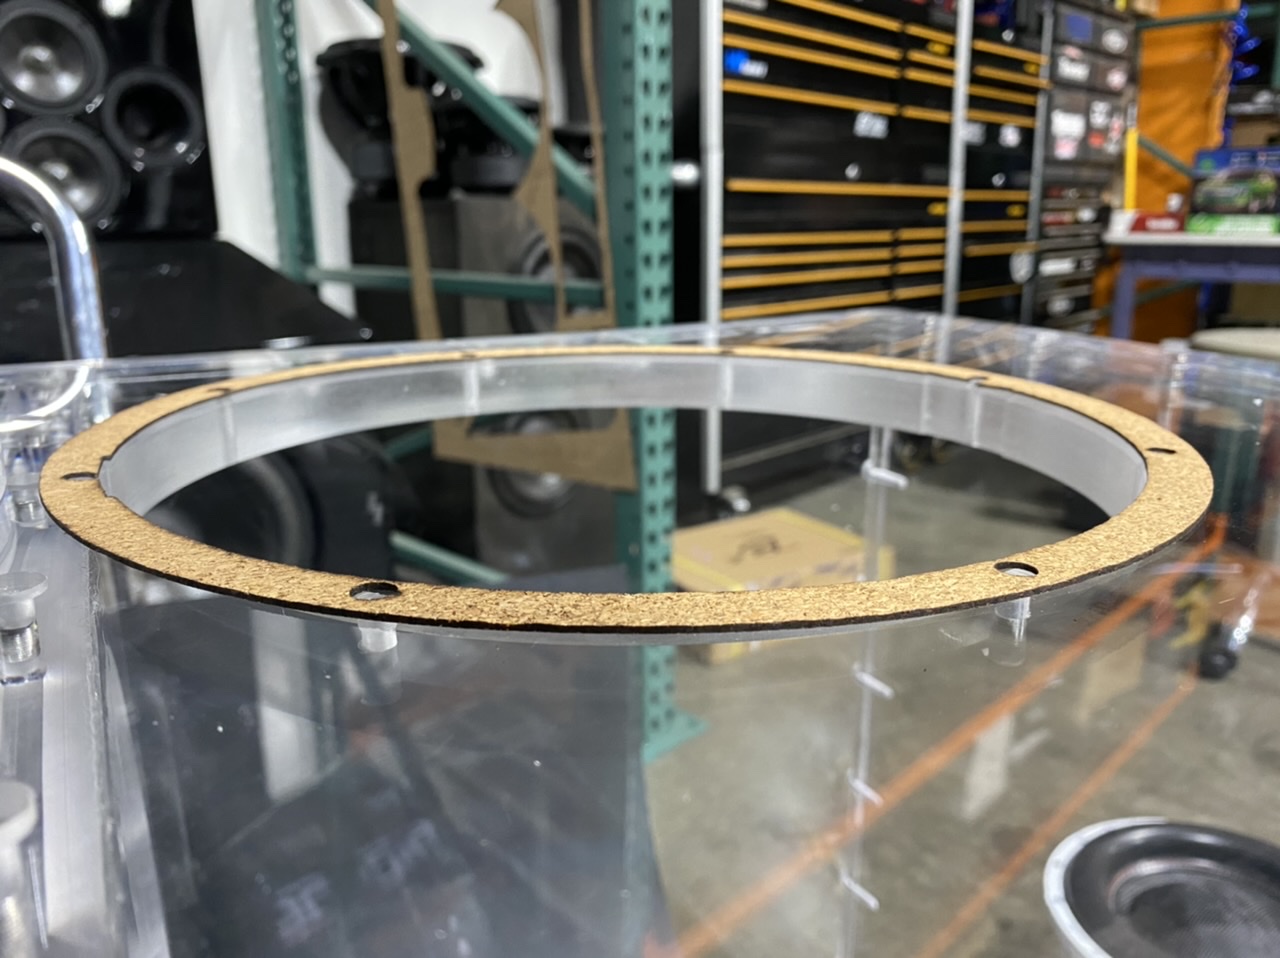
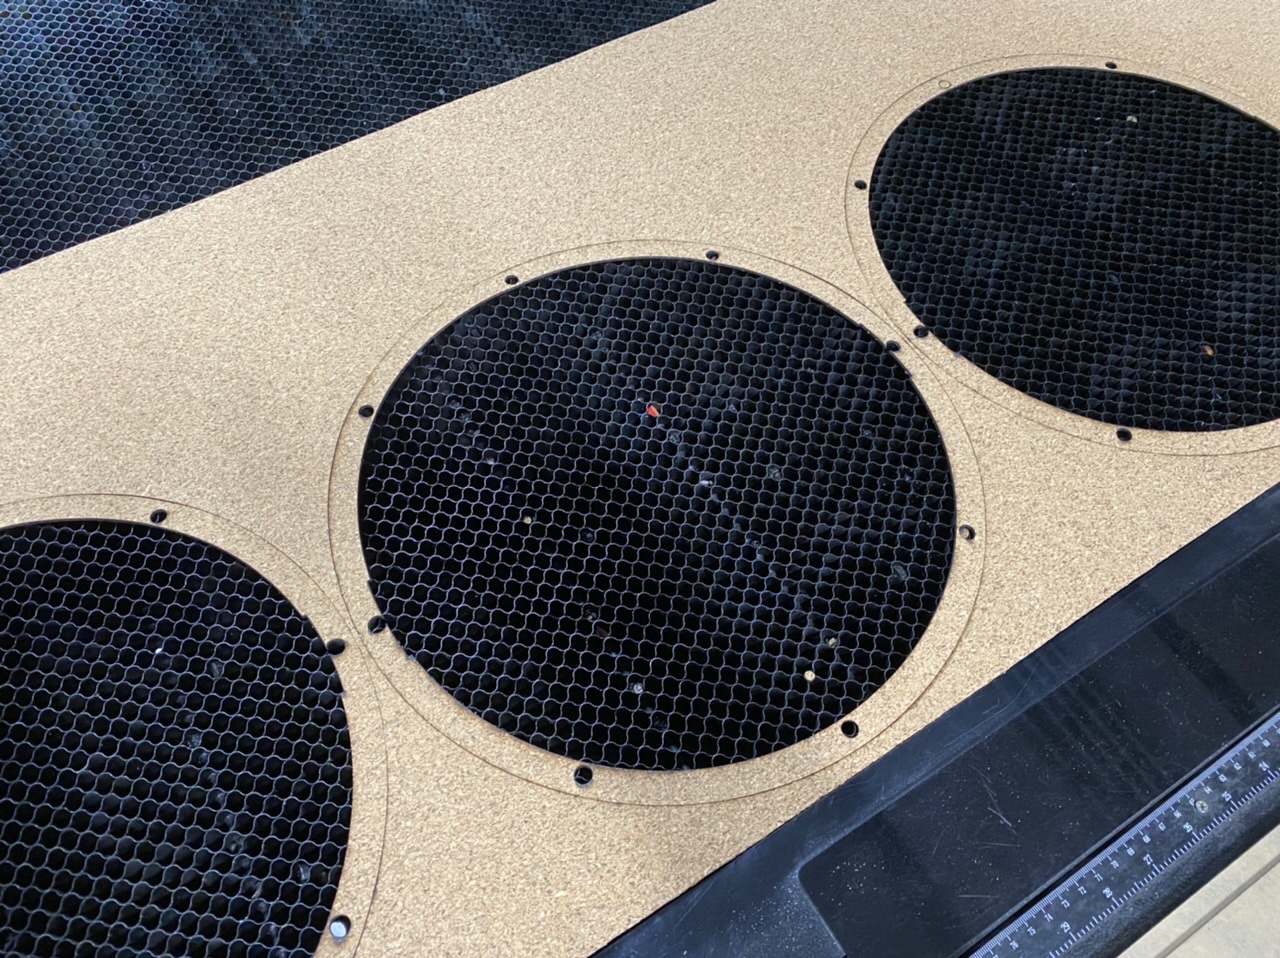
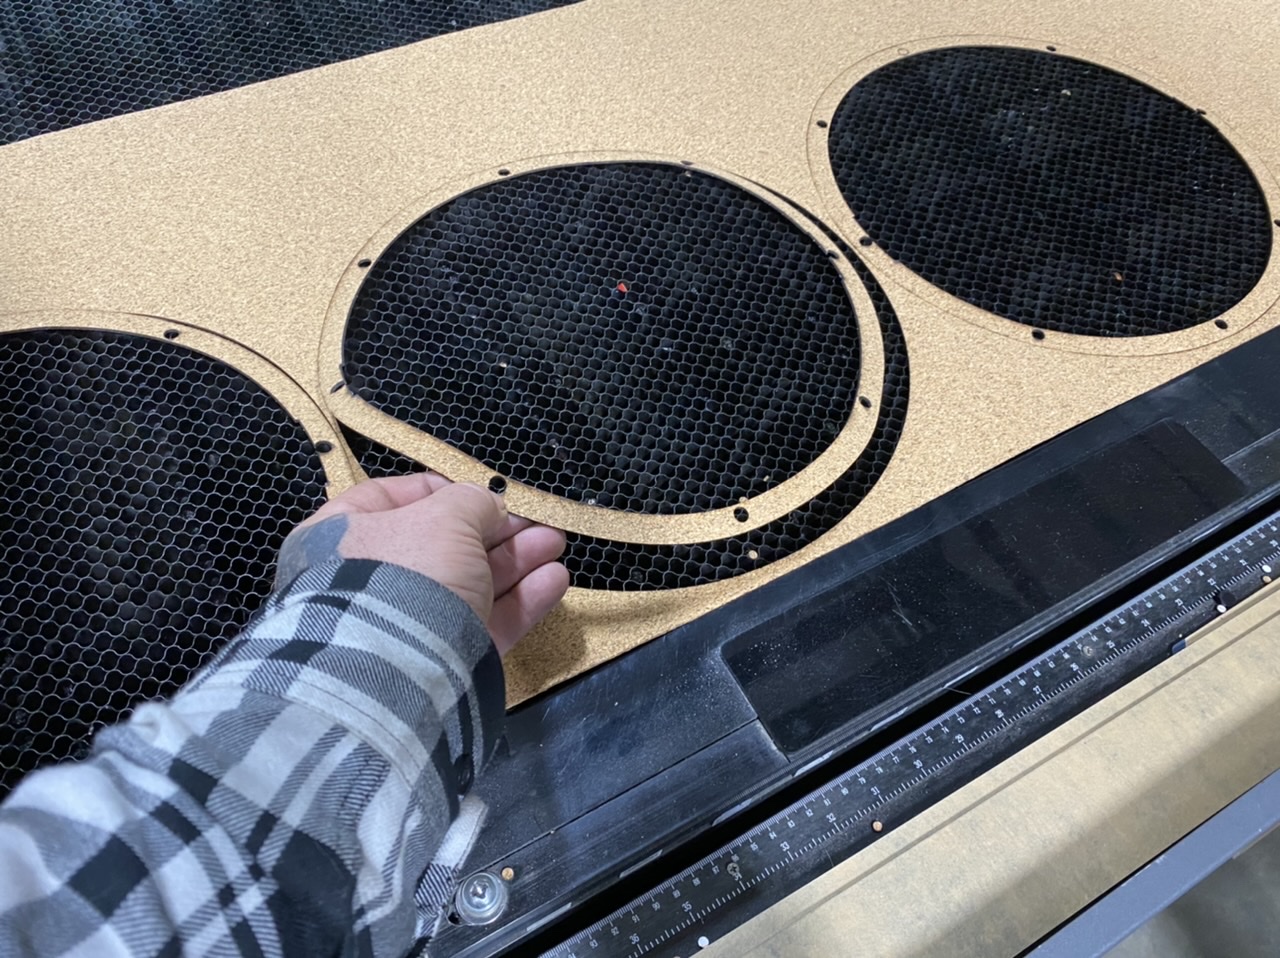
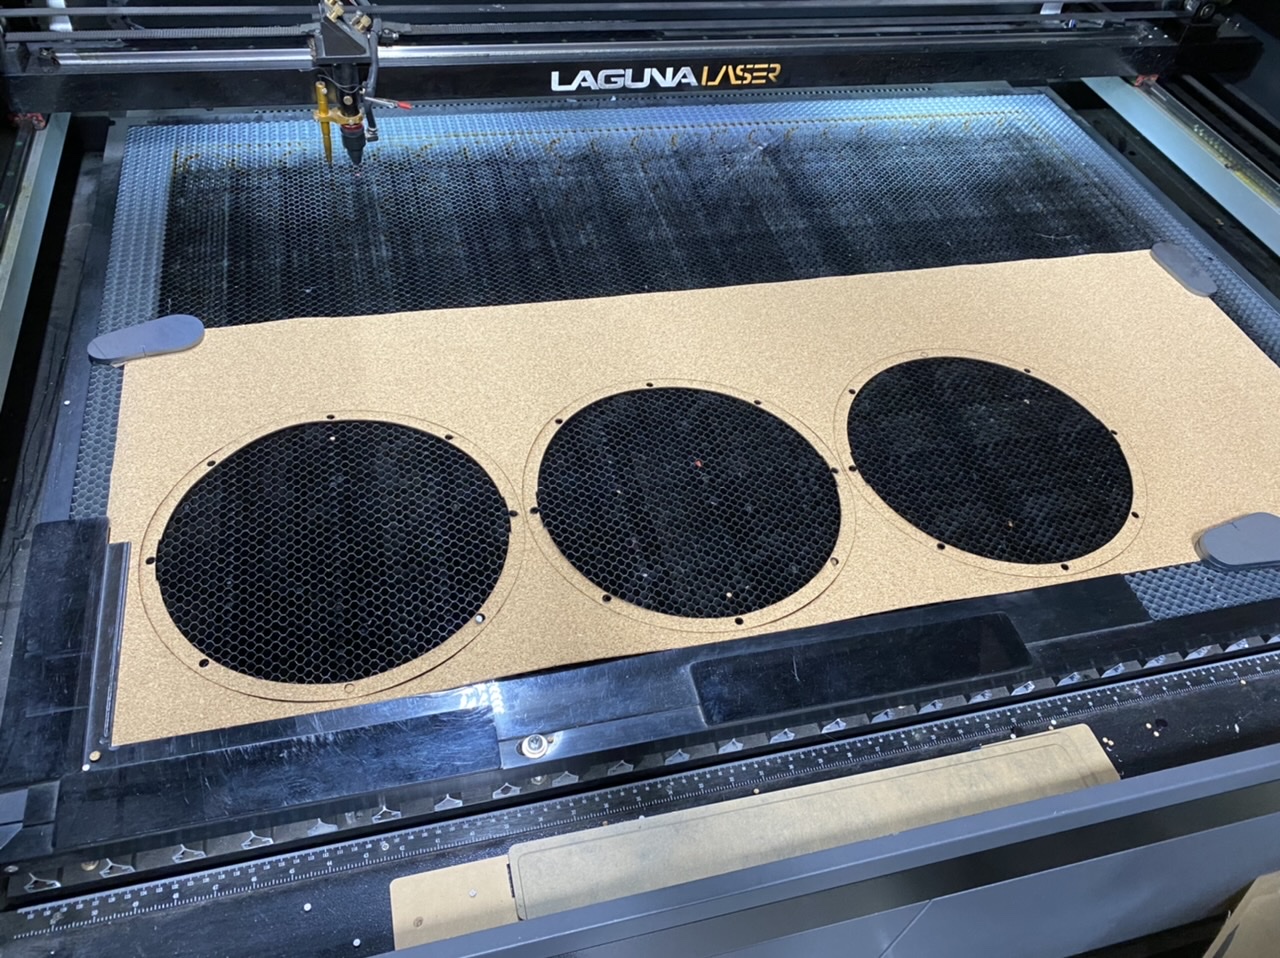
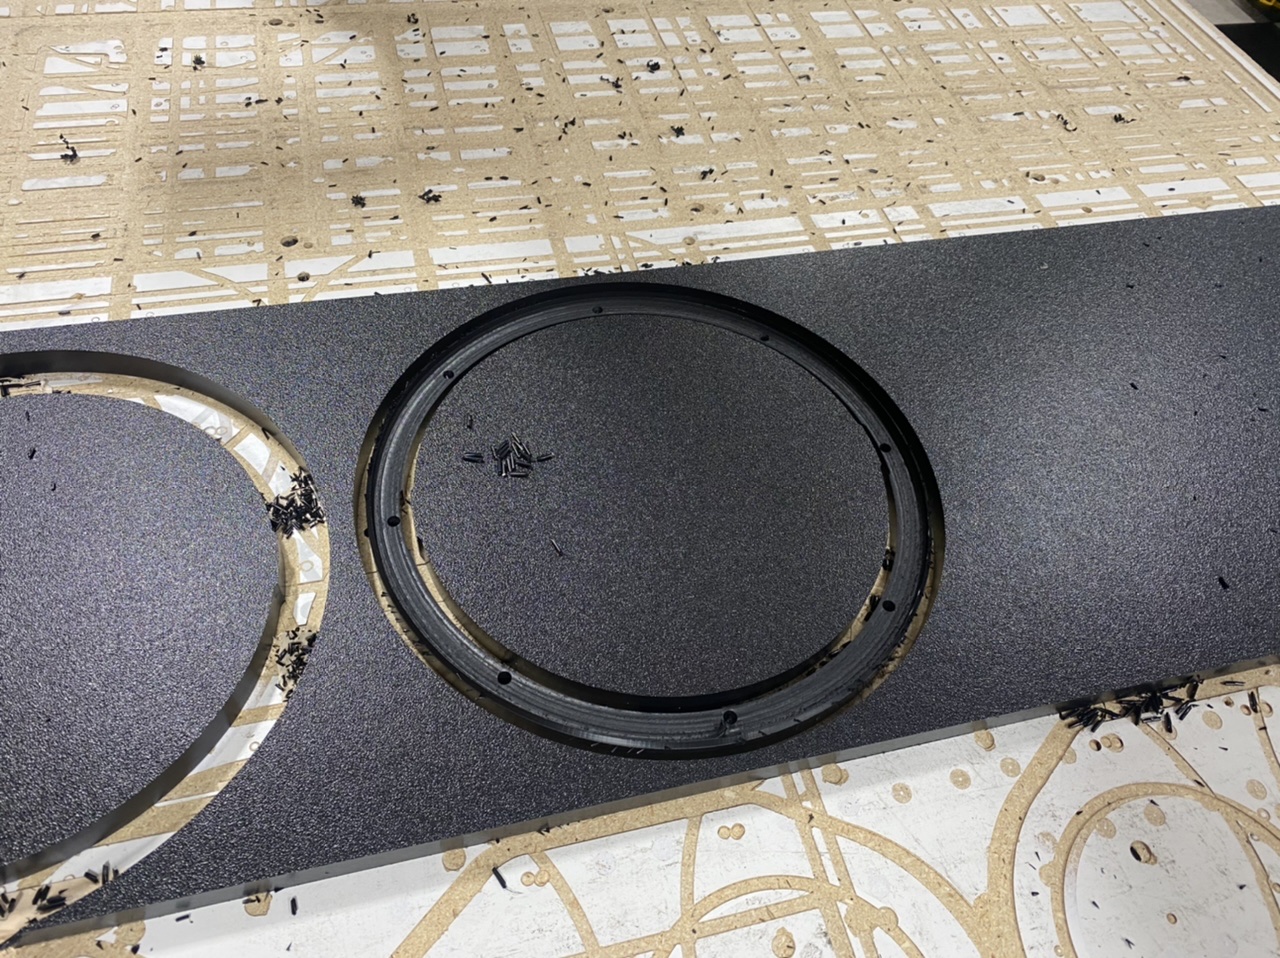
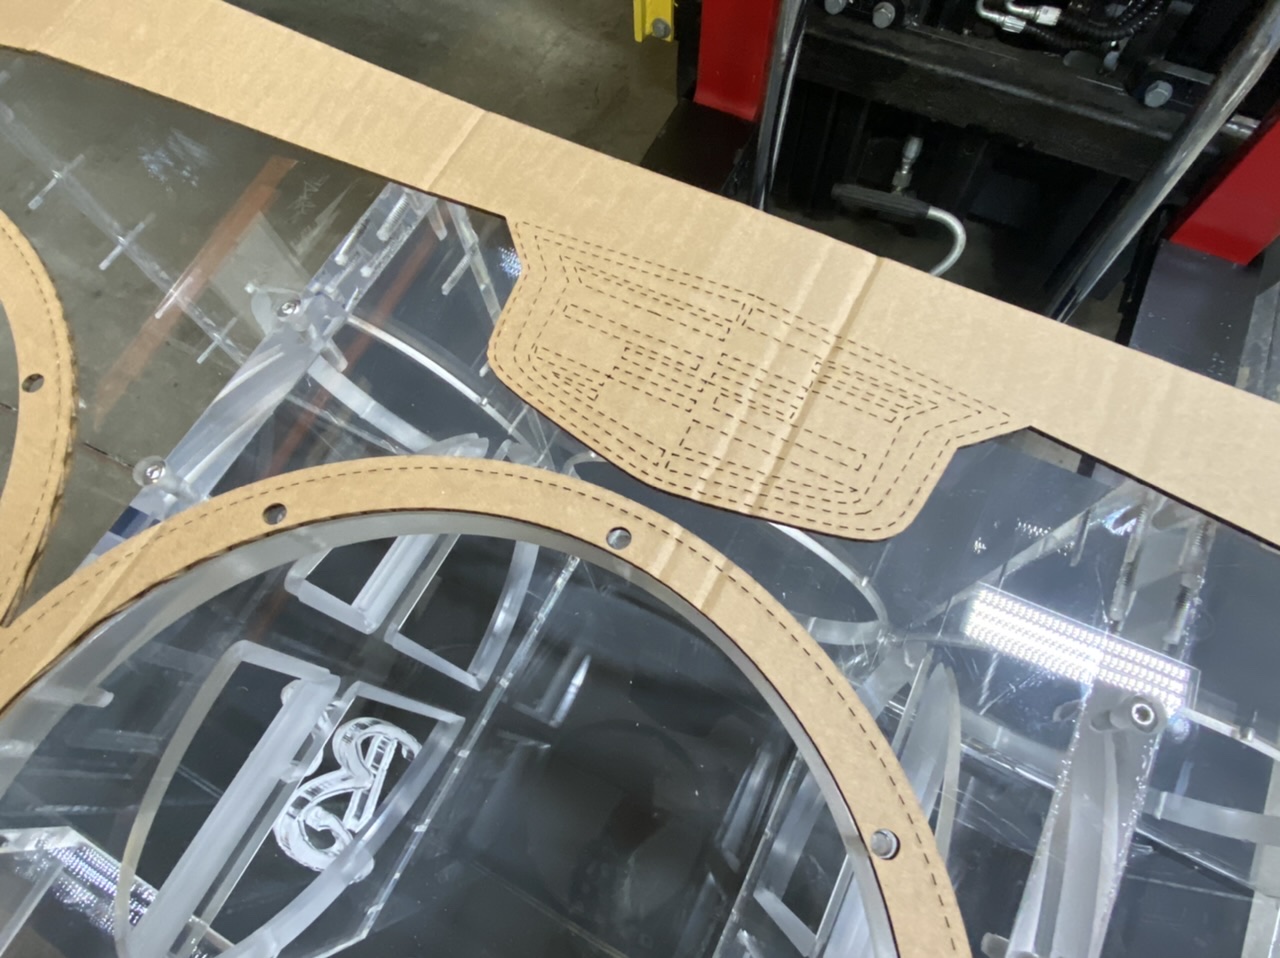
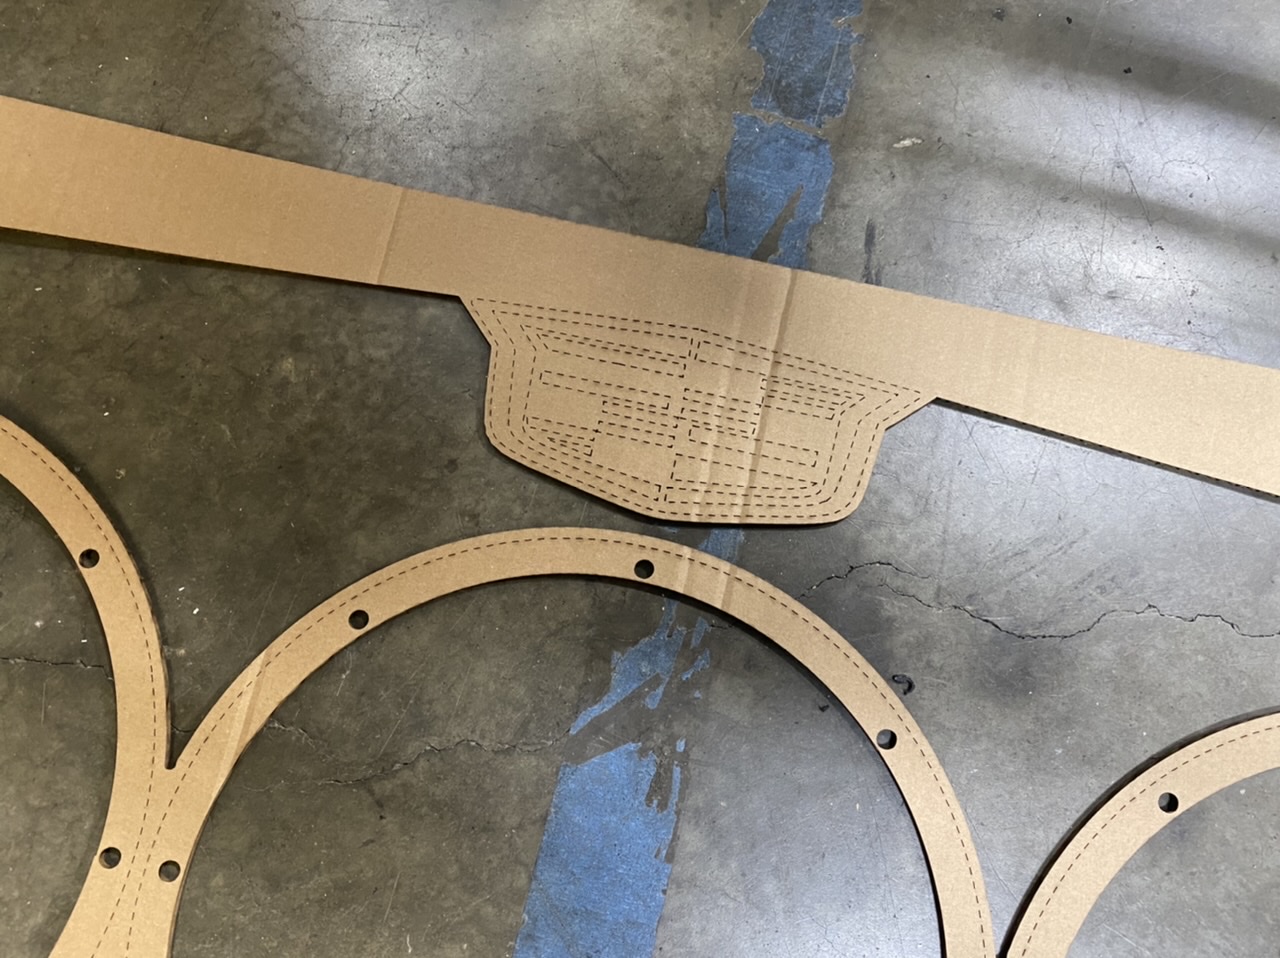
some laser cut gaskets made today
-
1
-
-
-
-
-
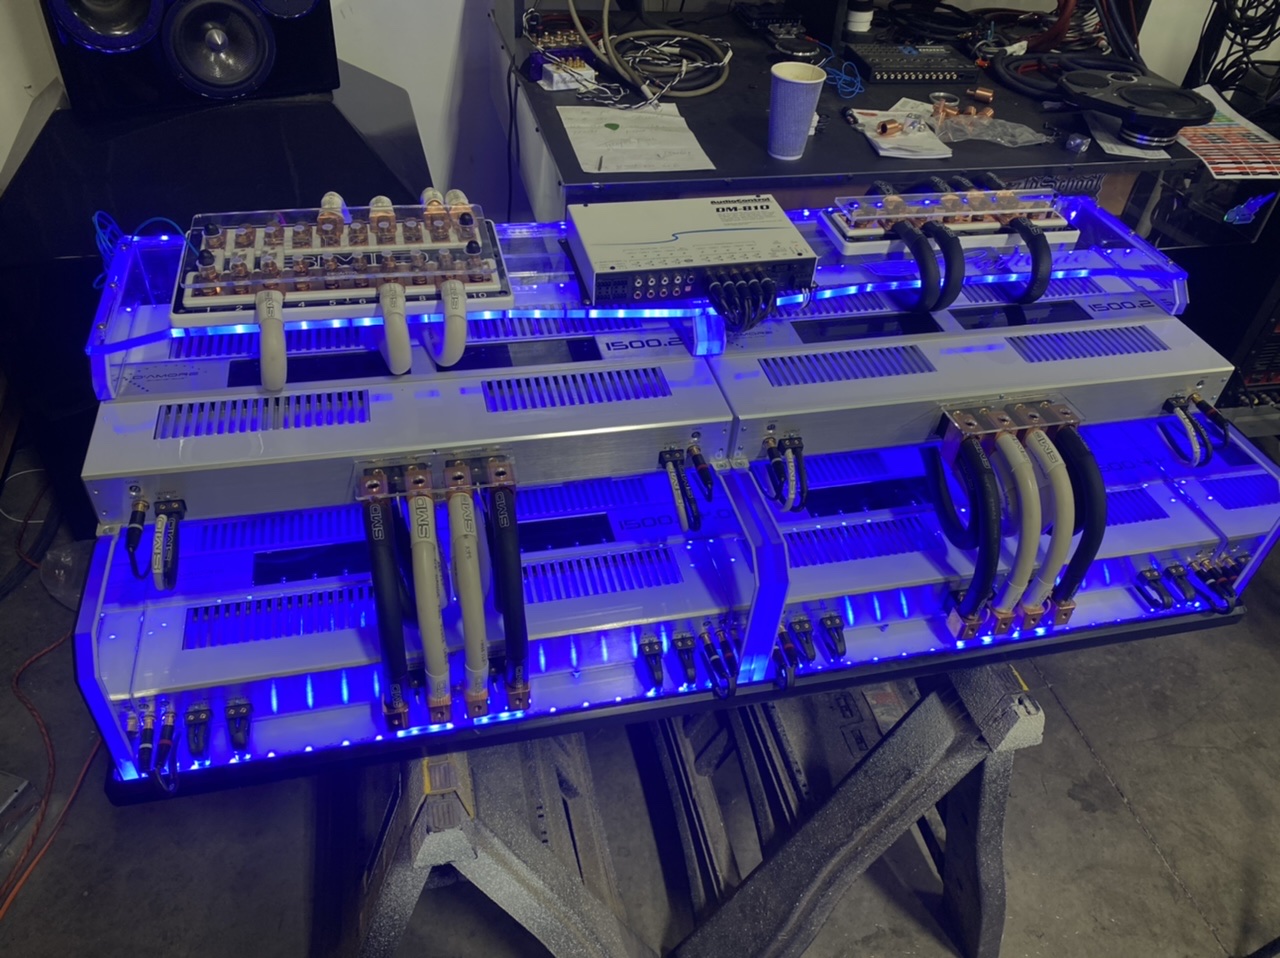
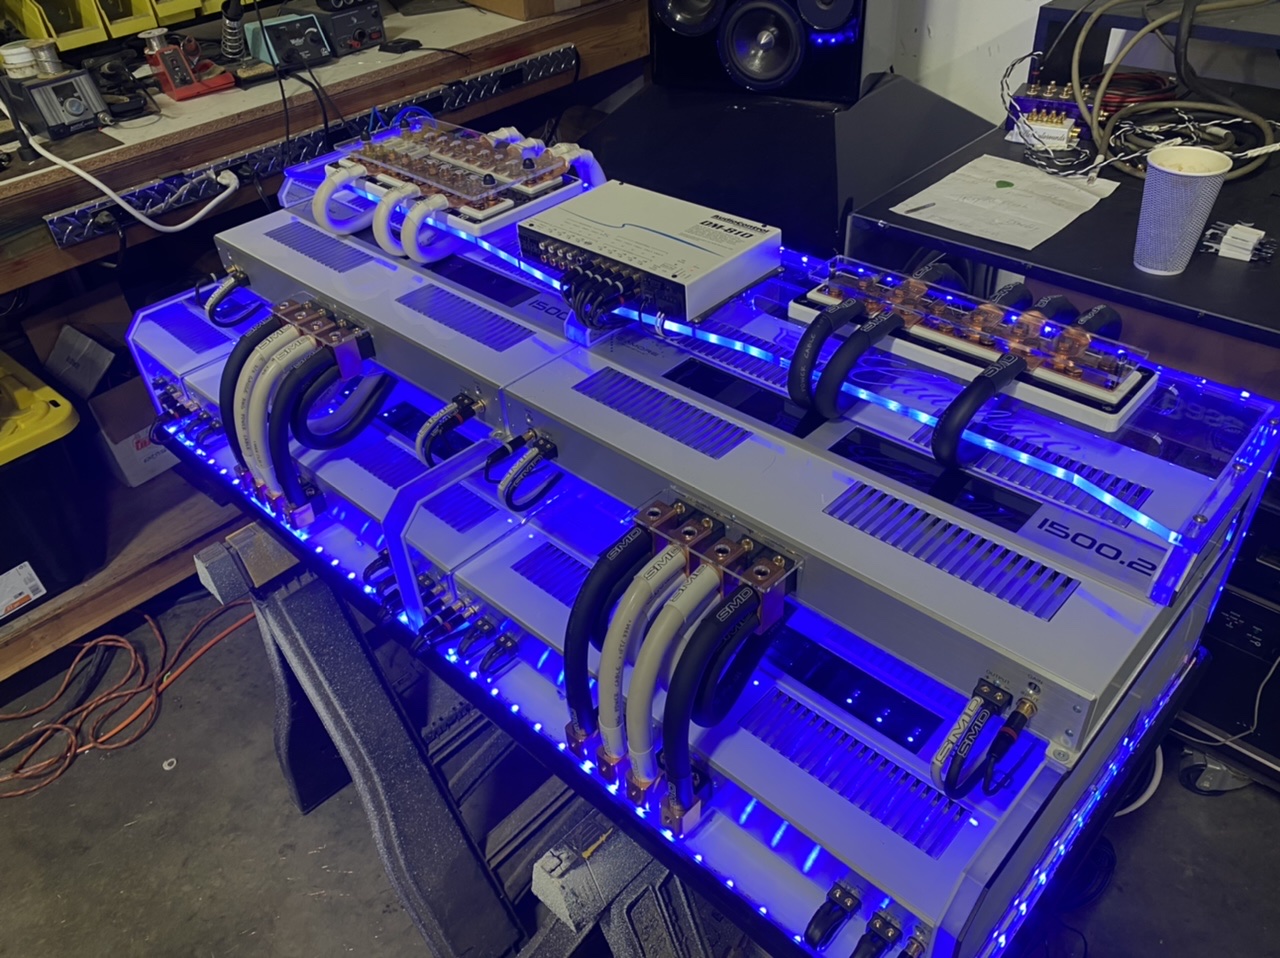
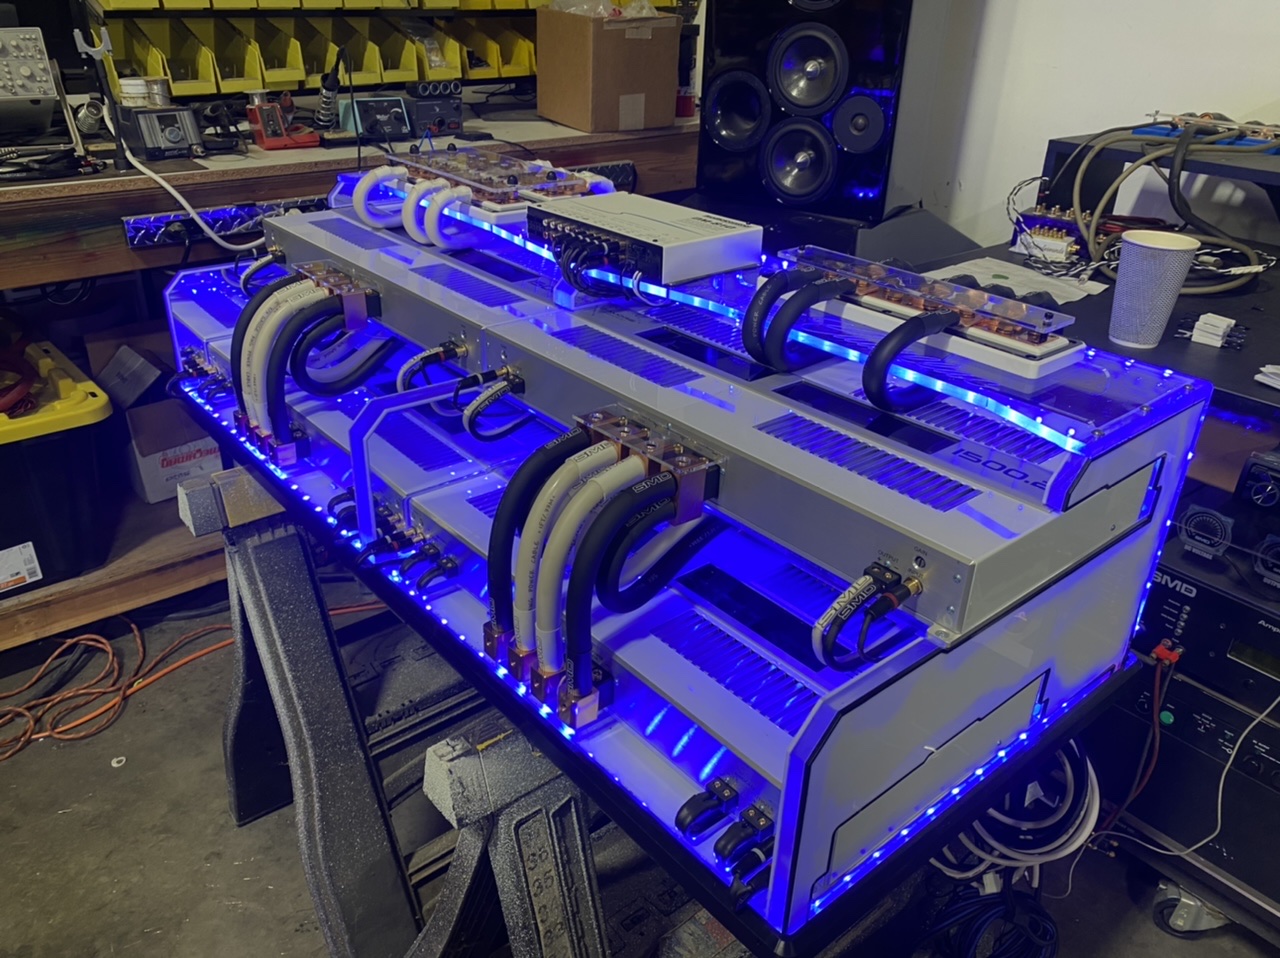
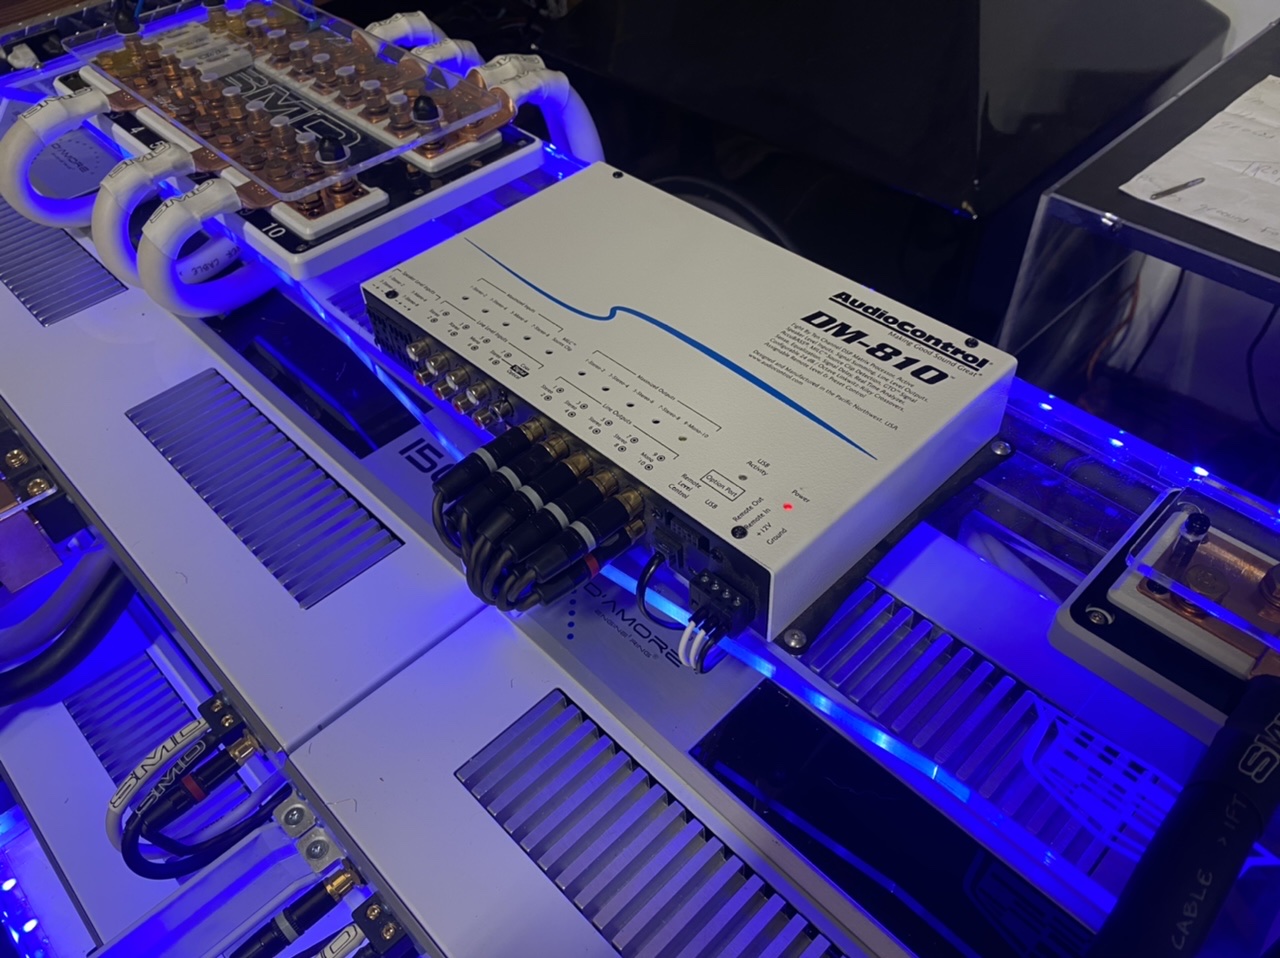
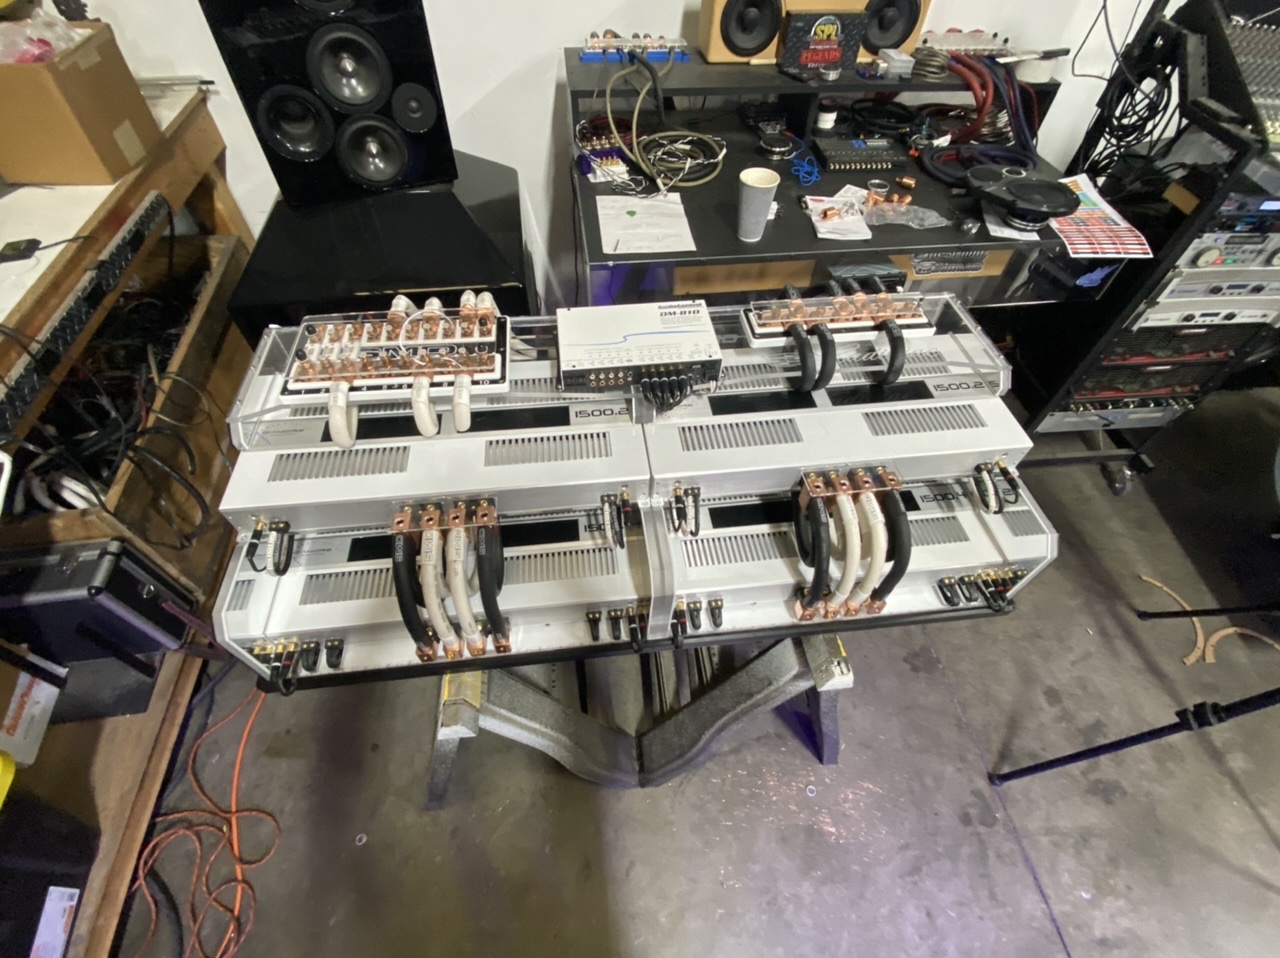
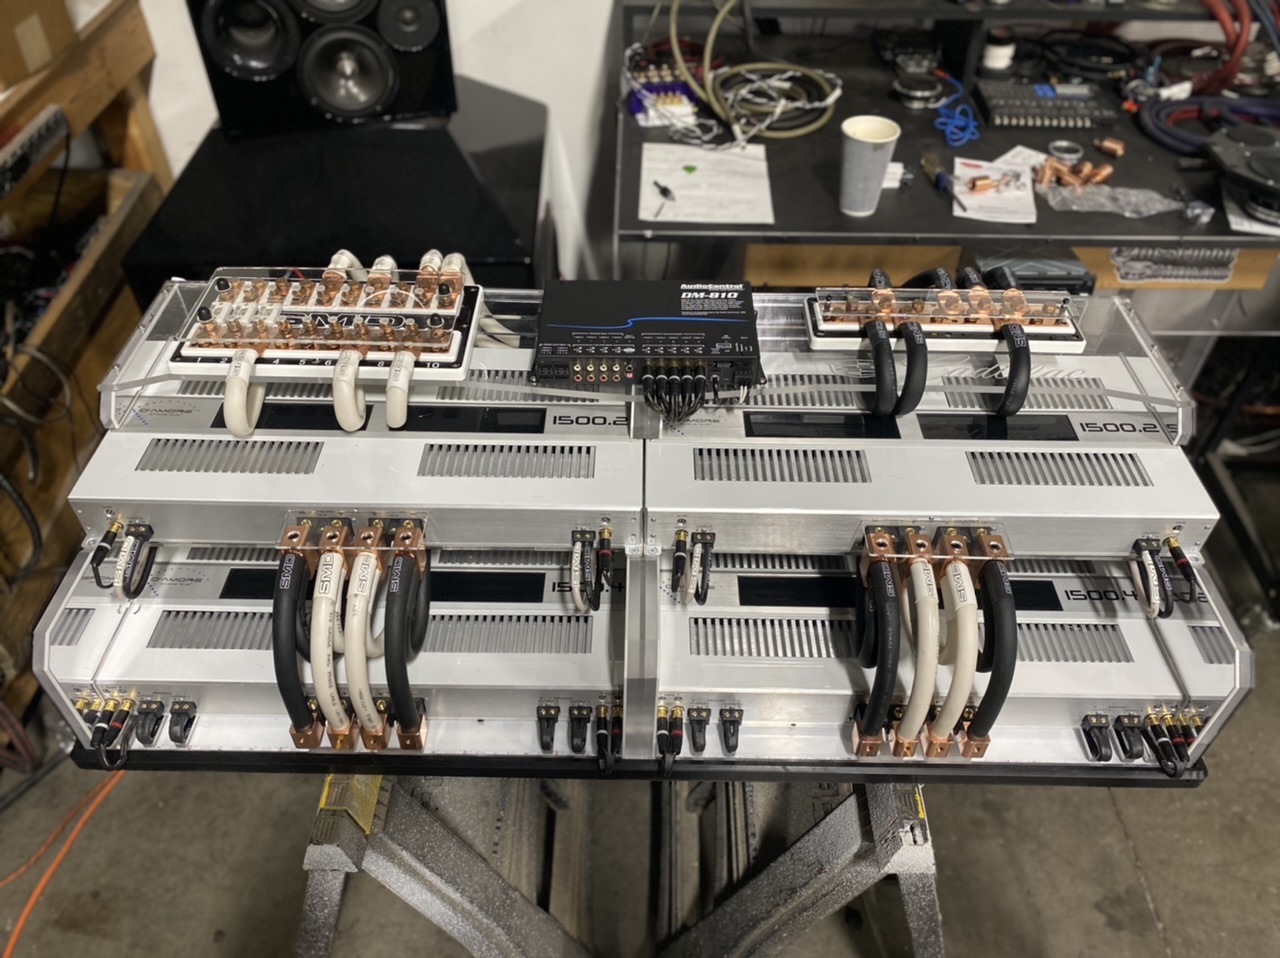
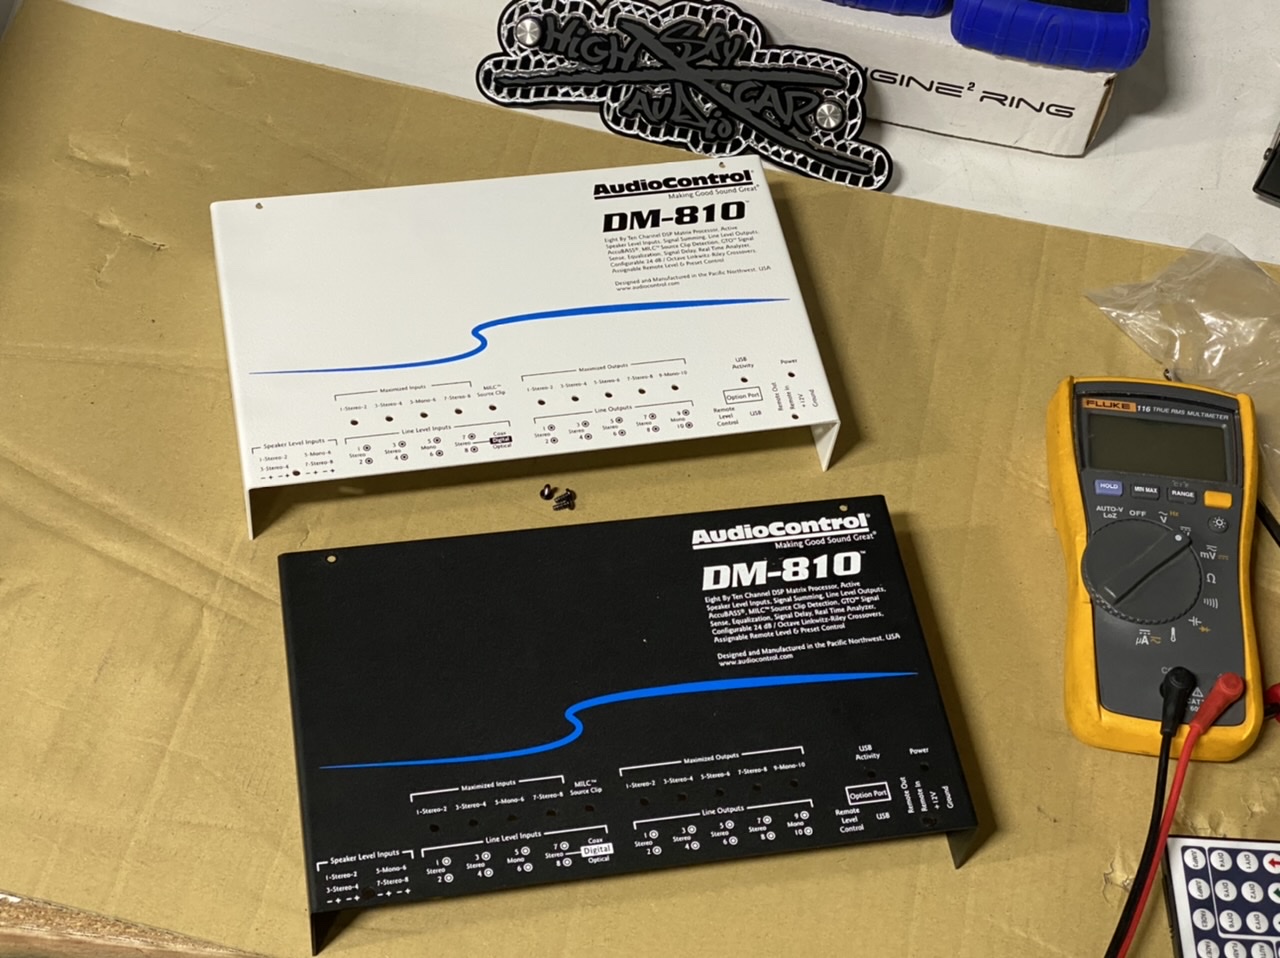
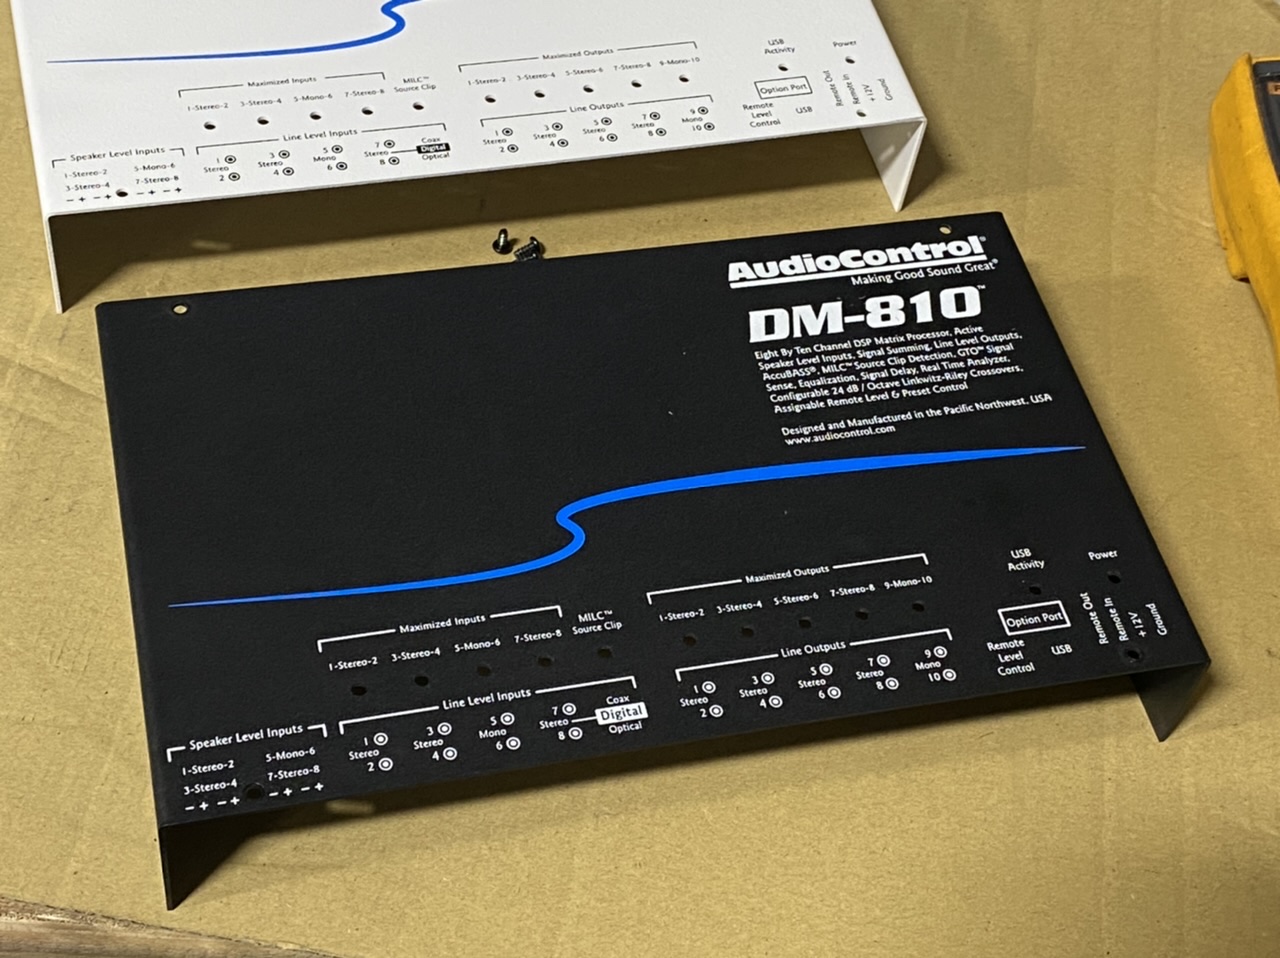
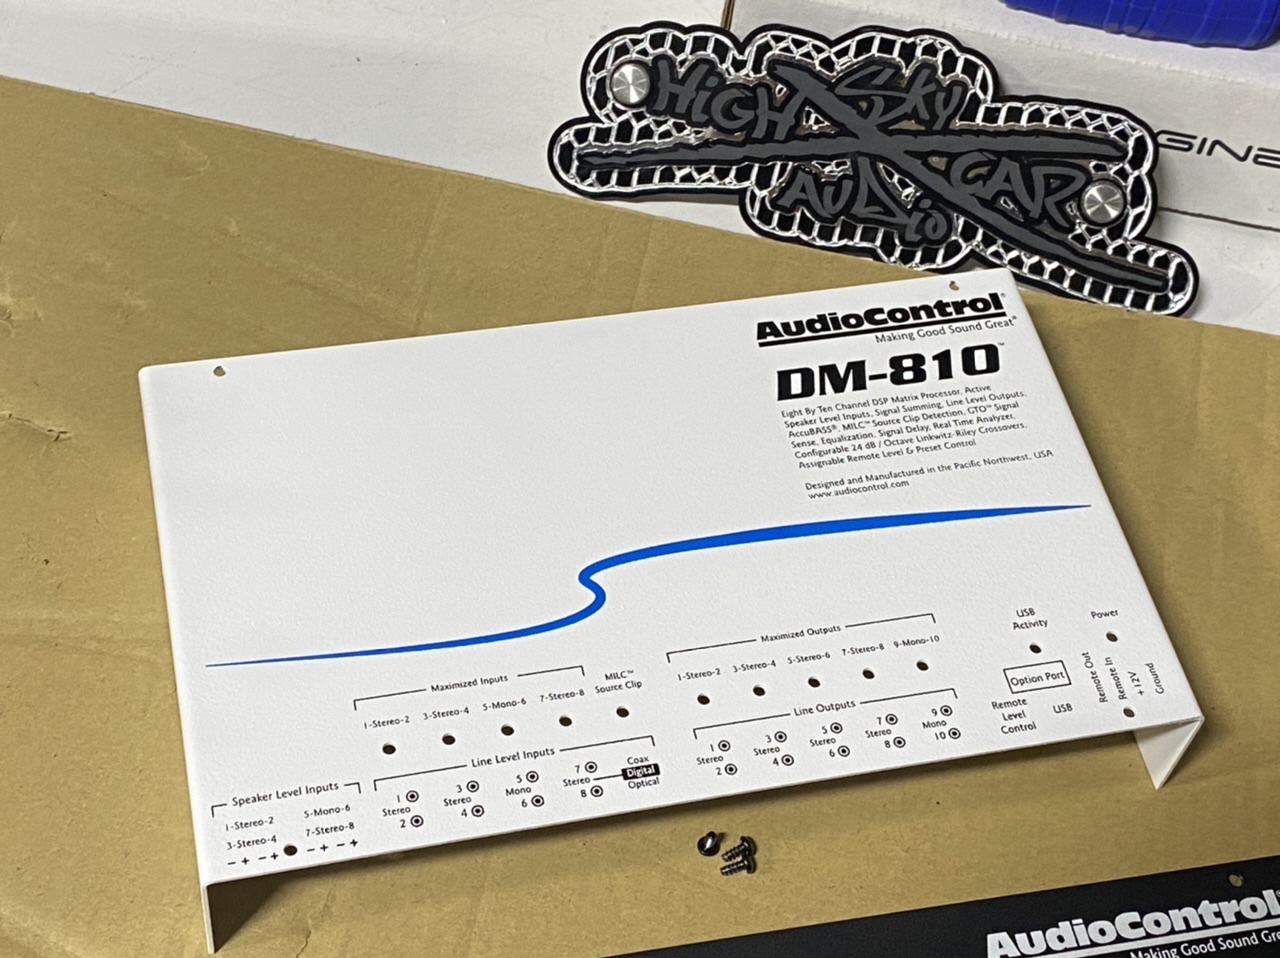
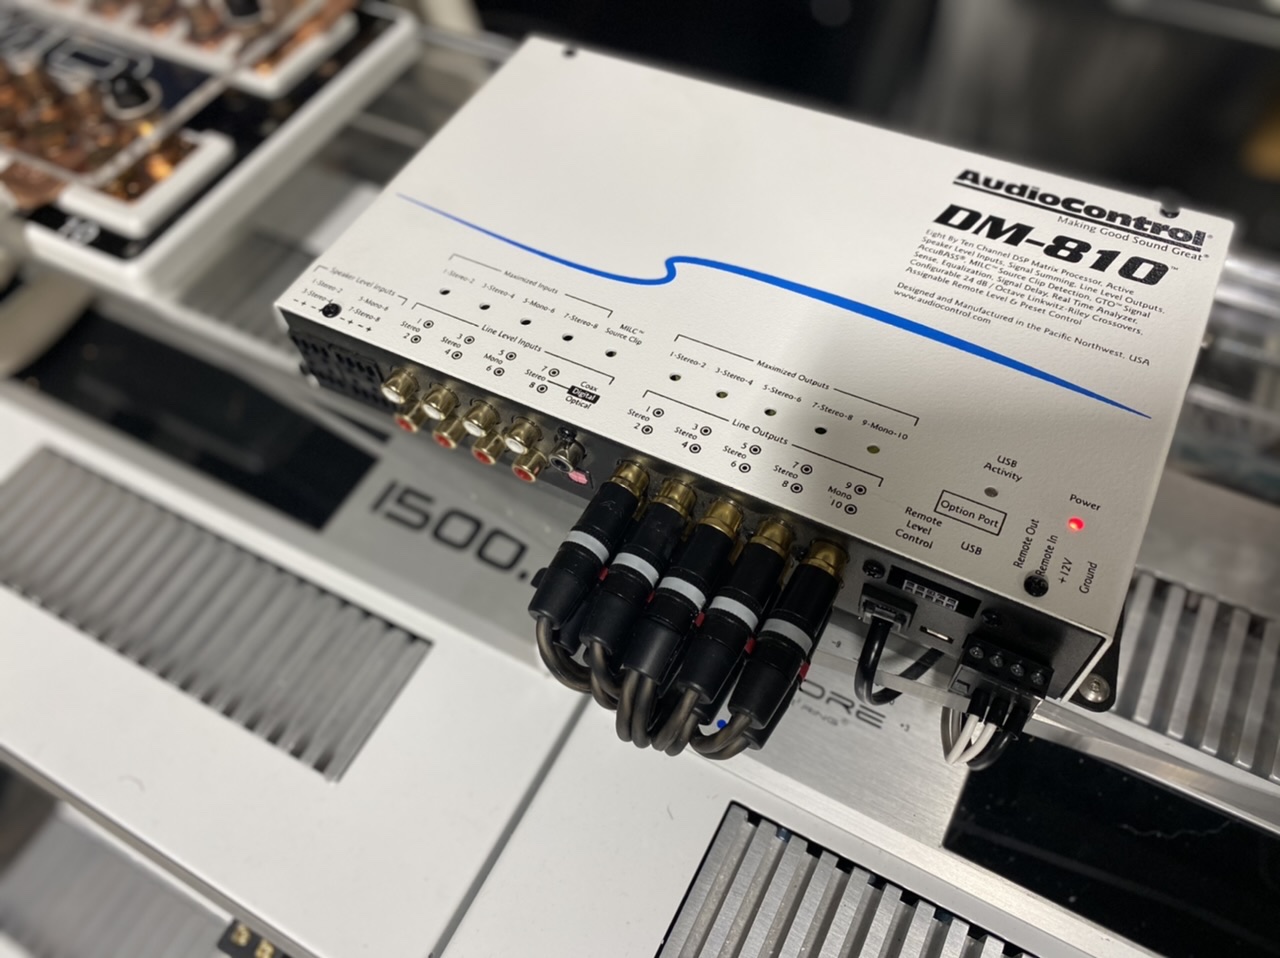
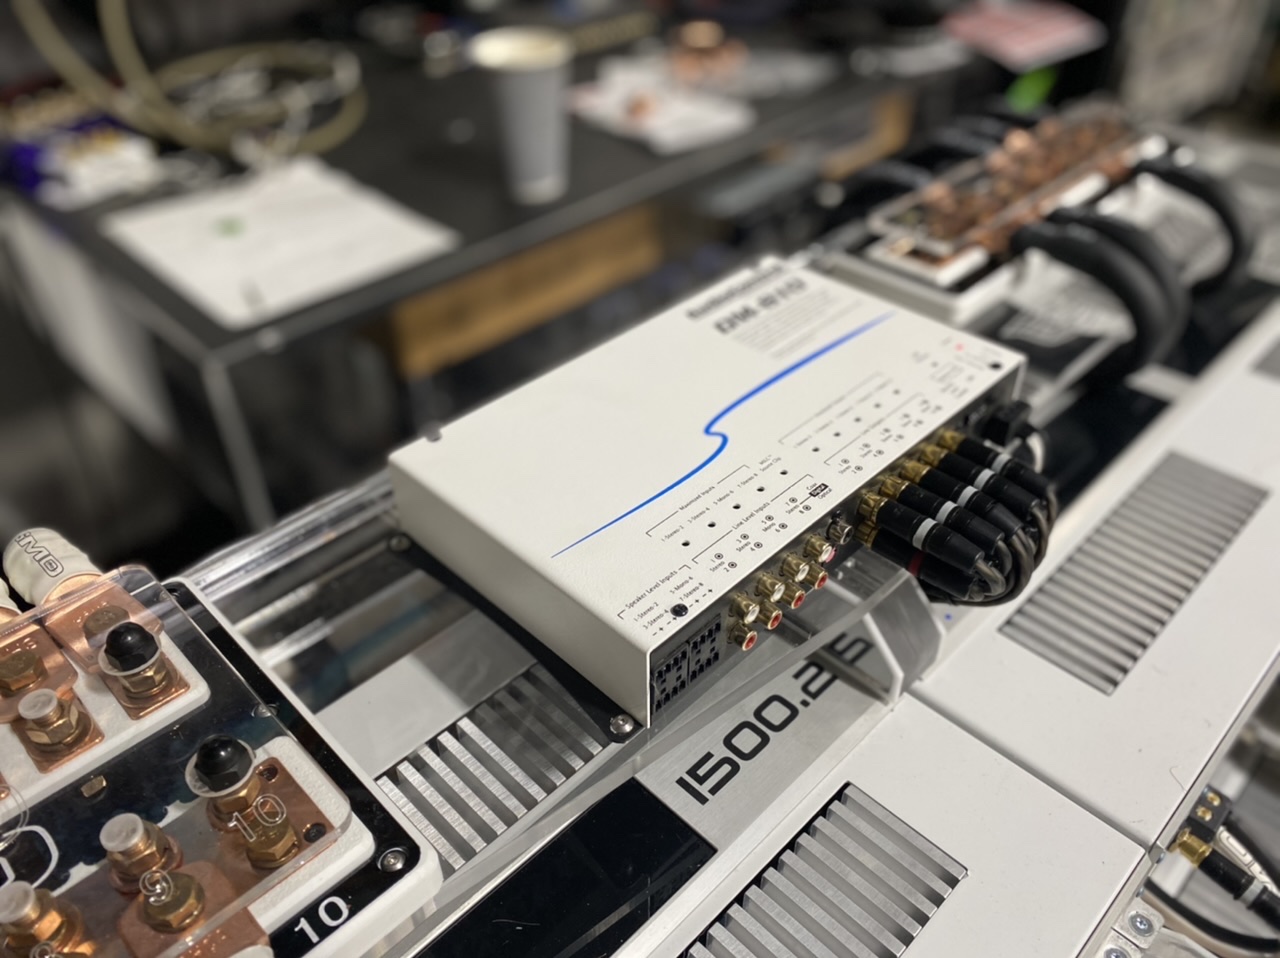
I haven't really talked about or posted pics of this next series anywhere else on the net (yet). So if you are looking at these photo's you are catching it first. You gotta see the white cover for the processor! It's PERFECT!
-
1
-
-
1 hour ago, sayhuh? said:
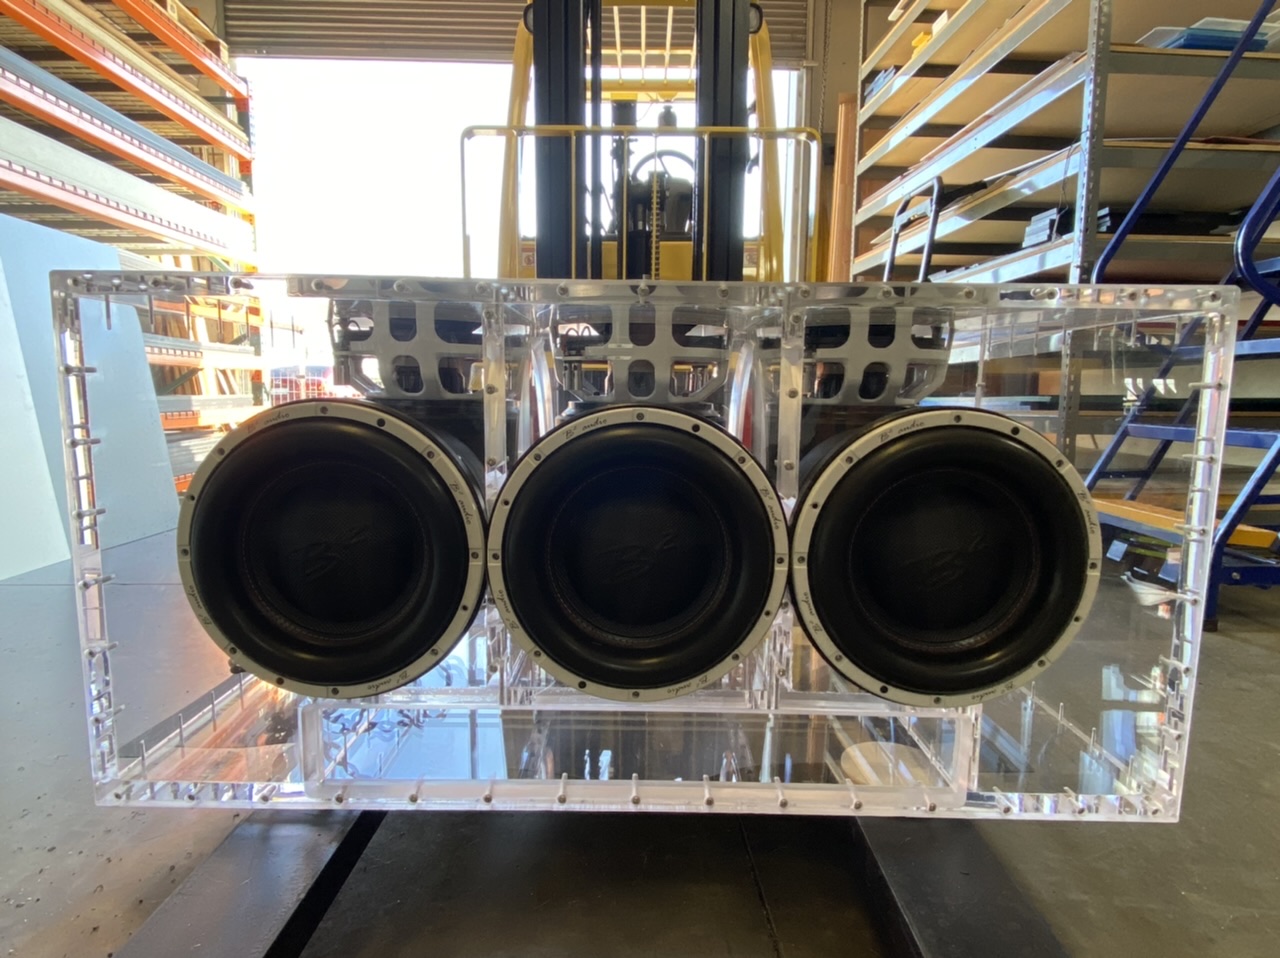
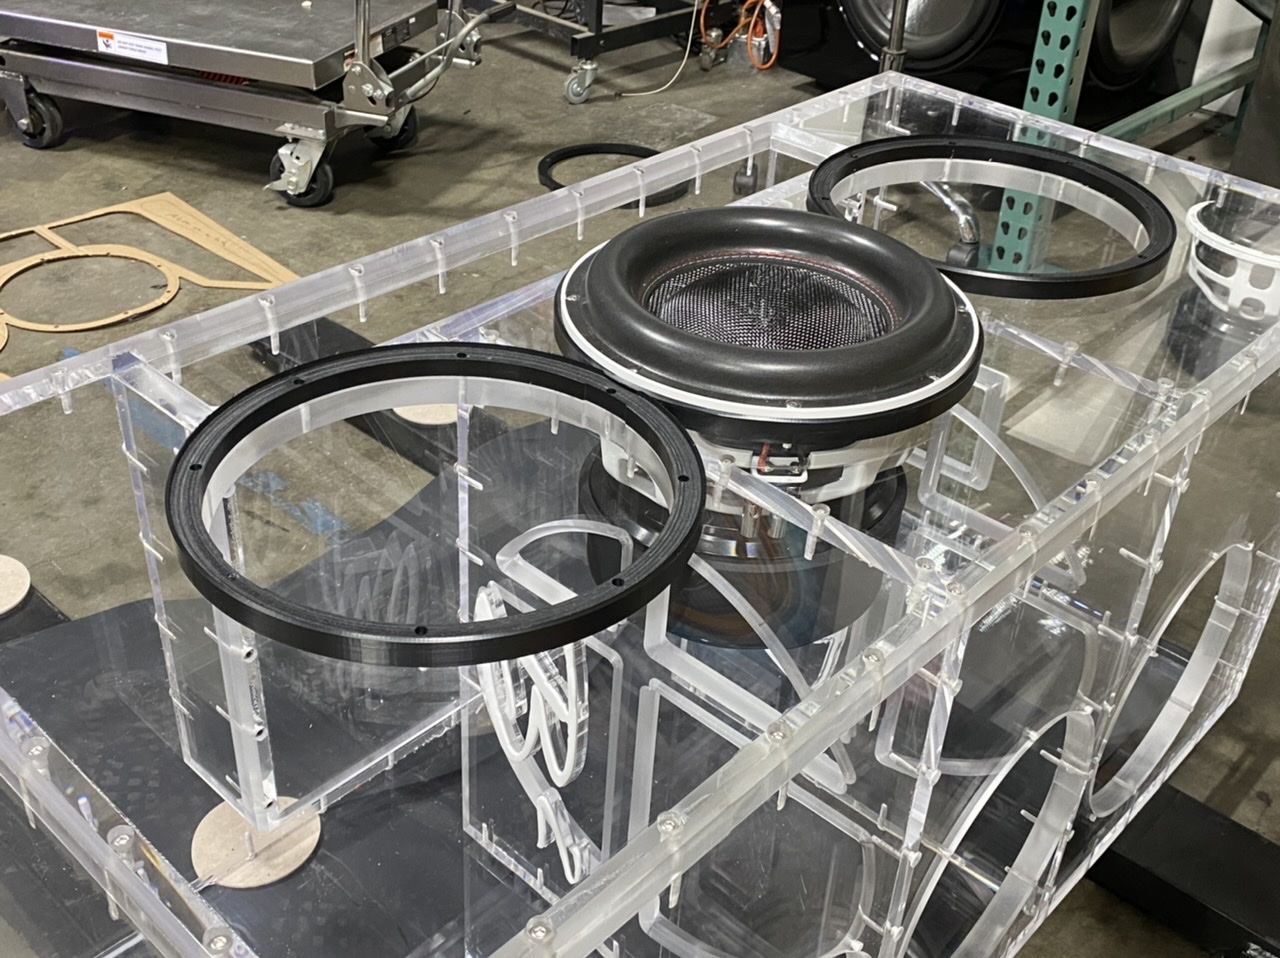
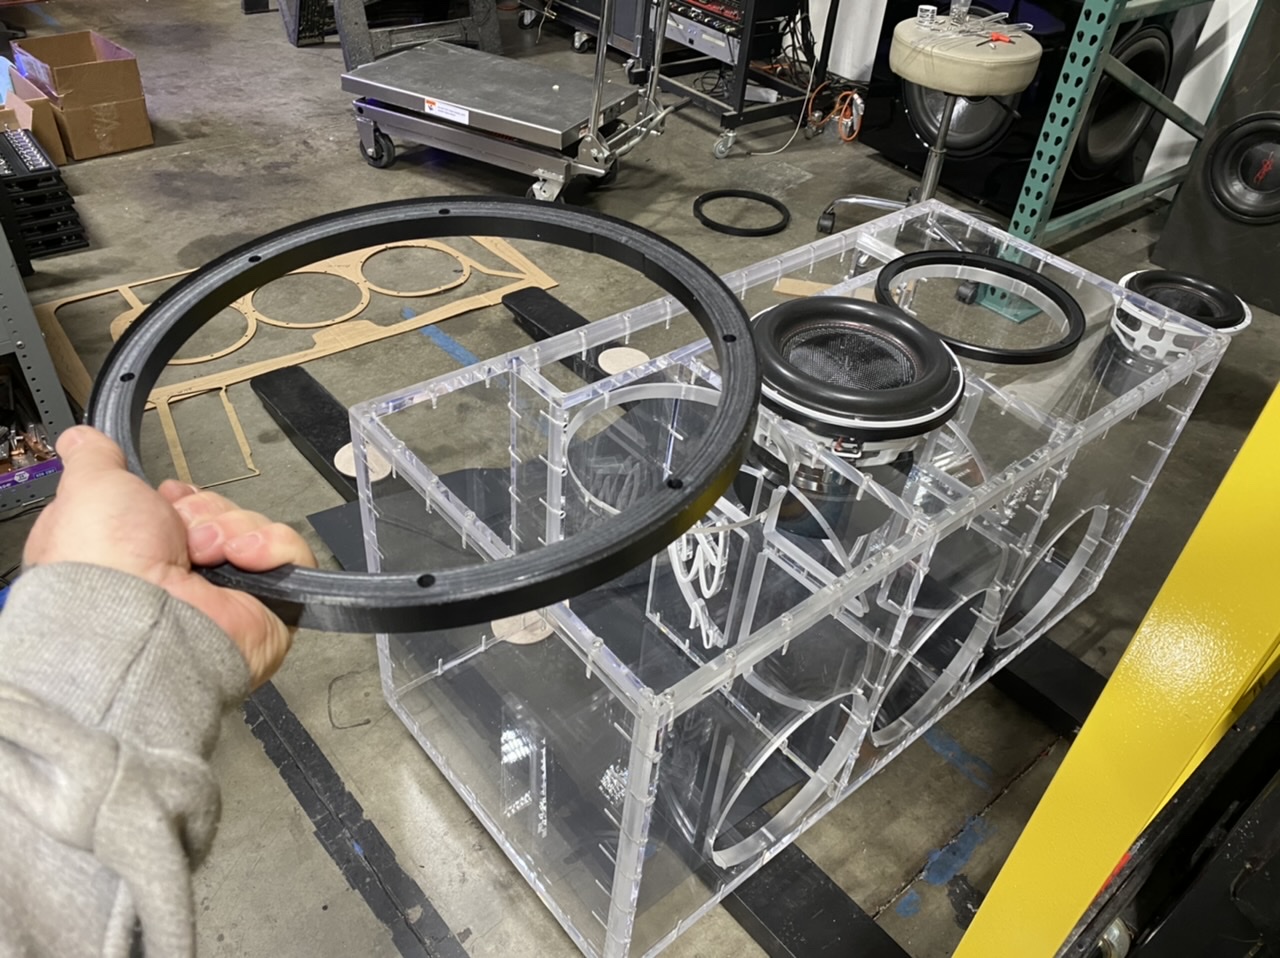
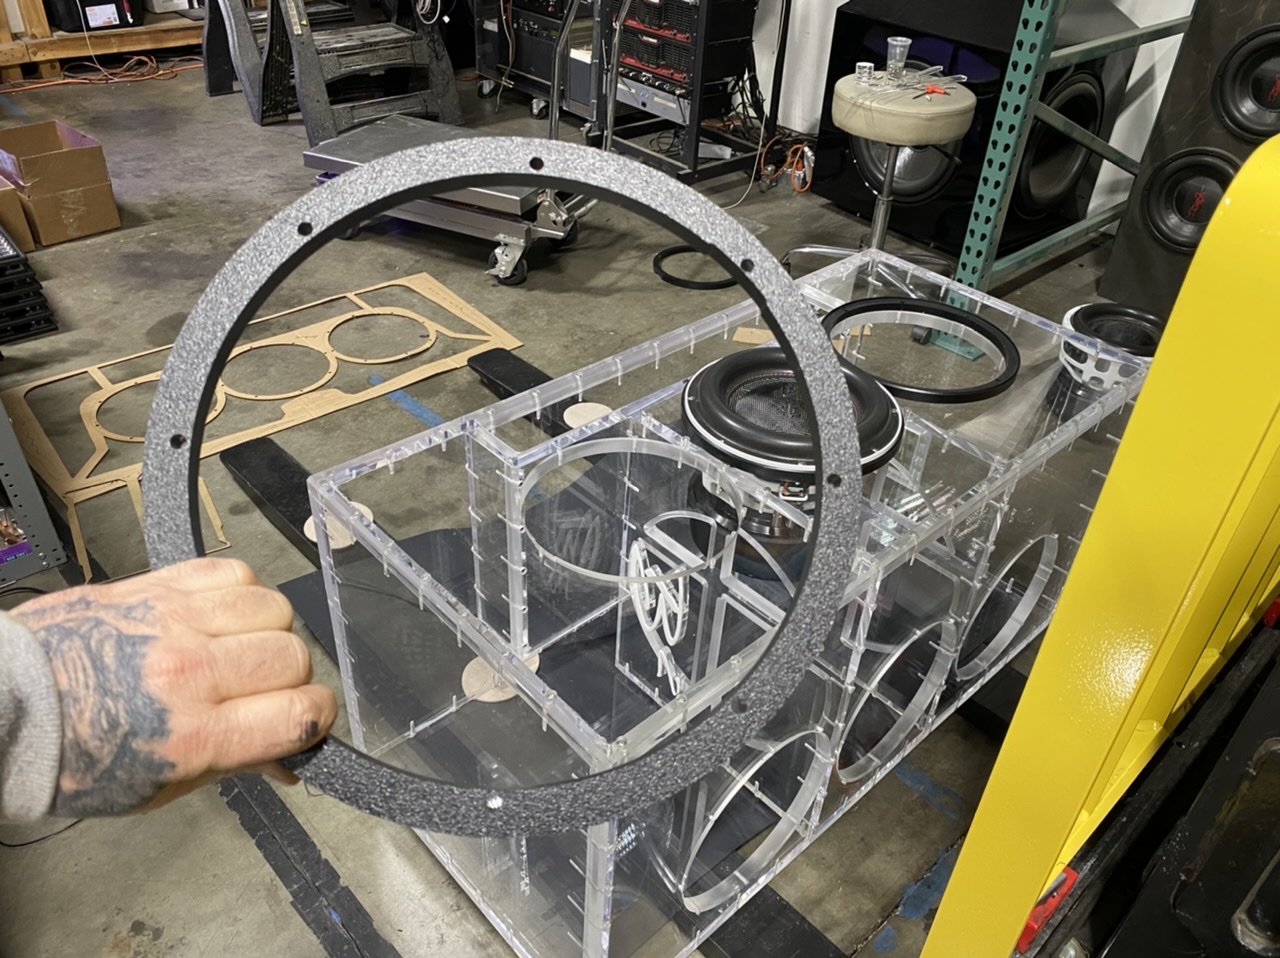
Love the look of the black rings. Nicely done, good sir! Plans on doing spacers for the other three?
Man, that thing is sexy. (not you, the box)
i was thinking of doing some small ones just to make them match. But I don't want to raise the subs at all. The box is as high as i want it to be. So the top trim will have some elements to it that makes it match..that is coming later. Thanks man!!!
-
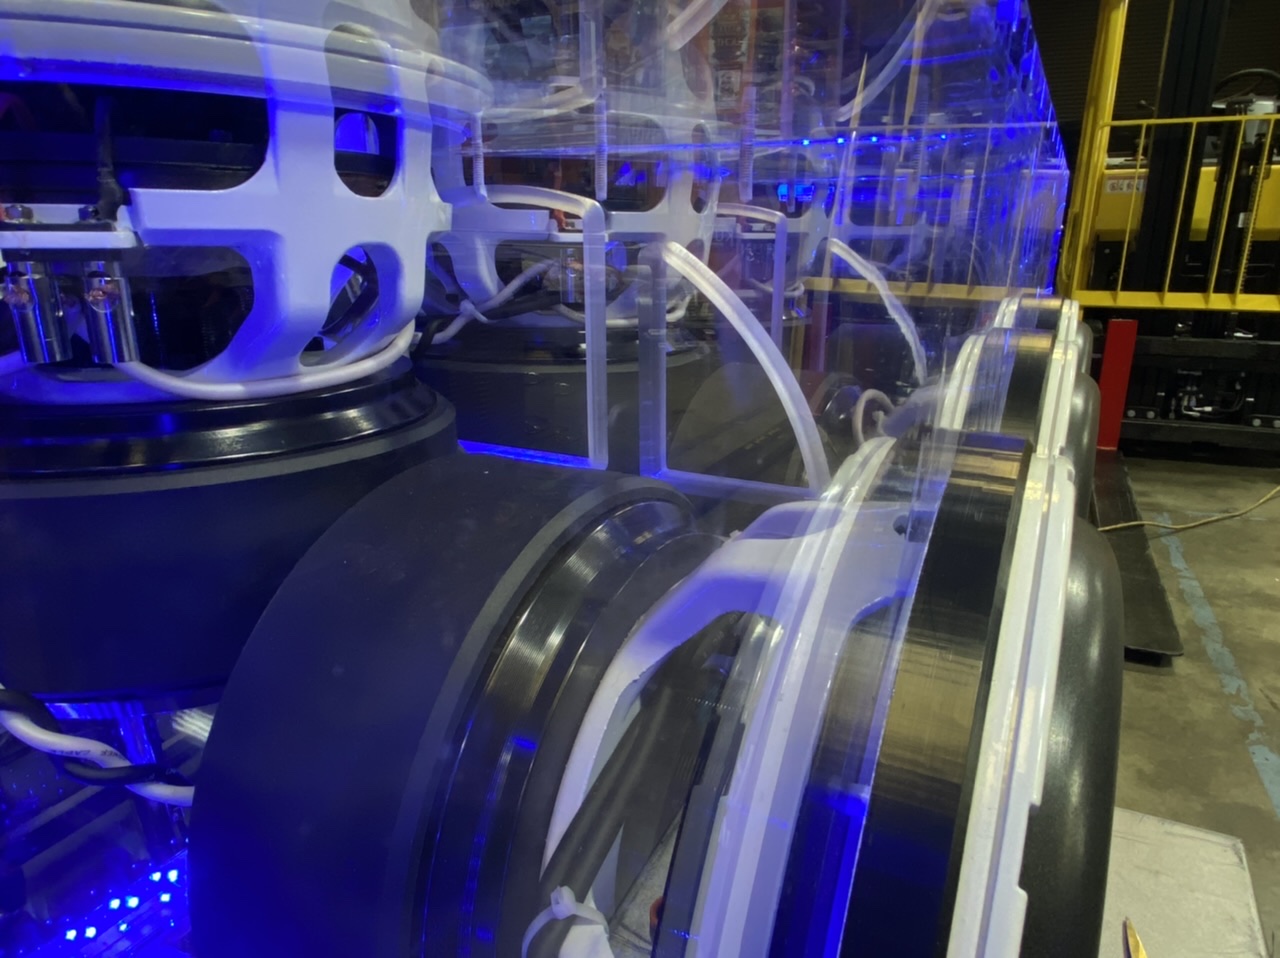
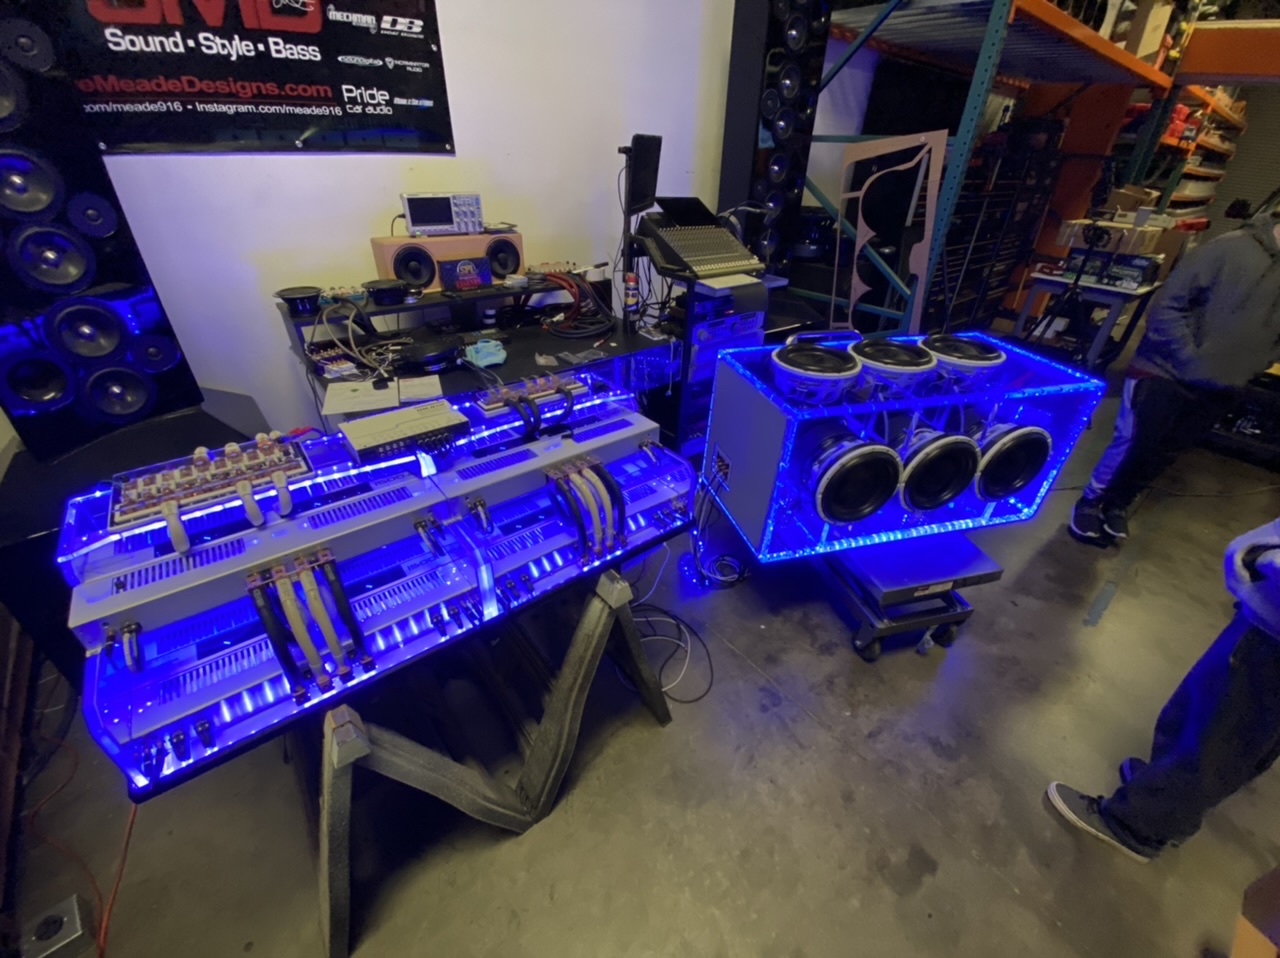
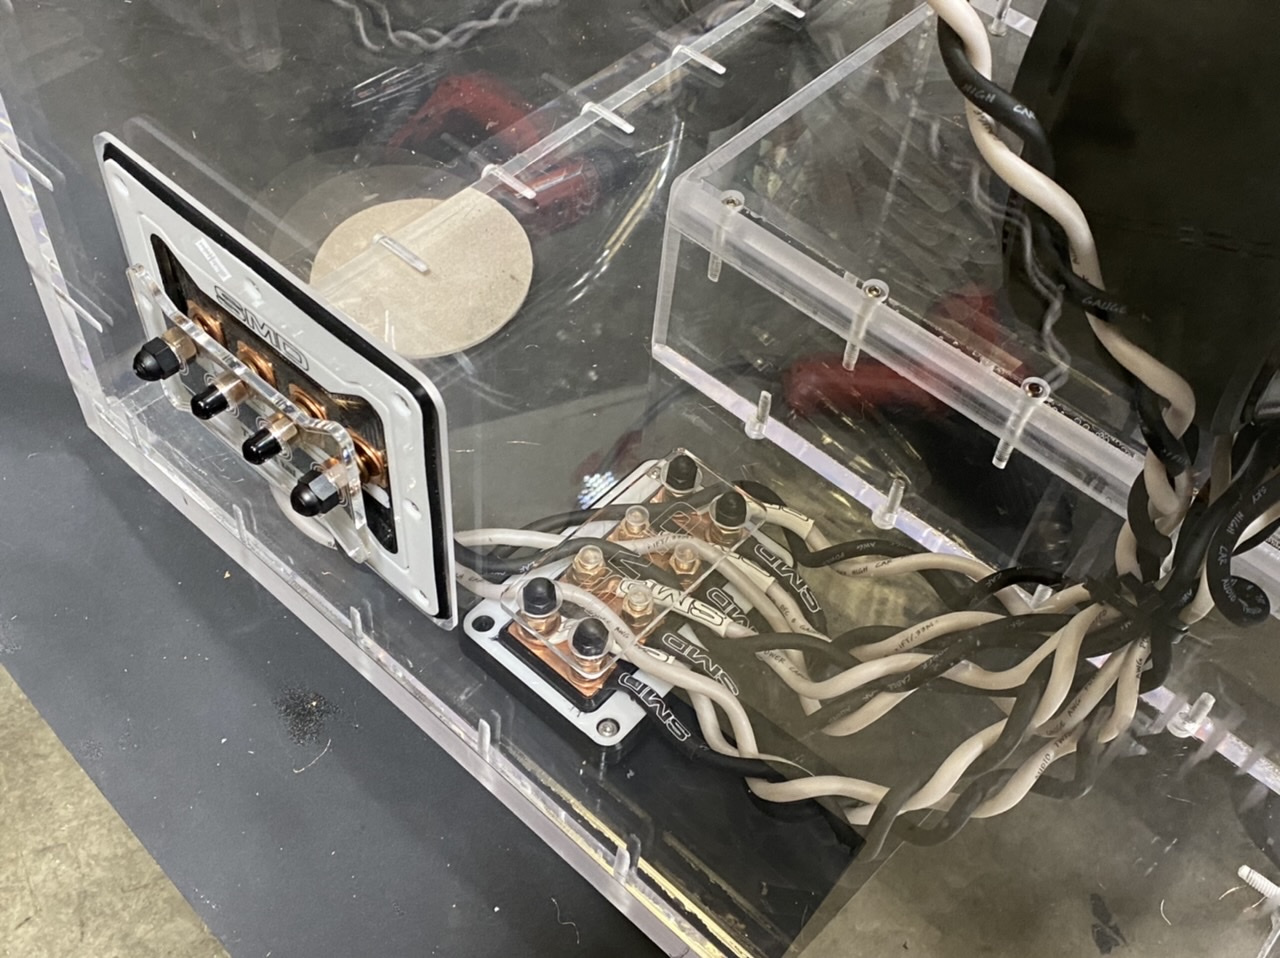
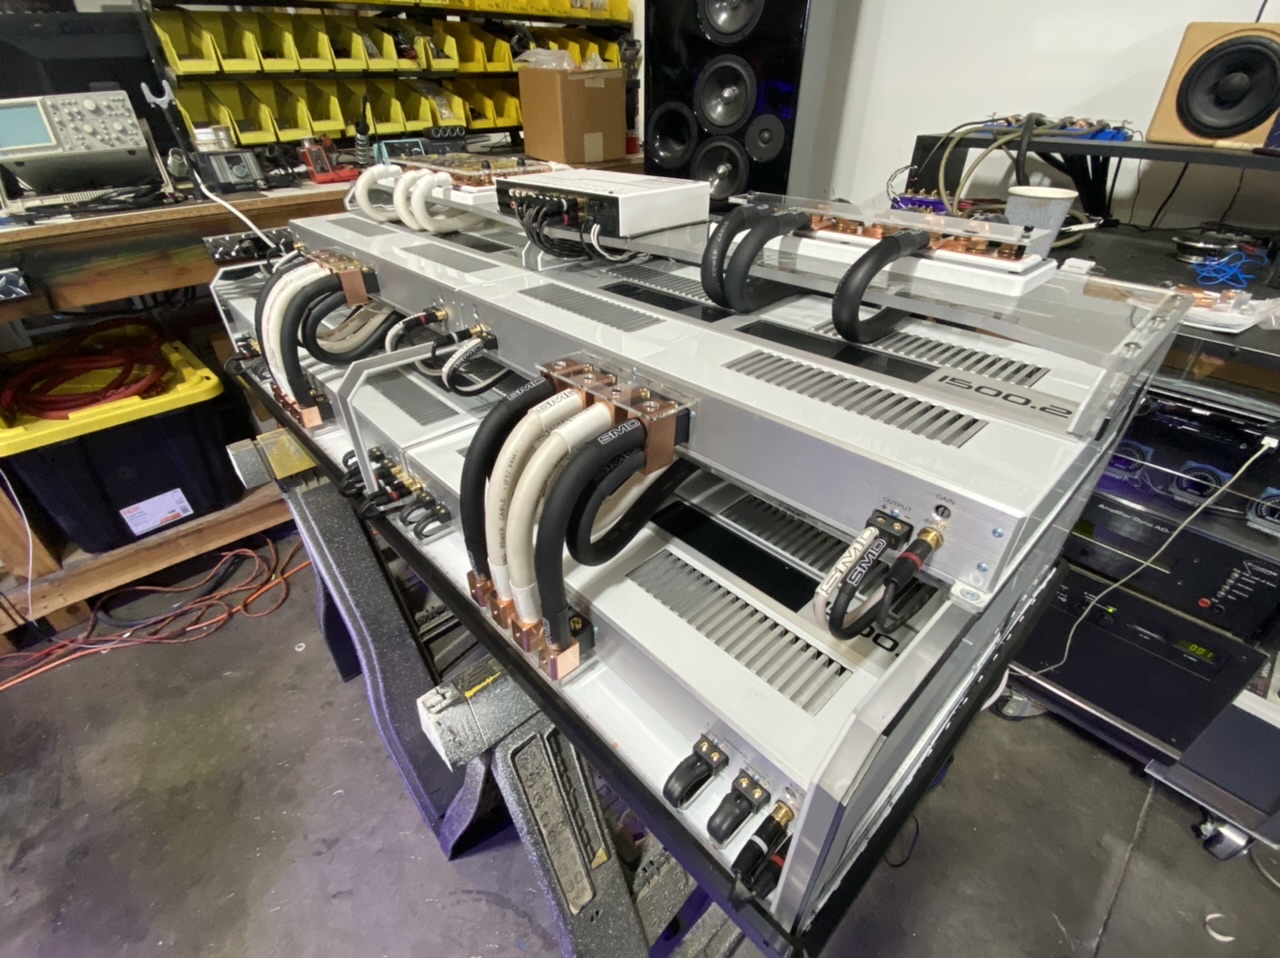
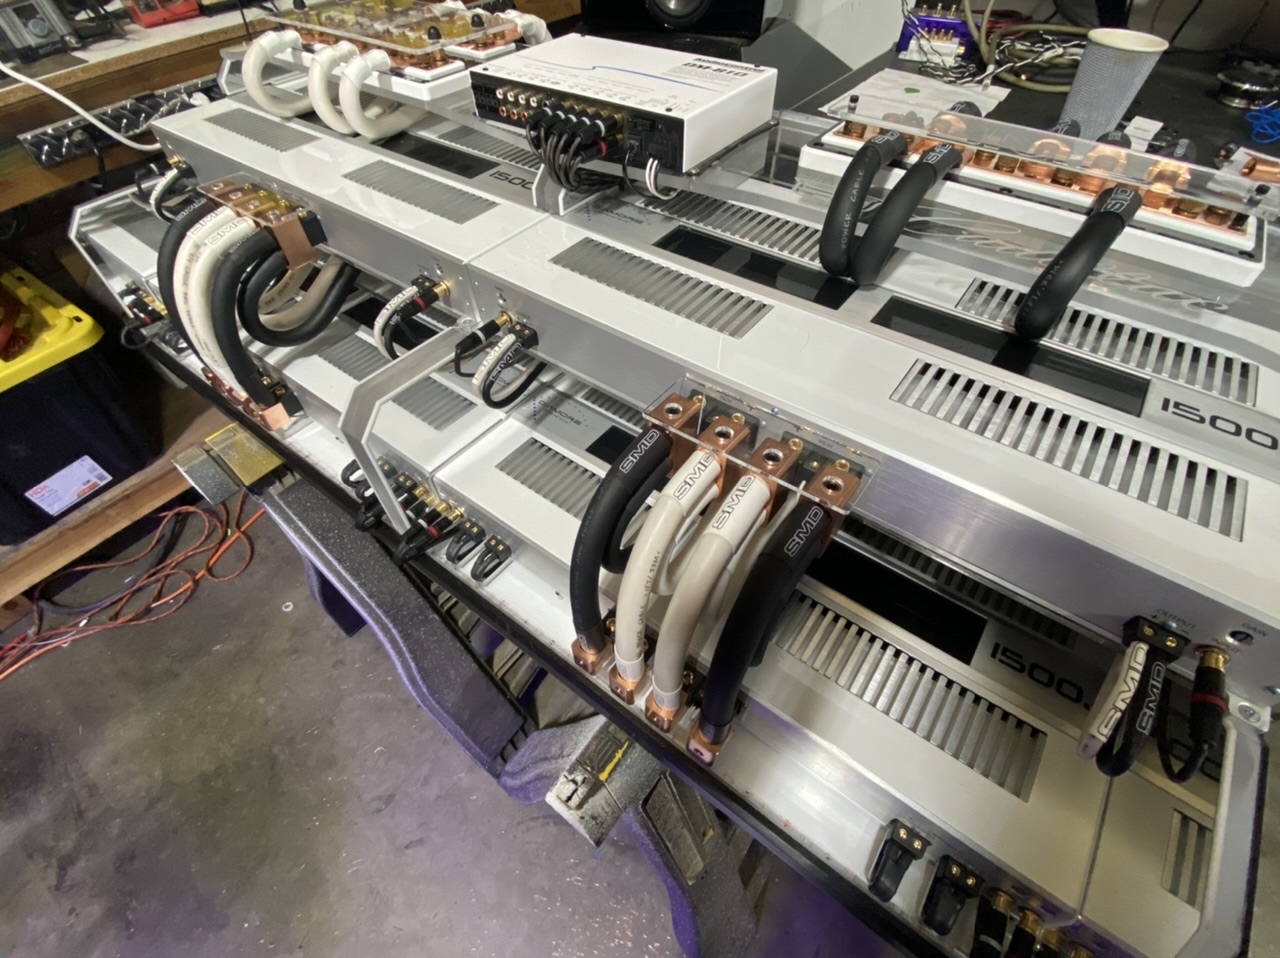
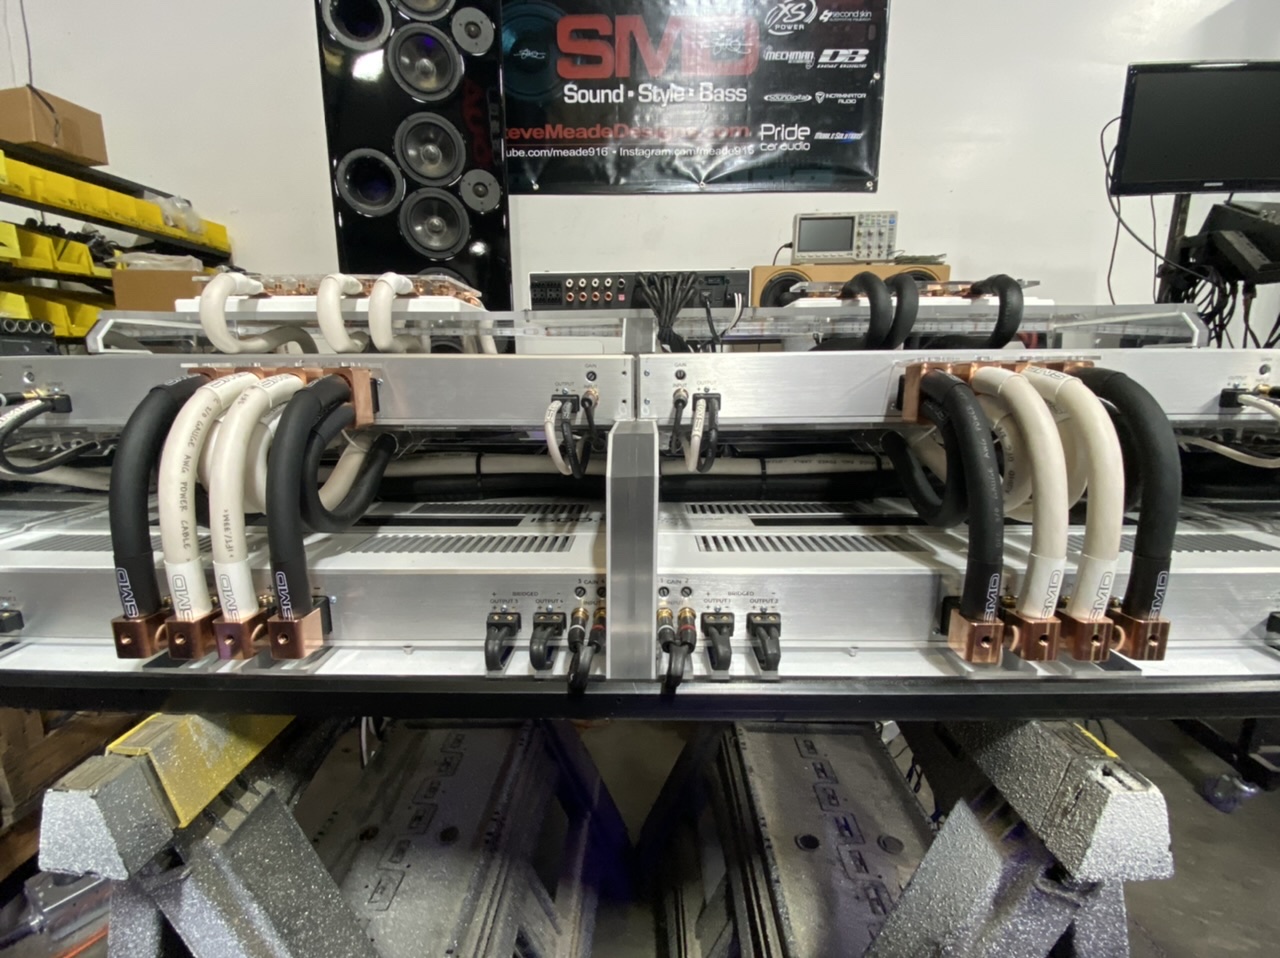
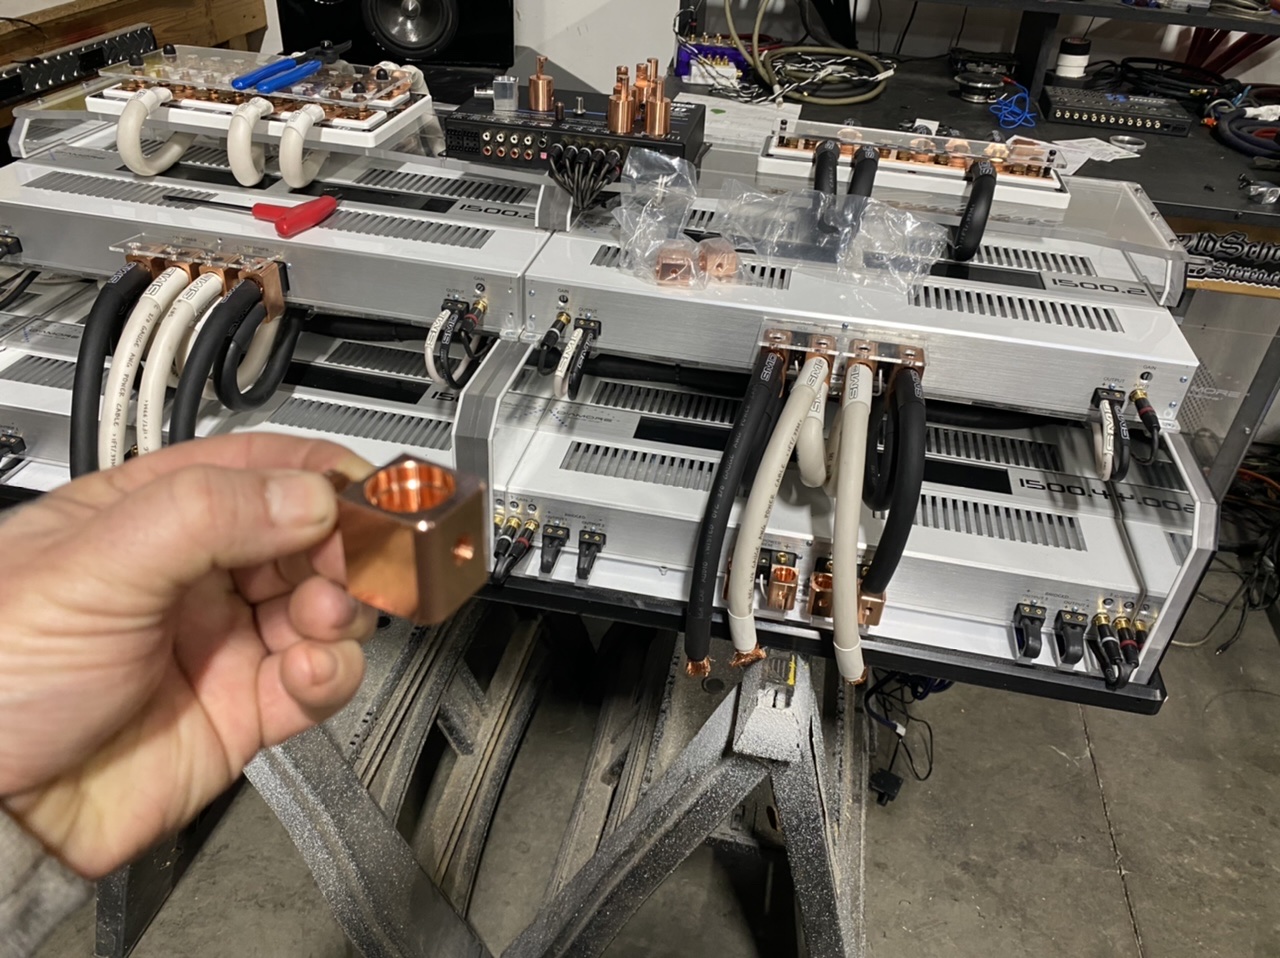
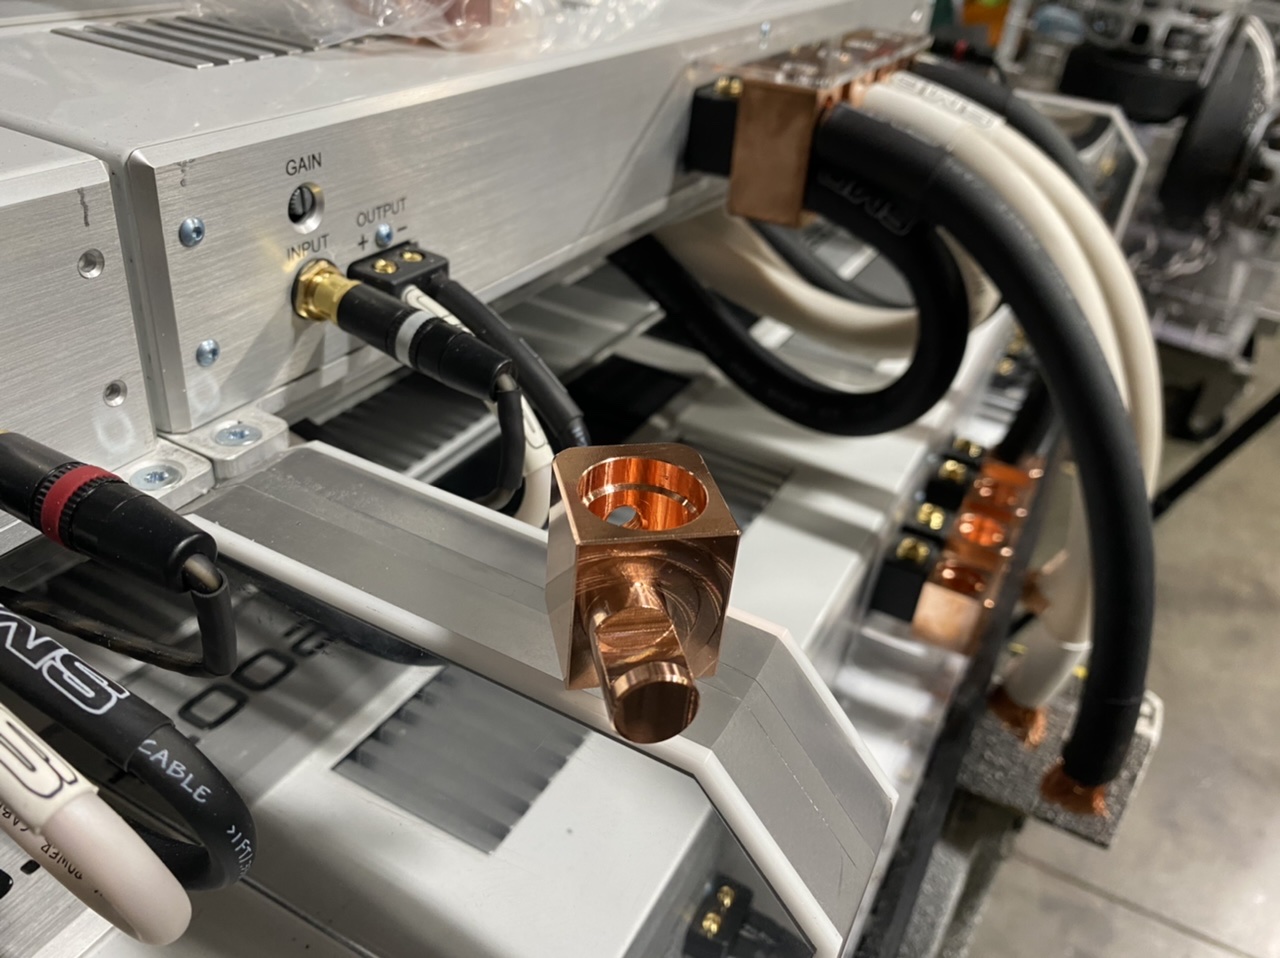
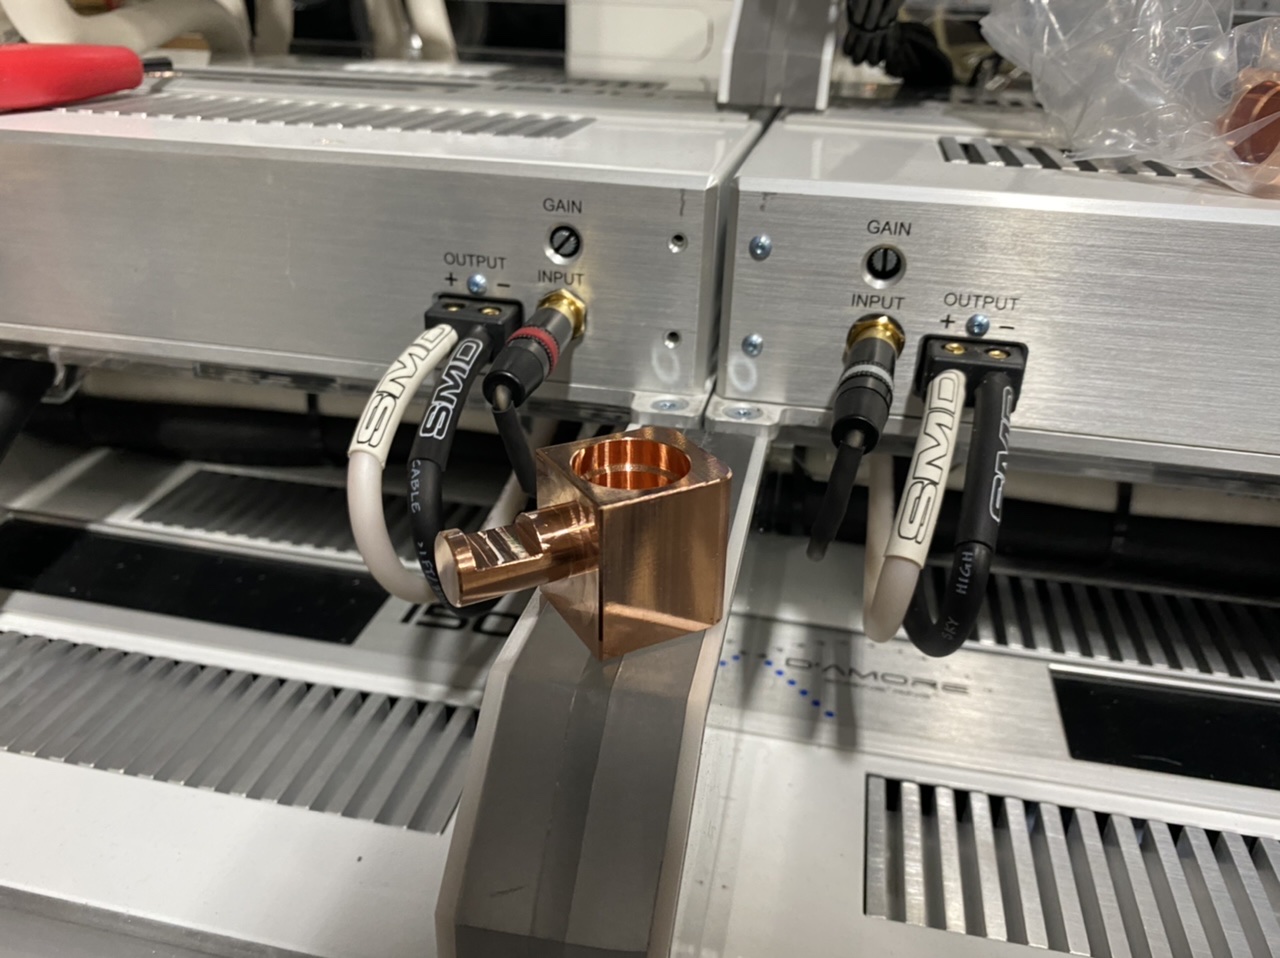
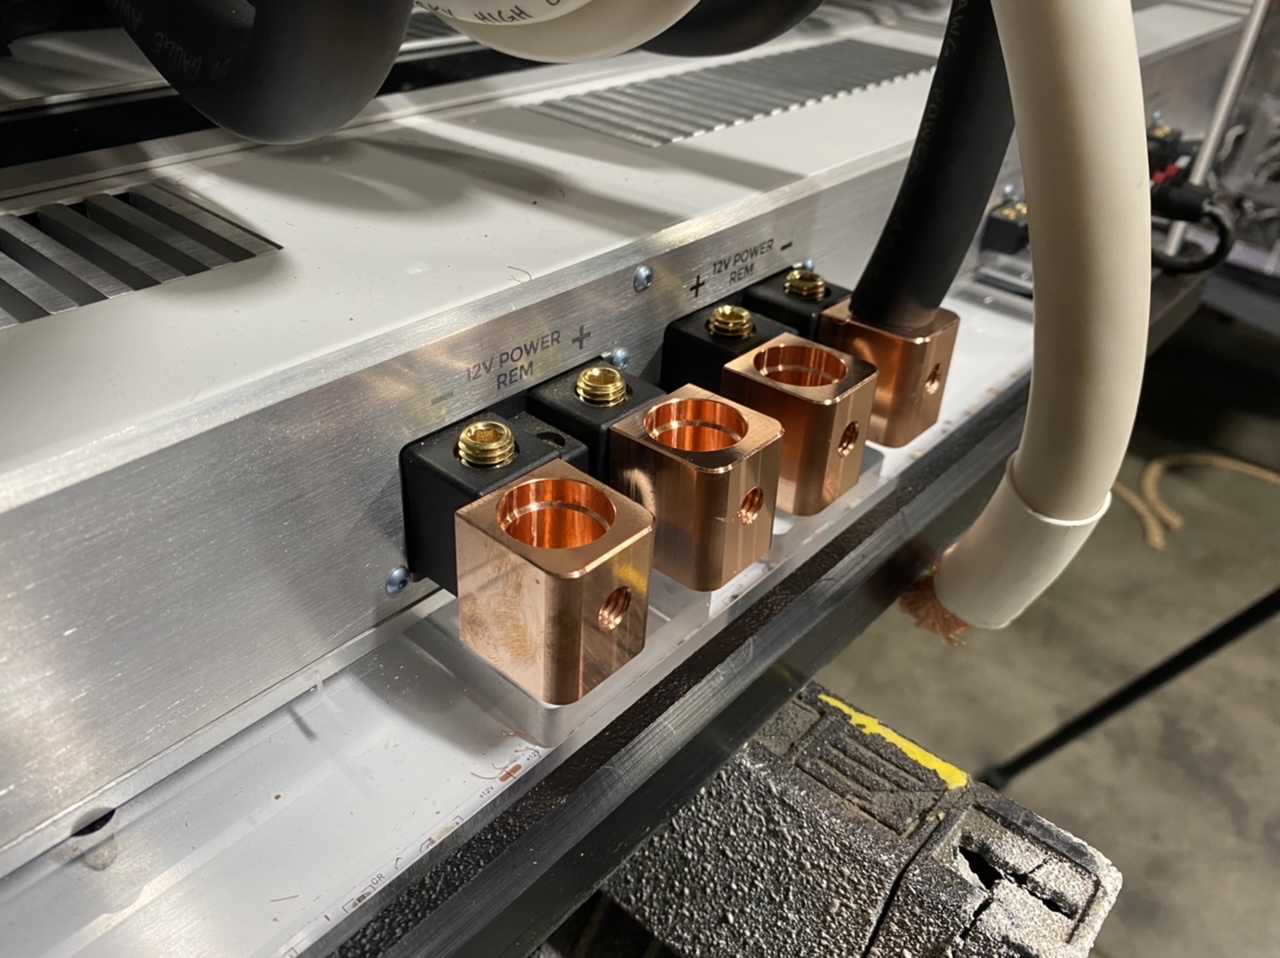
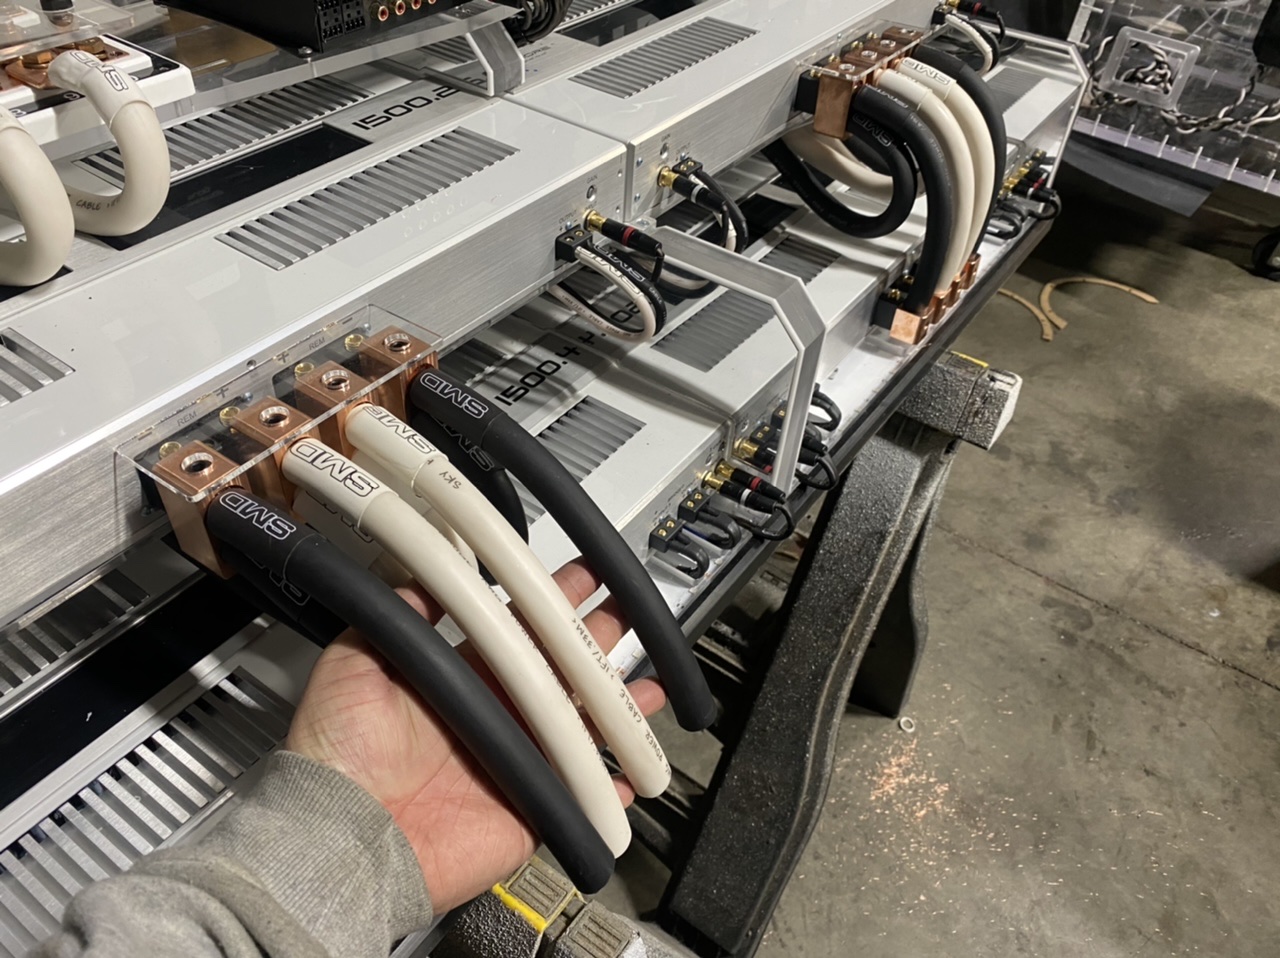
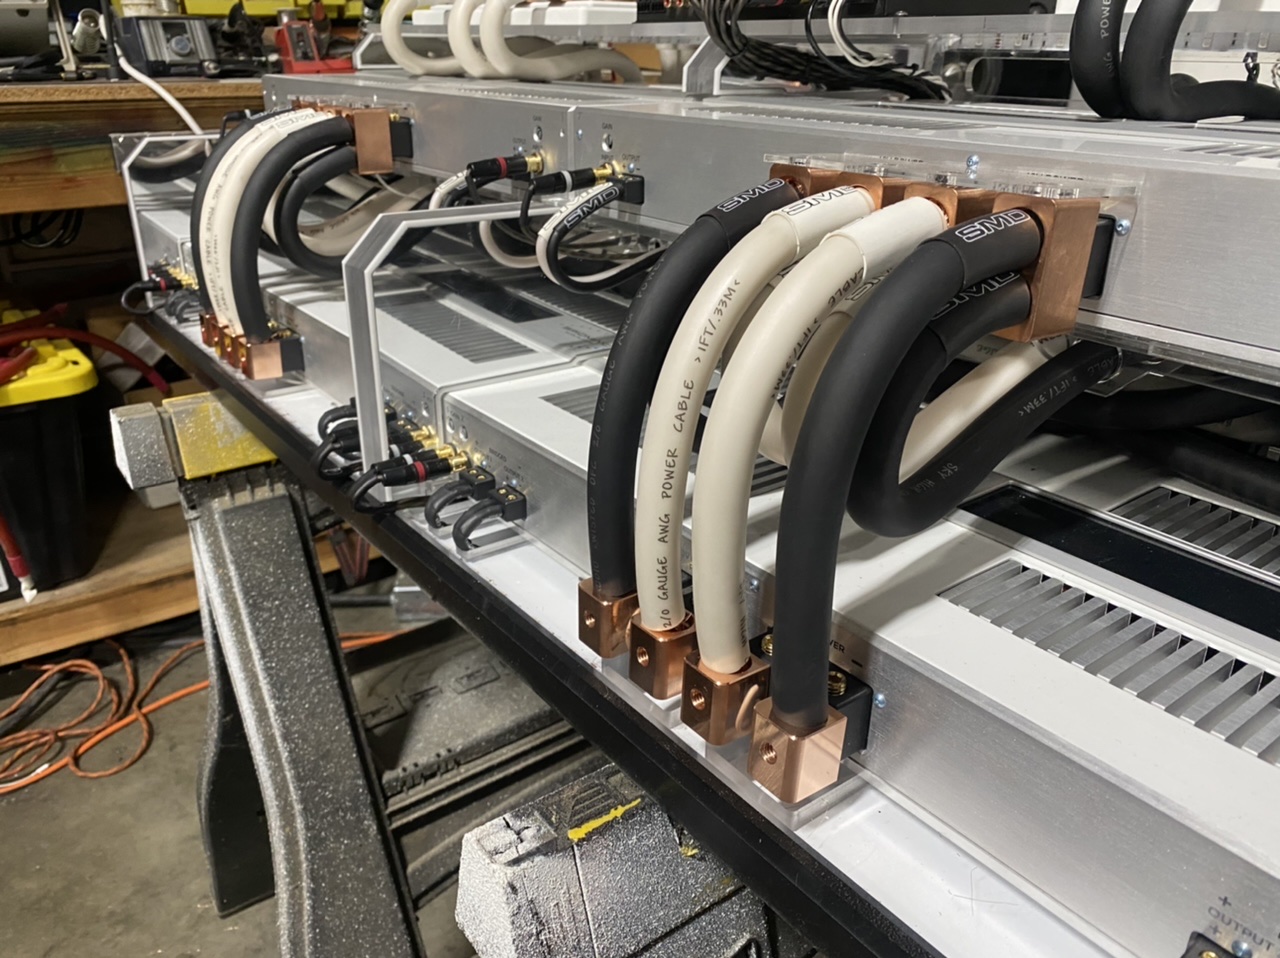
i switched my bottom 1/0 to 2/0 Adapters out for these 90 degree adapters. This buys me back a crucial 2” of space that looping 180 was taking up. Thanks to my bro Kong from Fats Precision in Sacramento for whipping these up for me. This small mod will go a long way
i still have to do my heat shrink on the bottom to make it all look clean and uniform. I also need 5/16 x 18 set screws before i can continue. That's ok i got my bro Zack from Fastenal on it for me! This is what they will look like though.
-
-
ohhh man i put a decent sized scratch right in the front of my box 😭. I called up Bobby Gately for emotional support and within 30 minutes him and the bro Colt came by and fixed it. These guys know exactly what to do since they do so many acrylic boxes. Thanks Colt! Bobby too! It came out great!
-
-
-
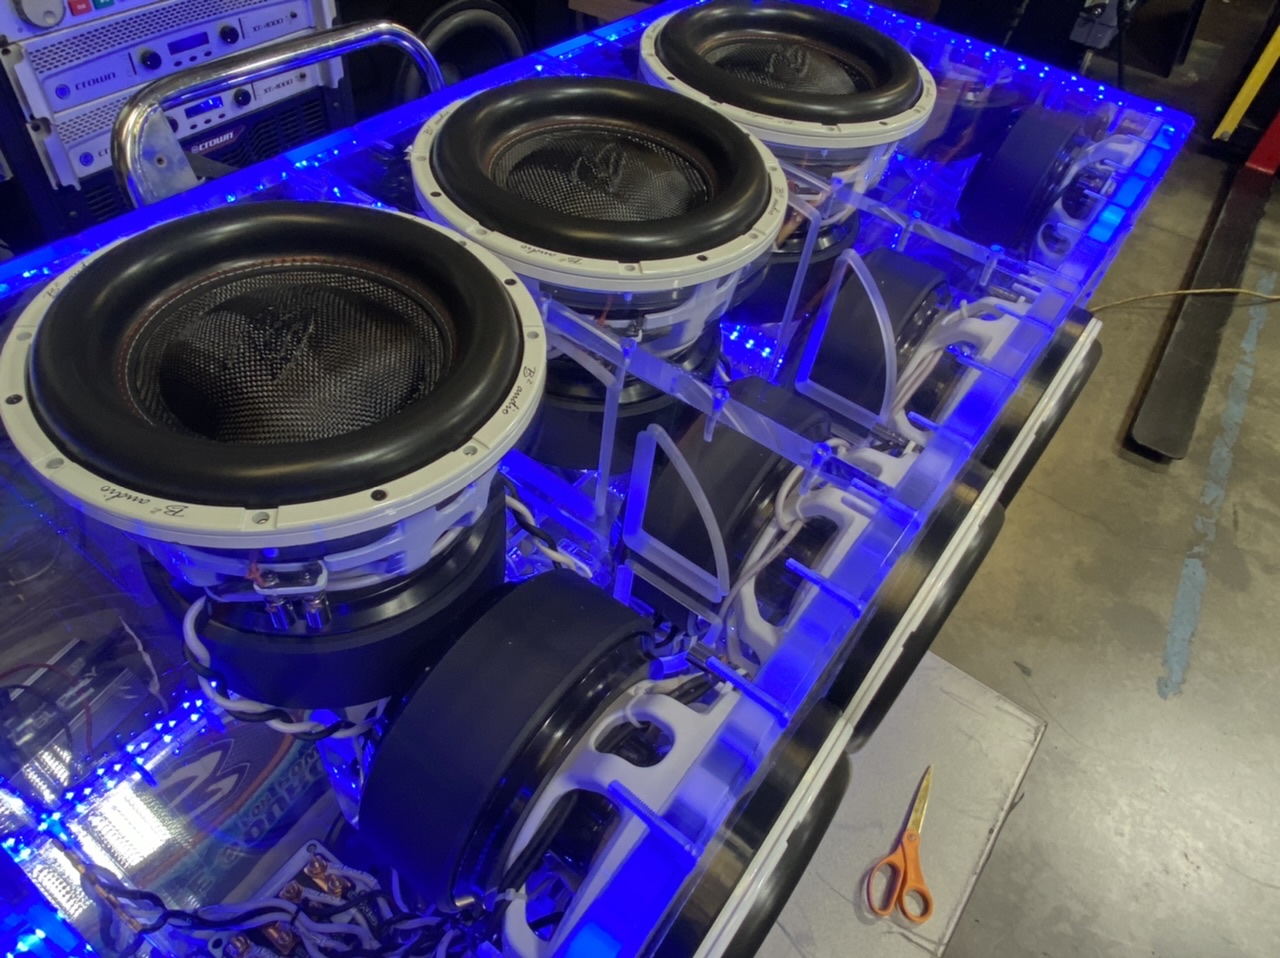
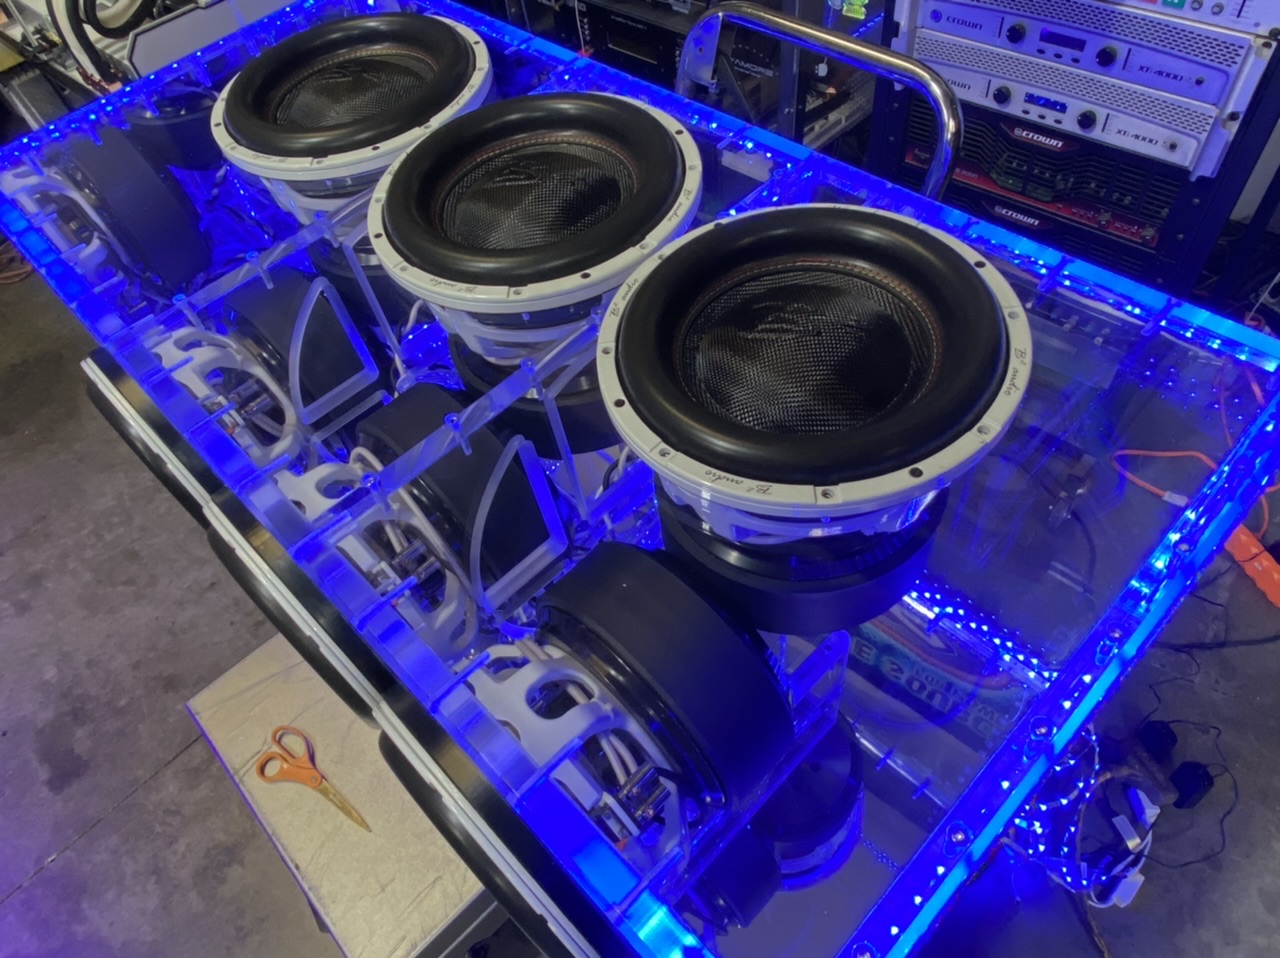
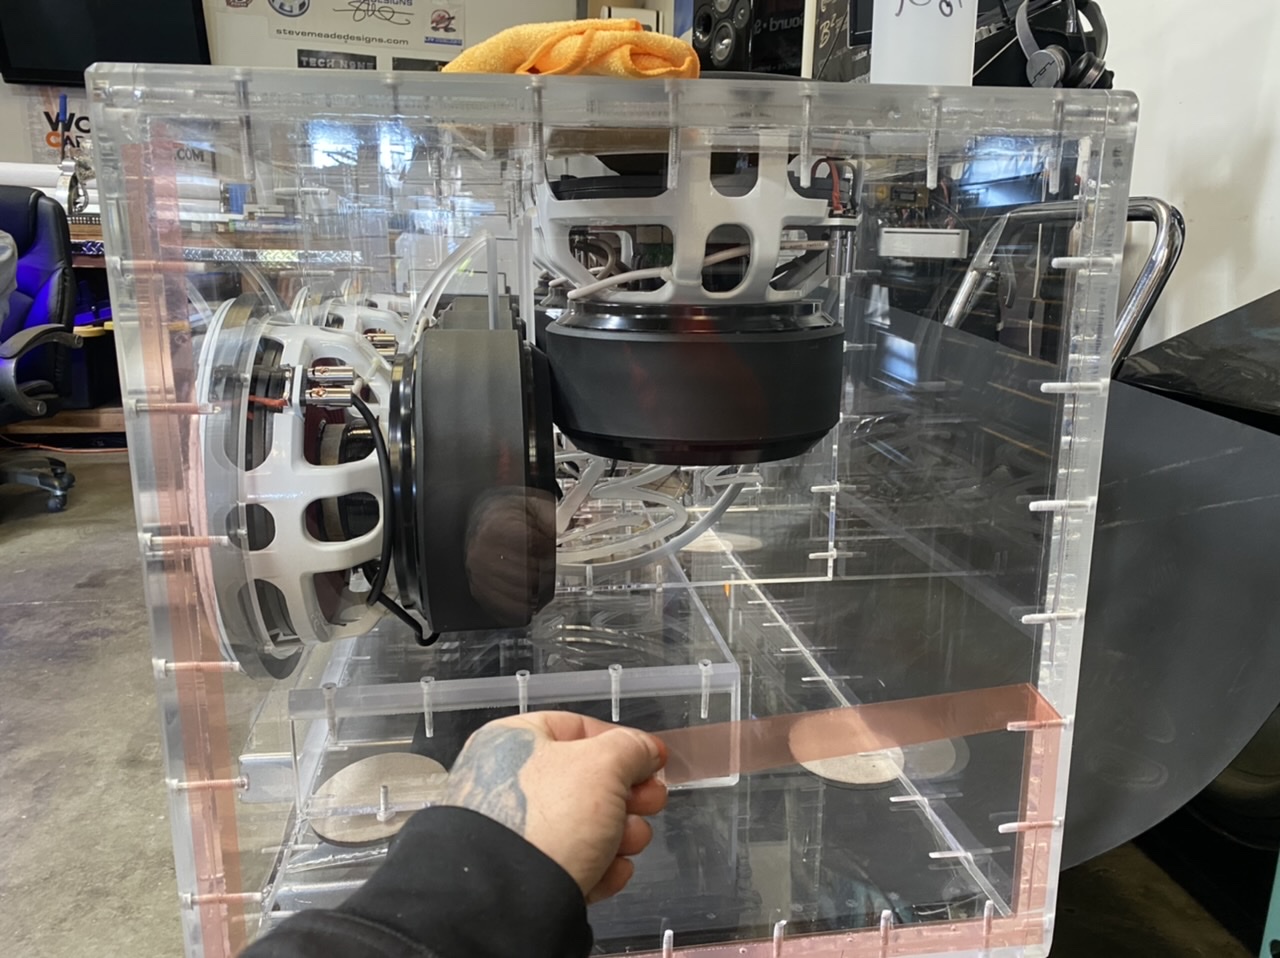
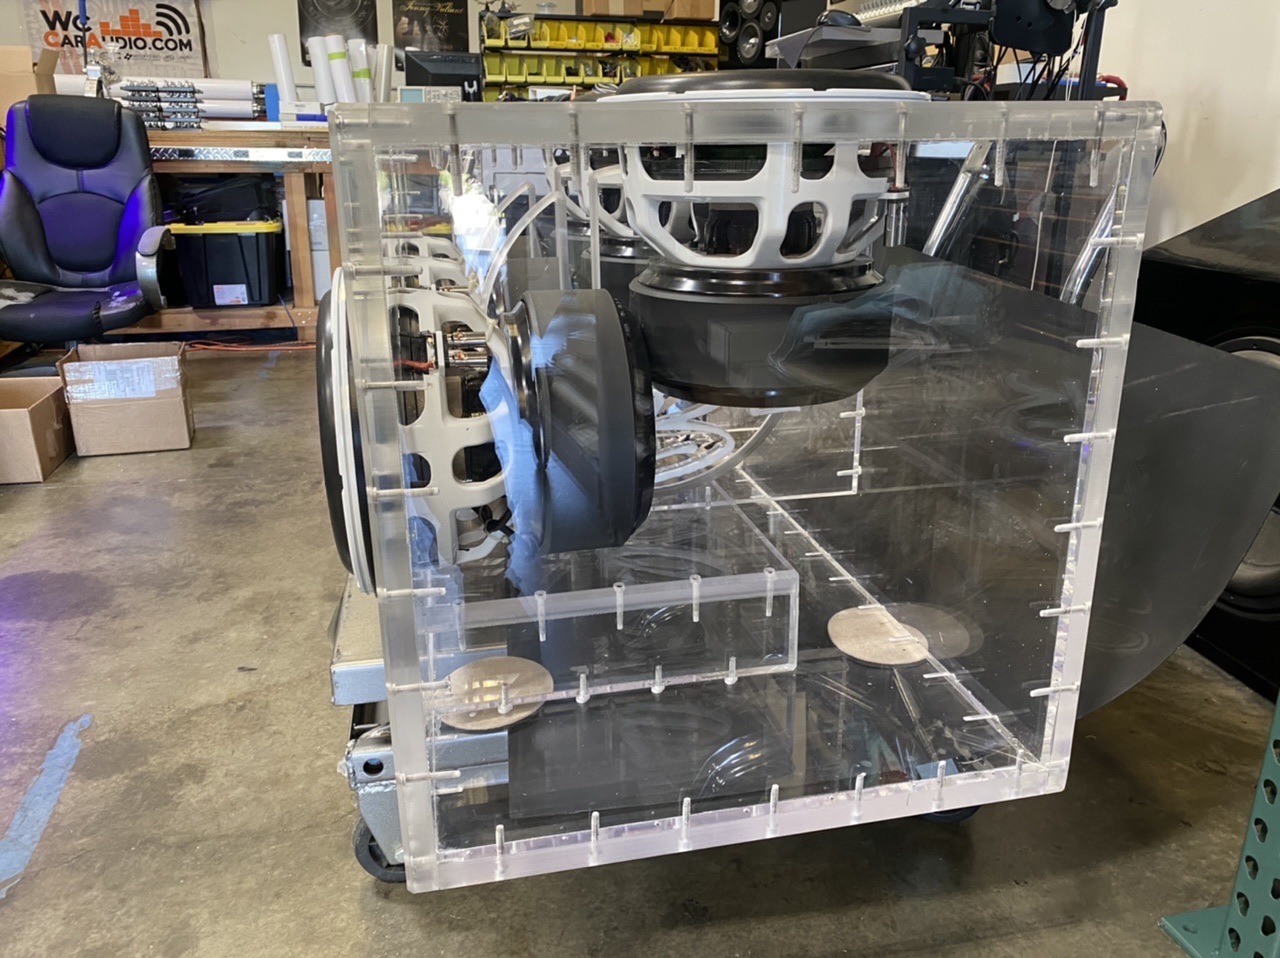
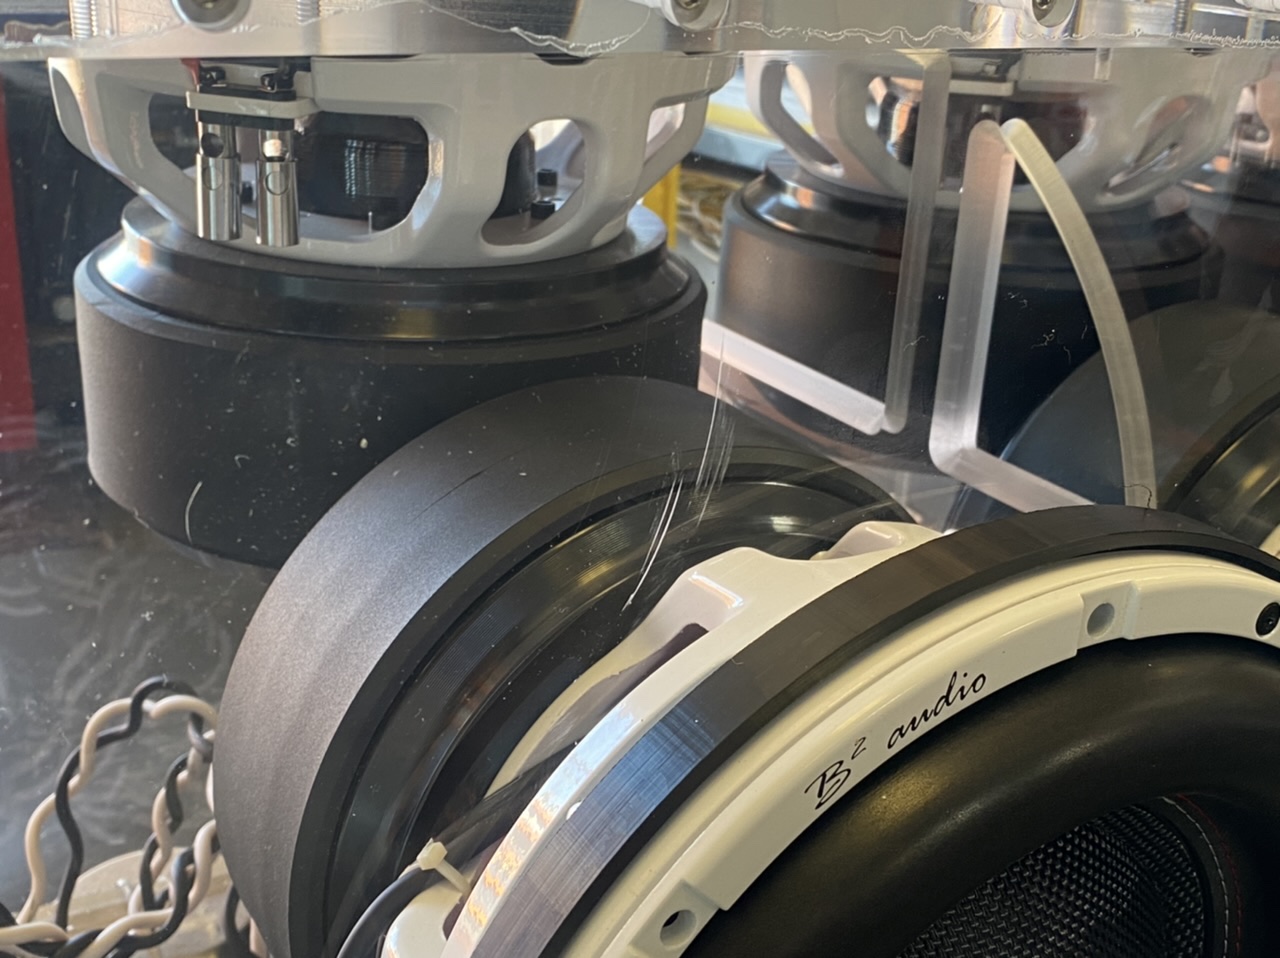
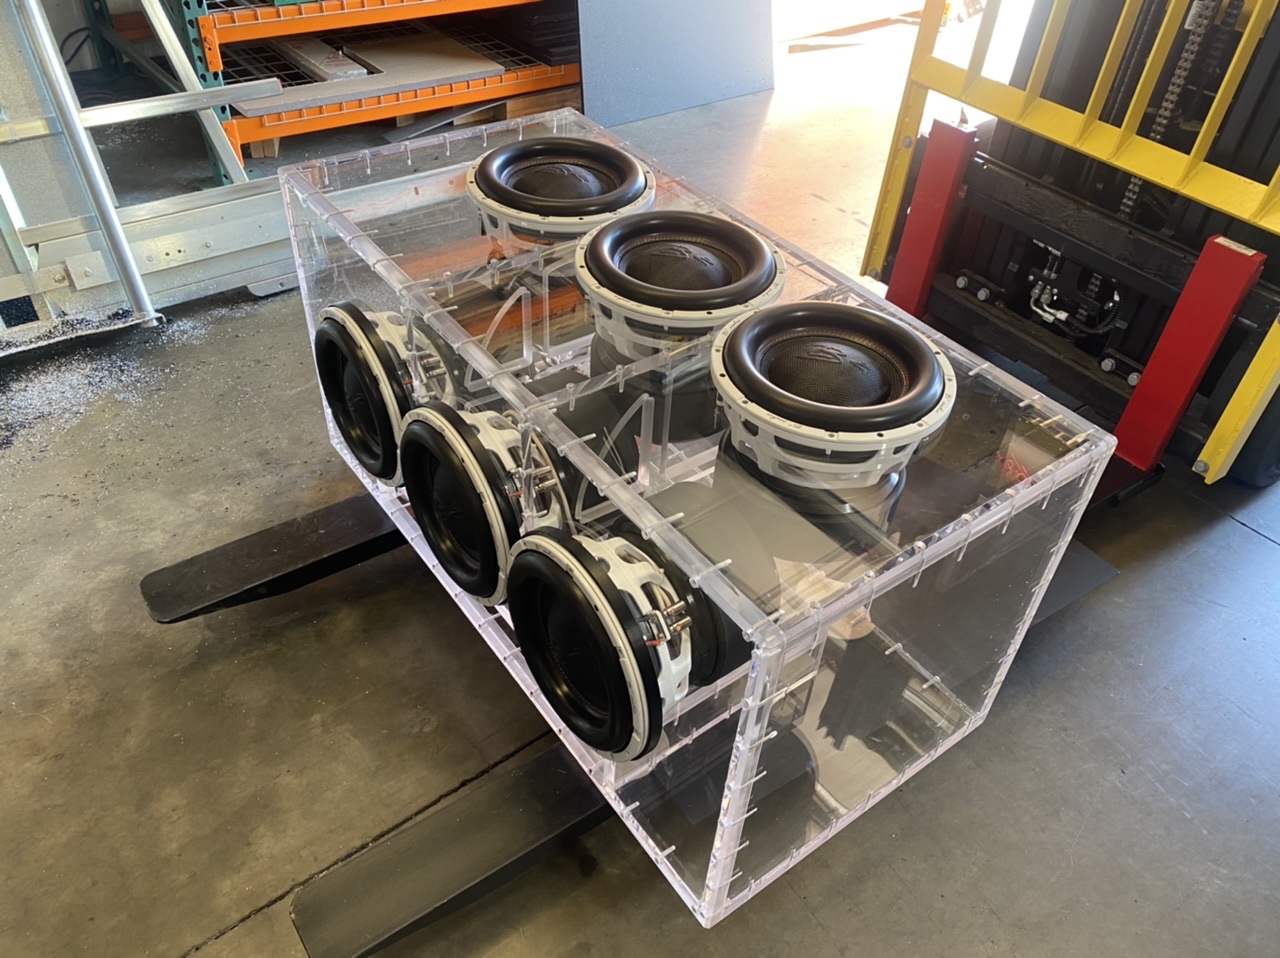
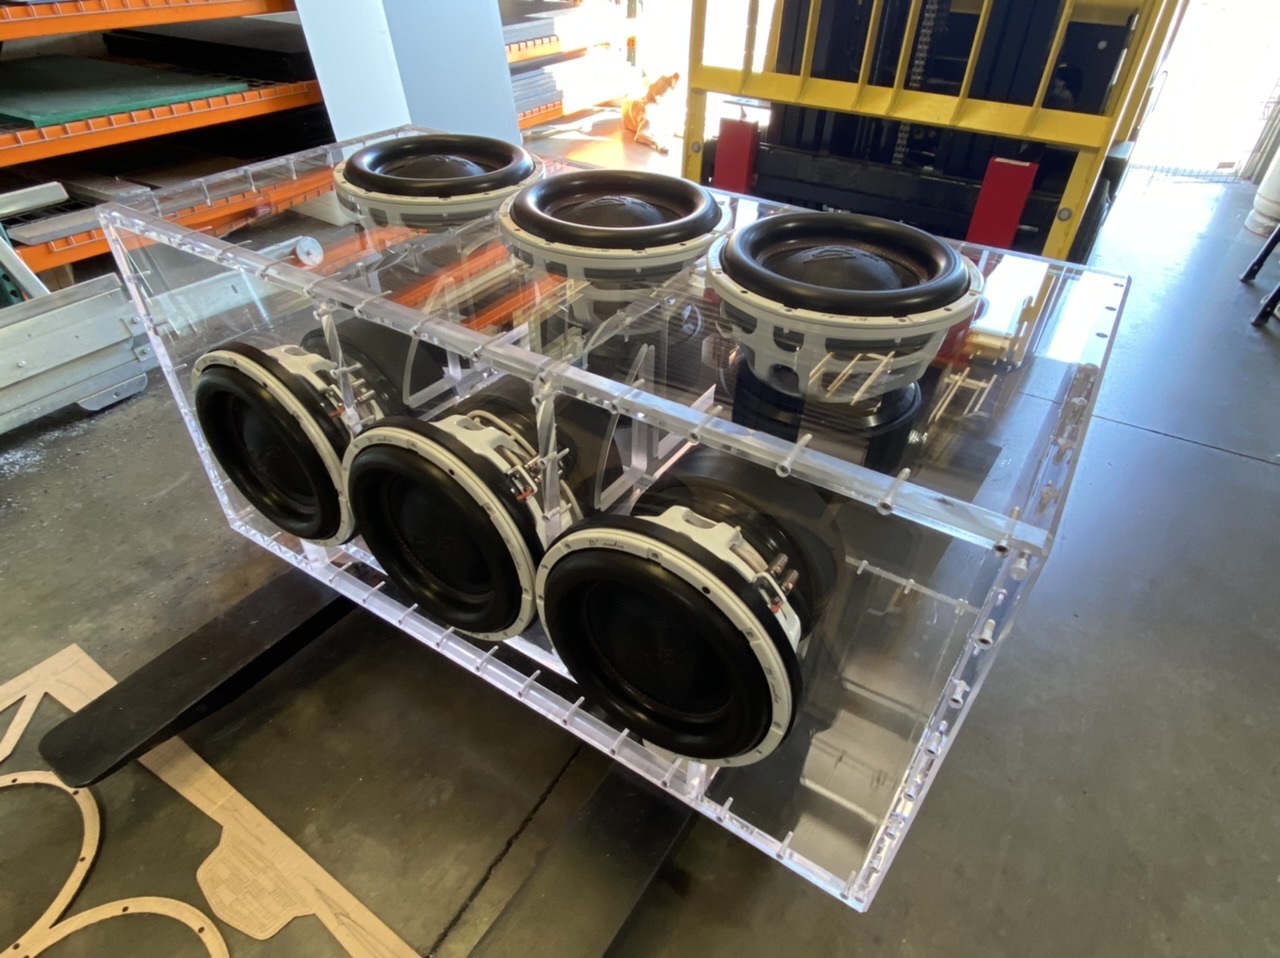
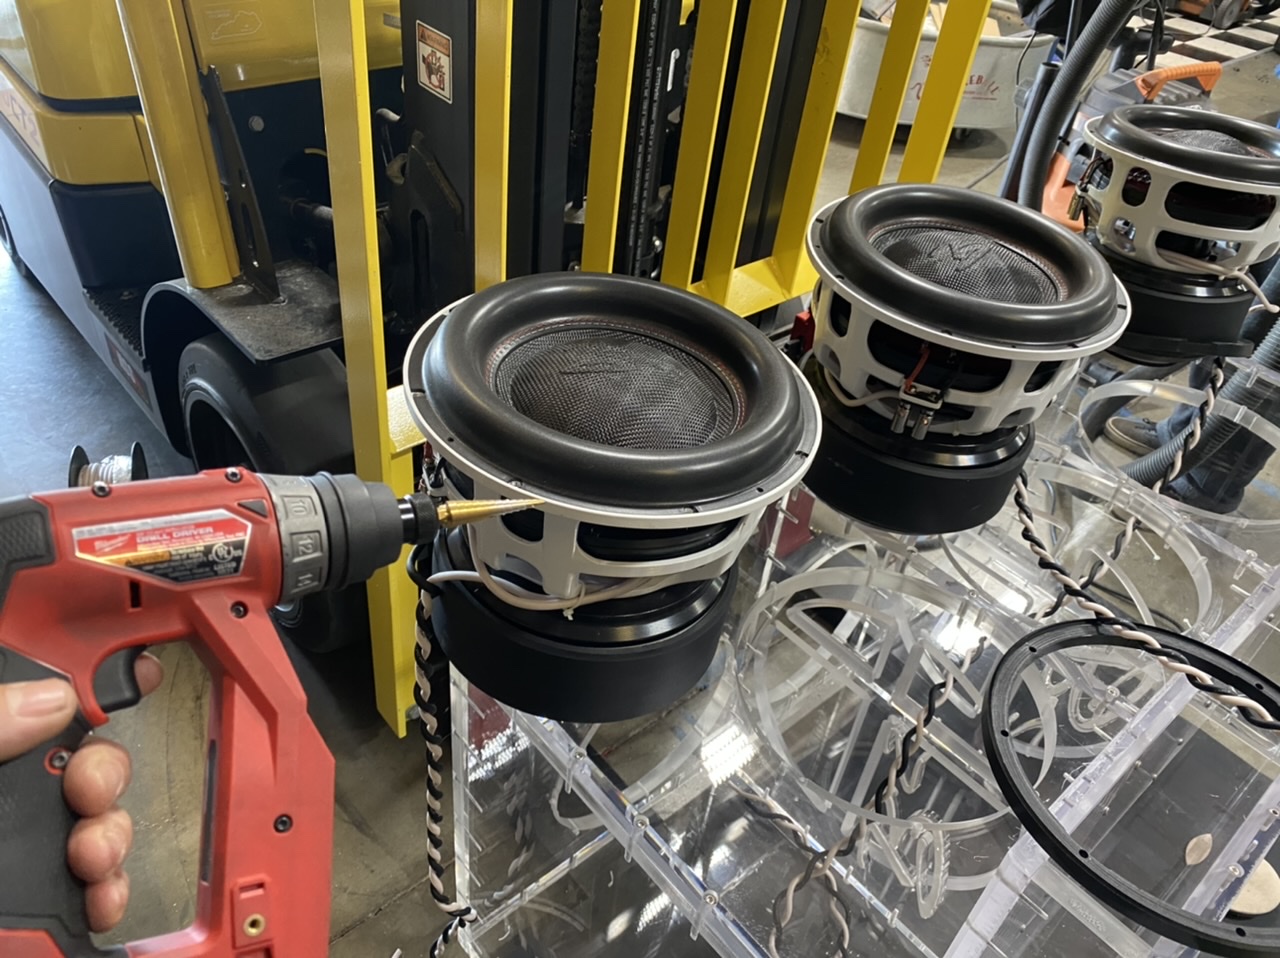
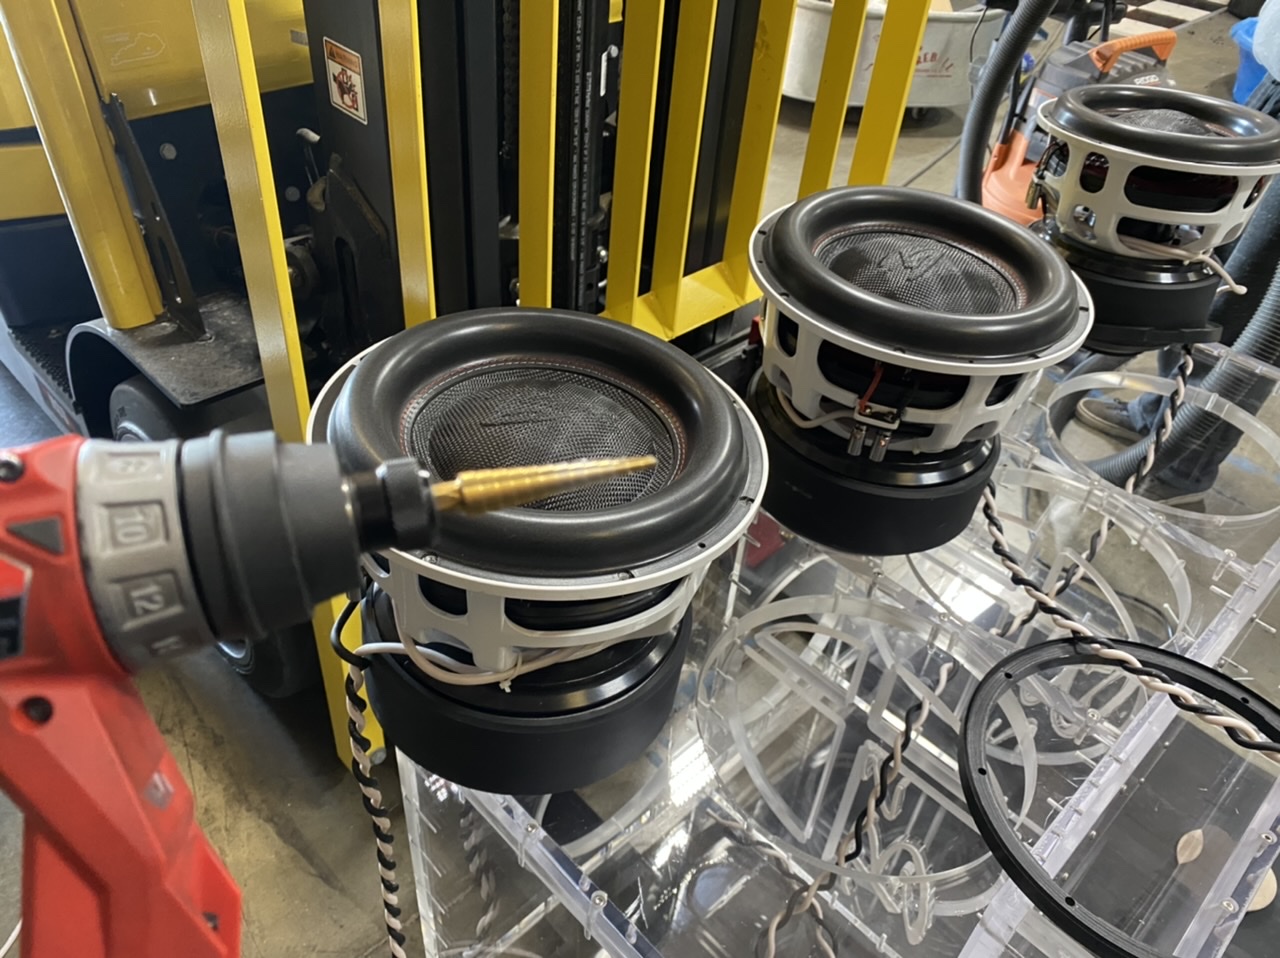
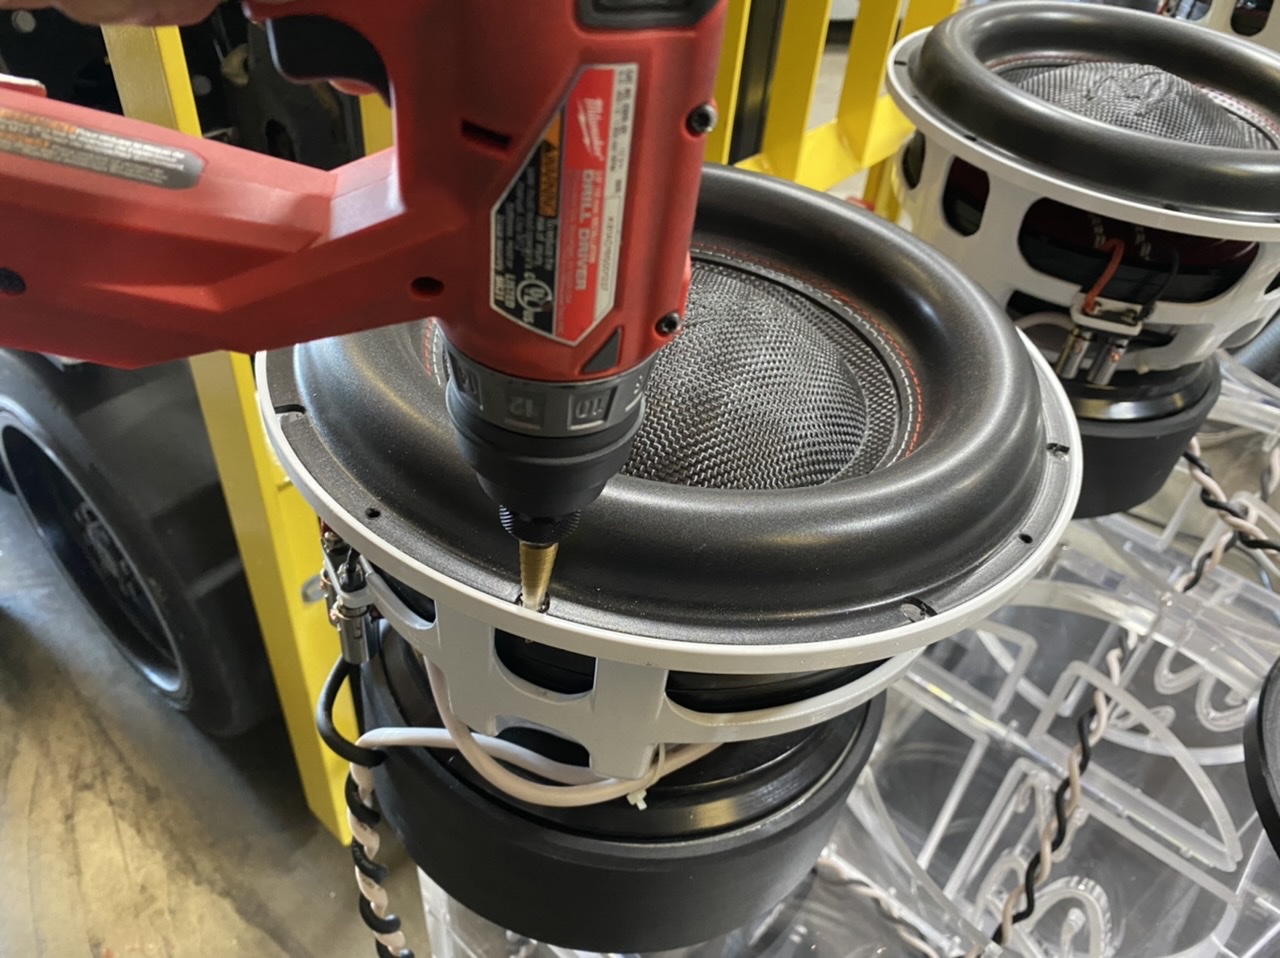
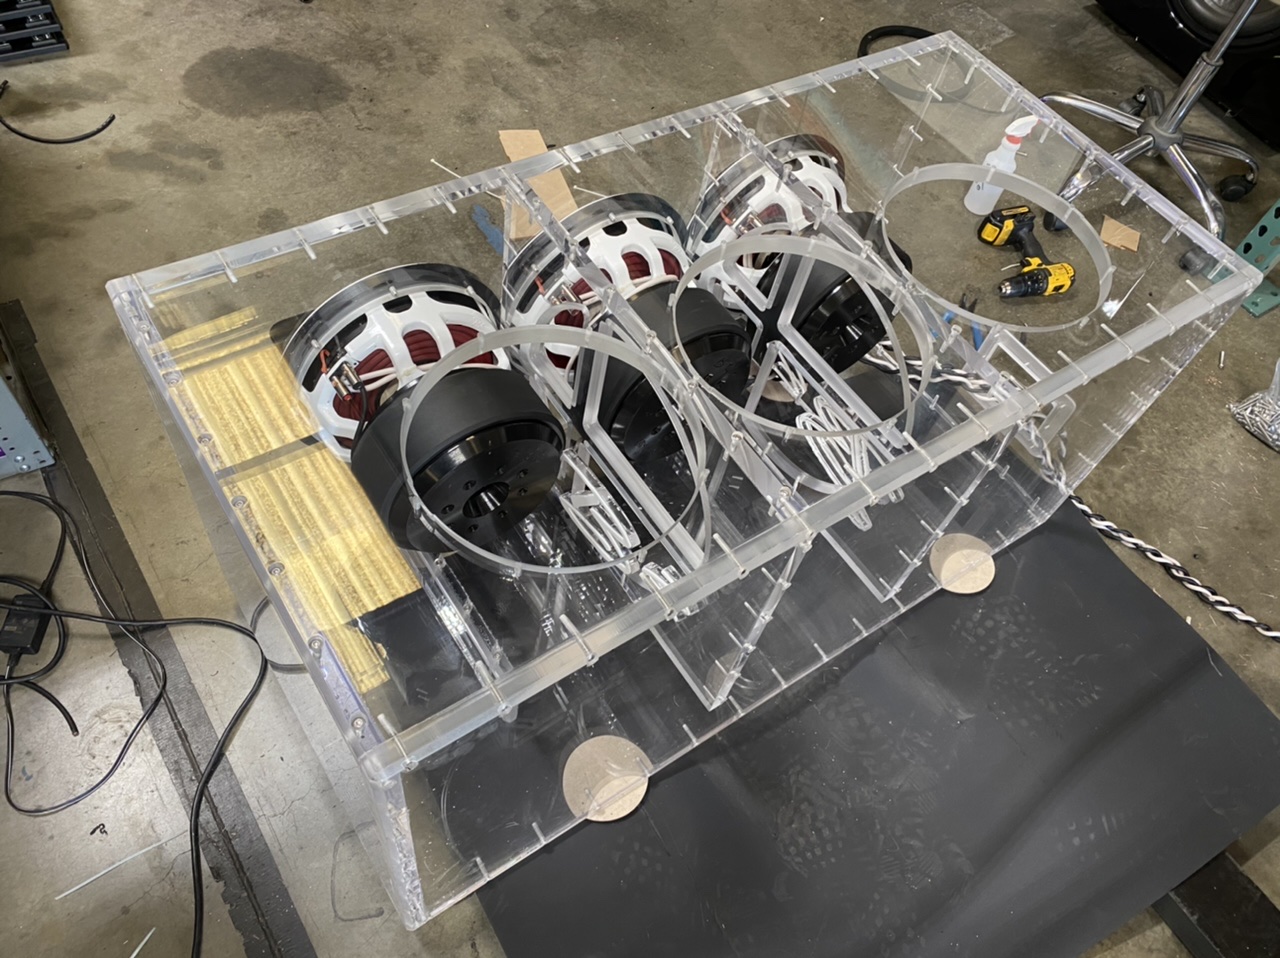
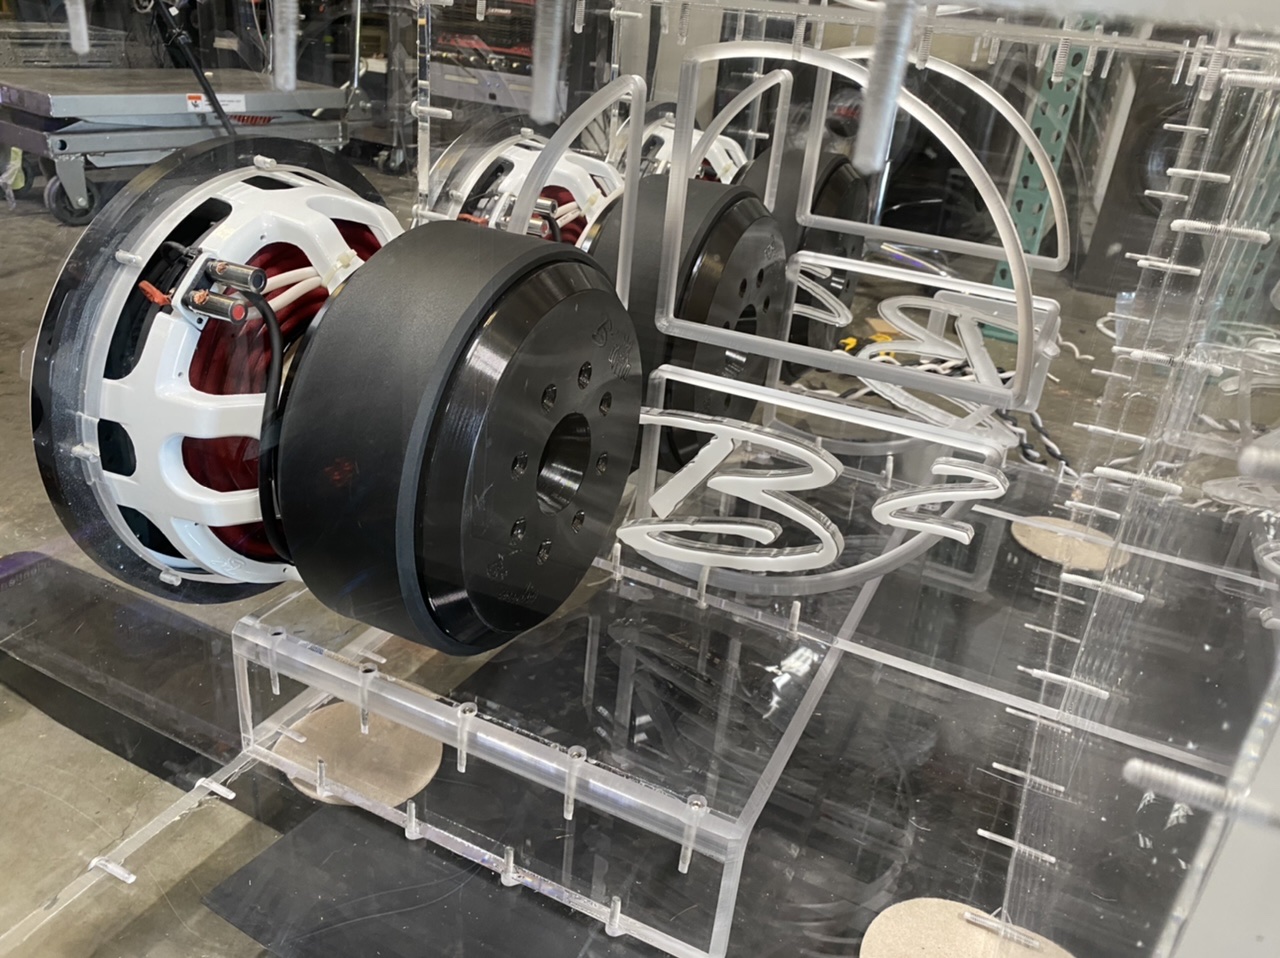
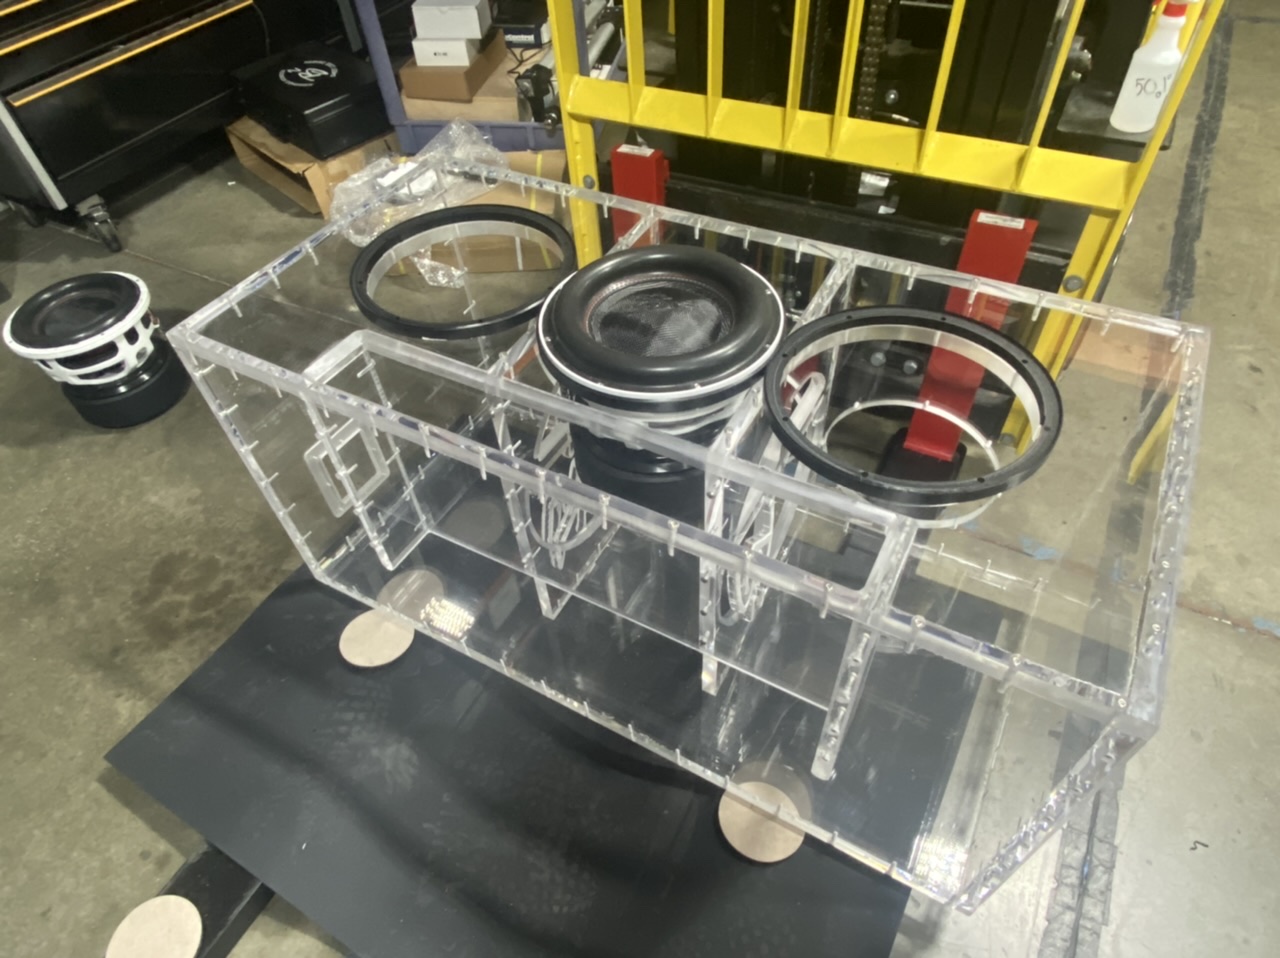
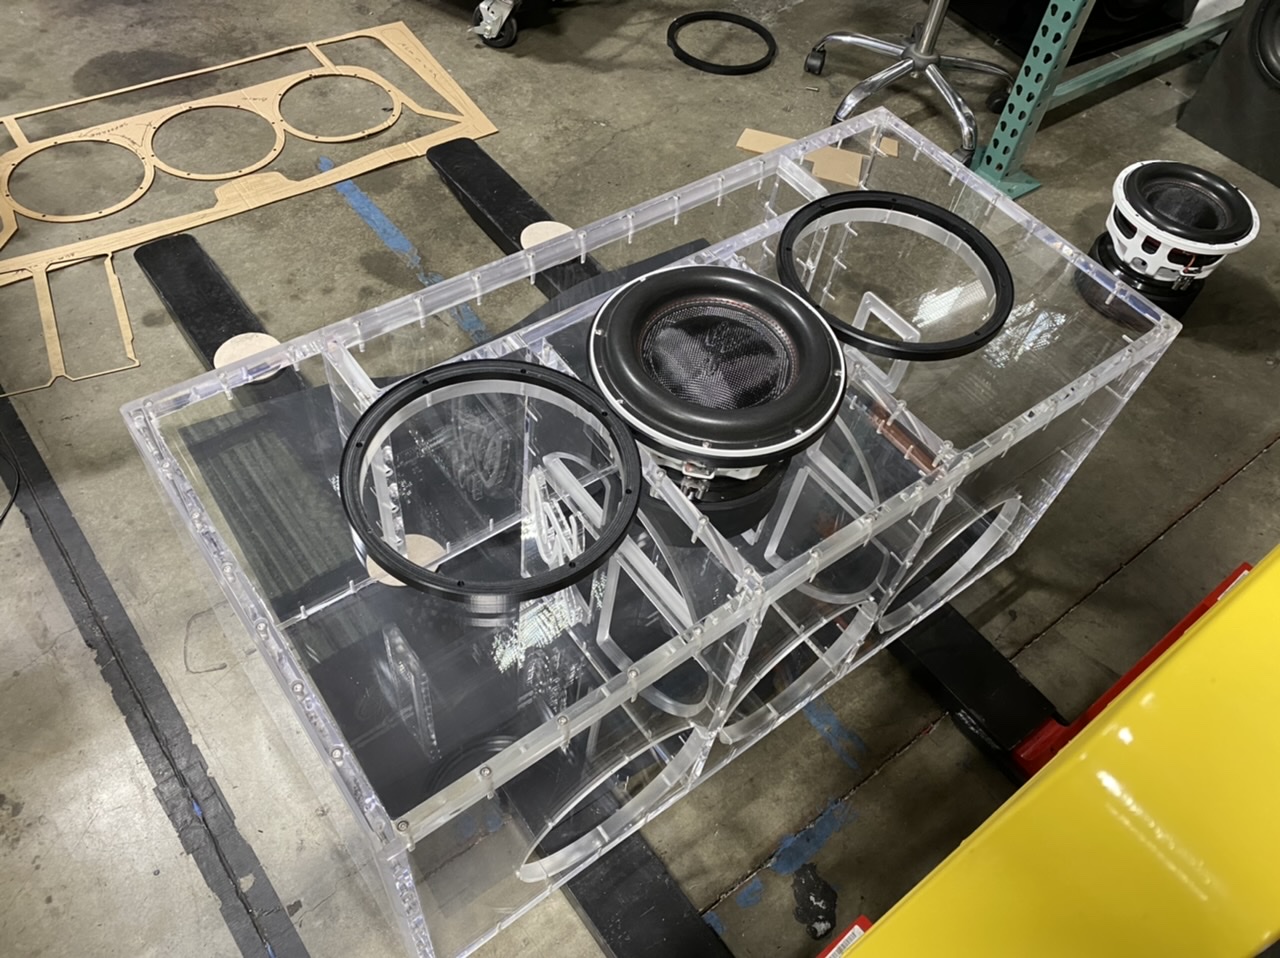
i had to make some spacers as my small miscalculation caused the motors to touch. This fixed it.
-
1
-
-
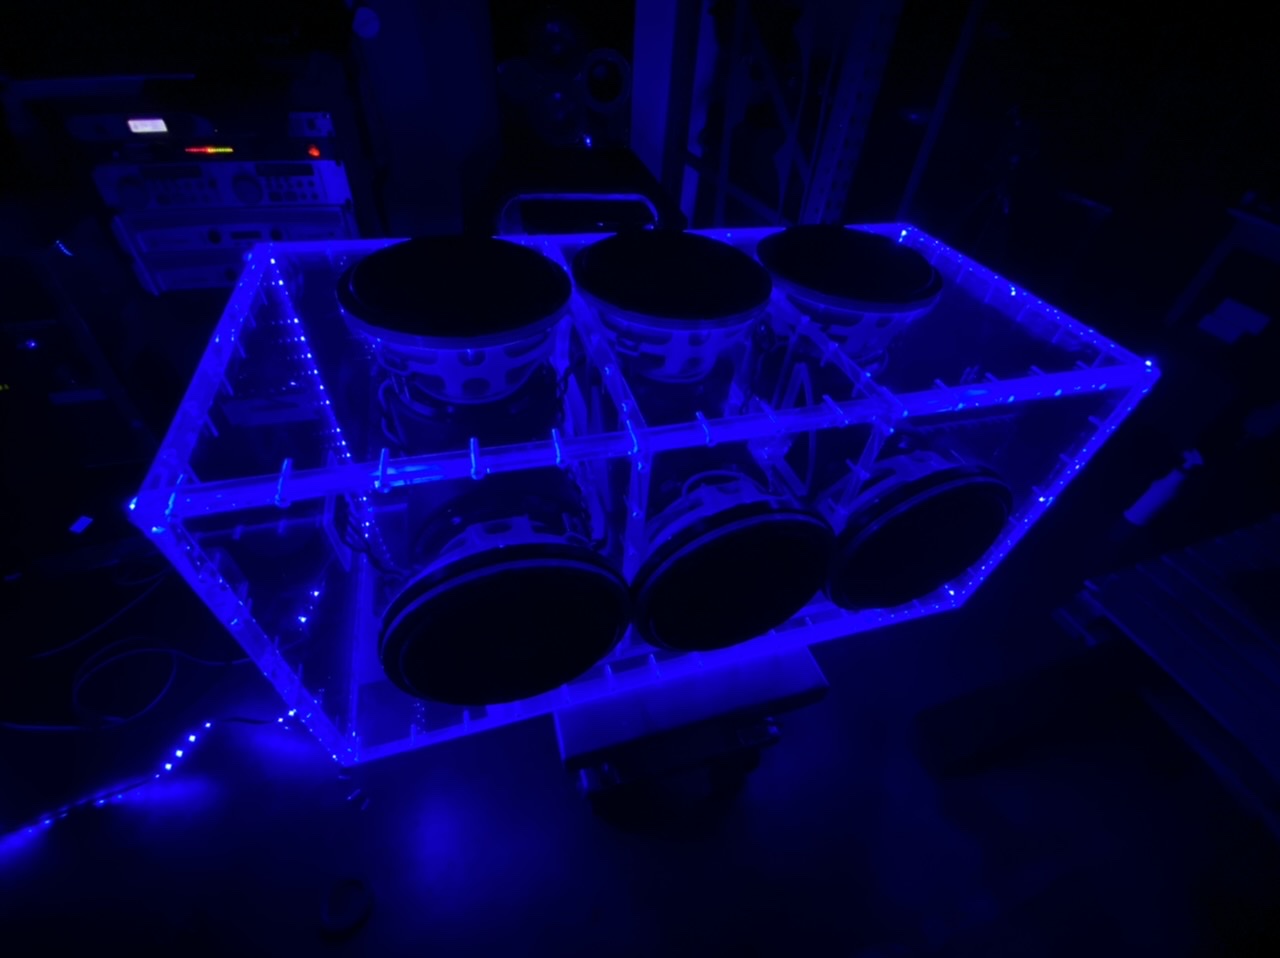
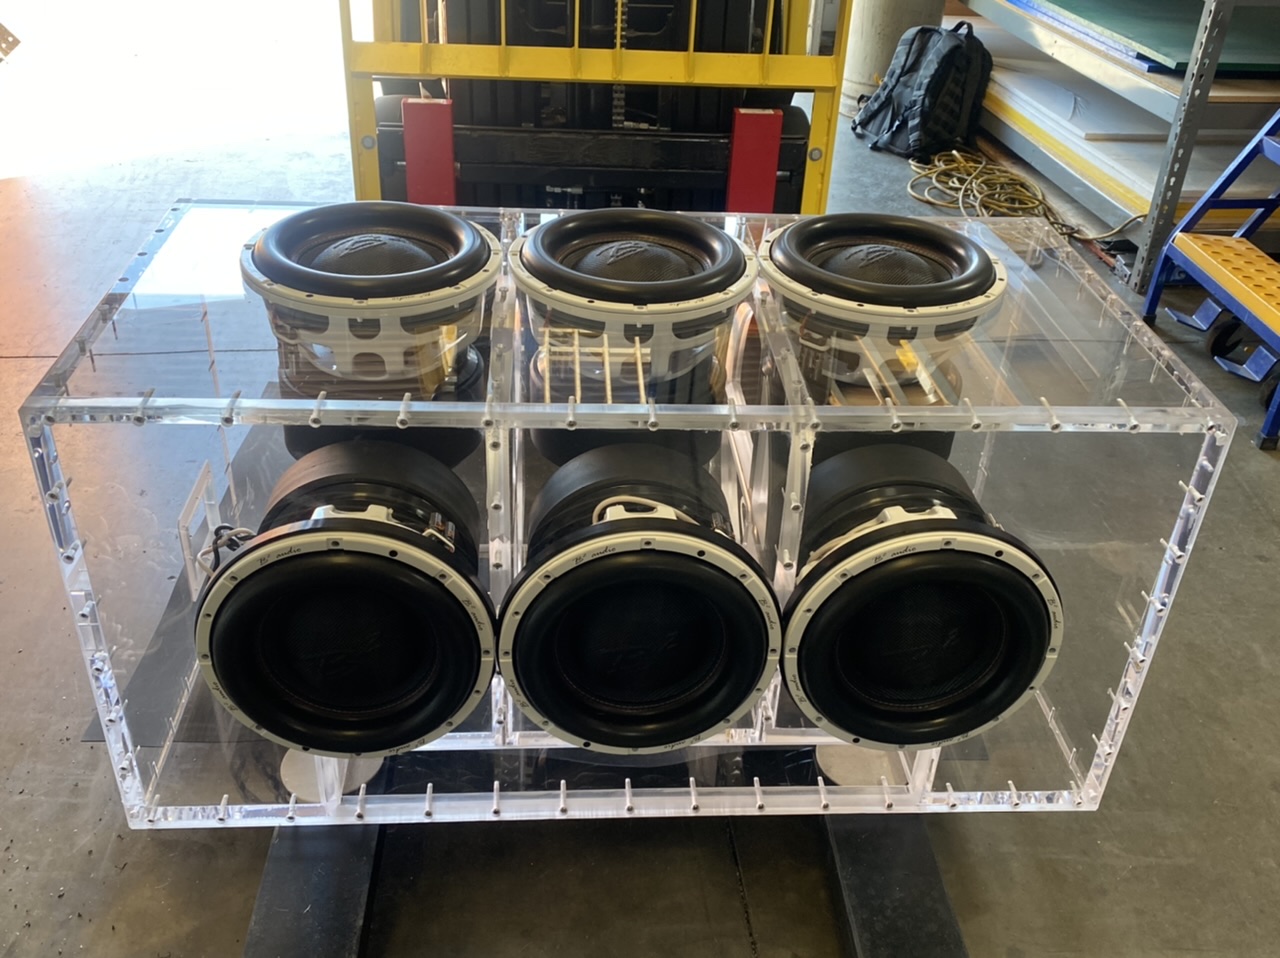
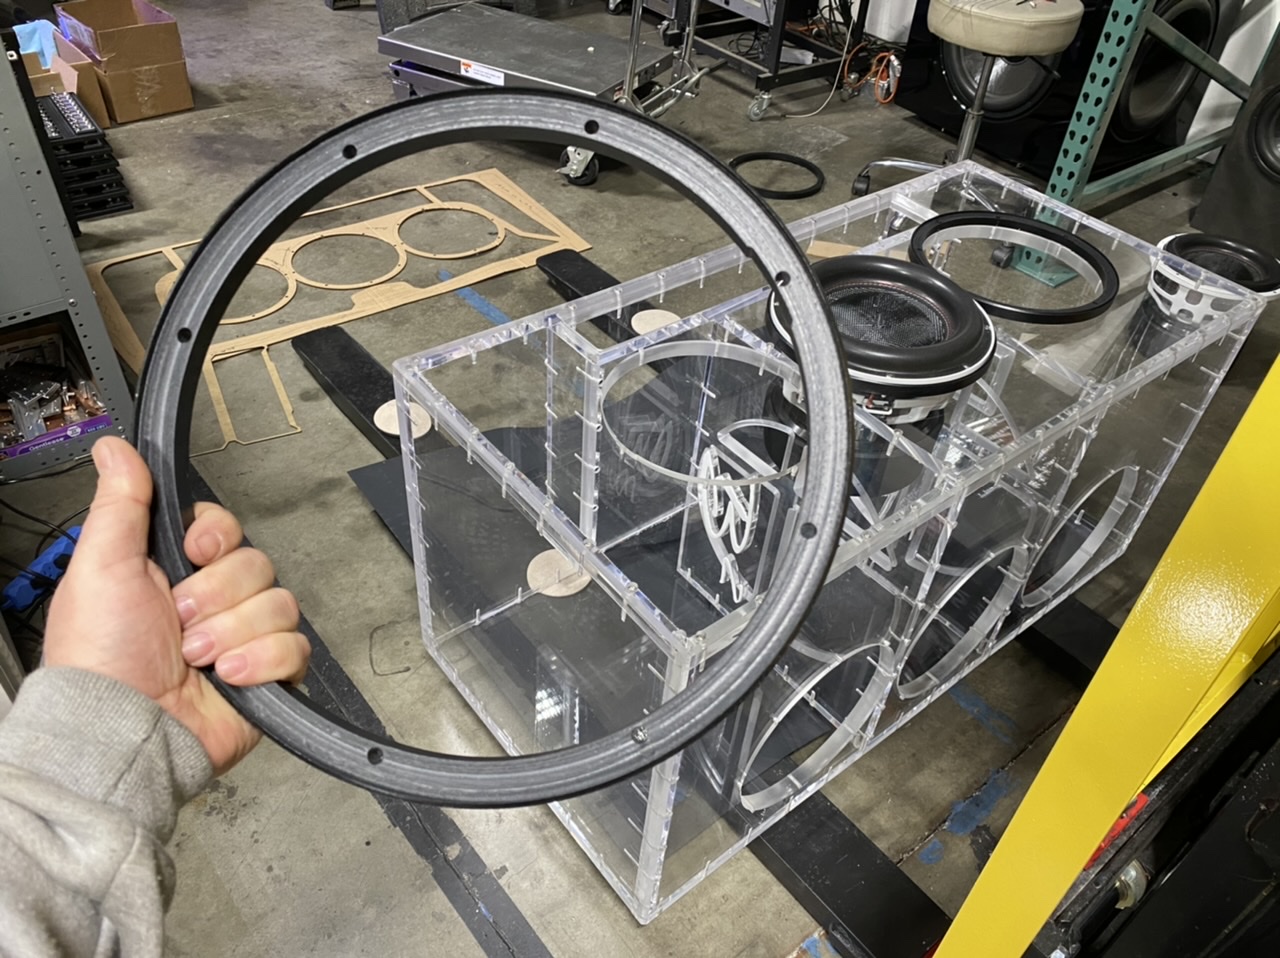
This trim will serve 2 purposes. I am going to mill out some channels on the back side of it so the LED's have a track to sit in. They will shine into the edges of the box and their ugly back sides will be covered by the trim (because they are in the channel). Also, the subs motors just BARELY touch....i don't know how i messed that up. But the trim will also be a little spacer as well to take care of that issue. There will be LOTS of open area to see inside the box. It will have mirrors on both sides and the bottom (from the outside aiming in through the clear panels).
Gimme' some time, i have a lot to think about....and no time to think about anything.

-
-
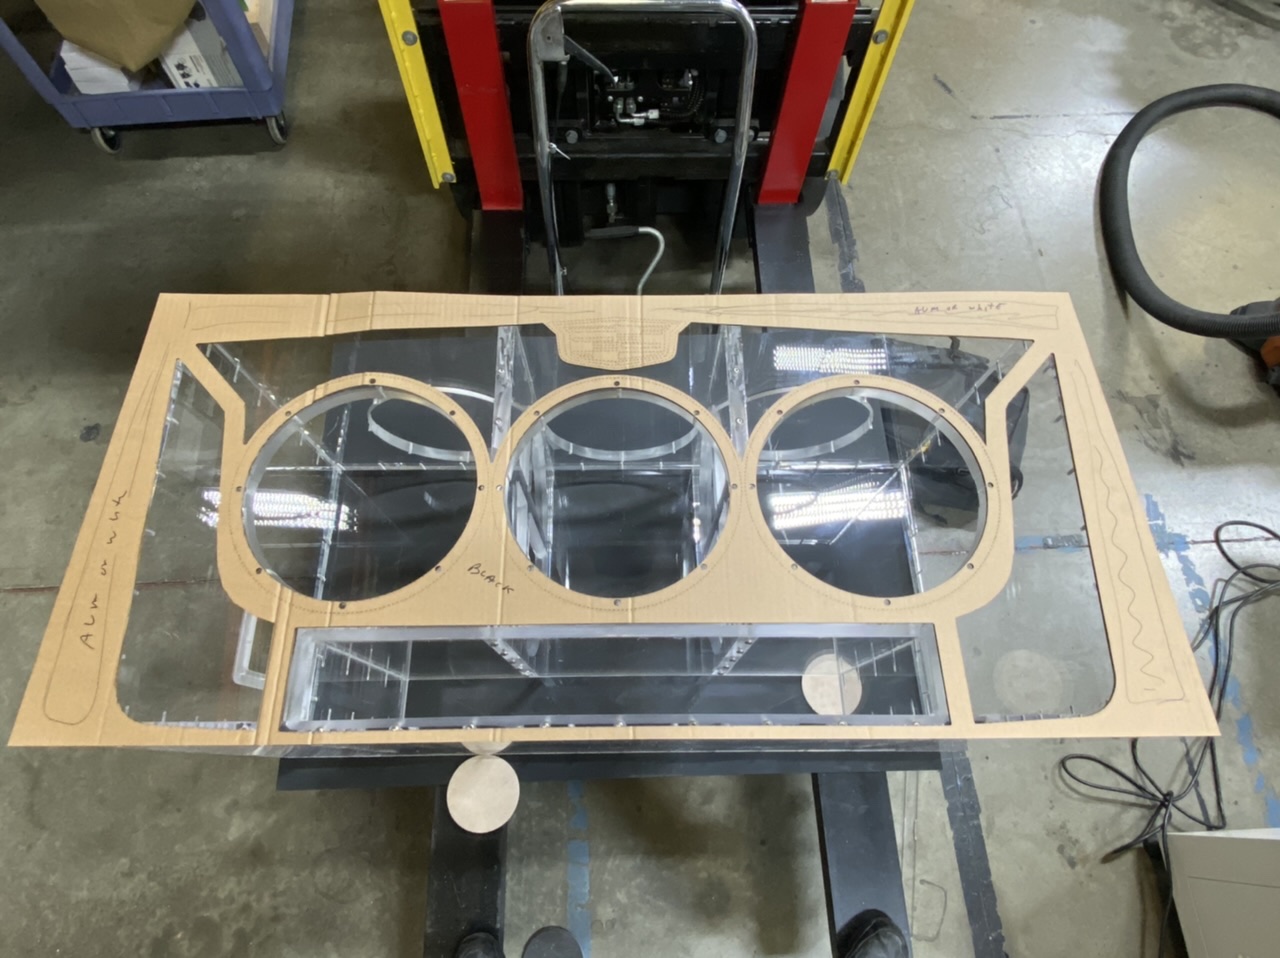
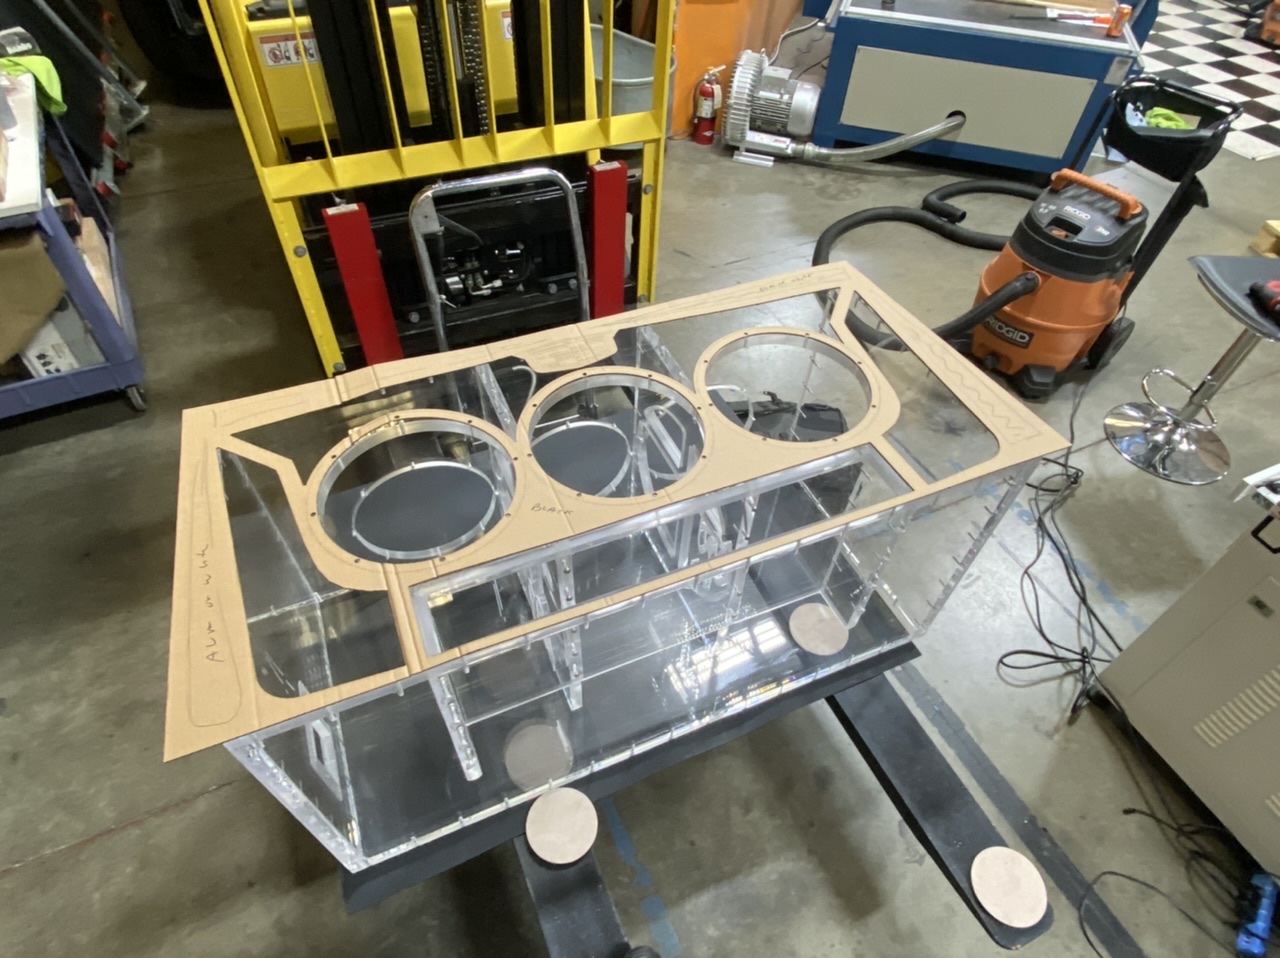
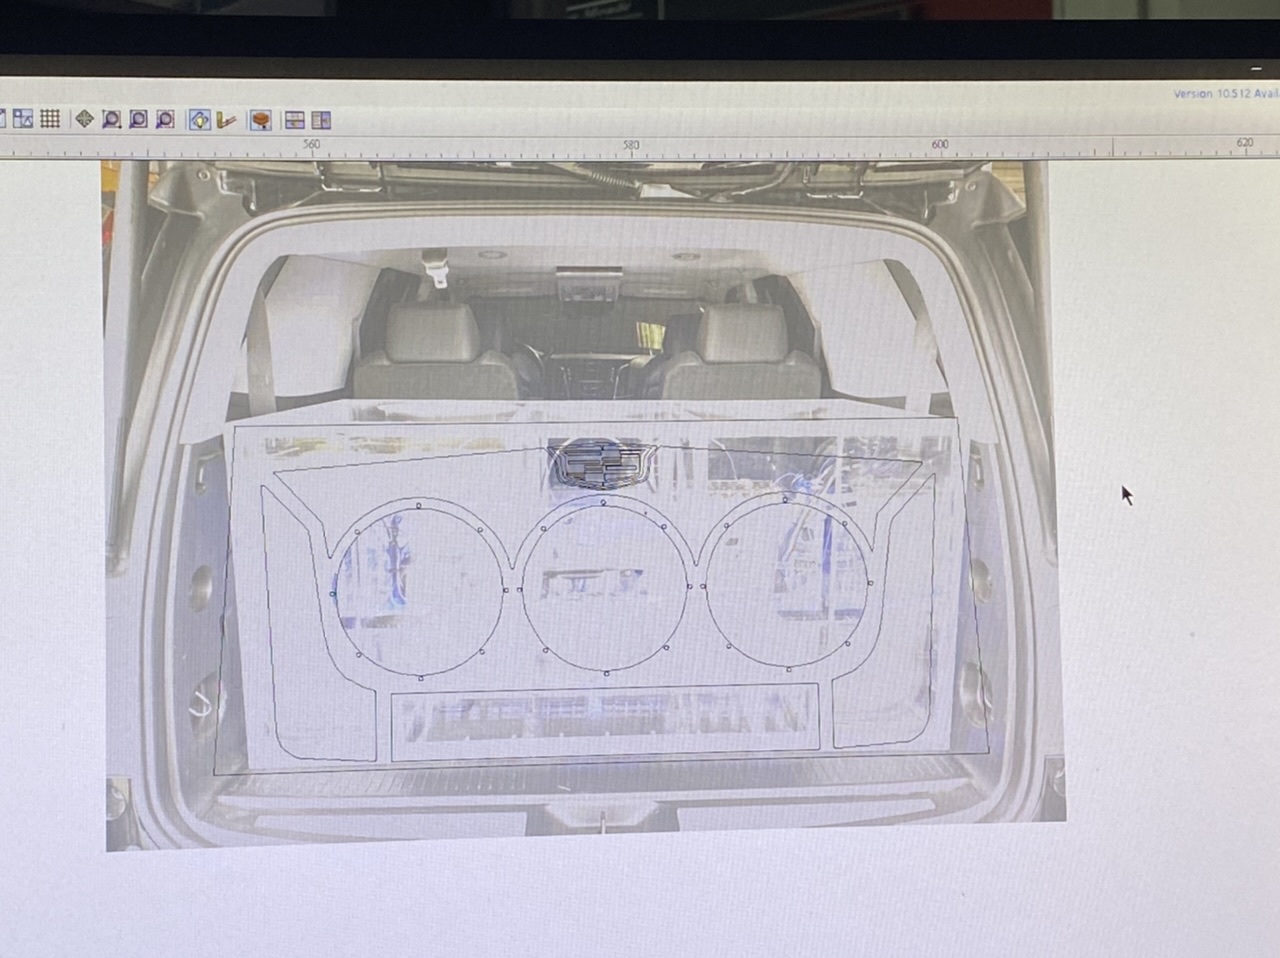
subject to change some but this is the direction some of the trim is going. If it doesn’t make sense now, it will later.
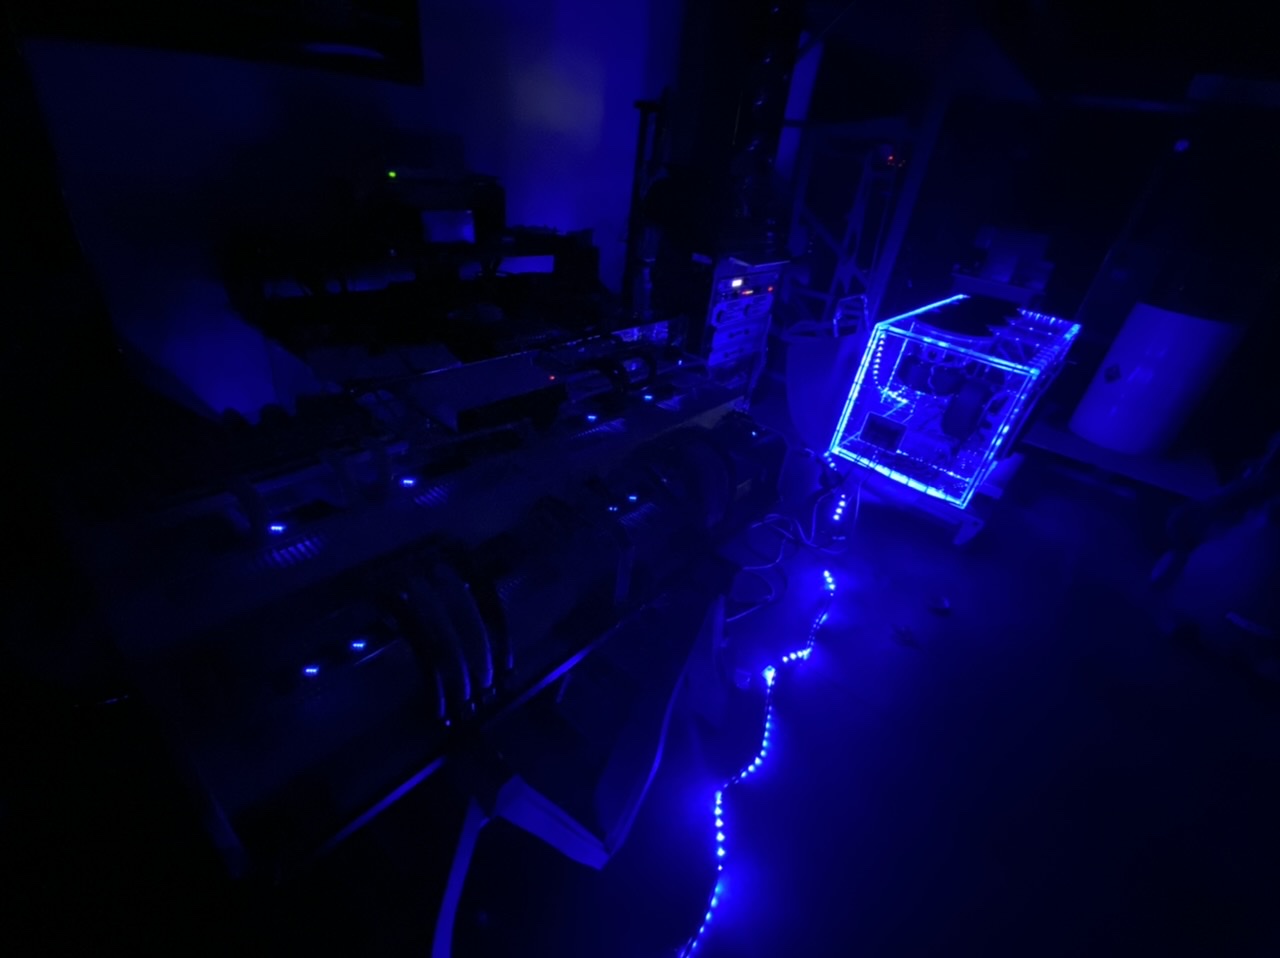
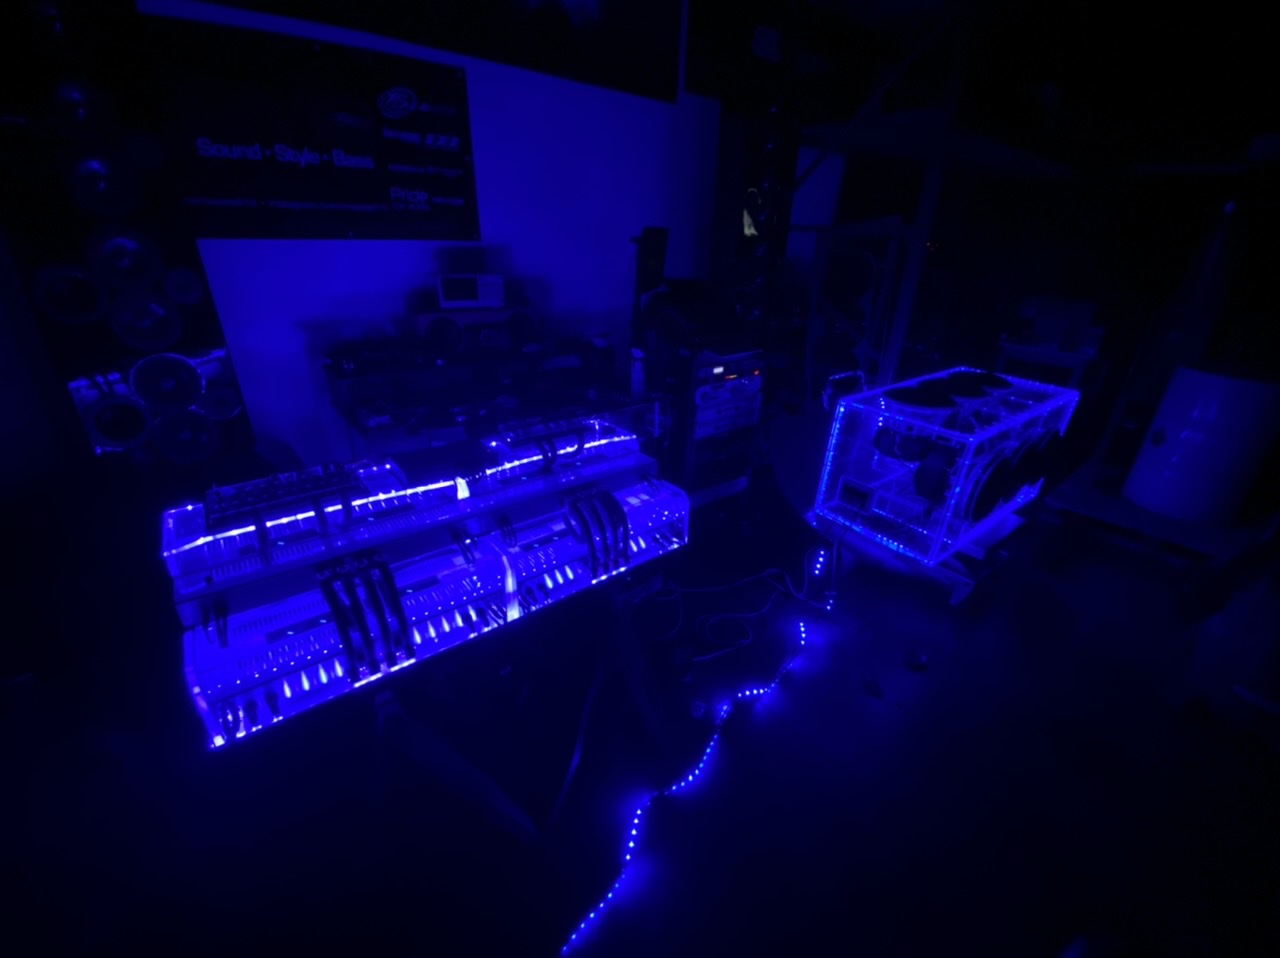
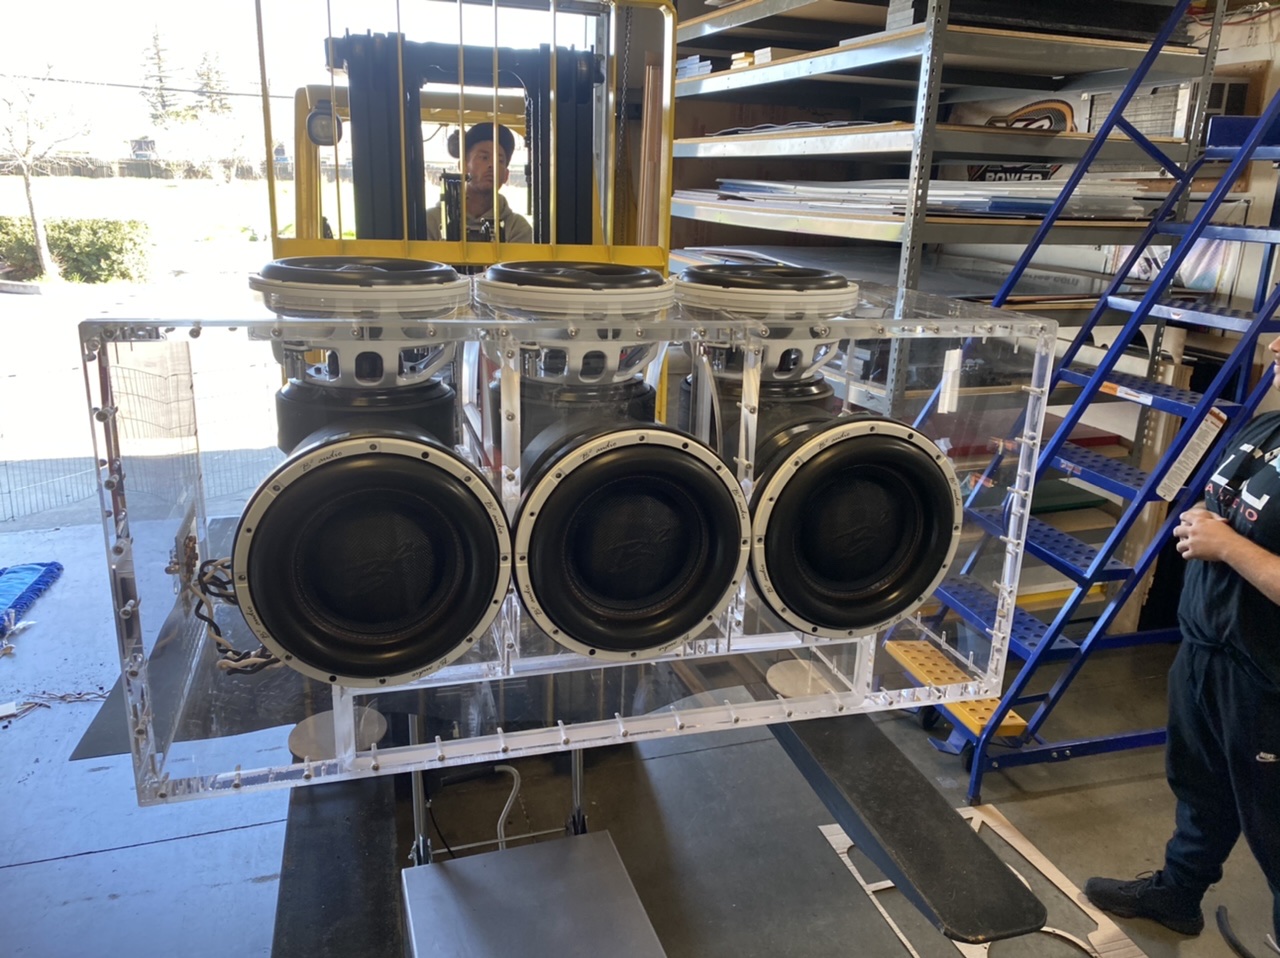
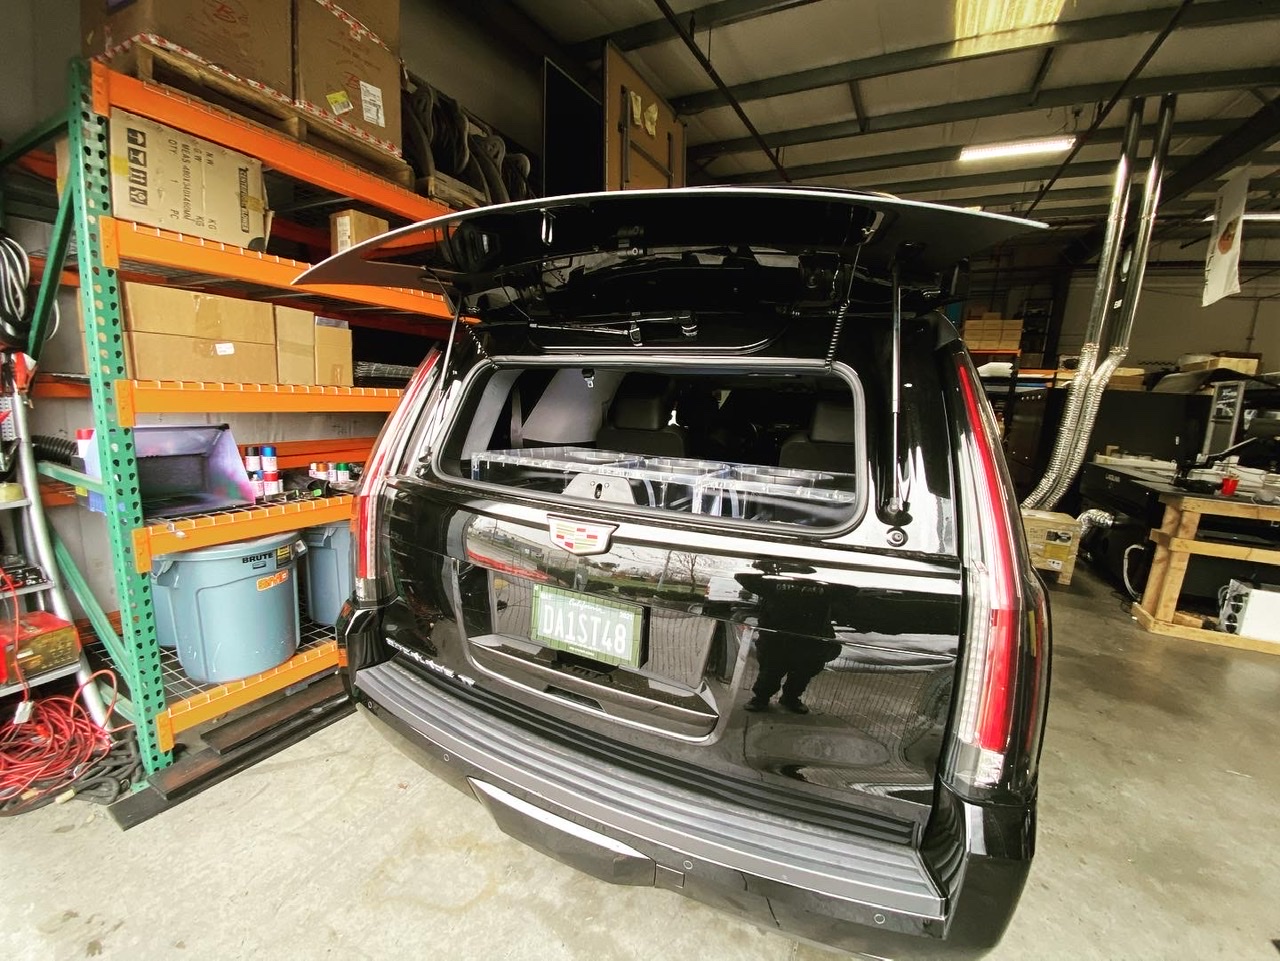
This is what i have to work with. I LOVE that it is a clear acrylic box. But i don't want to look at a big square box in my Escalade. So today i put some time in drawing up some ideas.
about 3 hours of drawing and this is what i have so far. I came home to watch the Superbowl but i have this trim piece on my brain!! All i want to do is work on it but i gotta break away and take my time. I don't want to get burnt out. But i am thinking about it as i type as the game is about to start LOL!
Look DEEP into this photo...at my dash. Just trying to follow the factory lines a little bit.
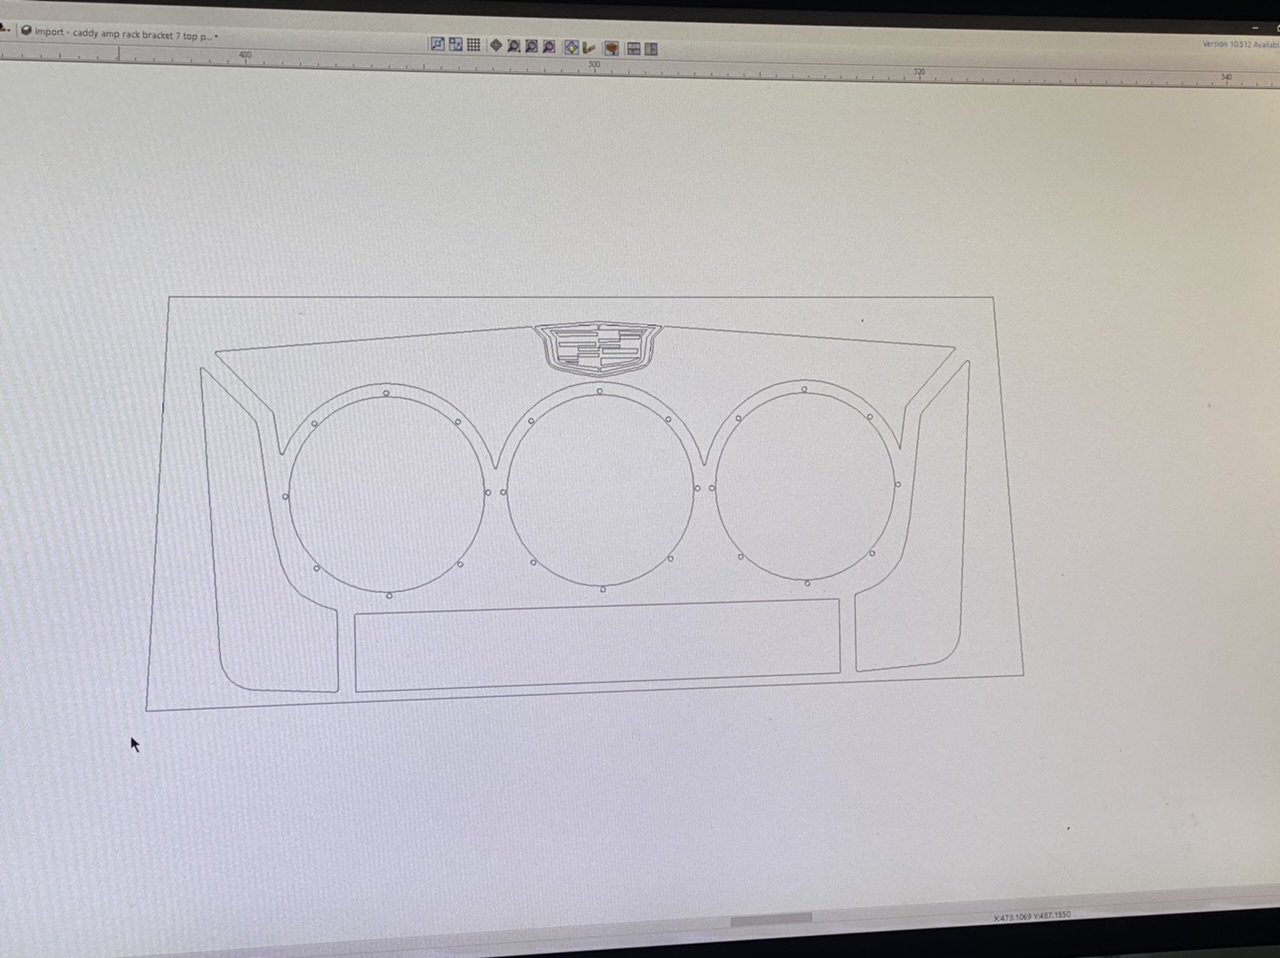
The side "flanges" of this trim totally don't match YET. I just tossed some random flaps on them so i could draw the inard's. Once i am happy i will go out to the truck and get some REAL templates and transfer them to the computer and then on to the real trim piece. It will be nice and flush when done. I hope.
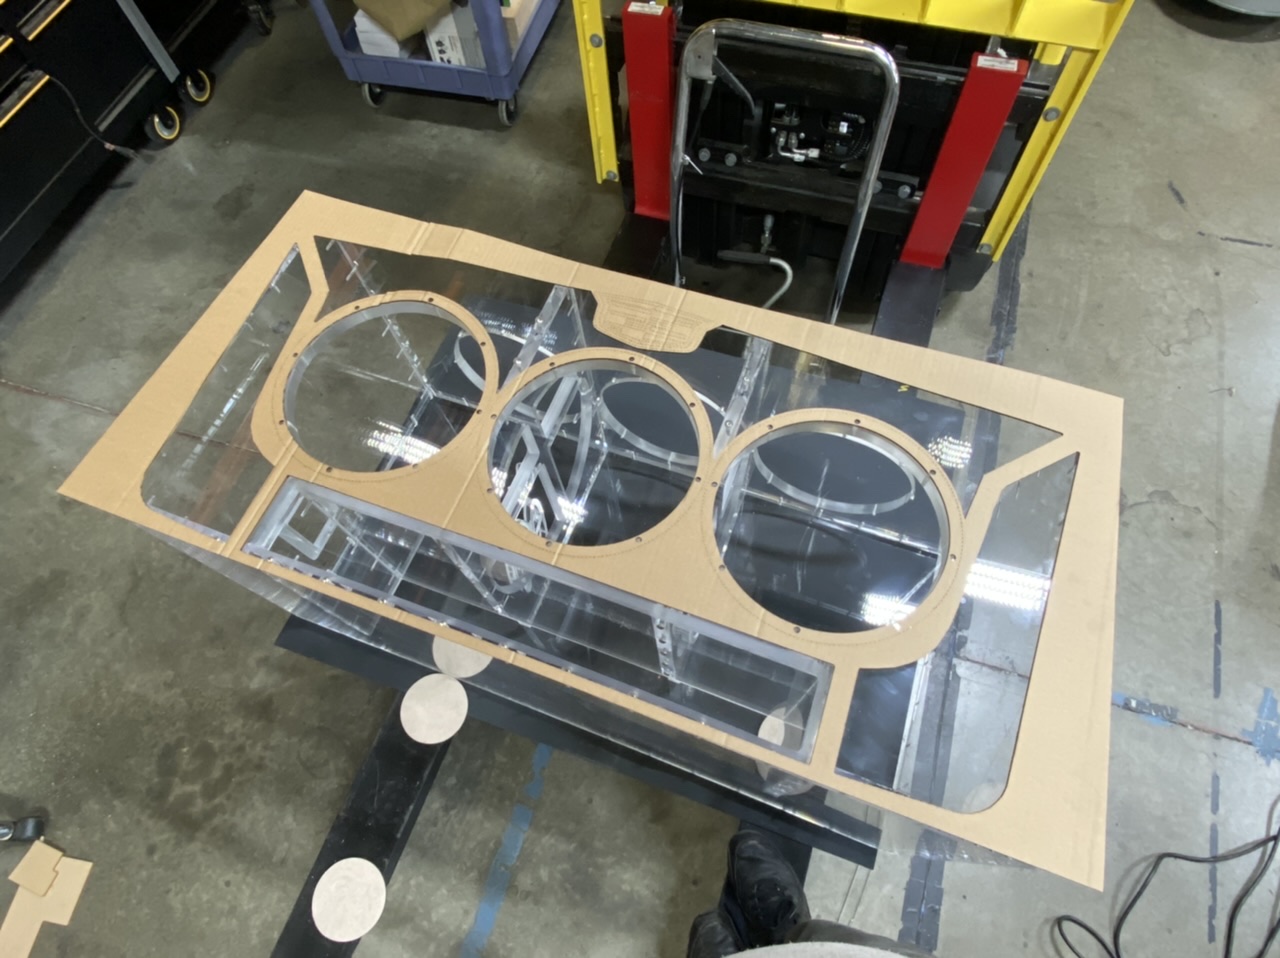
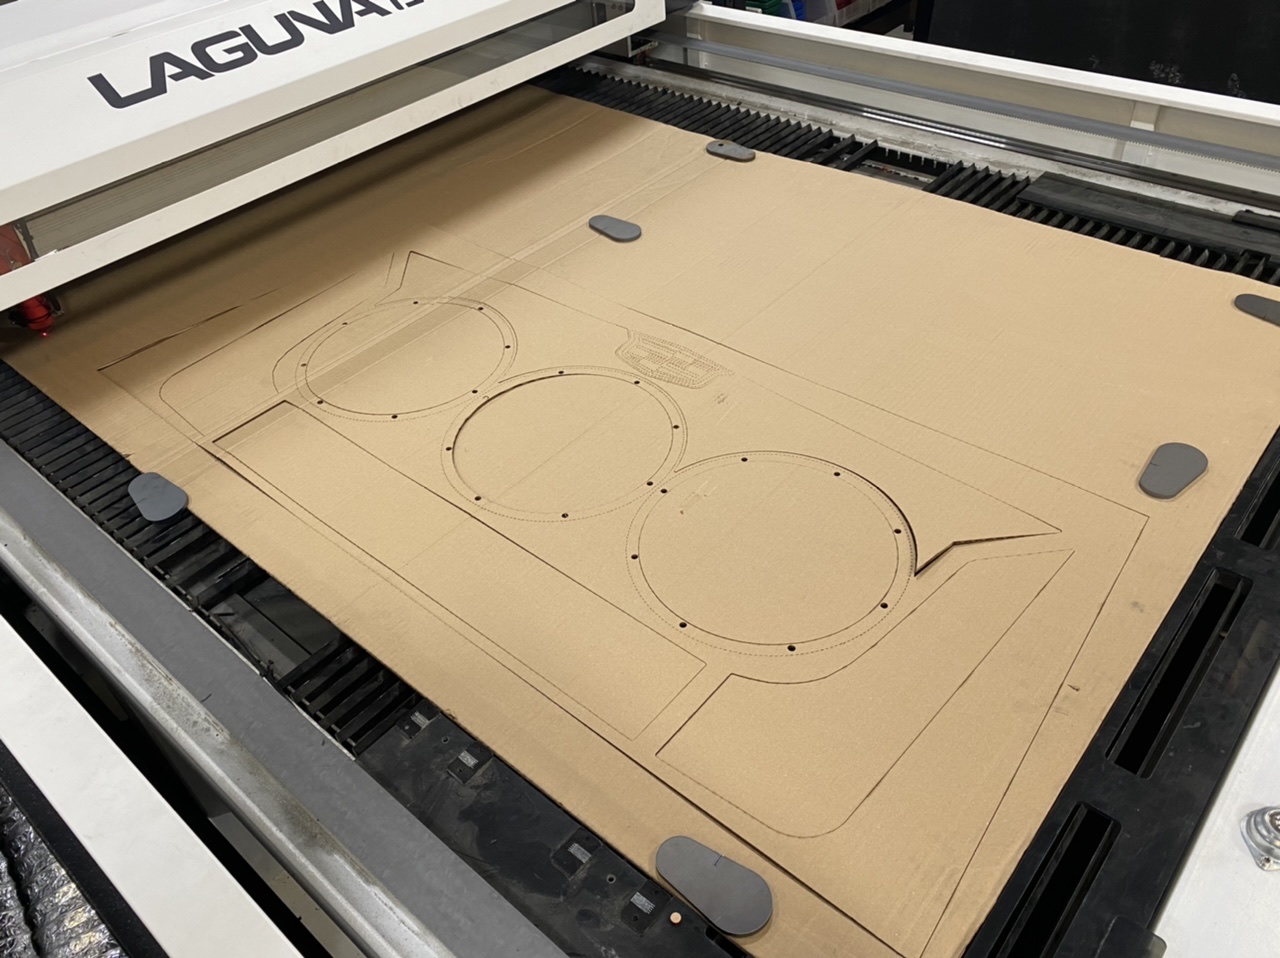
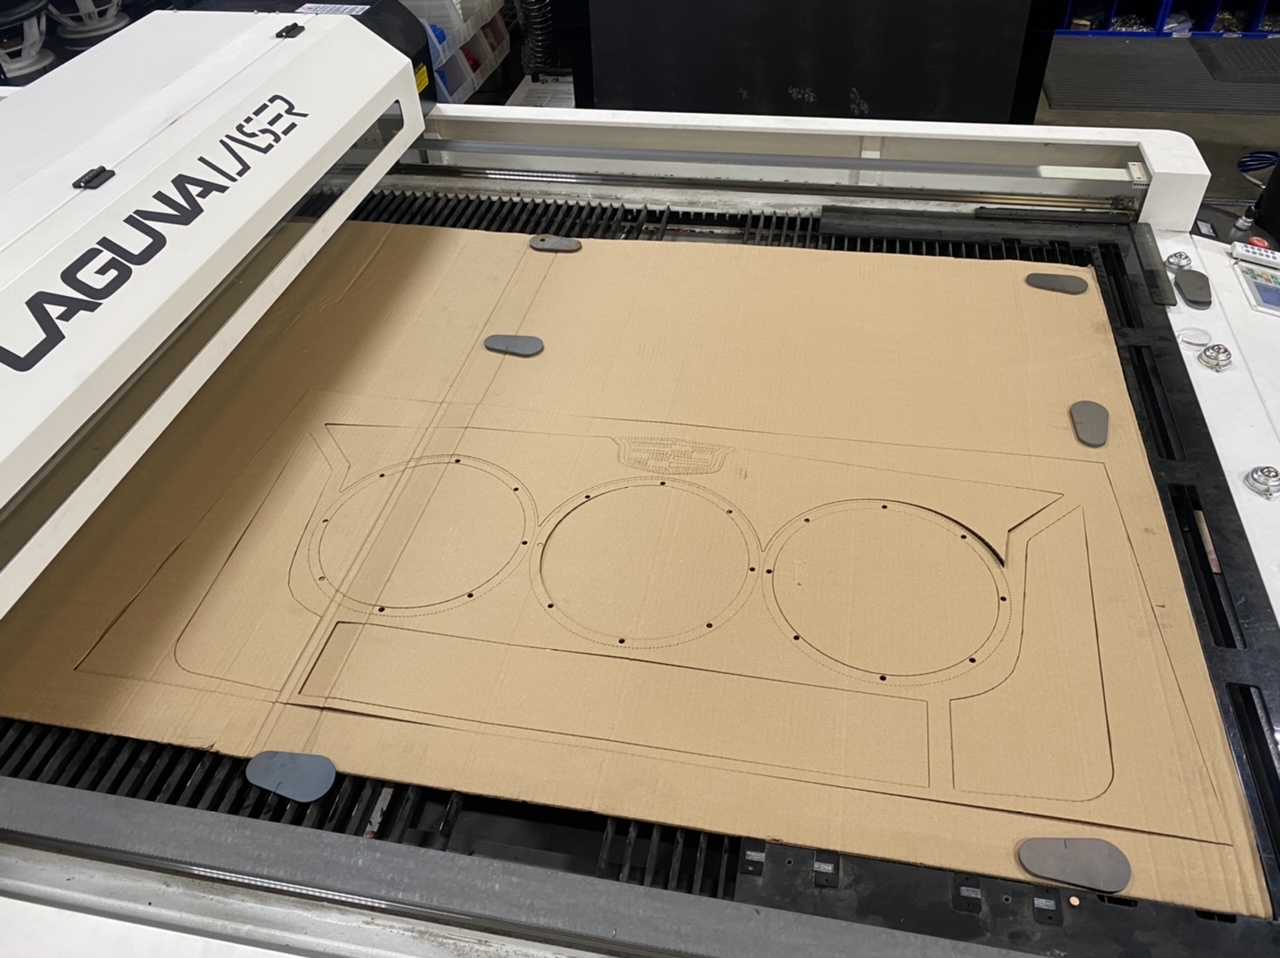
Bust out some cardboard!
Just a perforated logo so i know where it will be and what size it will be. When it is all said and done i am planning on doing a inlayed black and white acrylic logo here. I will cross that bridge when i get to it though. Like i said, these are all just idea's and direction. It is totally subject to change and it will.
-
-


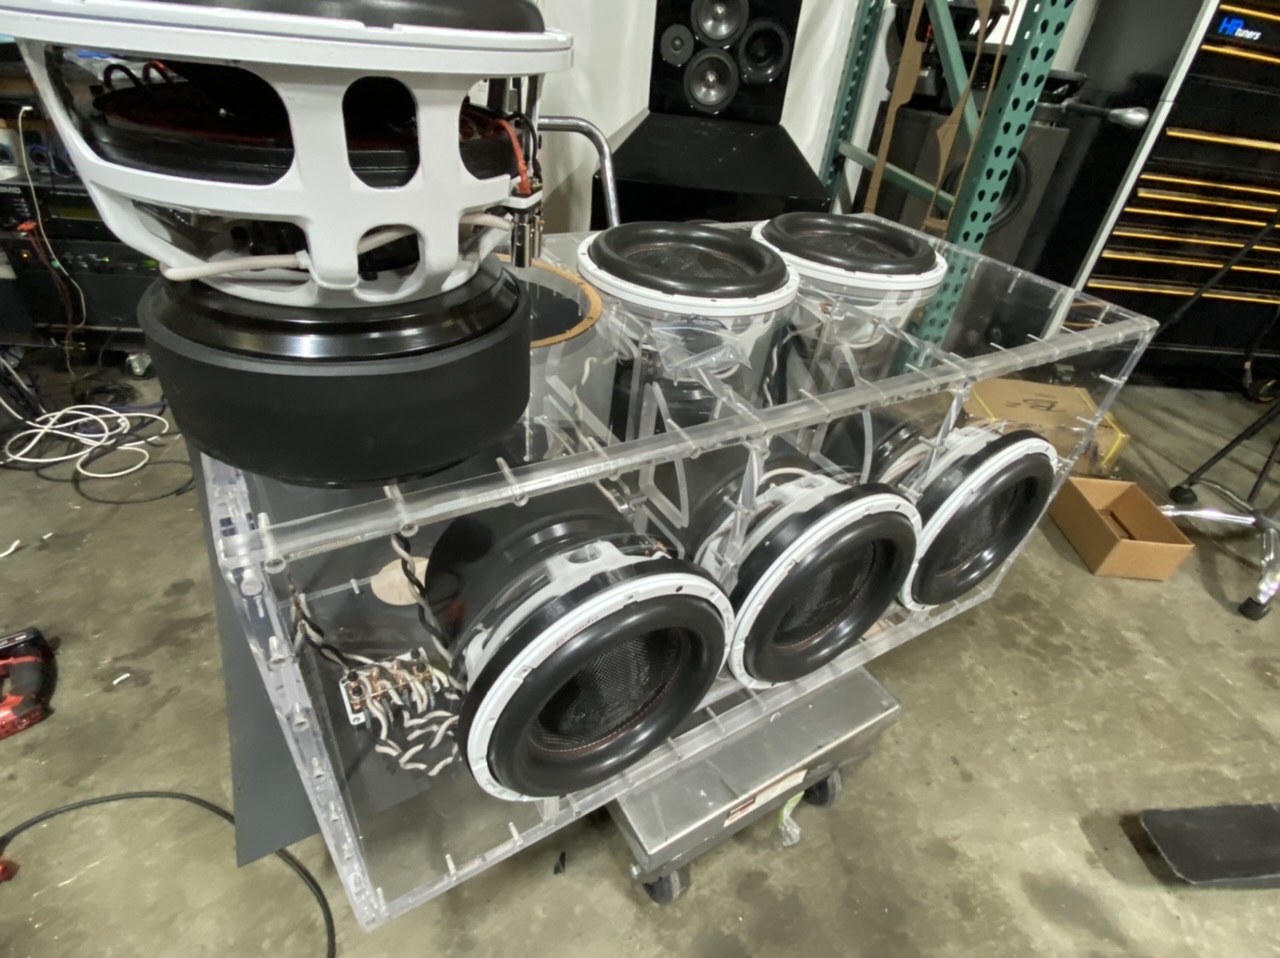


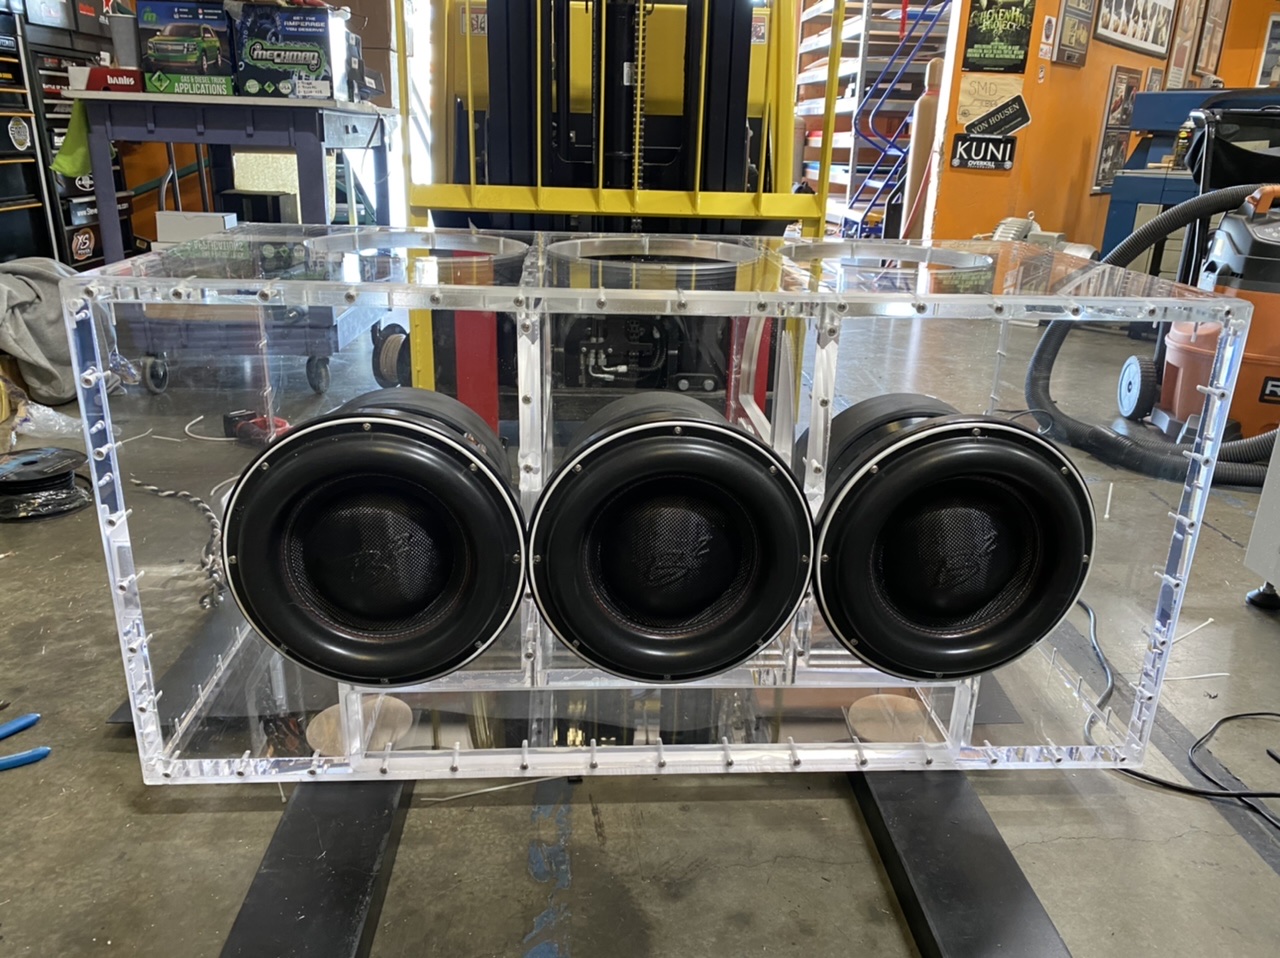


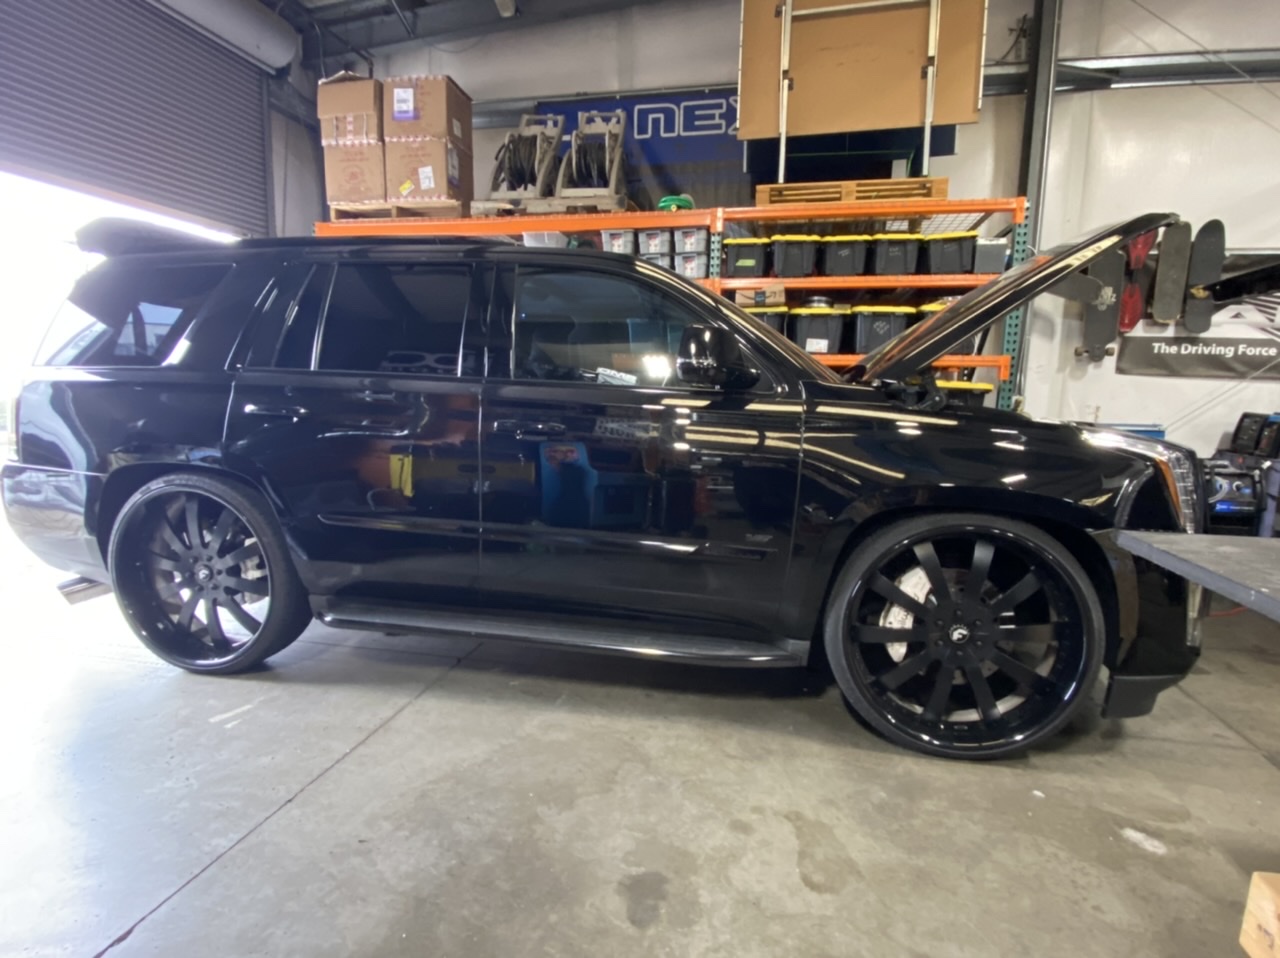
2015 Cadillac Escalade Sound System Install - 6 12's all 1" Acrylic box, mids/highs started update page 25
in Just Meade....my projects - Tons of SMD Builds here!
Posted