

meade916
-
Posts
27662 -
Joined
-
Last visited
-
Days Won
377
Content Type
Profiles
Forums
Events
Media Demo
Store
Collections
Videos
Posts posted by meade916
-
-
-
-
On 12/13/2021 at 10:55 AM, sayhuh? said:
DAmn I am jelly of the skills. Great work as usual, good sir.
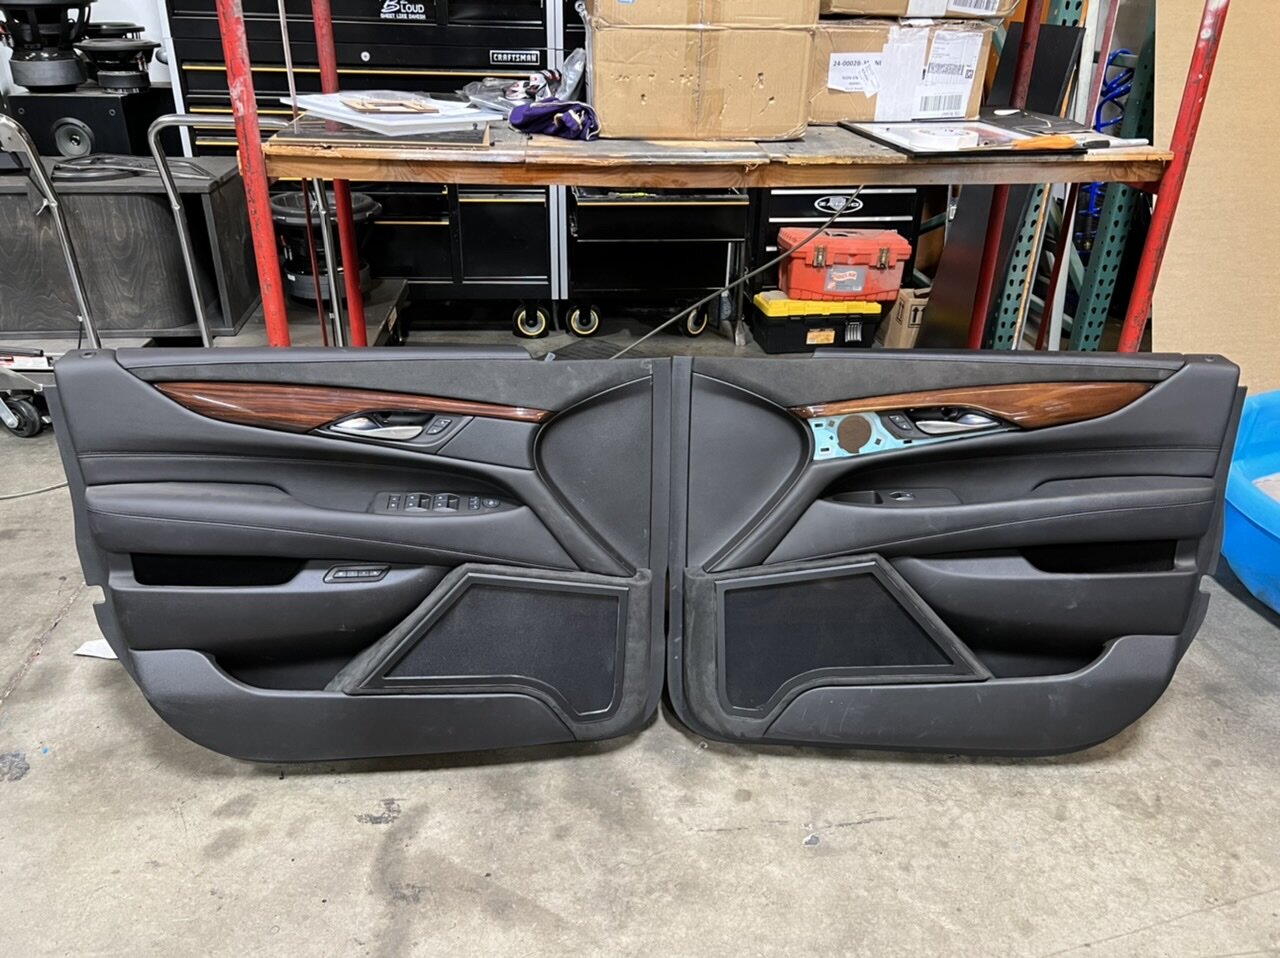
I know what the doors are missing. The SMD touch; Small SMD emblem! lol, but man, I love that clean, stock look. I do that type of stuff and it looks like non-stock, and porous like Illinois roads.
oh it's gonna get a small emblem...either Cadillac, SMD or B2 i haven't decided....thanks my bro!
")
-
first ones out of the gate came out pretty good! and we don't even have any real practice time in yet. So that means we will get better! Looks great to me so far!
(a few small video clips here)
https://www.instagram.com/p/CXPY436PWlK/

-
 1
1
-
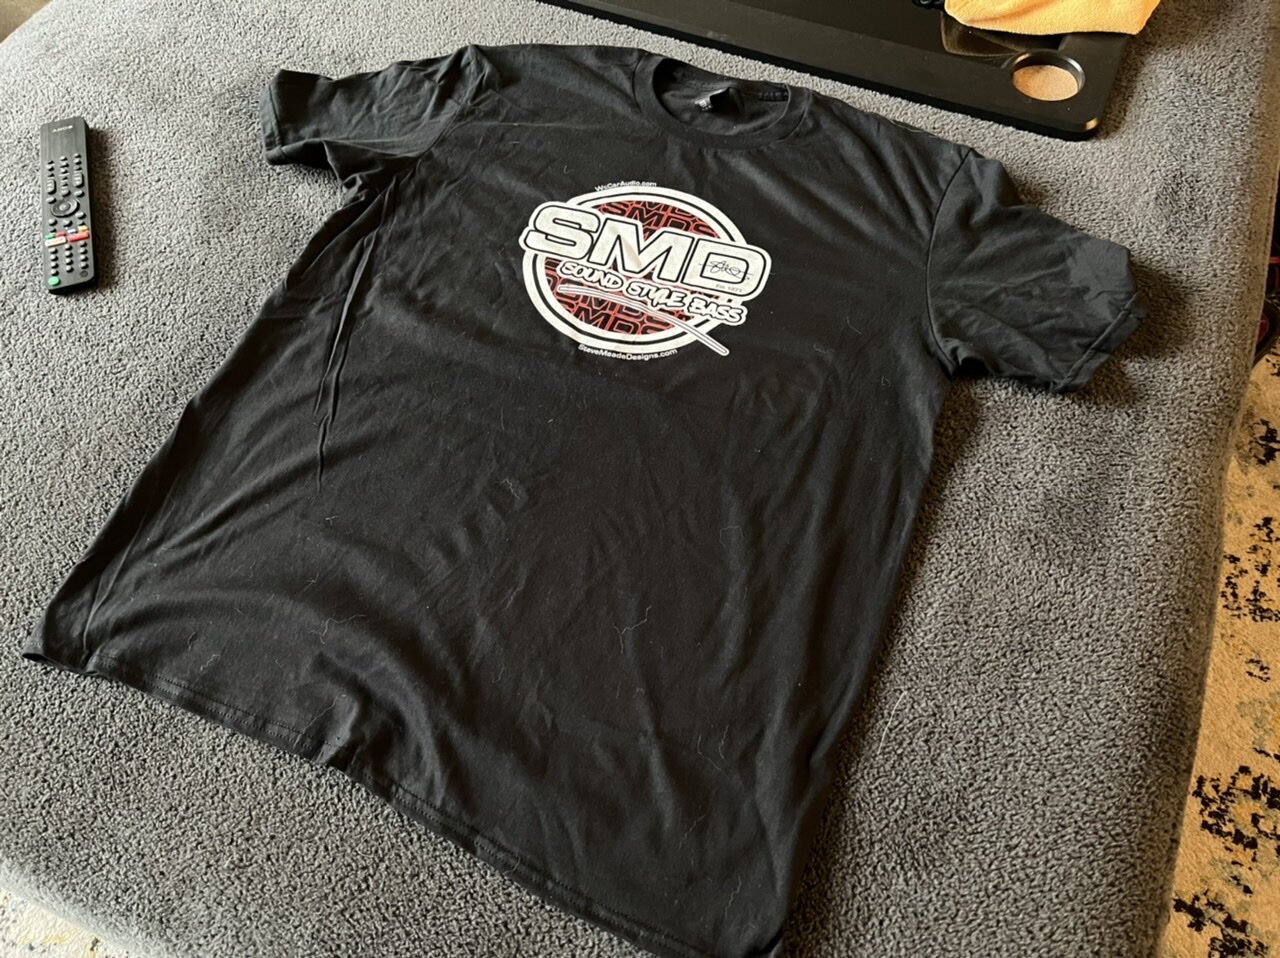
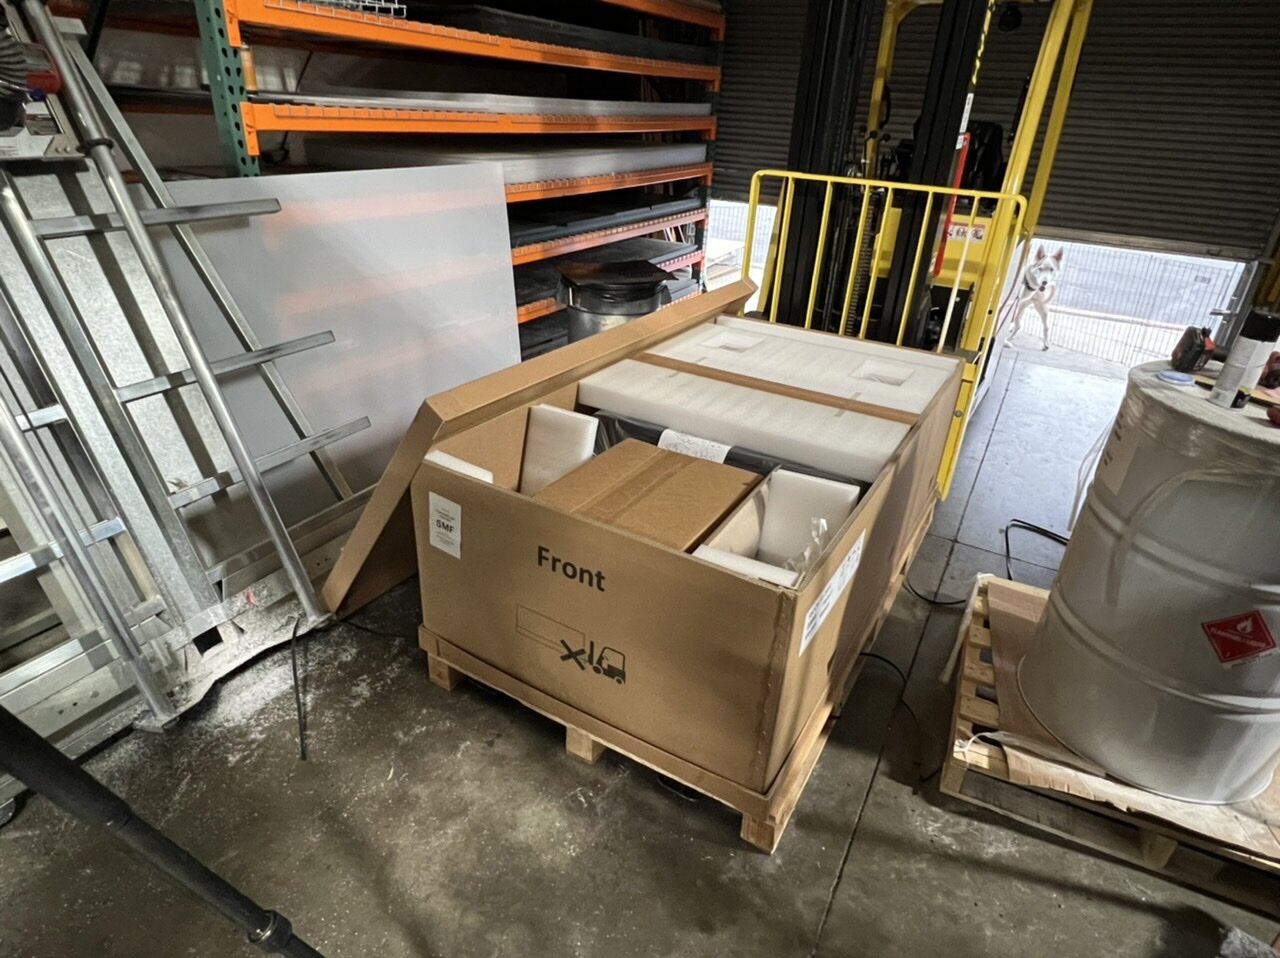
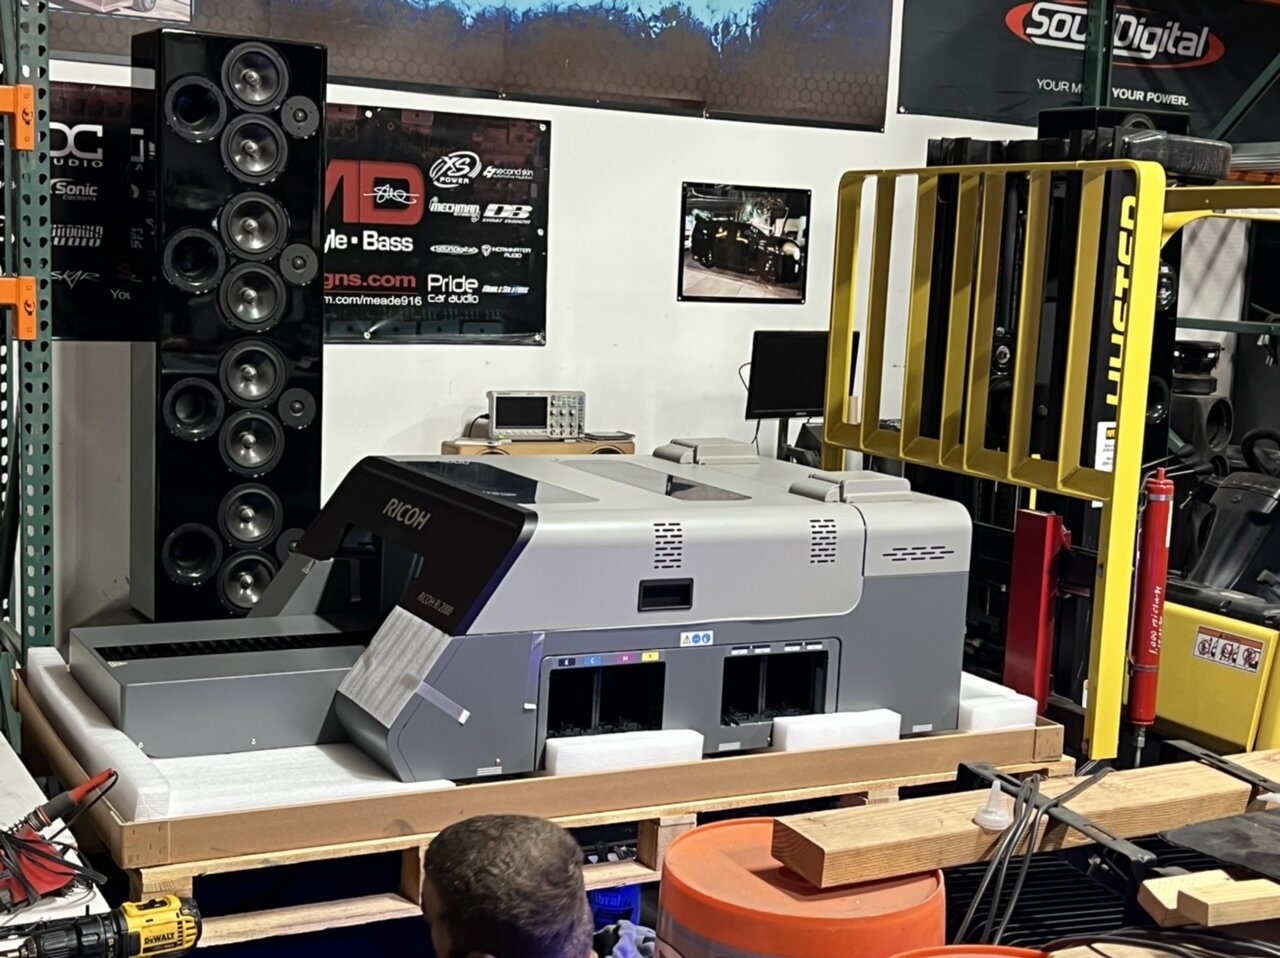
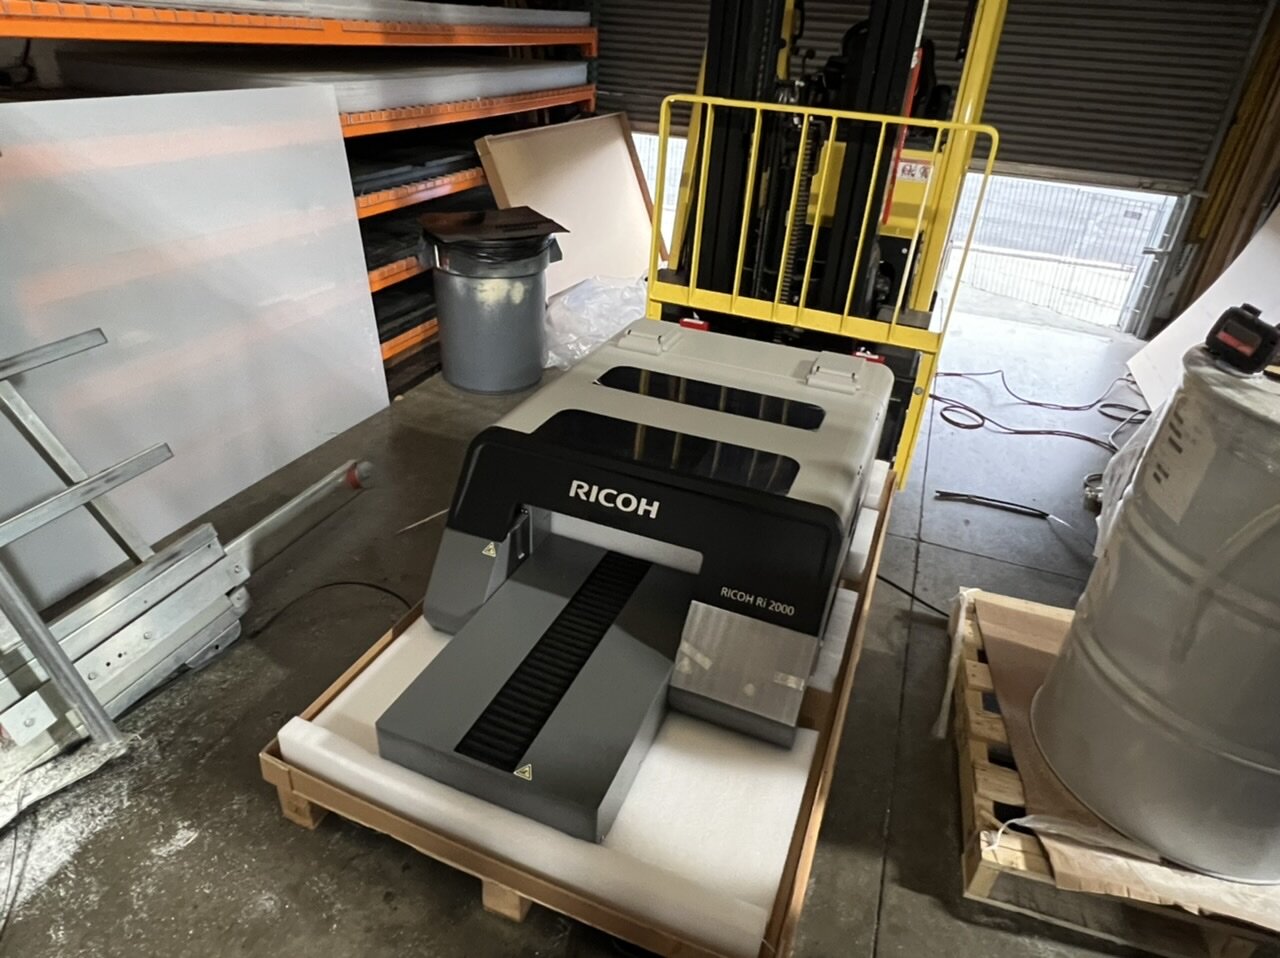
-
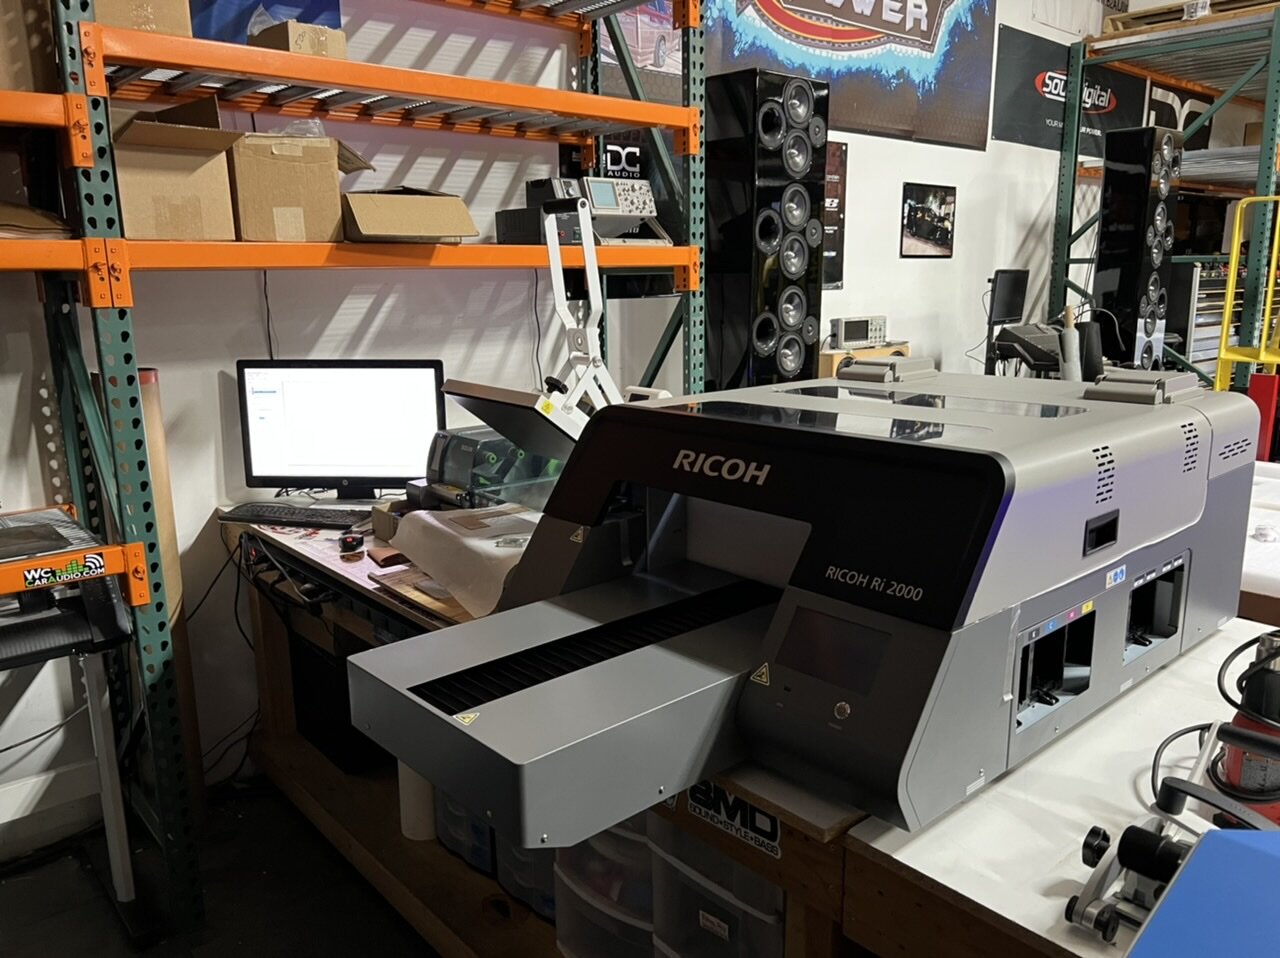
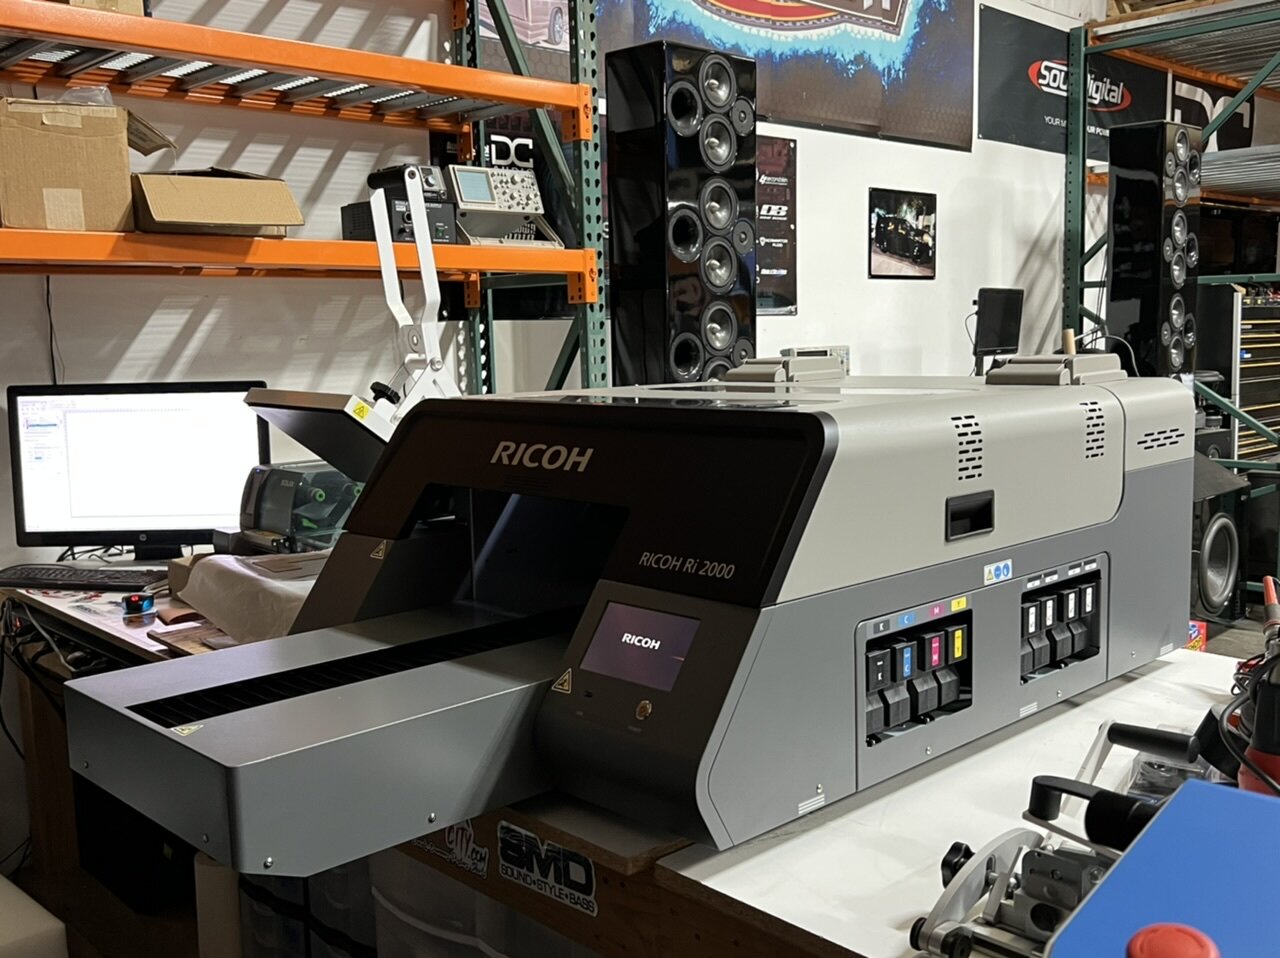
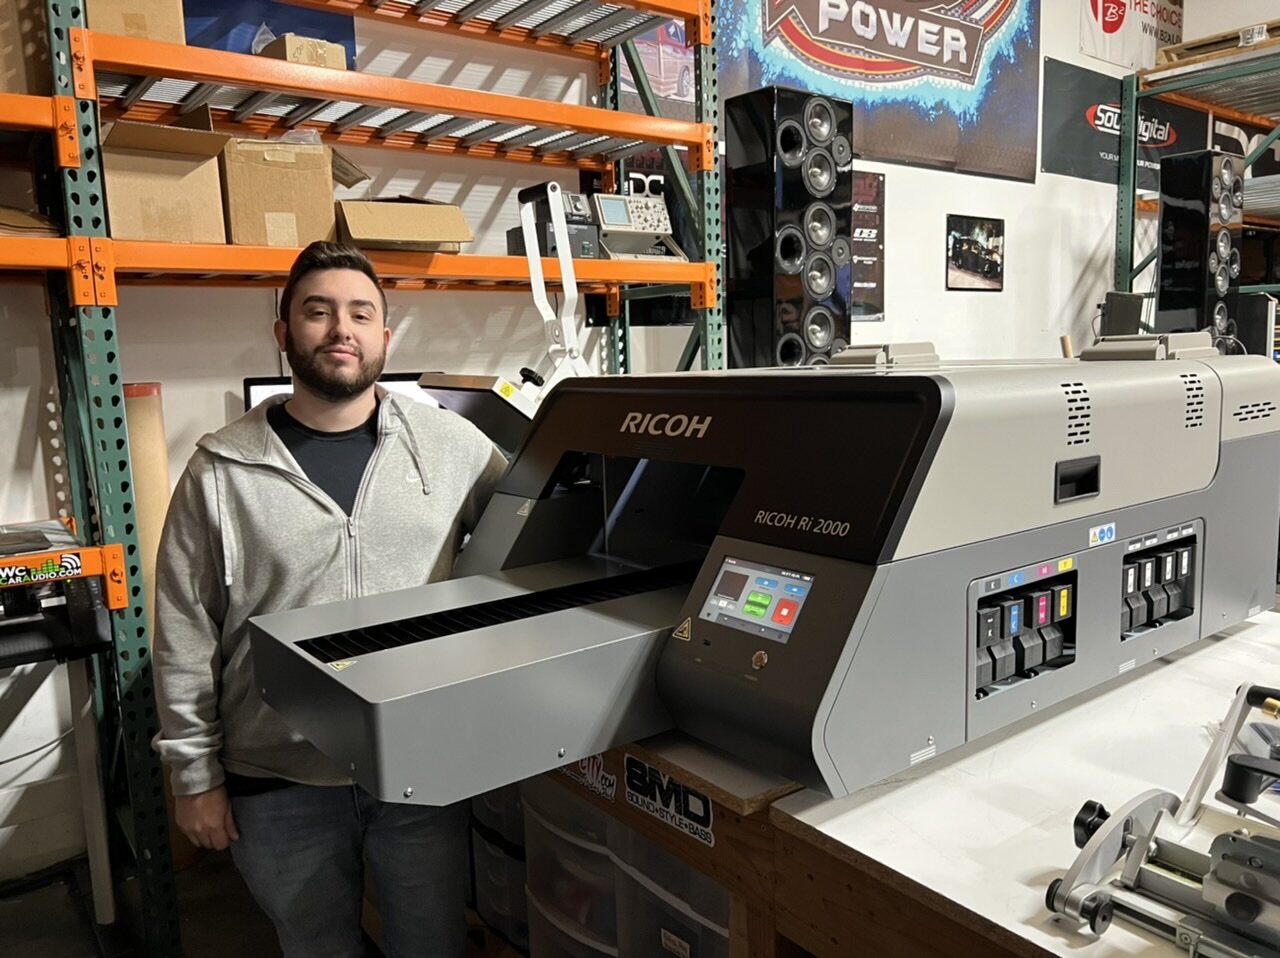
about to take our T-shirt shirt 👕 (and other garment) 🧢 🧥 capabilities to the next level. Picked up this Ricoh 2000 (just arrived today). Its such a beast! We had to forklift it in 🤣
-
2
-
-
13 hours ago, Never Enough Bass said:
I need some dodge charger door panels lol
do it man i got faith in you! i just laid down the blueprint for you in those pics....:)
-
1
-
-
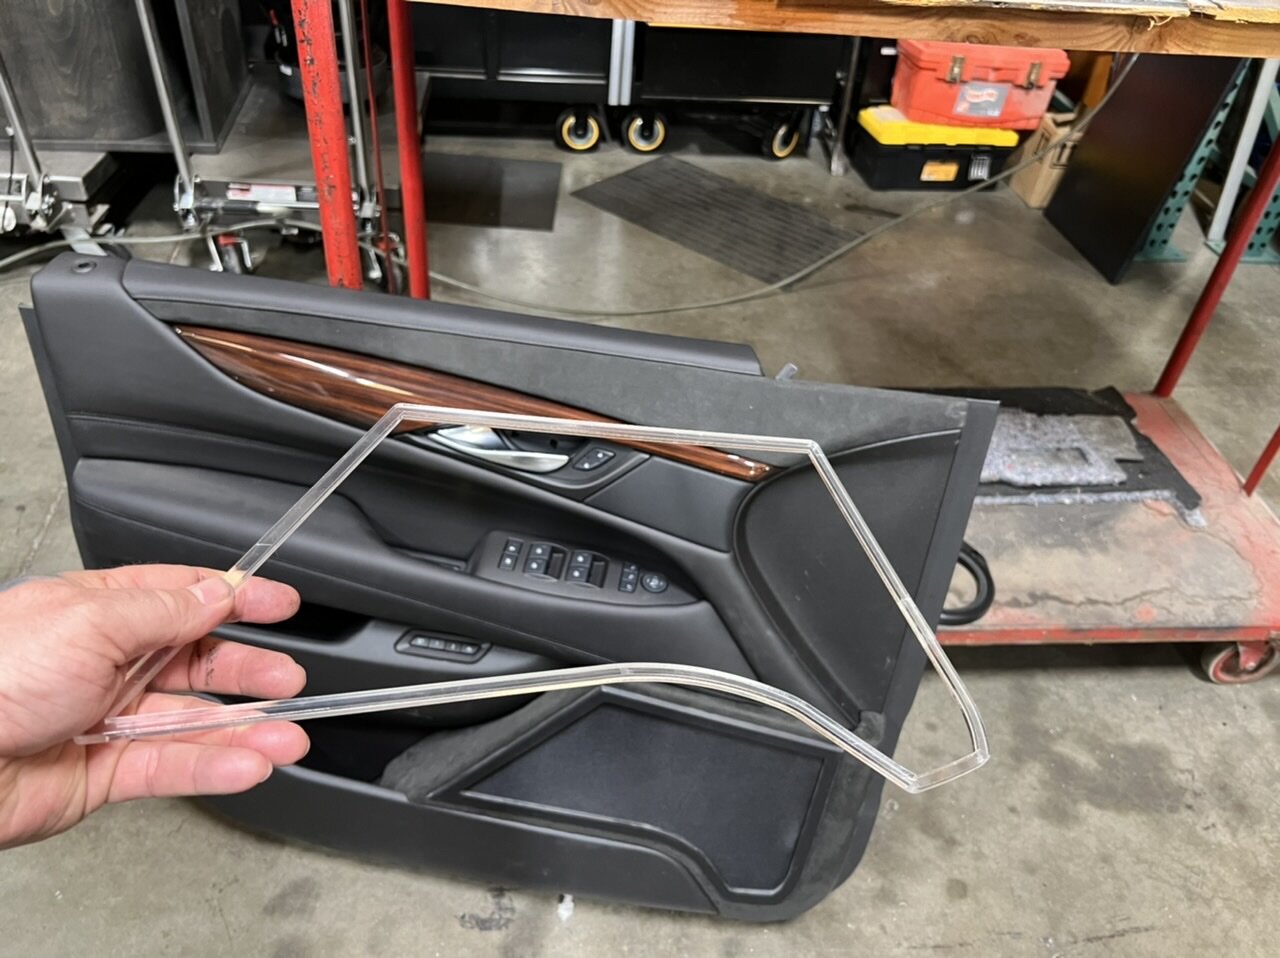
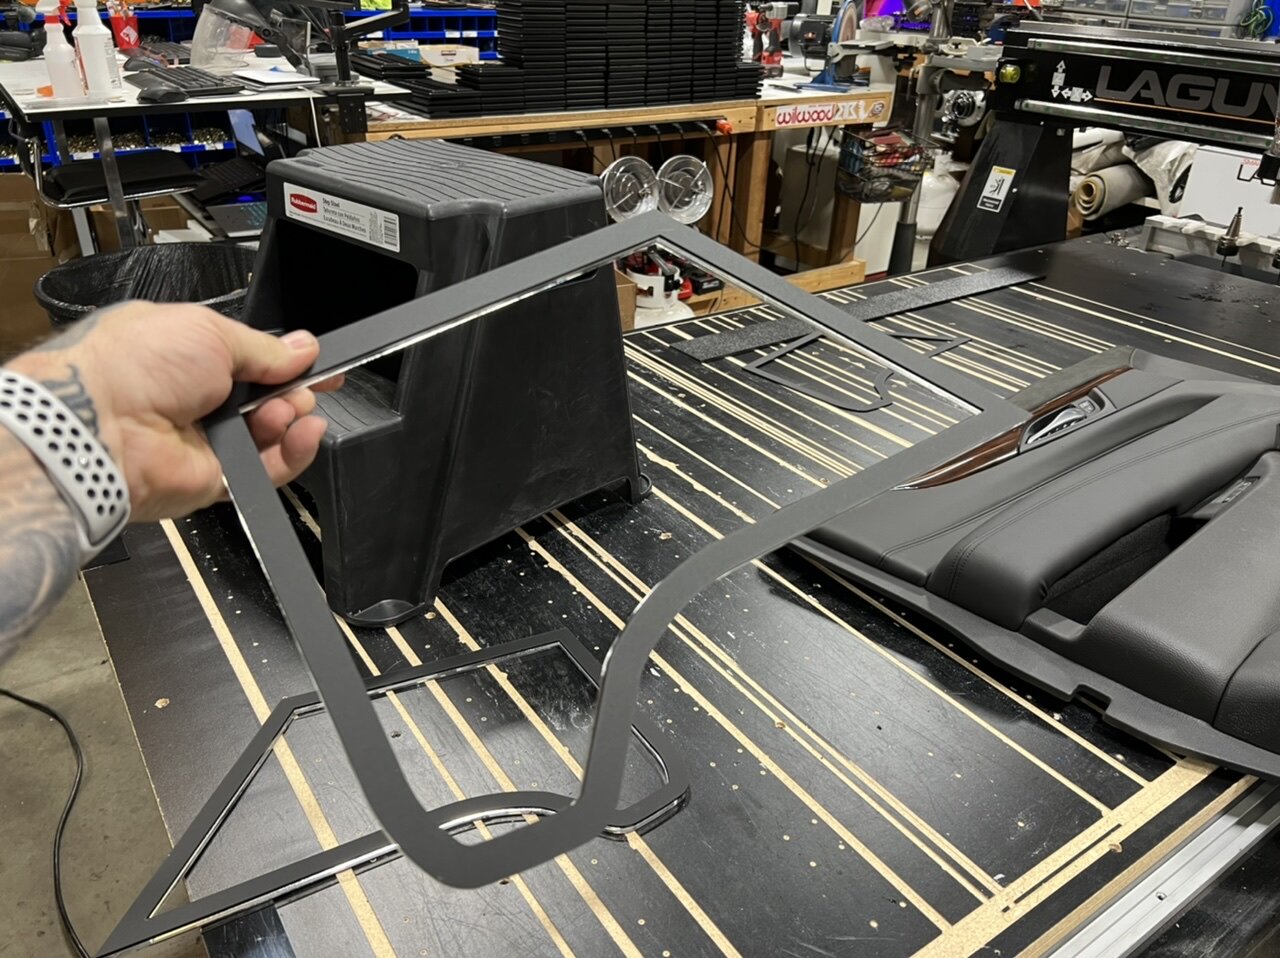
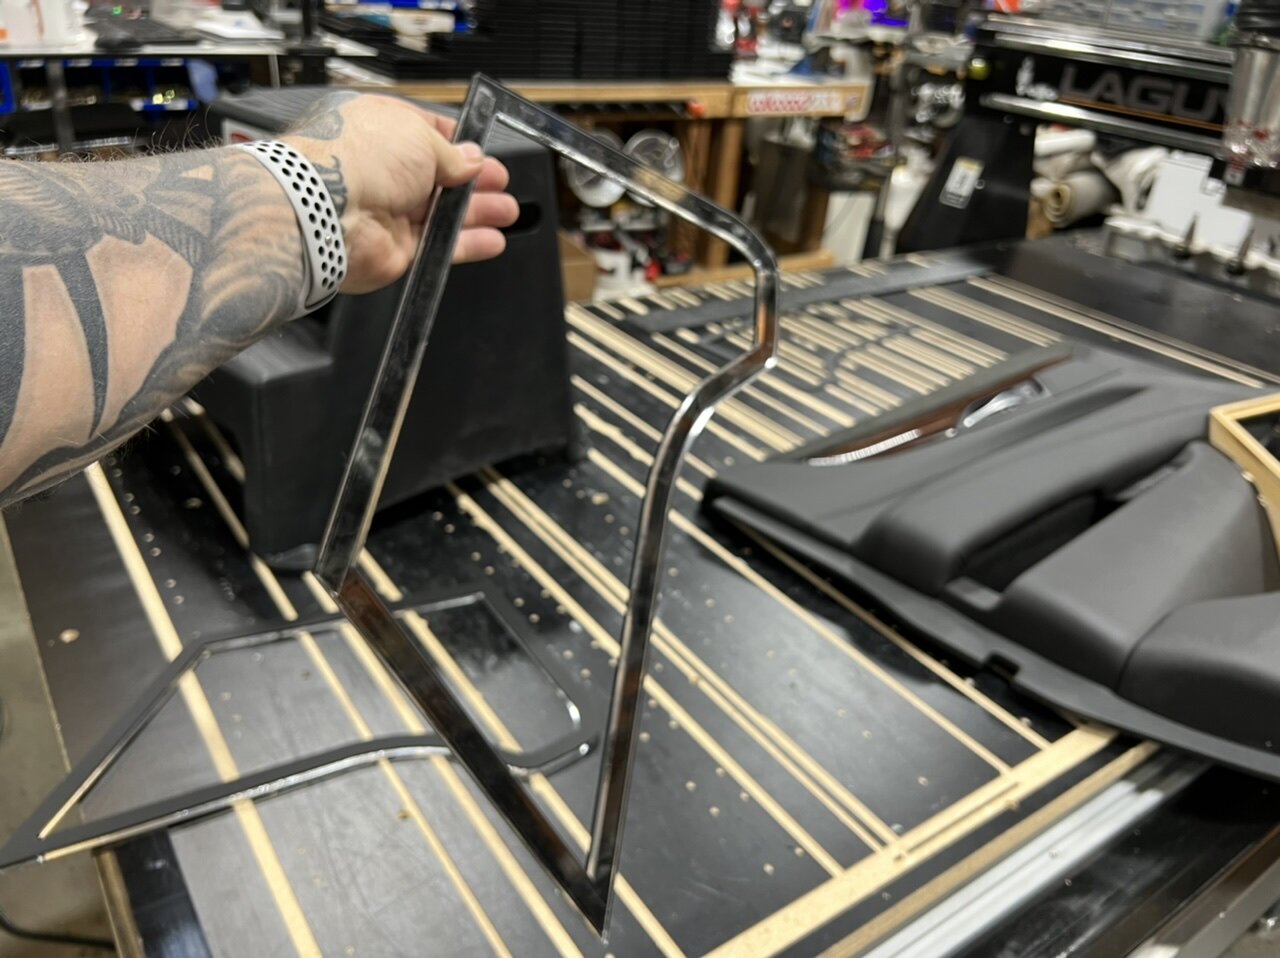
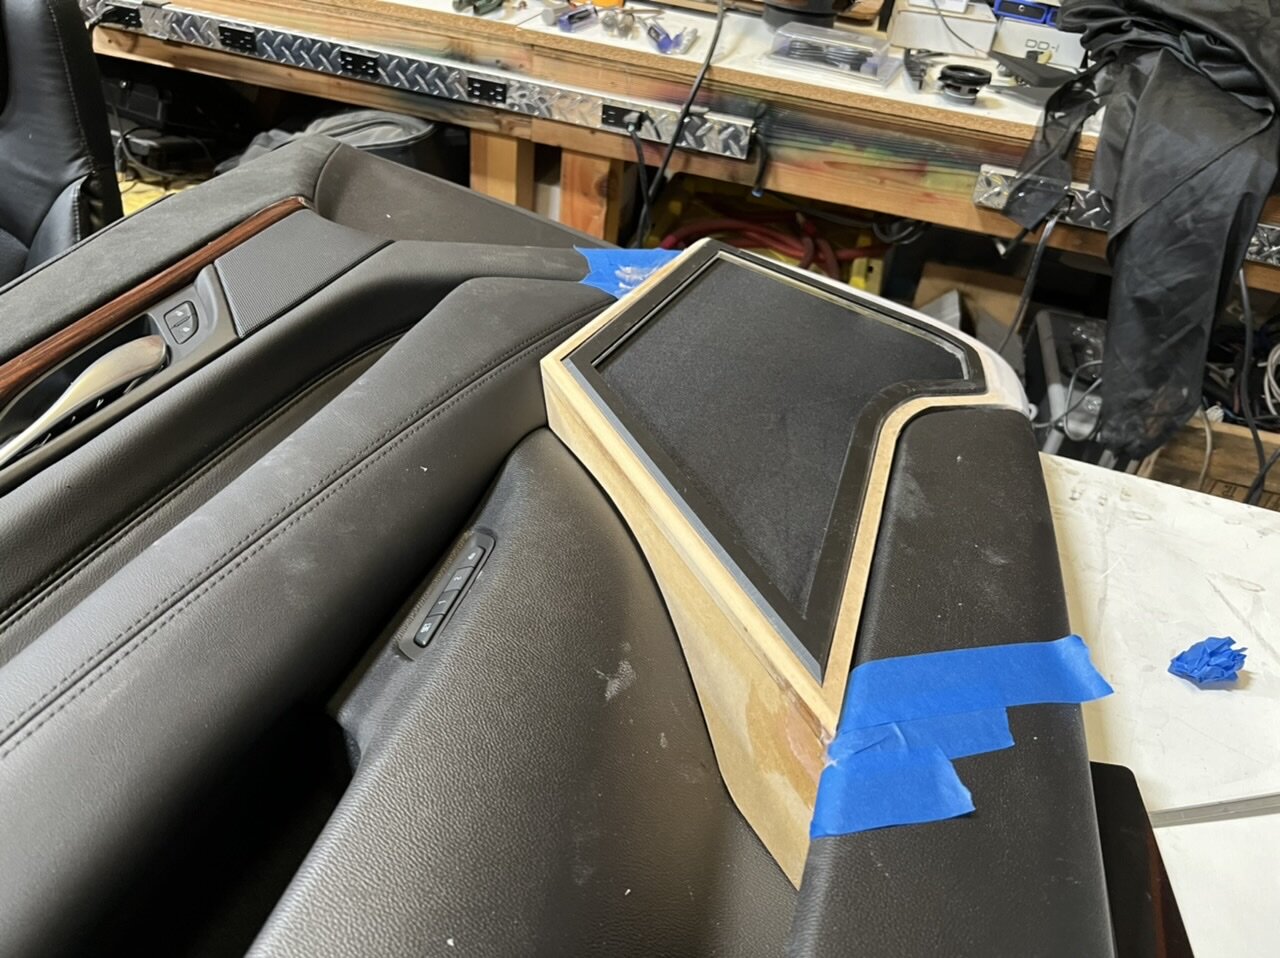
I love it! I think it is missing something though. So i added this clear acrylic trim piece just to see if i would like it there. I think i will probably keep it and make it out of aluminum or stainless. I think it breaks it up nicely.
-
4
-
-
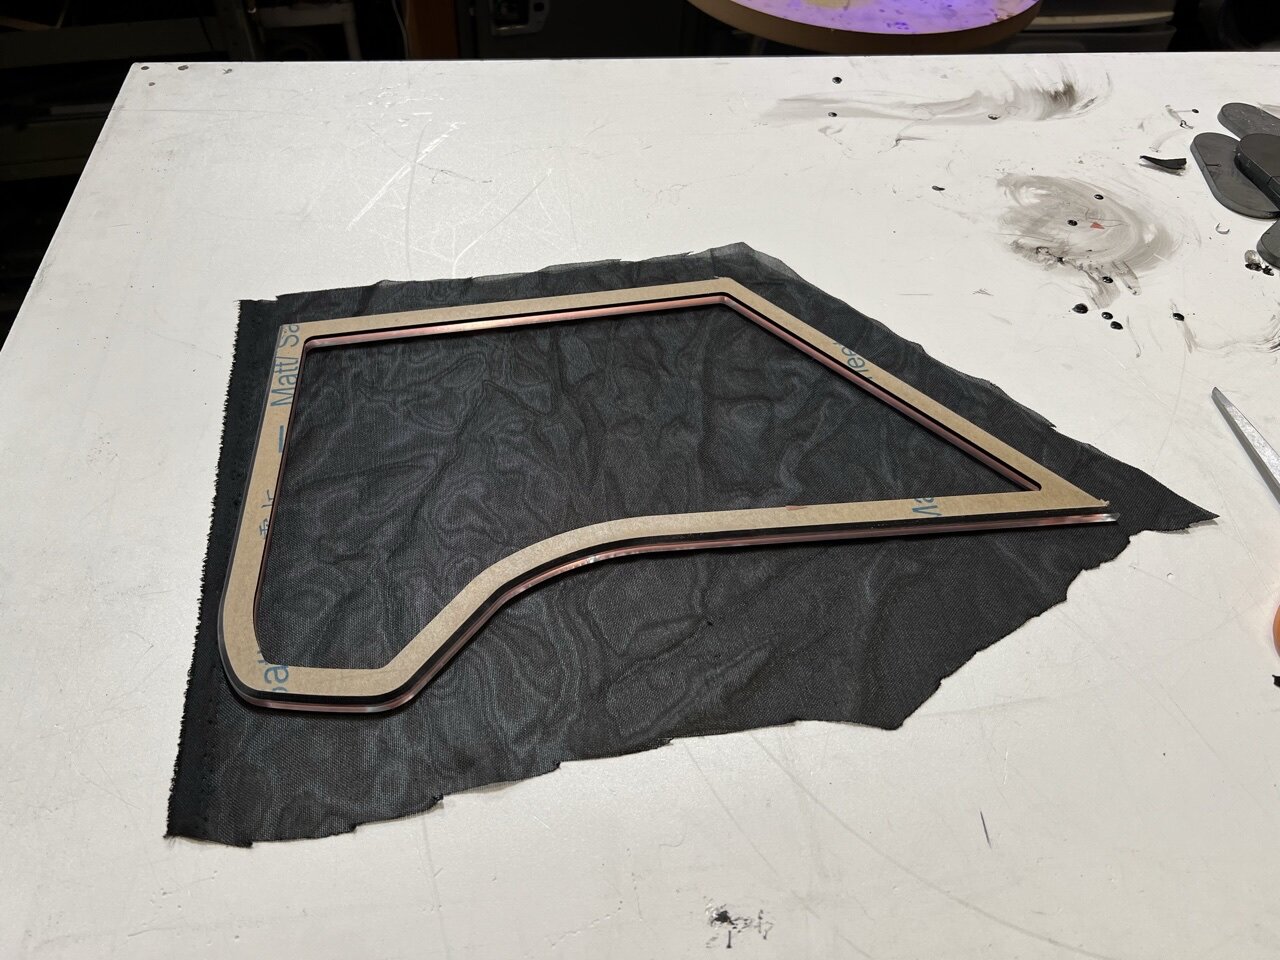
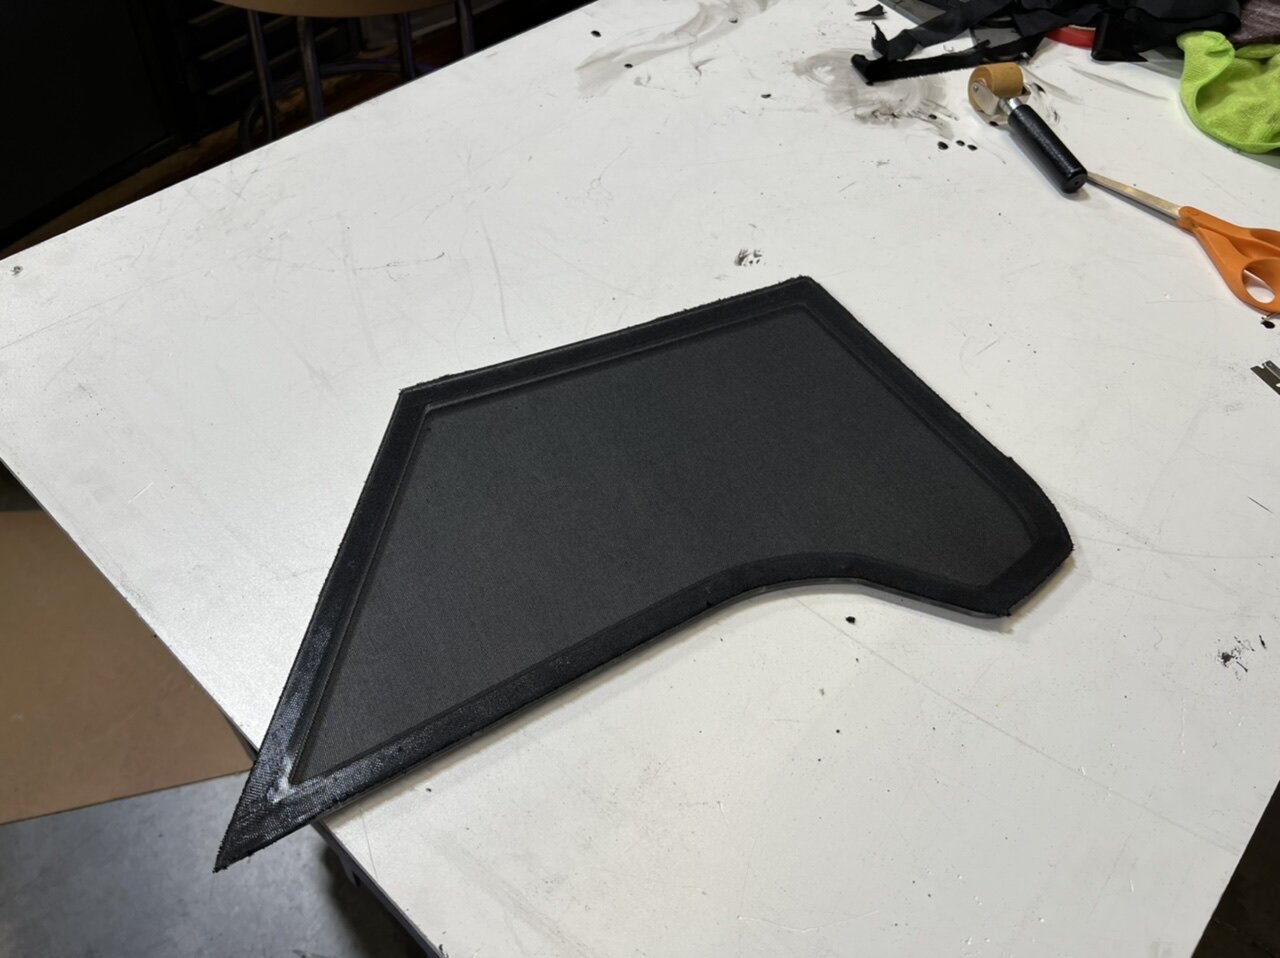
this screen frame is made of 1/4" clear acrylic with 1/8" matte black acrylic over the top. I also beveled it.
-
1
-
-
-
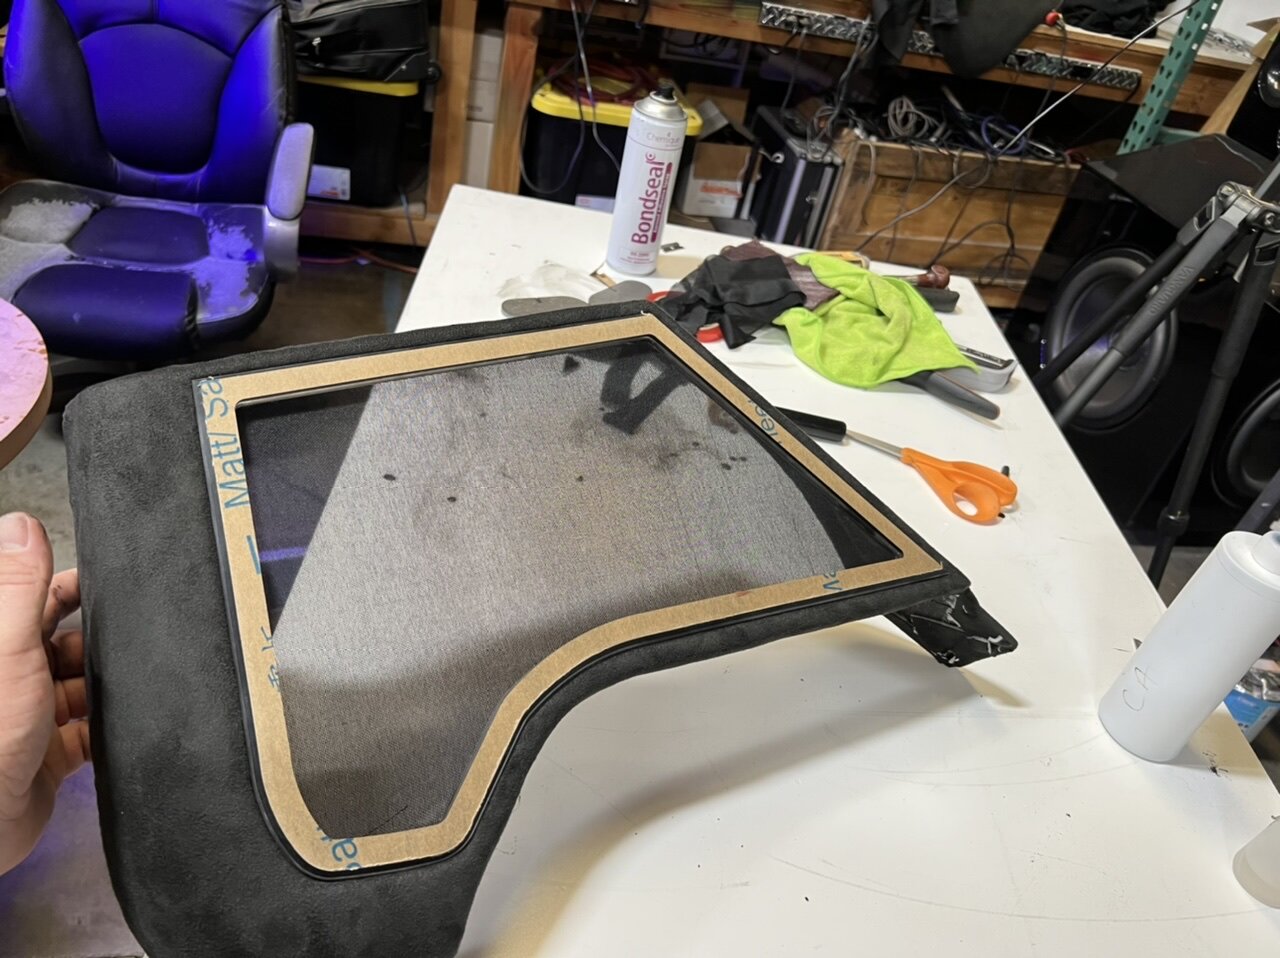
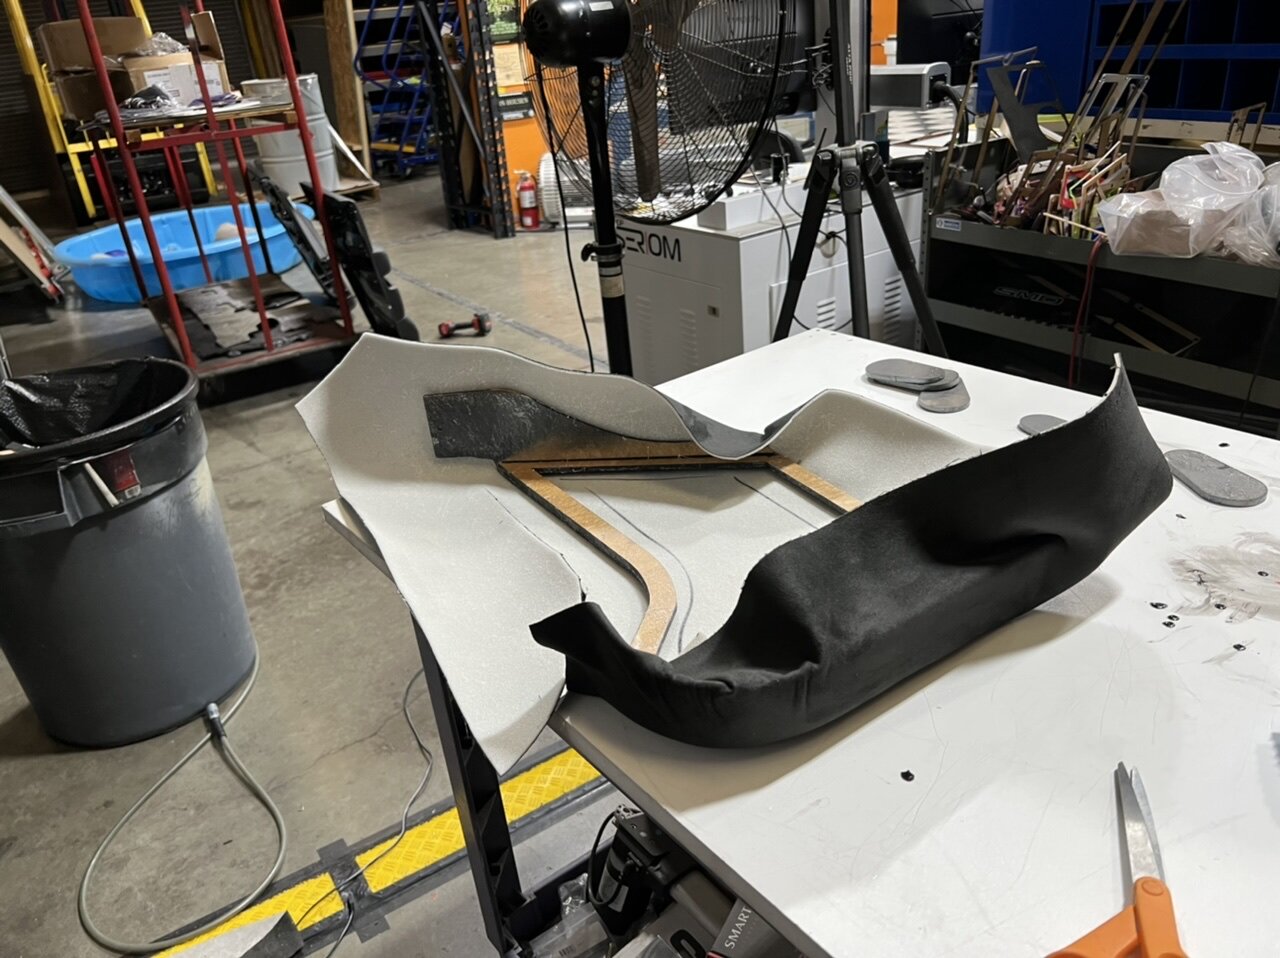
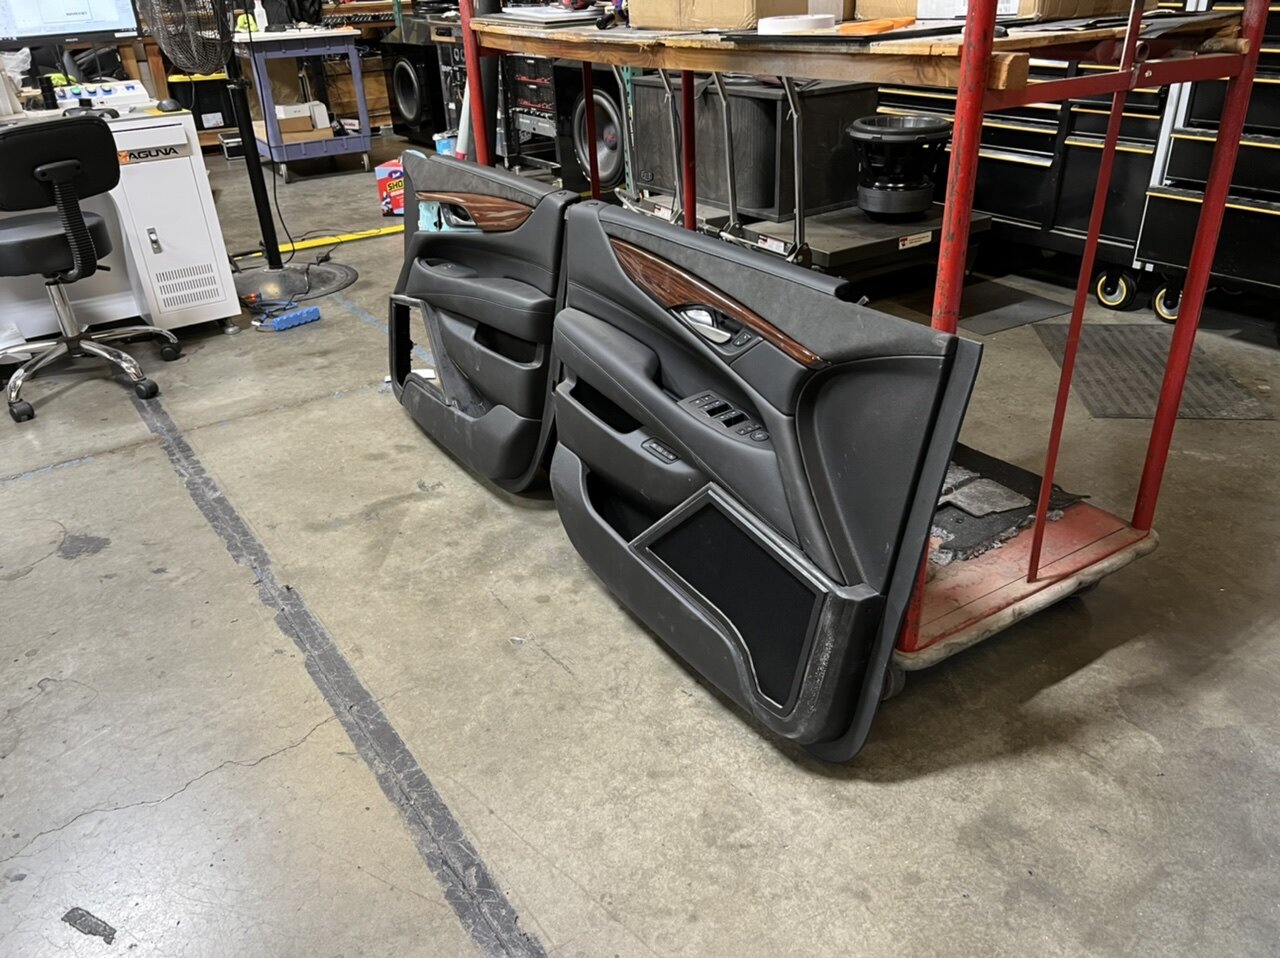
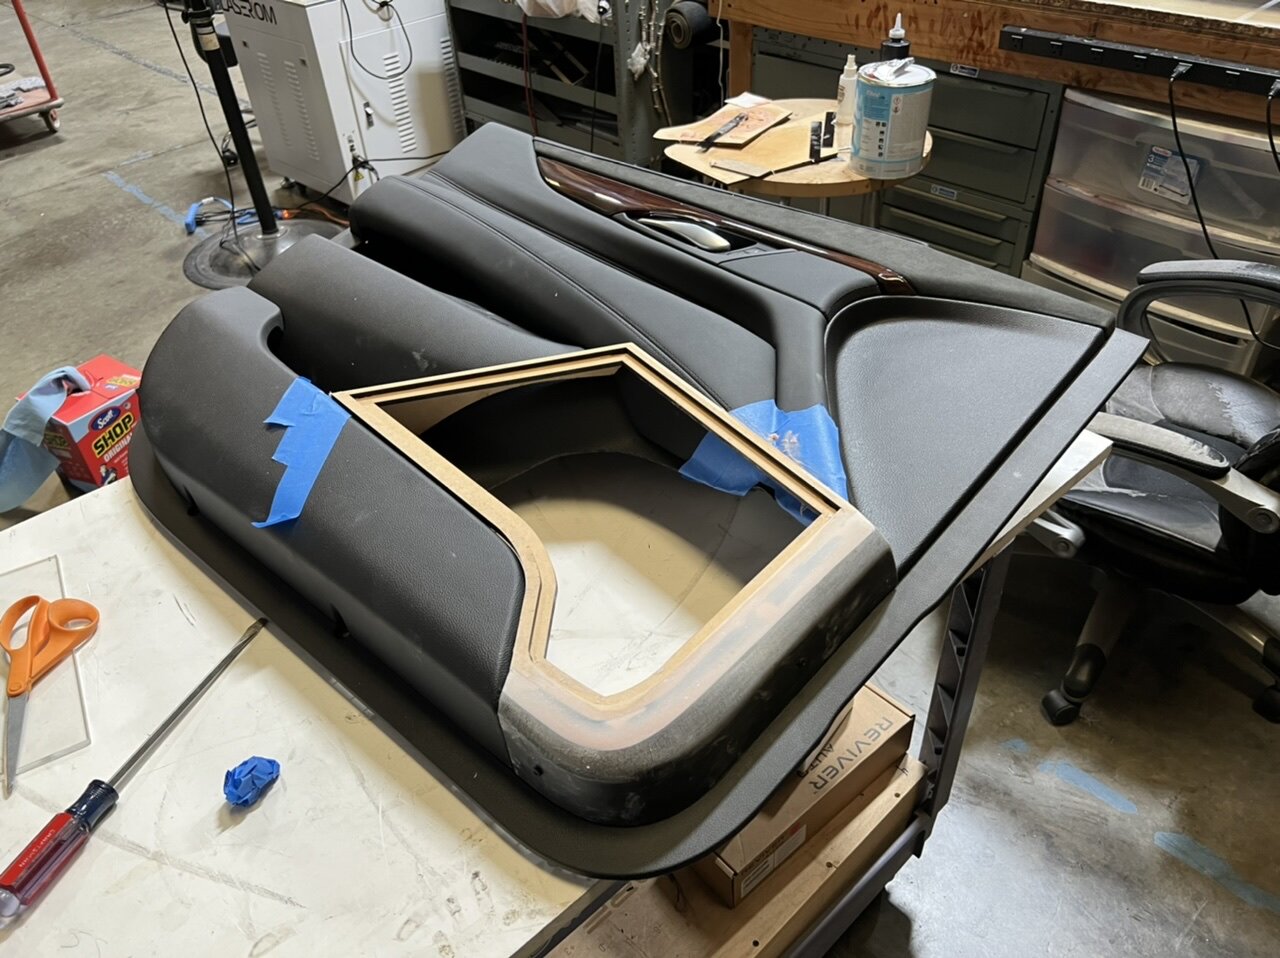
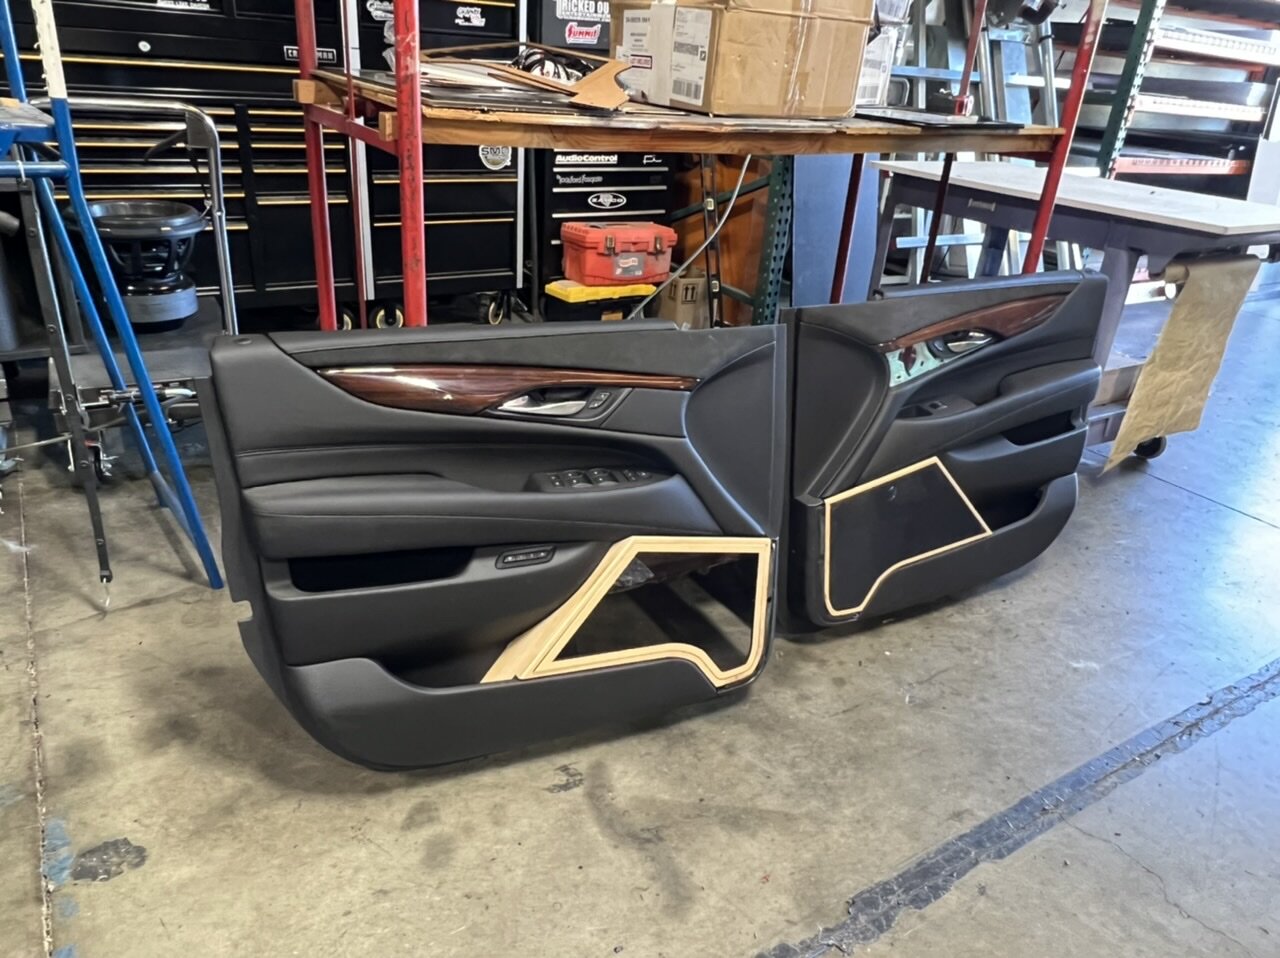
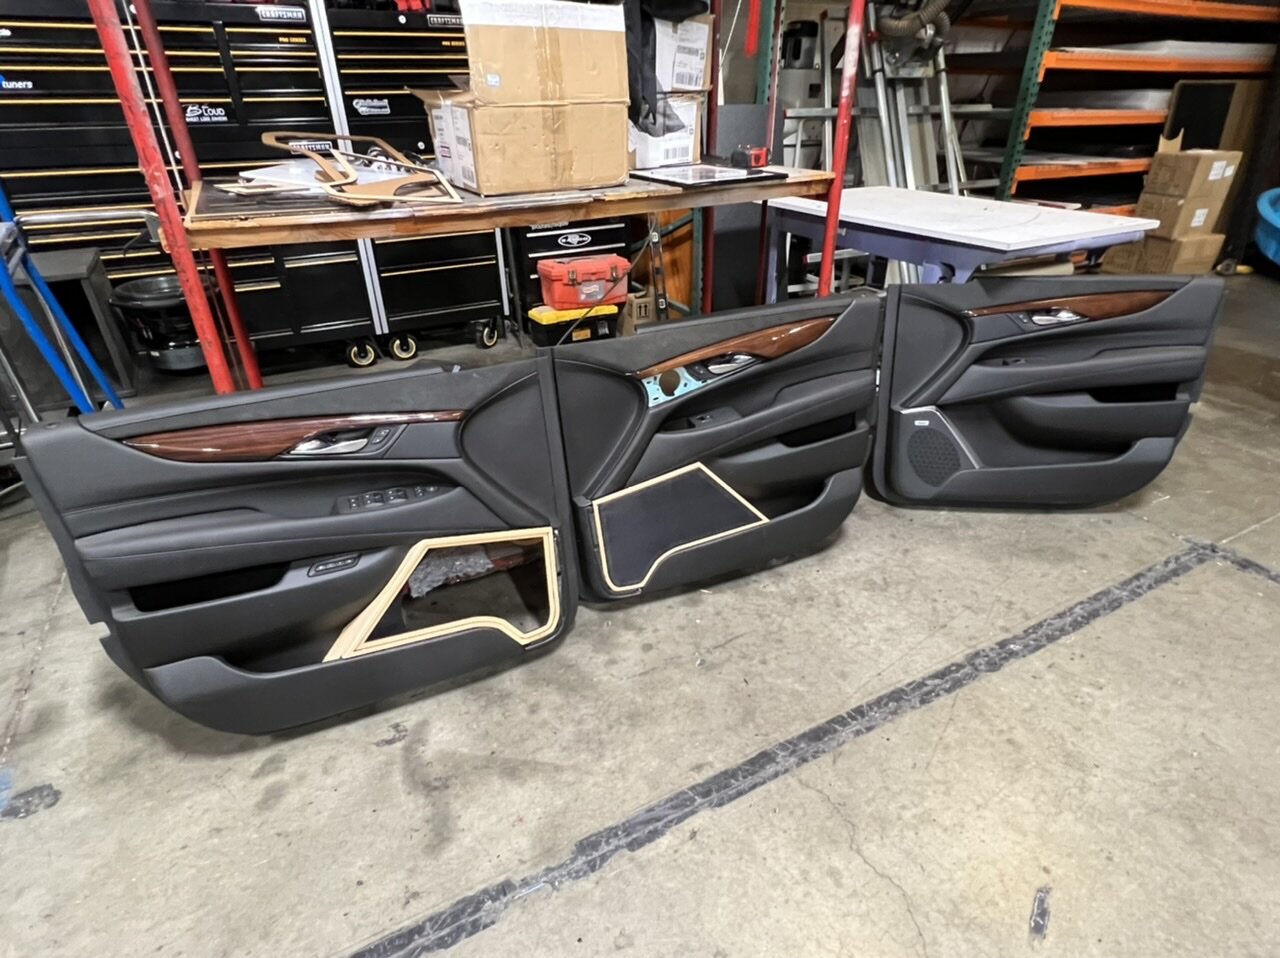
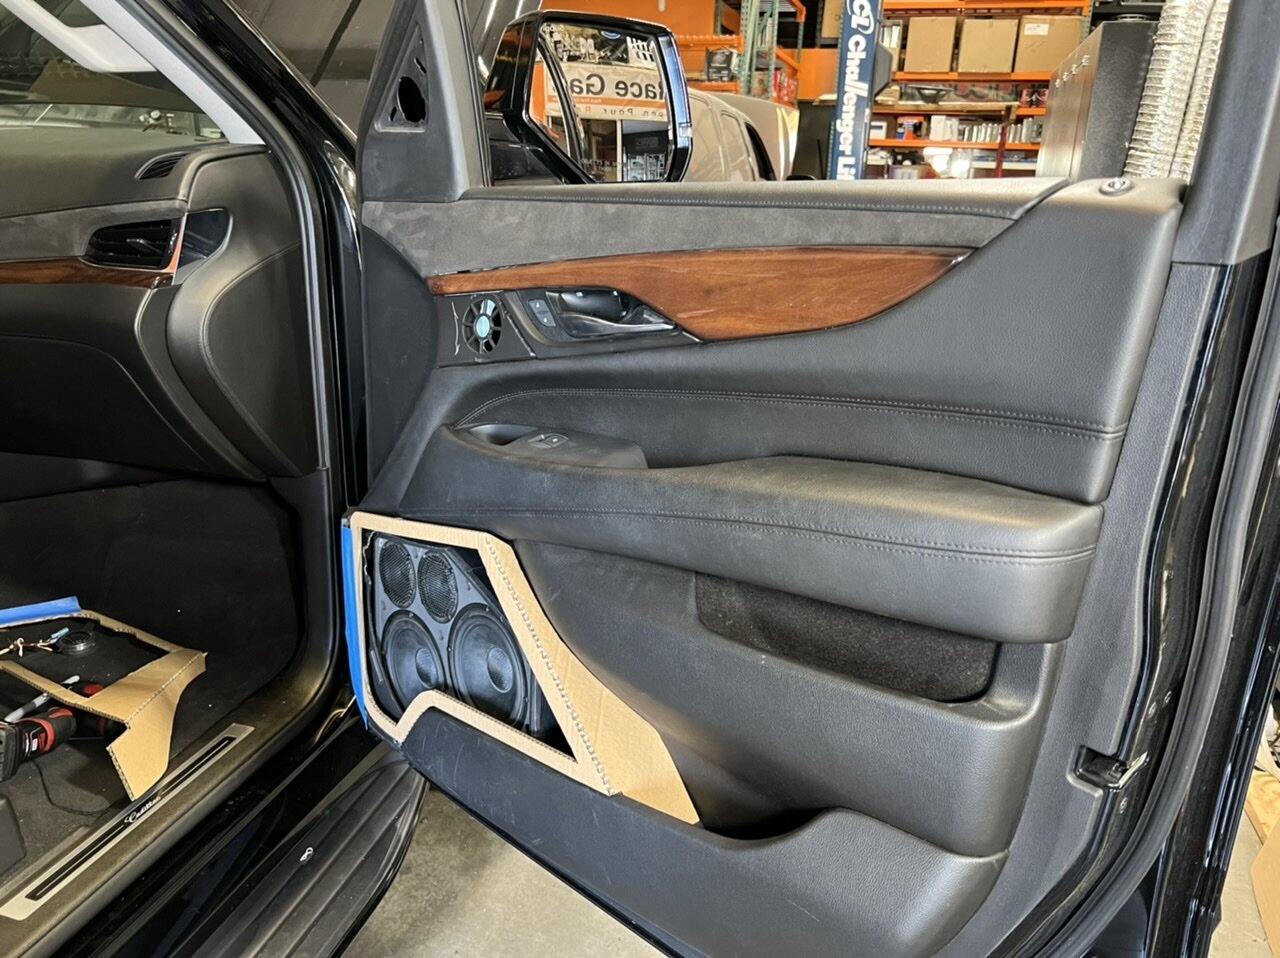
a little bit of kitty hair, some sanding and it is starting to become one!
i rattle canned them black so i can see how they will look NOT wood. Then i sanded some more. As of right now they are still ugly but starting to take shape, If you squint and ignore my sand paper marks you might be able to envision my vision.
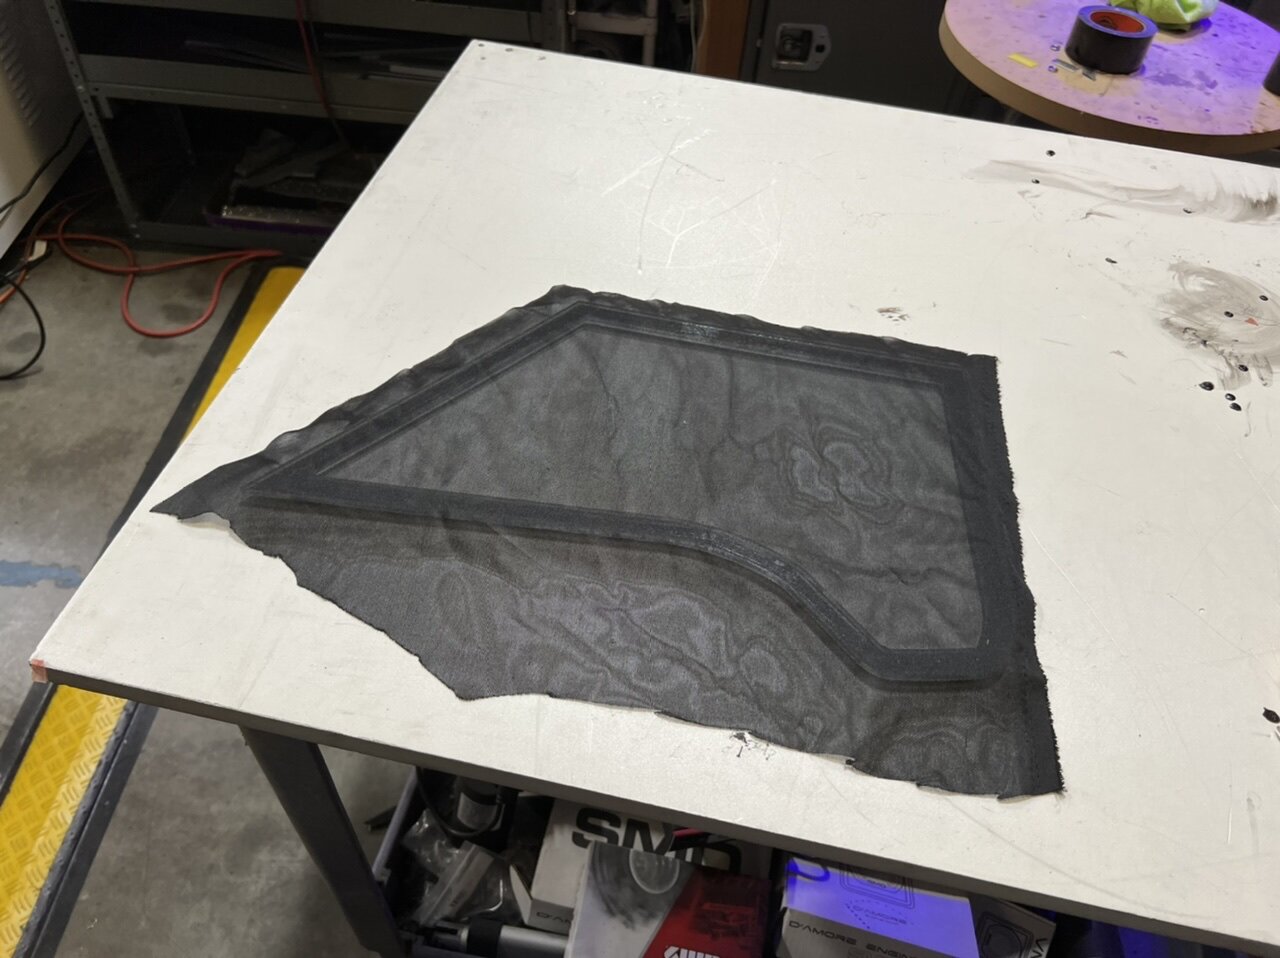
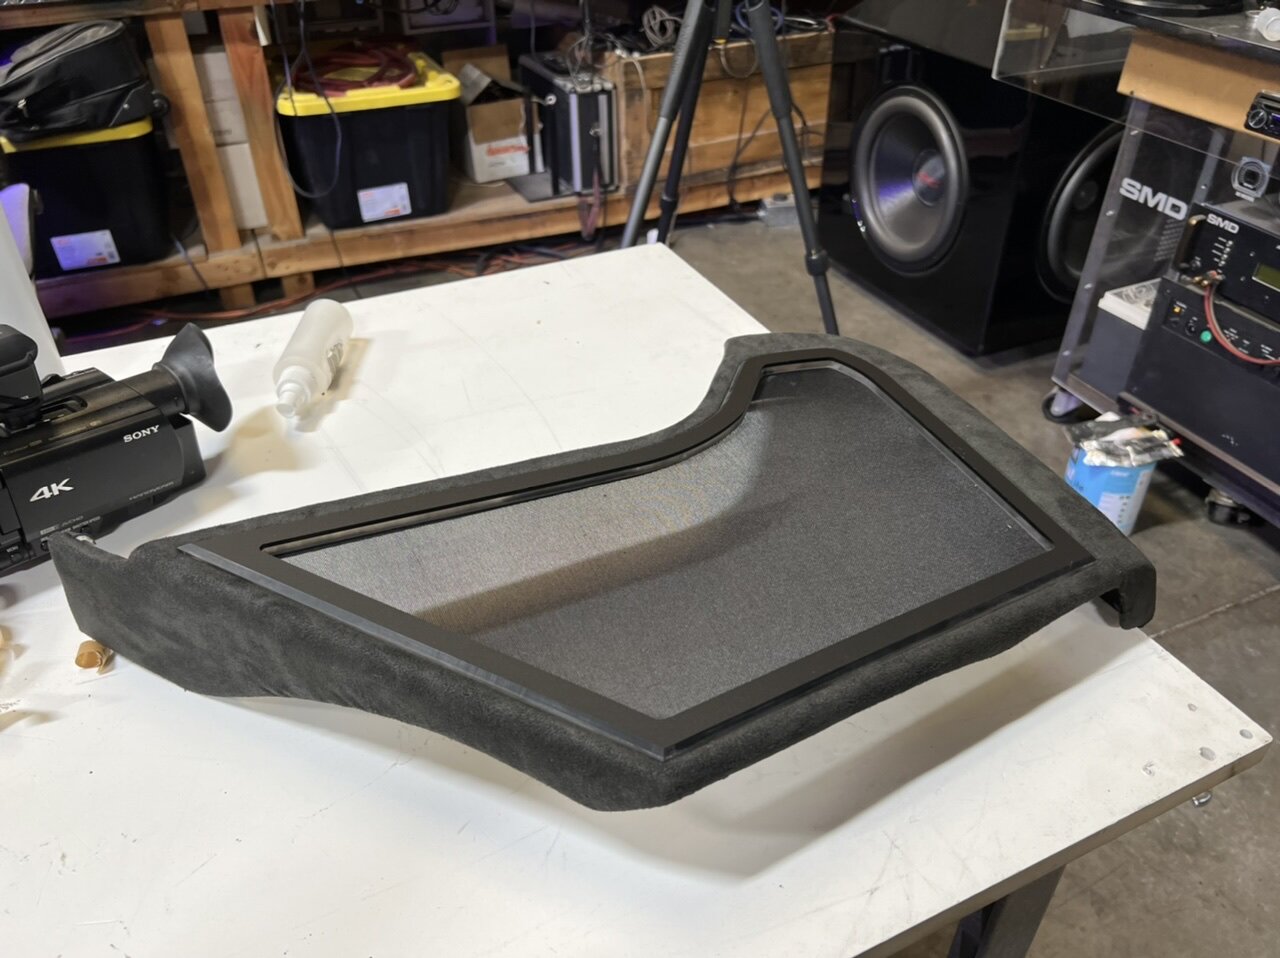
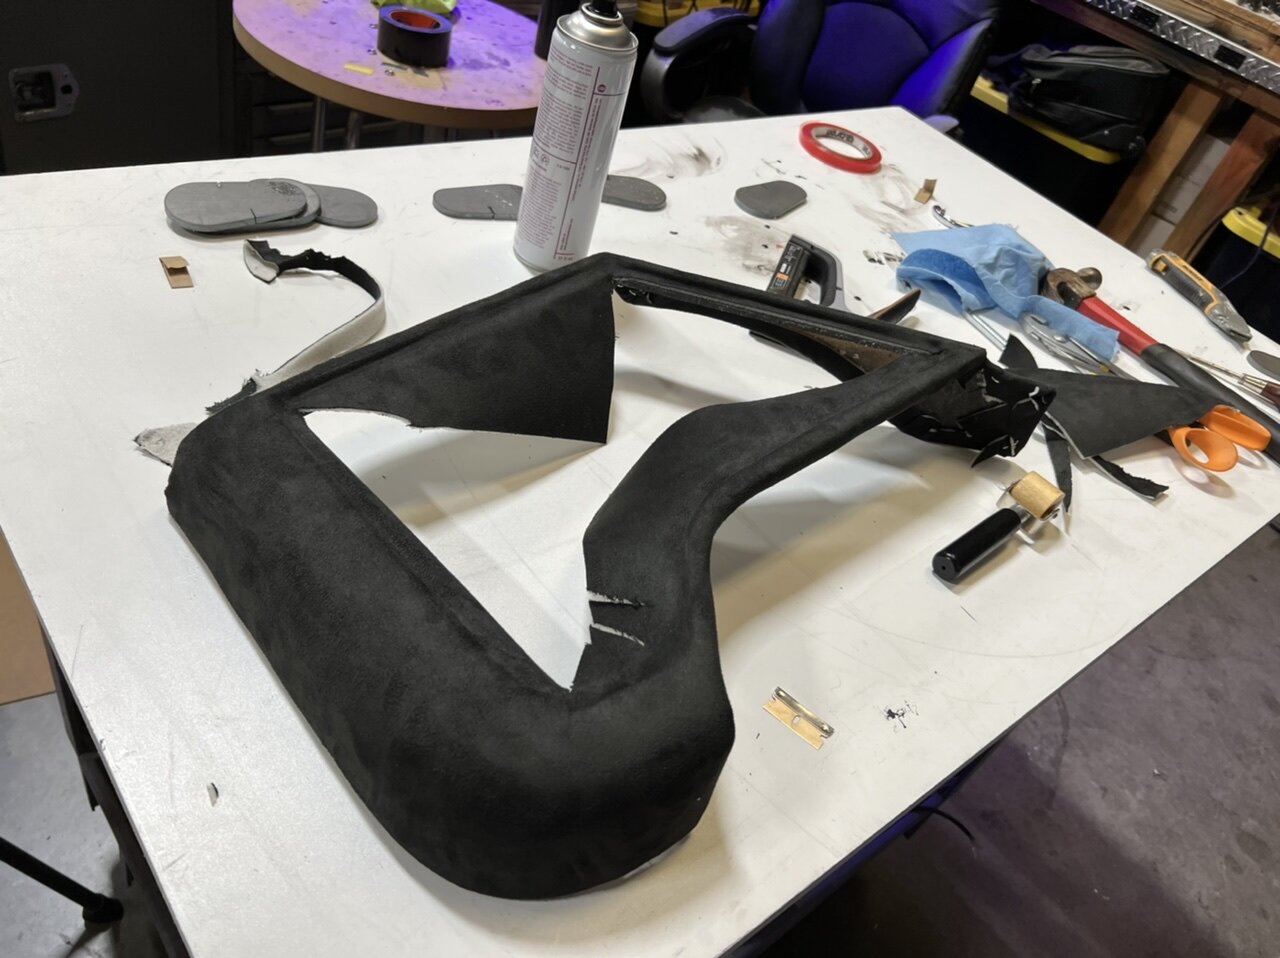
These will be wrapped in black suede to match the upper piece in the door panel. Hopefully tomorrow.
-
3
-
-
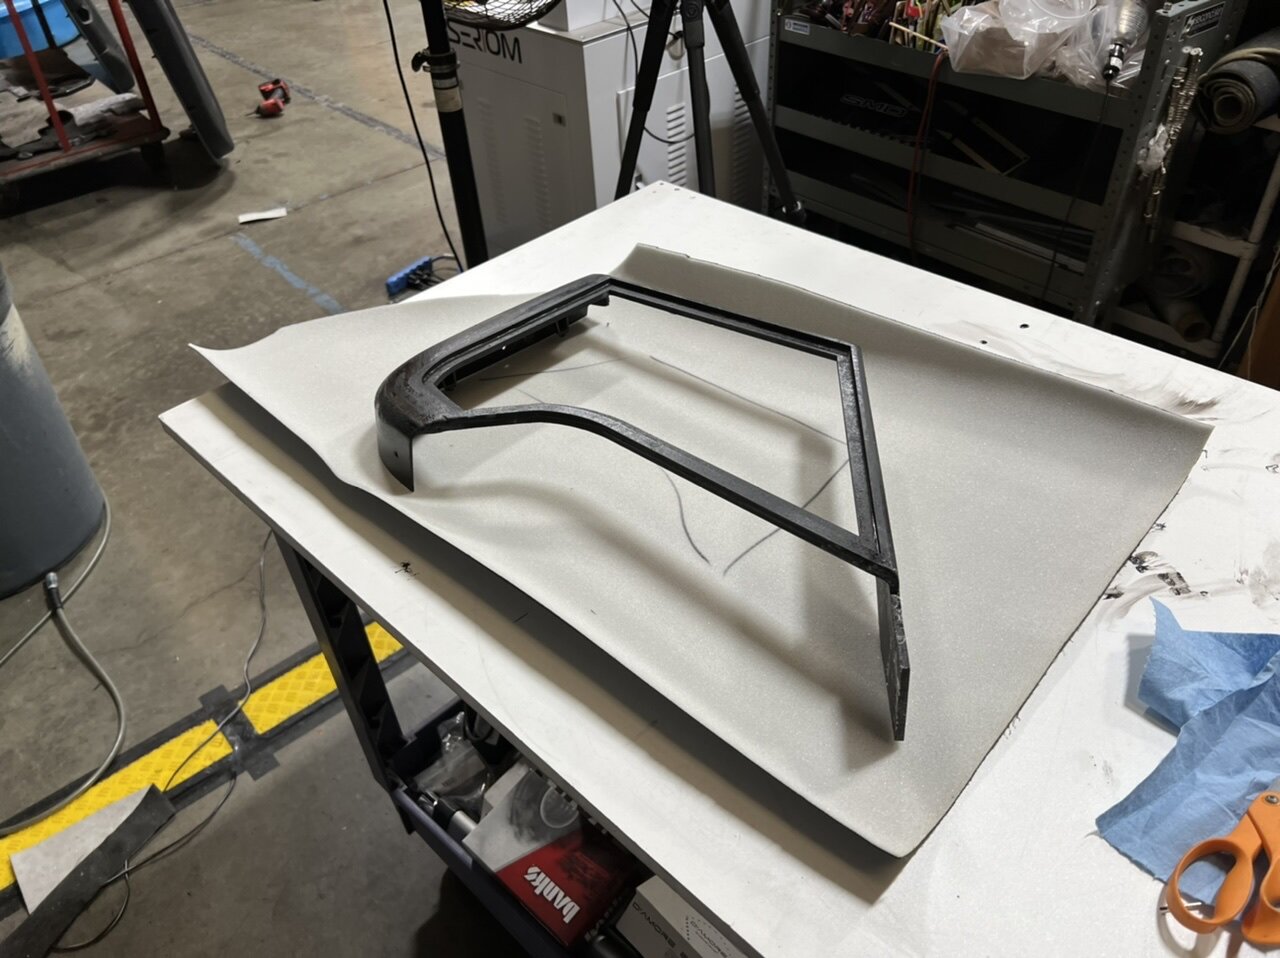
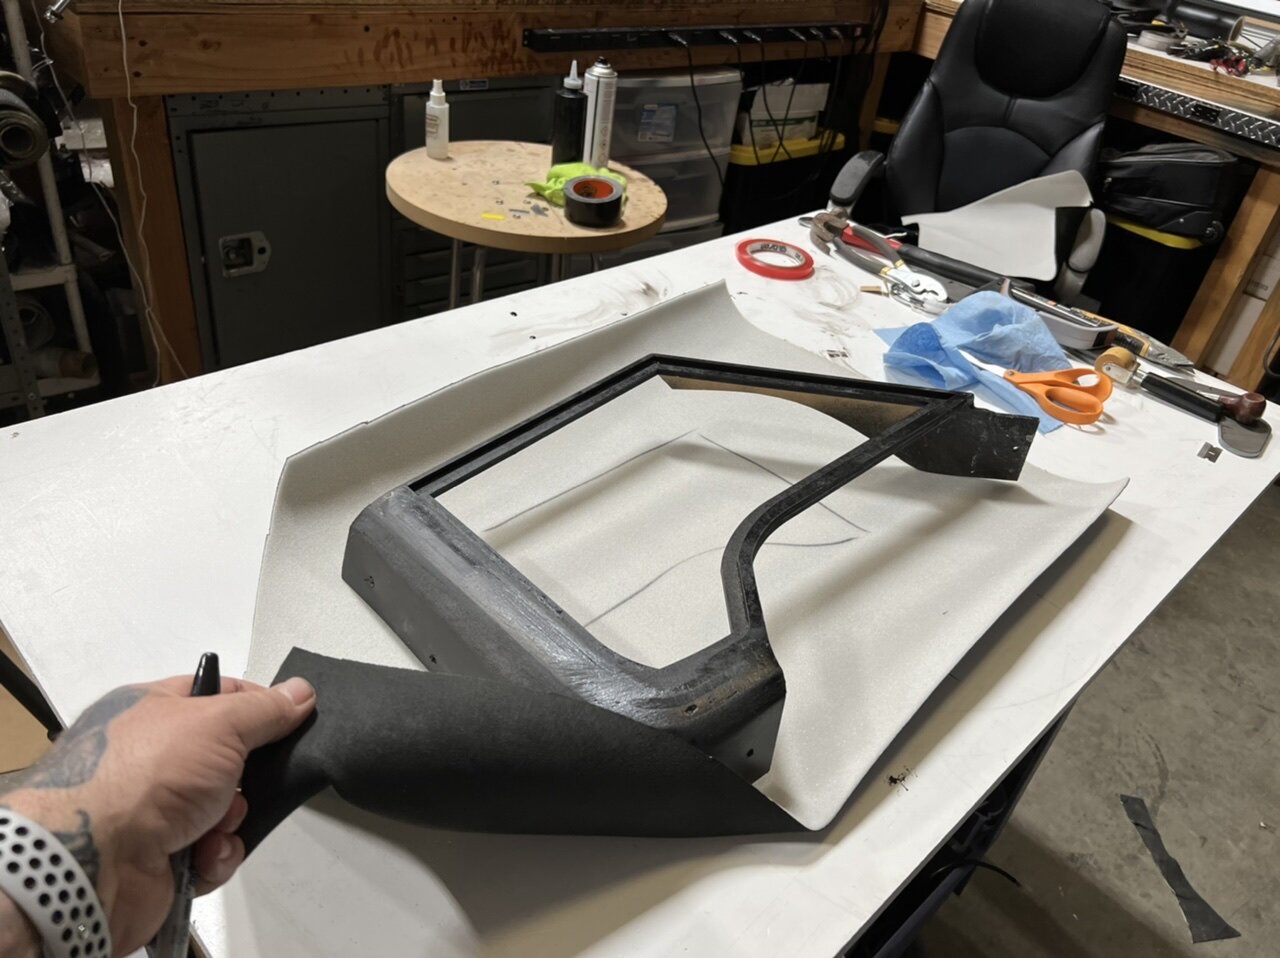
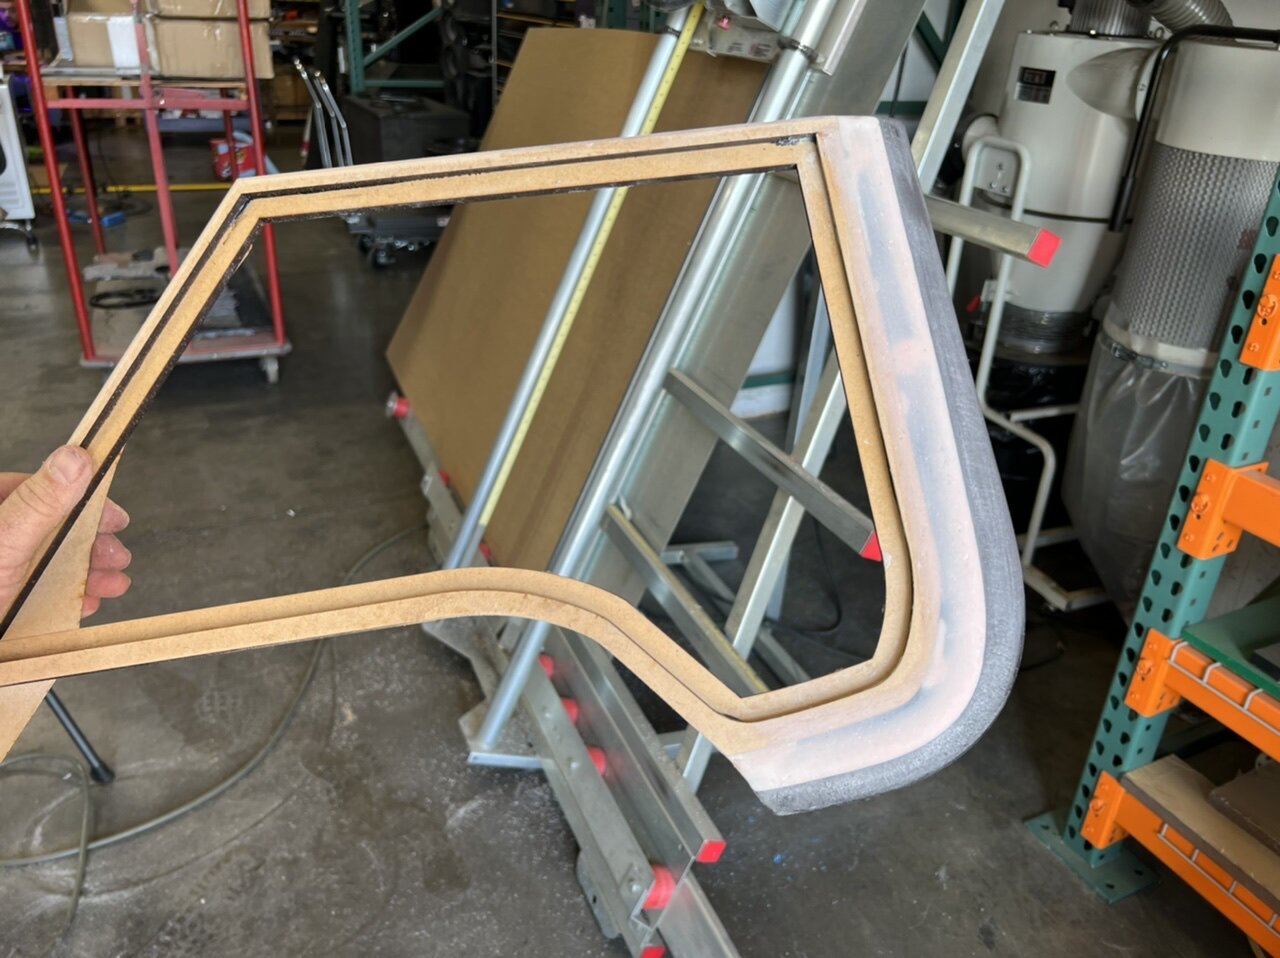
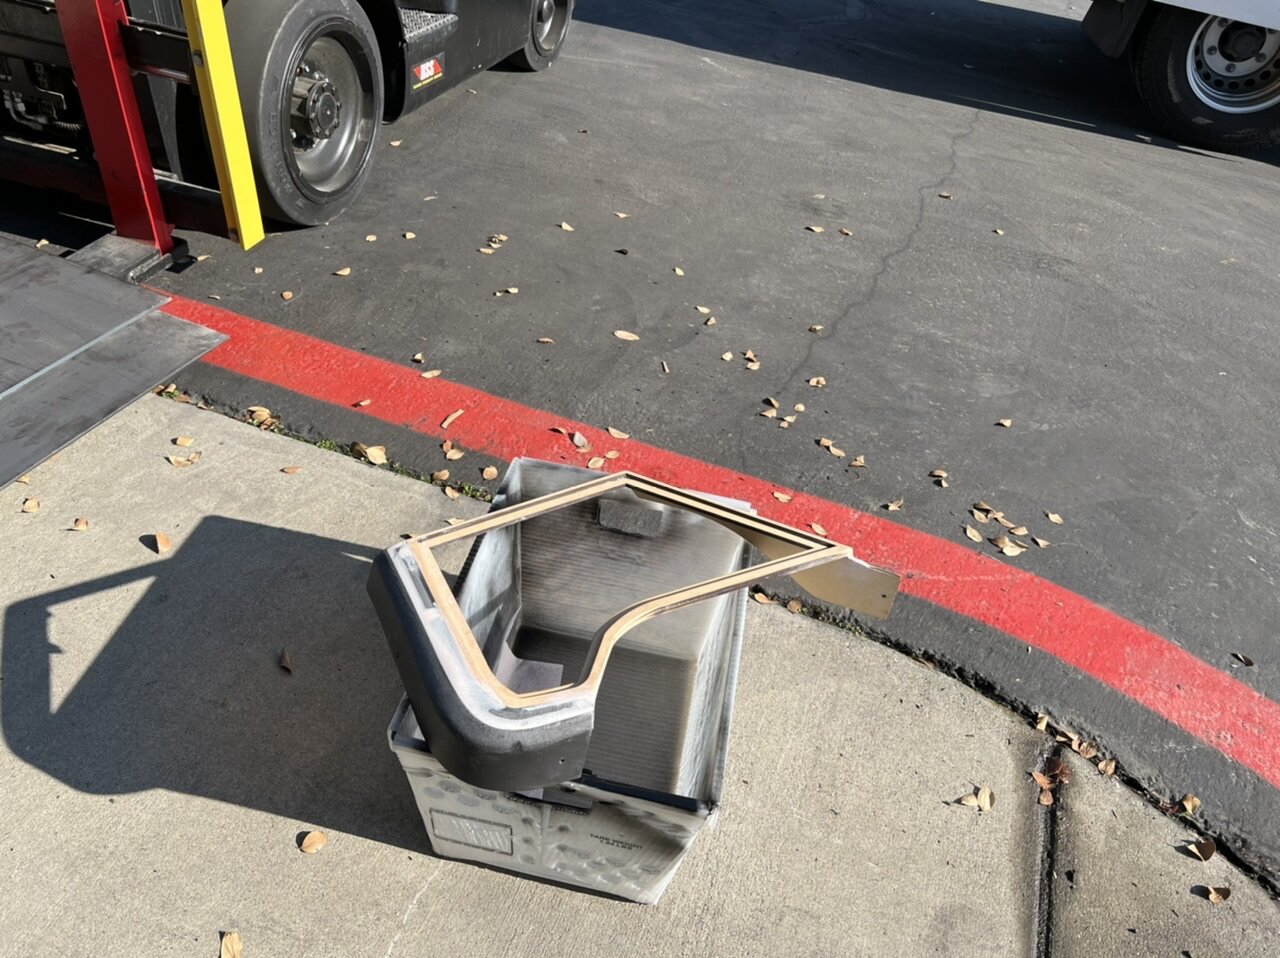
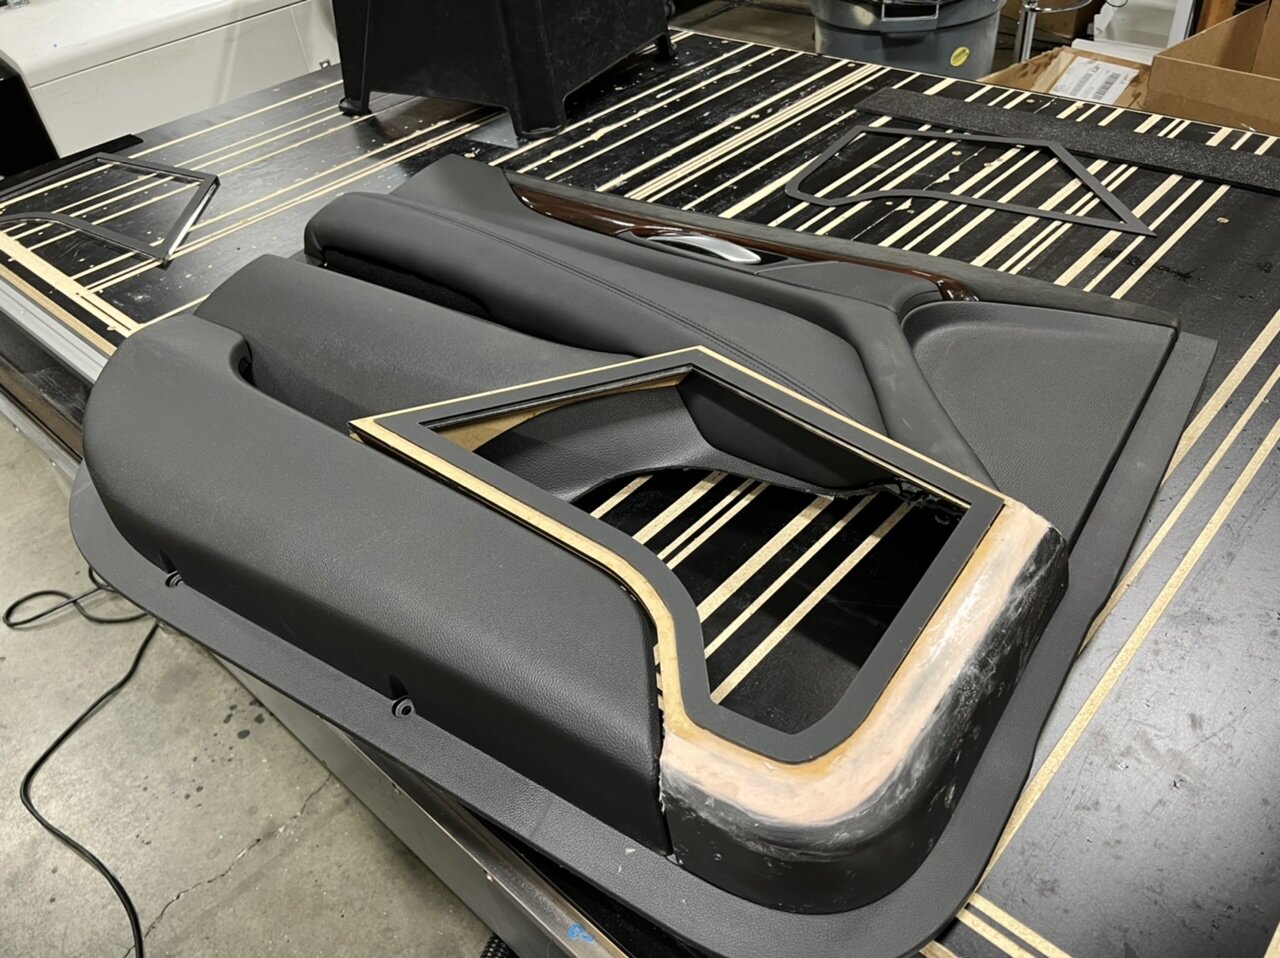
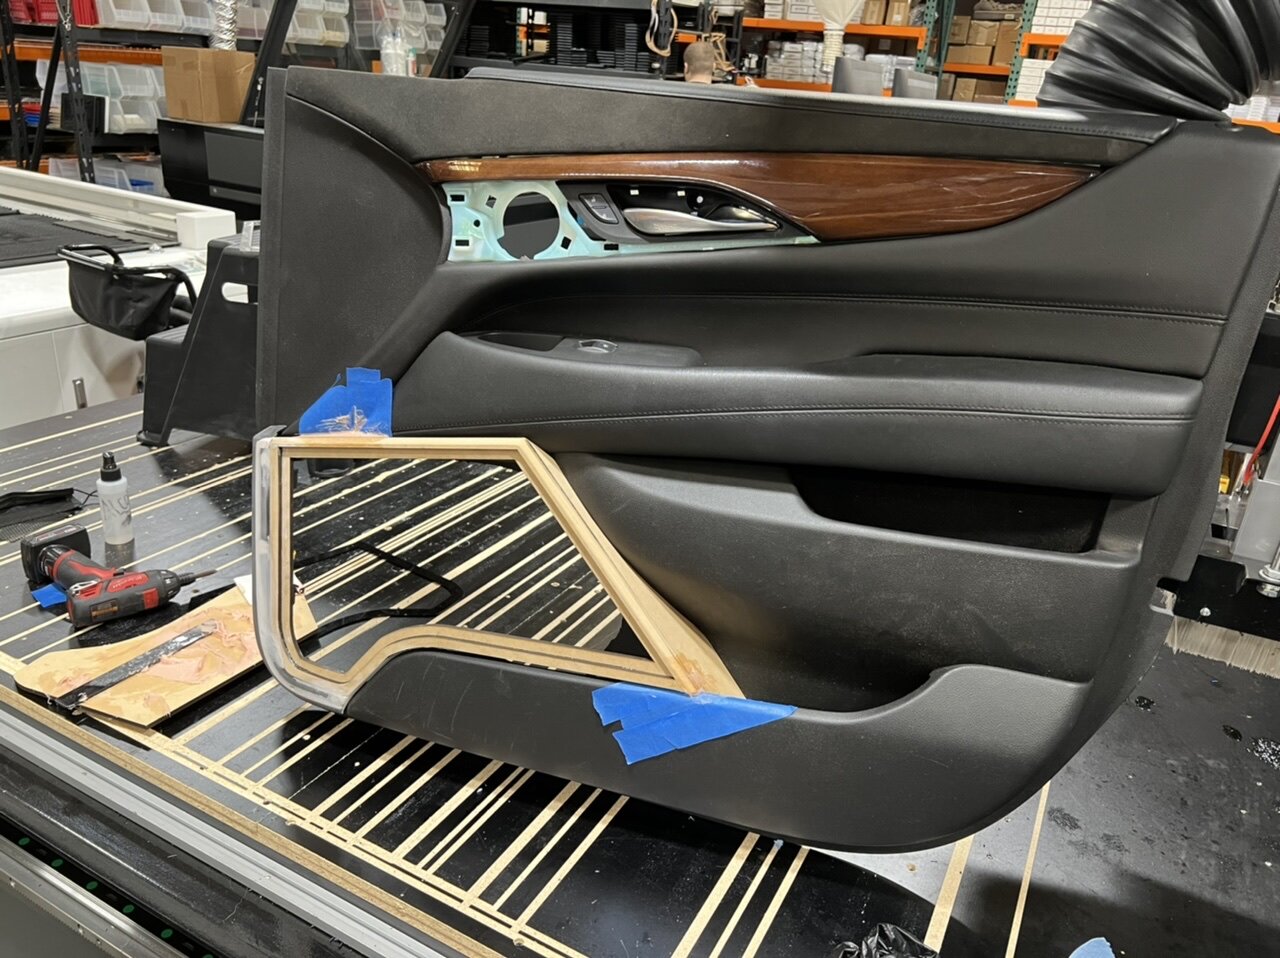
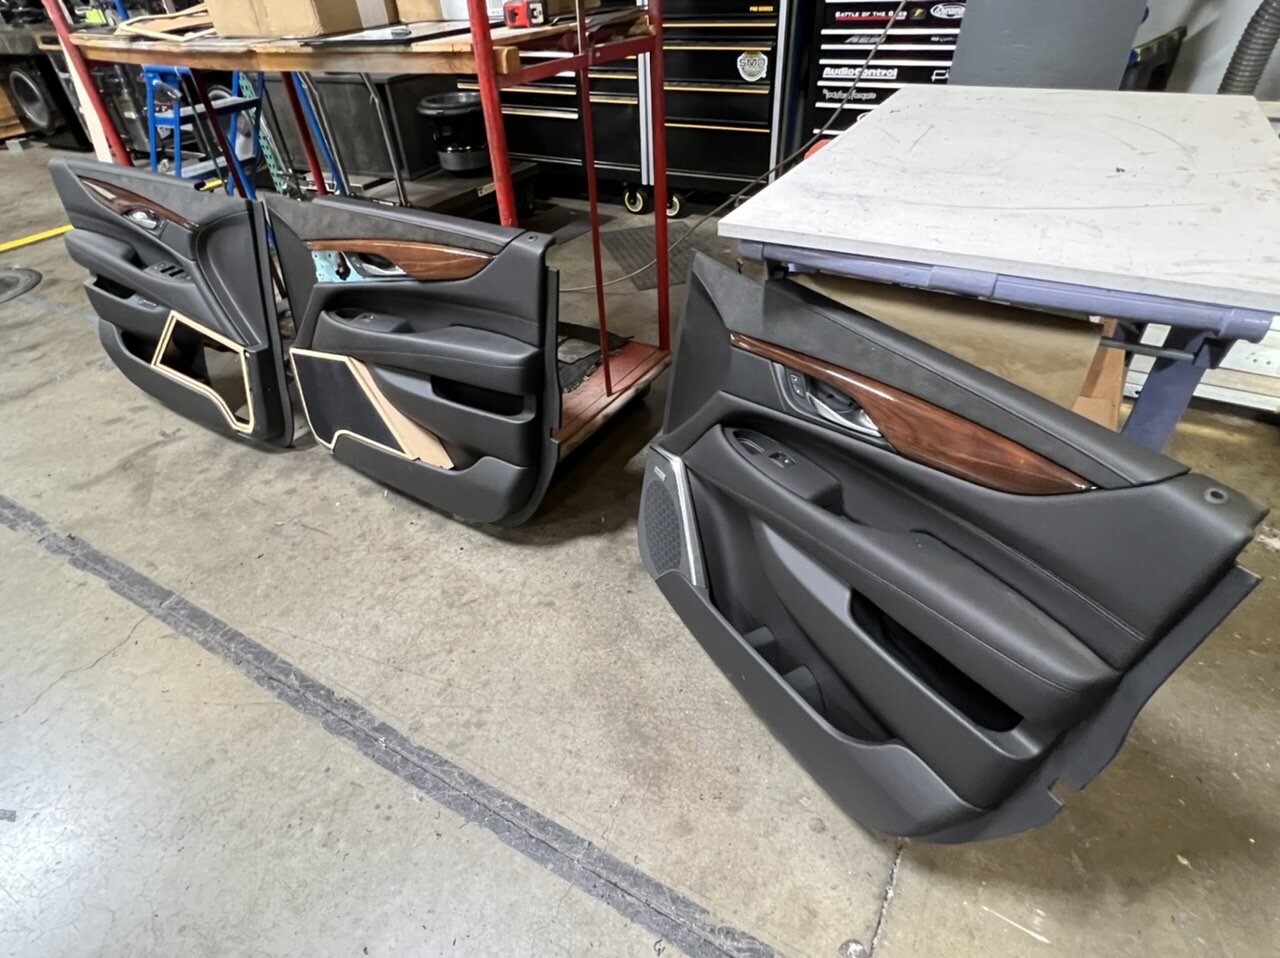
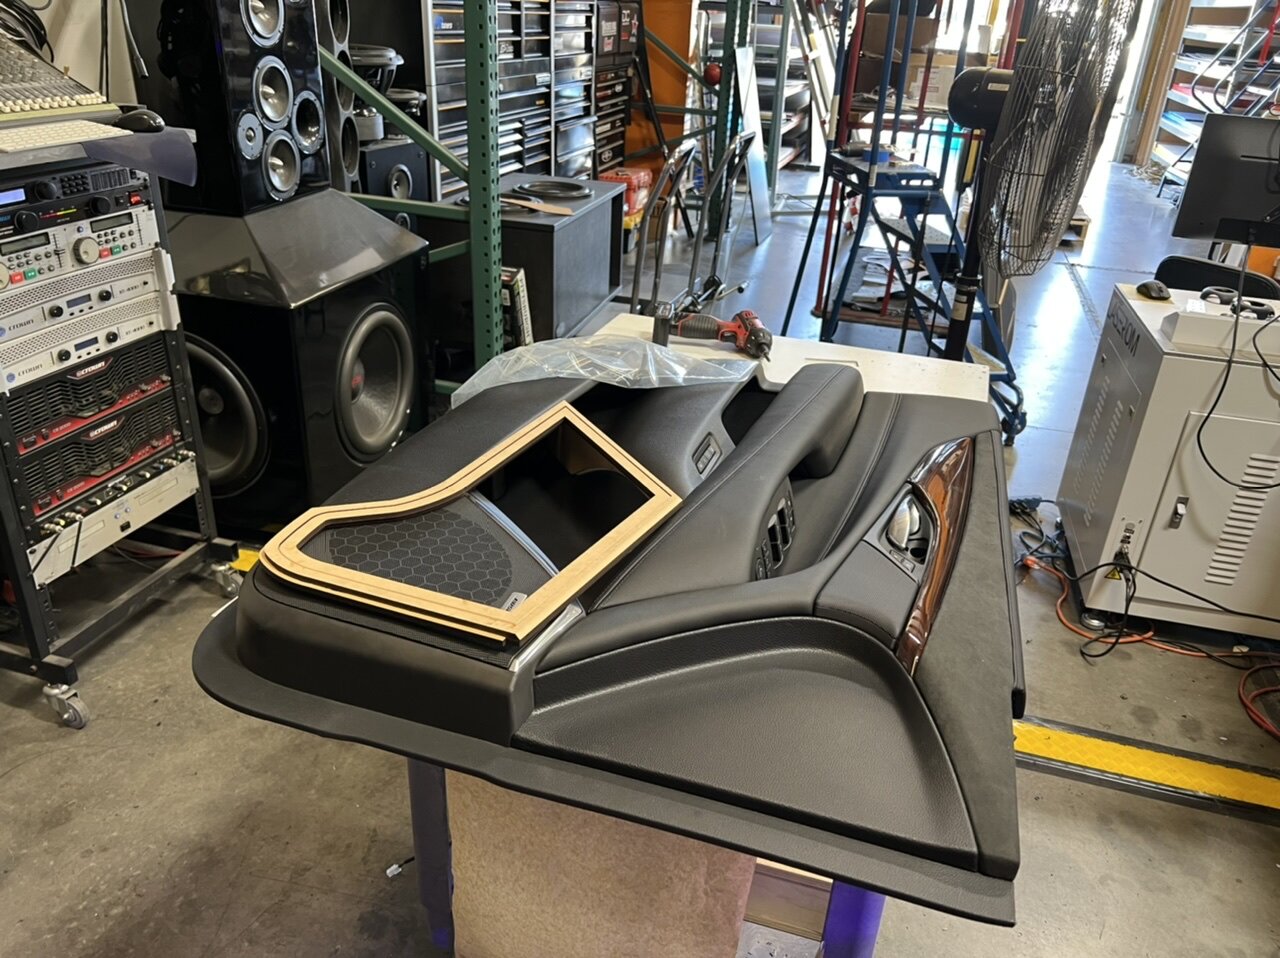
time to start tying in these pieces that were dissected from the panel
*SCREEN SUBJECT TO CHANGE i am still experimenting with what i want to do.
-
1
-
-
-
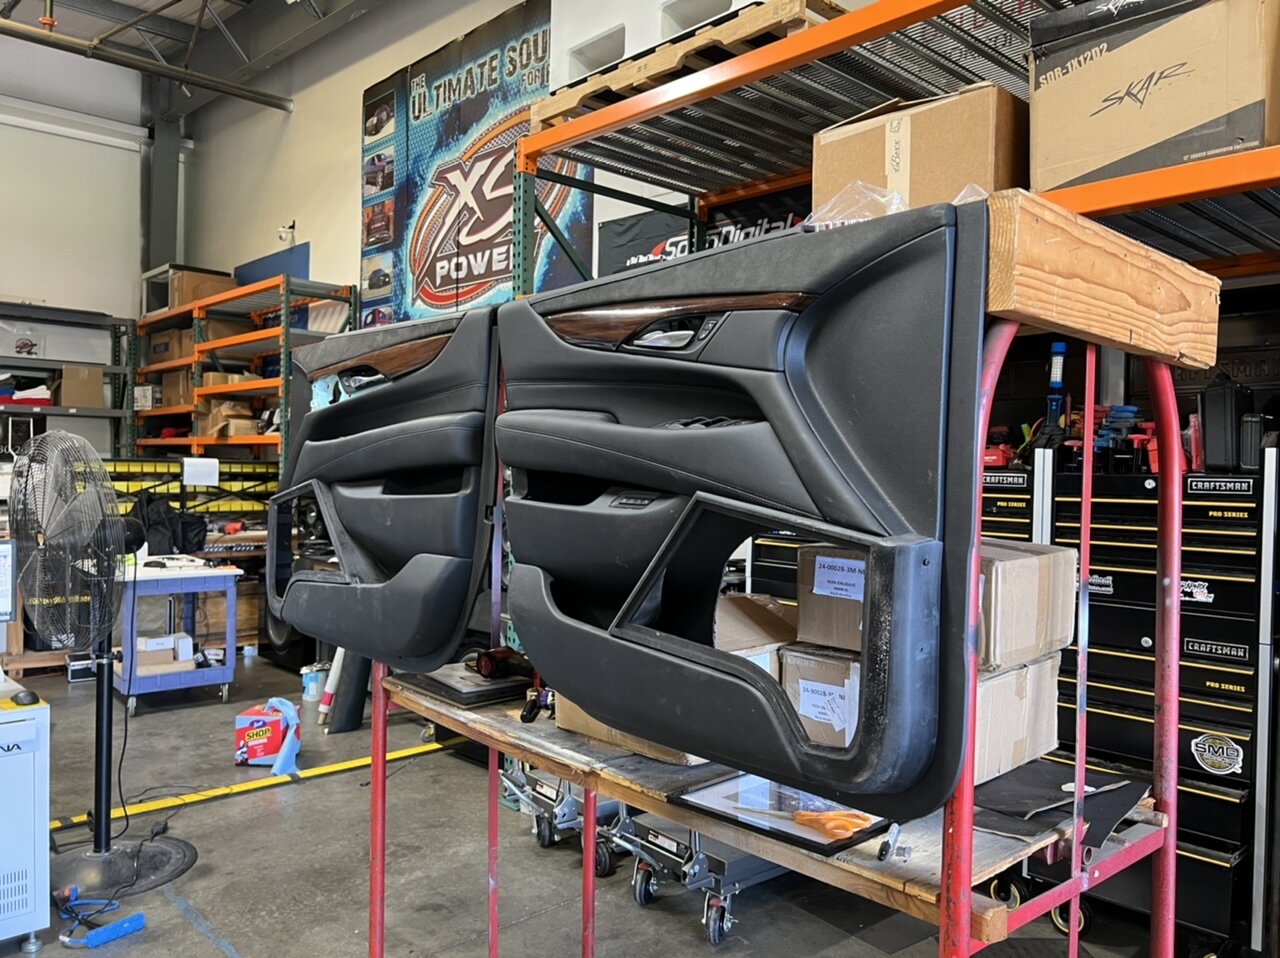
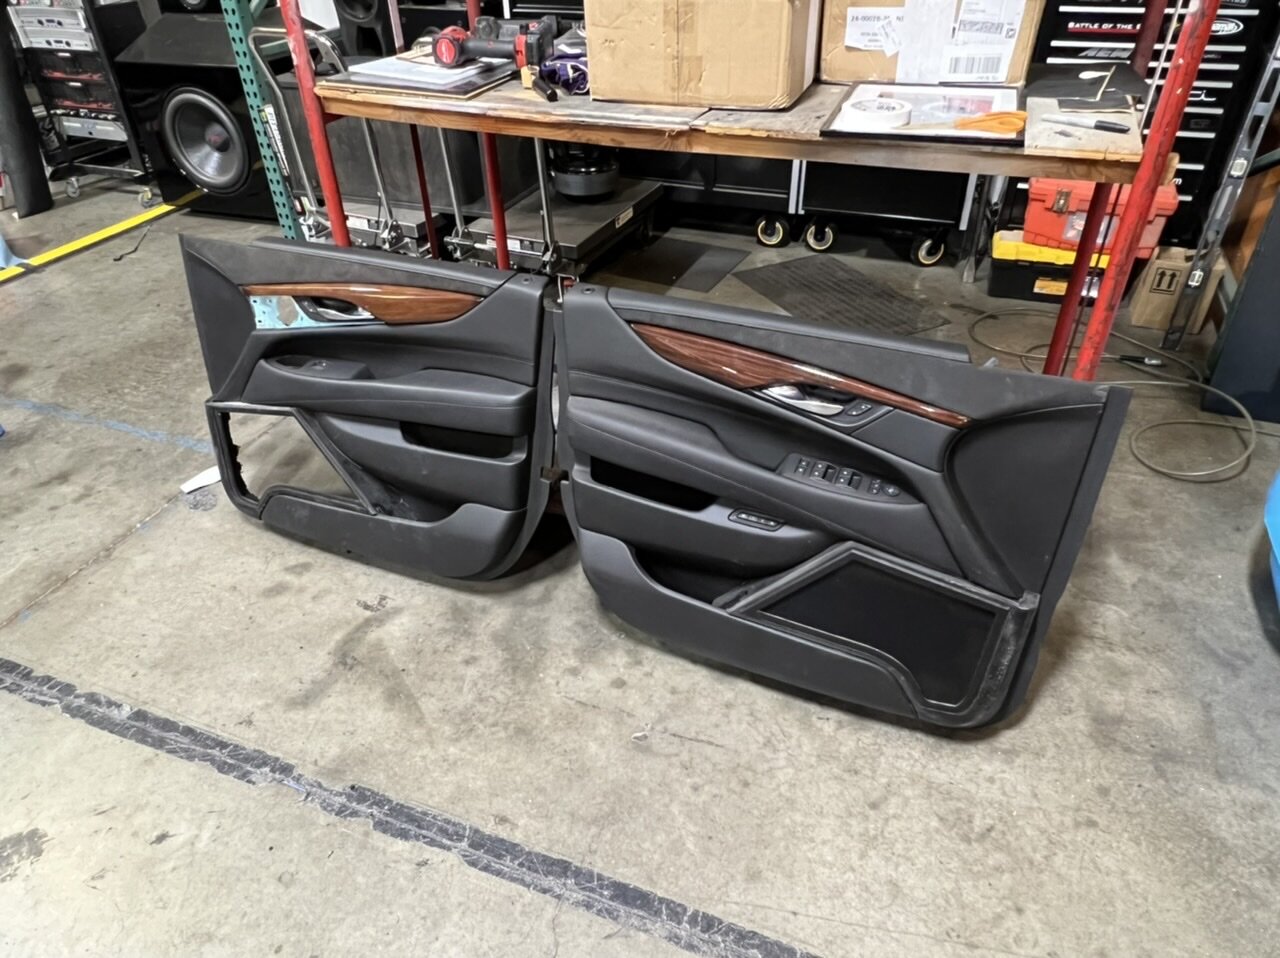
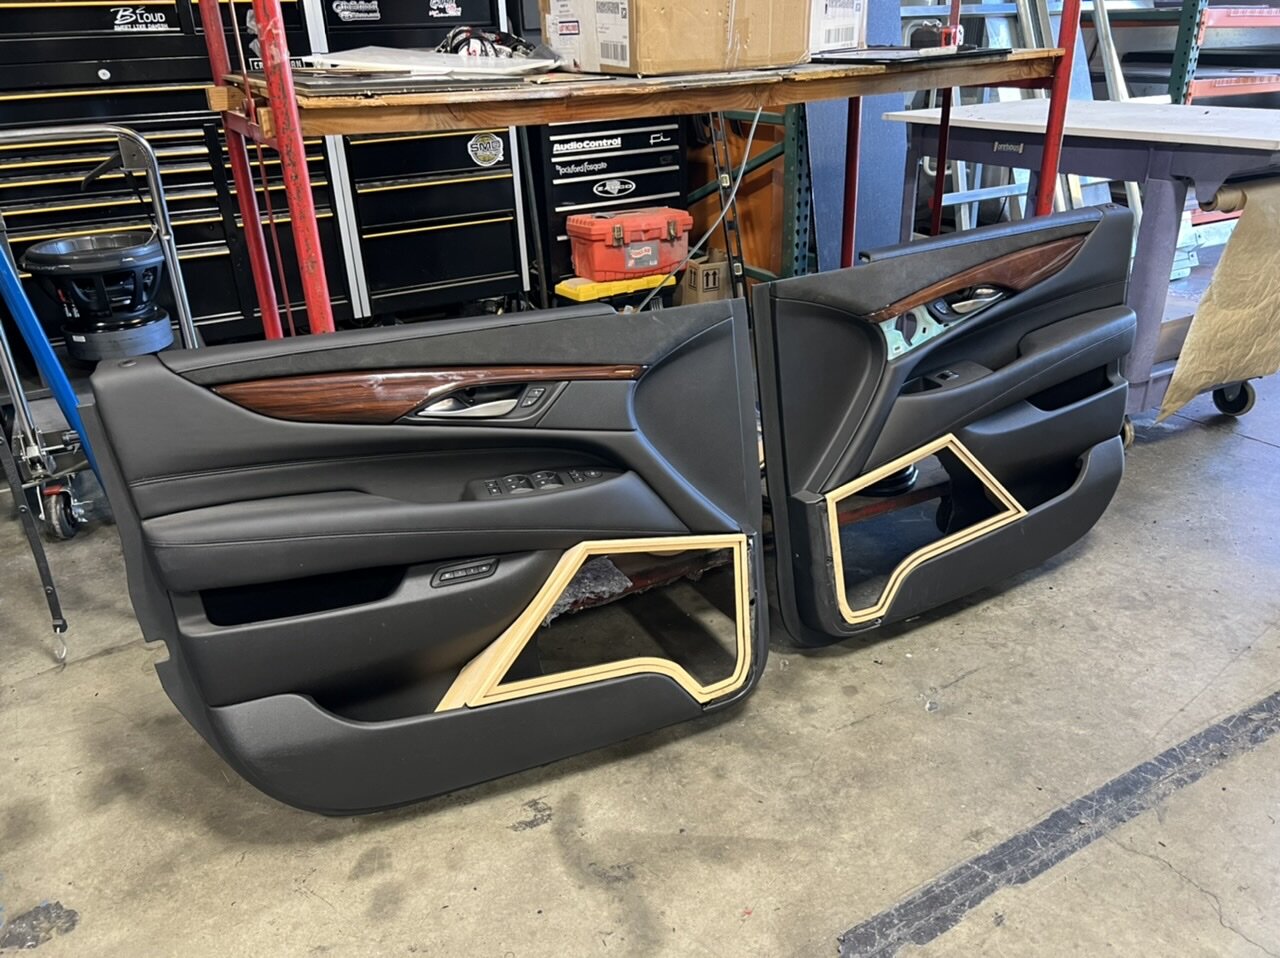
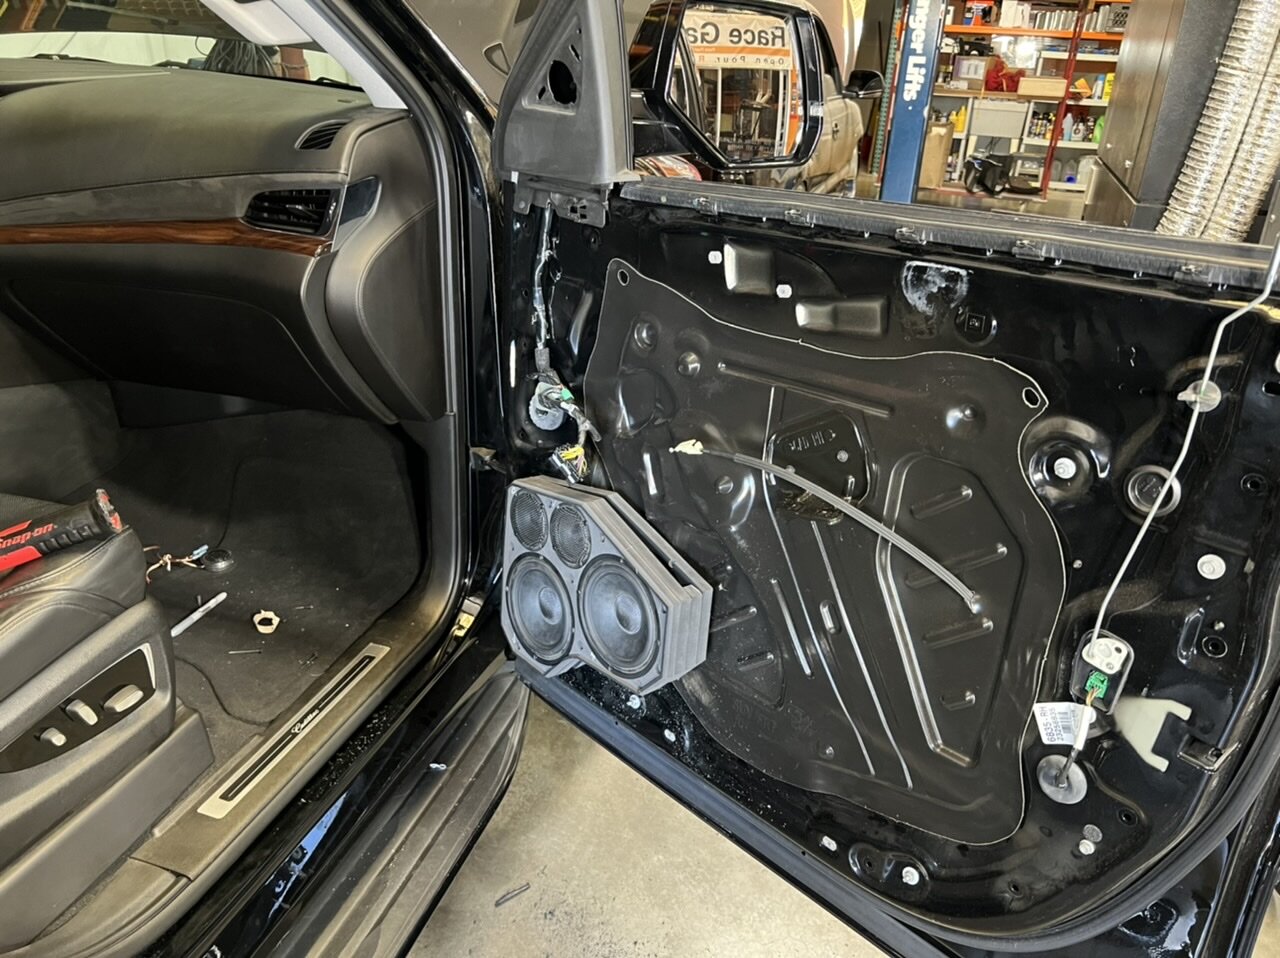
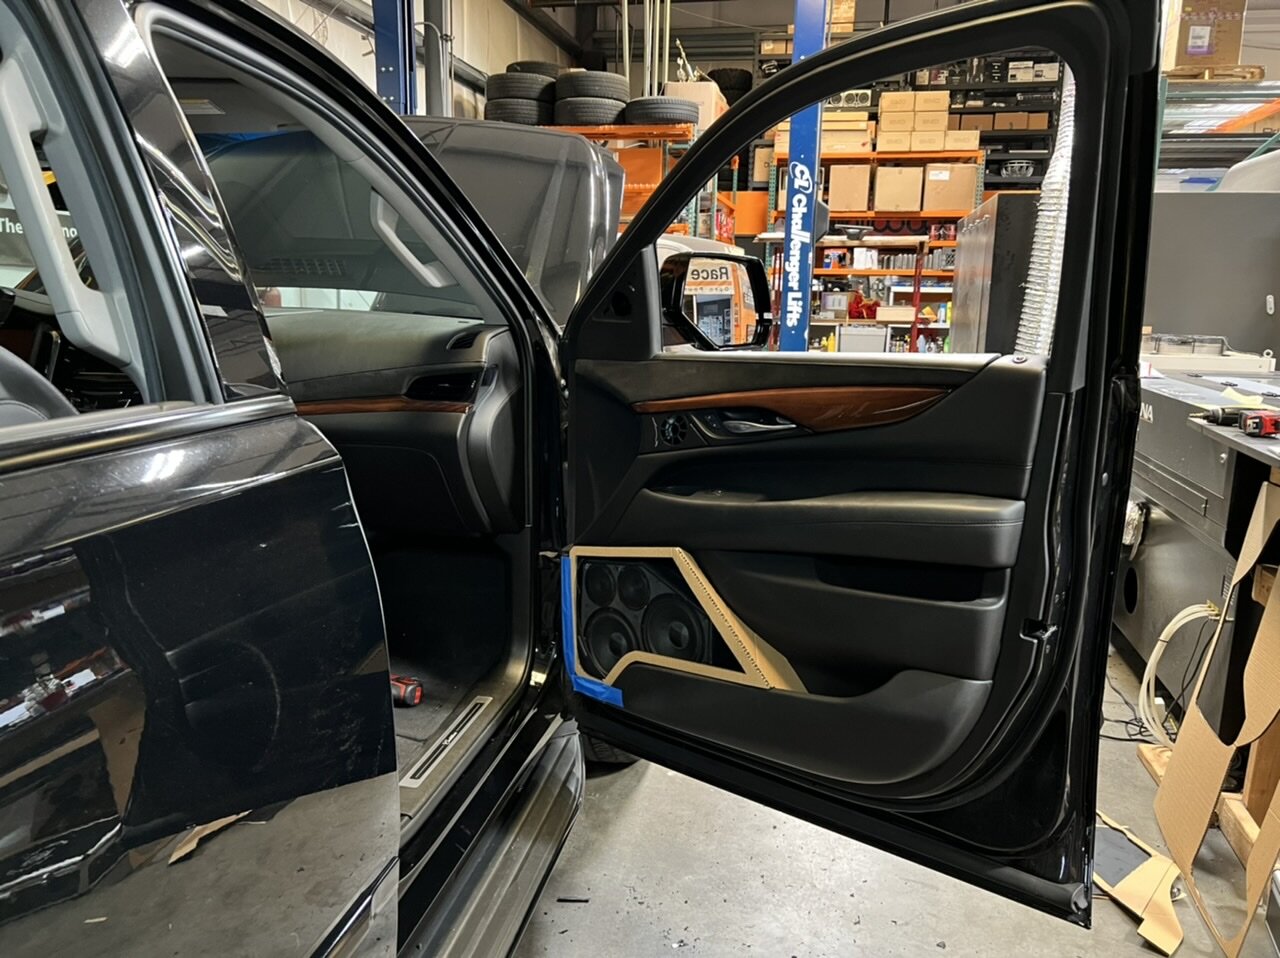
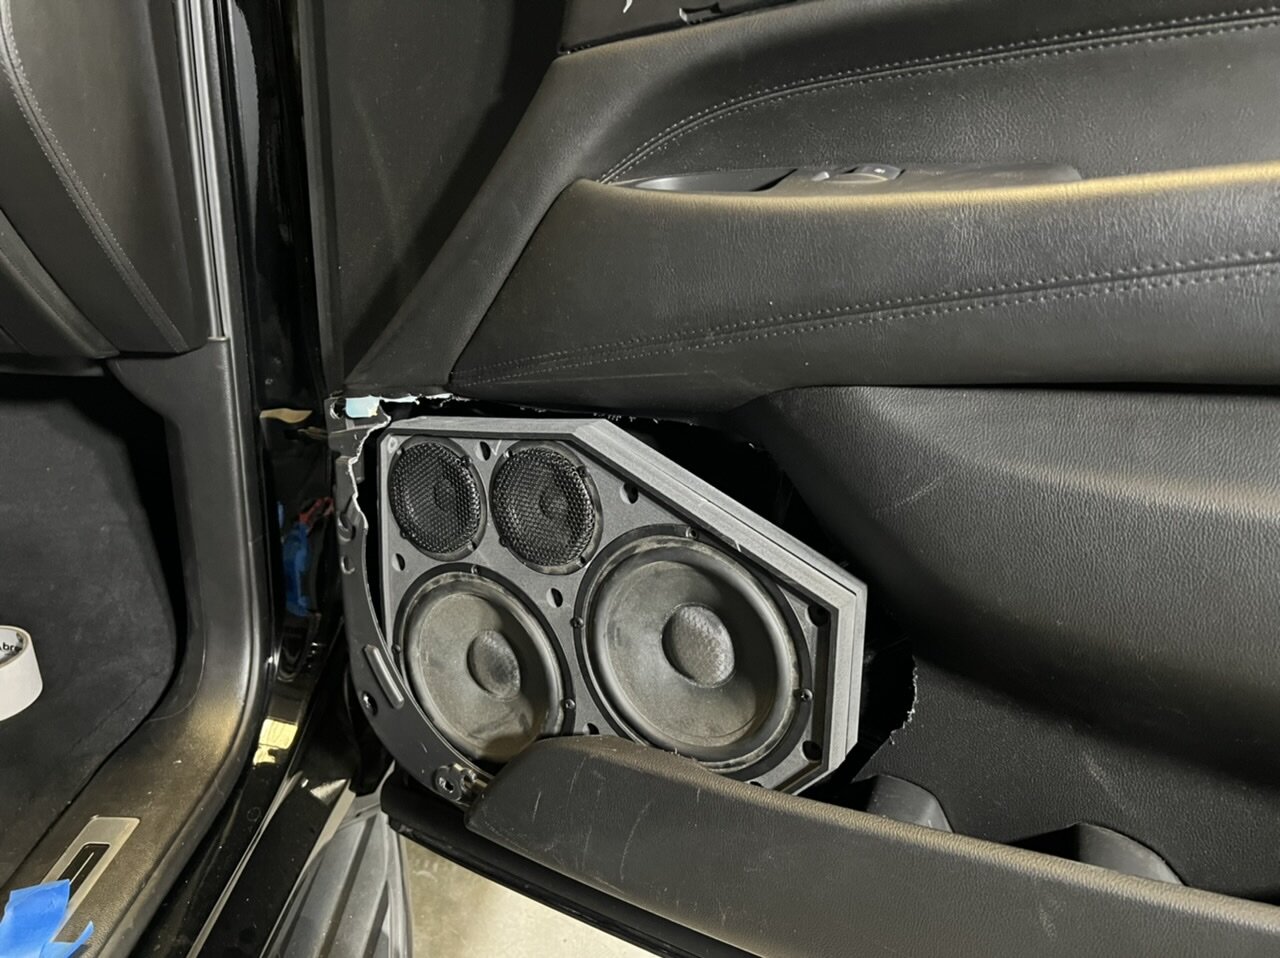
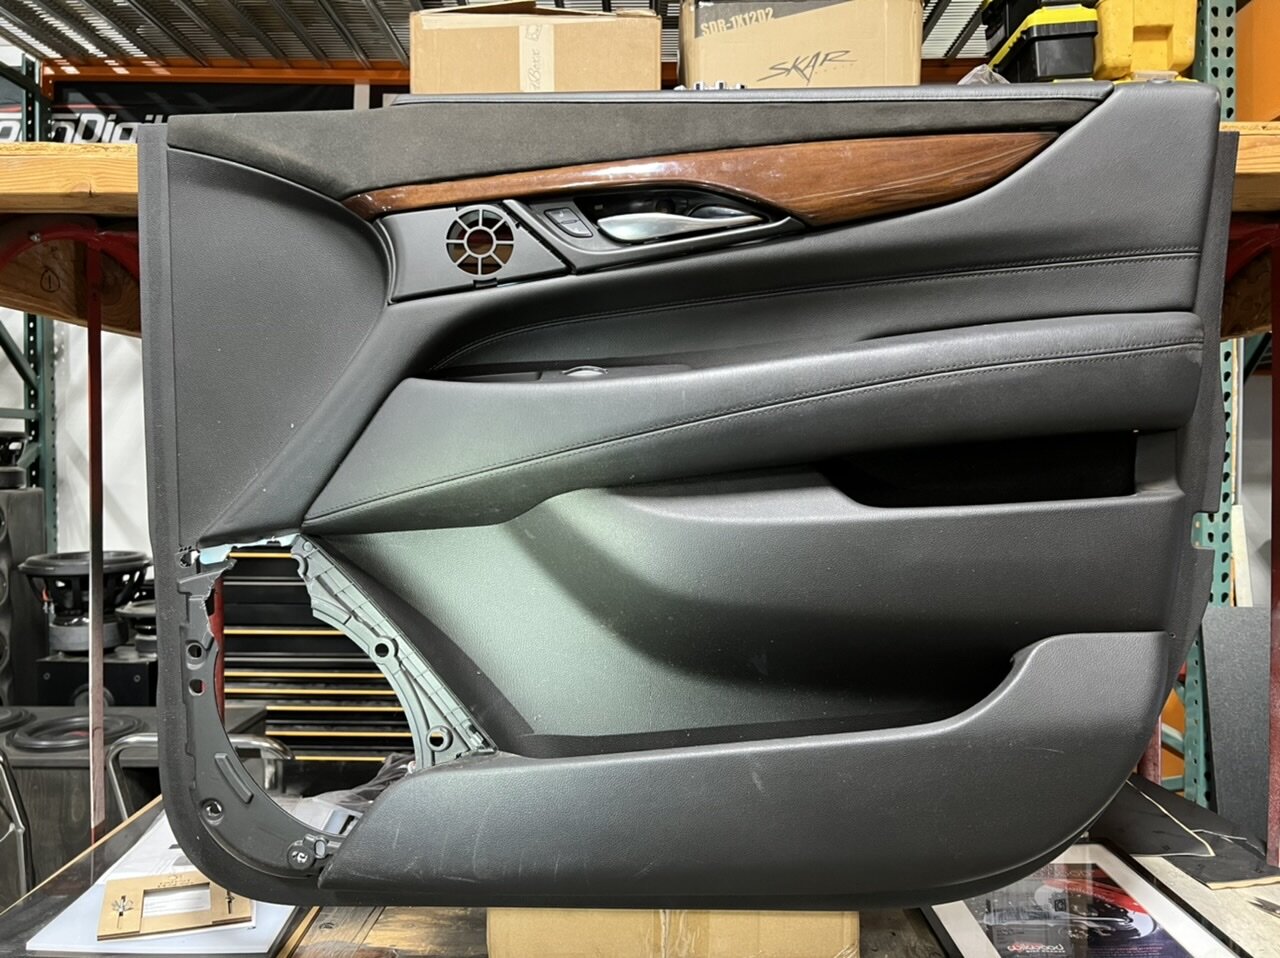
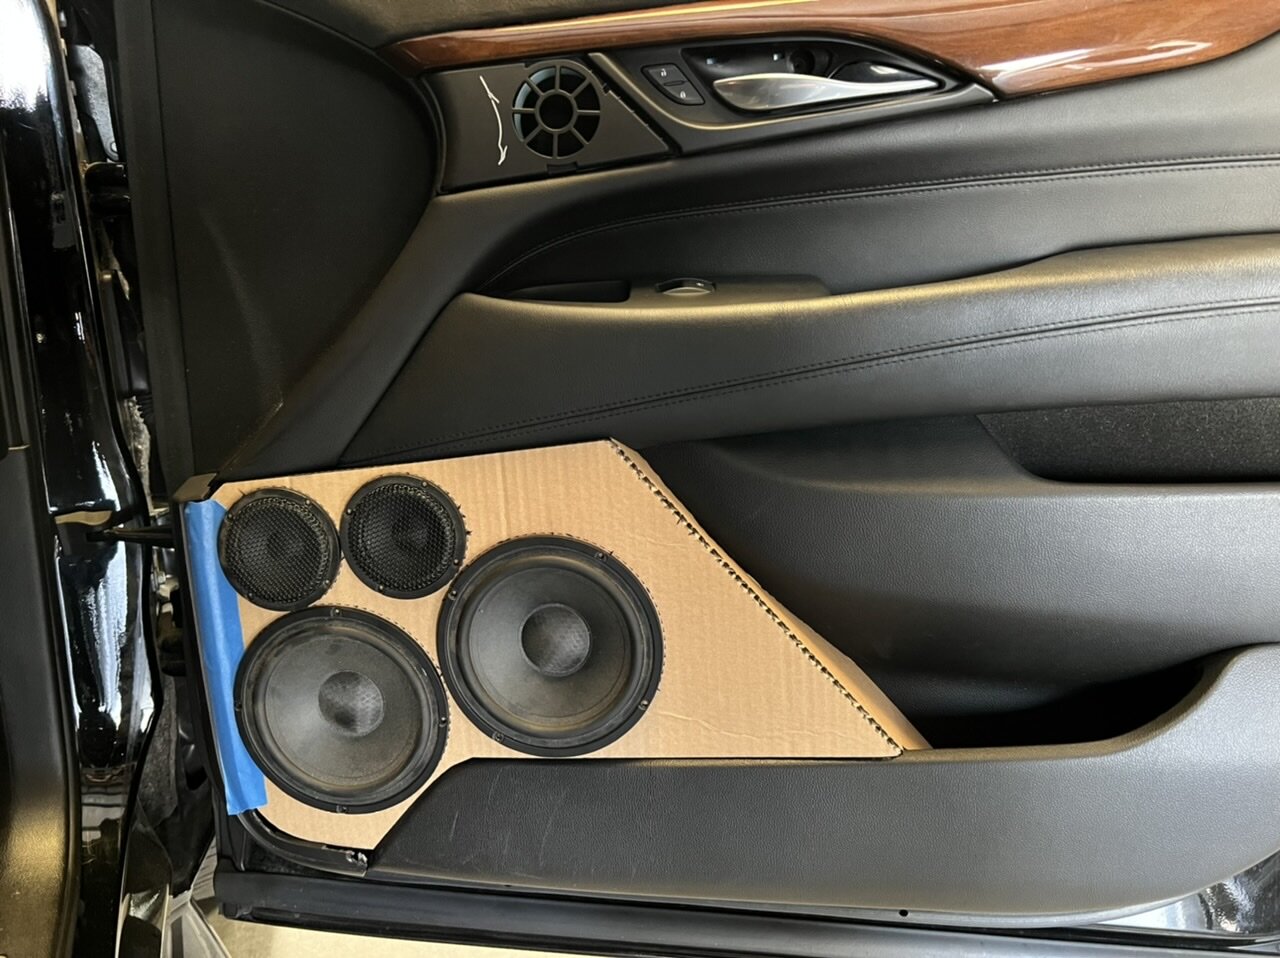
time to cut a hole in the driver side and change out the cardboard for something stronger.
-
1
-
-
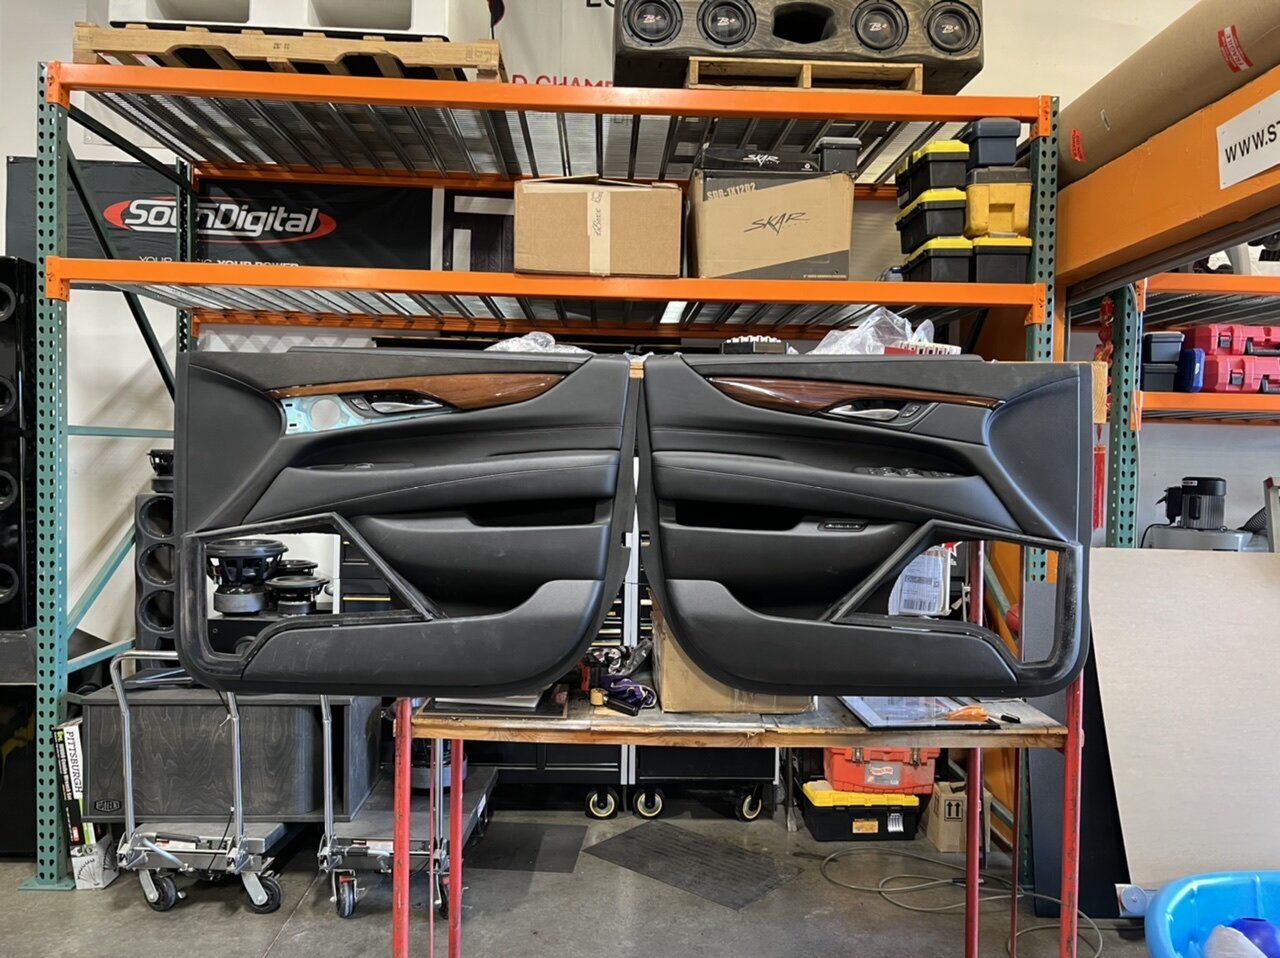
tweeters will be going up top either in the spot where the factory 3 was or in the sail panel. I don't have a lot of choice in the matter. All i can do is try to do a good job. Stay tuned ill post more when i have more!
-
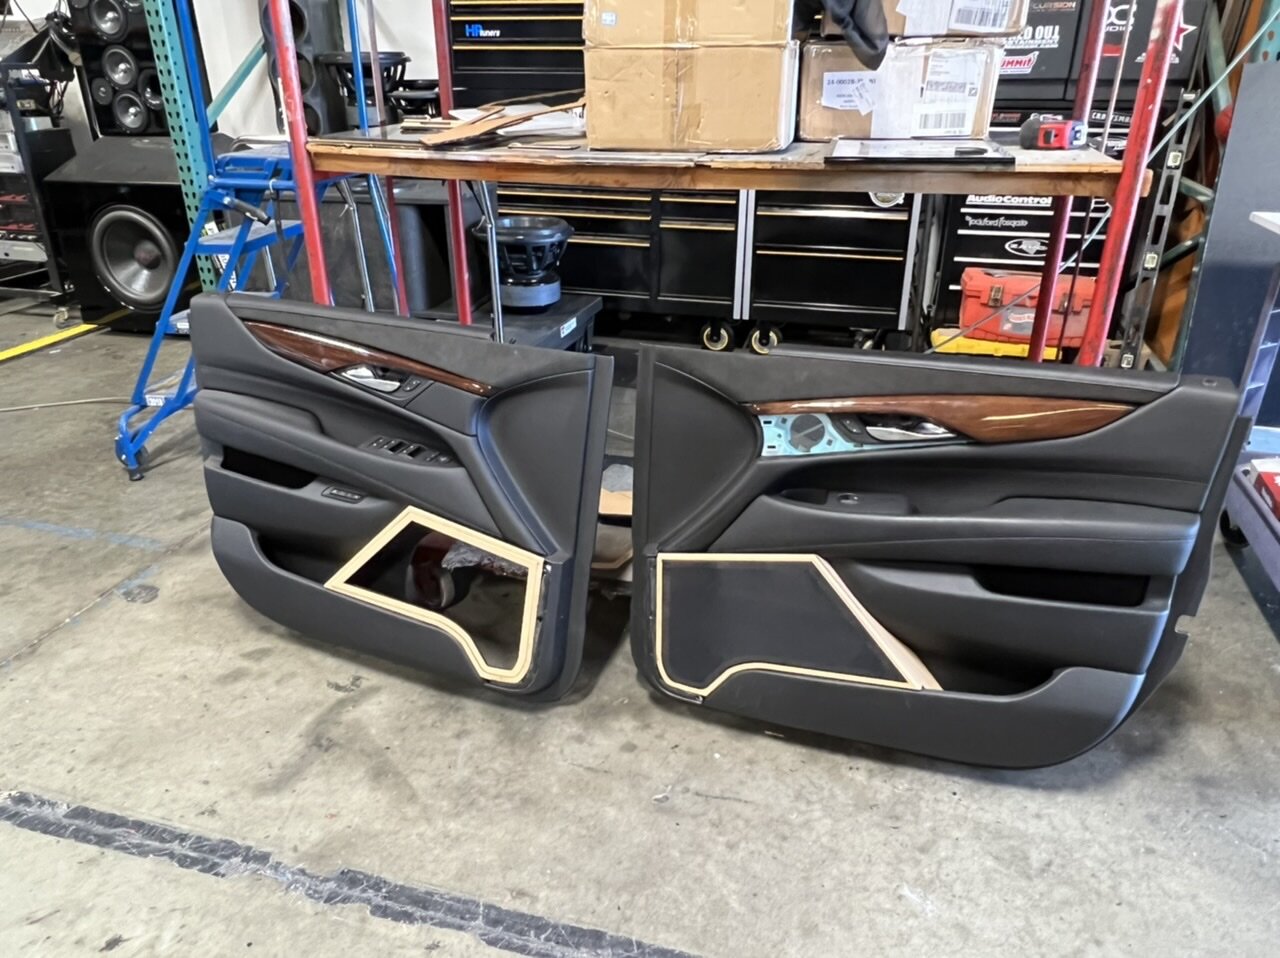
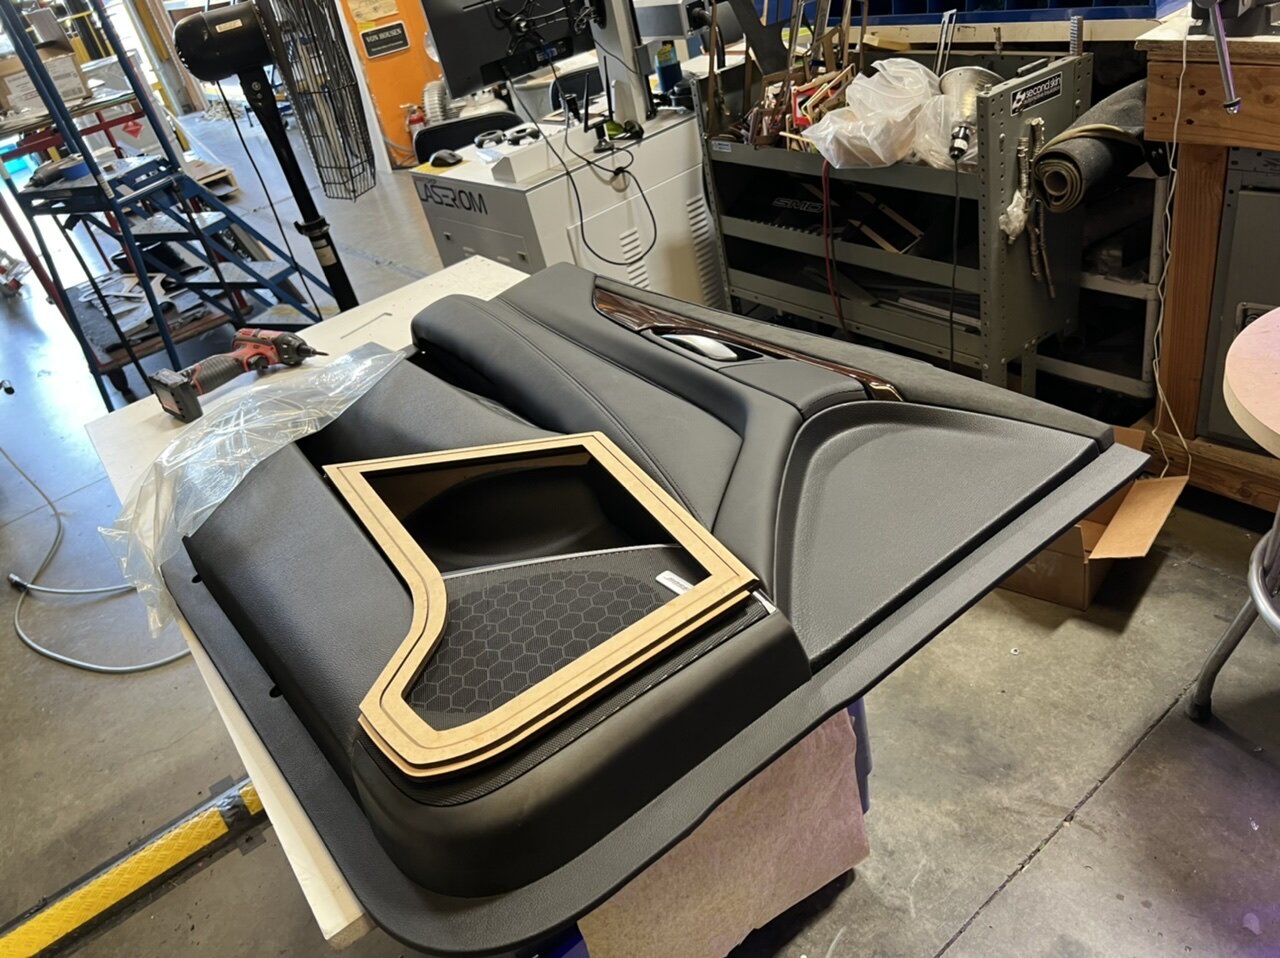
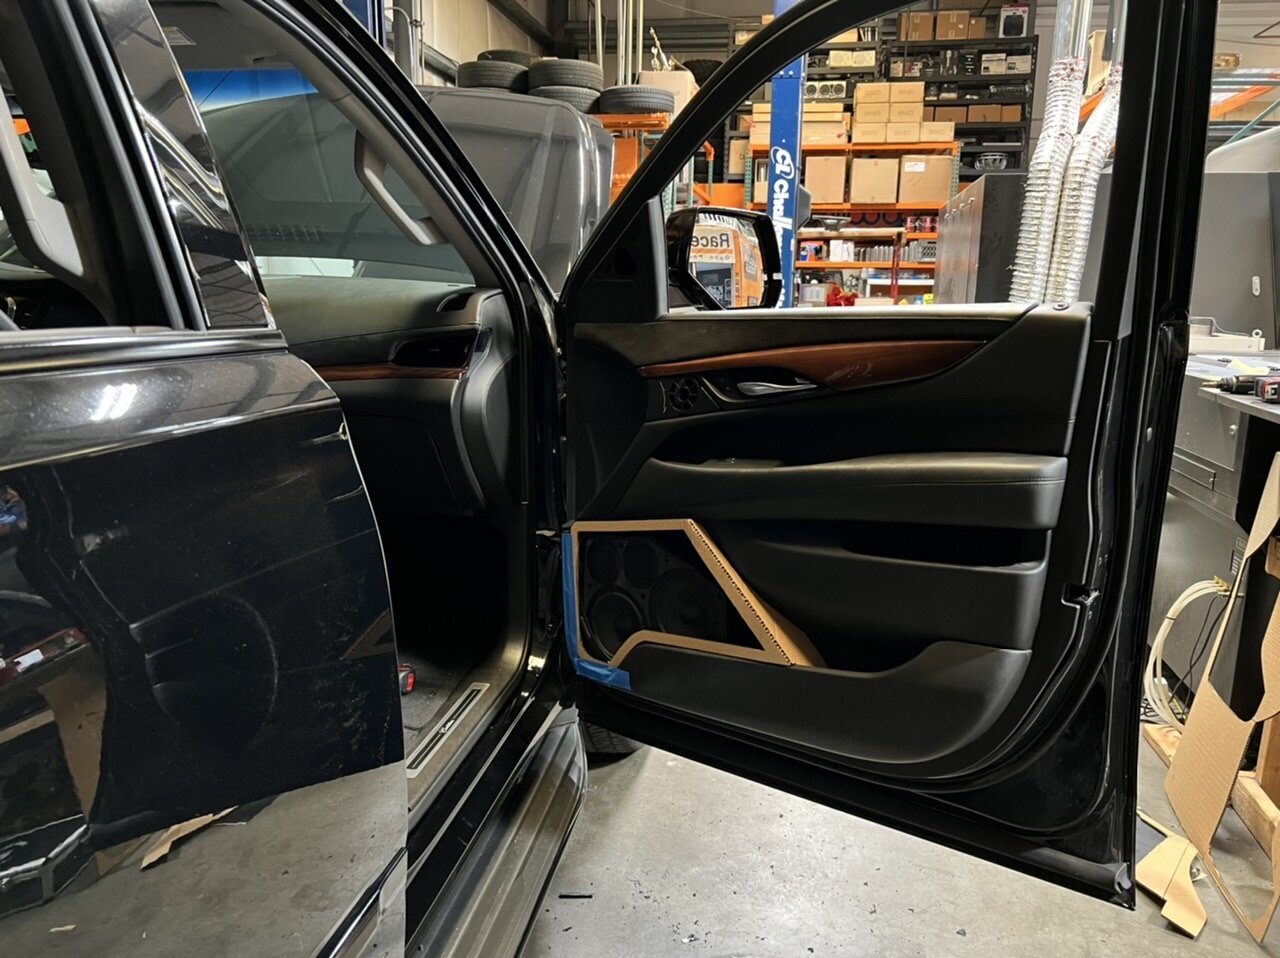
i really like where this is going so far.
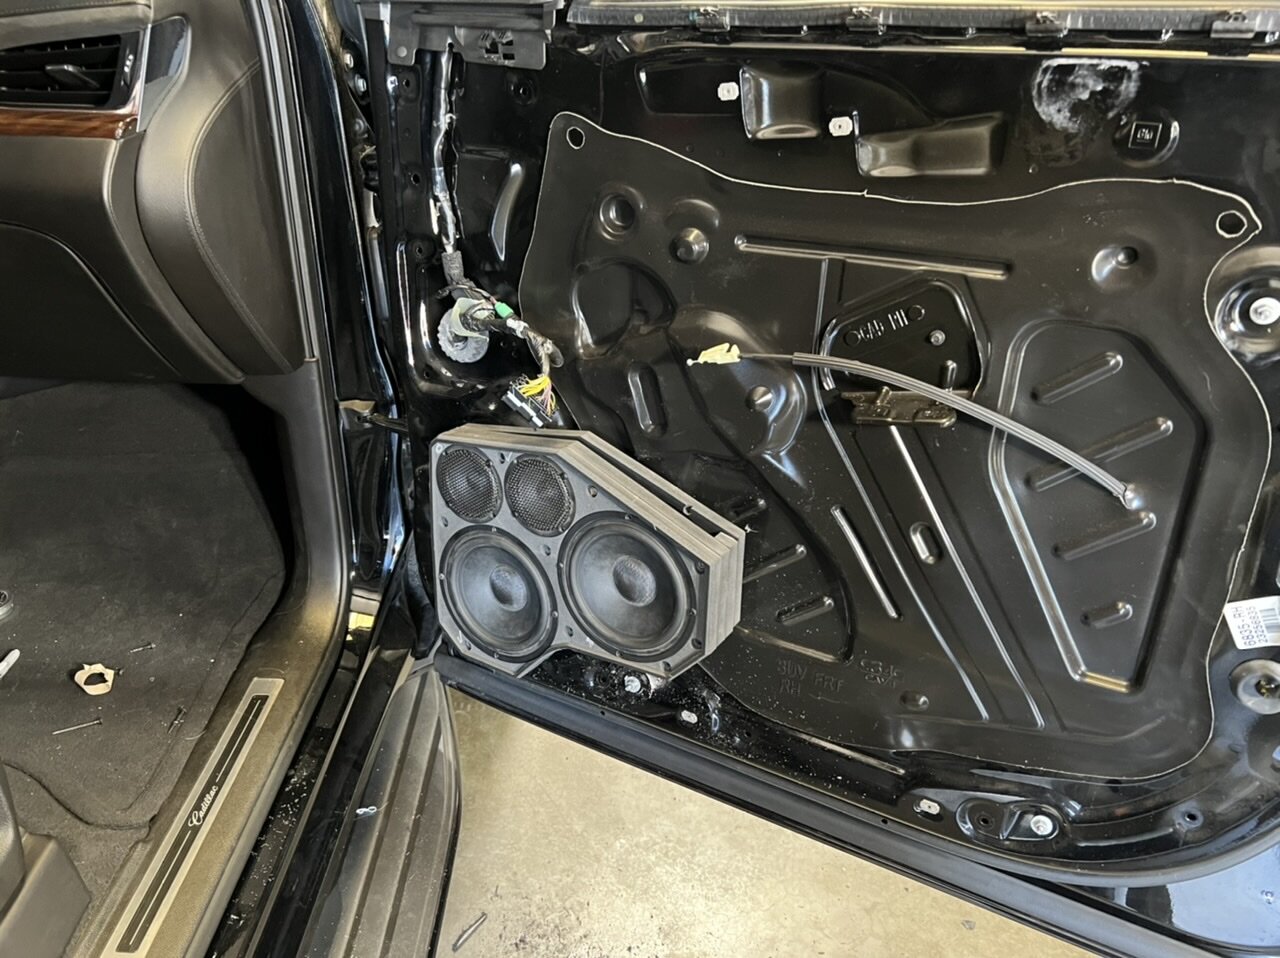
the door panel has an uneven surface so the 3rd later is offset on the back side. It will be sealed up soon along with a bunch of @Second Skinon the door panel.
-
1
-
-
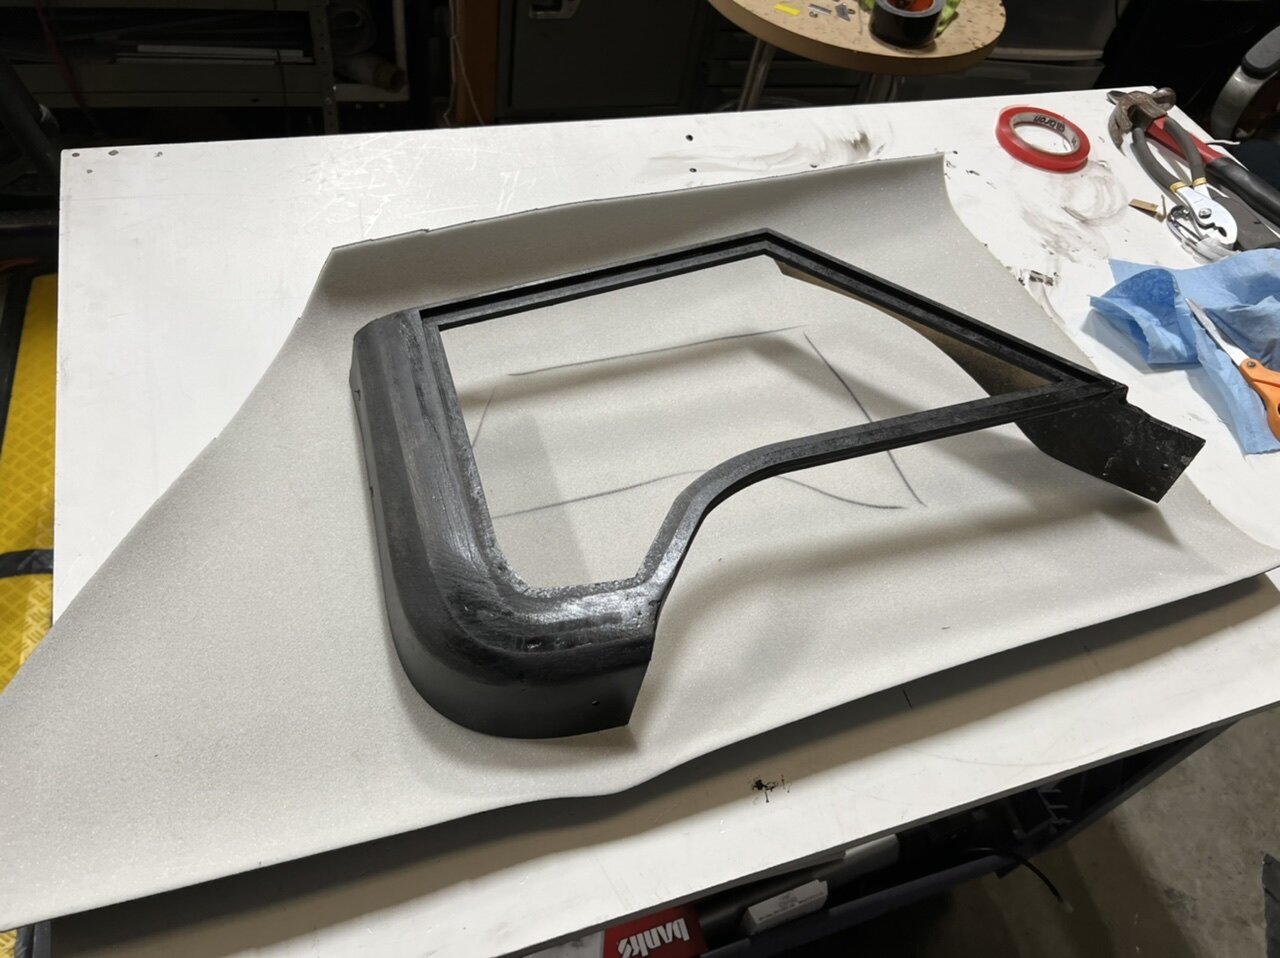
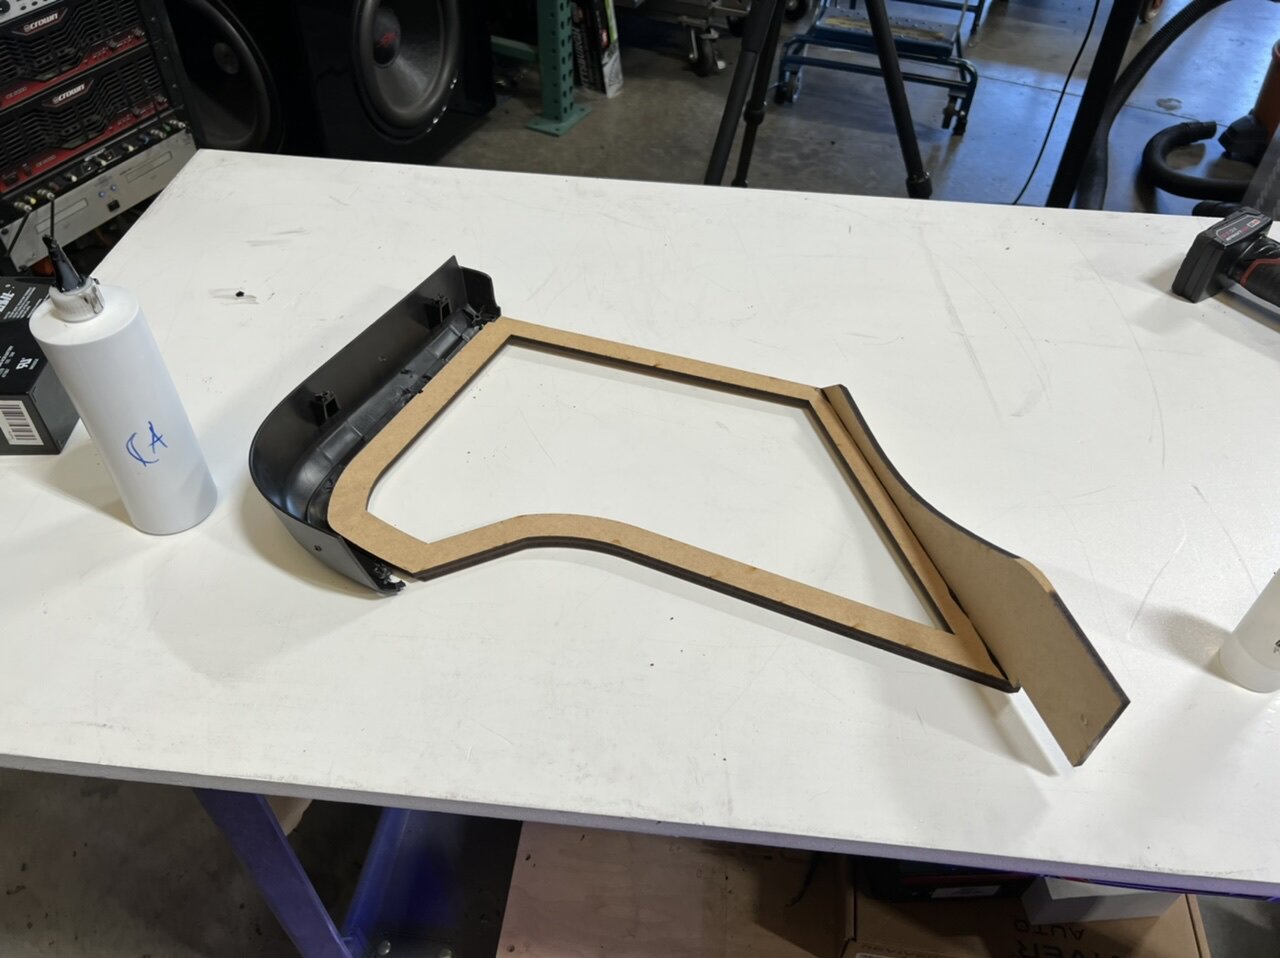
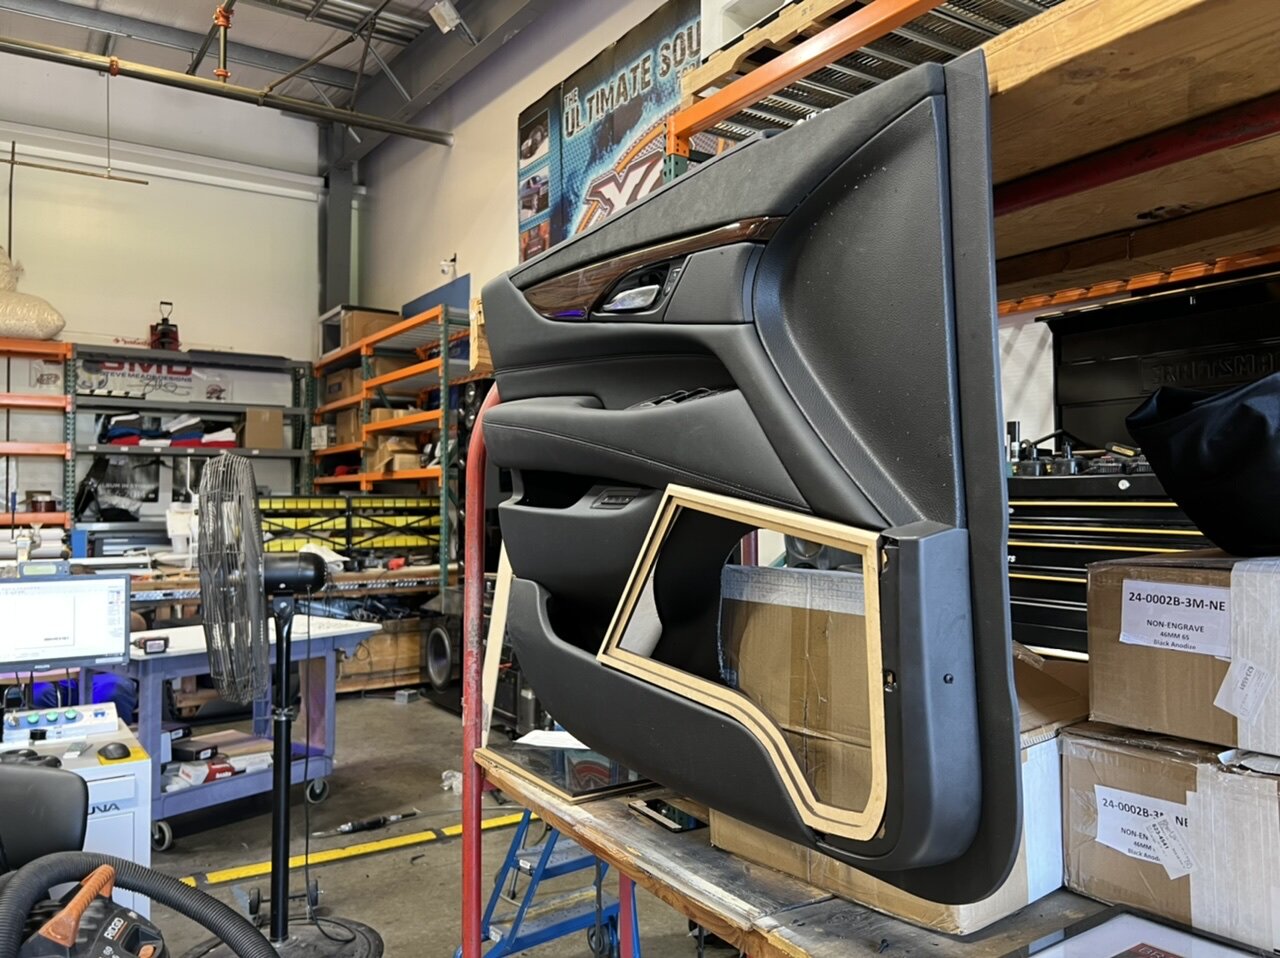
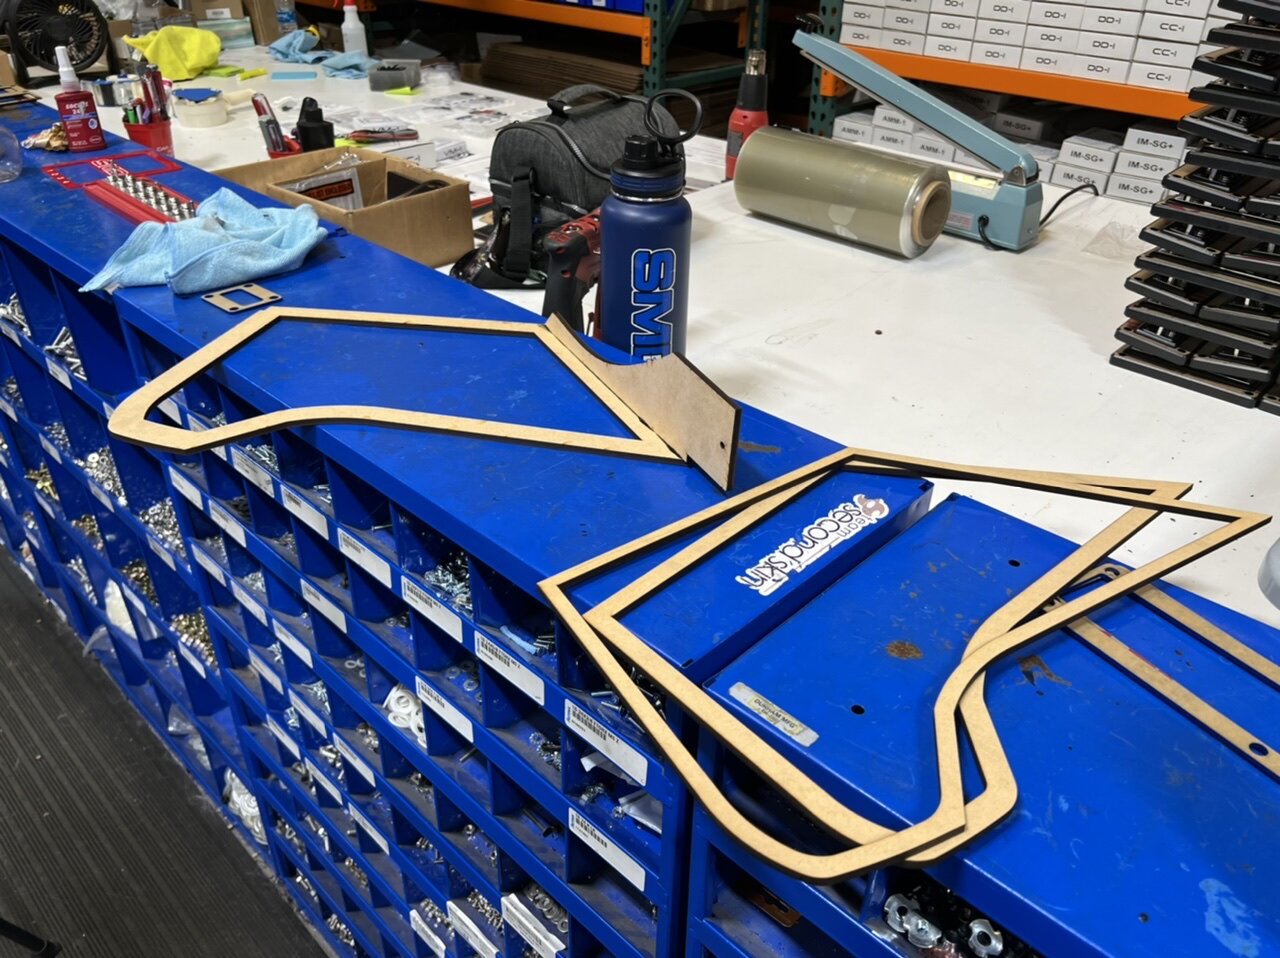
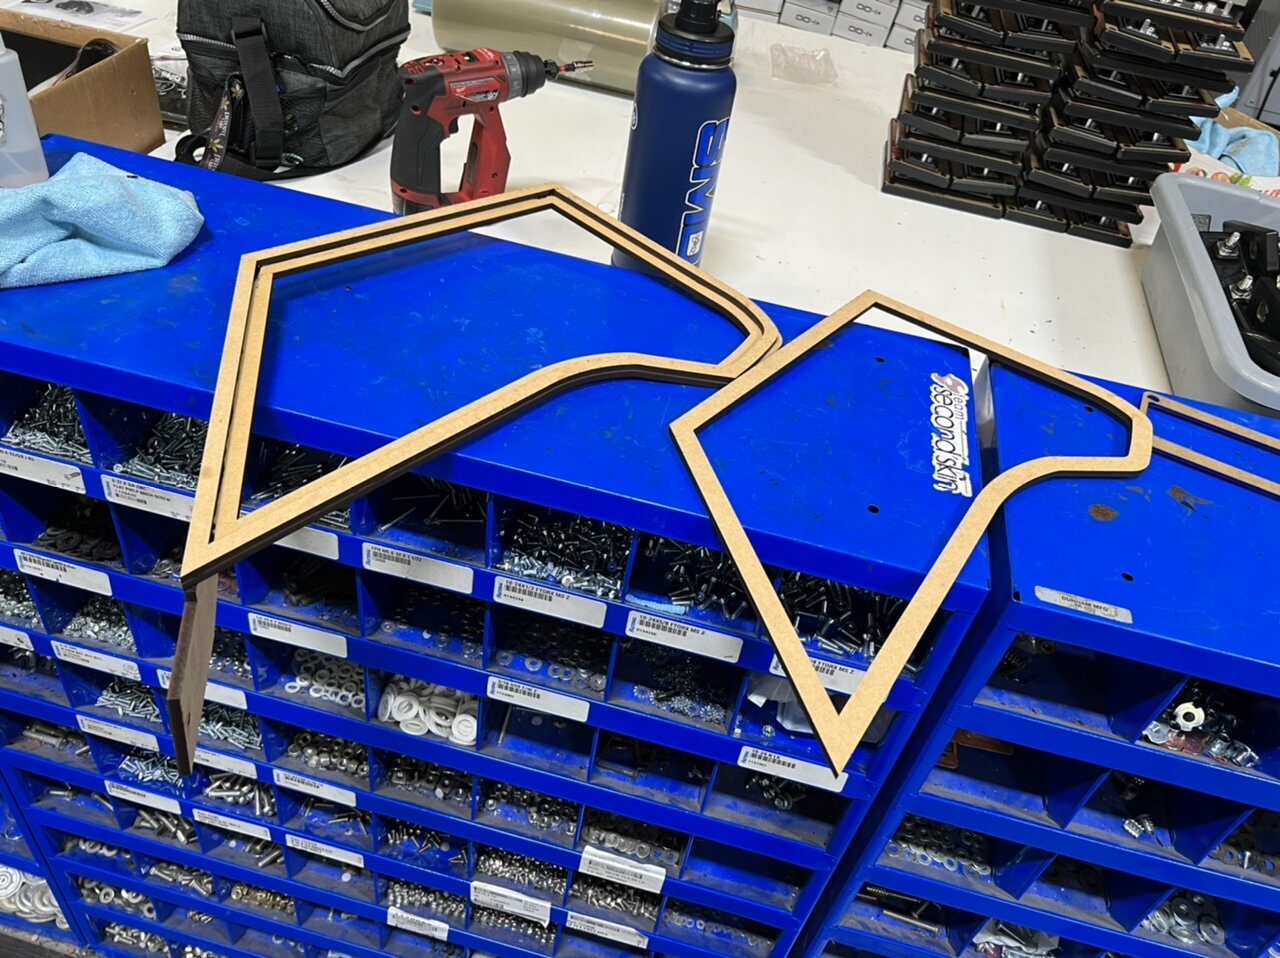
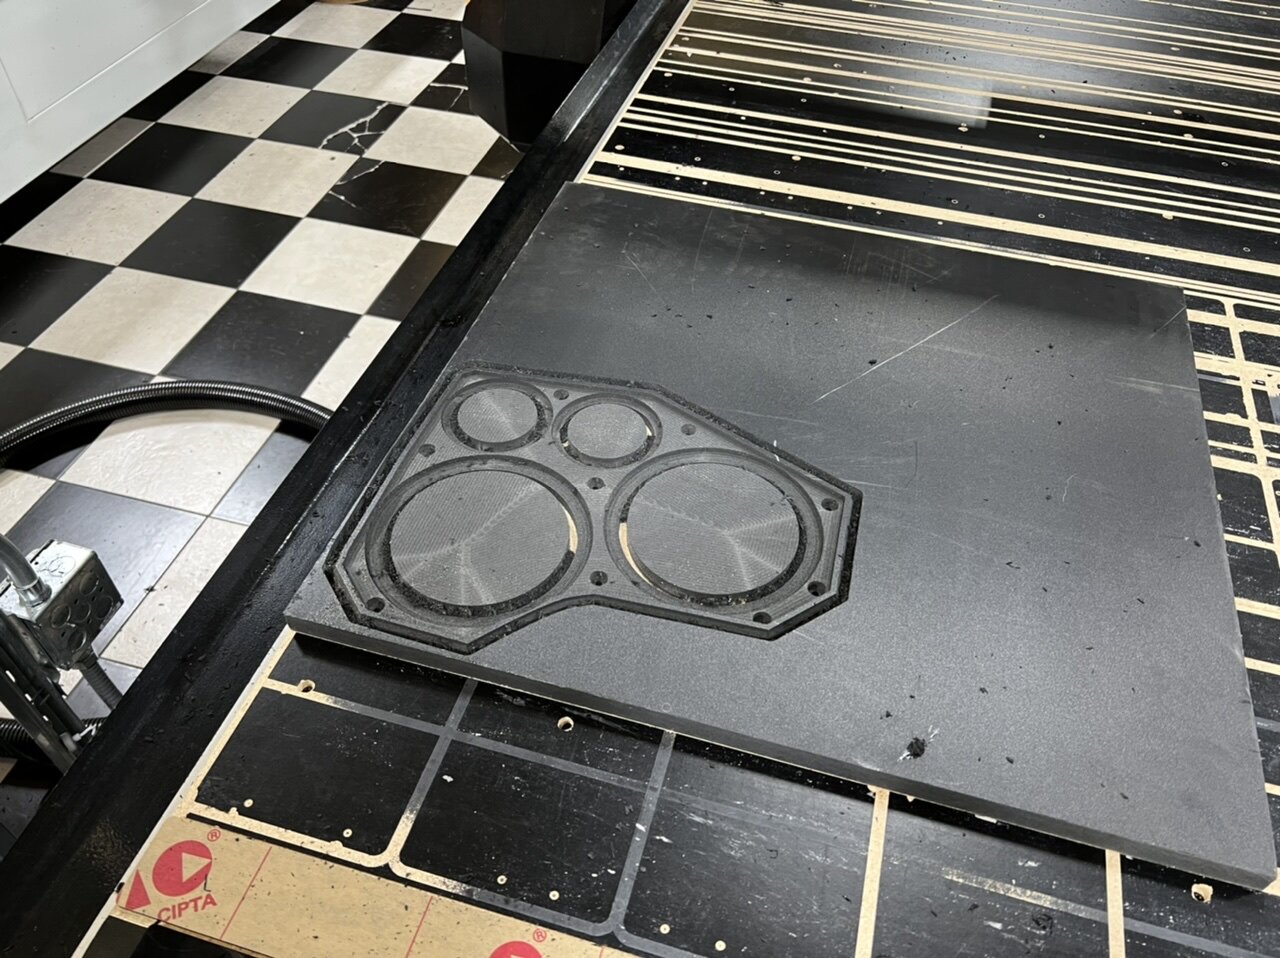
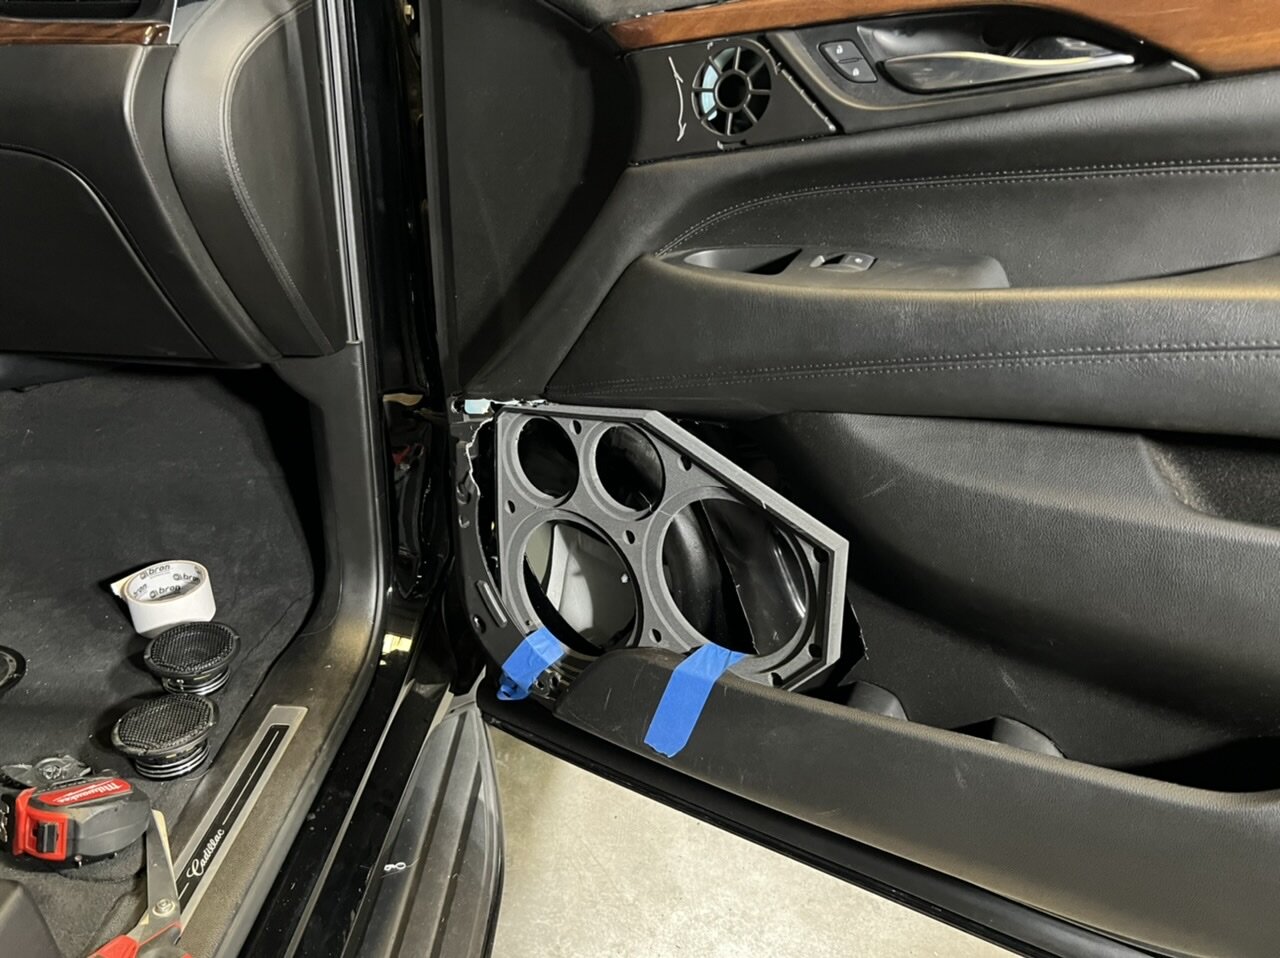
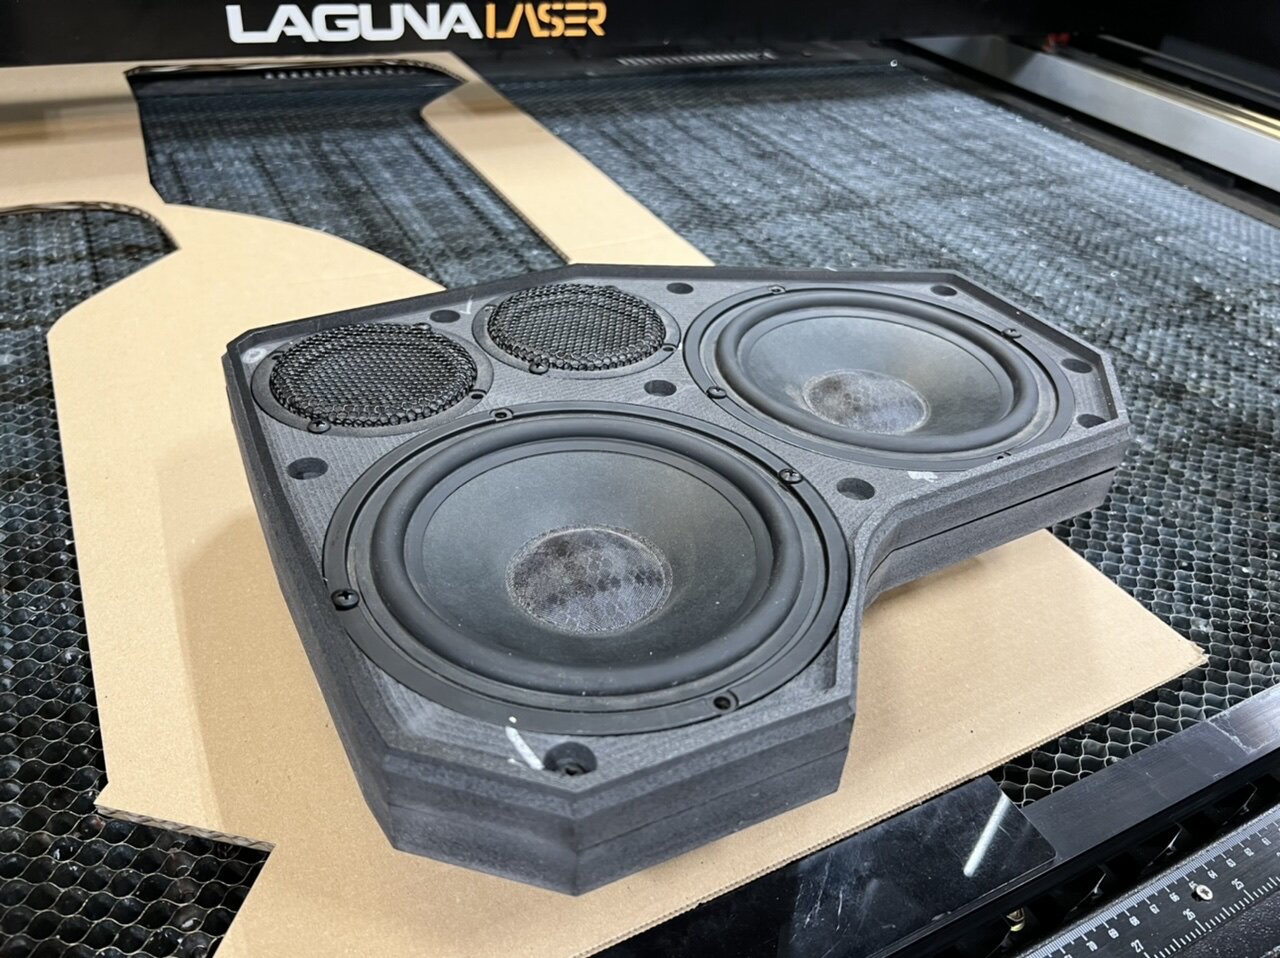
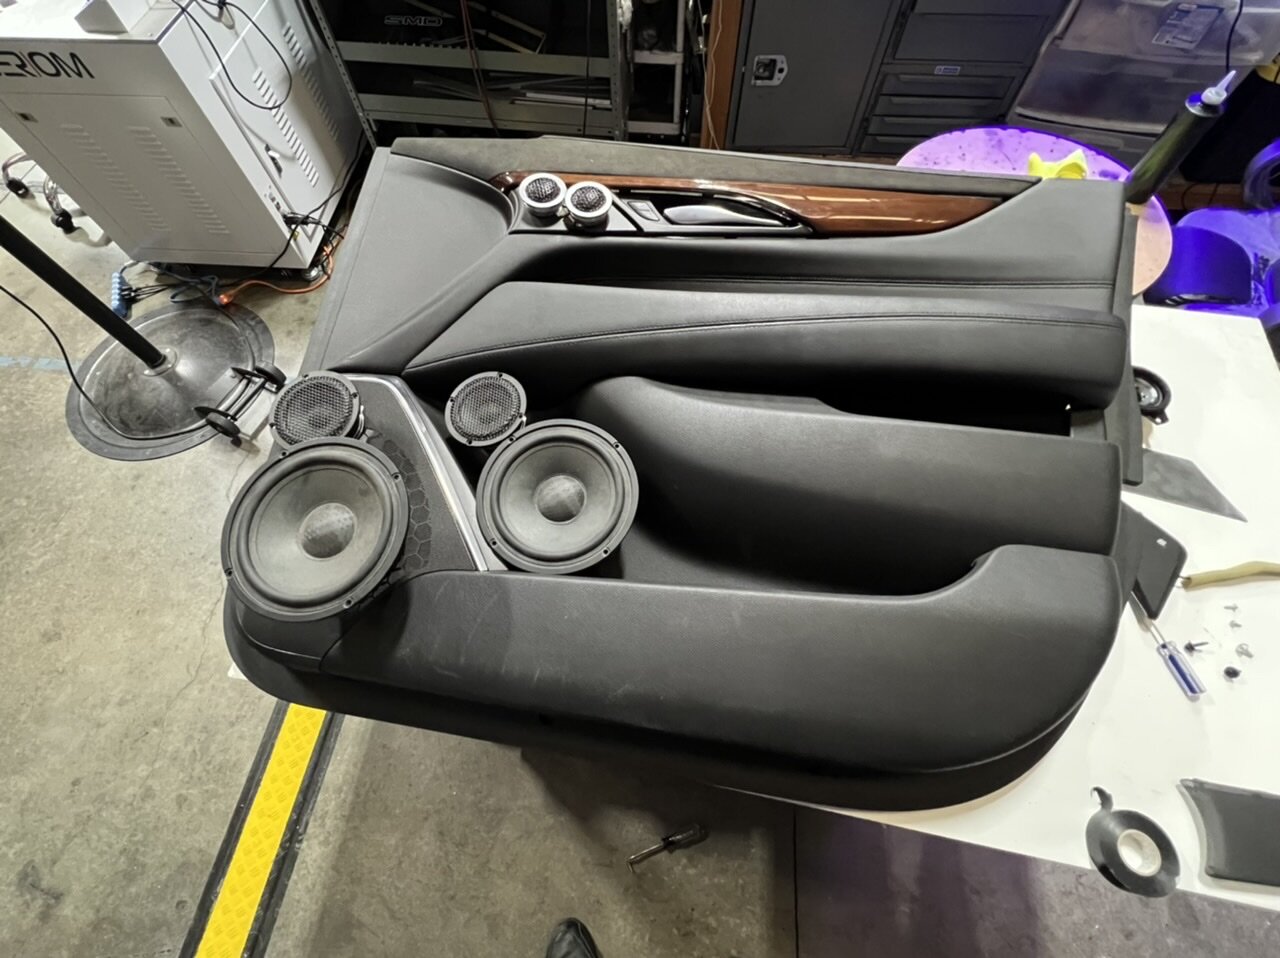
time to make something to mount the speakers to the door in. These will be sunk in and the previous cardboard will be a screen (as stated a few times)
the door panel is butchered up pretty good in order to fit this (there will be at least 3 layers of .75) but i got it to fit good.
-
1
-
-
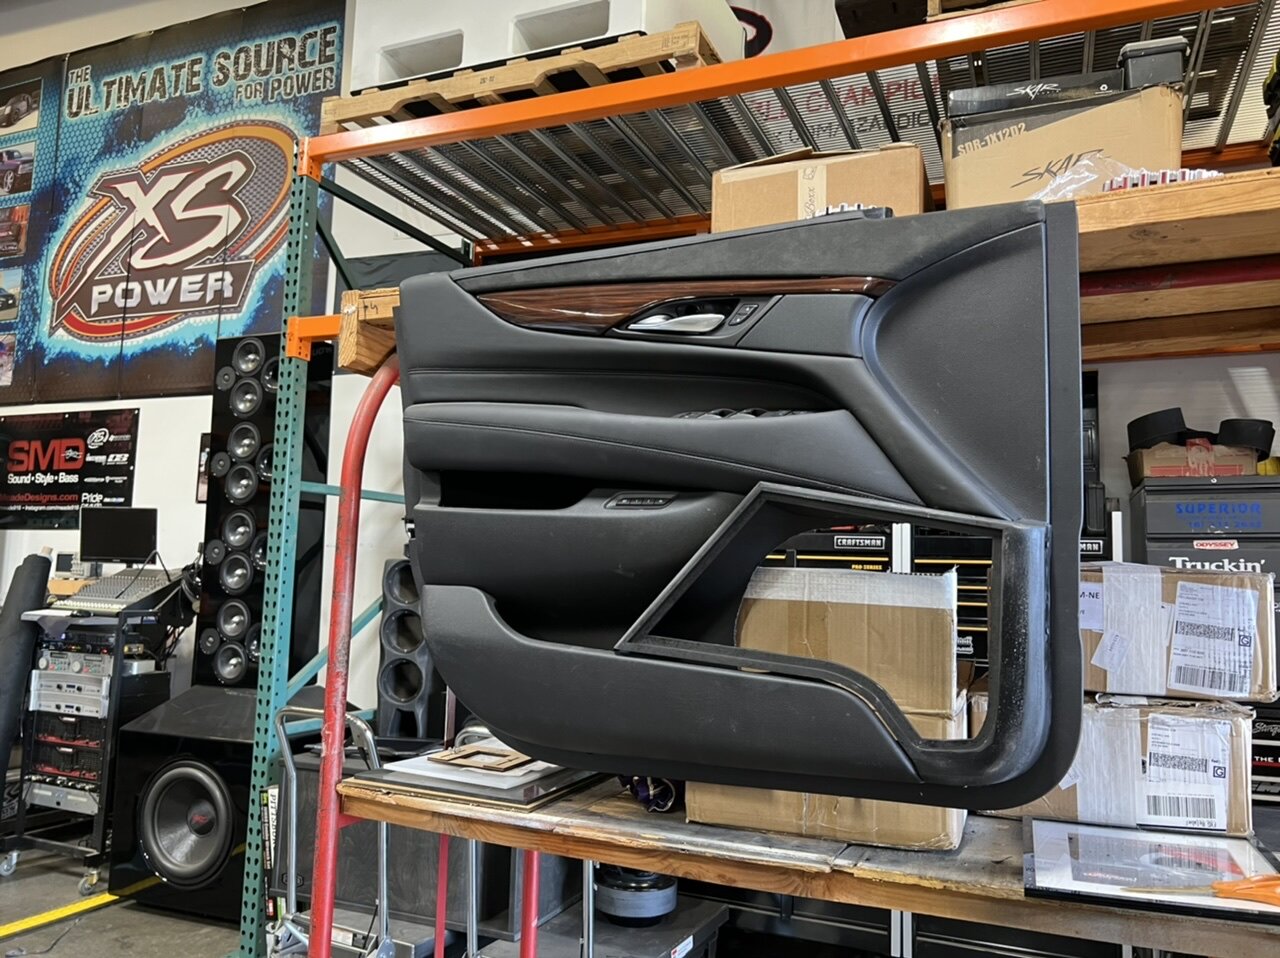
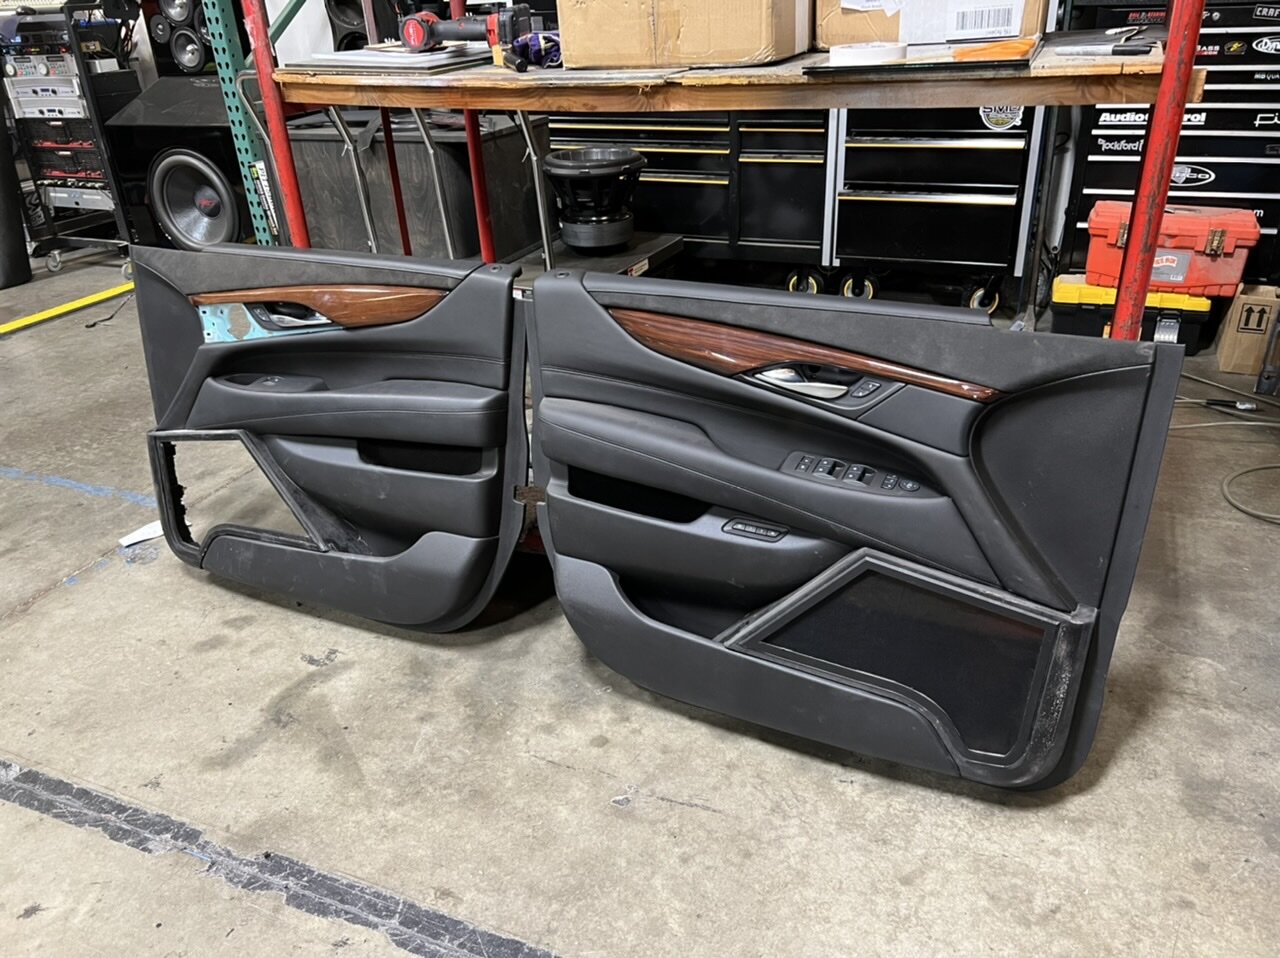
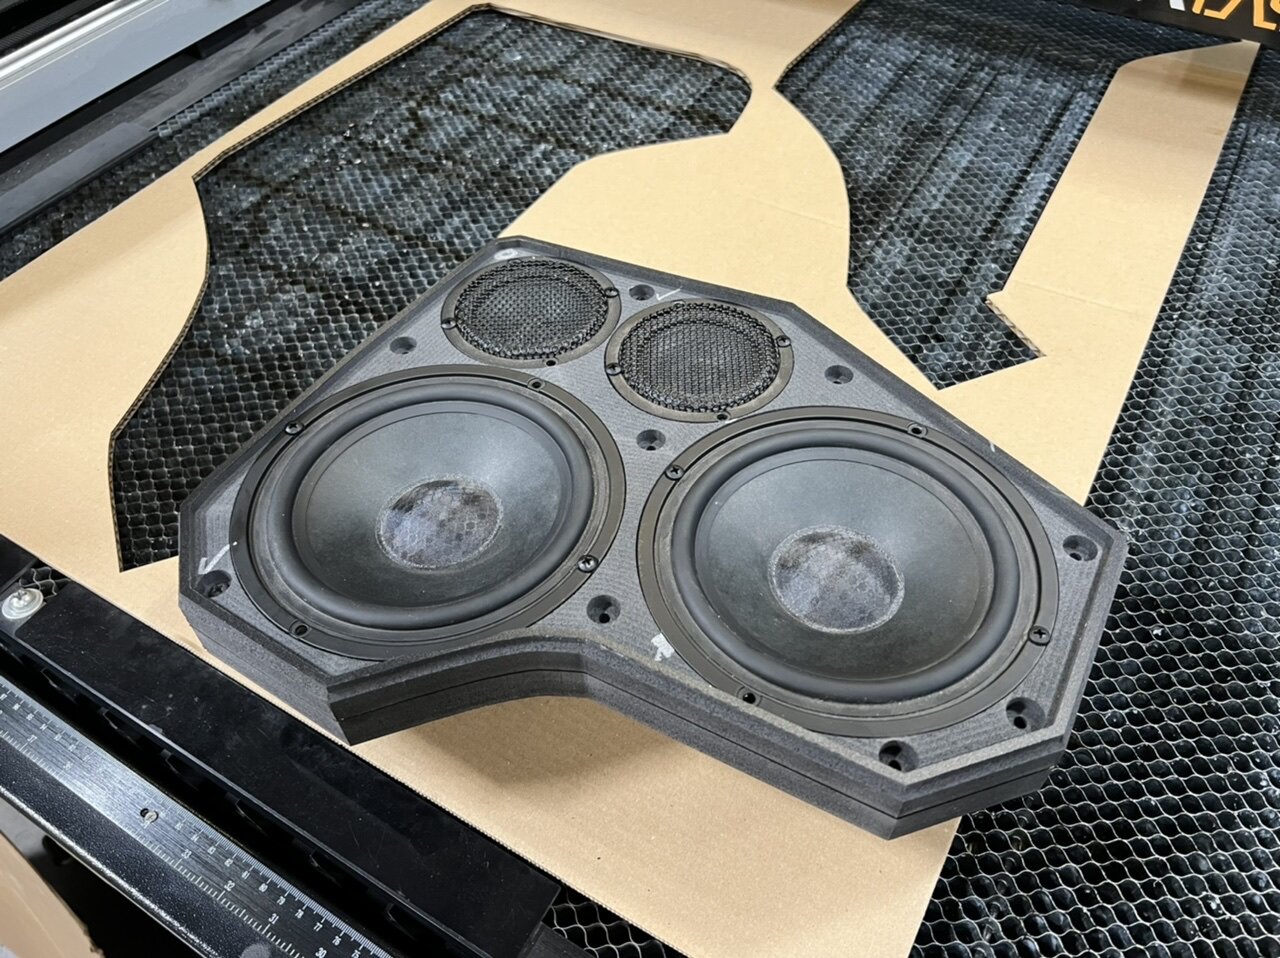
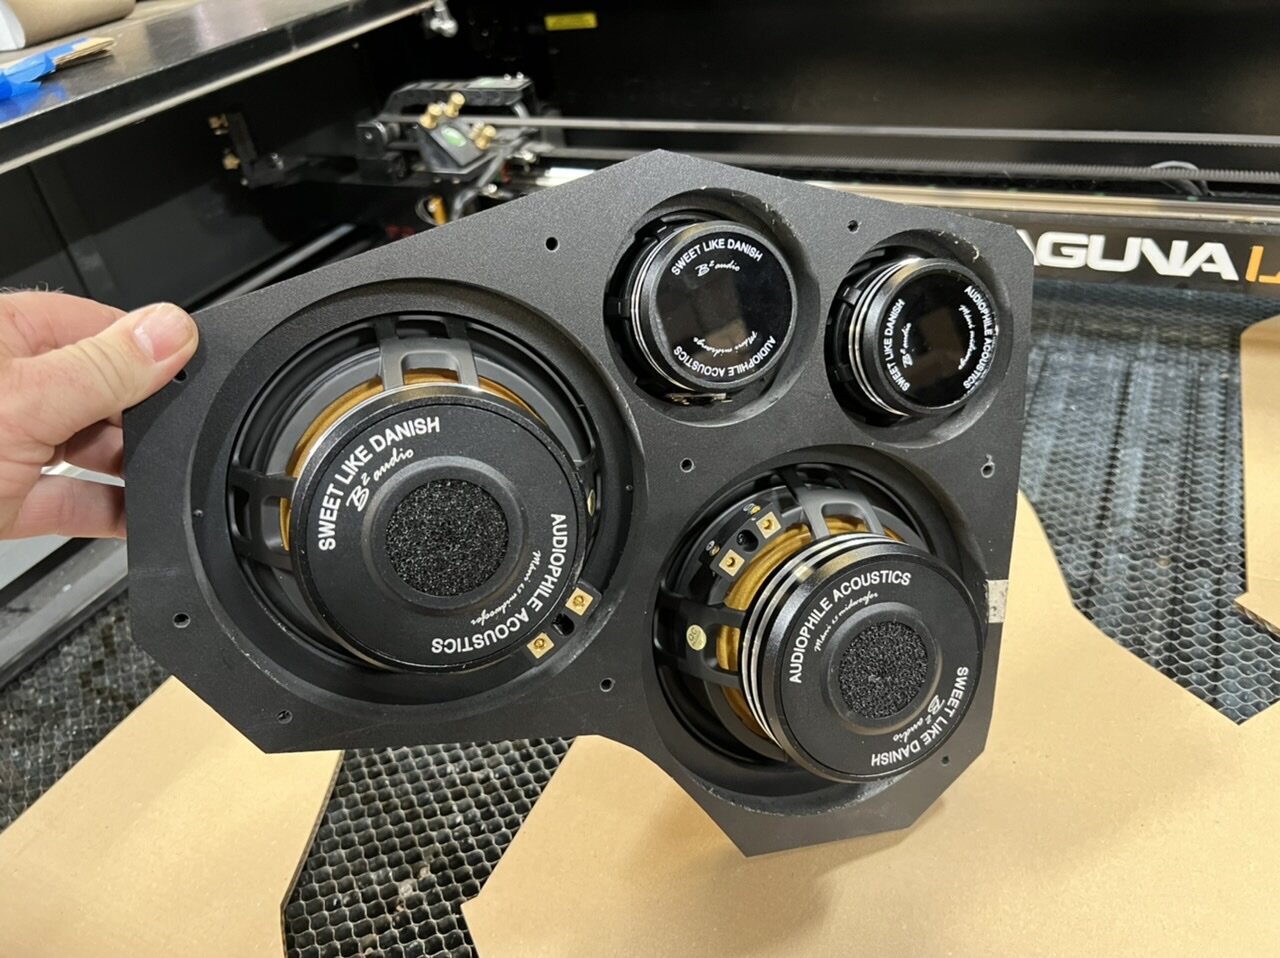
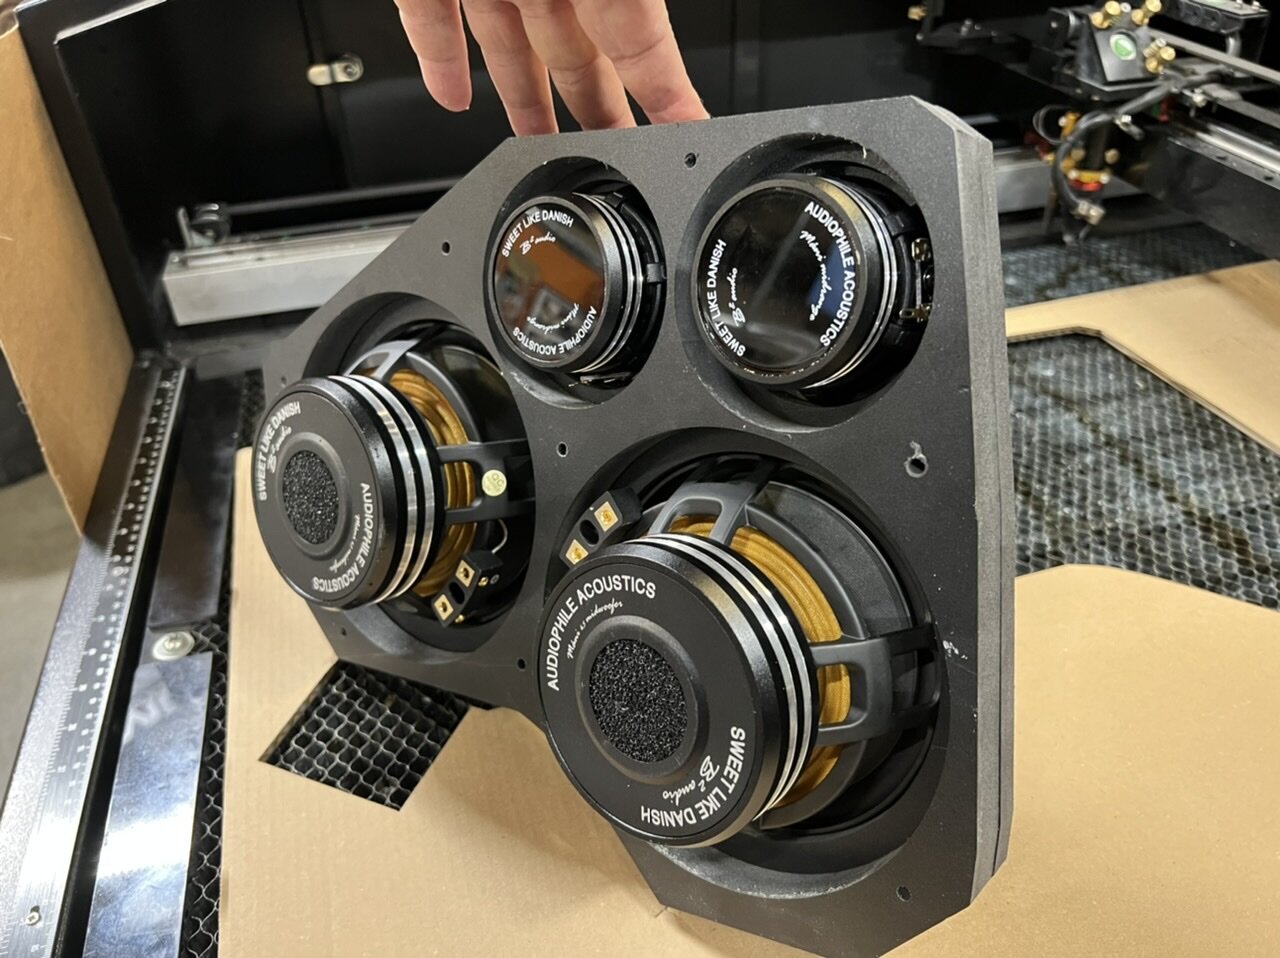
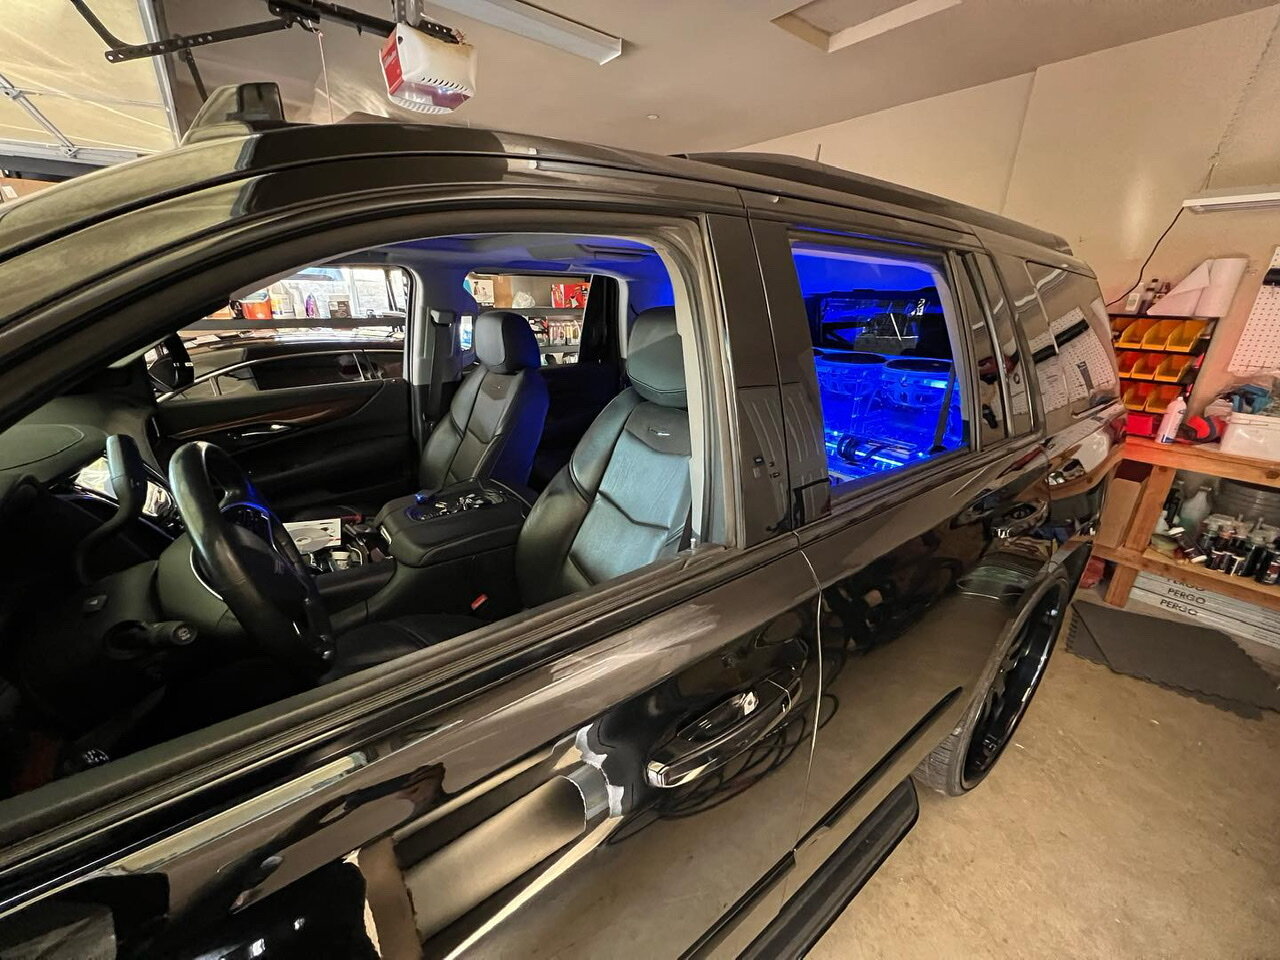
Time to start thinking about the door panels. I am doing 2 sets of B2 Audio "Mani" (aka ReferenceI 3 ways. I could pretty easily do one set of 3 way's but i figured making it more complicated and stressful was more fun and entertaining SMH lol
 Remember, ALL OF THIS is subject to change. I don't even want to post about it yet but i started cutting the panel. Might as well.
Something like this. And no, i can't put tweeters in my A-pillars. I have boost and also a AF sensor gauge in the driver side pillar (for the Turbo's). So i have to keep it all in the panels. It's ok, it will sound good, probably.
This grill definitely doesn't come in and out easily. Just out. And it was a bitch. Where is my saw?
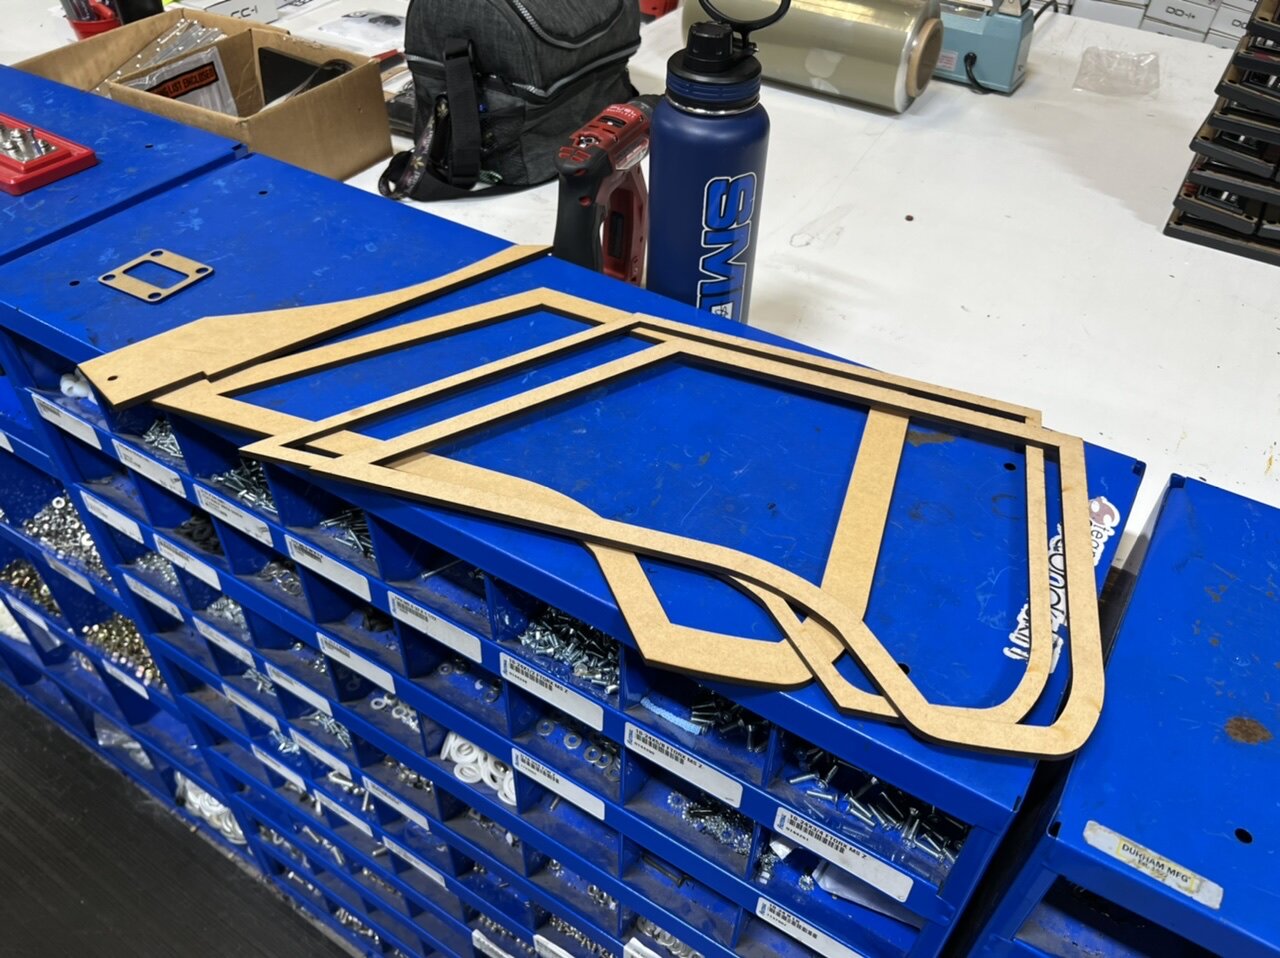
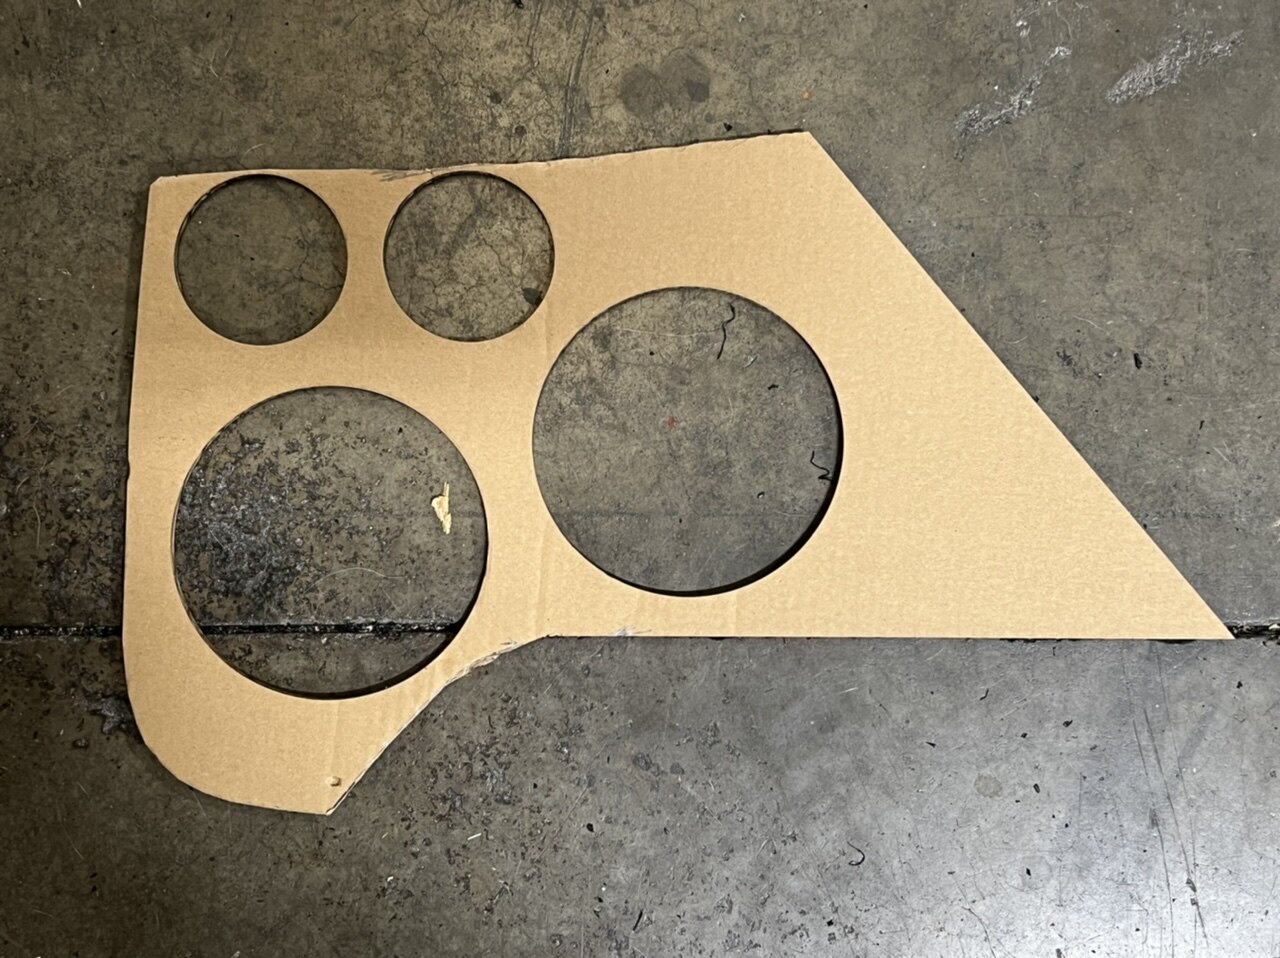
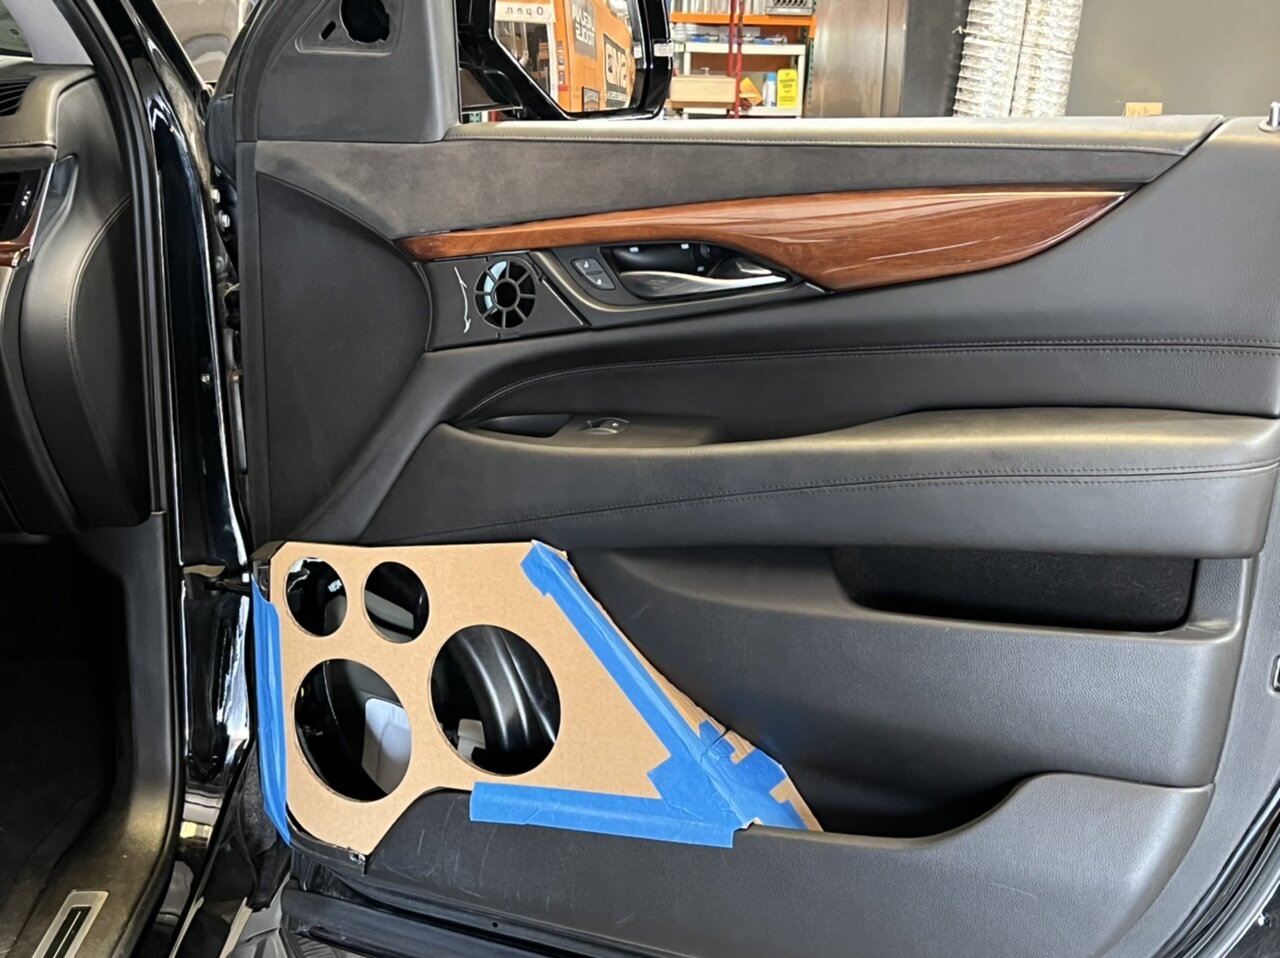
cardboard and some ideas
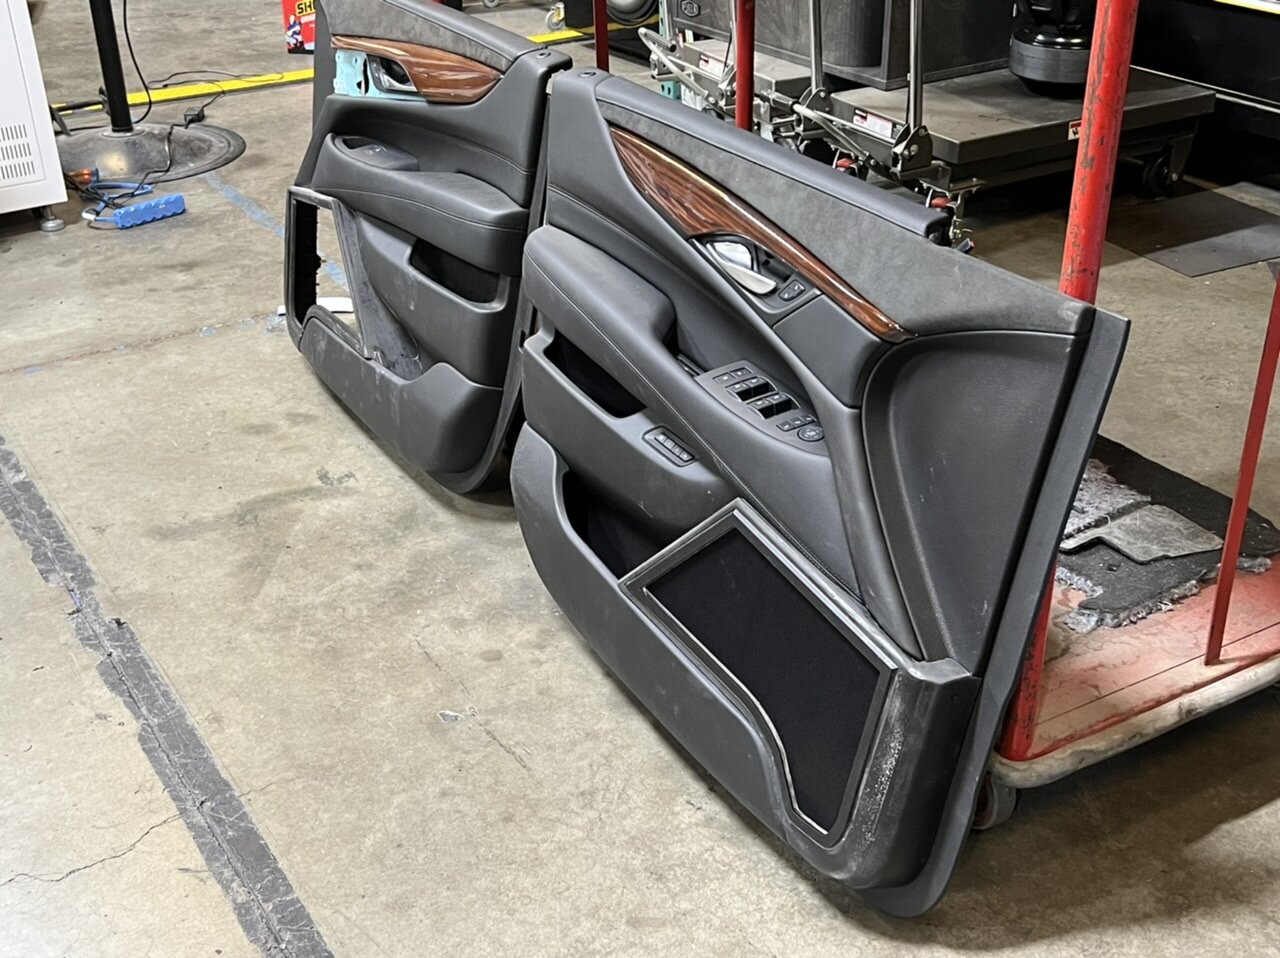
the holes do NOT represent where the speakers are going to be. They are going to be mounted to the door and this will actually be a screen. I just cut holes so i can reference what is happening and where the speakers will be (but in deeper).
the little curve going into the pocket was kinda tricky. I hope i can pull it off.
Again....the holes do NOT represent where the speakers are going to be. They are going to be mounted to the door and this will actually be a screen. I just cut holes so i can reference what is happening and where the speakers will be (but in deeper).
-
1
-
-
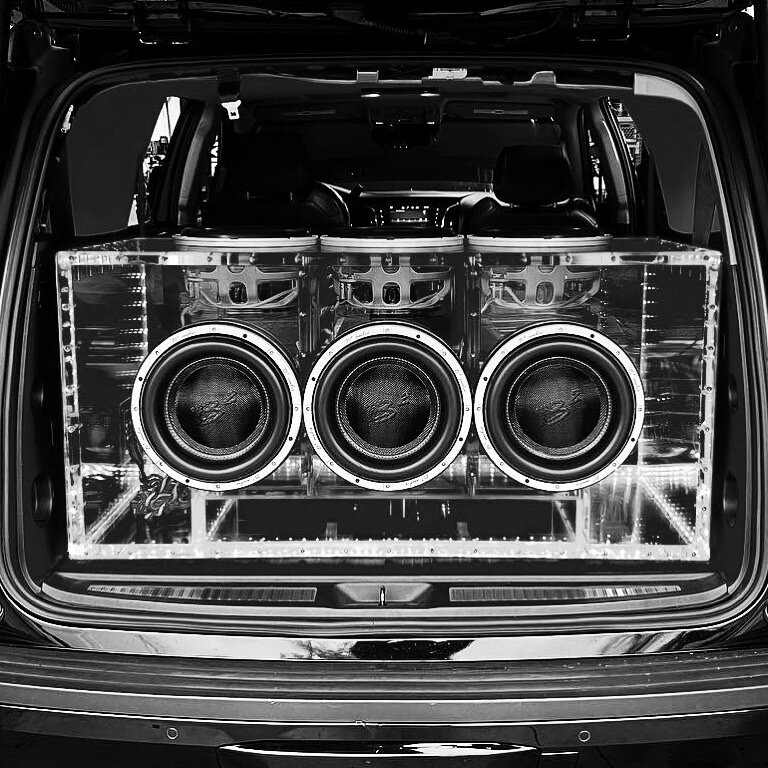
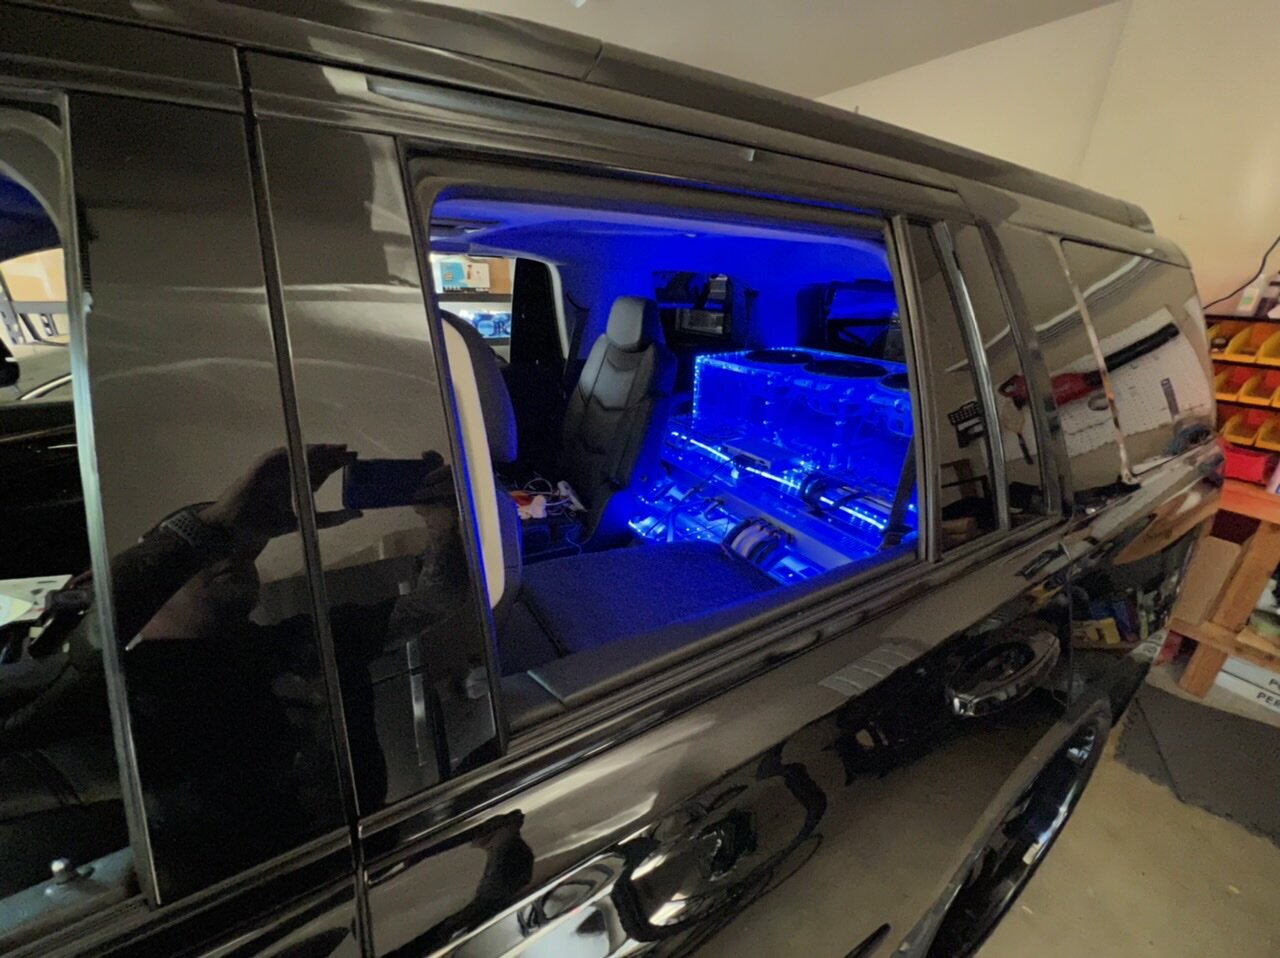
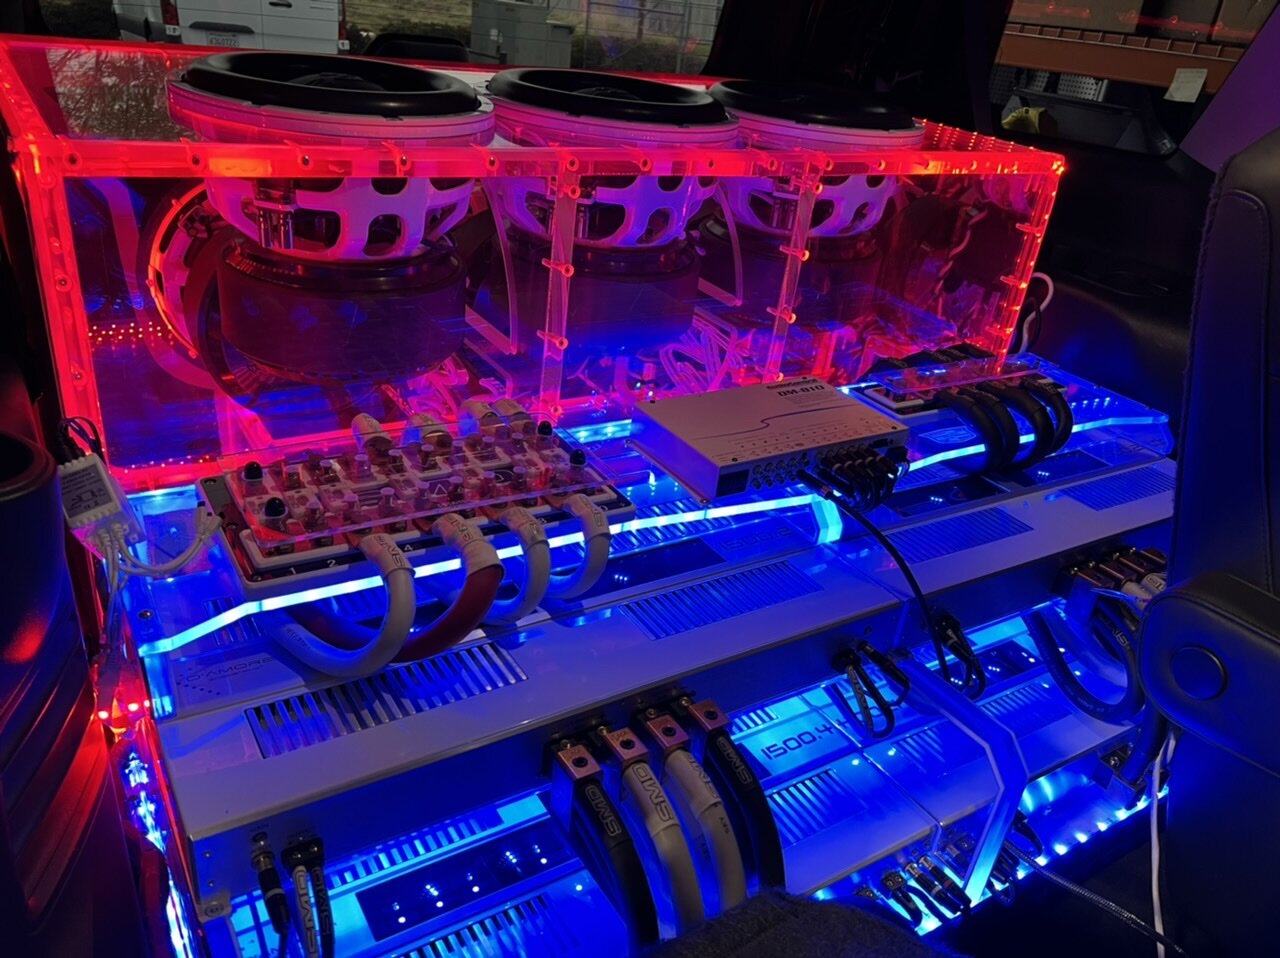
i can't stop taking pics of it. Something about acrylic boxes! The trim work will resume after i finish the door panels.
-
1
-
-
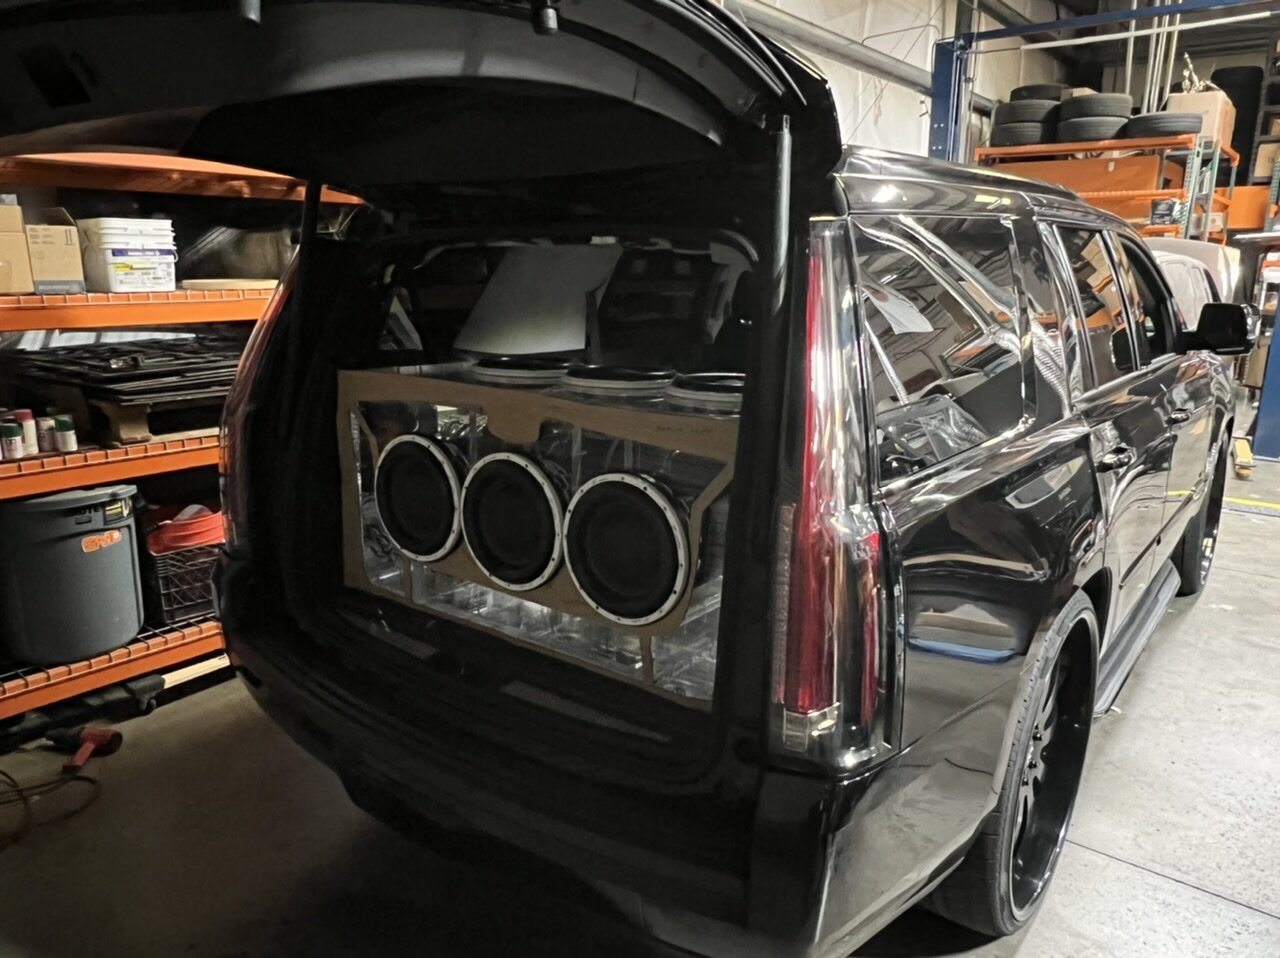
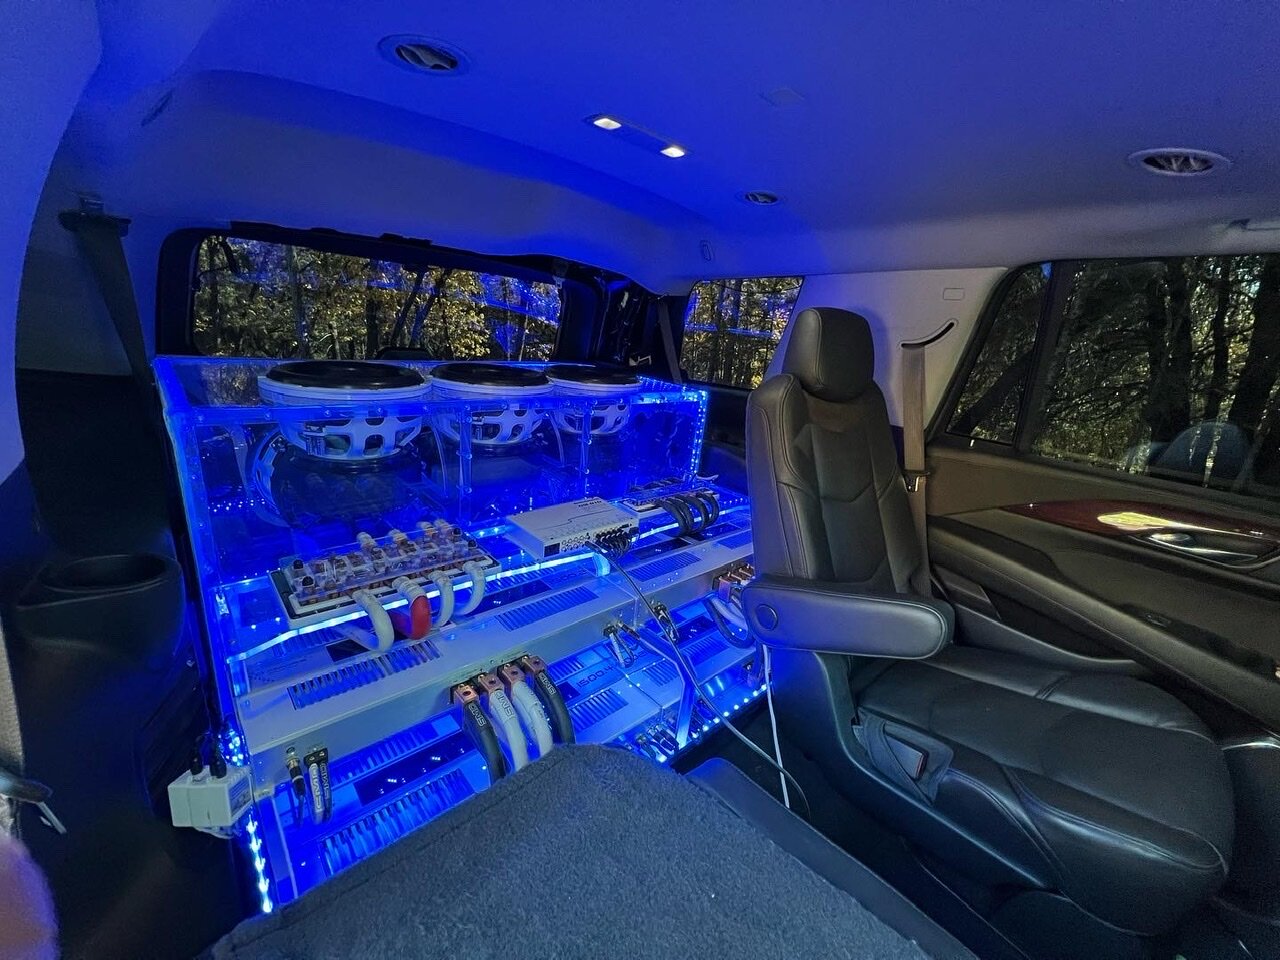
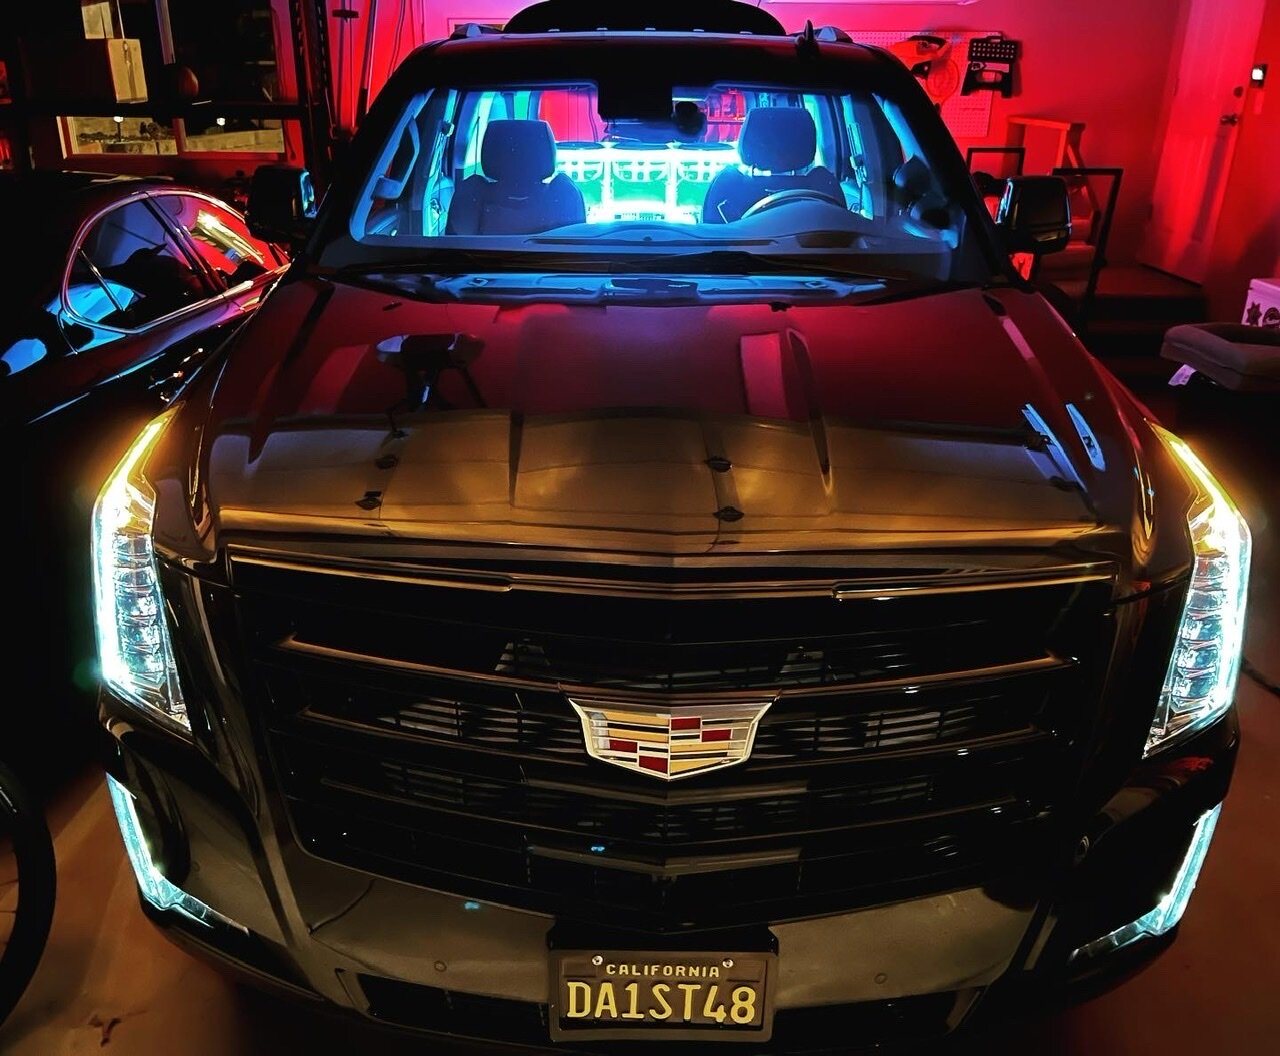
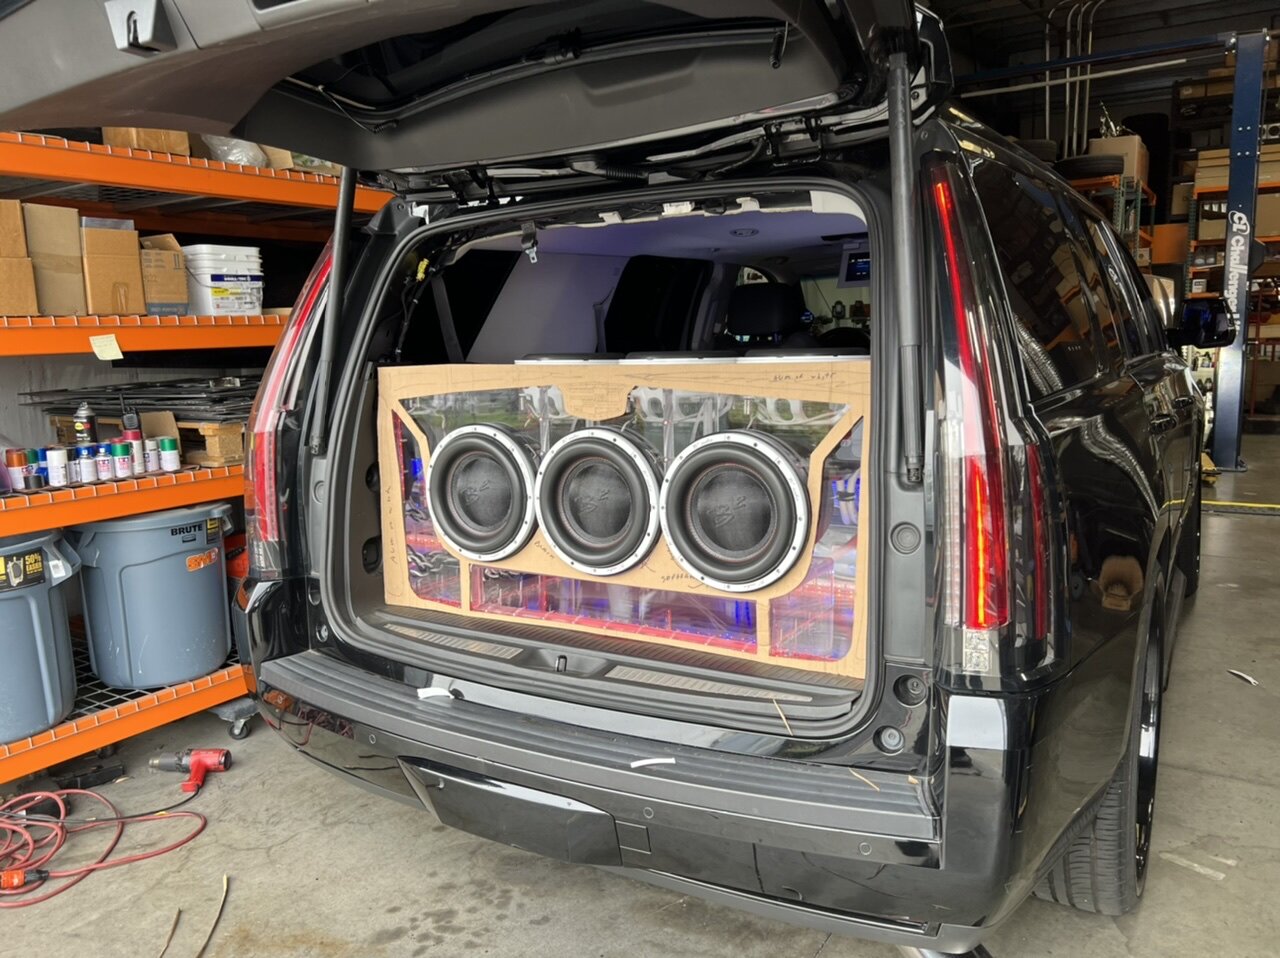
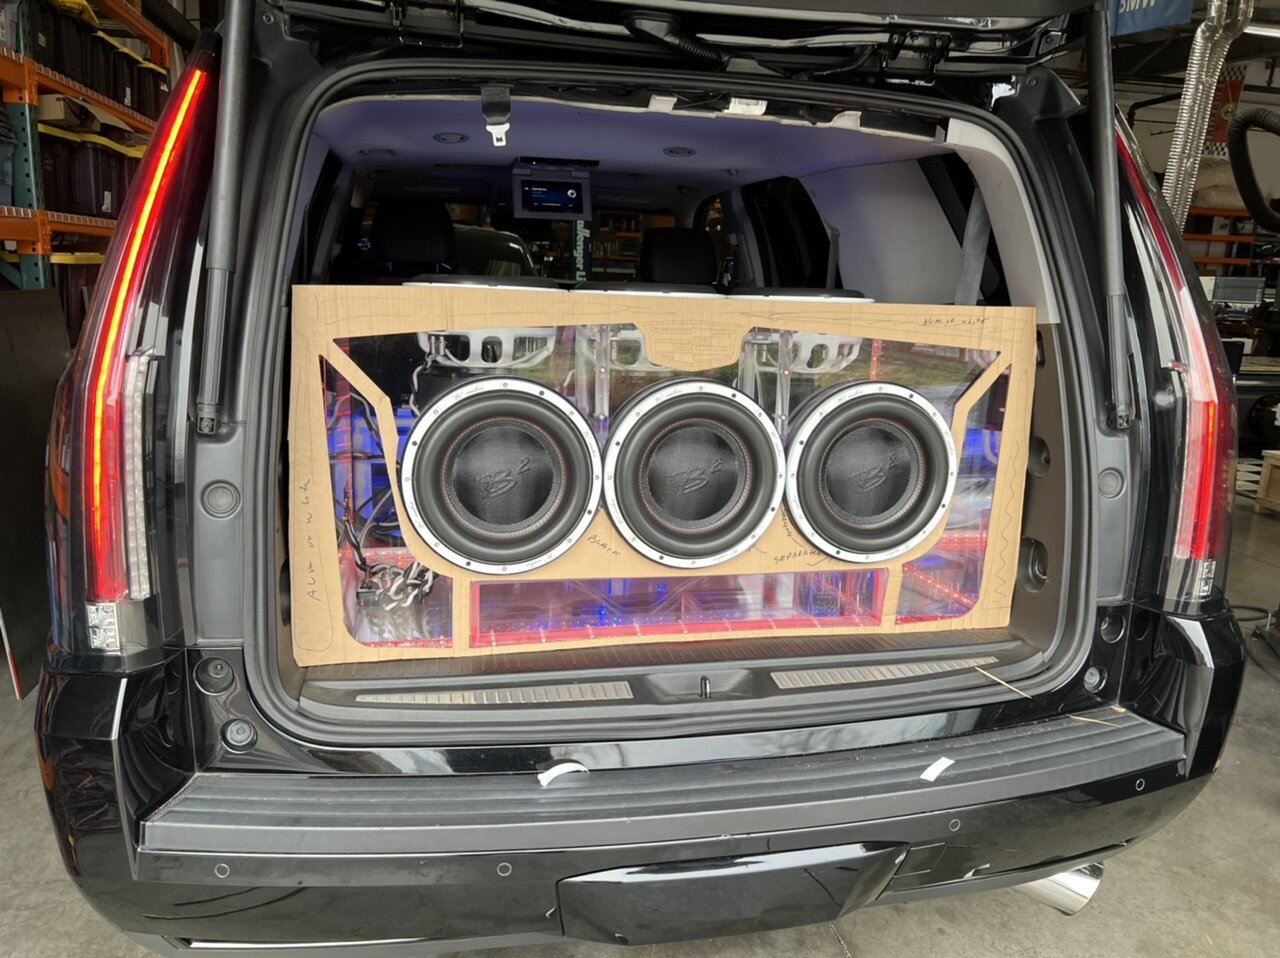
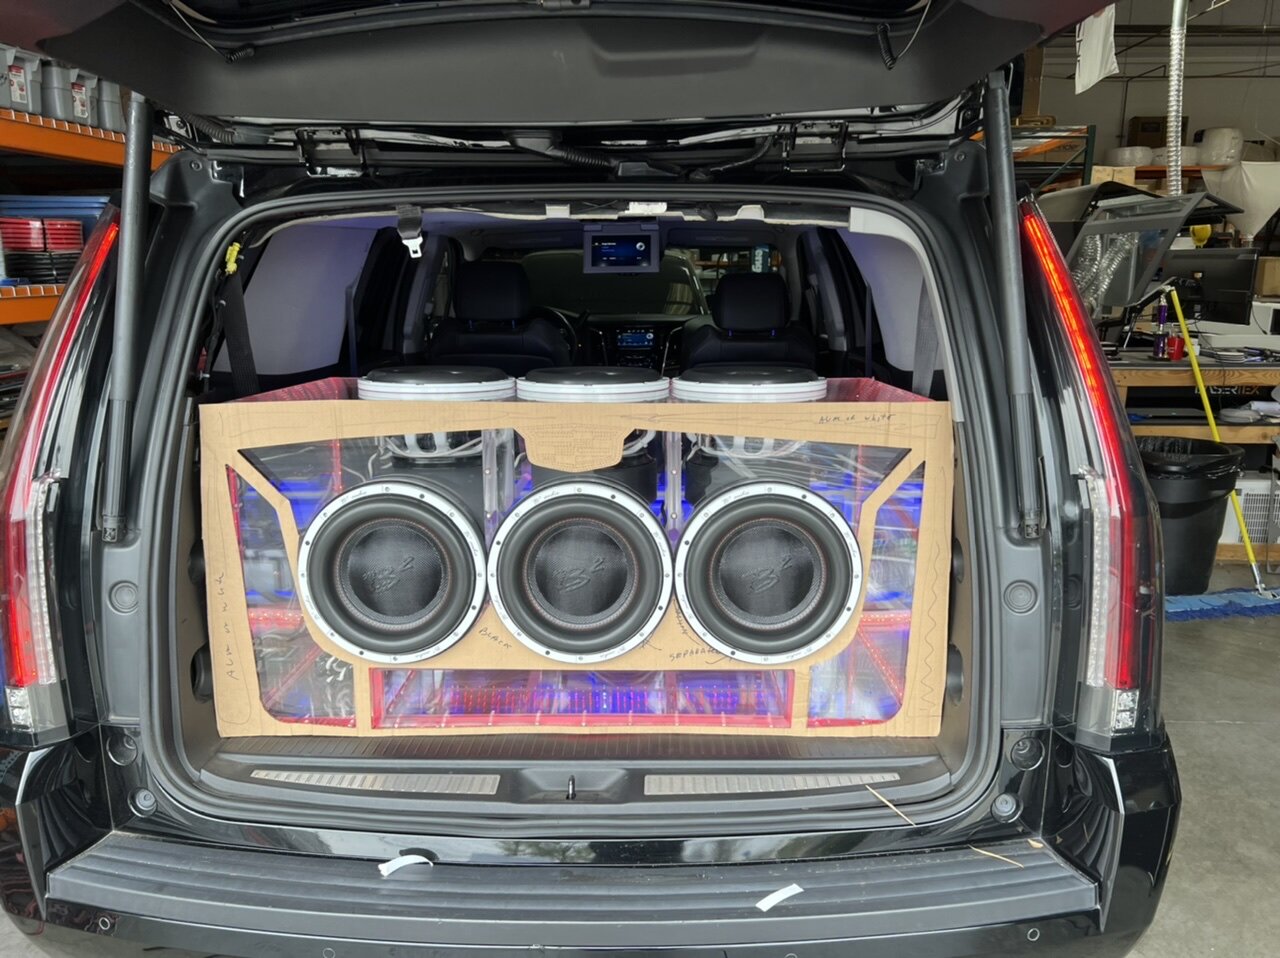
she is a menacing figure...
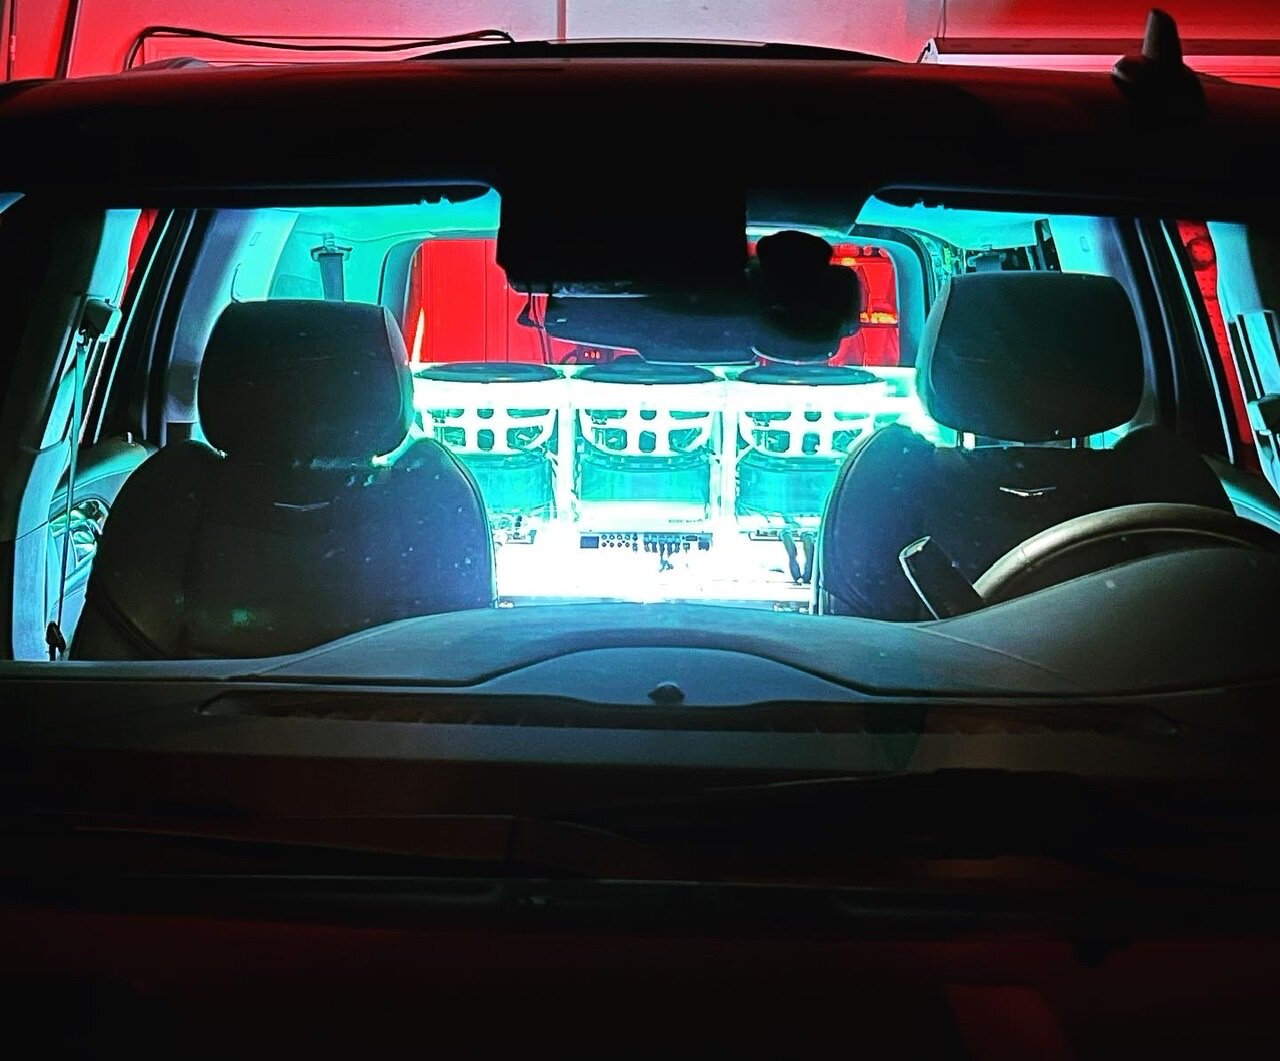
That is some weight back there. Not sure how long the 6 12s will stay, i might drop down to like 4 8's or something in the future. It's just SO HEAVY with that box (100% 1" Acrylic) and the 6 monster b2 12's.
-
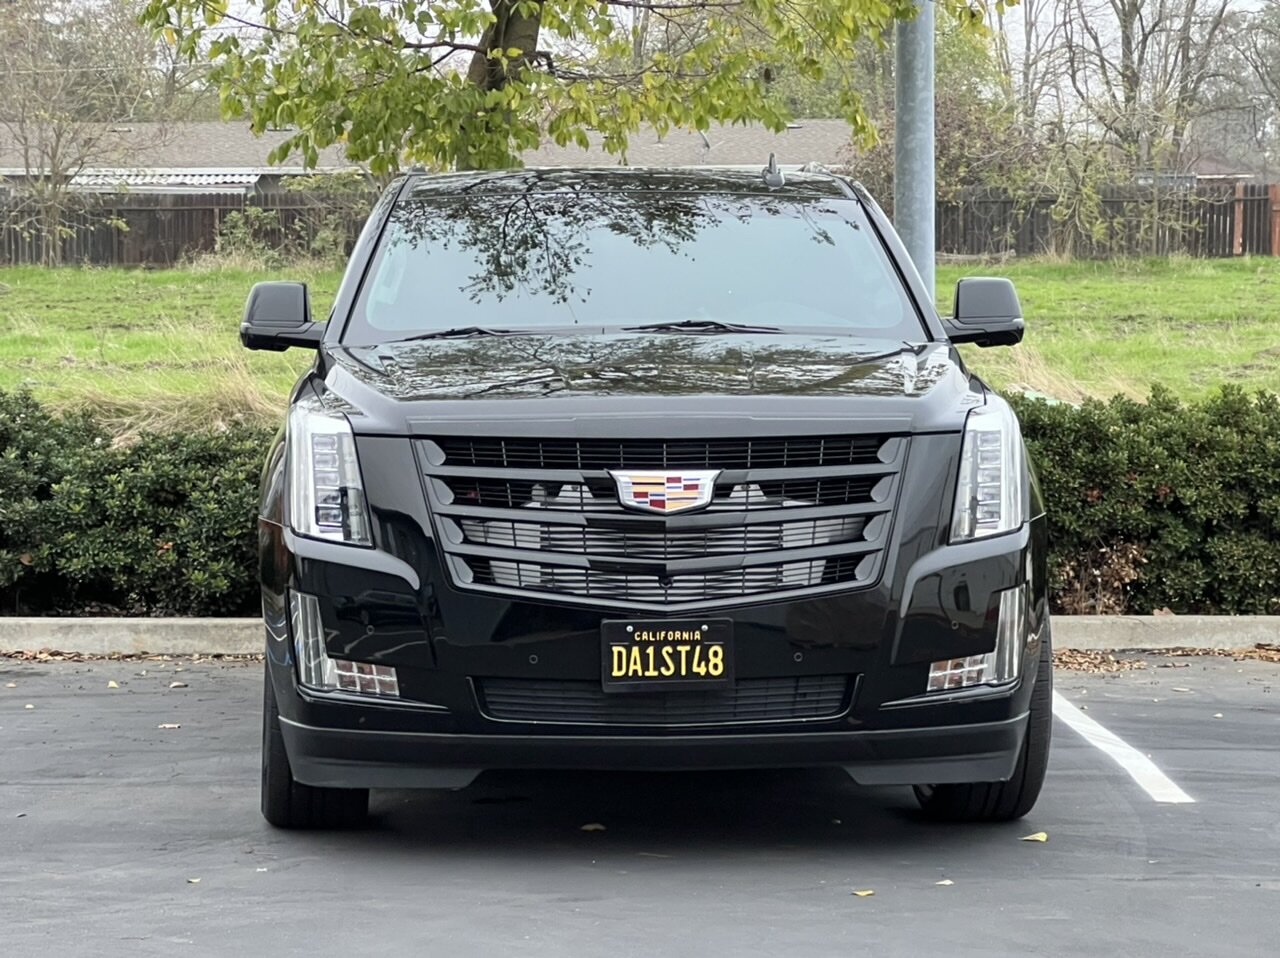
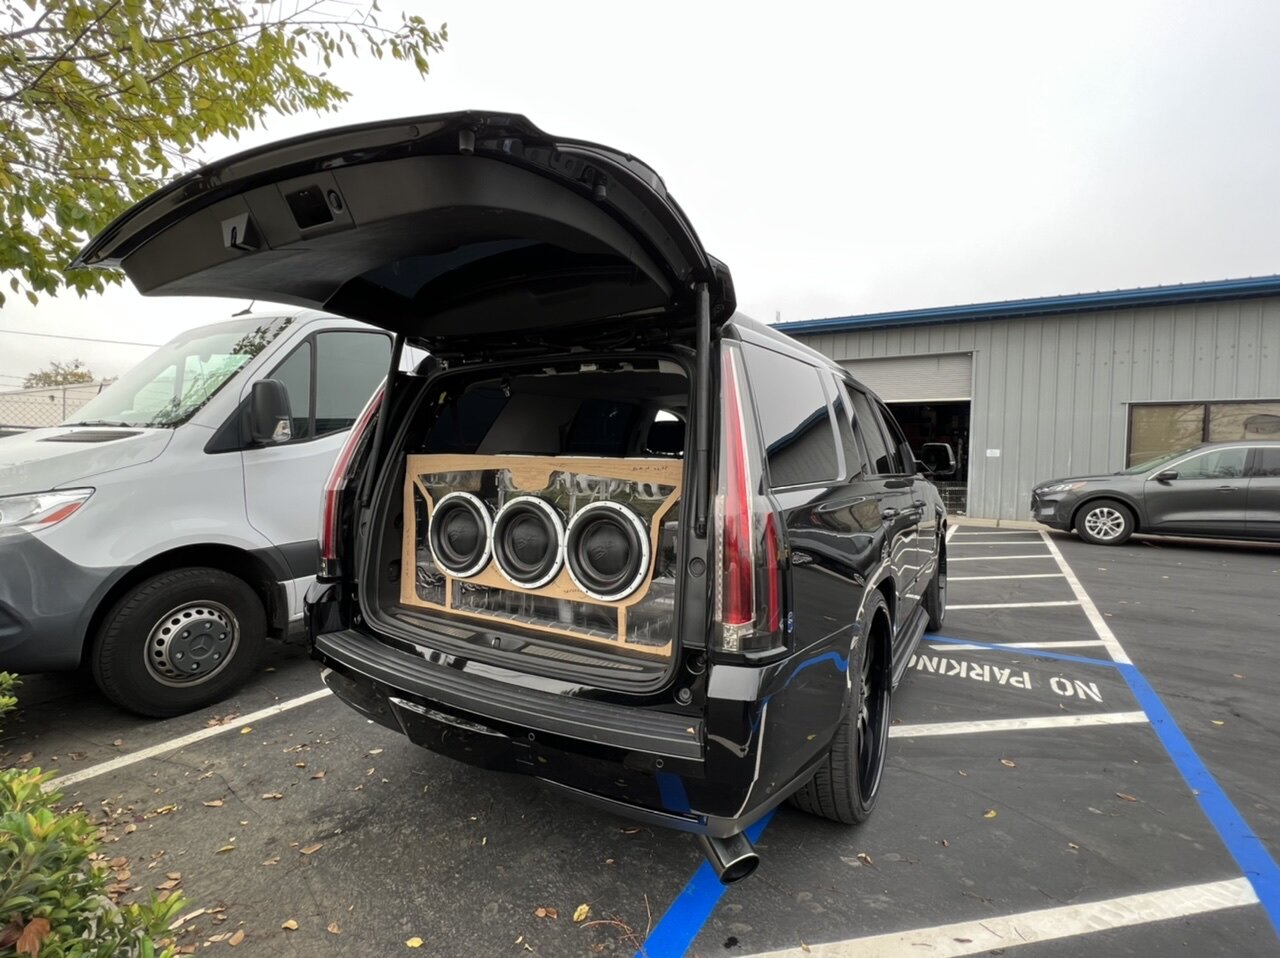
after i put the amp back in the rack, which is a BITCH i must say, i decided to drive it around for some miles and make sure all is well before i start working on the mids/highs.
So far i have put a few hundred miles on it and no problems!
-
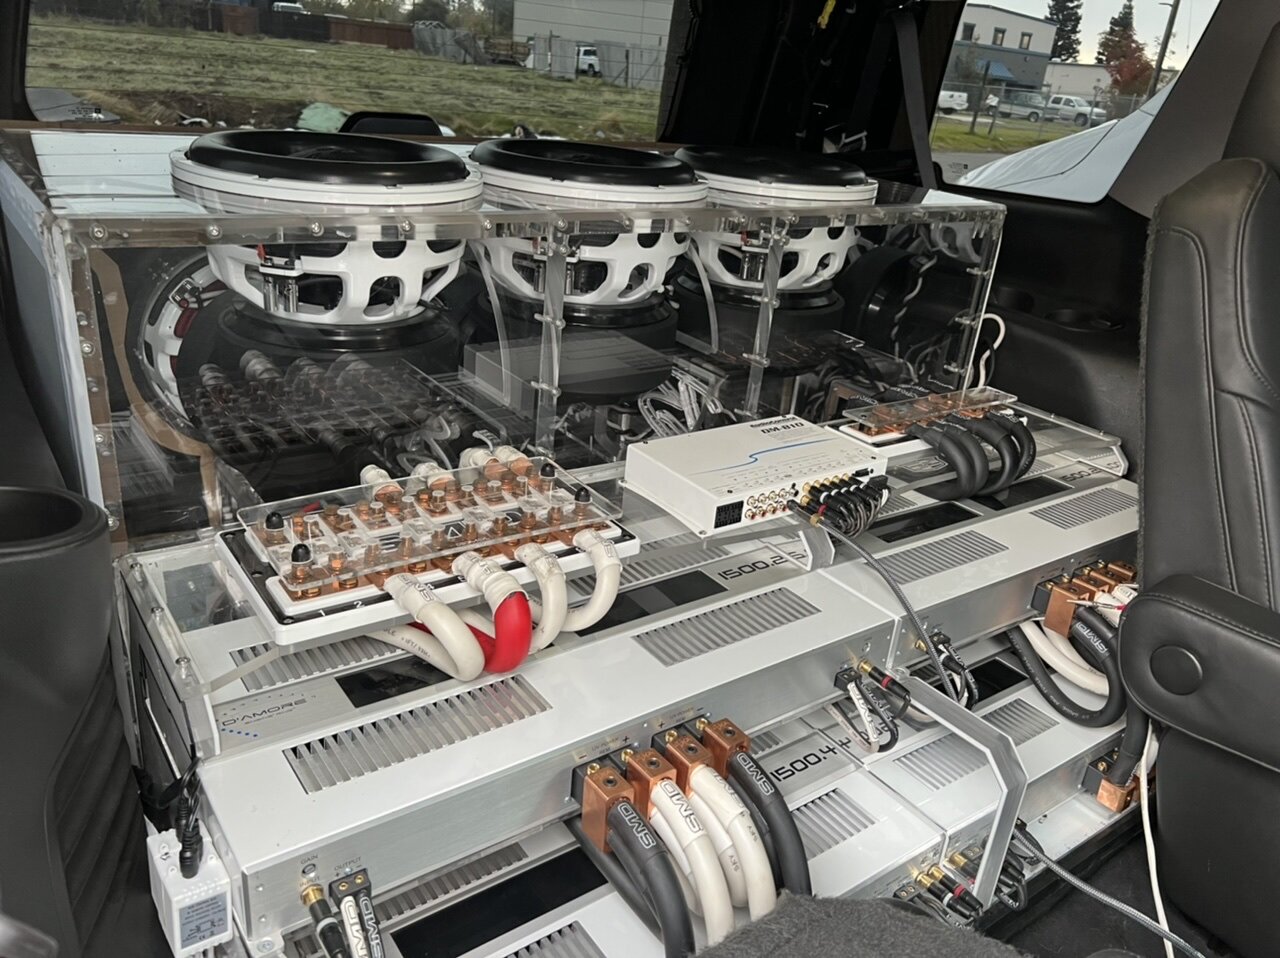
the shop is UNGODLY busy. It is really hard to work on these projects with so many orders coming in. I also, back in April or so, had an issue with one amp. It didn't really like being at 16.5v and i ended up sending it back to be worked on. In the meantime, we moved to a new house and i had a lot to do here. Now i am back on the caddy as much as i can. I know i have tons of work and it will probably never end. But at least i am getting some progress.
a lot of what you see is subject to change. It usually starts out with some ideas, some cardboard and some scissors. Right now i am just coming up with some ideas. But i really need to get my B2 mids/highs started. Anyhow here a few updates.
-
1
-
-
-
-


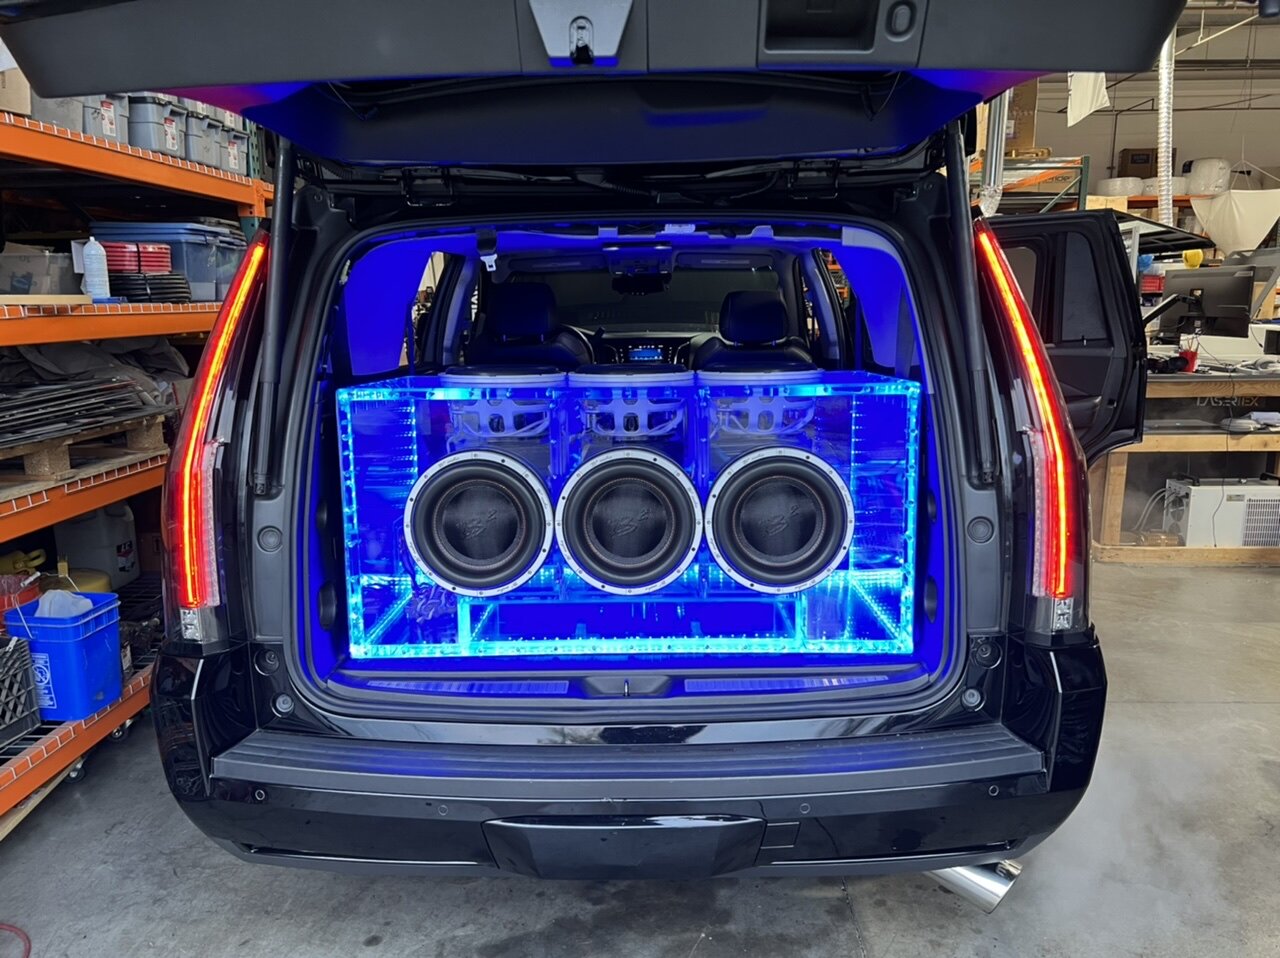
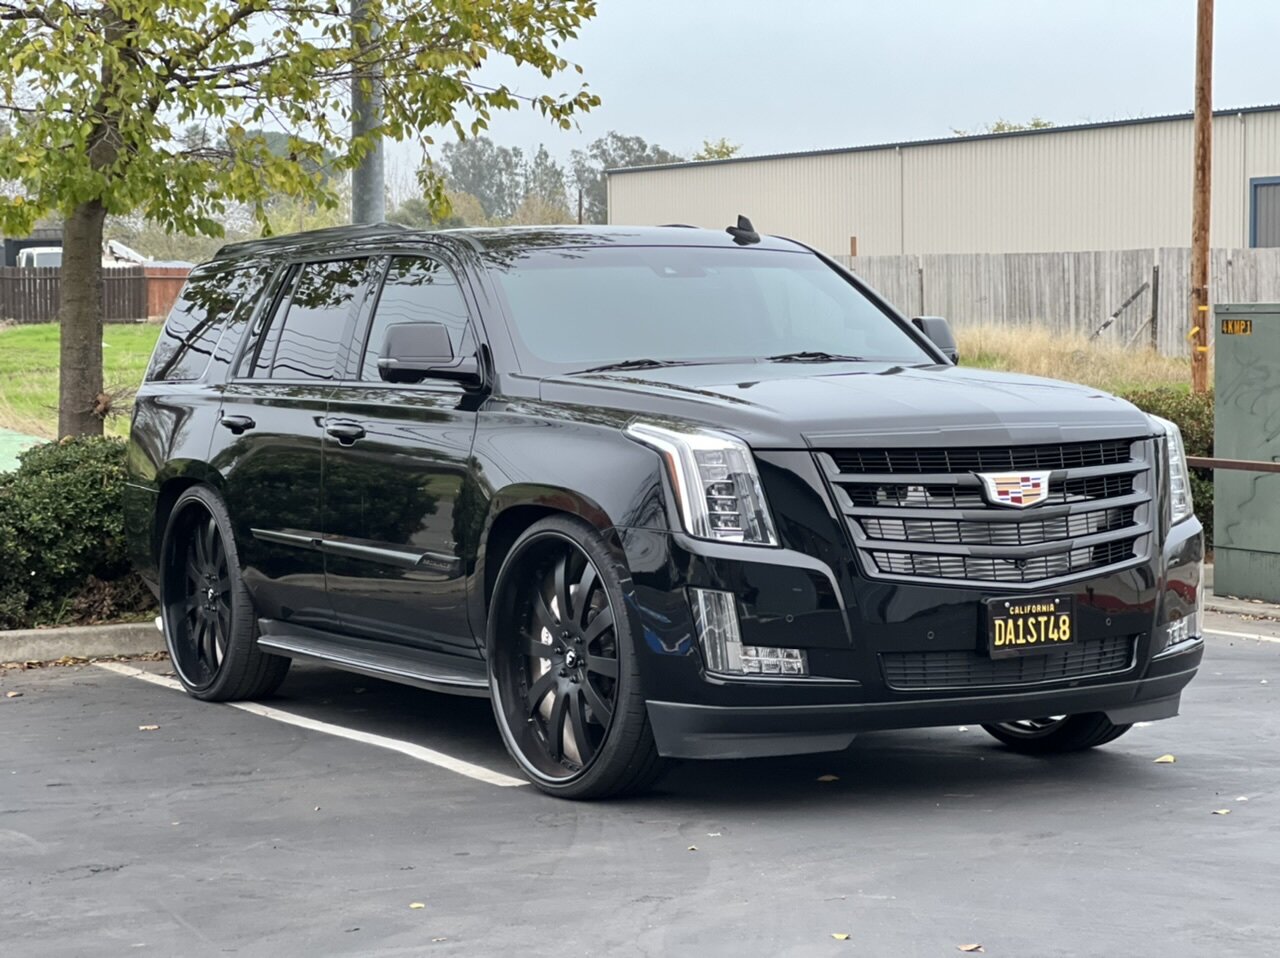
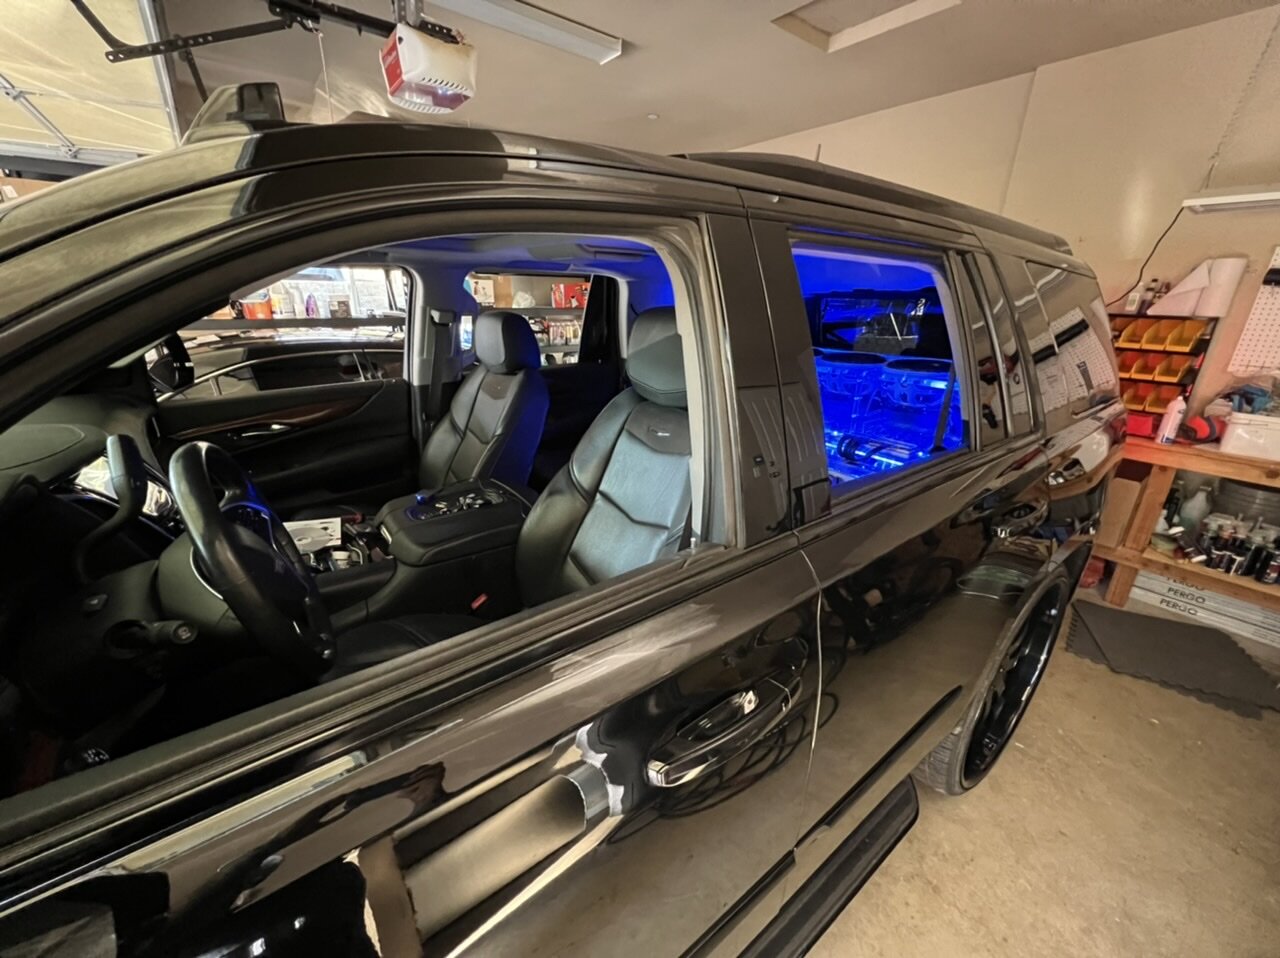
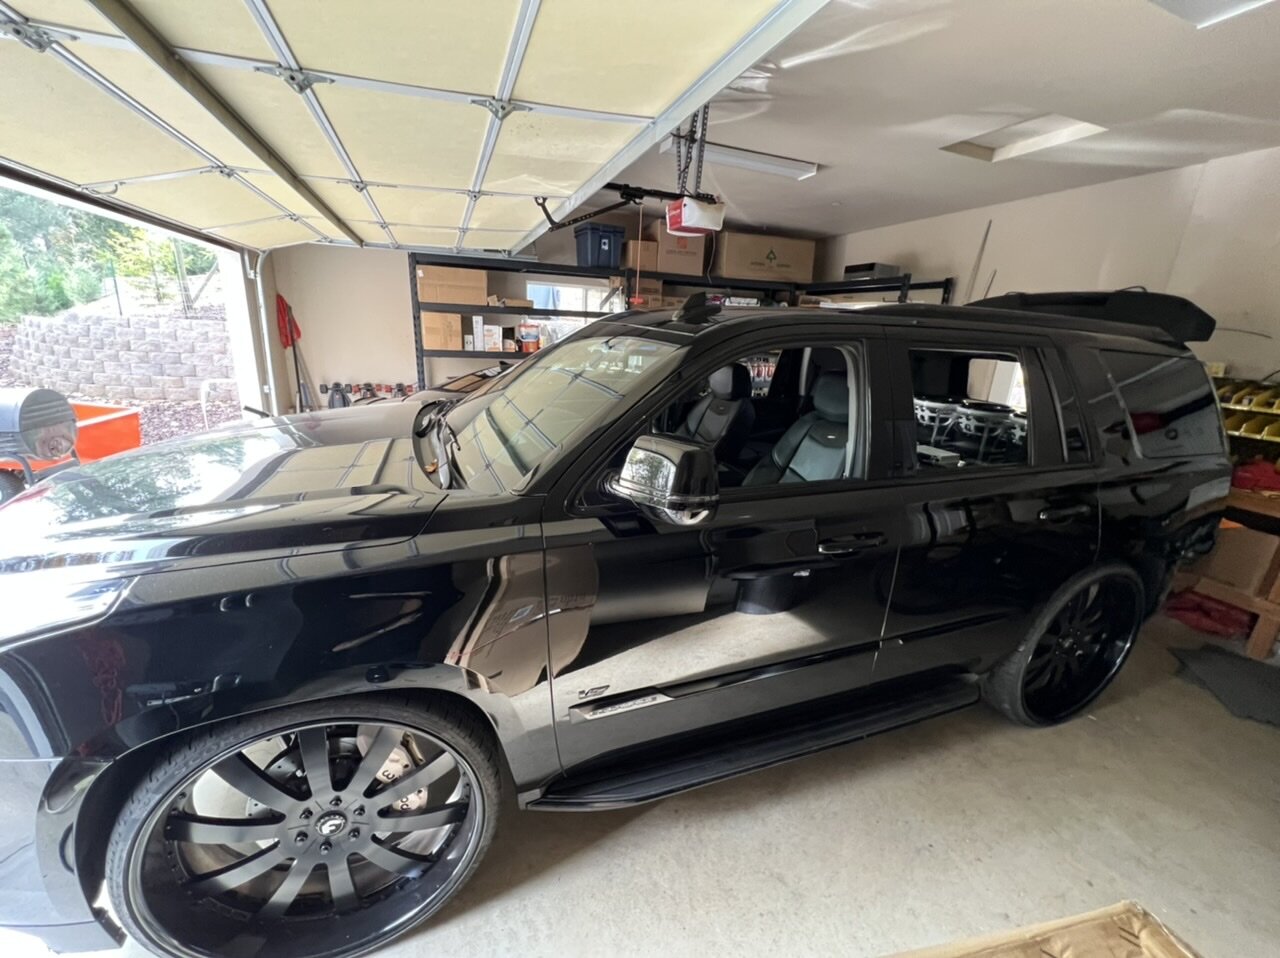


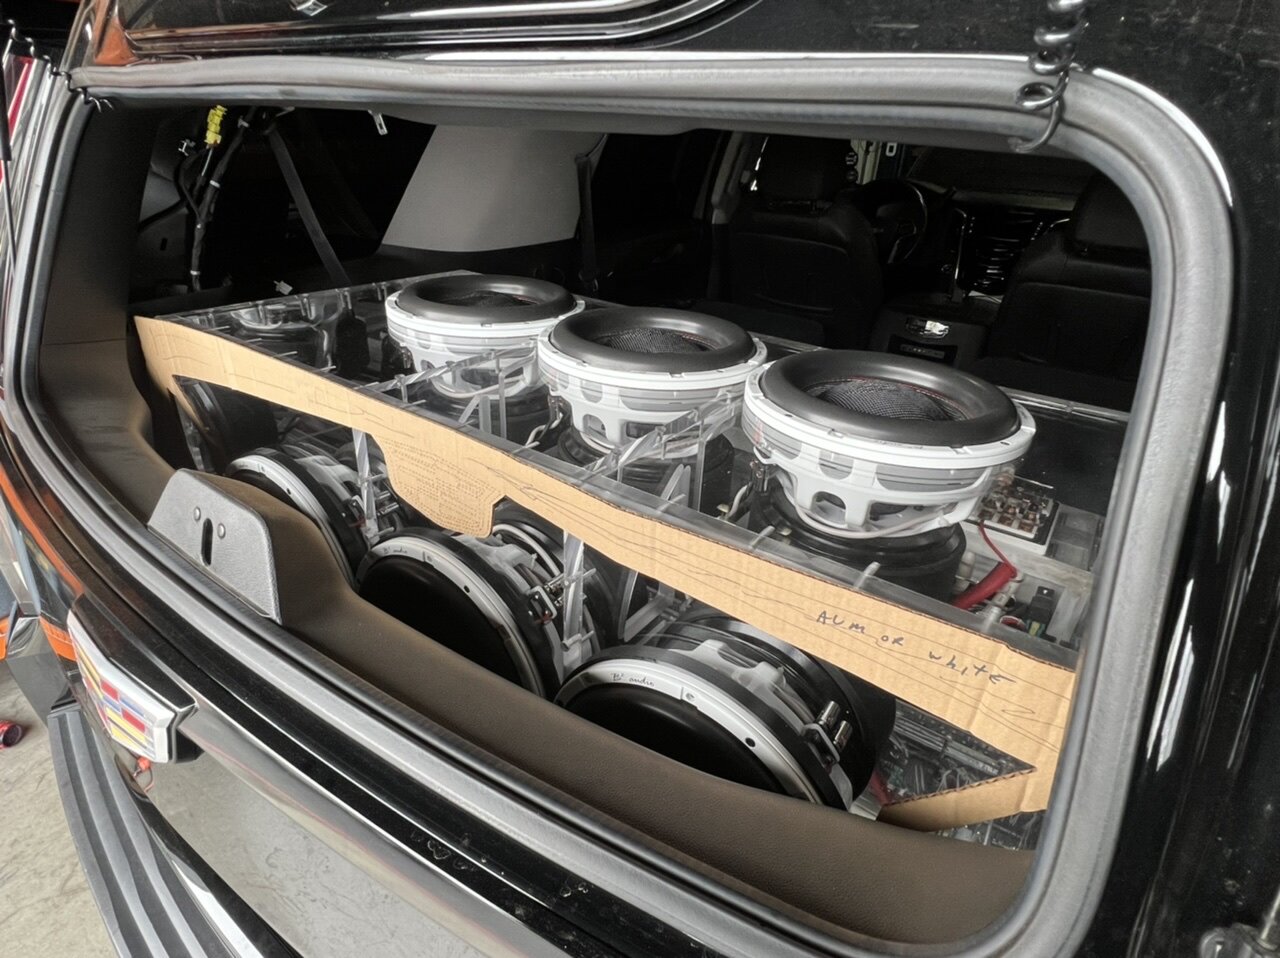


2015 Cadillac Escalade Sound System Install - 6 12's all 1" Acrylic box, mids/highs started update page 25
in Just Meade....my projects - Tons of SMD Builds here!
Posted
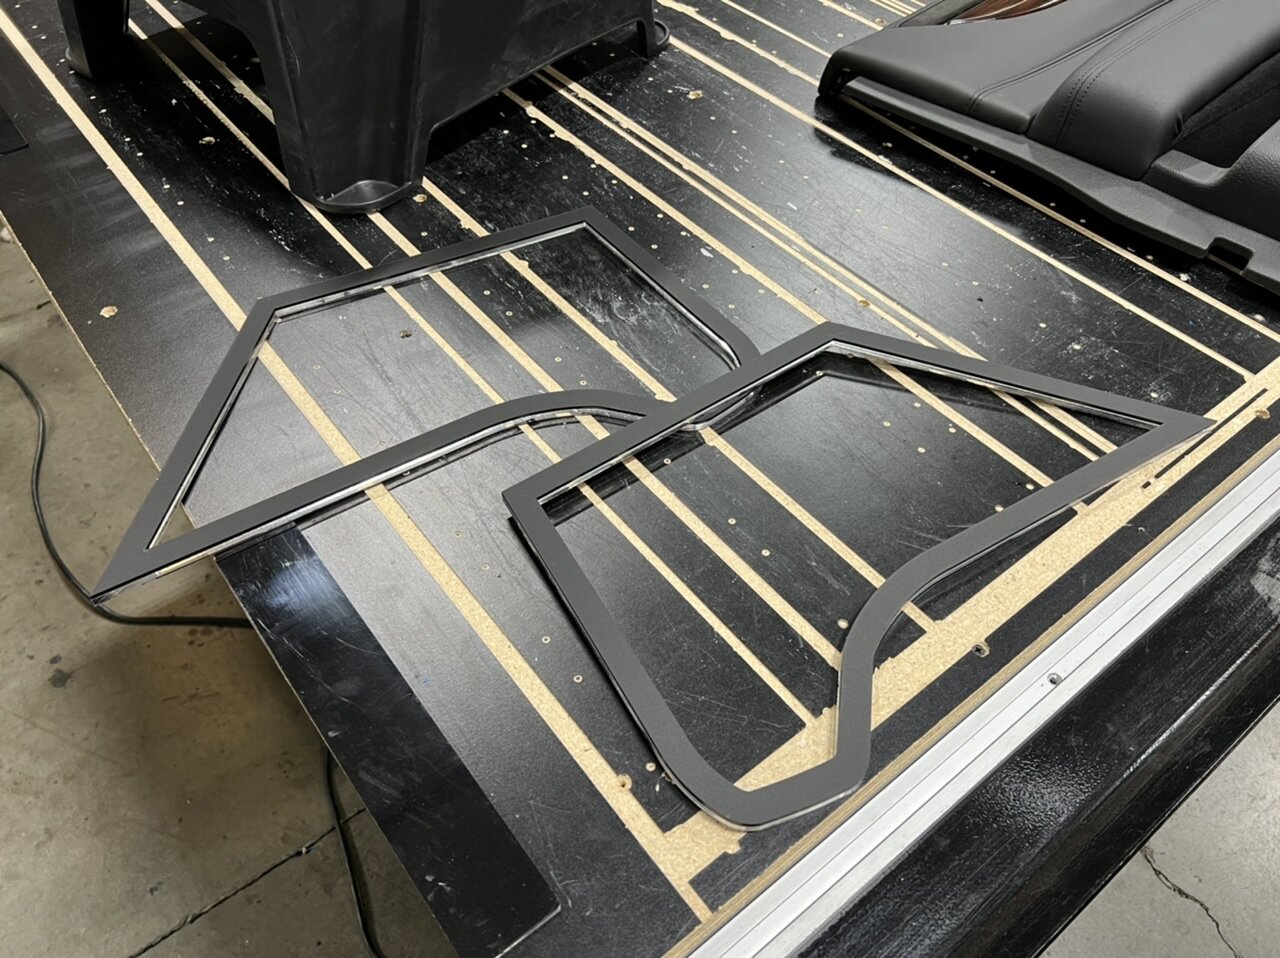
At first, i made this trim ring out of acrylic. Then out of ABS (and painted it). But i wasn't happy. It looked nice, but it was just not blowing me away. So i scored a slab of 1/4" aluminum and made it out of that. I like it MUCH MUCH better!