reedal
-
Posts
4310 -
Joined
-
Last visited
-
Days Won
11
Content Type
Profiles
Forums
Events
Media Demo
Store
Collections
Videos
Everything posted by reedal
-
If thats what you want your switched 12v source to be, then sure. Or you can install a toggle switch fed from a constant 12v source.
-
yes
-
In-line fuse on red wire, red wire to constant 12v source, yellow wire to switch 12v source
-
The TM-1 manual is very clear.
-
@sundownz
-
If it's not turning off, then you are constantly applying 12v to the fans
-
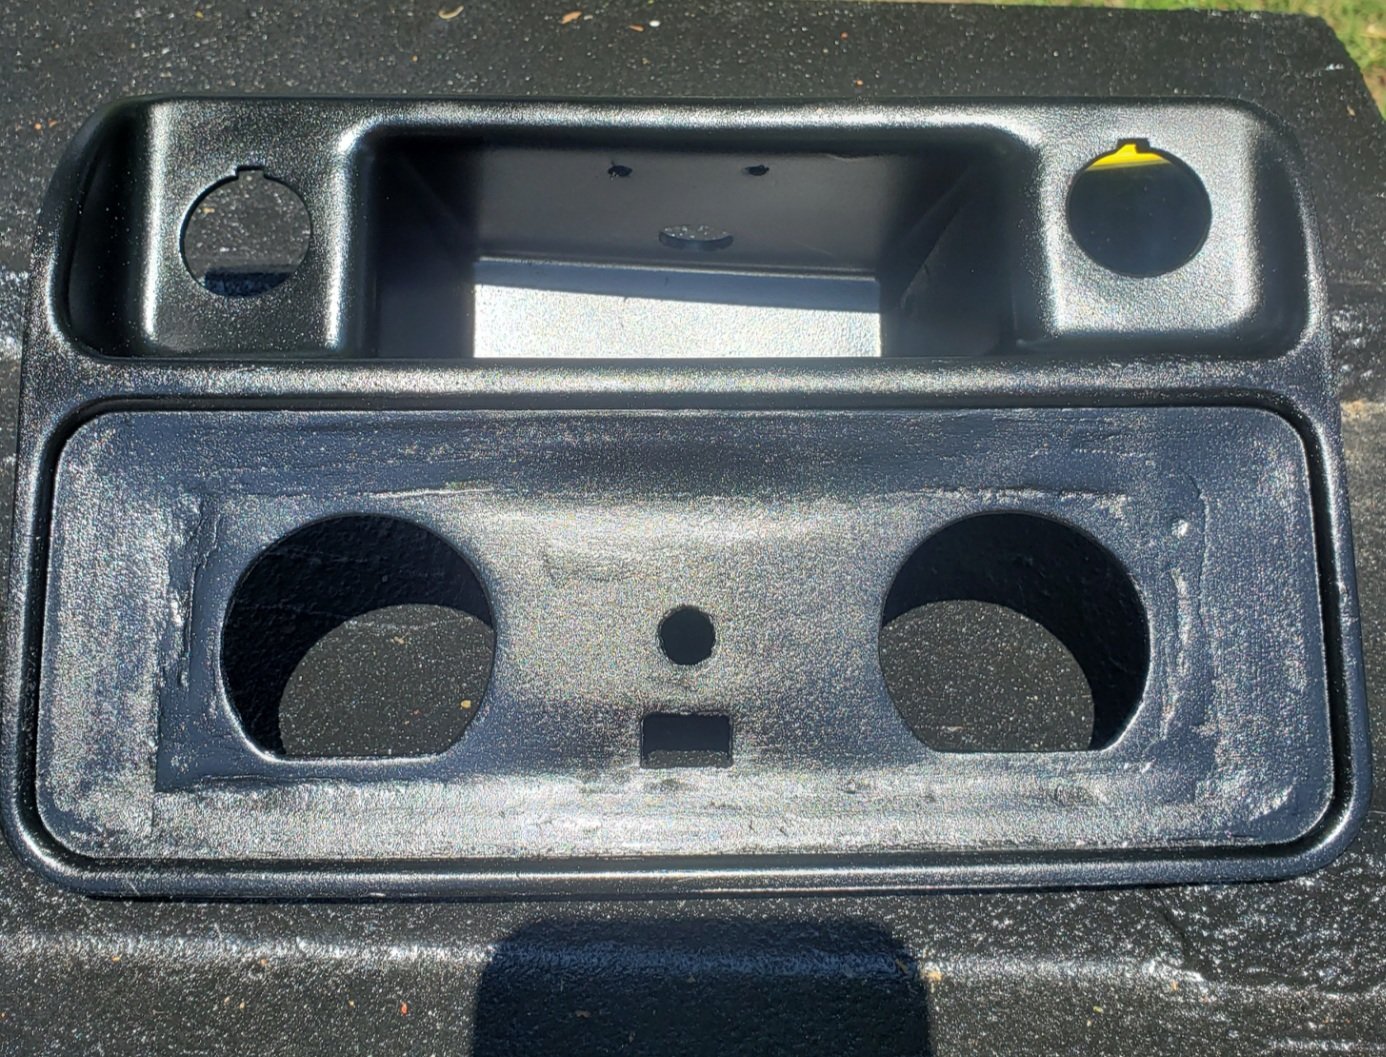
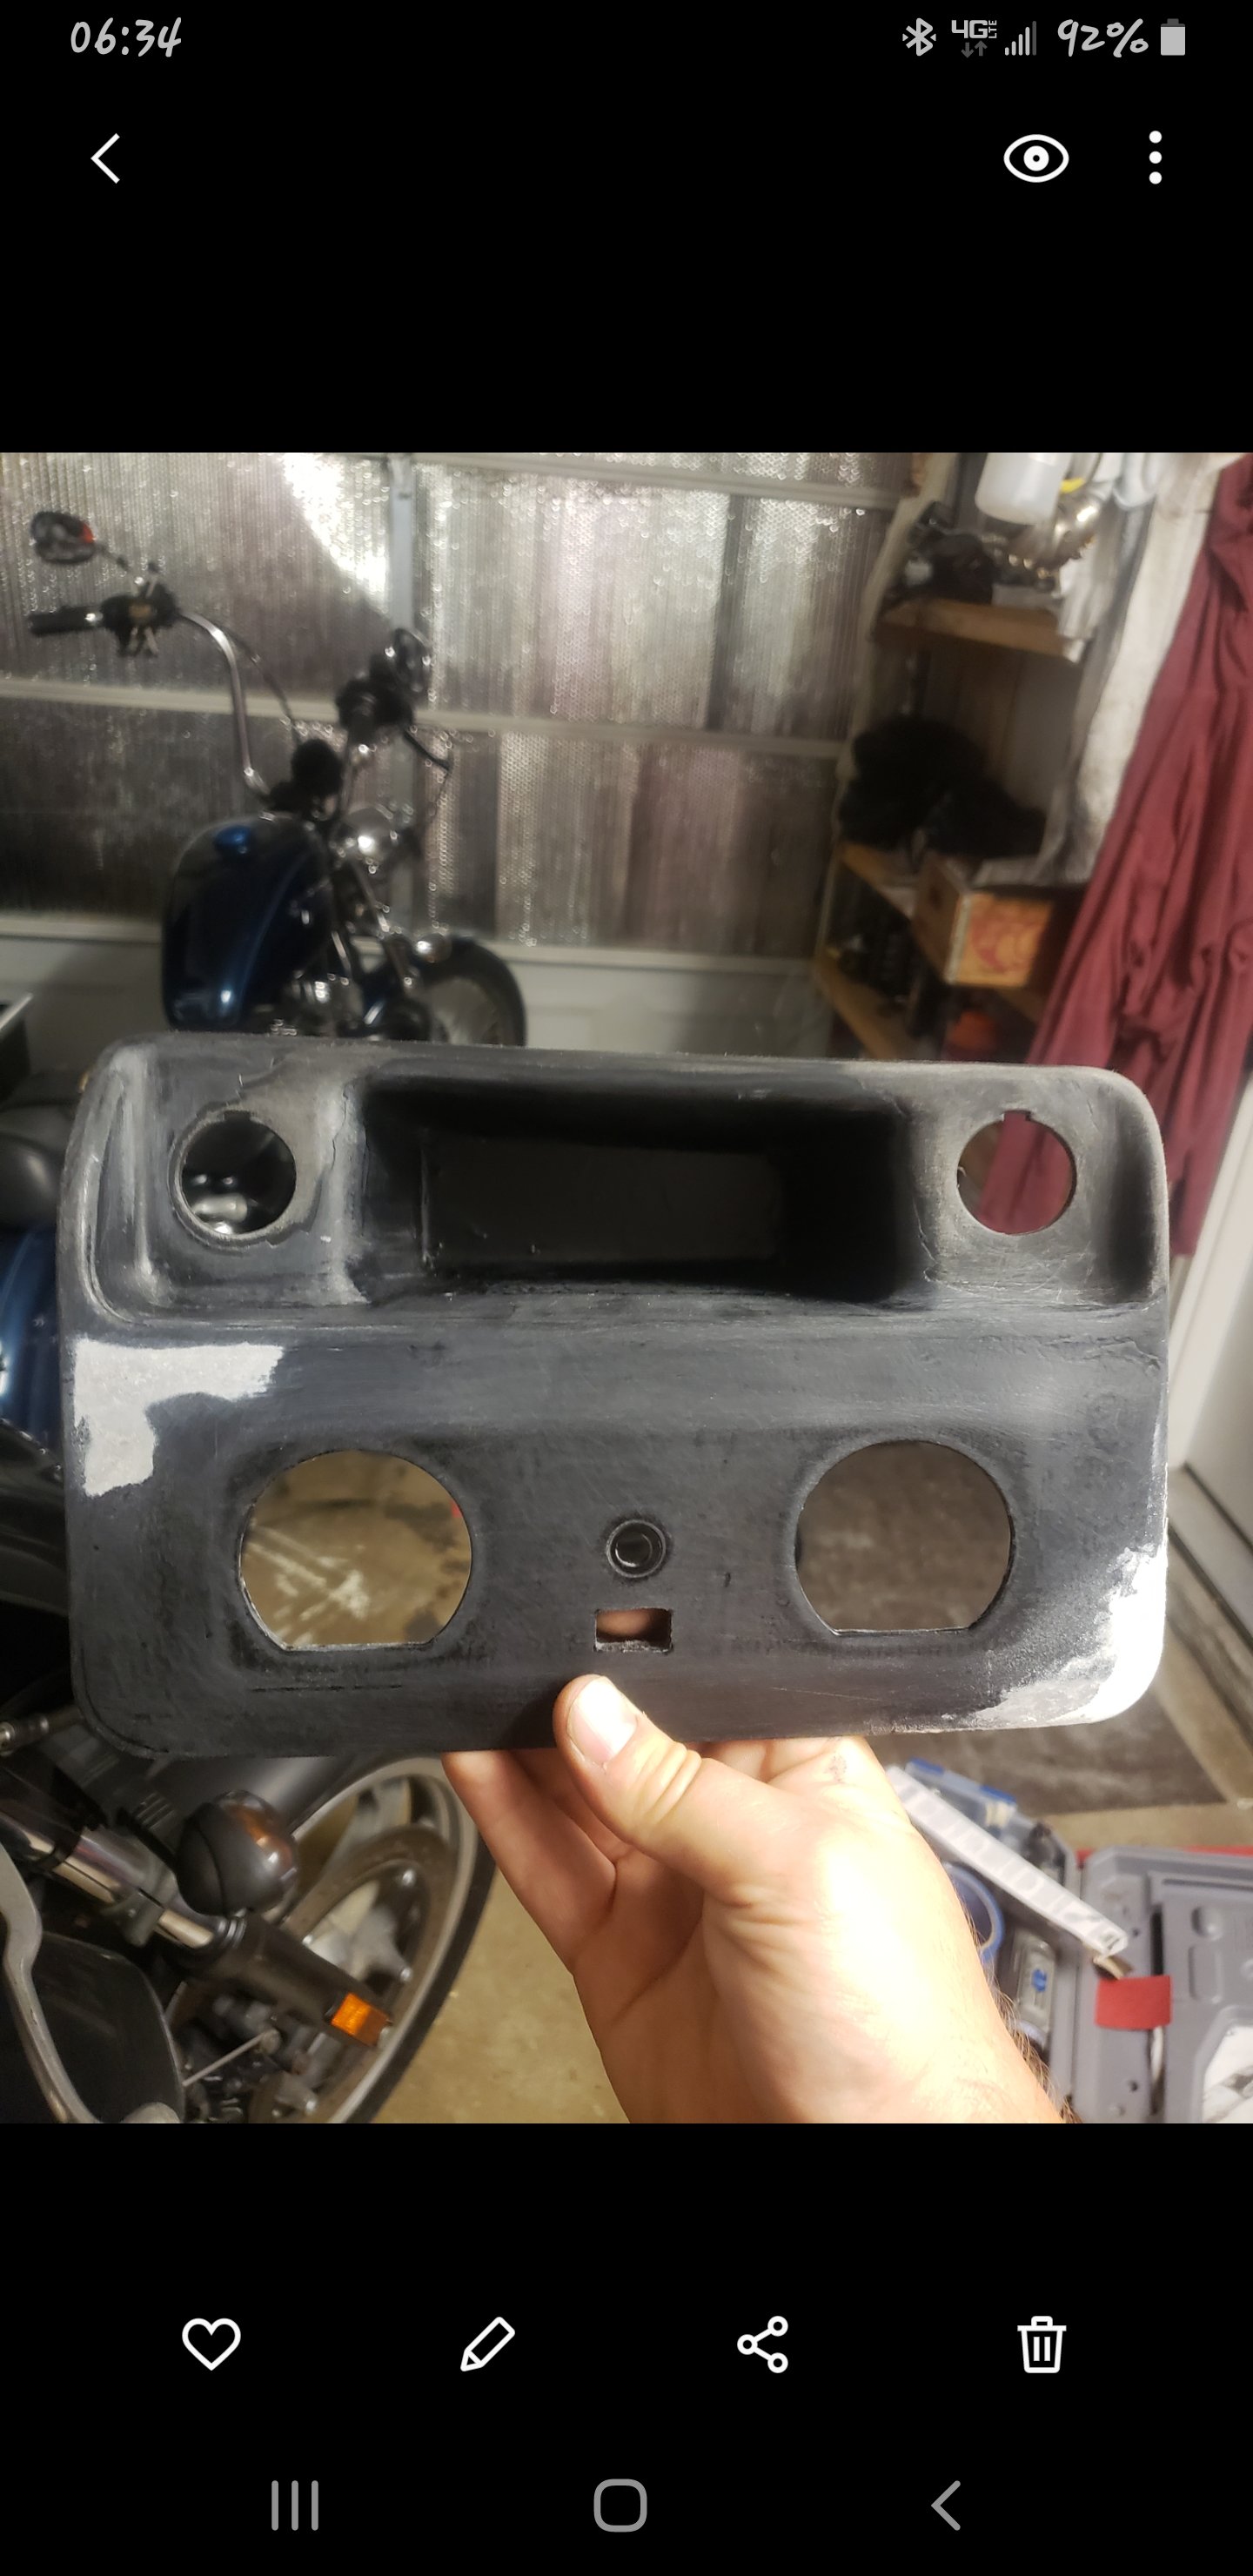
Slow progress being made, which I guess is good since I'm taking my time and not worried about rushing through. I used JB Weld Plastic Welder to hold the meter din in place of the cutout, sanded the excess down in the front. More sanding and a little bit of 3-M gold filler to come.

-
I'm sure if you watched the video in this thread that you posted in where steve talks about the amp and even tests it, you'd probably get a little bit of that info that is so easily accessible to you already. https://lmgtfy.com/?q=CAB+1600.1+strapped
-
I know a lot of my pics uploaded were photobucket, so I dont know how much of the old stuff is visible, but I'm getting started on this thing again. Tore it all out back in 2017 in preparation for a rebuild, and never did anything after. So, to get started, I did some clean up behind the dash, and for temporary tunes I put the stock bose amp and speakers back in. What a waste of time that was, because the two front door speakers dont work, and with just the rear doors and D-pillar speakers (didnt put the A-pillar tweets or the center console woofer back on) it sounds like crap. I still want to put the HAT legatia 8's in the front doors, and I have decided if I want to put the HAT legatia 6's in the kicks or the rear doors. I'm leaning towards the kicks, and then if I dont like it I'll throw them in the rear doors. Still going to do the HAT L4's and L1's in the A-pillars. My center console panel that has the SMD VM-1 and OM-1 in it was looking rough, so I pulled it and am using some spot filler to clean it up, here's what I've got so far. Need to do a little more sanding where the paint was chipping by the accessory outlets. Once everything is smoothed out, just gonna paint it black again and hopefully that will be the last time I have to mess with it. I also need to redo the sound deadening in my front doors, and add some to the rear doors. The front doors, roof, and rear hatch were done with the SoundQubed Q-Mat four or five years ago, and I've kind of regretted it since. It was gooey and messy straight out the box, and each year it just makes a bigger mess because that shit is melting any time it gets 80⁰ or higher outside. It's not gonna be fun, and it's going to take a while. It's supposed to rain every day till next monday right now, so that will be the earliest I can get started on pulling/scraping that muck off. Then I'll get some more second skin like I did for the floor. I'll do before and after pictures of the removal process, but given how messy this stuff is, I can't guarantee any pics during.
- 317 replies
-
- 1
-

-
- soundqubed
- tahoe
- (and 8 more)
-
DD-1 and AudioControl D-4.800
reedal replied to bretd25's topic in SMD Distortion Detector (DD-1) Topics
Do you get a signal light? Have you attempted it with a brand new unused energizer/Duracell battery? That seems to be the one drawback on these tools, they like to have fresh batteries in them, and they can't be cheapo's. -
Help with DD1
reedal replied to Trevor TJ Witthoeft's topic in SMD Distortion Detector (DD-1) Topics
Replace the battery with a new and unused Energizer or Duracell battery for starters. And if you could record a video showing what you do from start to finish, it will be easy to see if there are any issues. As a side note, try using the speaker negative for your negative probe if the chassis ground doesn't work, or vice-versa if your manual has you do it that way already. -
Yellow is accessory turn-on, white takes place of gray for fan positive. It's a simple process of elimination given that the wires are different gauge and only two are different
-
TM-1 Wiring
reedal replied to JonBob's topic in D'Amore Engineering - High Quality Car Audio Installation Tools & Accessories
http://www.bcae1.com/ Theres your beginners guide to help you out with electronic theory. You said in your first post that the meter's power wire is ~16ga. If you own wire strippers, it'll be easy for you to figure out what gauge the wire actually is. If you're uncomfortable using the included wiring and fuse, then change the wire to match the gauge that comes from the meter. You don't need to. Tony D'amore isn't going to design and produce a fire hazard. There are a number of people using these meters that all got the same stuff you did. You must be a real big boy with all of the insults you like throwing at me. Great work, champ! -
TM-1 Wiring
reedal replied to JonBob's topic in D'Amore Engineering - High Quality Car Audio Installation Tools & Accessories
I answered which wires are what. As far as soldering two different size wires together, it's no different than soldering two of the same size wires together, with the exception that is will not take as long to heat up the smaller wire as it will the larger wire. slide the heat shrink on, strip the wire, slide the strands of the smaller wire in to the strands of the larger wire so they're interlaced, place soldering iron underneath copper, insert solder from above, let it flow over the copper, remove soldering iron, let solder harden, slide heath shrink over solder joint, and apply heat to seal. ta-dahhhhhhh -
TM-1 Wiring
reedal replied to JonBob's topic in D'Amore Engineering - High Quality Car Audio Installation Tools & Accessories
Its childish to whine and complain because you actually have to figure something out and do work. Are the instructions written clearly for the current model of TM-1? No, but the two differences are simple. You dont need to be an electrical engineer to see two different colors and two different gauge wires. If you can't figure it out, then you should probably stop working on your own electronics. Go buy a fuse holder if it didnt come with one. And dont forget to cry about having to a buy a fuse holder. -
TM-1 Wiring
reedal replied to JonBob's topic in D'Amore Engineering - High Quality Car Audio Installation Tools & Accessories
You're being childish. It's not that hard to look at the instructions and the product, realize that two wires are different colors, and fill in the blank. By simple process of elimination, the yellow wire has replaced your white as the turn-on, and the larger gauge white wire has replaced the gray as your fans positive turn on. See how easy that is? -
That poor center console
-
Anybody Here Make Dual Alternator Brackets?
reedal replied to mcnaught82's topic in Electrical-battery- Alternators- Wiring
Mechman used to. Email them and see if they have anything for you -
Sorry man. I dont know what to tell you, and you say you've already emailed them. I get a response anywhere from a few hours to two days when I email [email protected]. never not received a response. Just keep trying to contact them
-
@Antheny916 @meade916 @Tony D
-
overlap setting for an amp that under powers mids
reedal replied to Goomz's topic in SMD Distortion Detector (DD-1) Topics
If you want more power, then you need to buy more power. Setting gain overlap is meant to accommodate the level of attenuation in music. It doesnt create power. A gain overlap of -10dB on a song that is only attenuated to -5dB is going to be sending a beautiful square wave to your speakers. -
Battery recommendation
reedal replied to Mohawk Warrior's topic in XS Power Batteries / Chargers! (and other stuff too)
Measure the dimensions of your battery (xs power oem applicator says it's a group 75, which they dont offer) and find one of theirs that matches or just slightly smaller in dimensions, but meets the requirements for cranking amps if you want to go with XS. -
What brand of battery do you use?
-
Red DD-1 means very little. Is it a regular DD-1, or a DD-1 plus? It is not uncommon for a HU to reach max volume with no distortion, but given that it took a while for the signal light to light up, I'd imagine that some settings on the HU need to be adjusted in order to provide a higher signal level. Lastly, batteries can sometimes have good voltage but take a shit under load. Start the tuning process all over with a fresh Duracell or Energizer battery. If you havent already, email [email protected], they'll help you out for sure
-
This forum is a great tool to help diagnose what the cause of your issues are. You can also email [email protected]. What problem are you experiencing?