Leaderboard


.thumb.png.f735f4bf293030b5aad4d67e65a35e67.png)

Popular Content
Showing content with the highest reputation since 04/24/23 in Posts
-
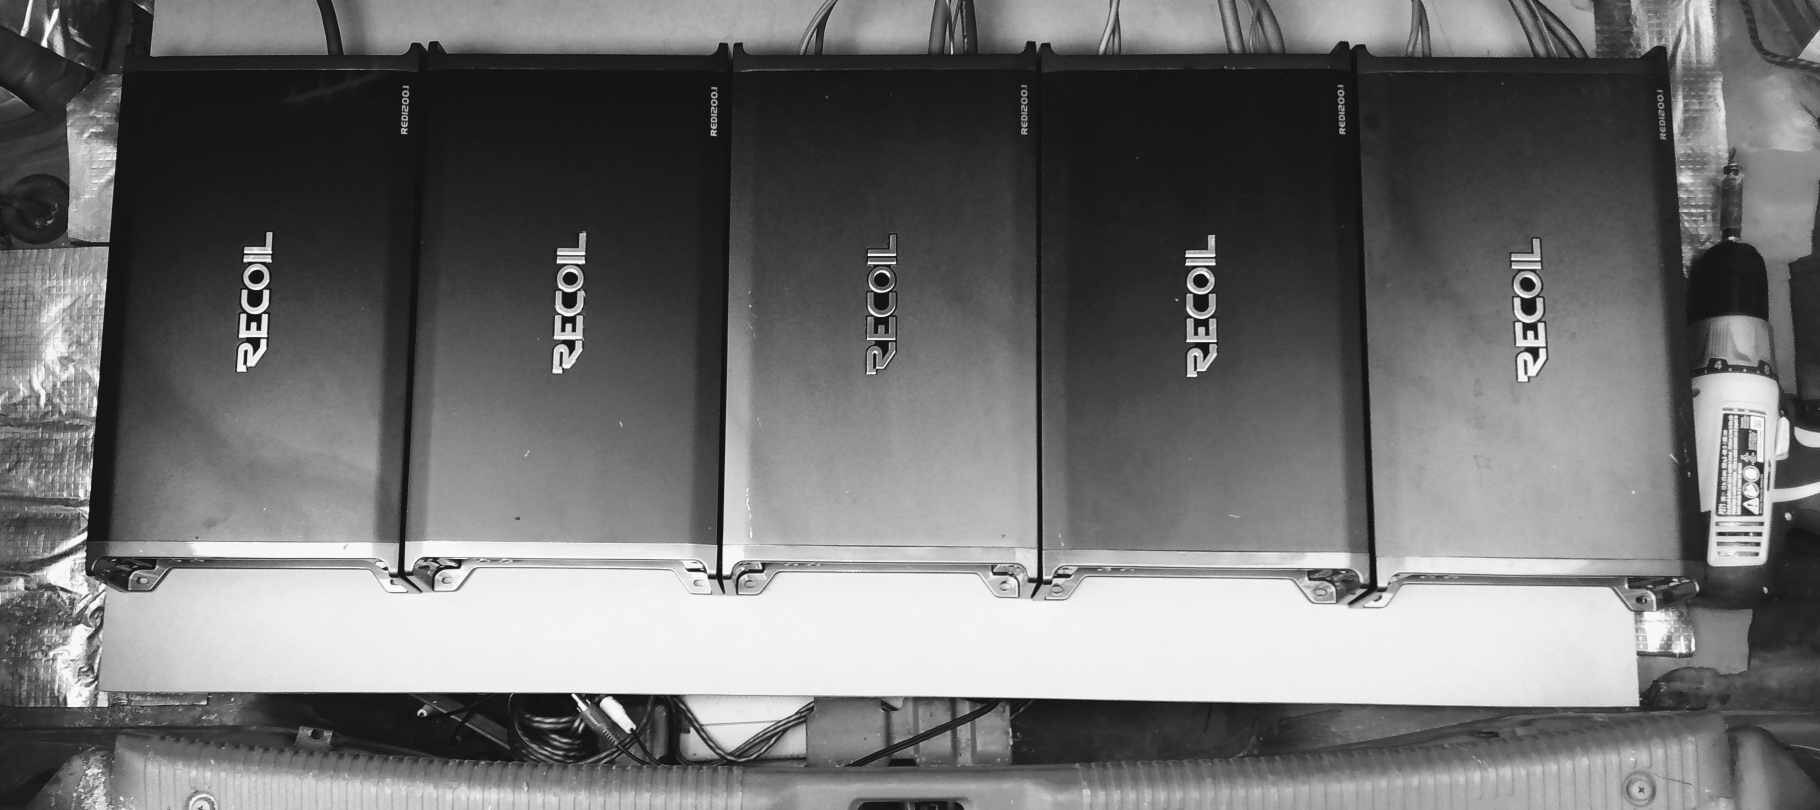
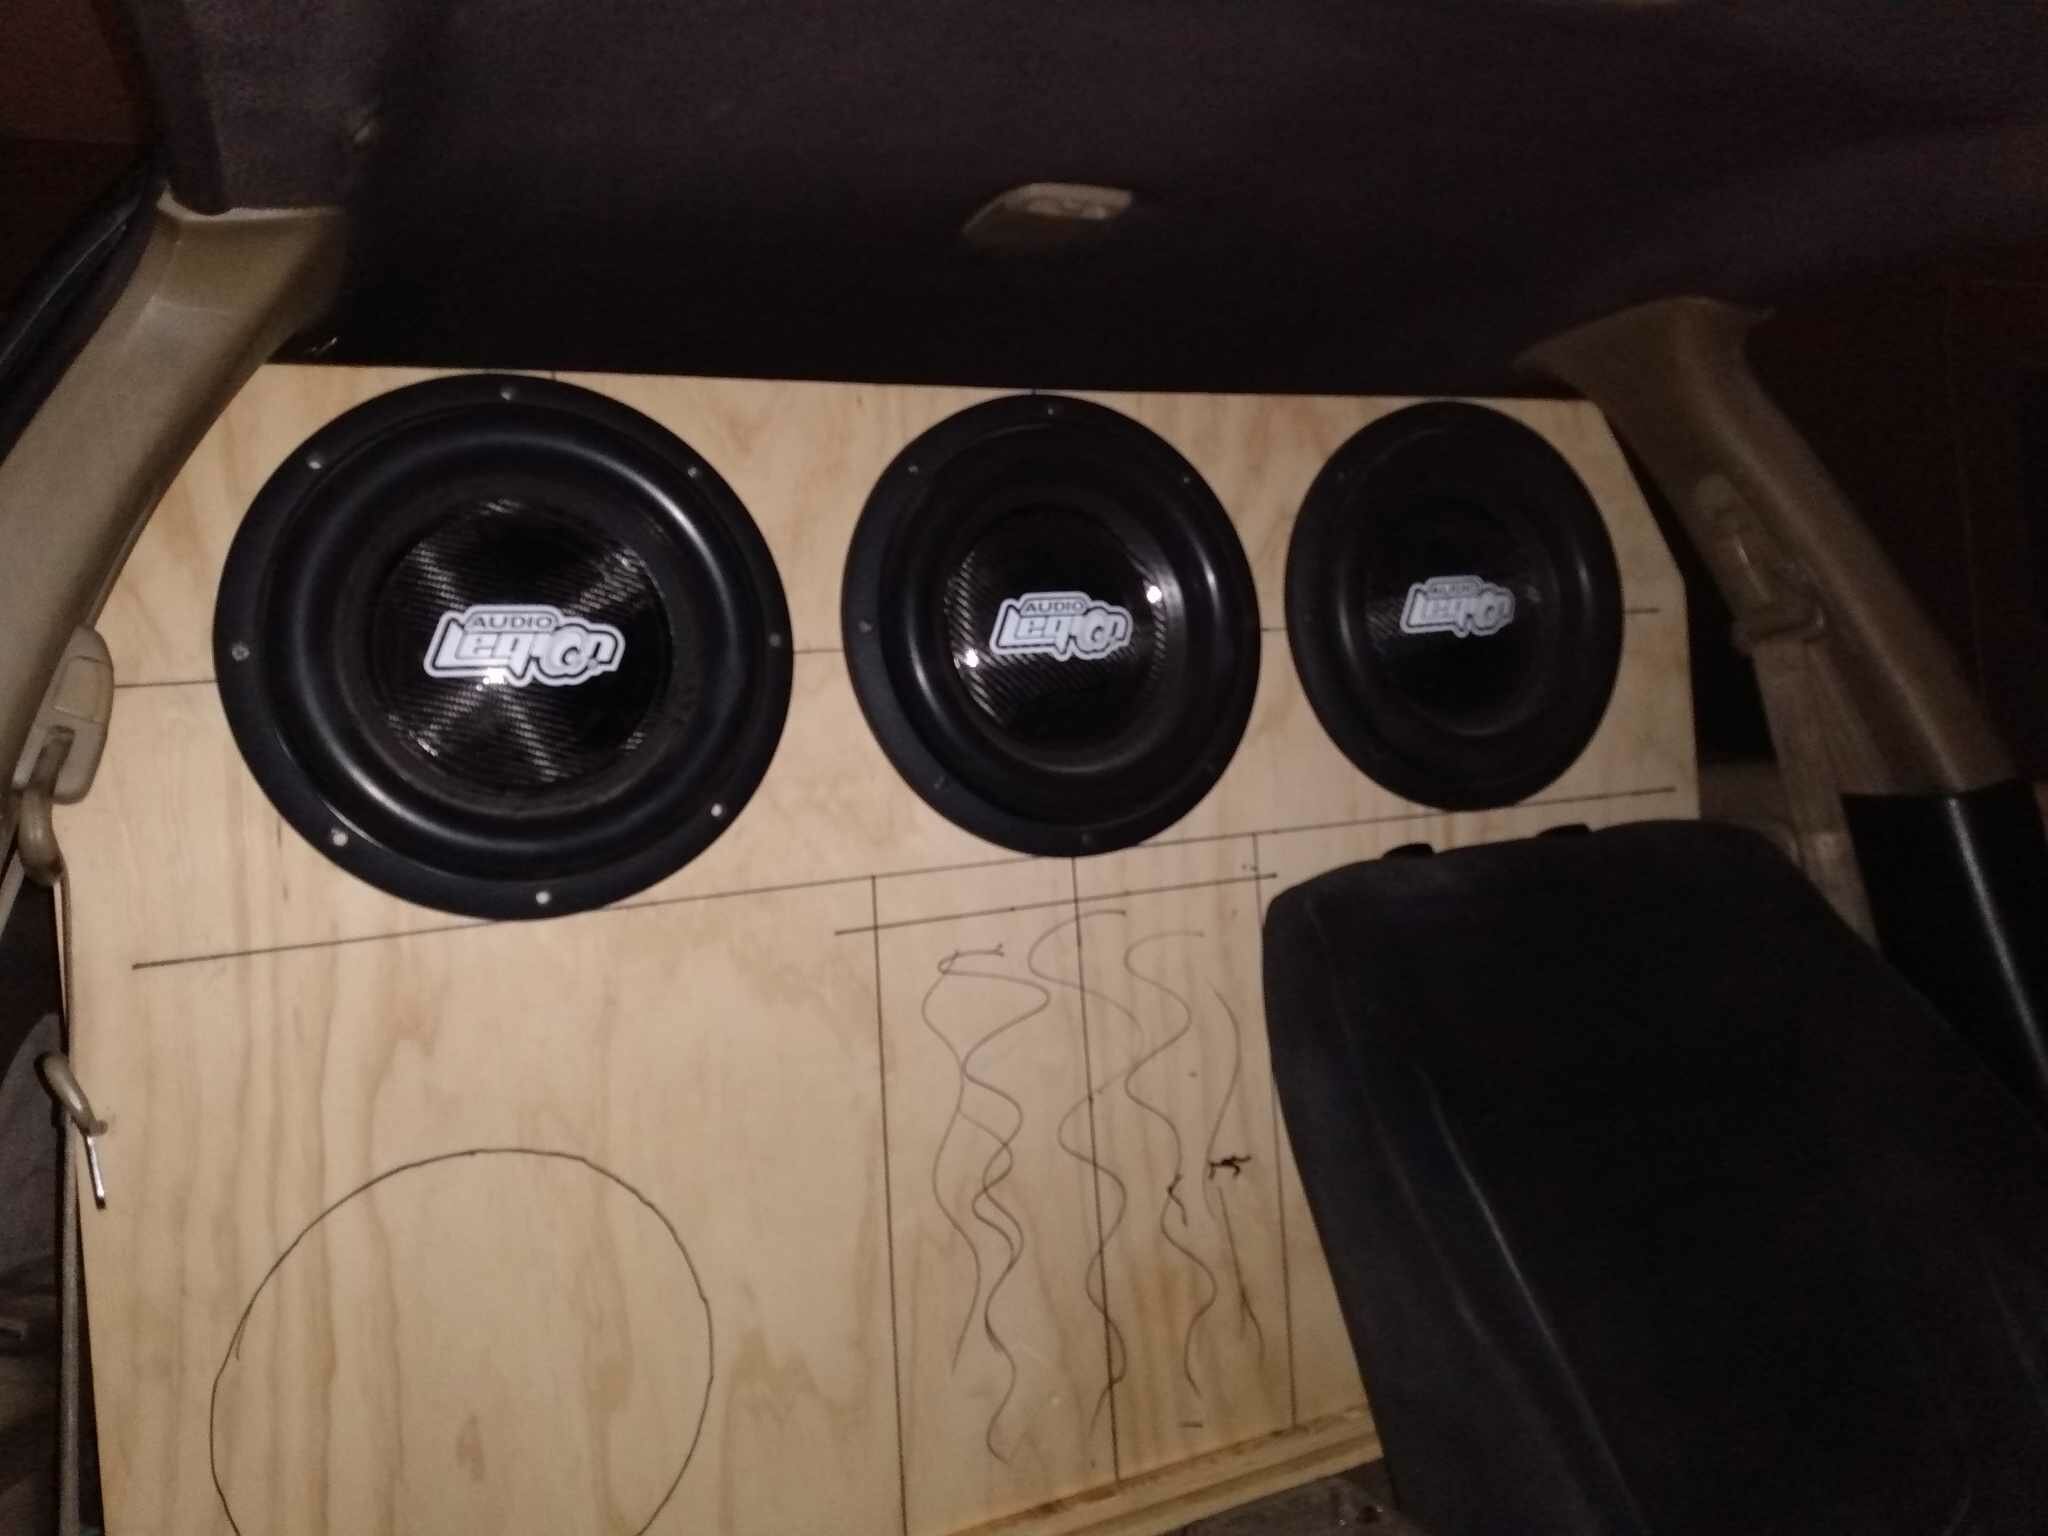
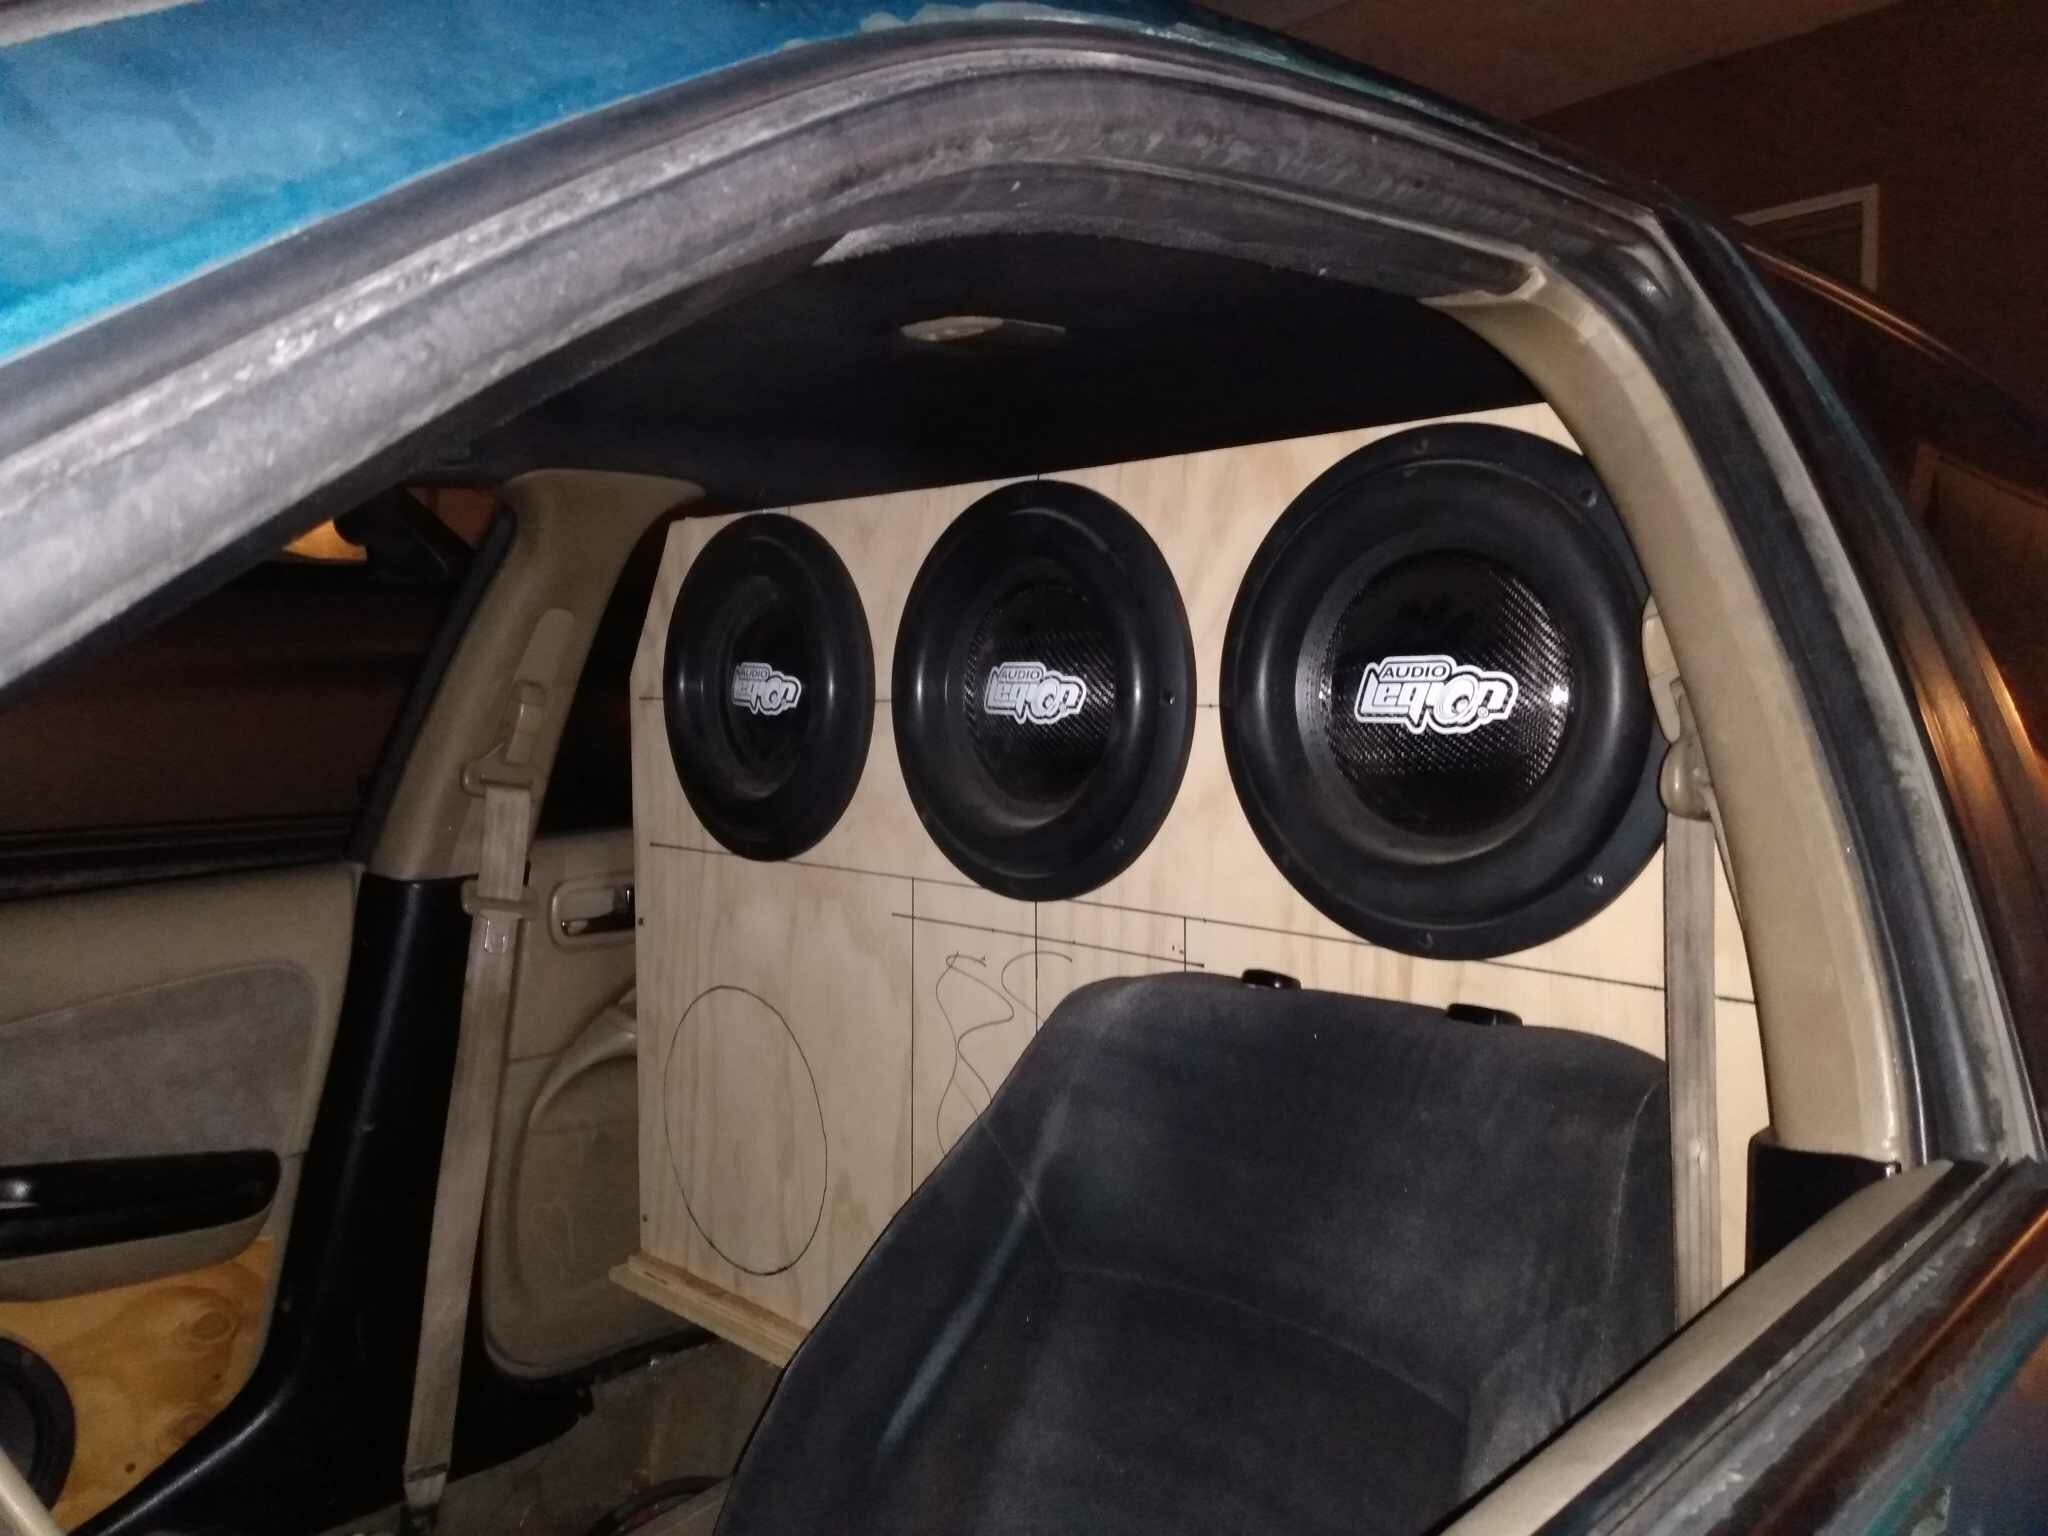
getting close to having the wall done and wired up on 5 of the small amps( swaping to 5x 2500w rms amps in the near future , still need to seal it to the b pillars and other work but i got plenty of time before the next comp
 3 points
 -
progress is slow but i got the port cut and in today for testing and 3 out of the 5 sub amps installed its enough for some low power testing /checking making sure the enclosure doesnt have anything loose etc hopefully ill have enough time this weekend to get all 5 wired up and playing3 points
-
closer , waiting ont he first 2 baffle layers to dry and then i can glue this one to those and install it for real
2 points
-
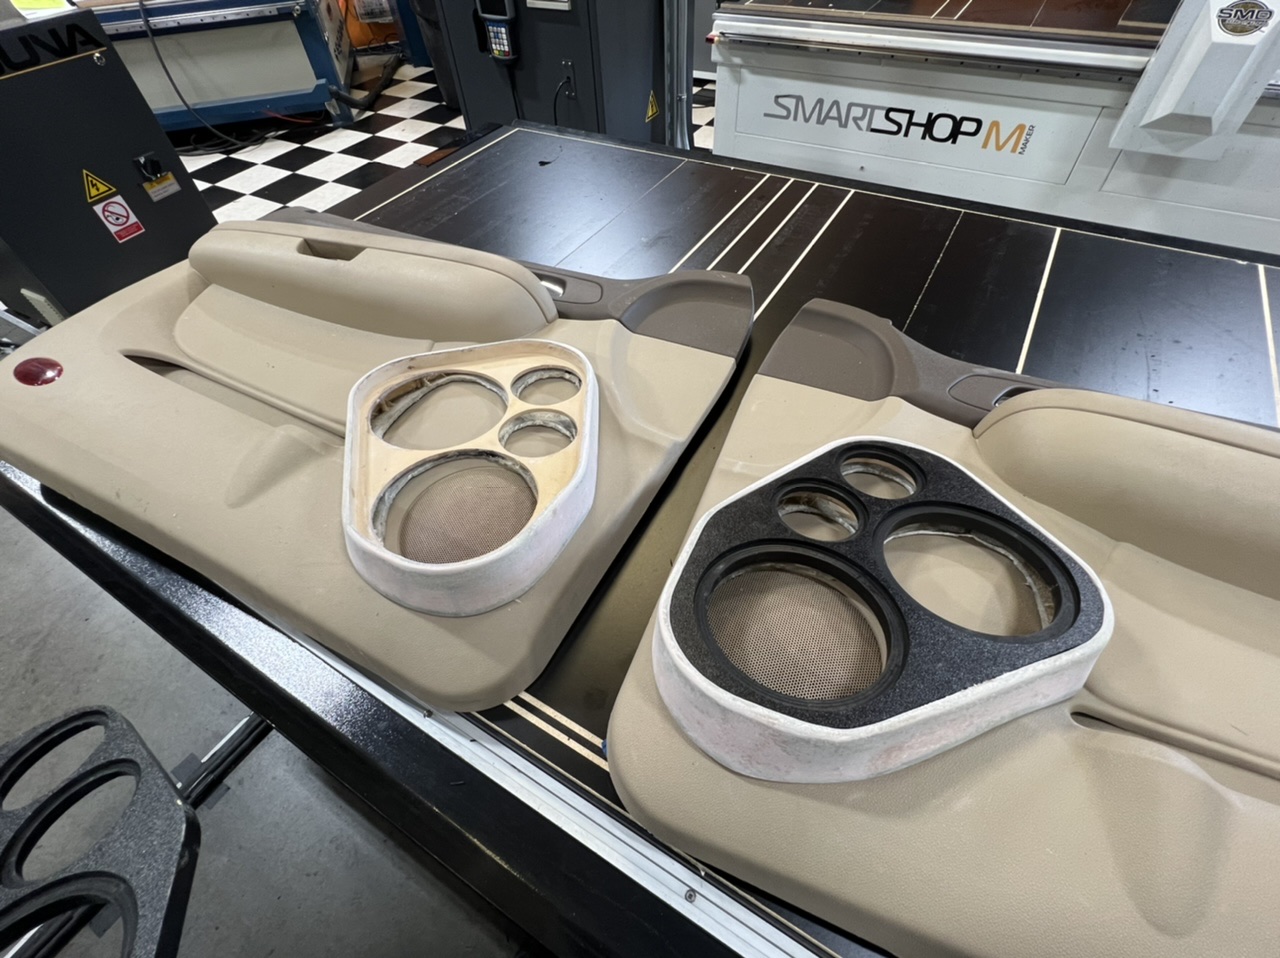
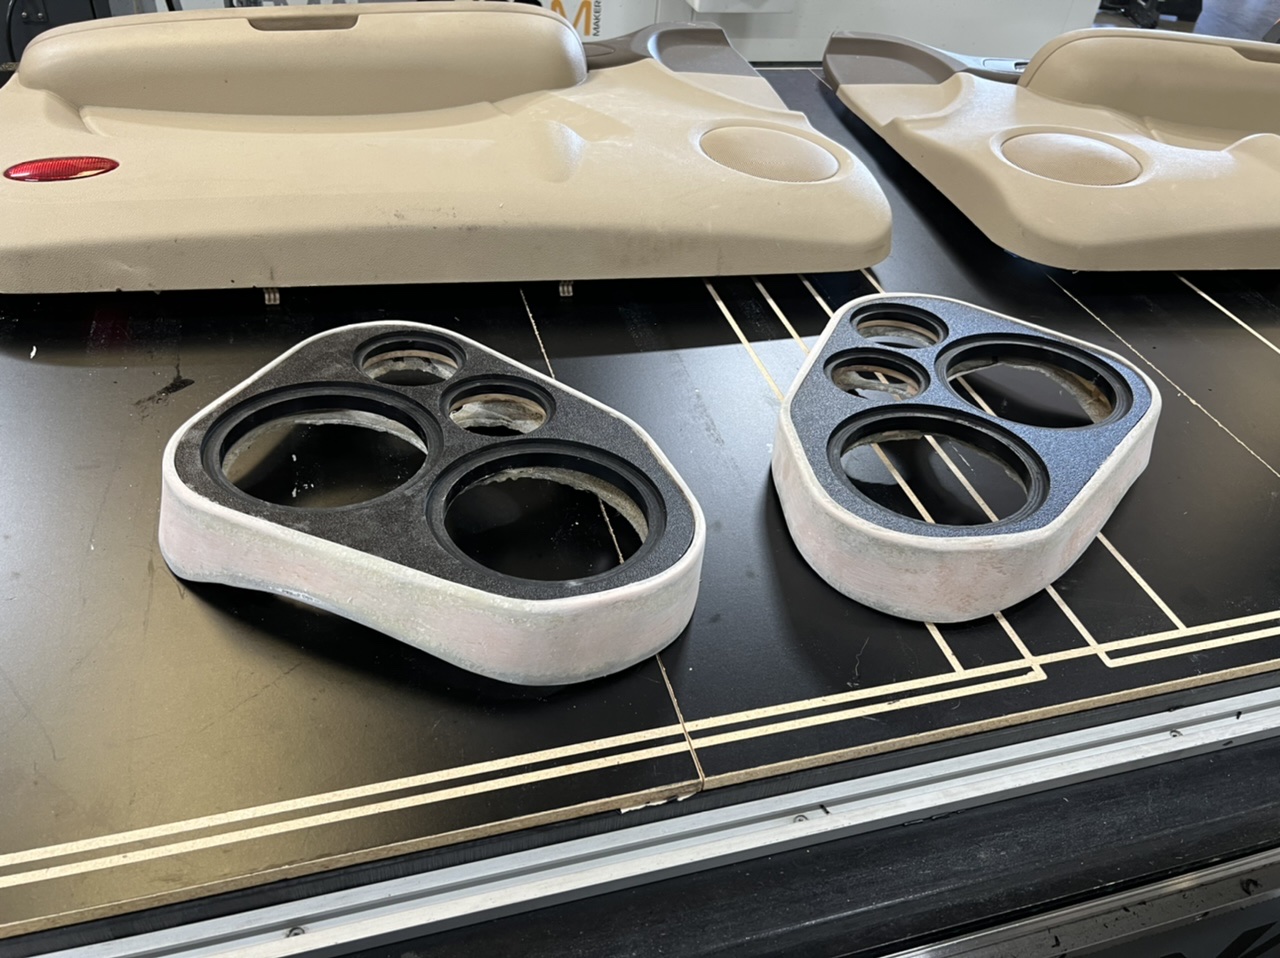
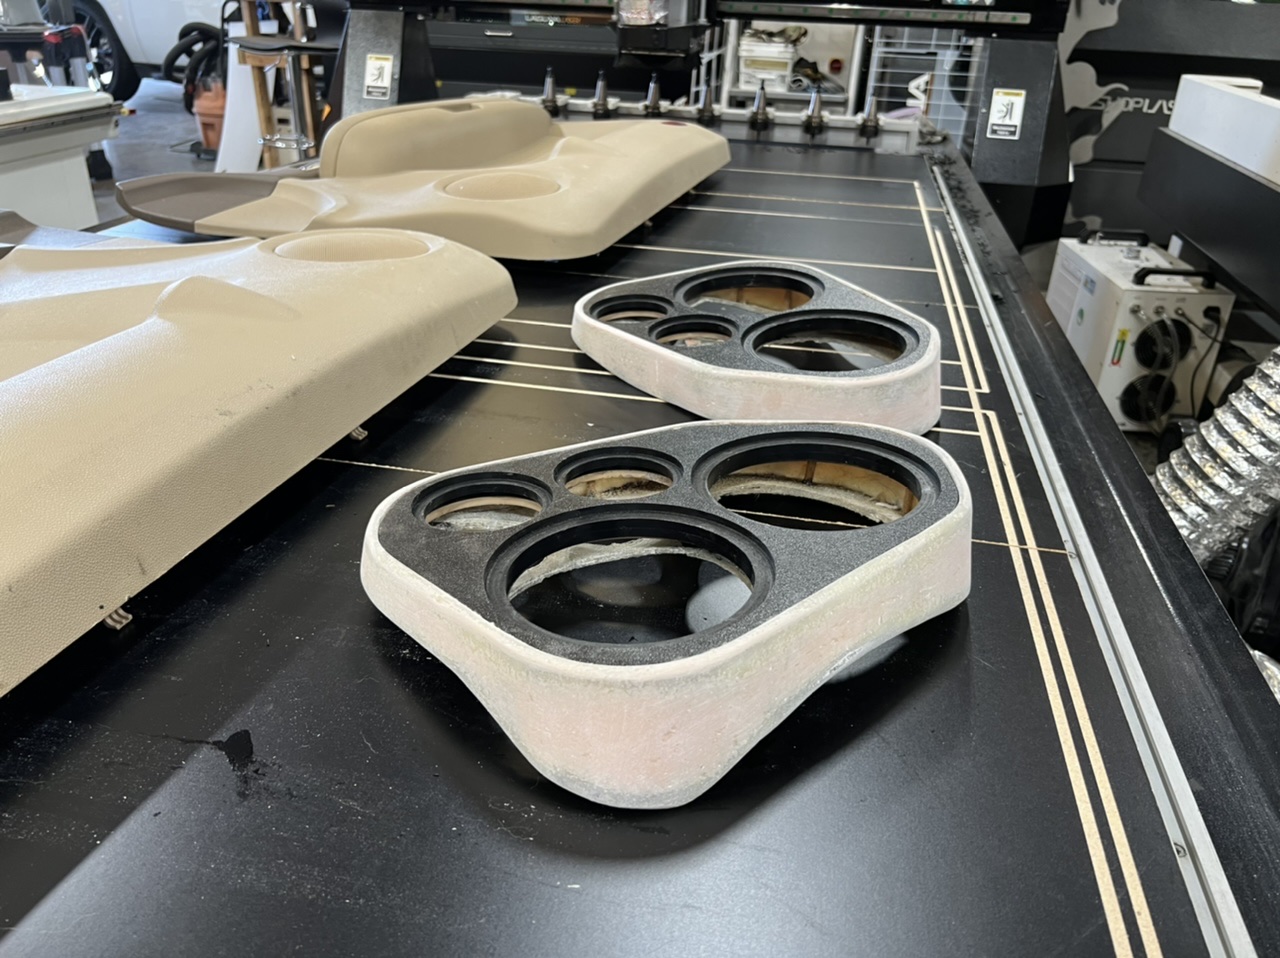
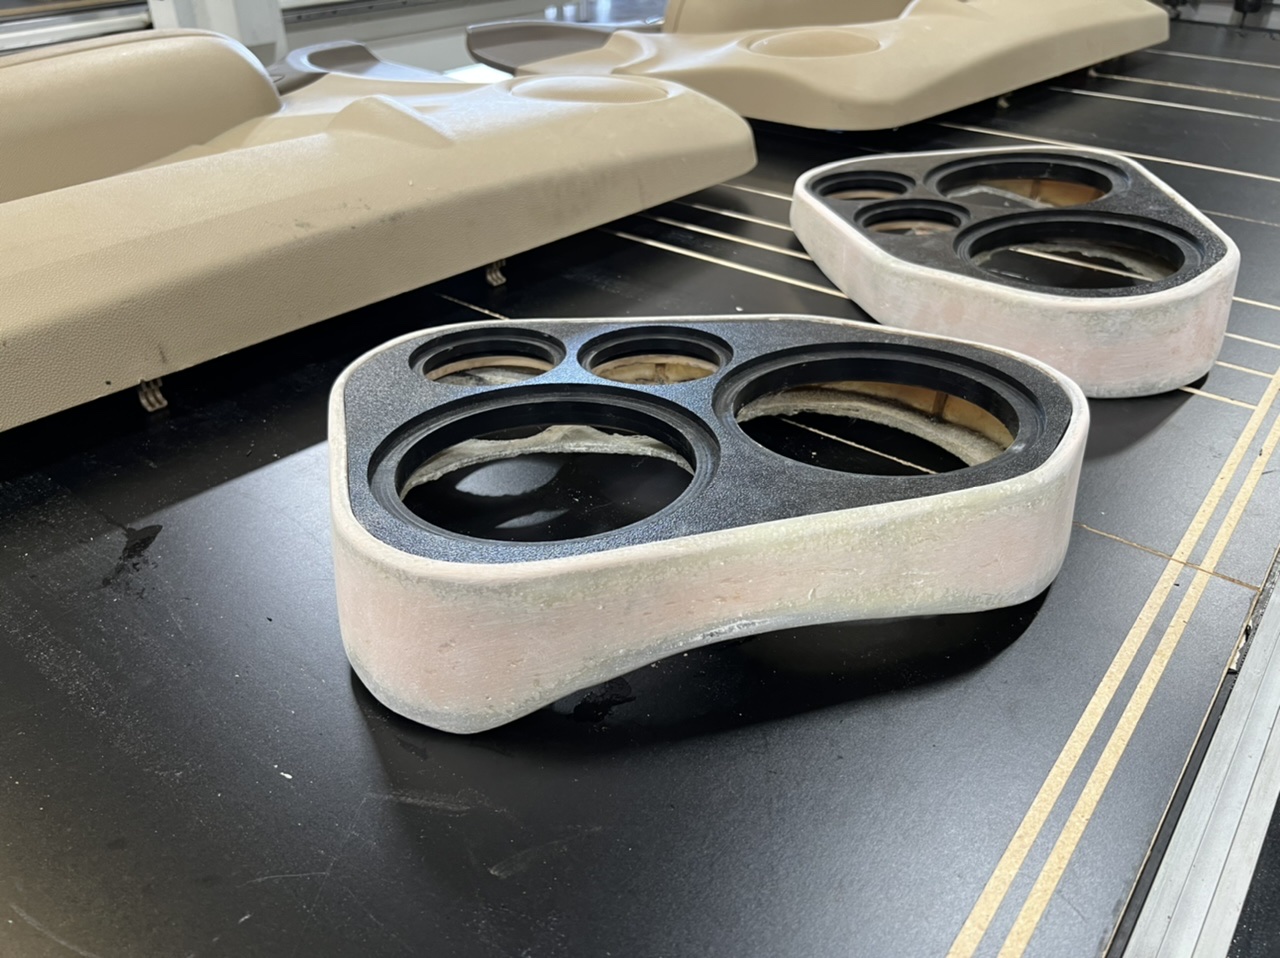
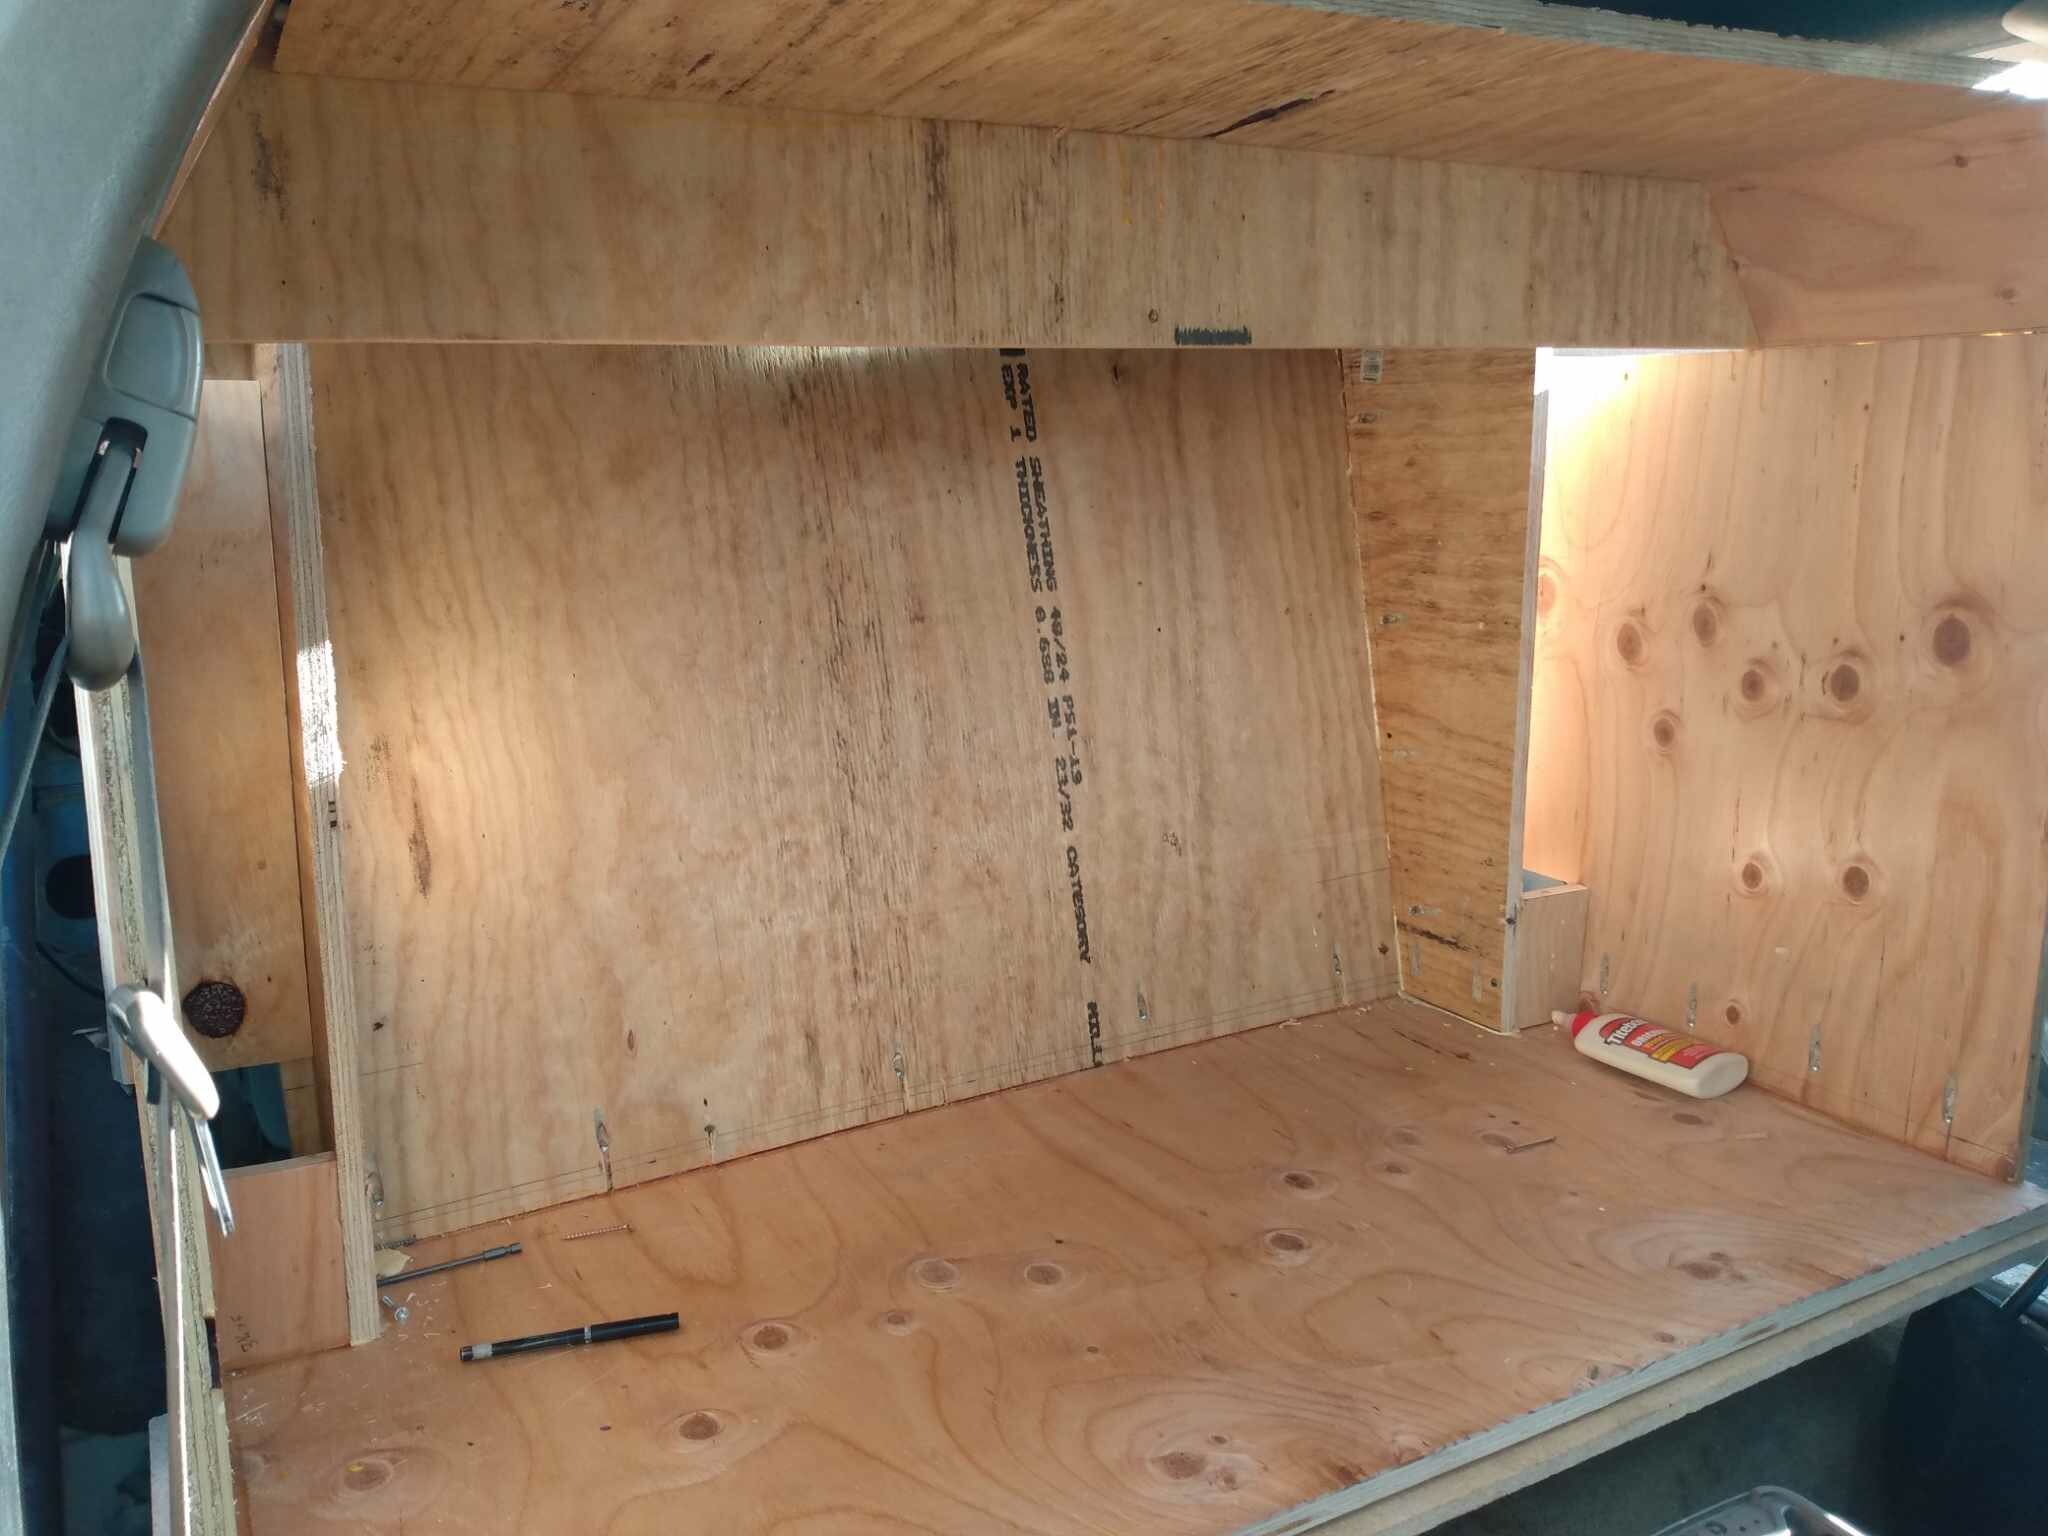
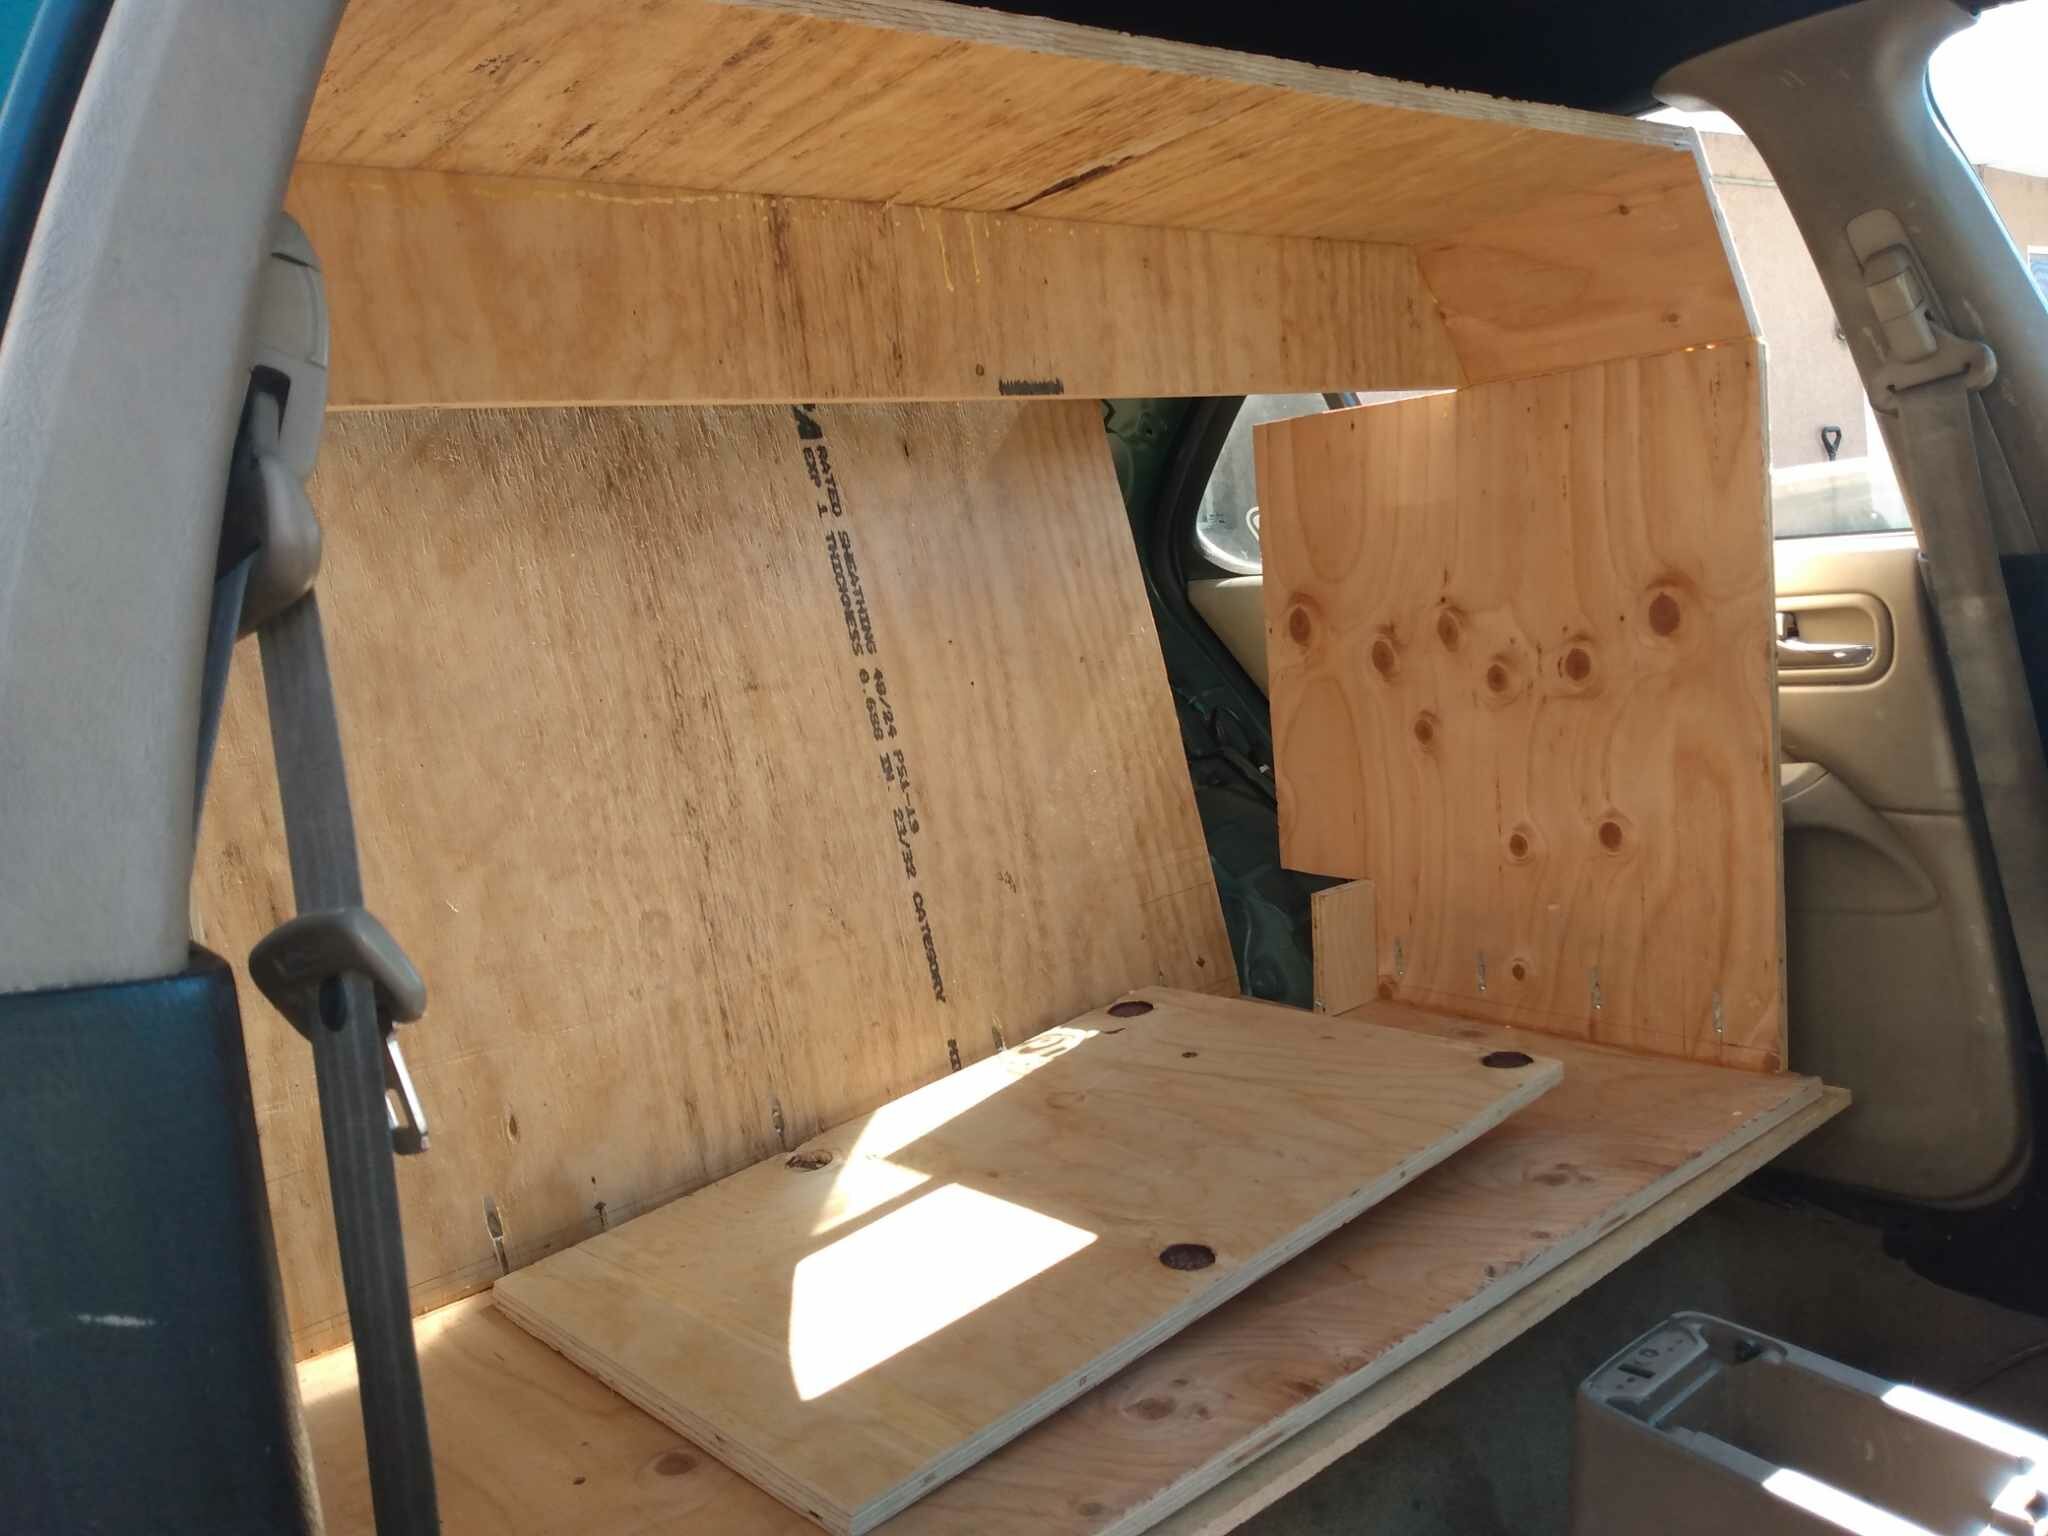
getting the inner shell done tonight
2 points
-
2 points
-
Who remembers when I use to post my "REALTIME" videos? Well they are coming back2 points
-
getting older sure does suck2 points
-
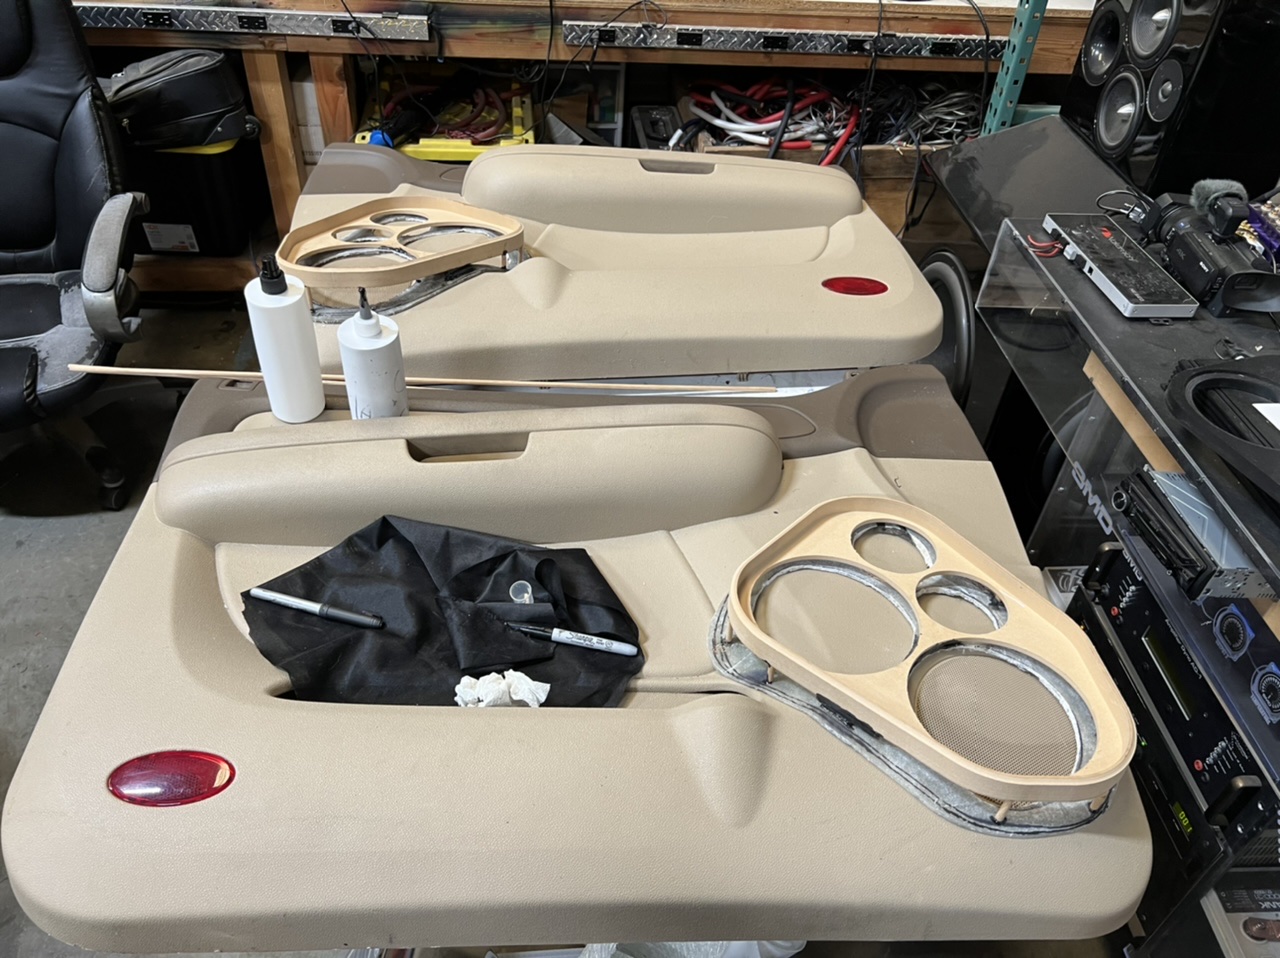
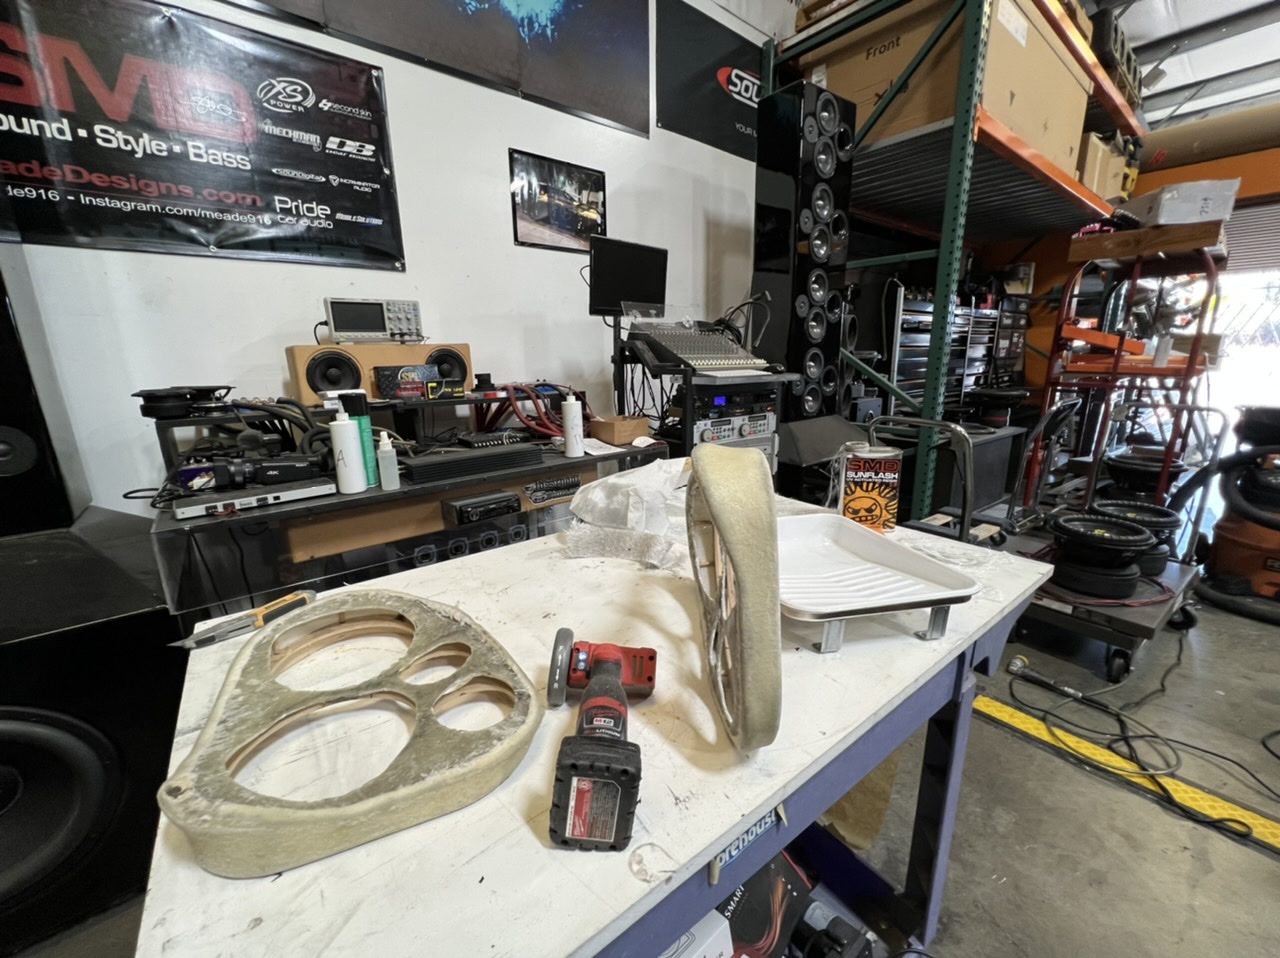
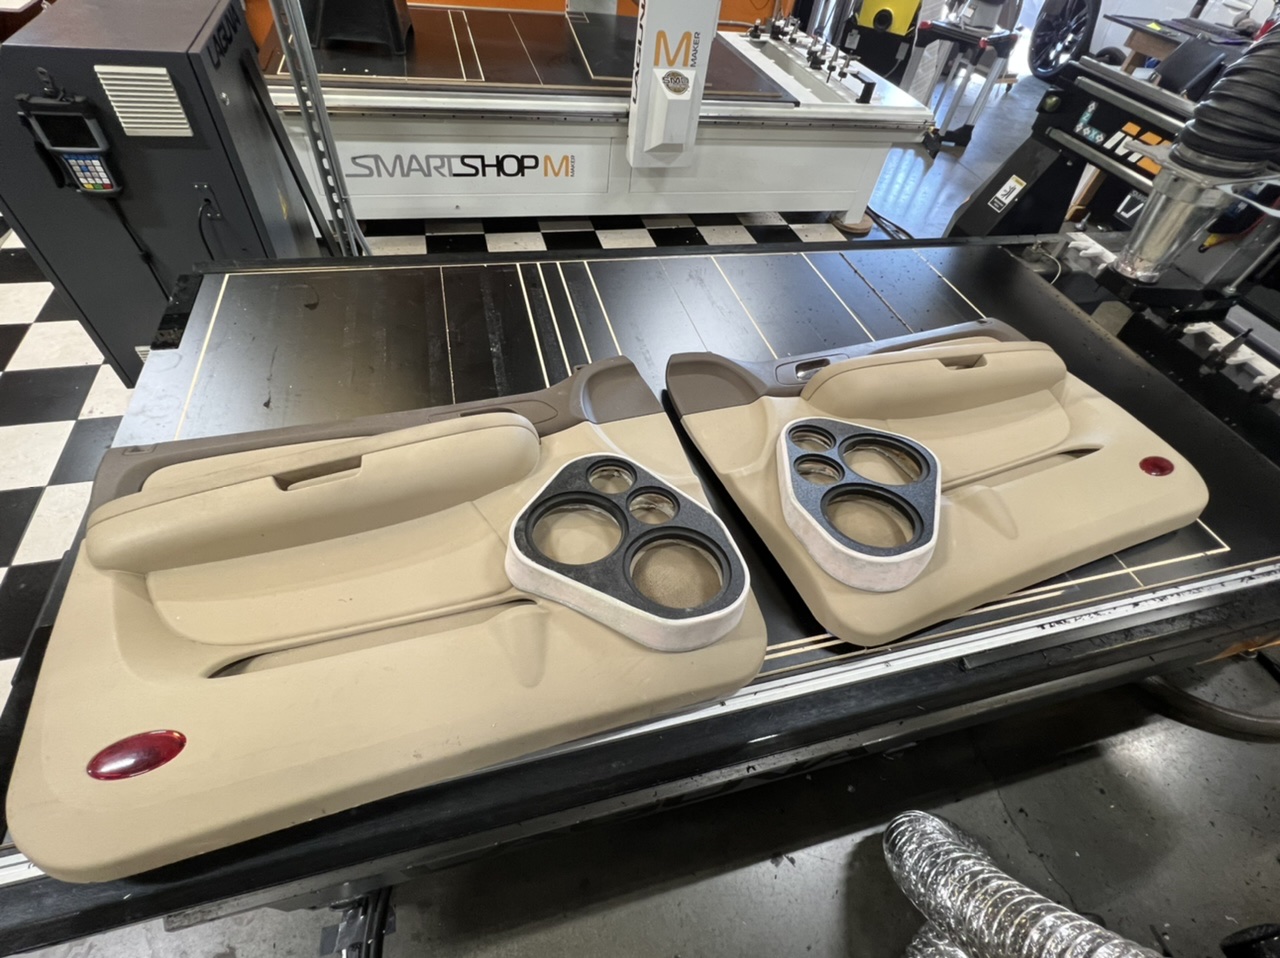
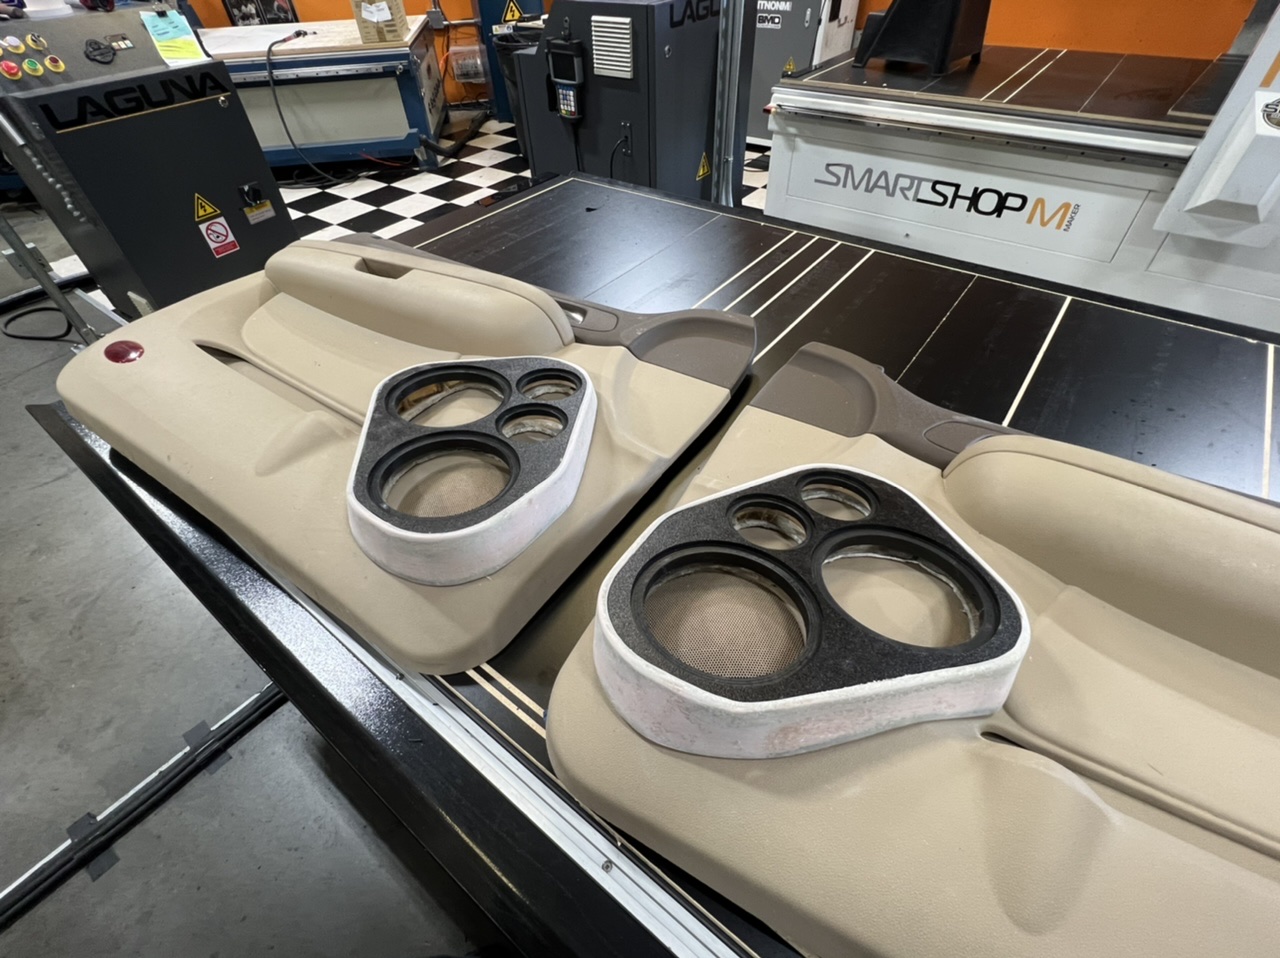
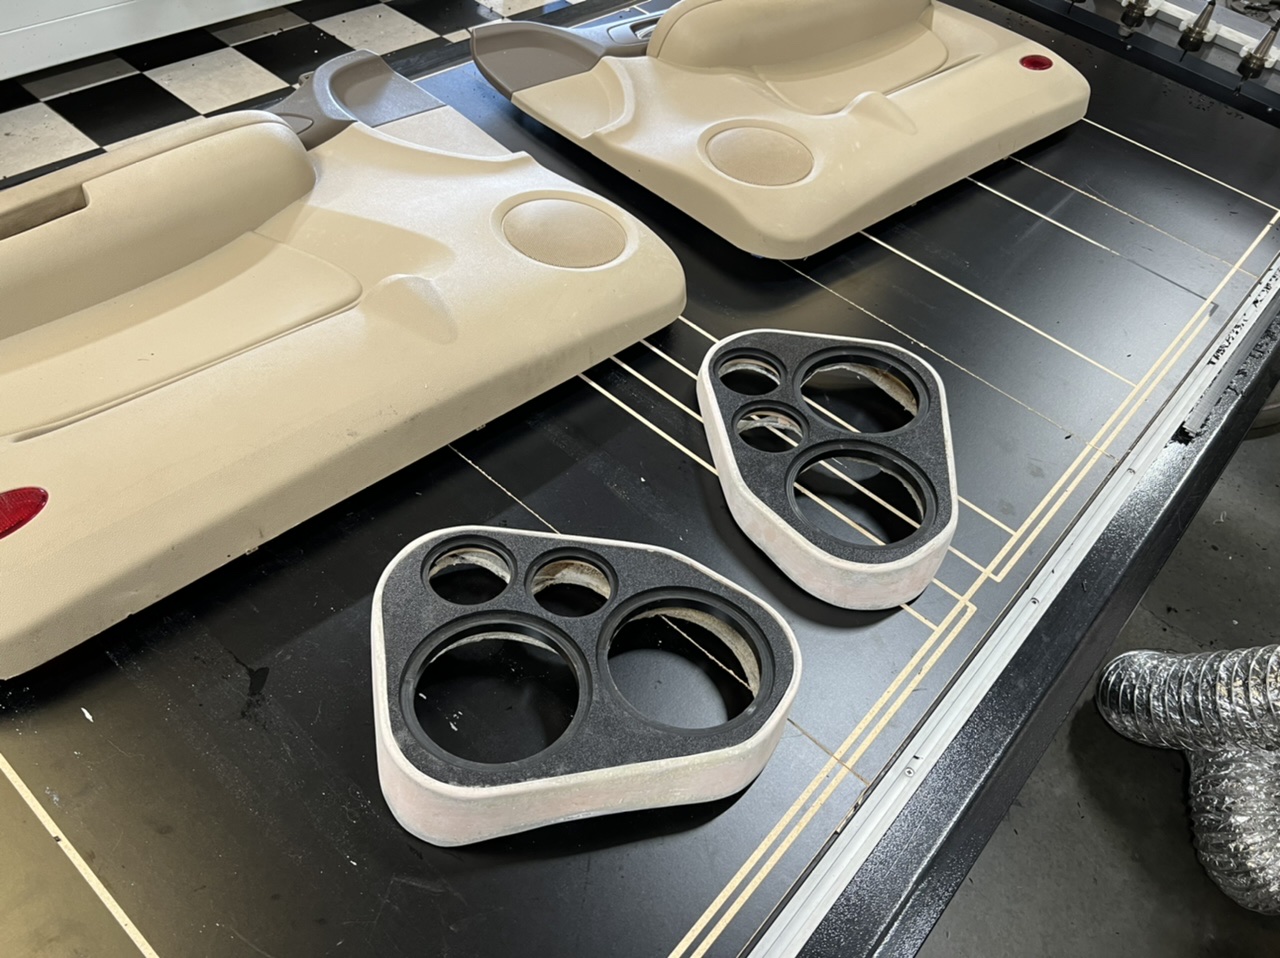
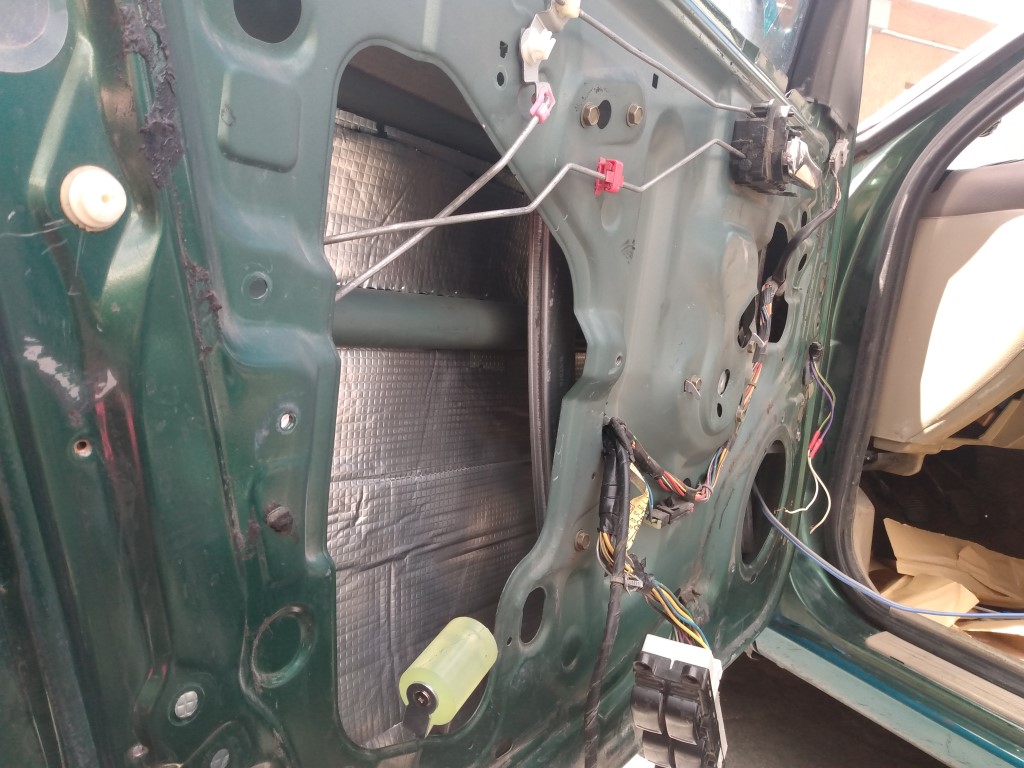
recoil has new amps coming amp ill be getting 3x of the 2500's to replace the 1200's , i also did start to deaden the doors got the driver side door outer skin done today , hoping to get one door done each day , i think im going to get some 150 mil stuff to do the inner panel with instead of using the 394mil stuff on that as well
2 points
-
That box is designed for SA-8s as a result the X subs are going to find themselves in a too small box with low port area and tuned too high, surely above the 36Hz specified as driver displacement for X subs is larger, maybe it will get to 38Hz or more and could experience some port noise. Used to a large box tuned very low you will definitely notice a loss in bottom octave bass. Regarding to your question, you can always strengthen the box but if it is made of cheap thin 5/8" wood then it is not impossible. Lastly the pre cut sub holes cannot fit X subs, you will have to work on the holes. Overall that box seem expensive and not adequate for the subs. I would lift up the seats and do a proper custom enclosure for those subs and even then you probably have better bottom octave bass right now than you will ever get with some 8s.1 point
-
From March 15th to March 20th, revitalize your projects with top-notch American-made sound and heat insulation from Second Skin. Whether you're tackling a car restoration, home improvement, or any other project, our high-quality insulation products are here to enhance your experience. Use code SPRING15 at checkout to enjoy a generous 15% discount on your purchase. Why Choose Second Skin? Premium quality American-made insulation Superior sound and heat insulation properties Trusted by professionals and enthusiasts alike Don't miss out on this limited-time offer to save on your Spring projects! Upgrade your insulation and upgrade your results with Second Skin. Visit our website now and start saving! 🛒🔊🔥 TAKE ME TO THE SHOP →
1 point
-
I have a VW Golf (2017). It has the basic entertainment system. I wanted to go with a high level to my DSP. I had nothing but problems going that route. The VW head unit is looking for a specific resistance at the speakers. I was constantly getting distortion coming in and out depending on the recording and song (It would happen multiple times through a song). This happened on multiple music platforms. It didn't matter how we set the headunit eq or volume at. If it was flat, below flat, frequencies turned down or up. It always came back to distorting at some point. I did get the work completed through a reputable shop and was thankful that all the diagnosis did not cost me anything. There is a unit that can be installed that integrates the VW head unit and has RCA outputs (I don't remember what it is) Ultimately I had went to the aftermarket headunit. Zero issues since.1 point
-
The Audio Control is the right path for the cars with the infotainment systems. I am in the process of doing this exact same thing in my VW GTI and will be using the Audio Control LC6i. I used this in the previous version of VW that I had without issue and was pleased with the results. If you want to take it a step further by using the DM-810 that would be an awesome processor to add to the system to give you full active control. They can be a bit to tune, but well worth the effort as the result will give you the best possible sound to your liking.1 point
-
Made some upgrades to the ebike https://i.imgur.com/ZoNrhEy.mp41 point
-
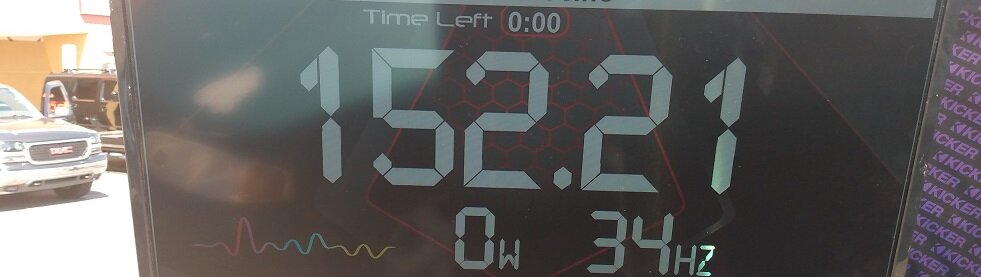
Some 56 square inches of total port area, two ports half that number for each port.1 point
-
When you have more than one sub you pick a spot in which both subs will see the same load so not B.1 point
-
Subs get stinky when they had enough power, but I wouldn't try that method on type rs, that is a method more adequate for SPL drivers. BTW make very sure you entered valid data to WinISD or you may be led to the wrong conclusions.1 point
-
The new swr 12d4 will work on smaller boxes than previous versions, to determine the volume to use enter both the old and new models in winISD and change the volume of the new version to approximately match the curve the 2.1 cubes plot of the old one you have and use the same port area you had in your old box. Of course you need to check the excursion plot at the power you intend to use your new subs to be within Xmax, now you can build to the specs you just obtained.1 point
-
Bumping up this oldie but goodie here. So for the past 2 years or so I've been using this same T-Line box with this same now 14 year old Subwoofer from the now defunked company in my home theater build. I'm getting ready to build a second one as I have a still never used eD 13kv.4 subwoofer that I'm gonna use to have a dual 12 subwoofer setup in my theater room. If anyone is interested in seeing said theater room I have linked it over from my Reddit page here: Reddit Theater Page1 point
-
You need your new equipment professionally installed, that includes new wiring, battery, setting your gains correctly and such. Talking over the internet looks like is not going to be helpful in your case. You need a person who is properly trained and has the tools to help you.1 point
-
You can forget about impedance rise, as long as you are not a competitor or you are not fine tuning an exotic type of enclosure, you just need to have a good working electrical system that is in the level of the amp you are using, good wiring correctly installed, a good amp that does the power it claims, and proper gain settings procedures, it is worth learning about that as well as owning a cheap little scope or a DD-1, if you can source 2K to your subs you will see a big jump in output and you will be pretty satisfied with the results.1 point
-
How much power are you looking for? Look up CT Sounds. They typically have sales/discounts running and amps are proven to do rated power as well as being great value.1 point
-
Done!1 point
-
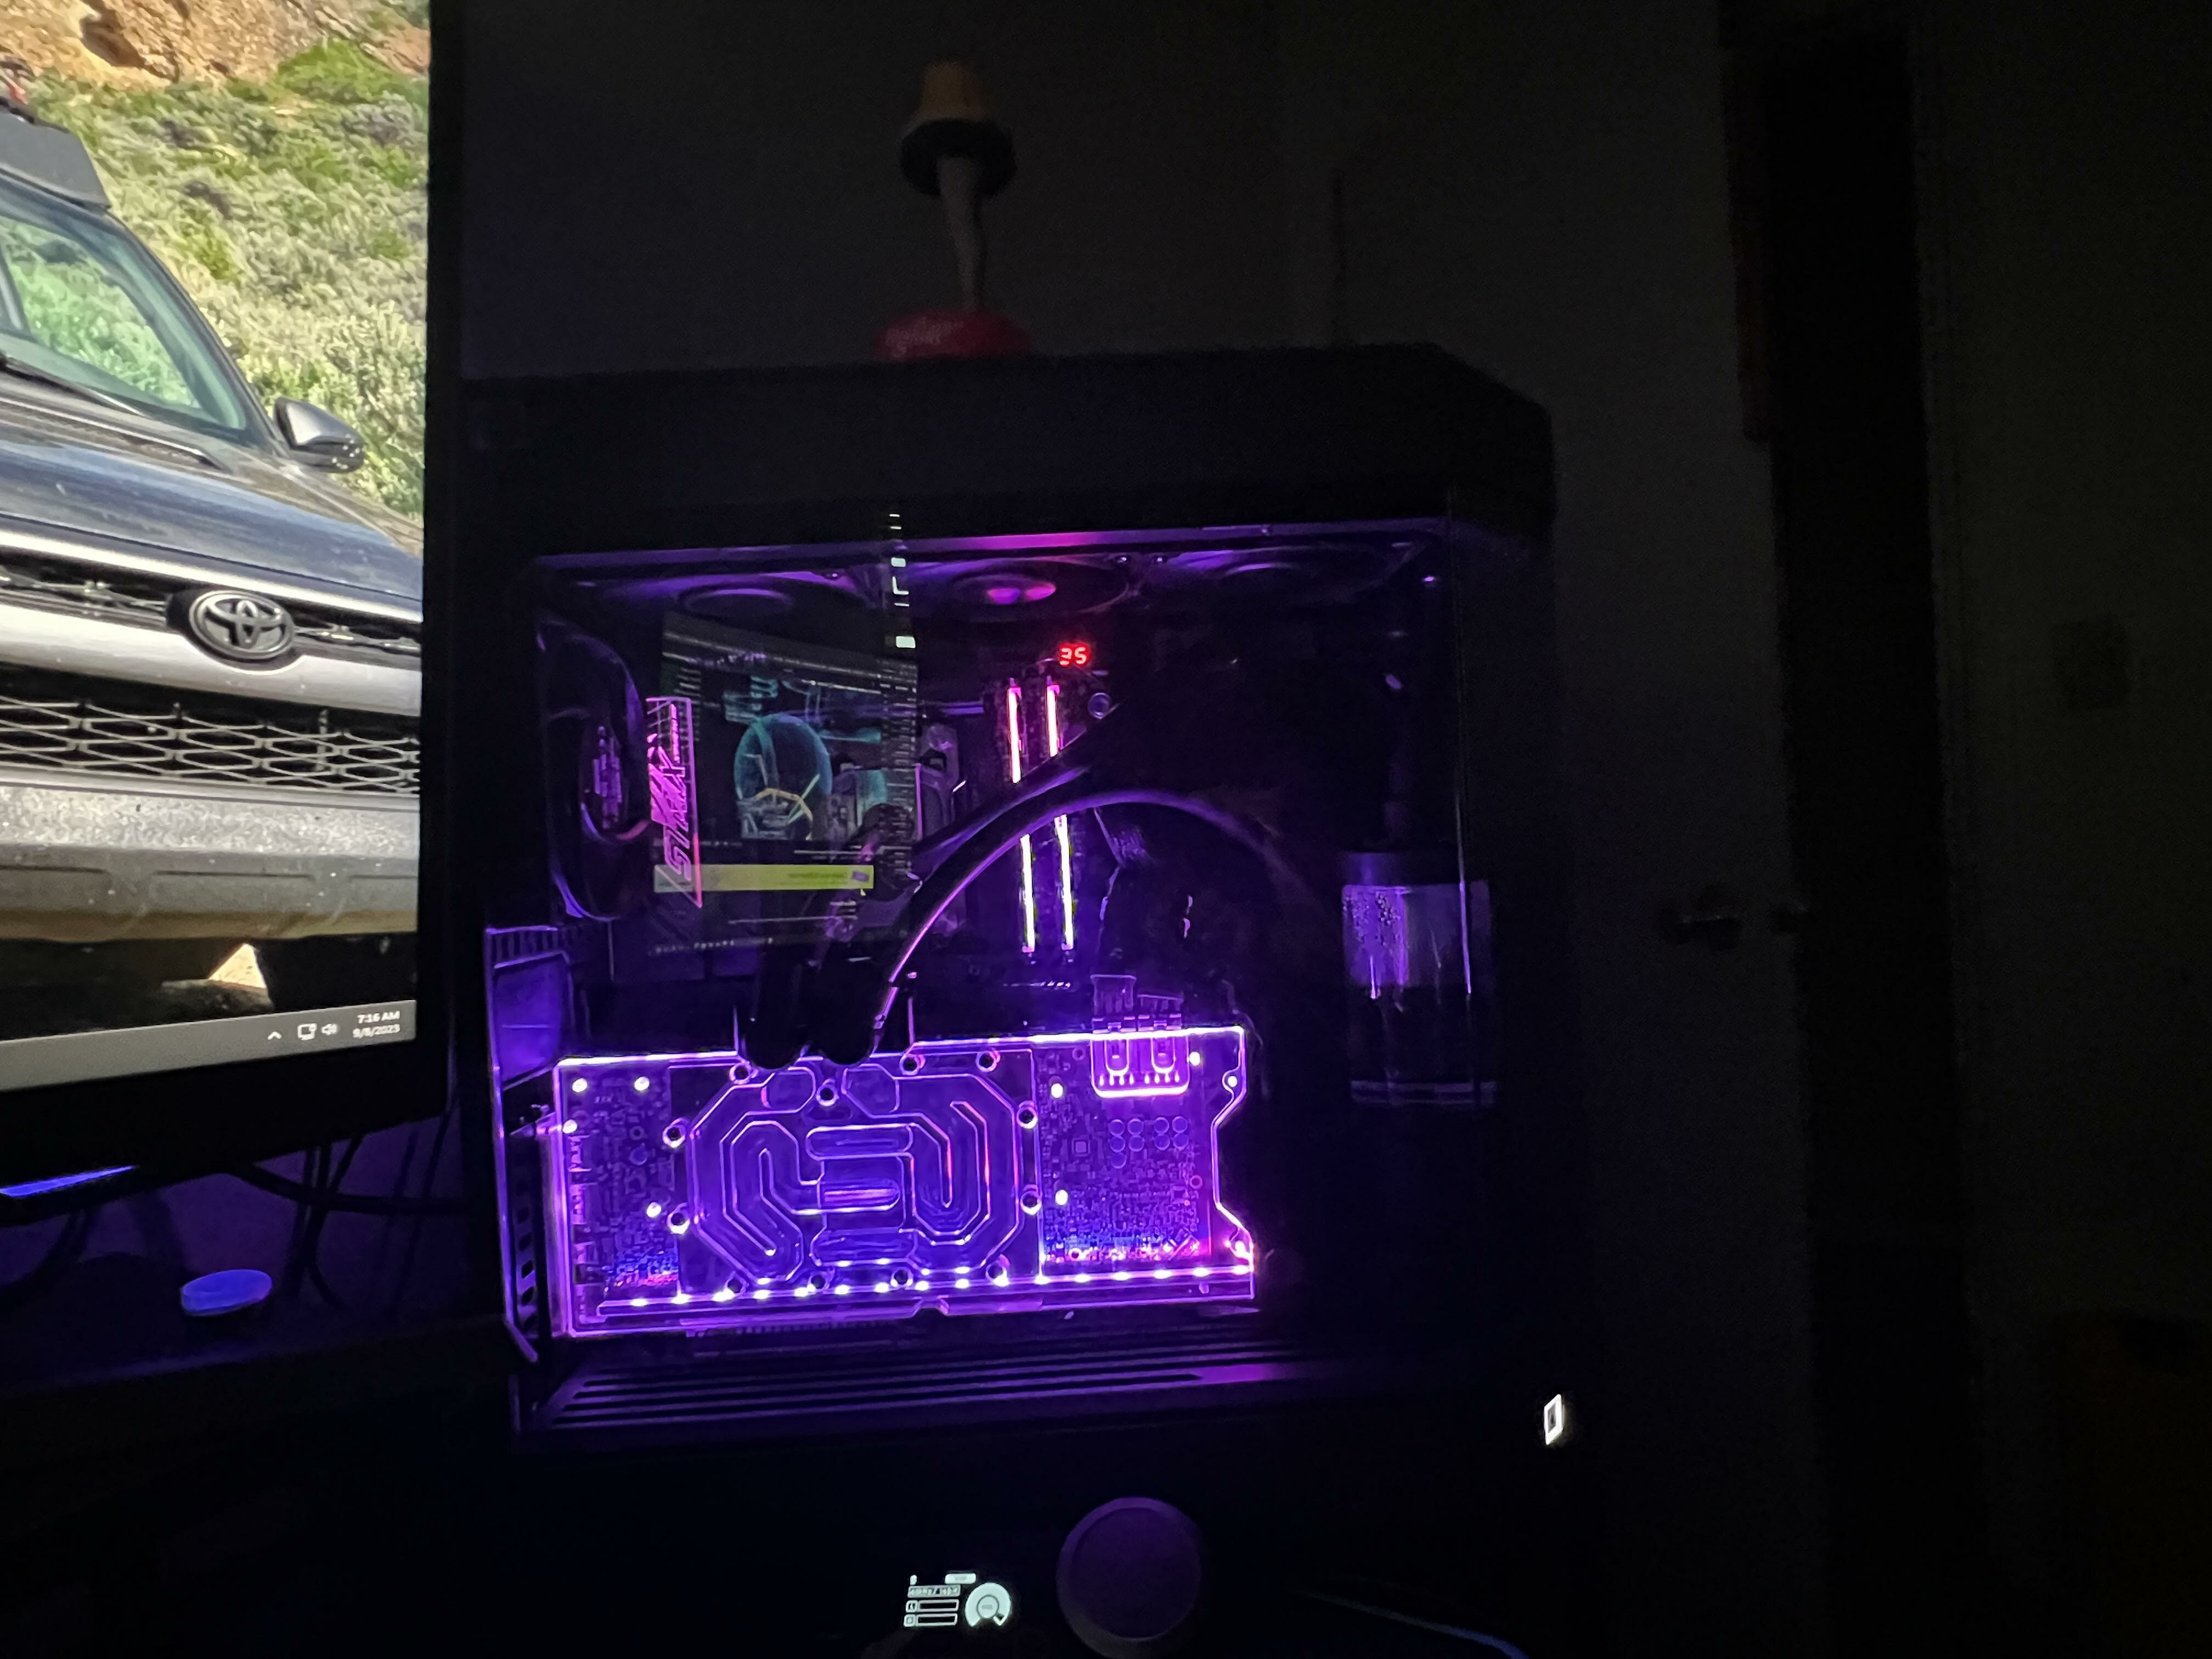
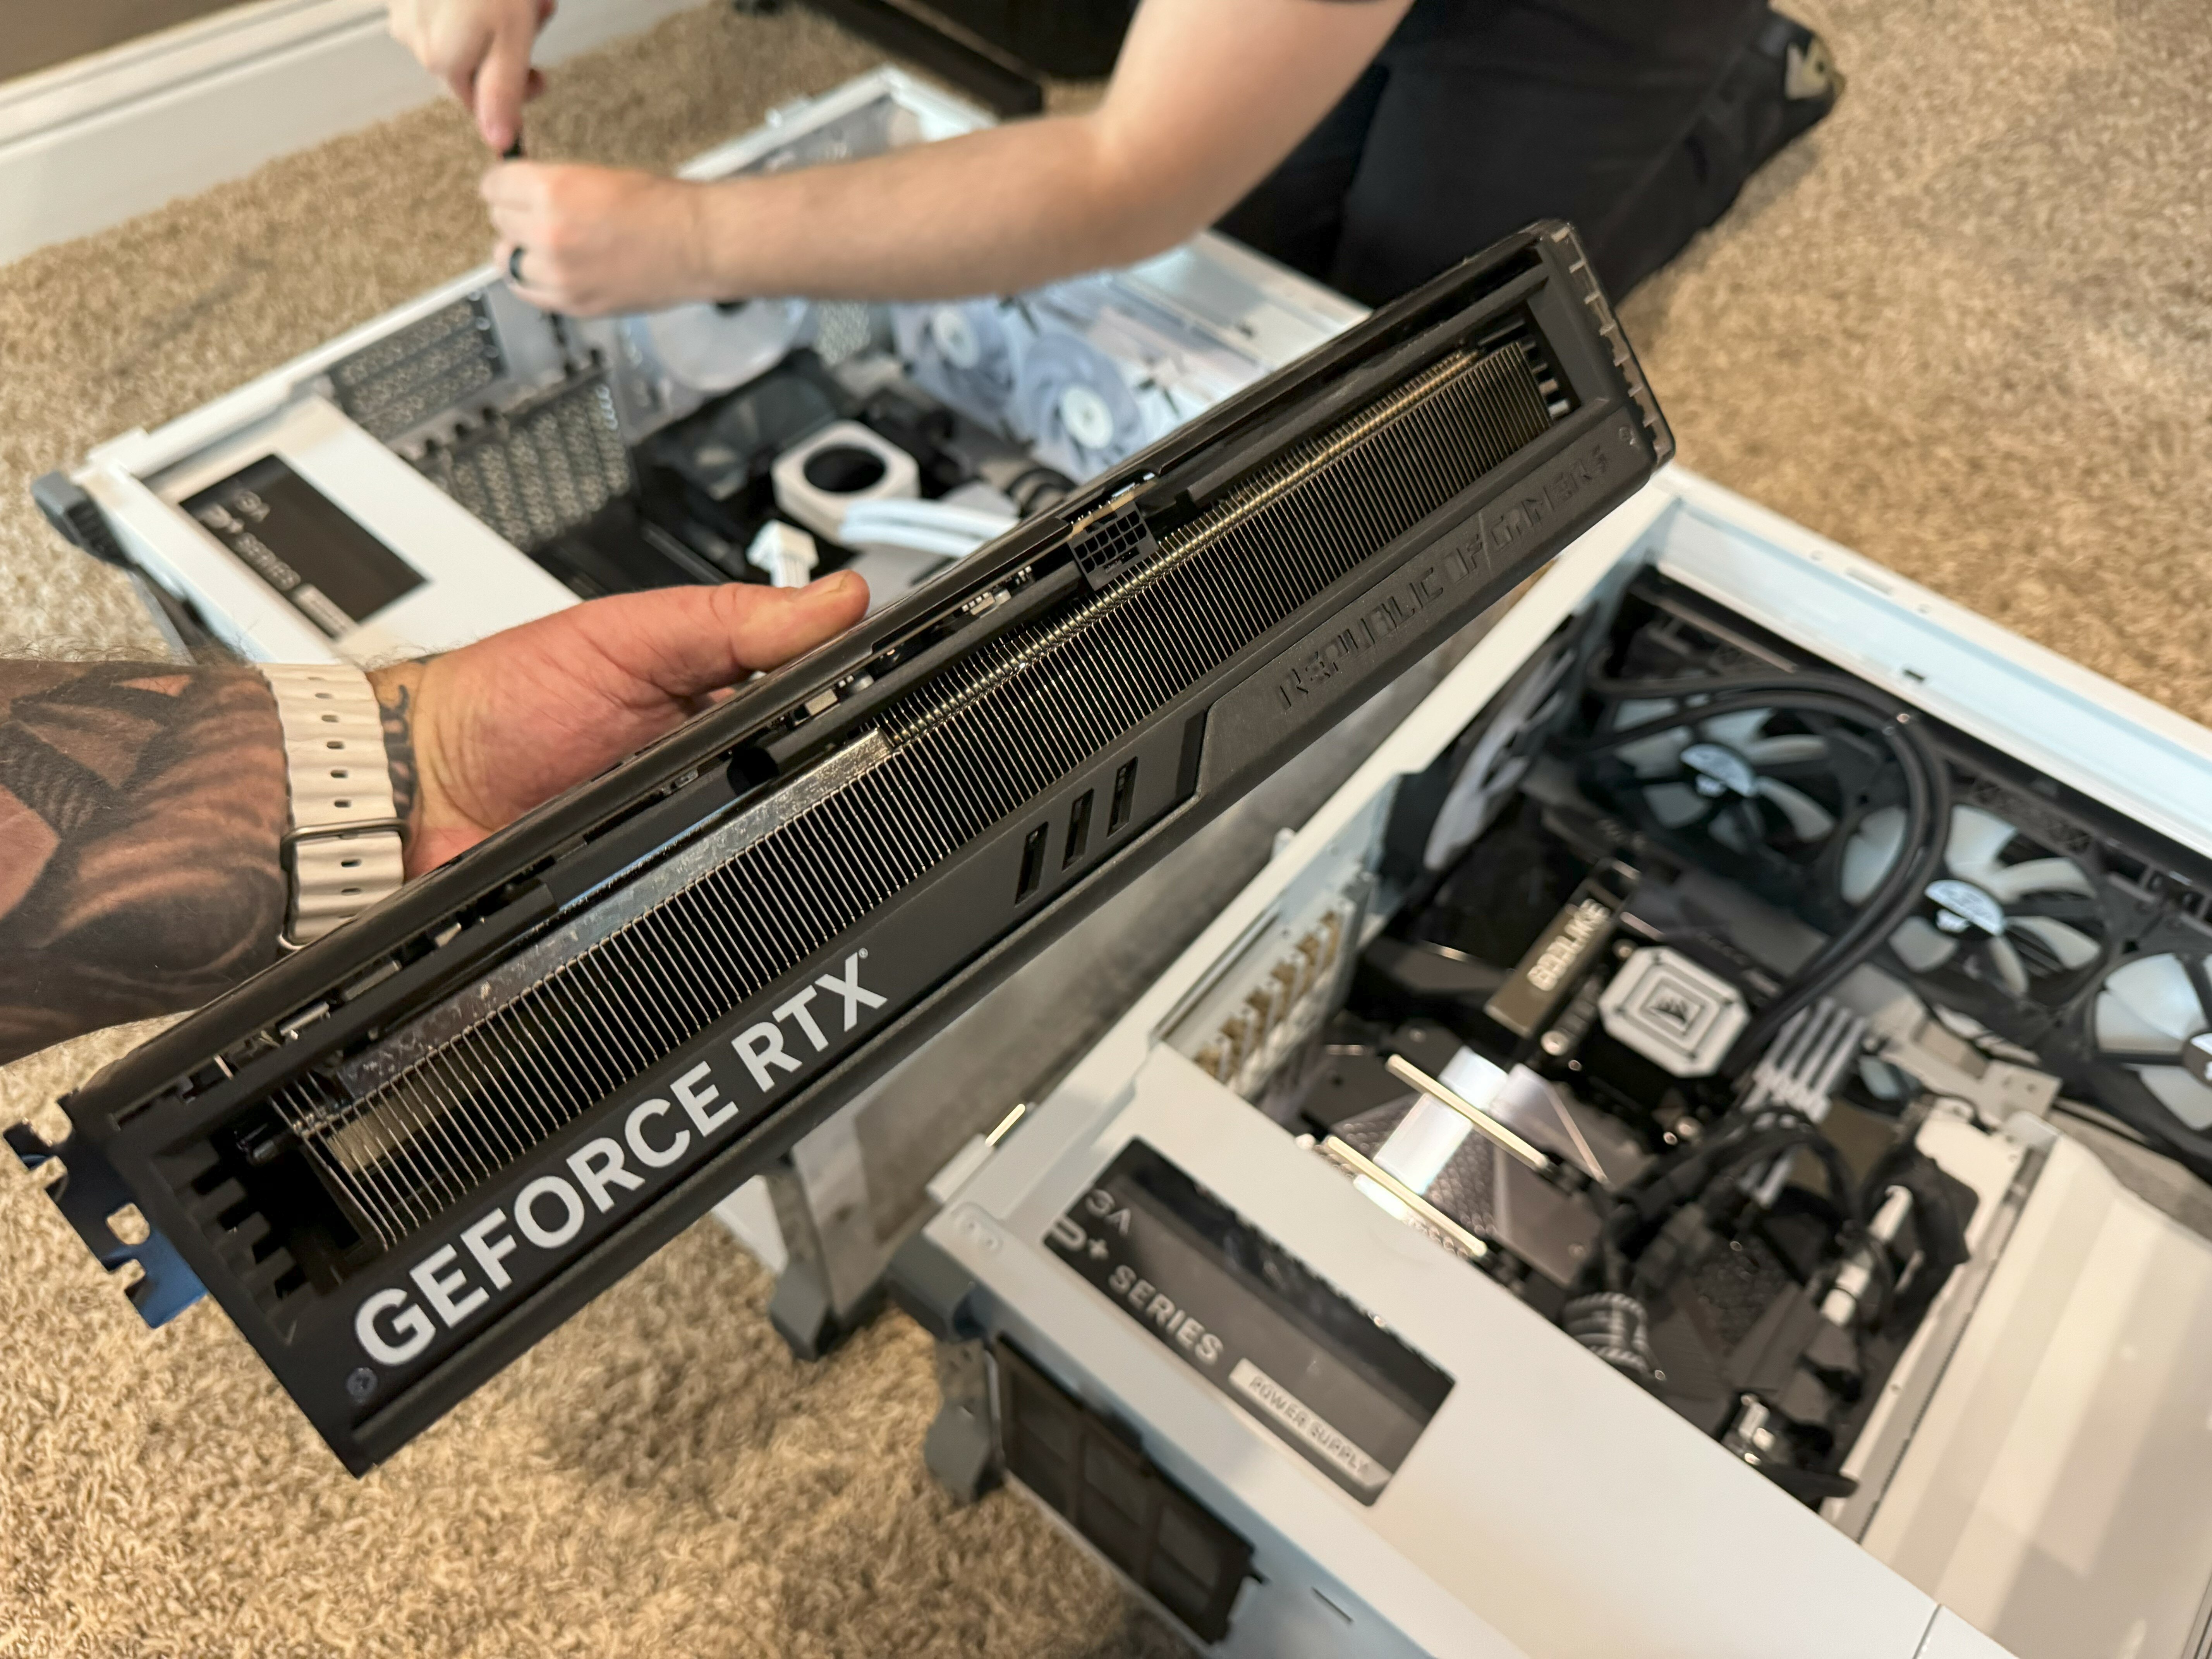
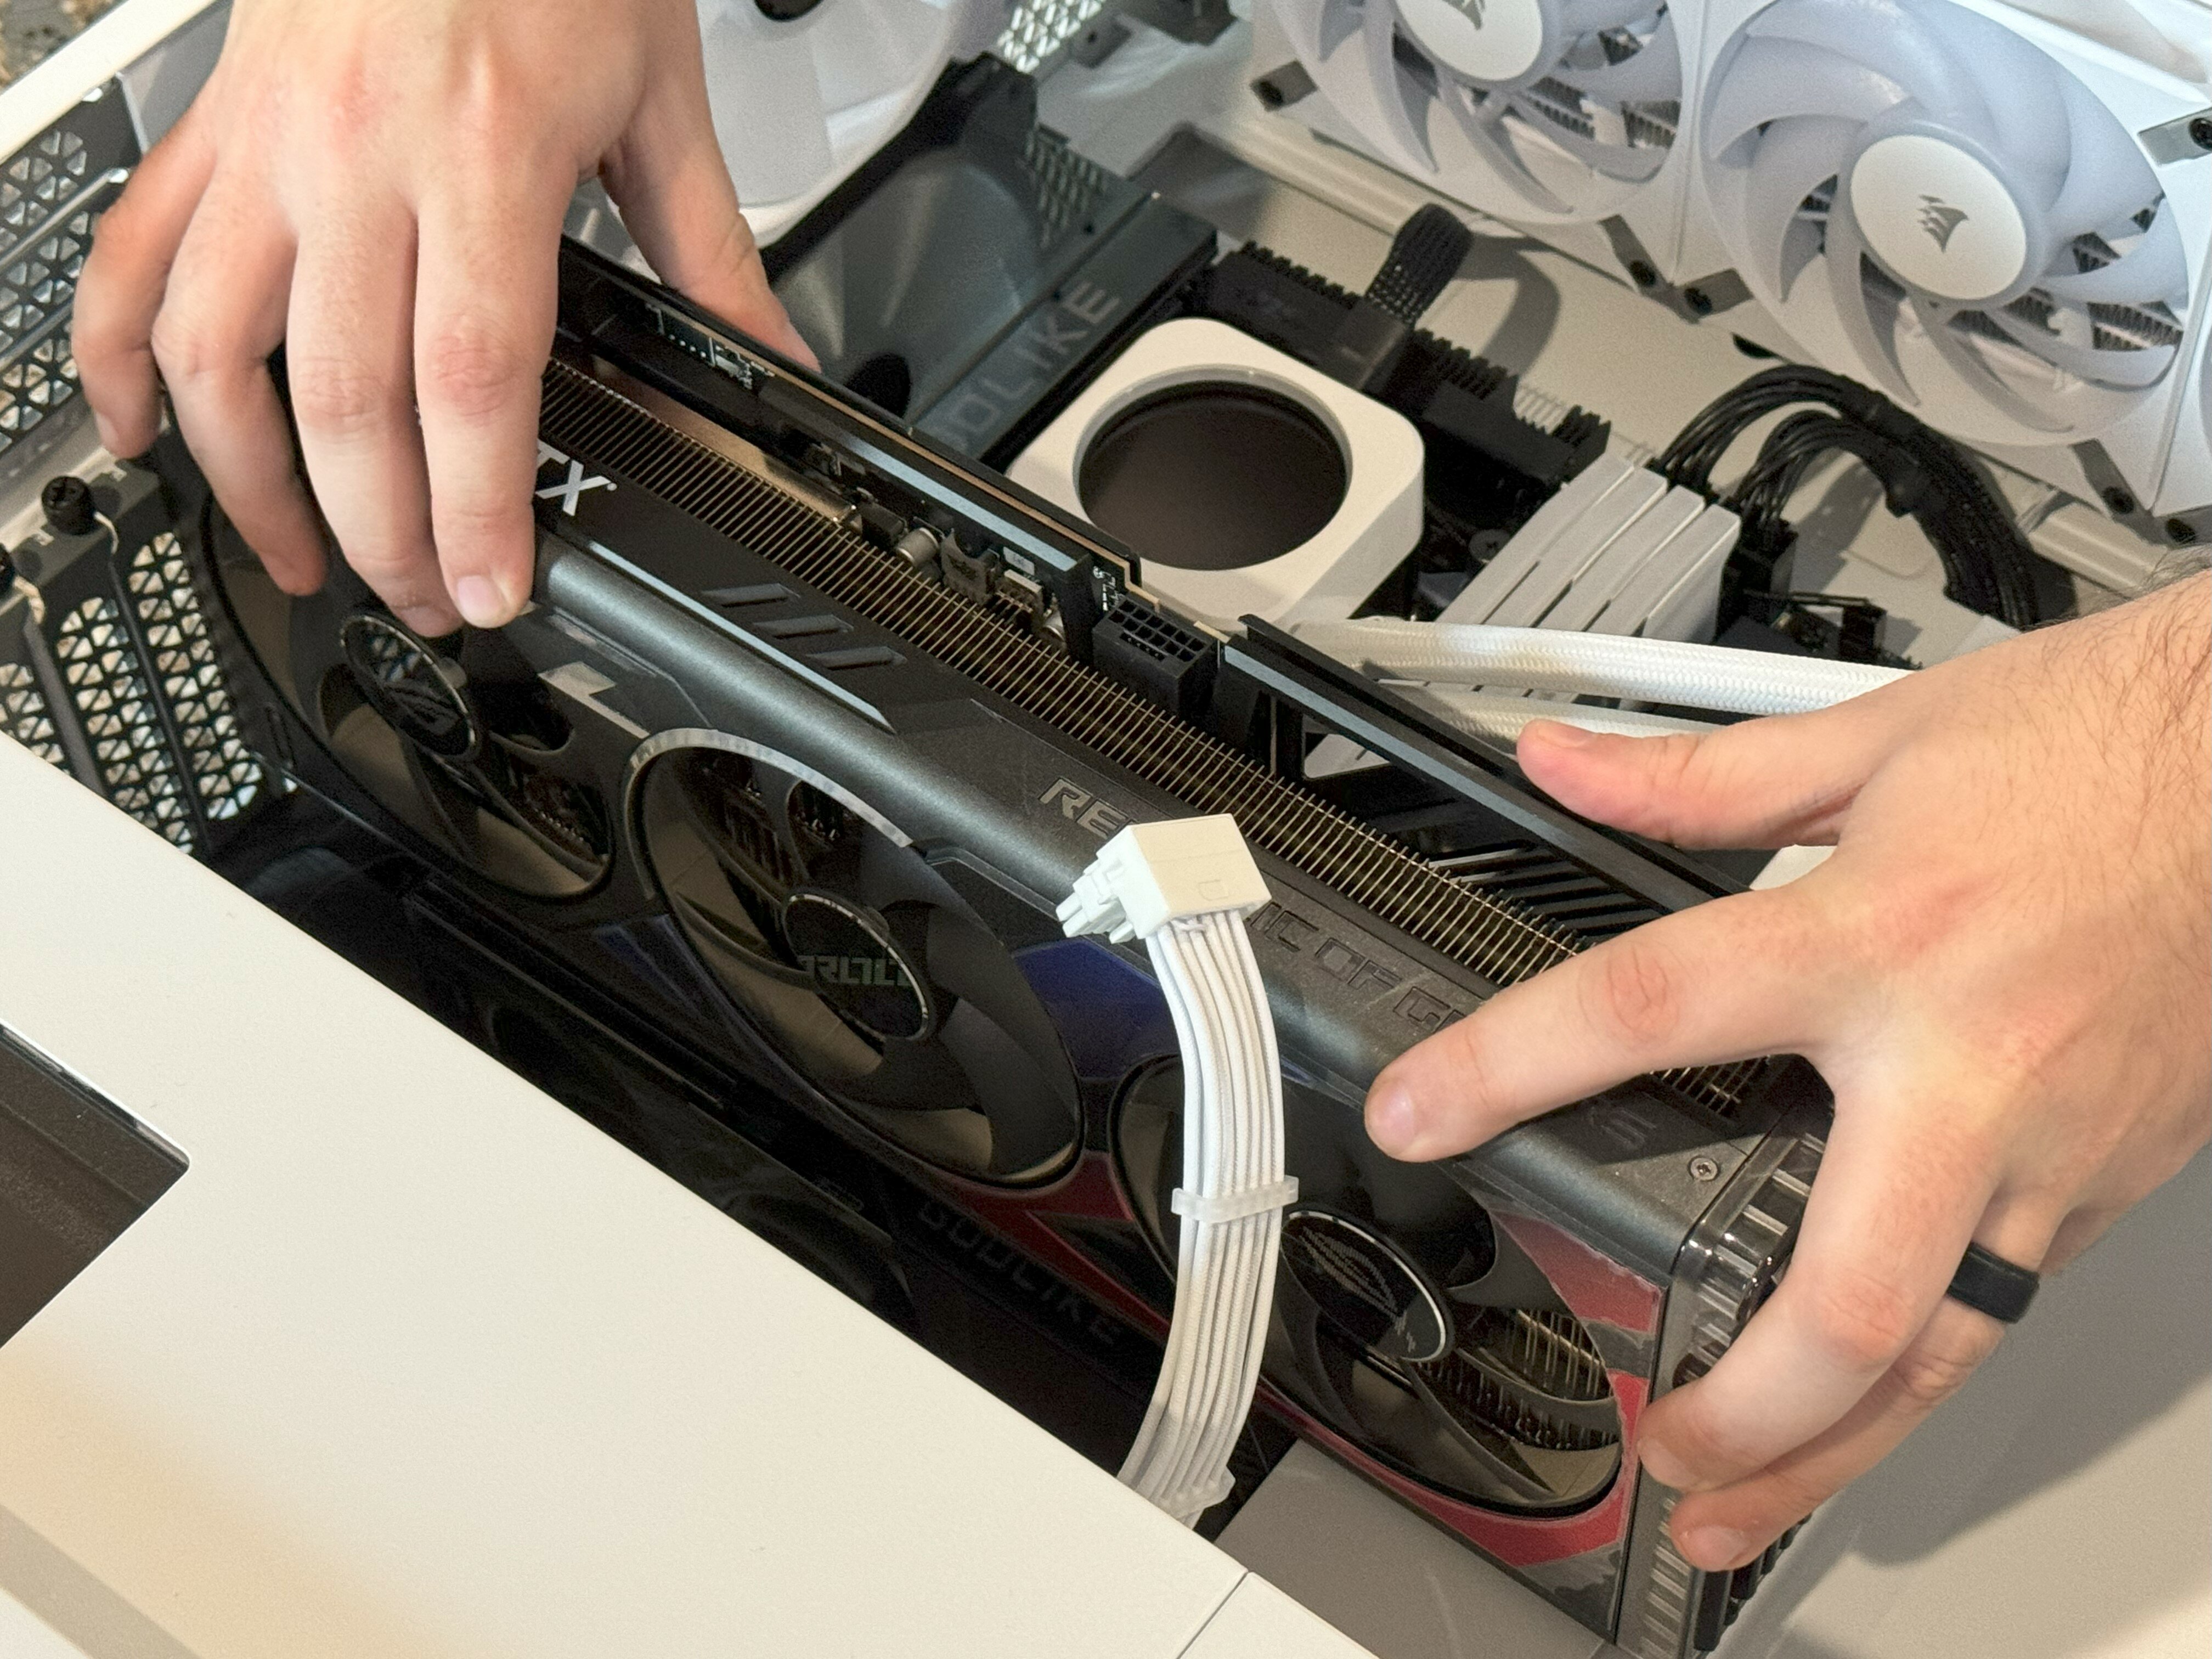
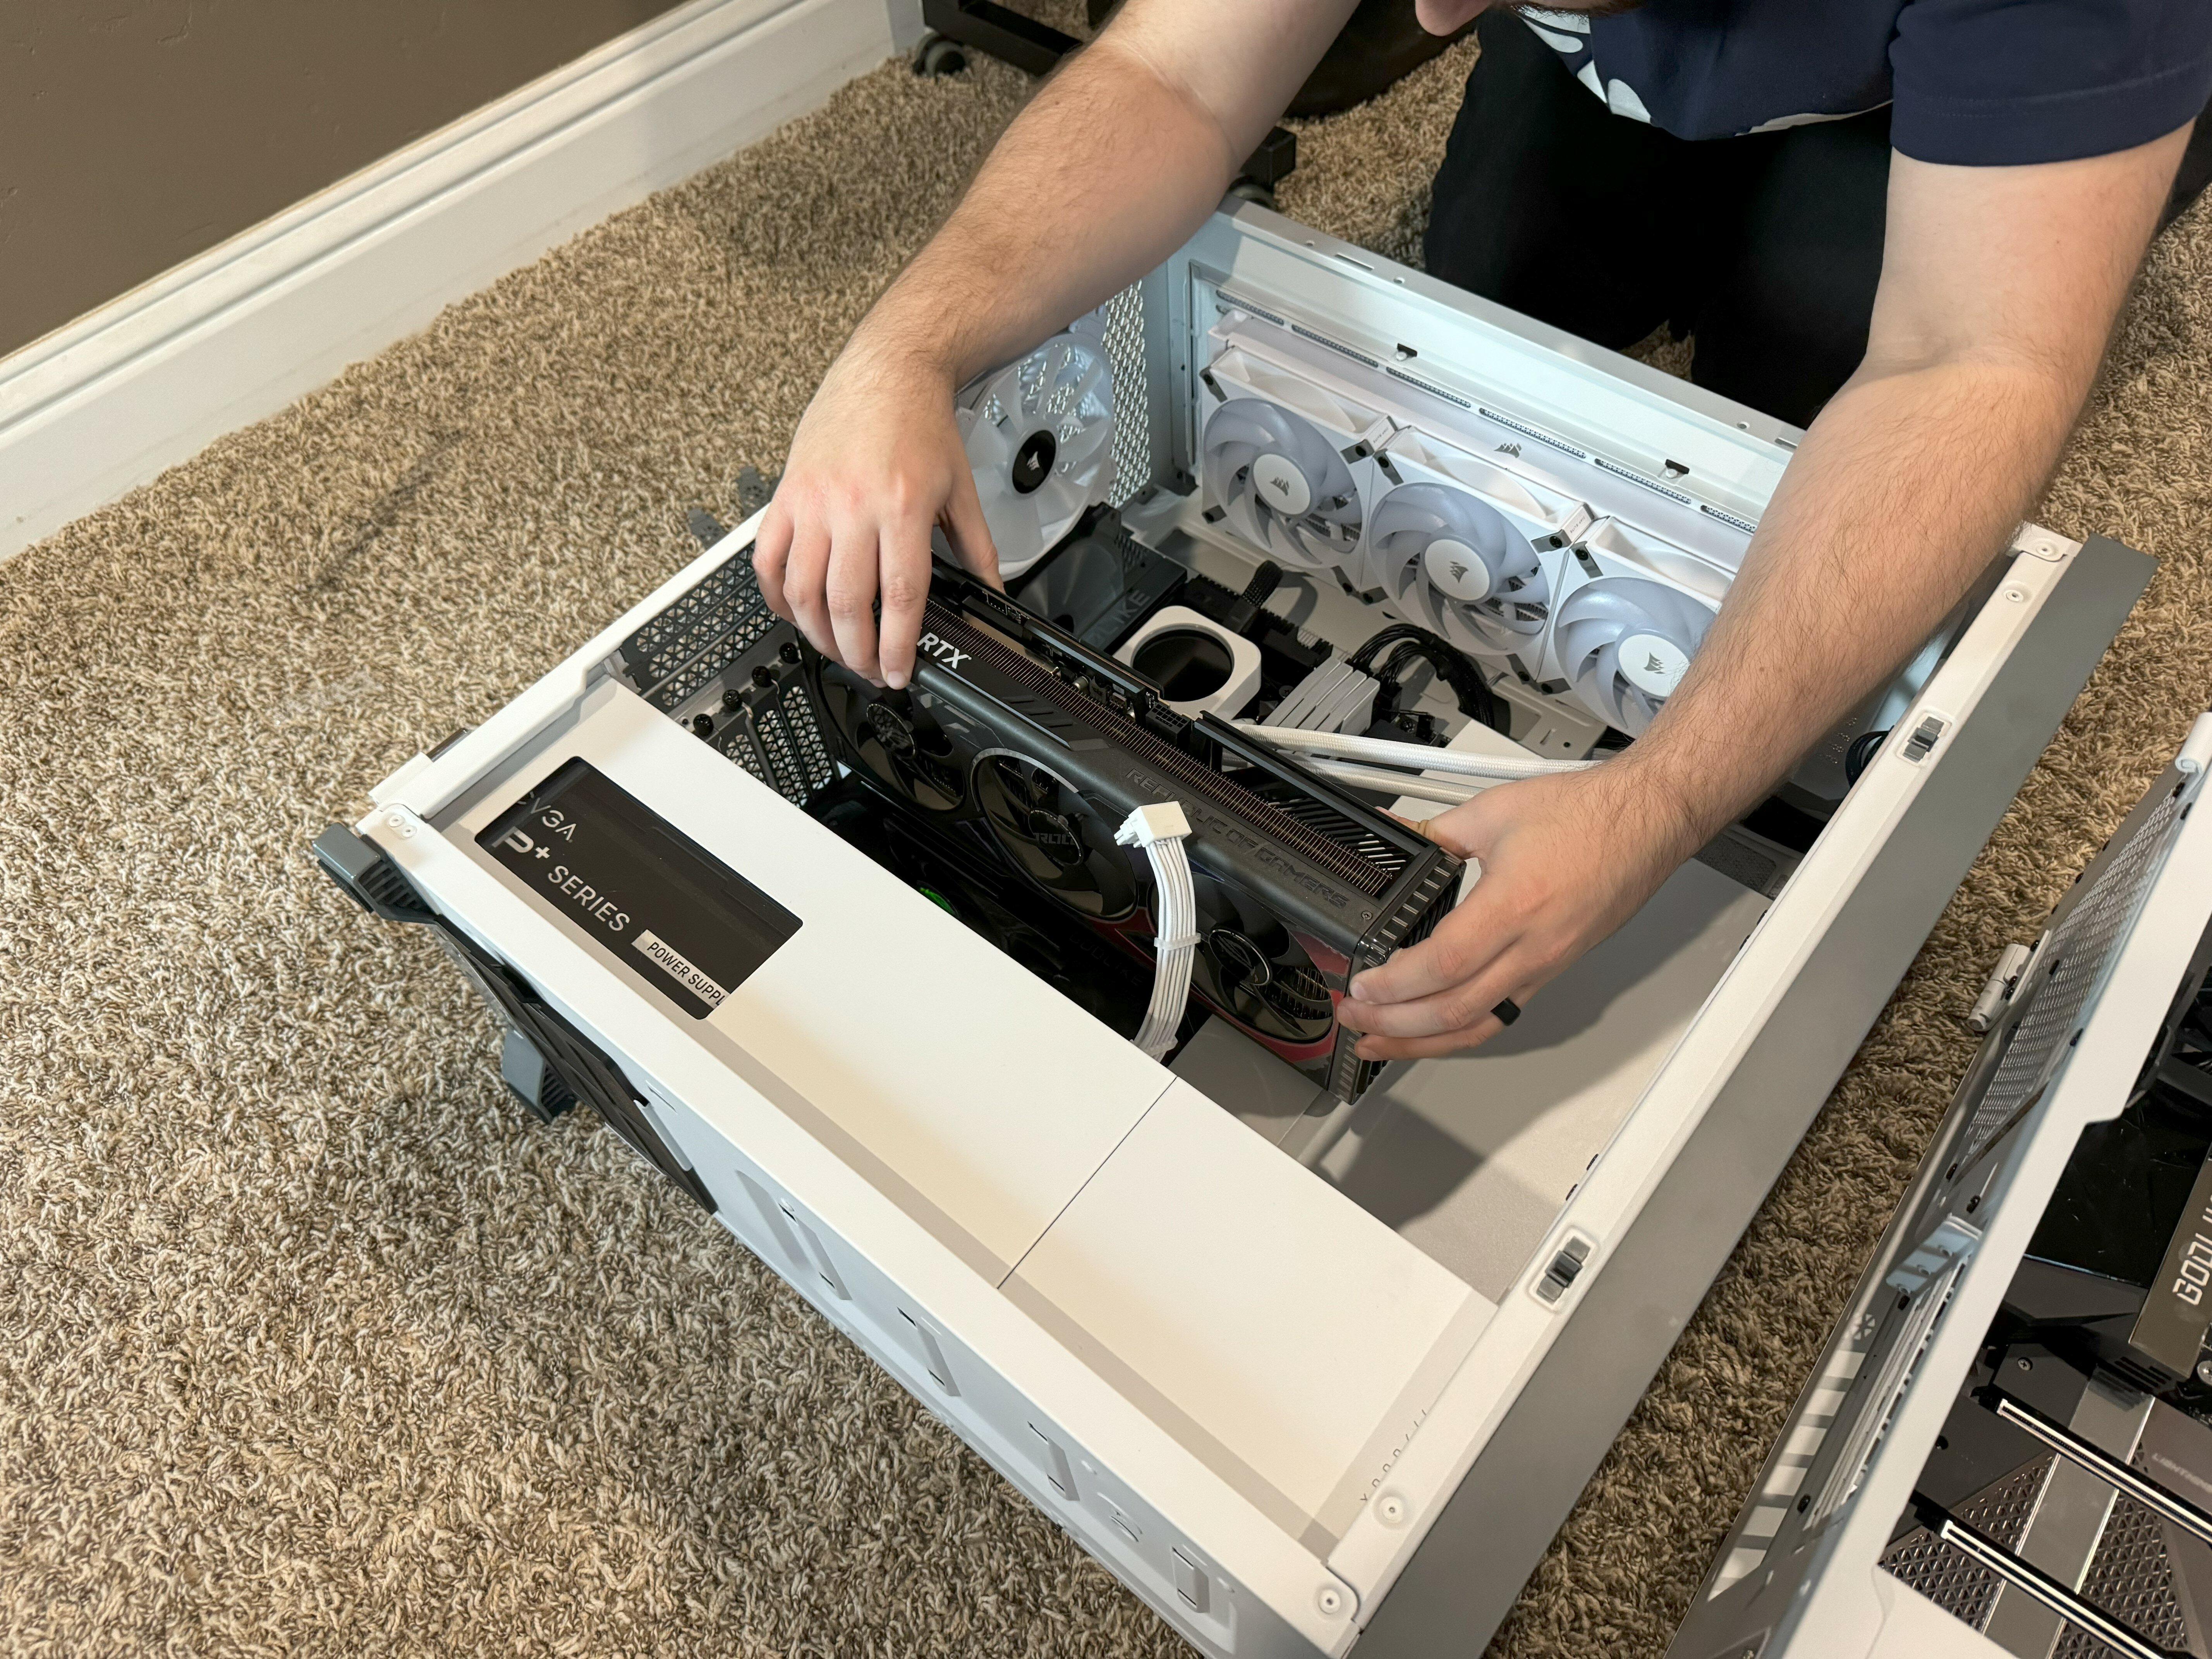
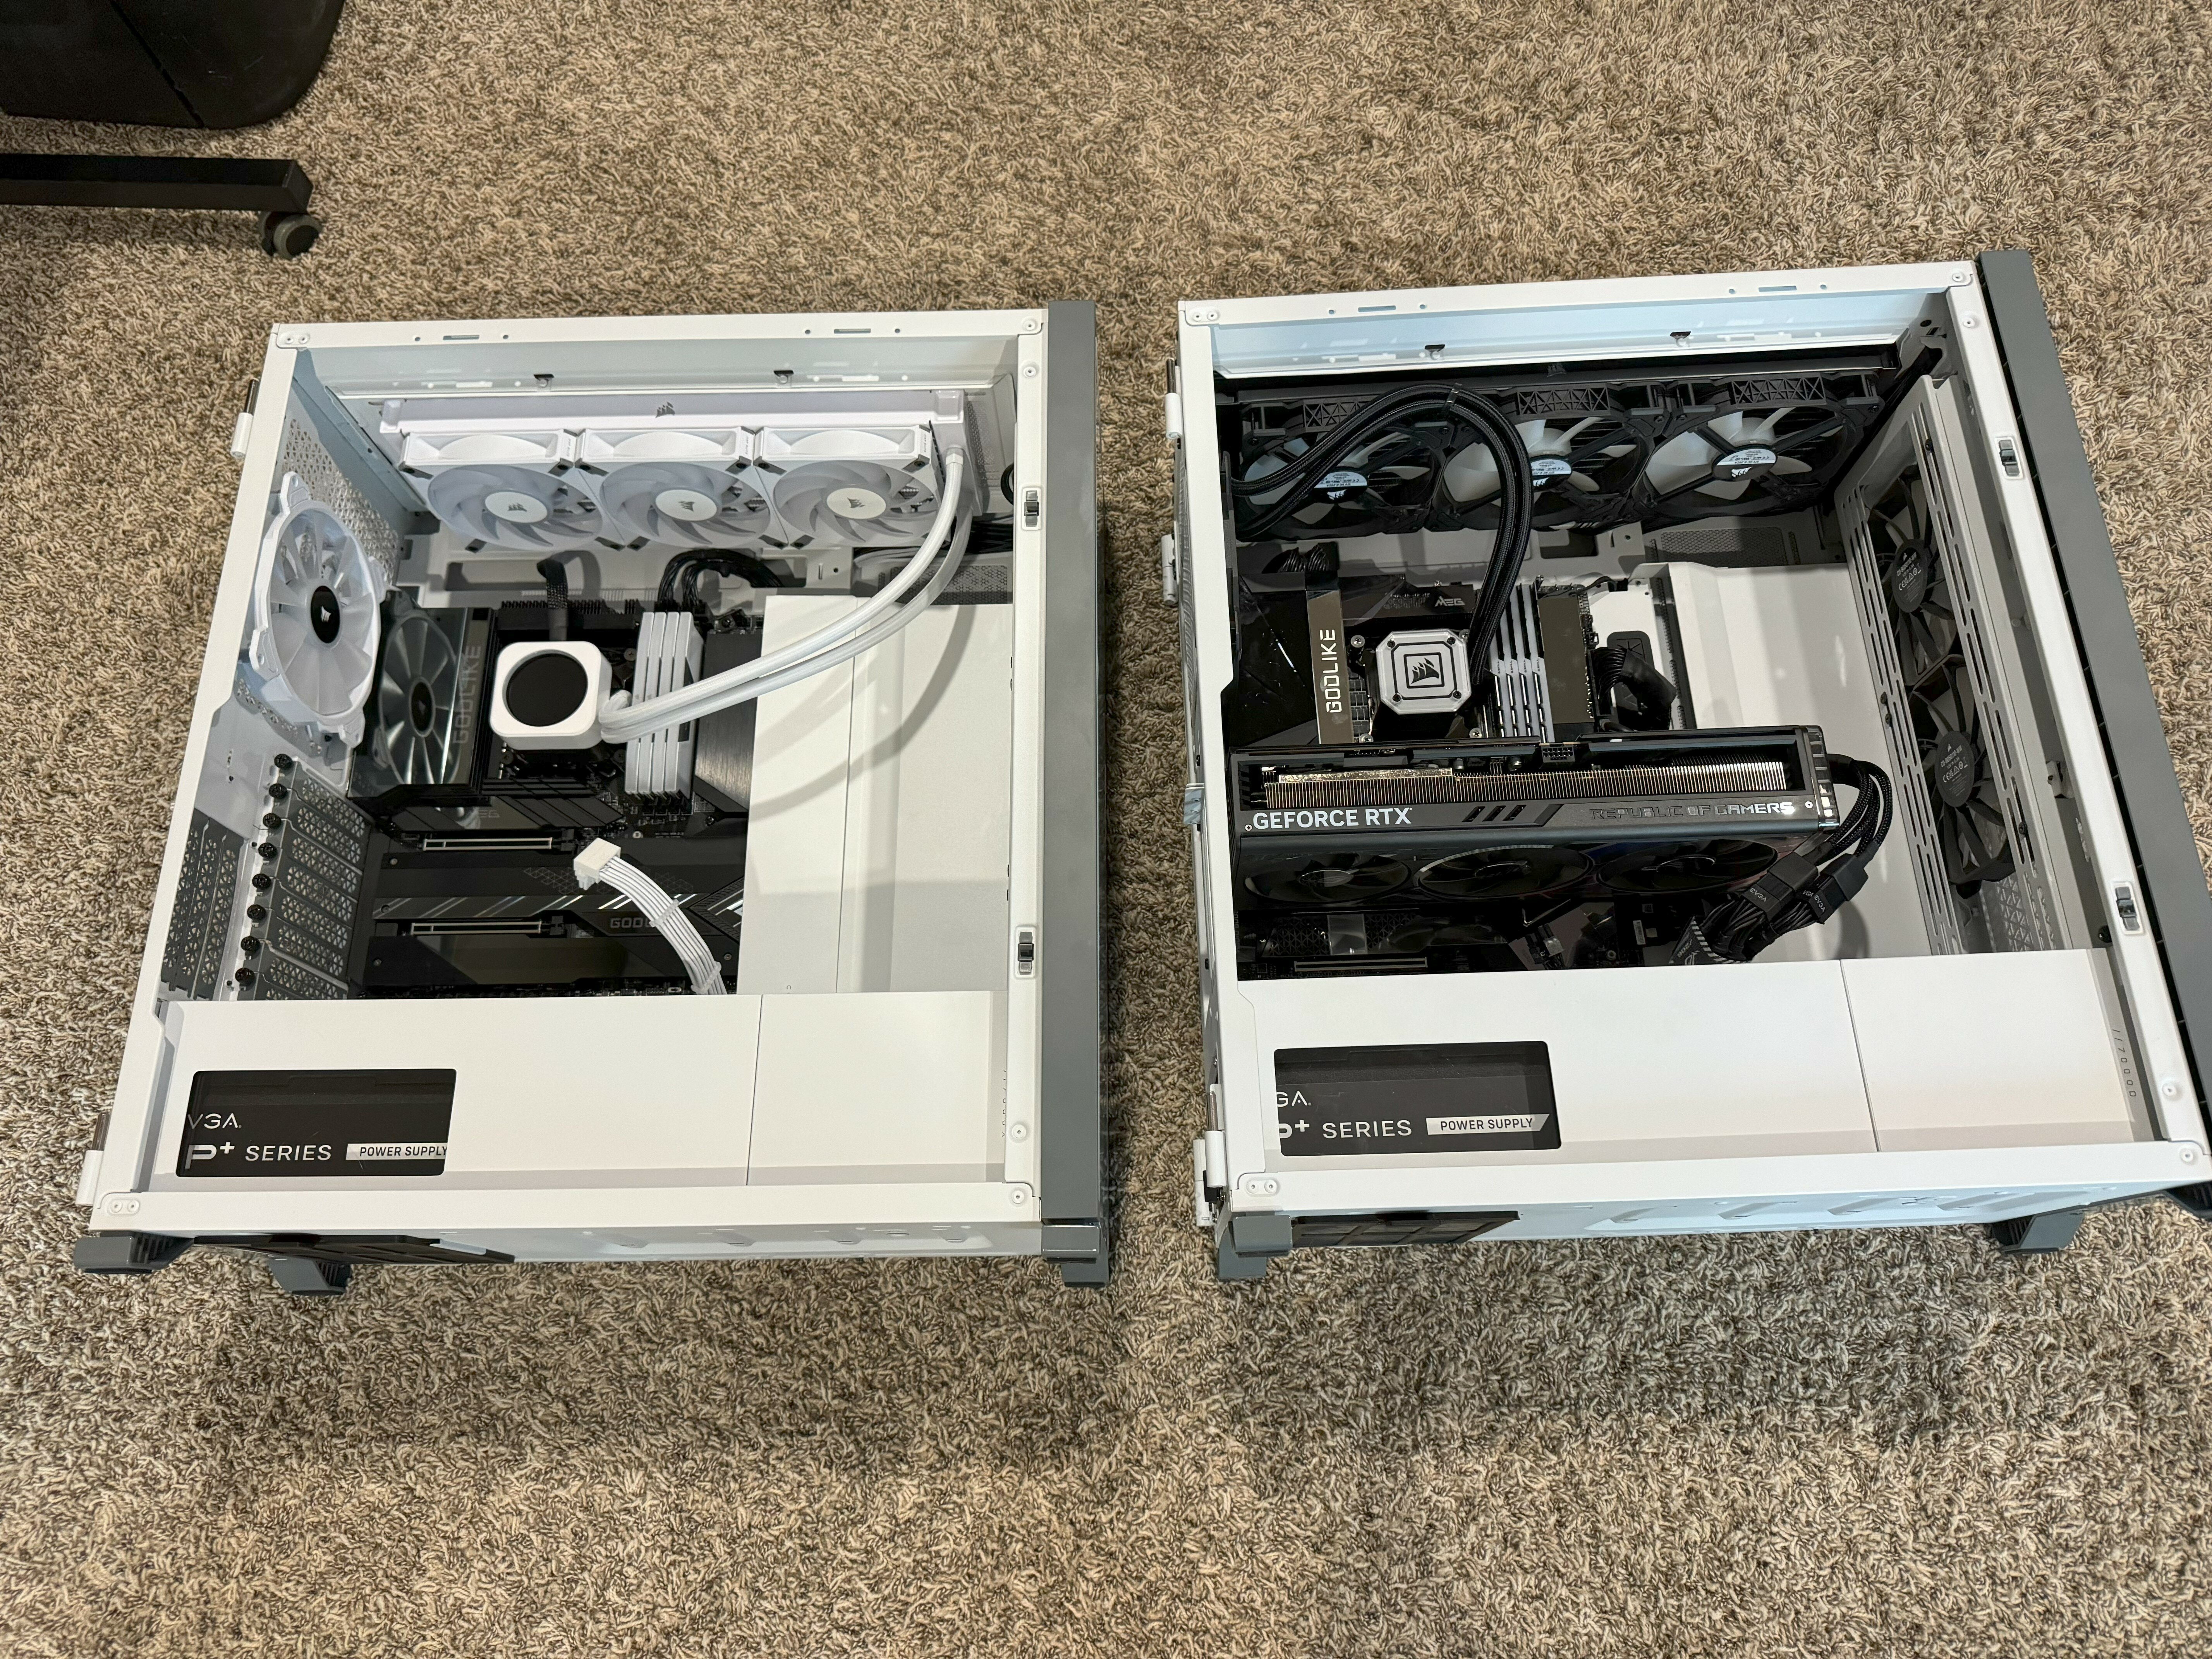
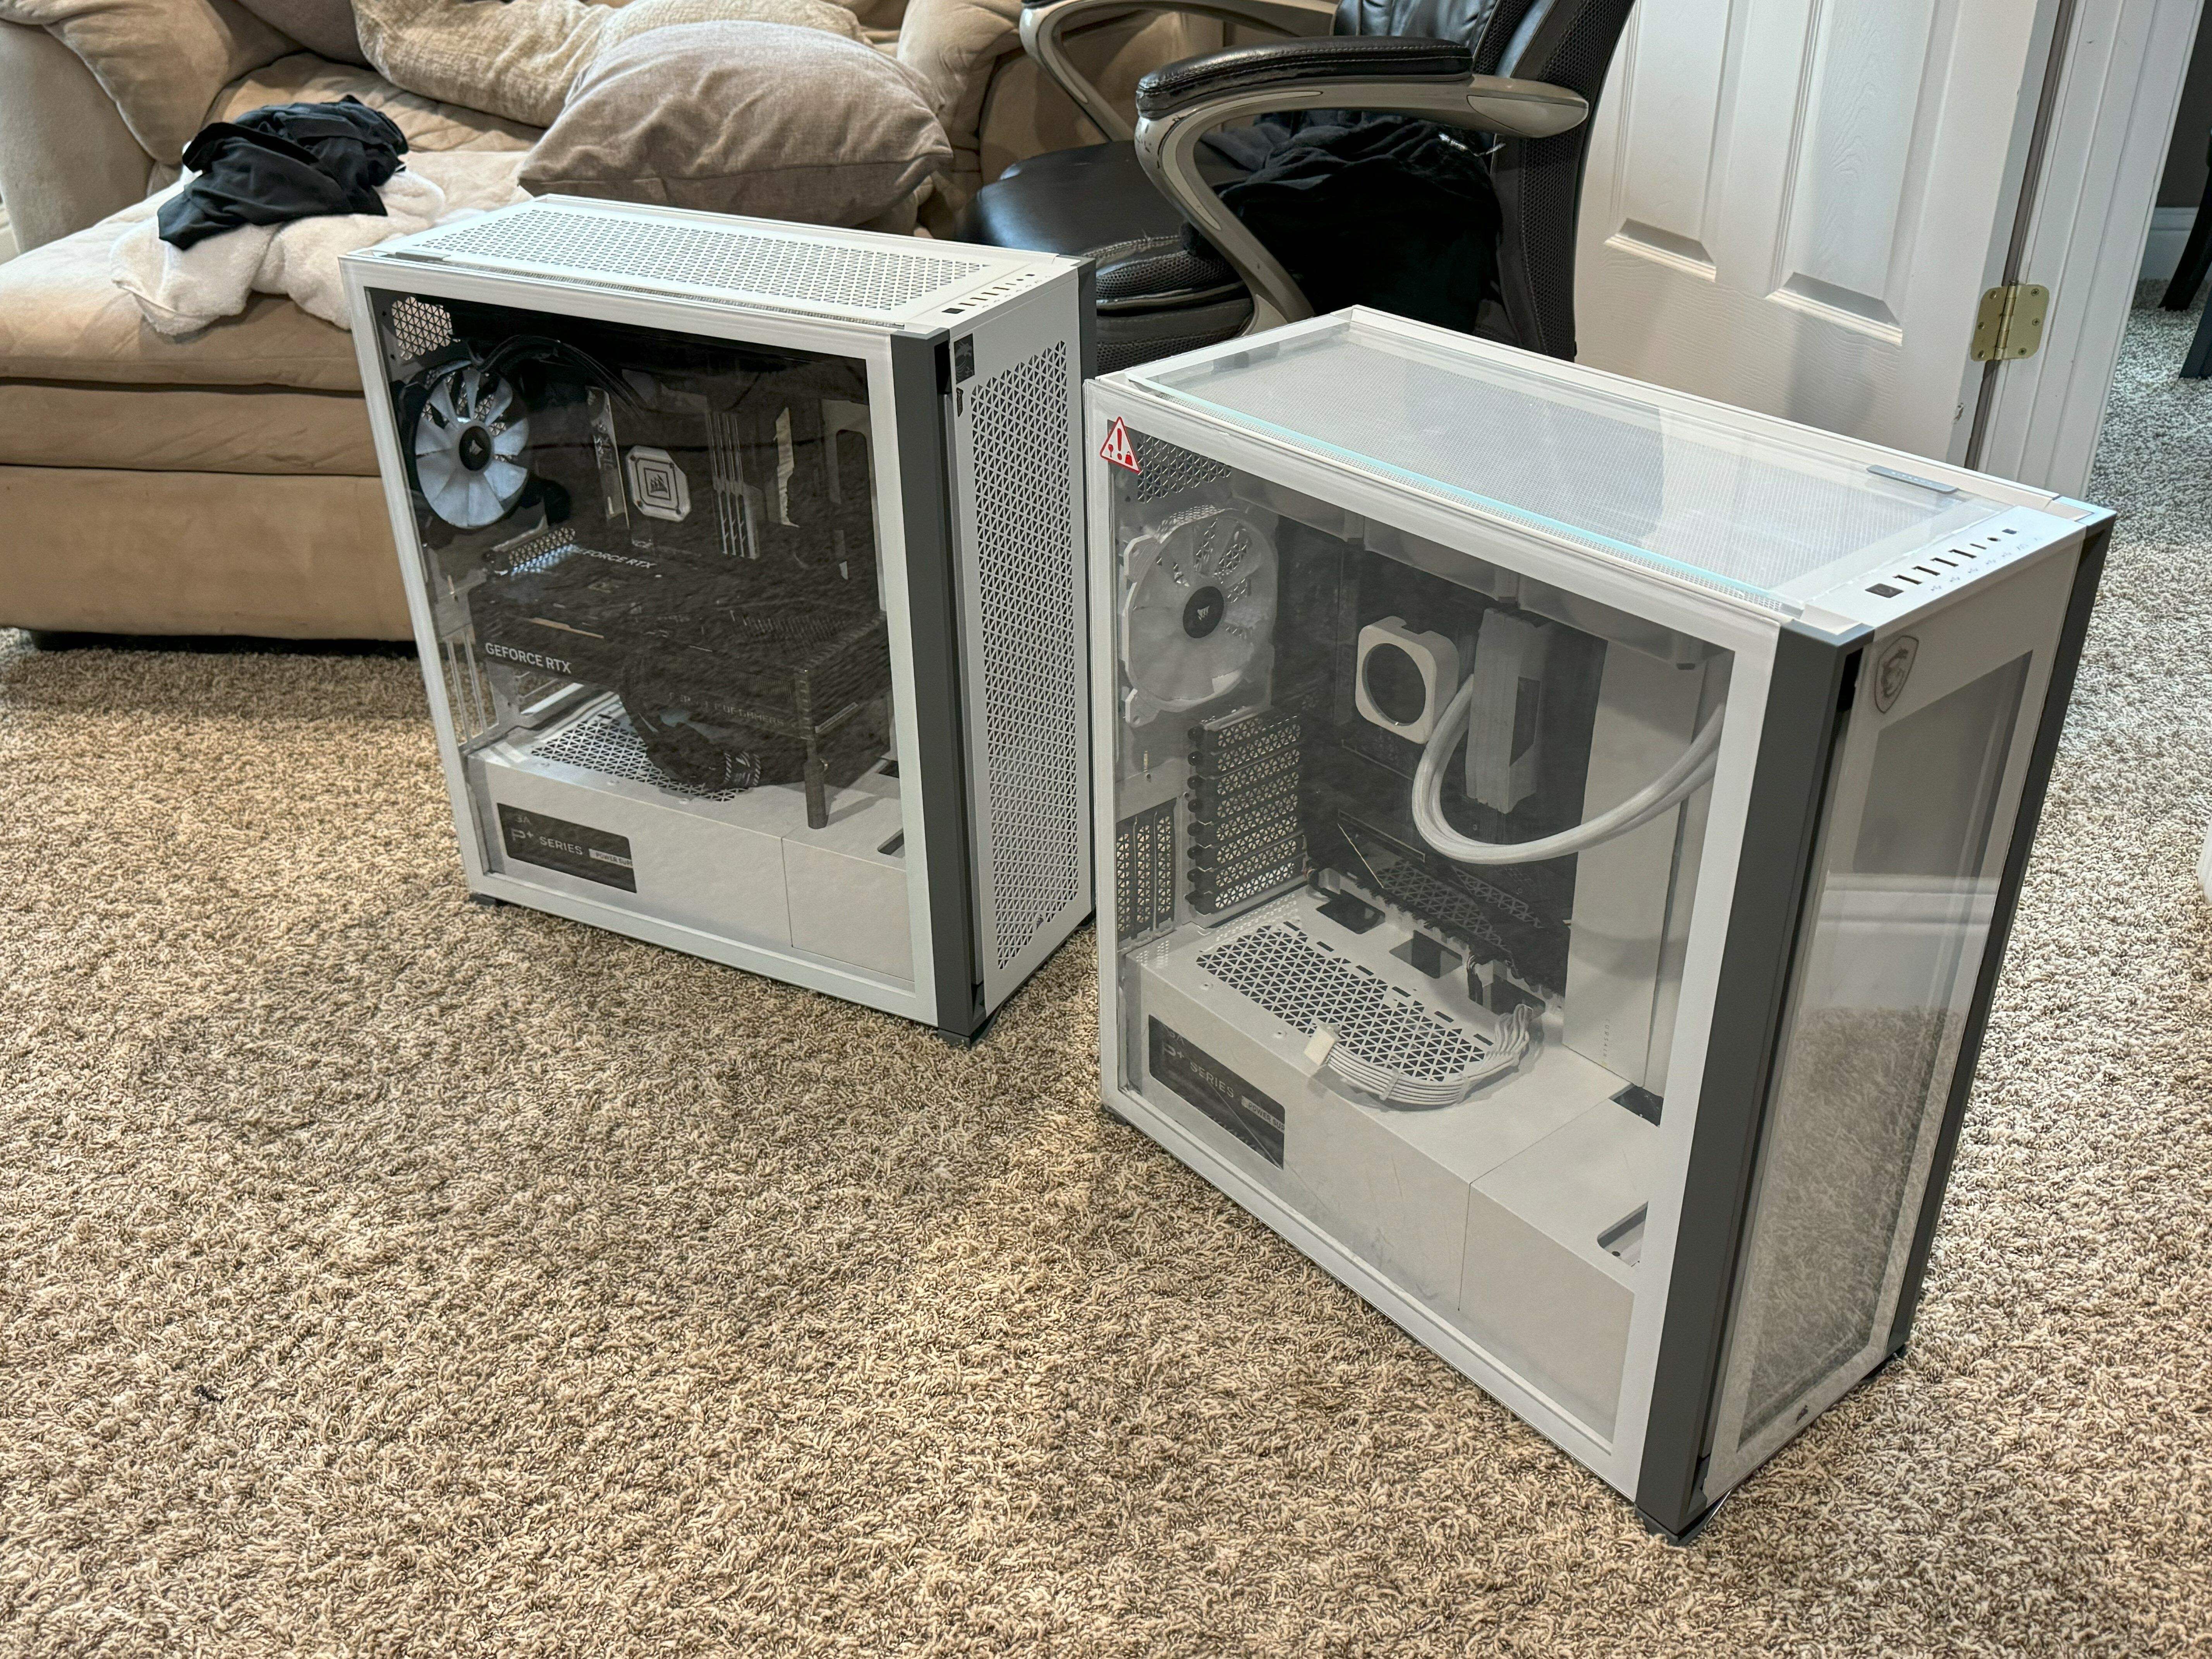
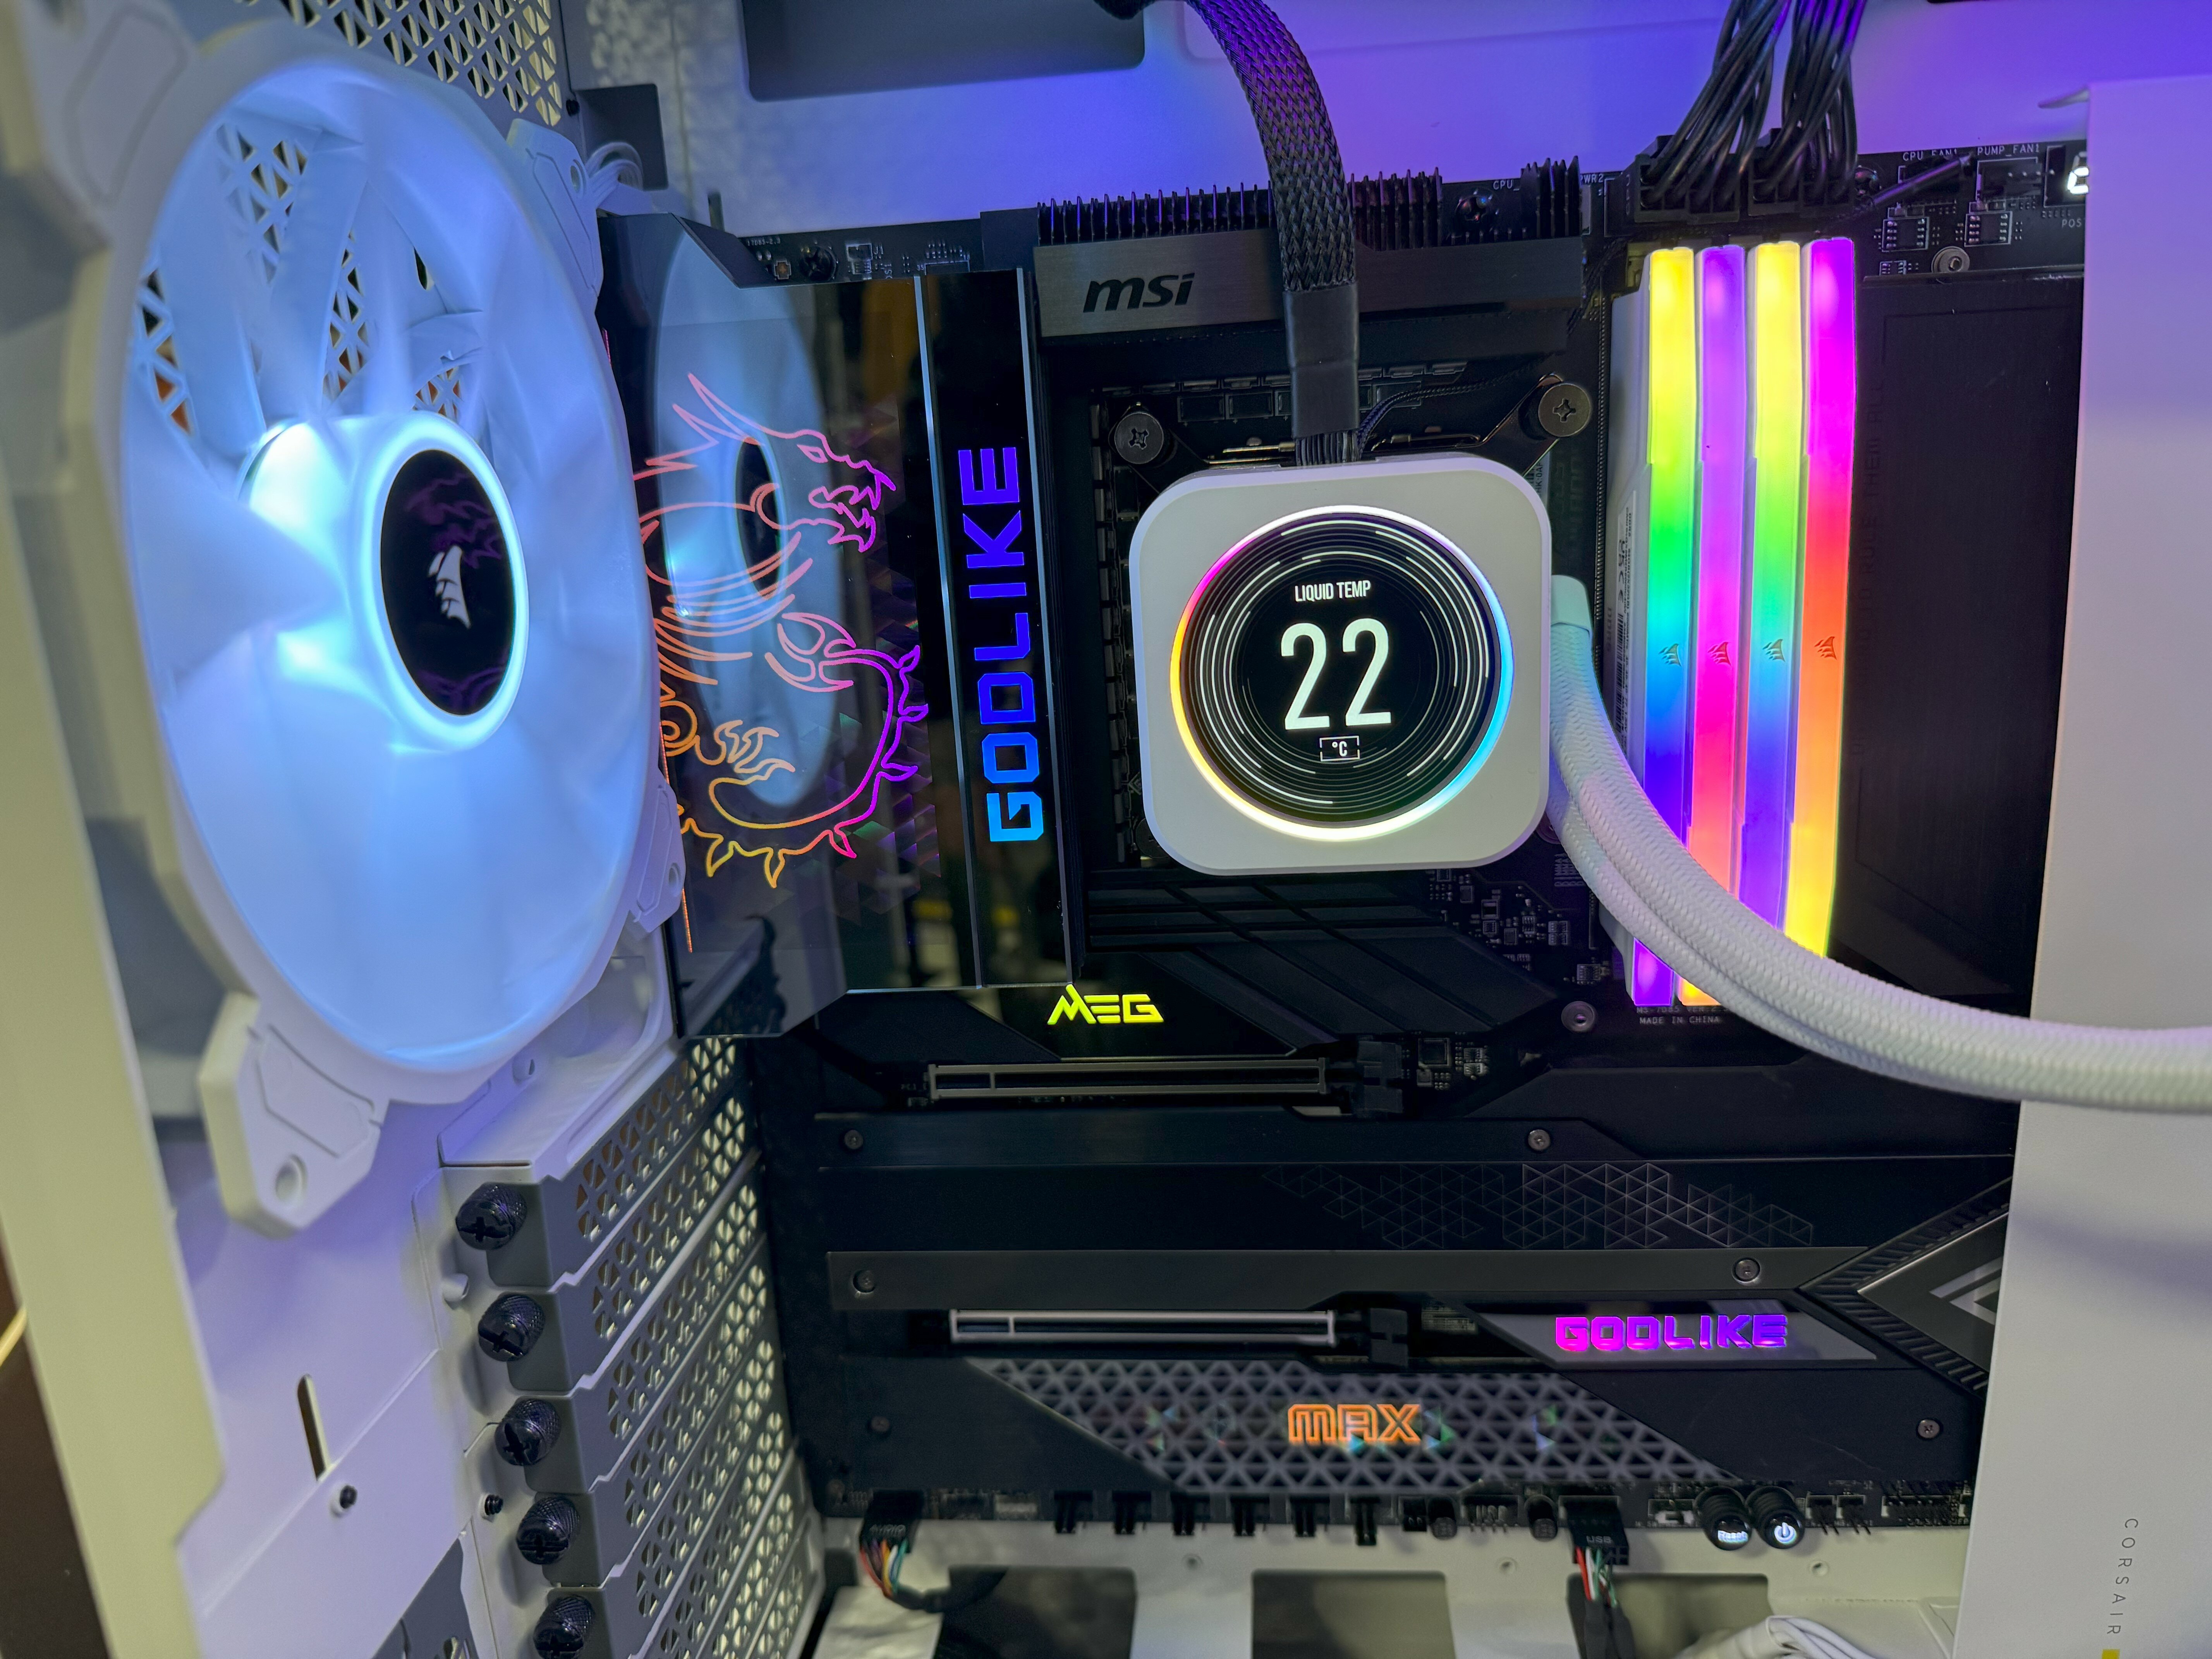
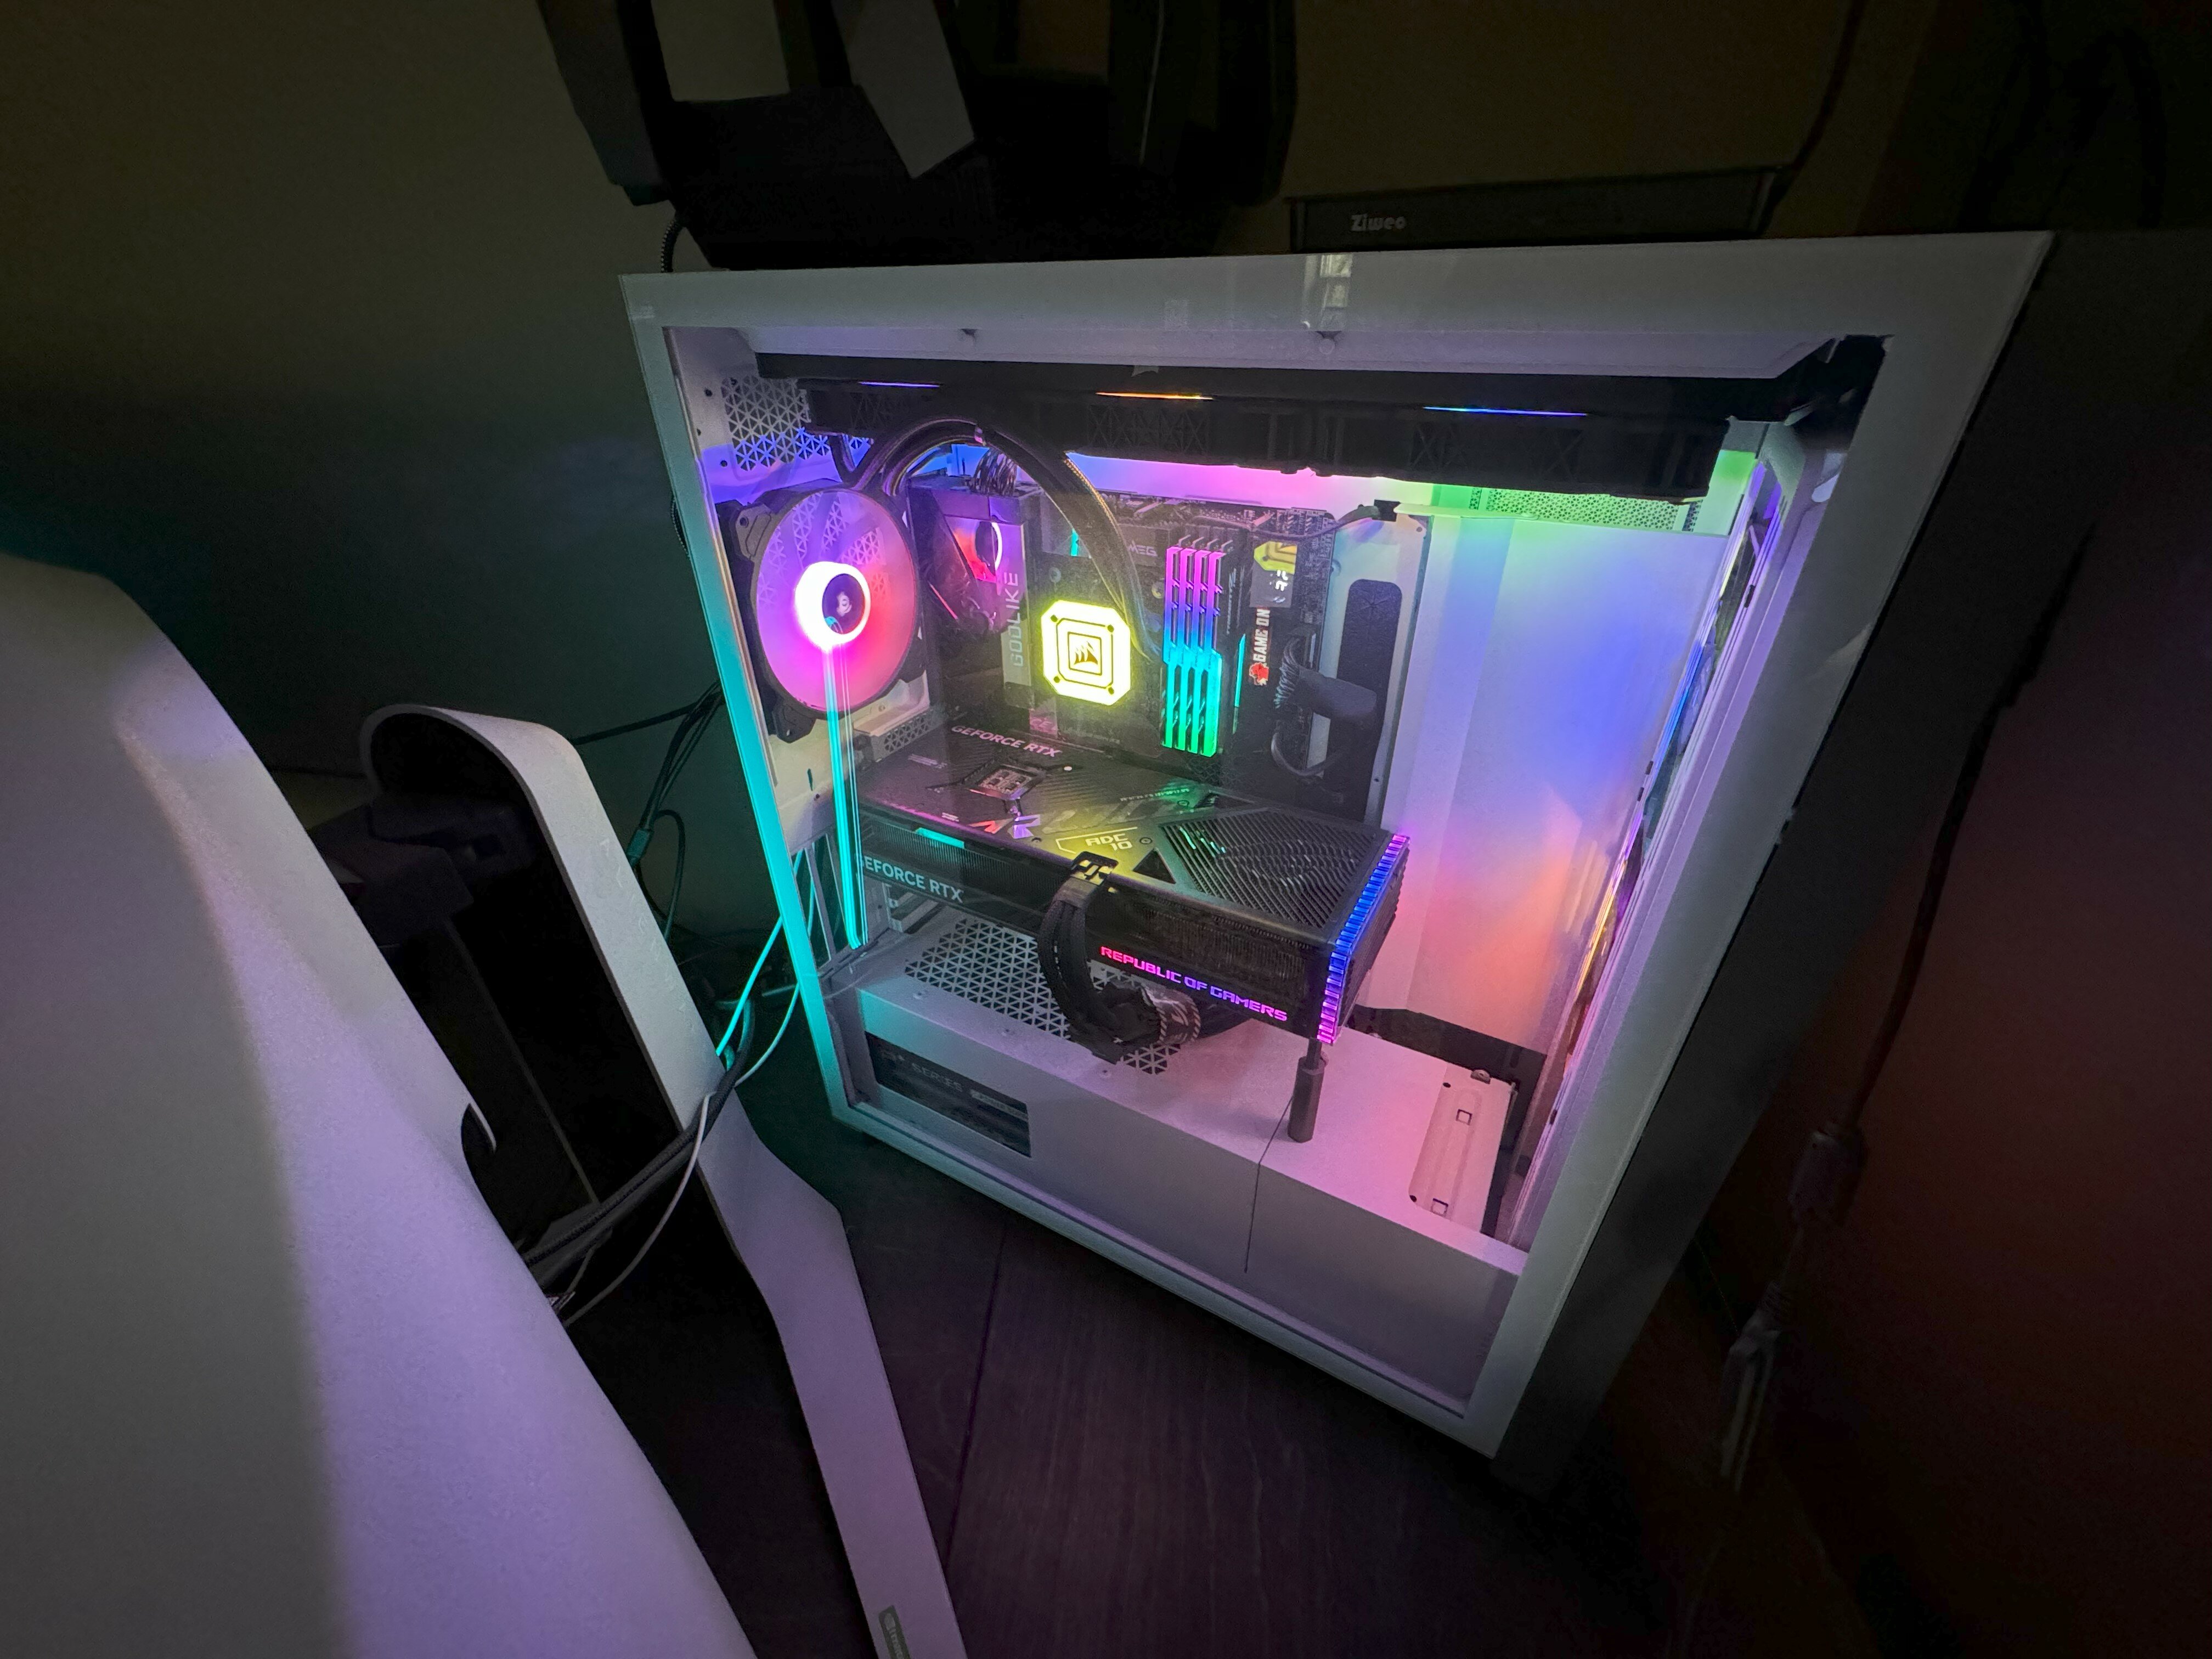
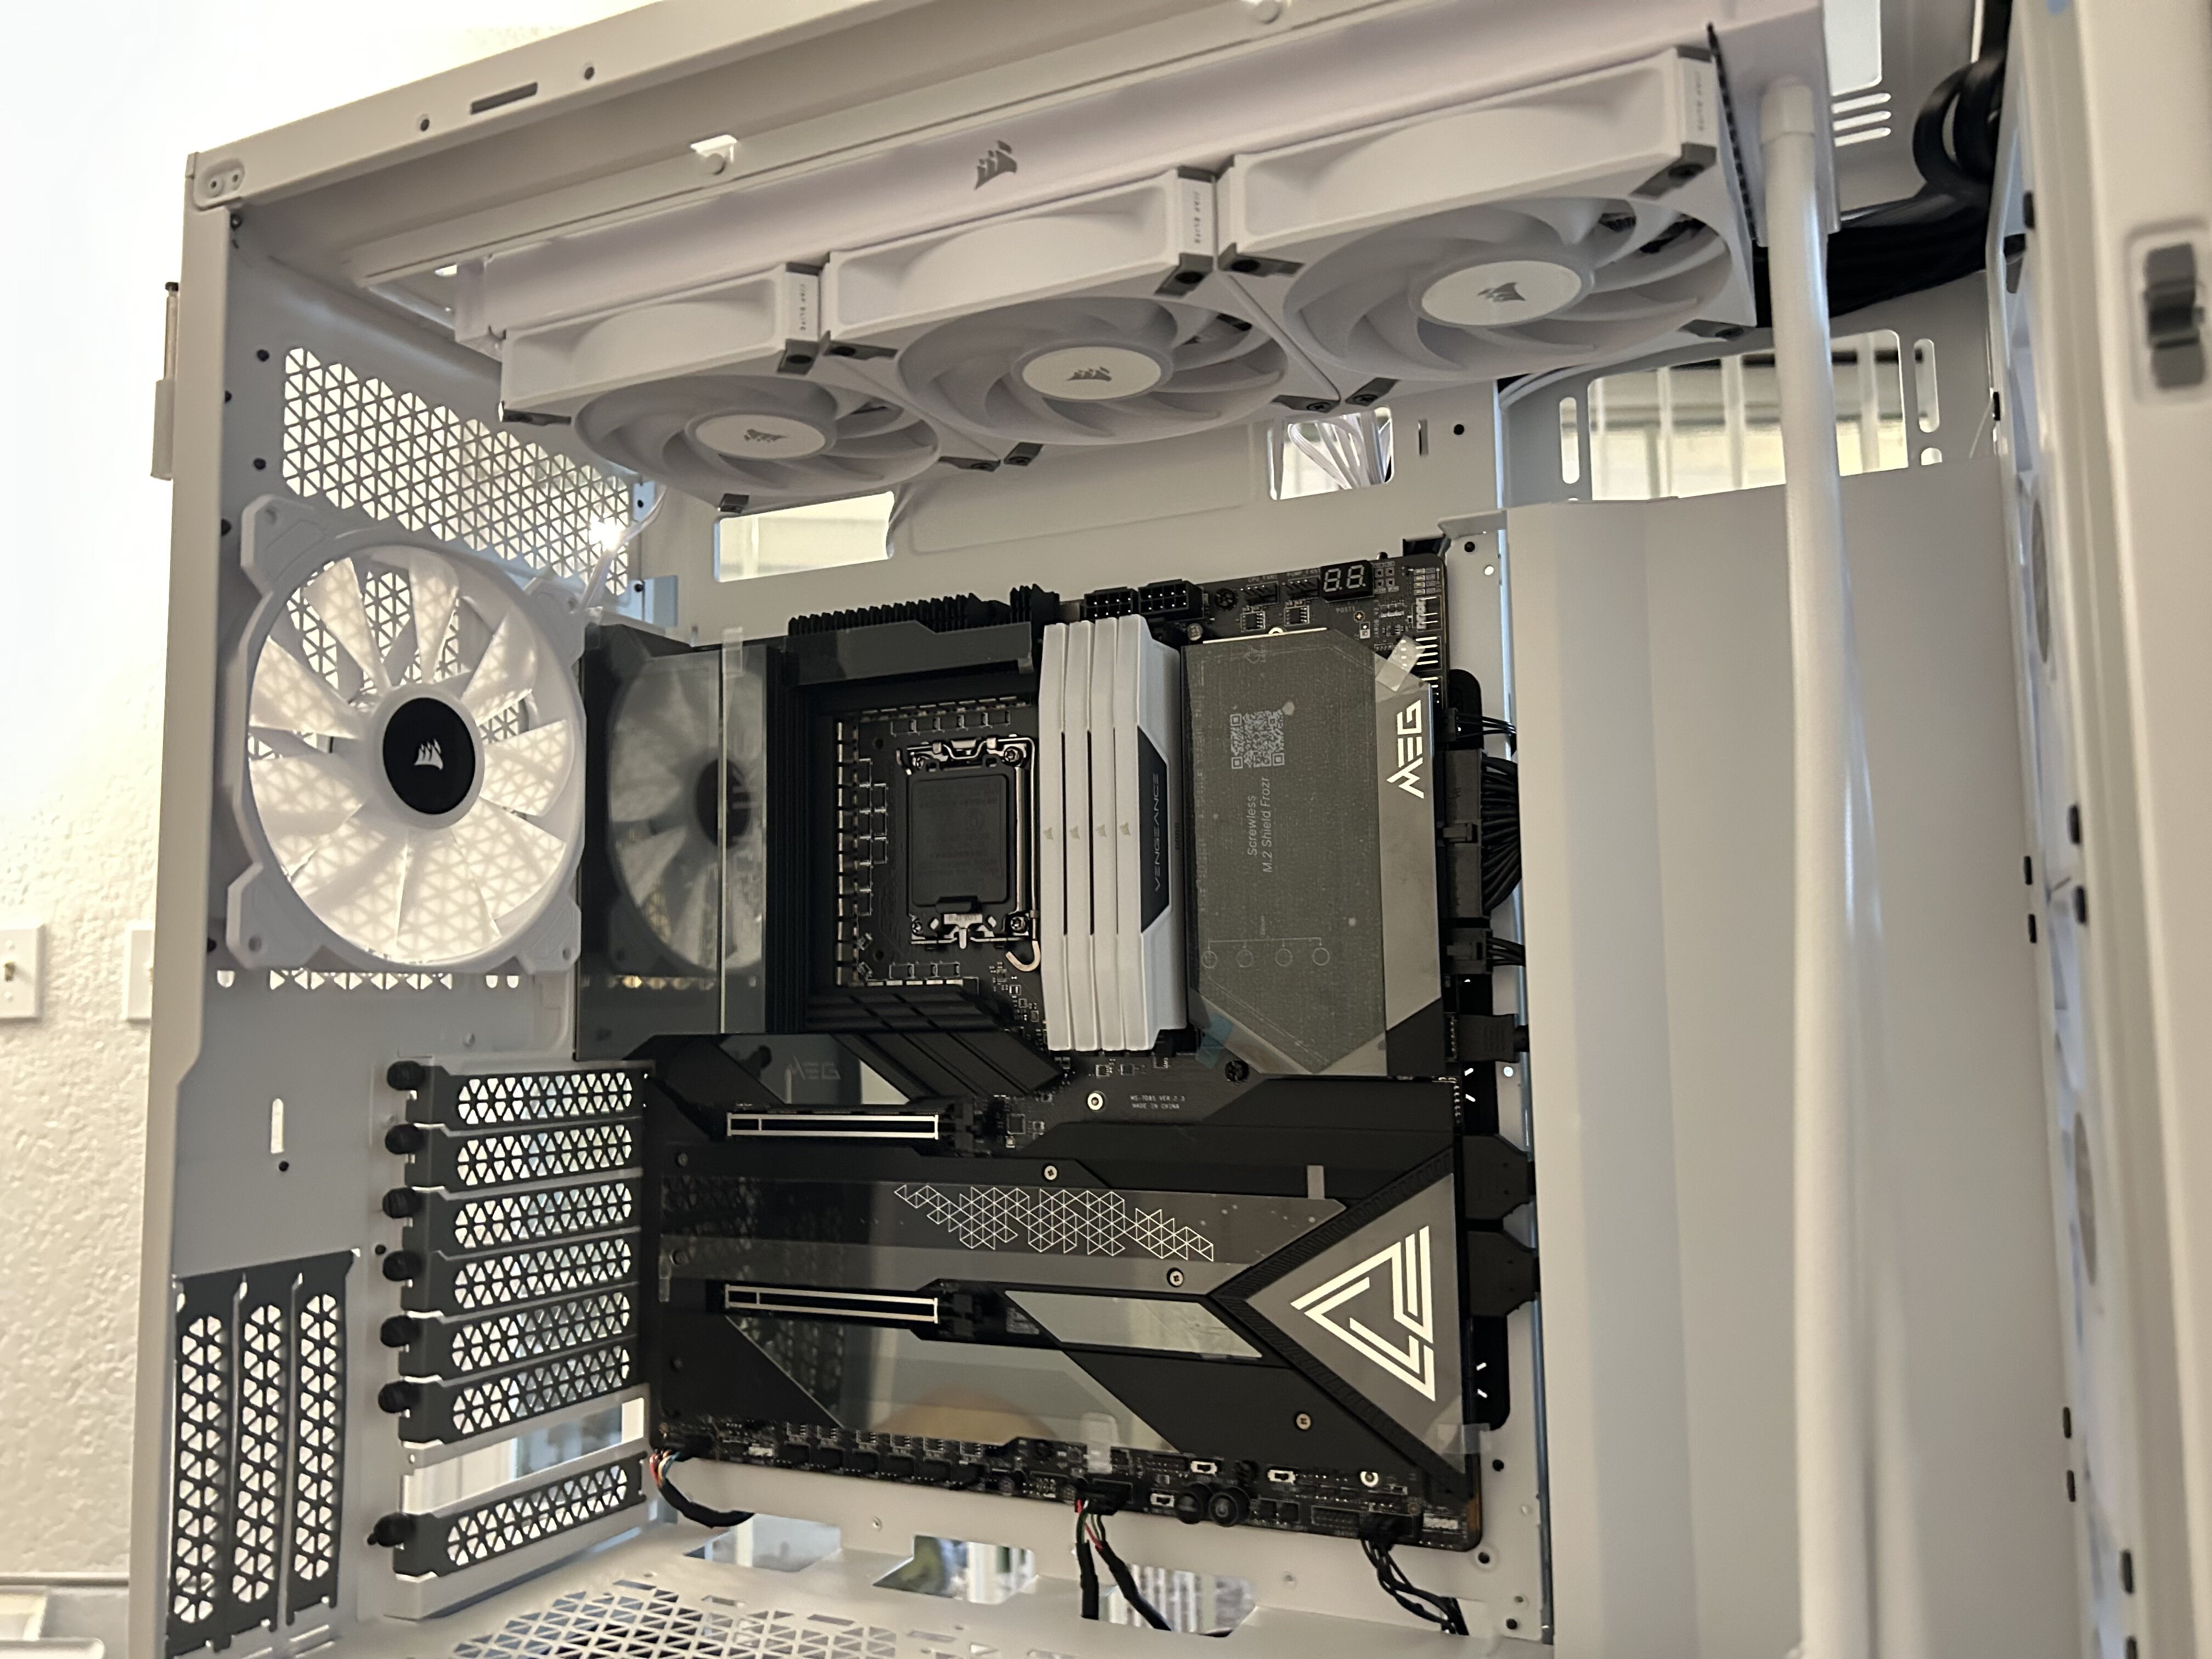
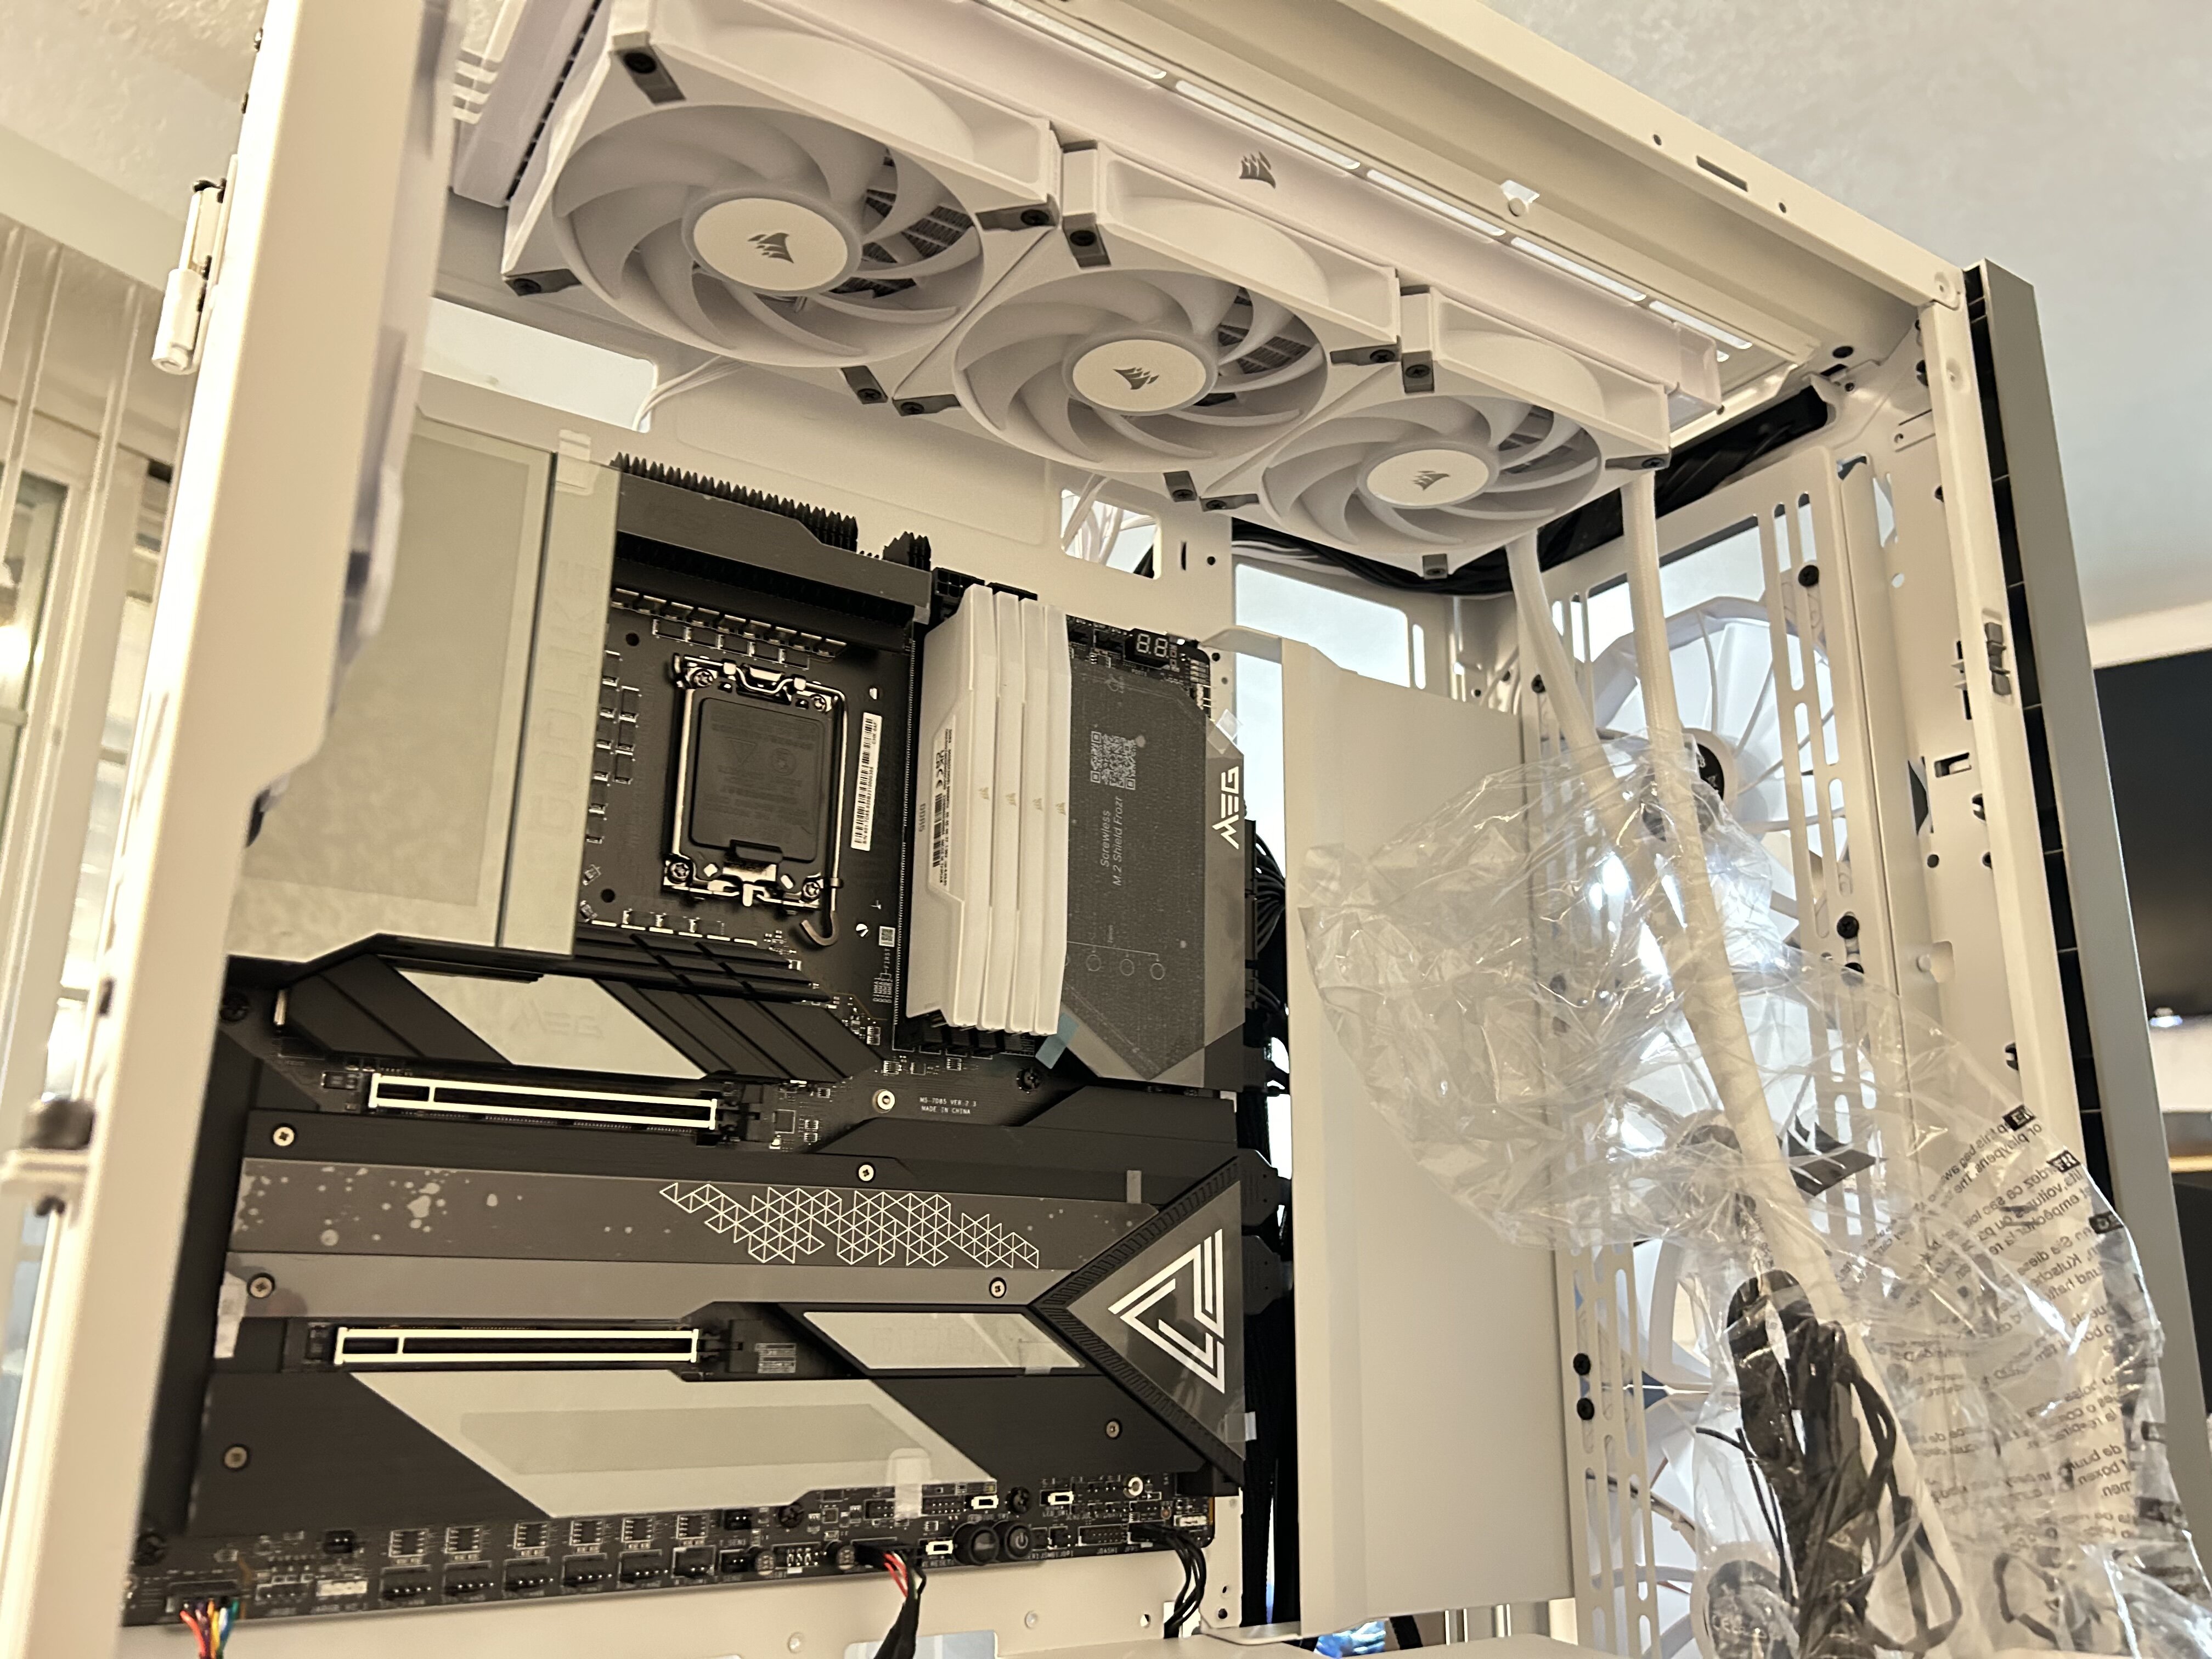
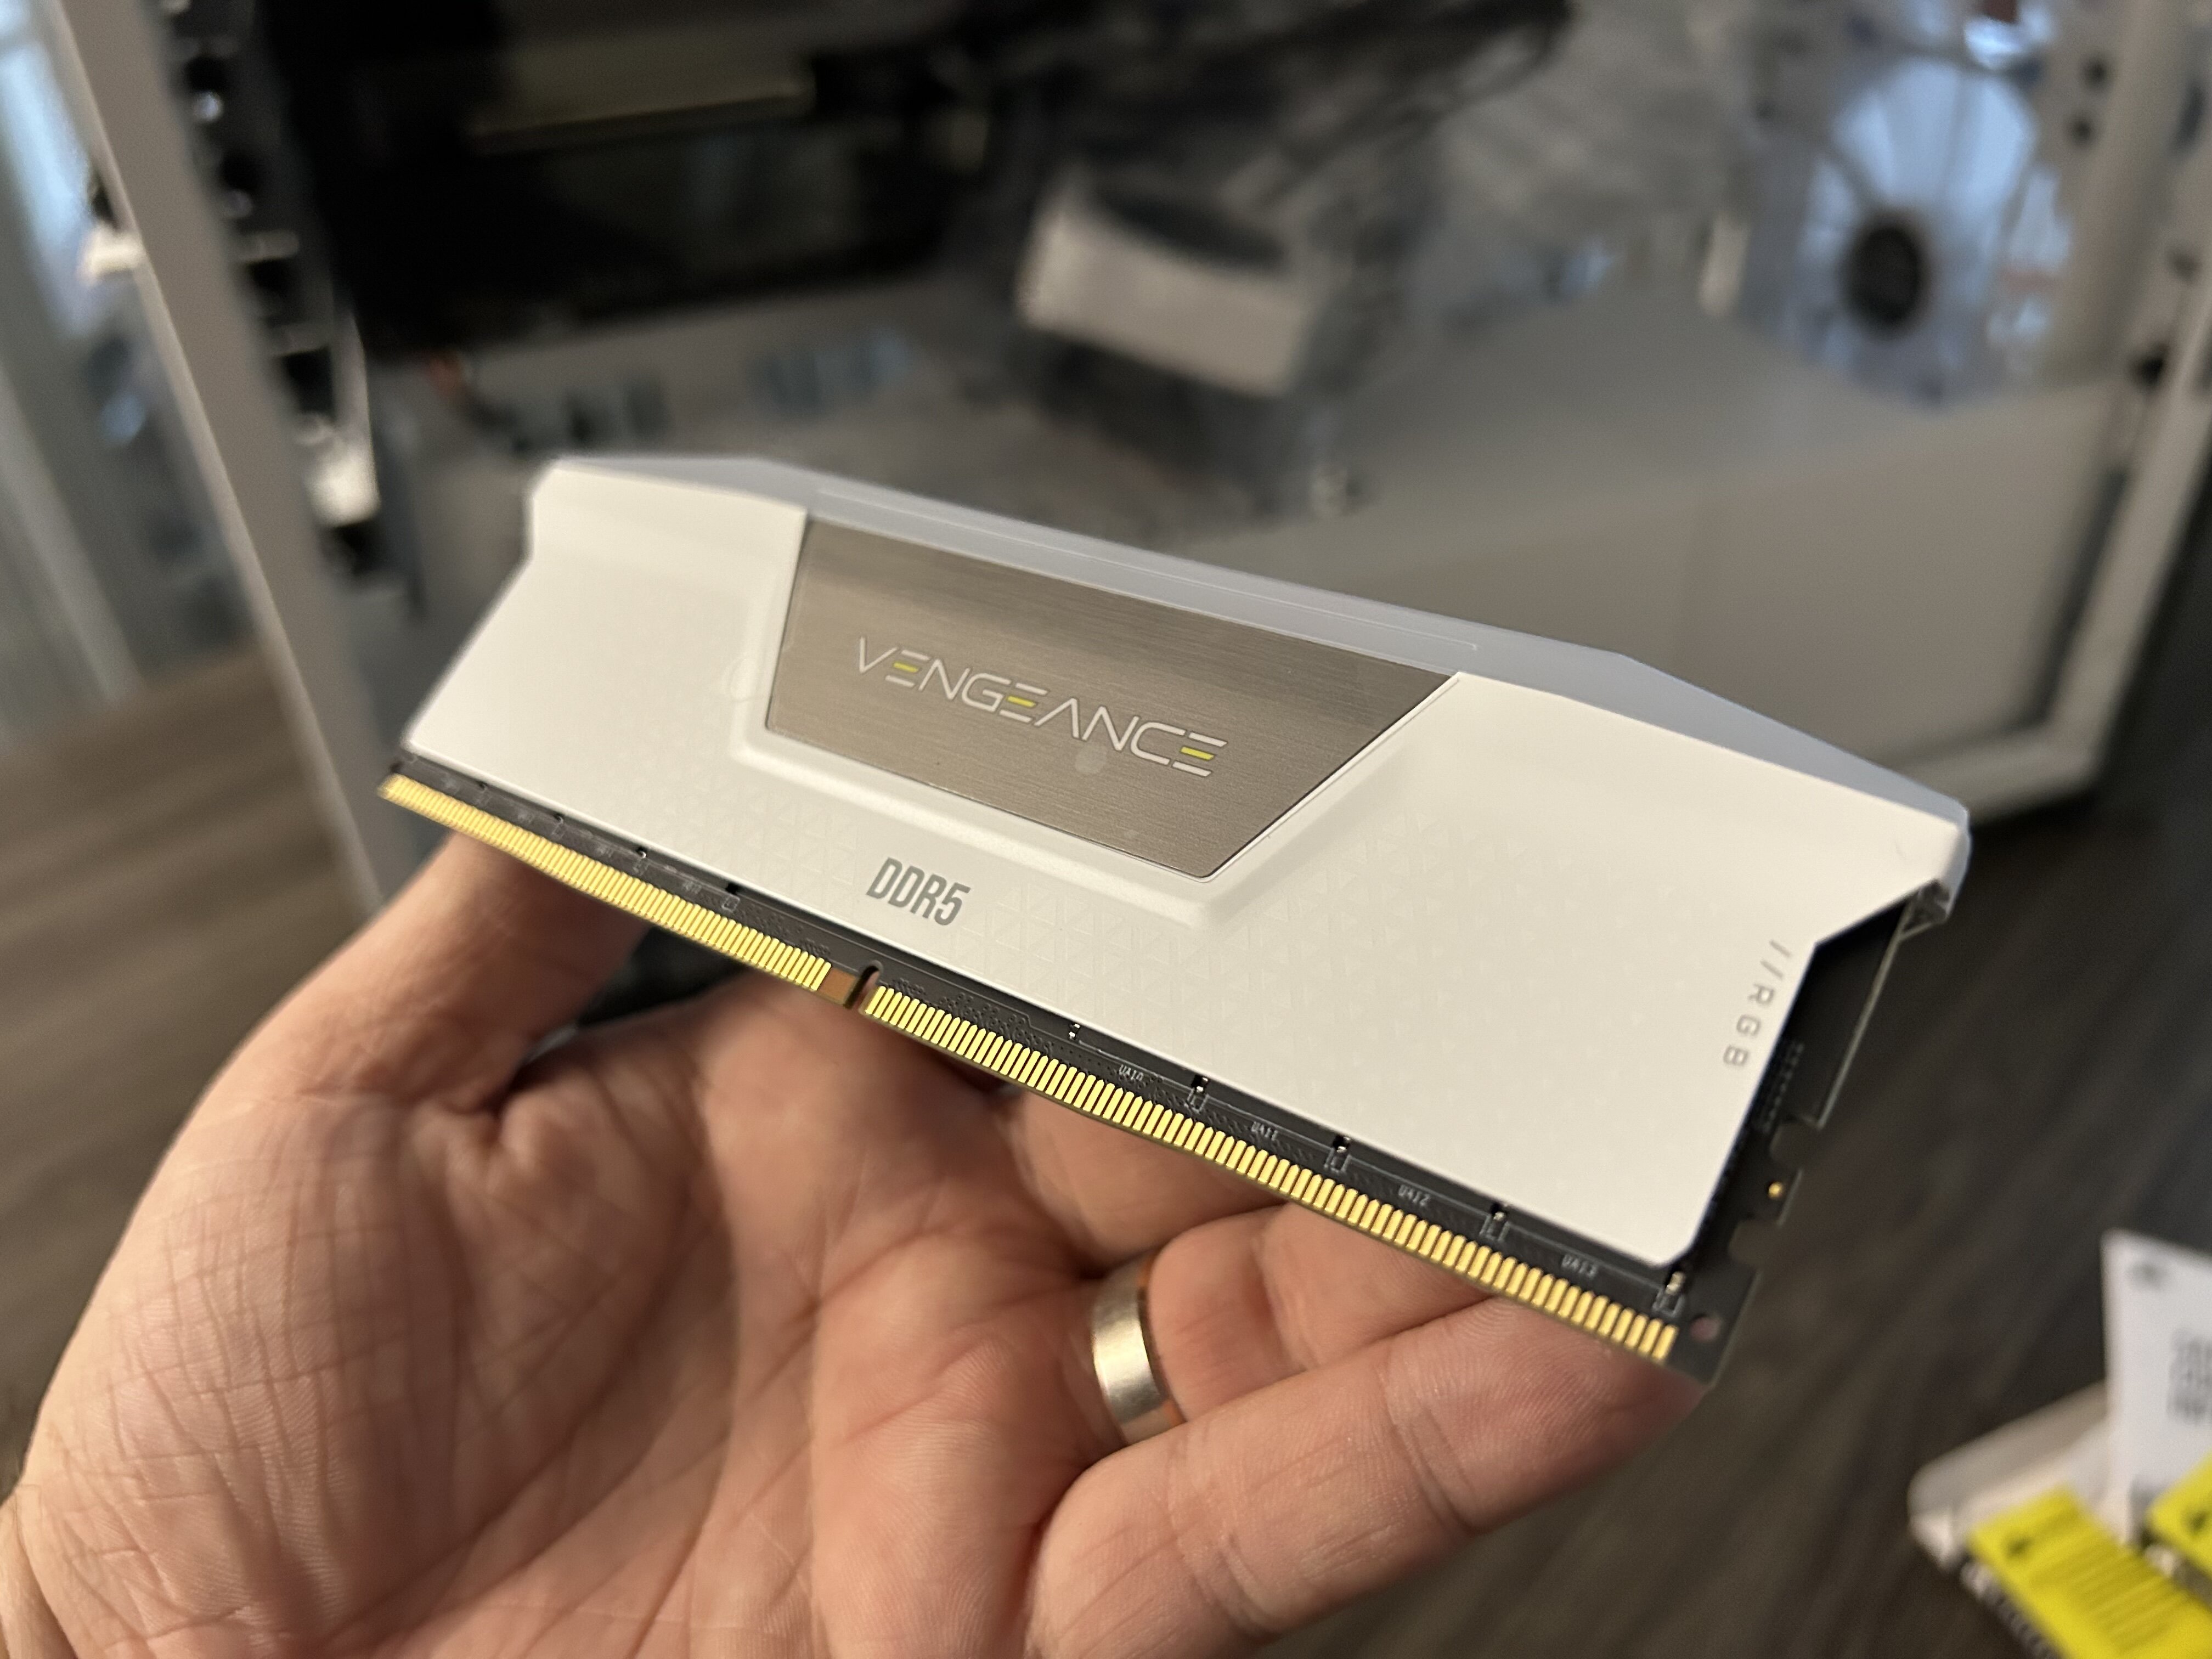
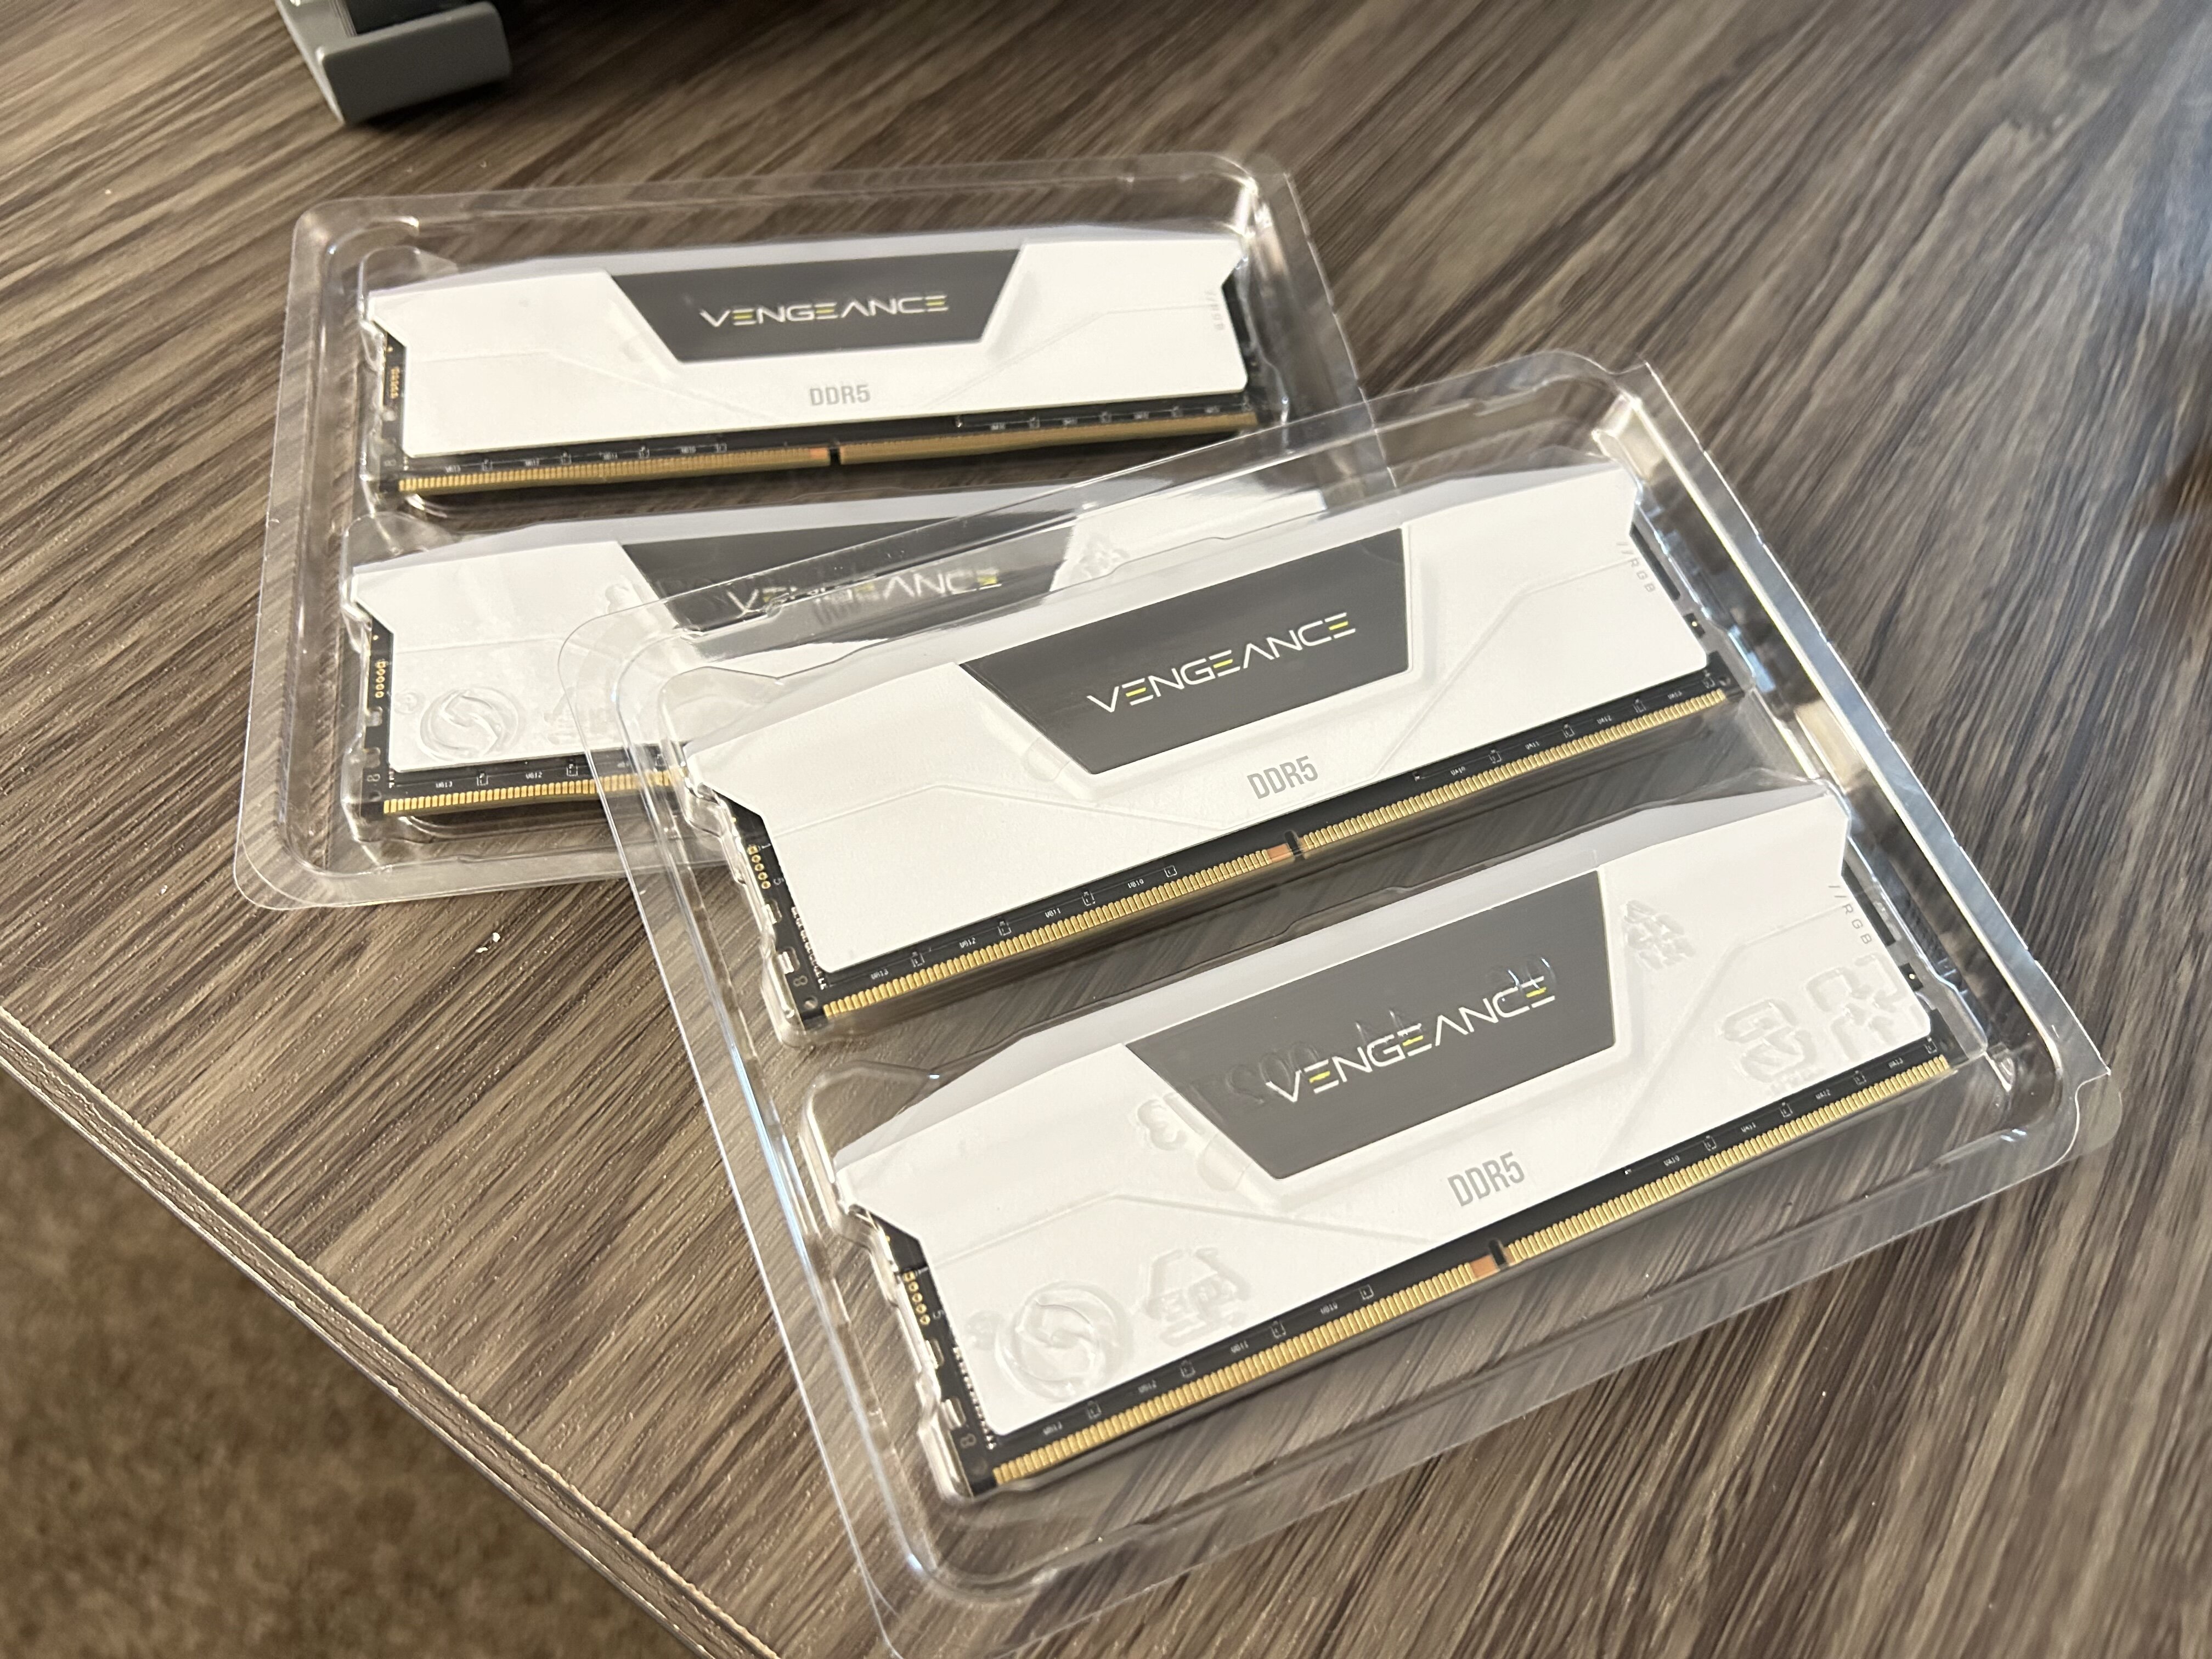
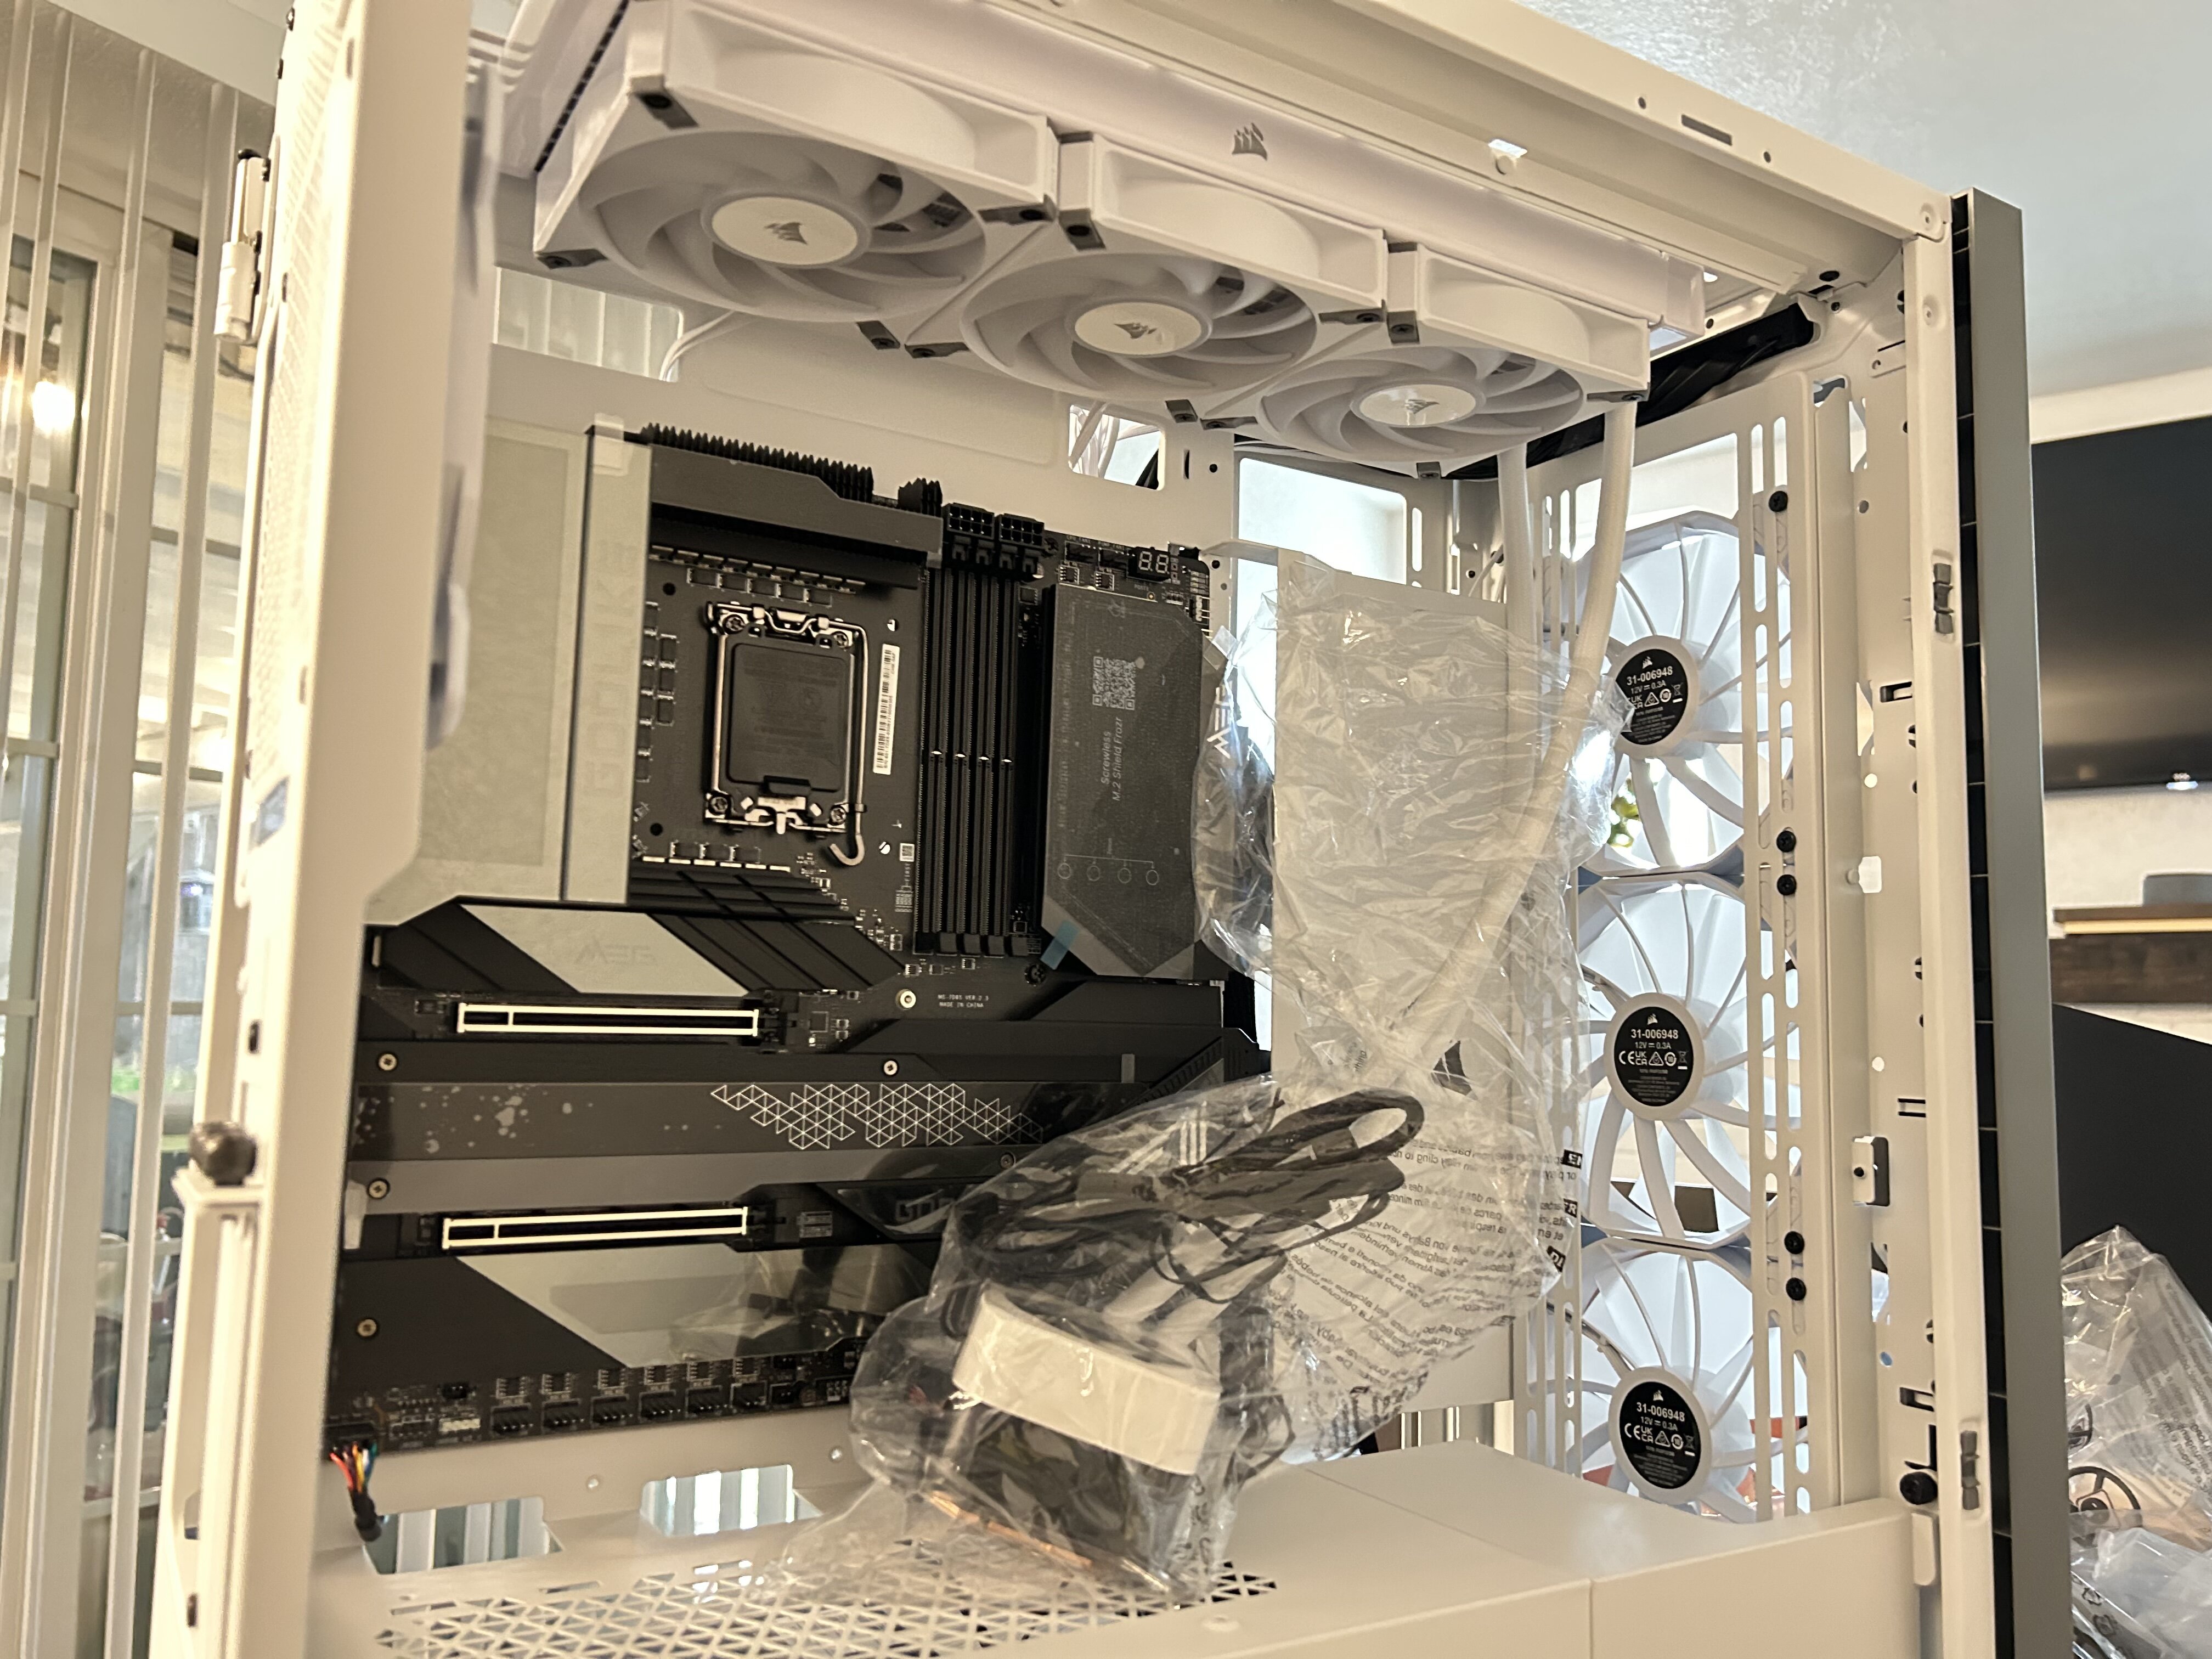
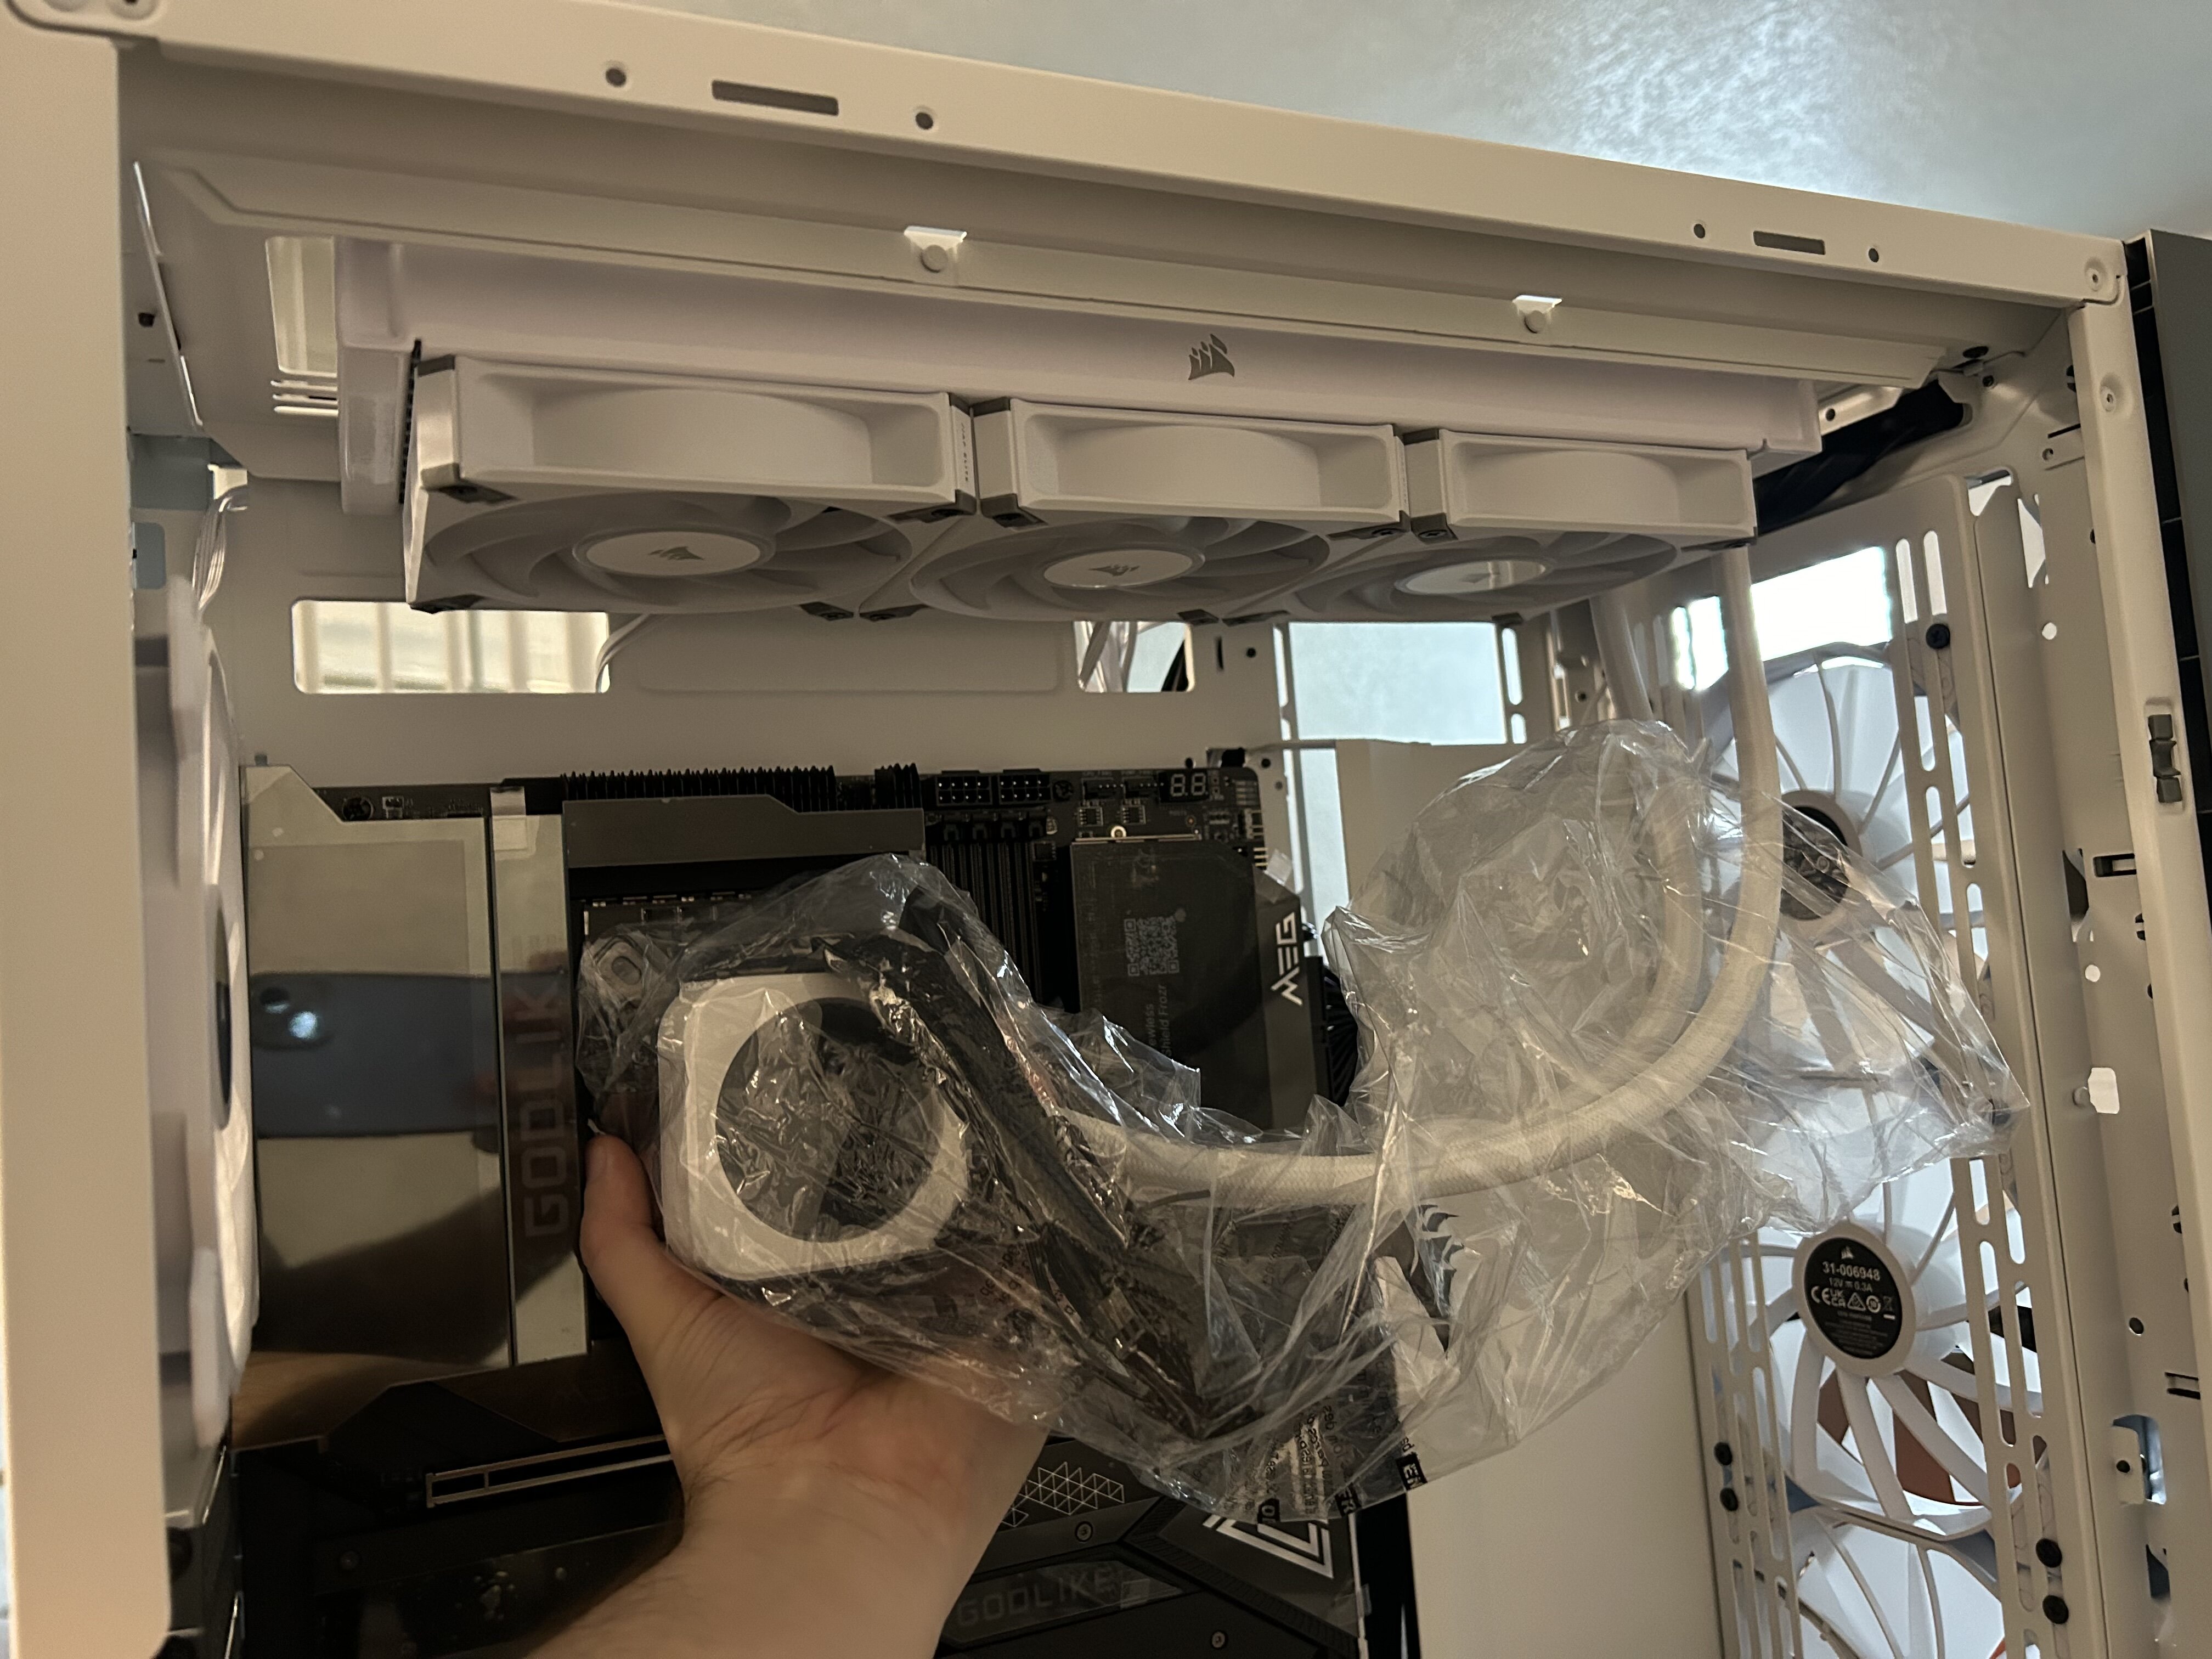
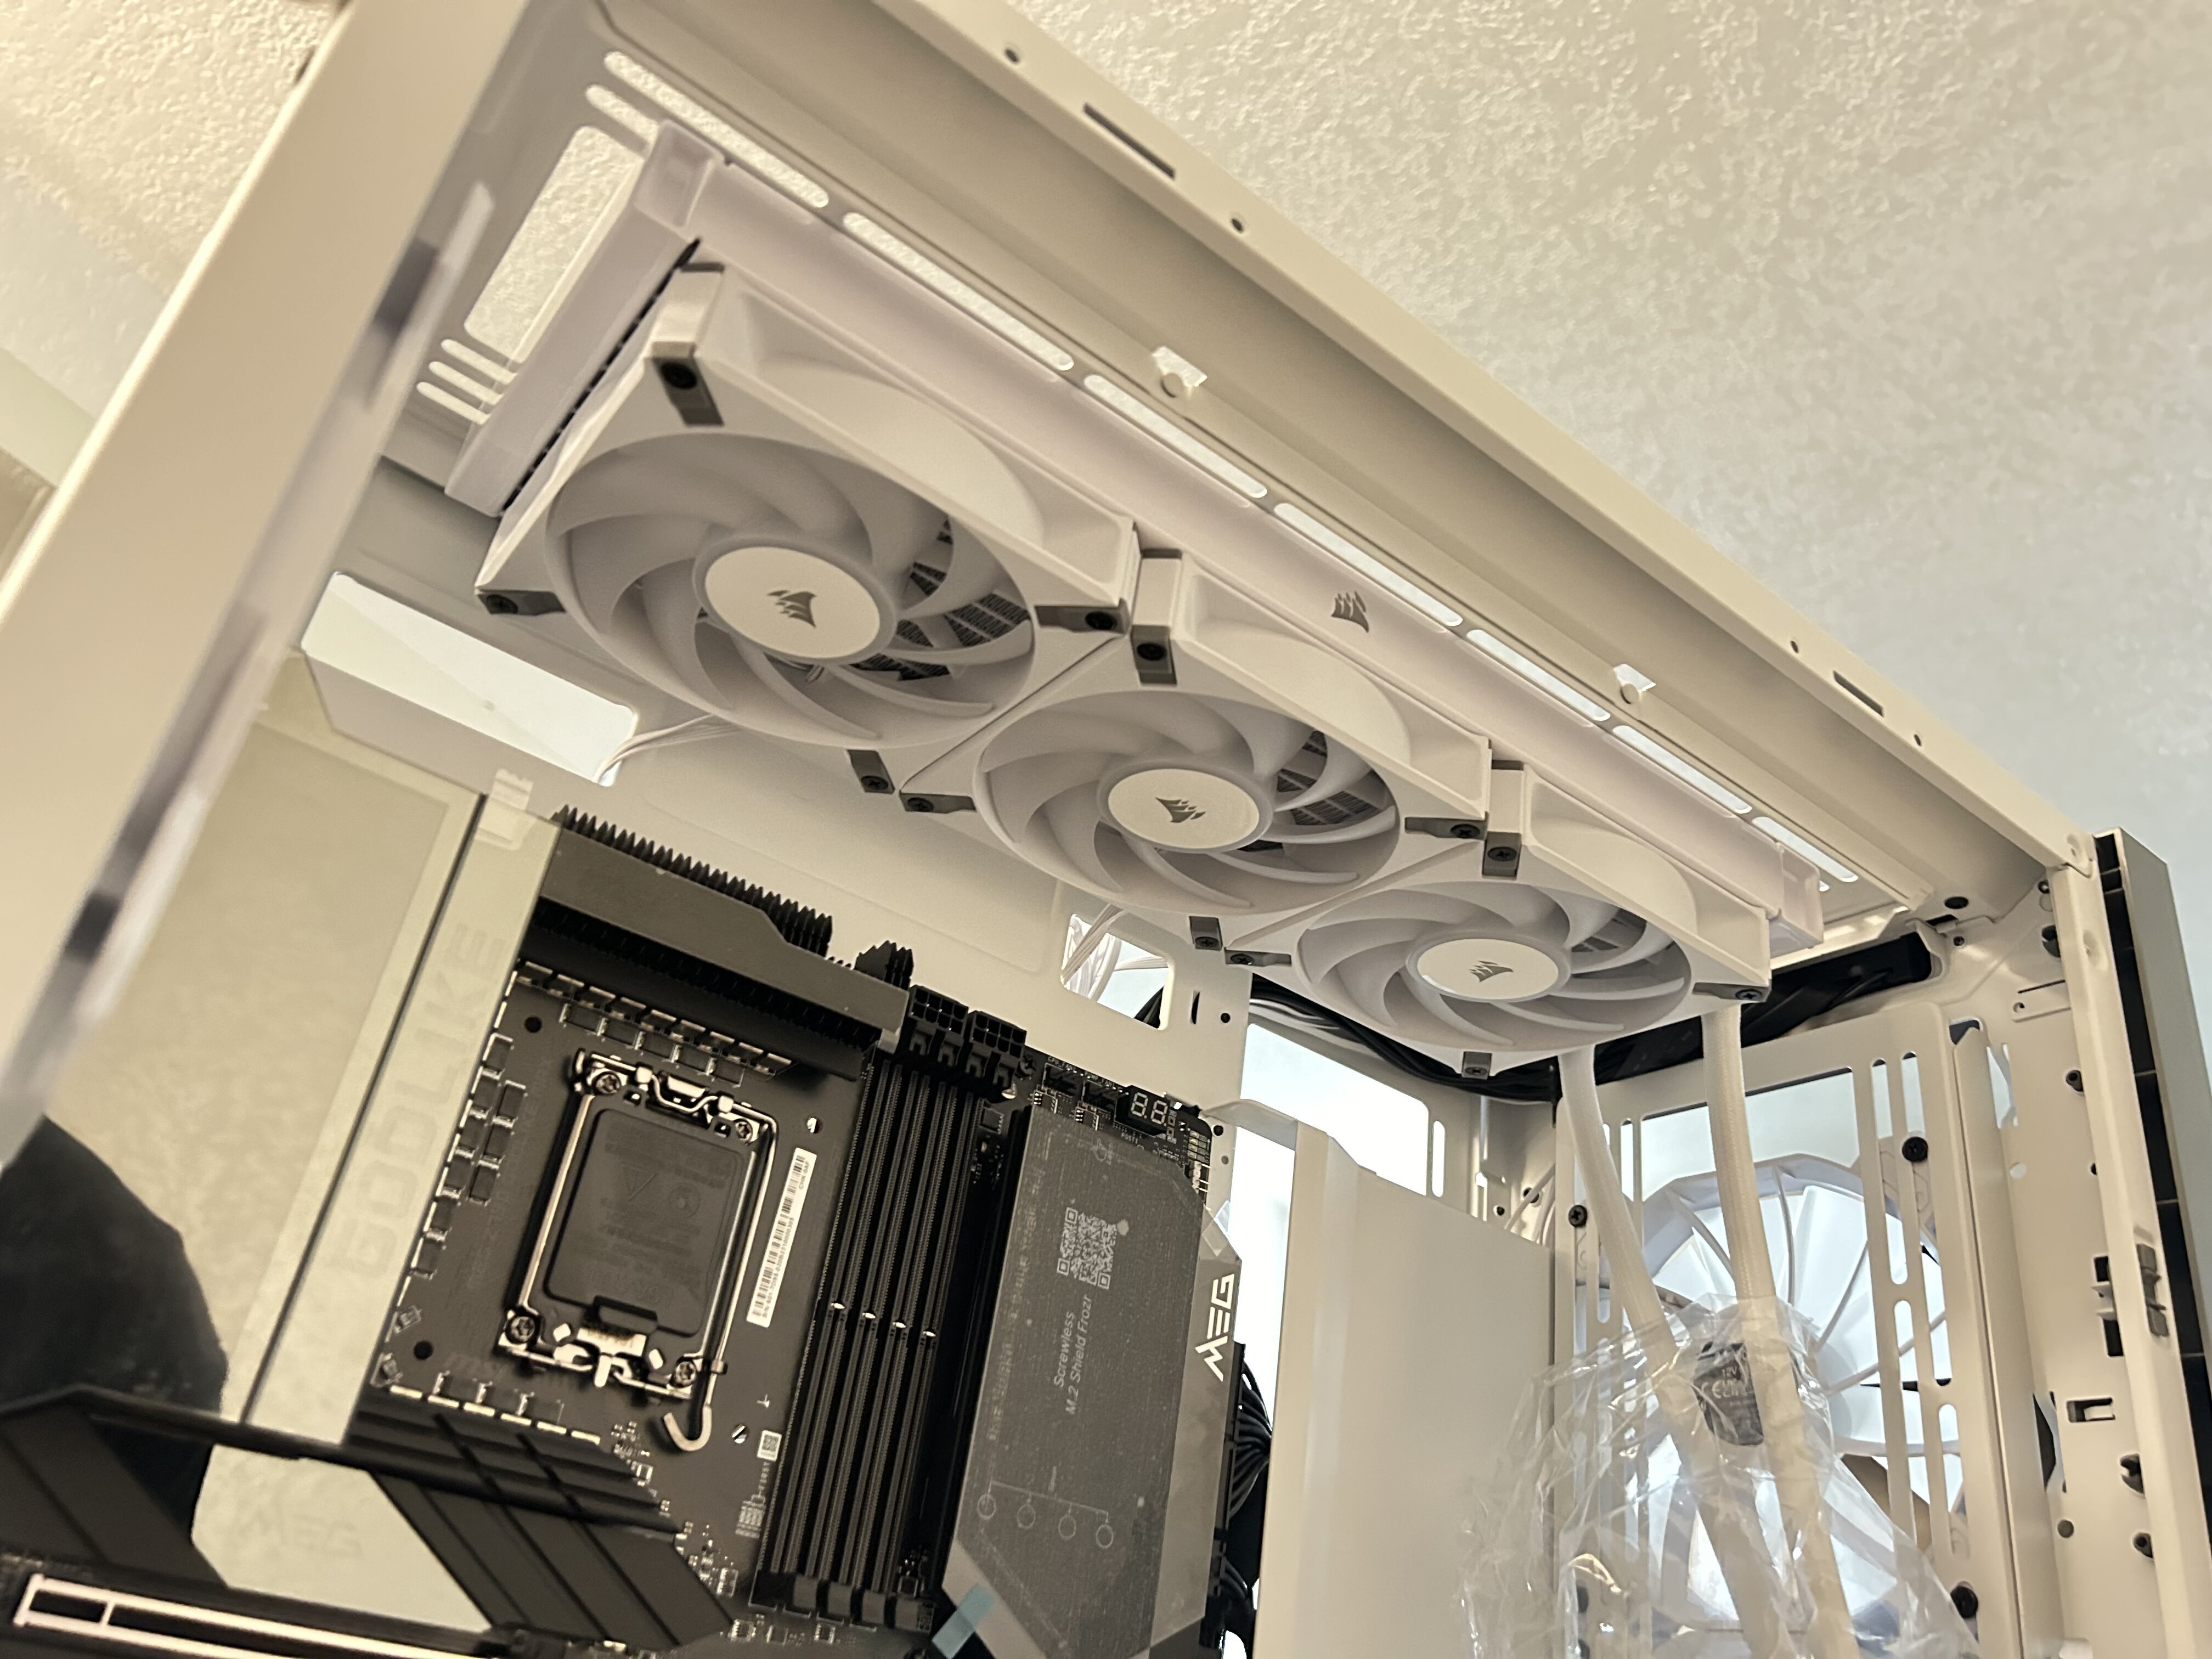
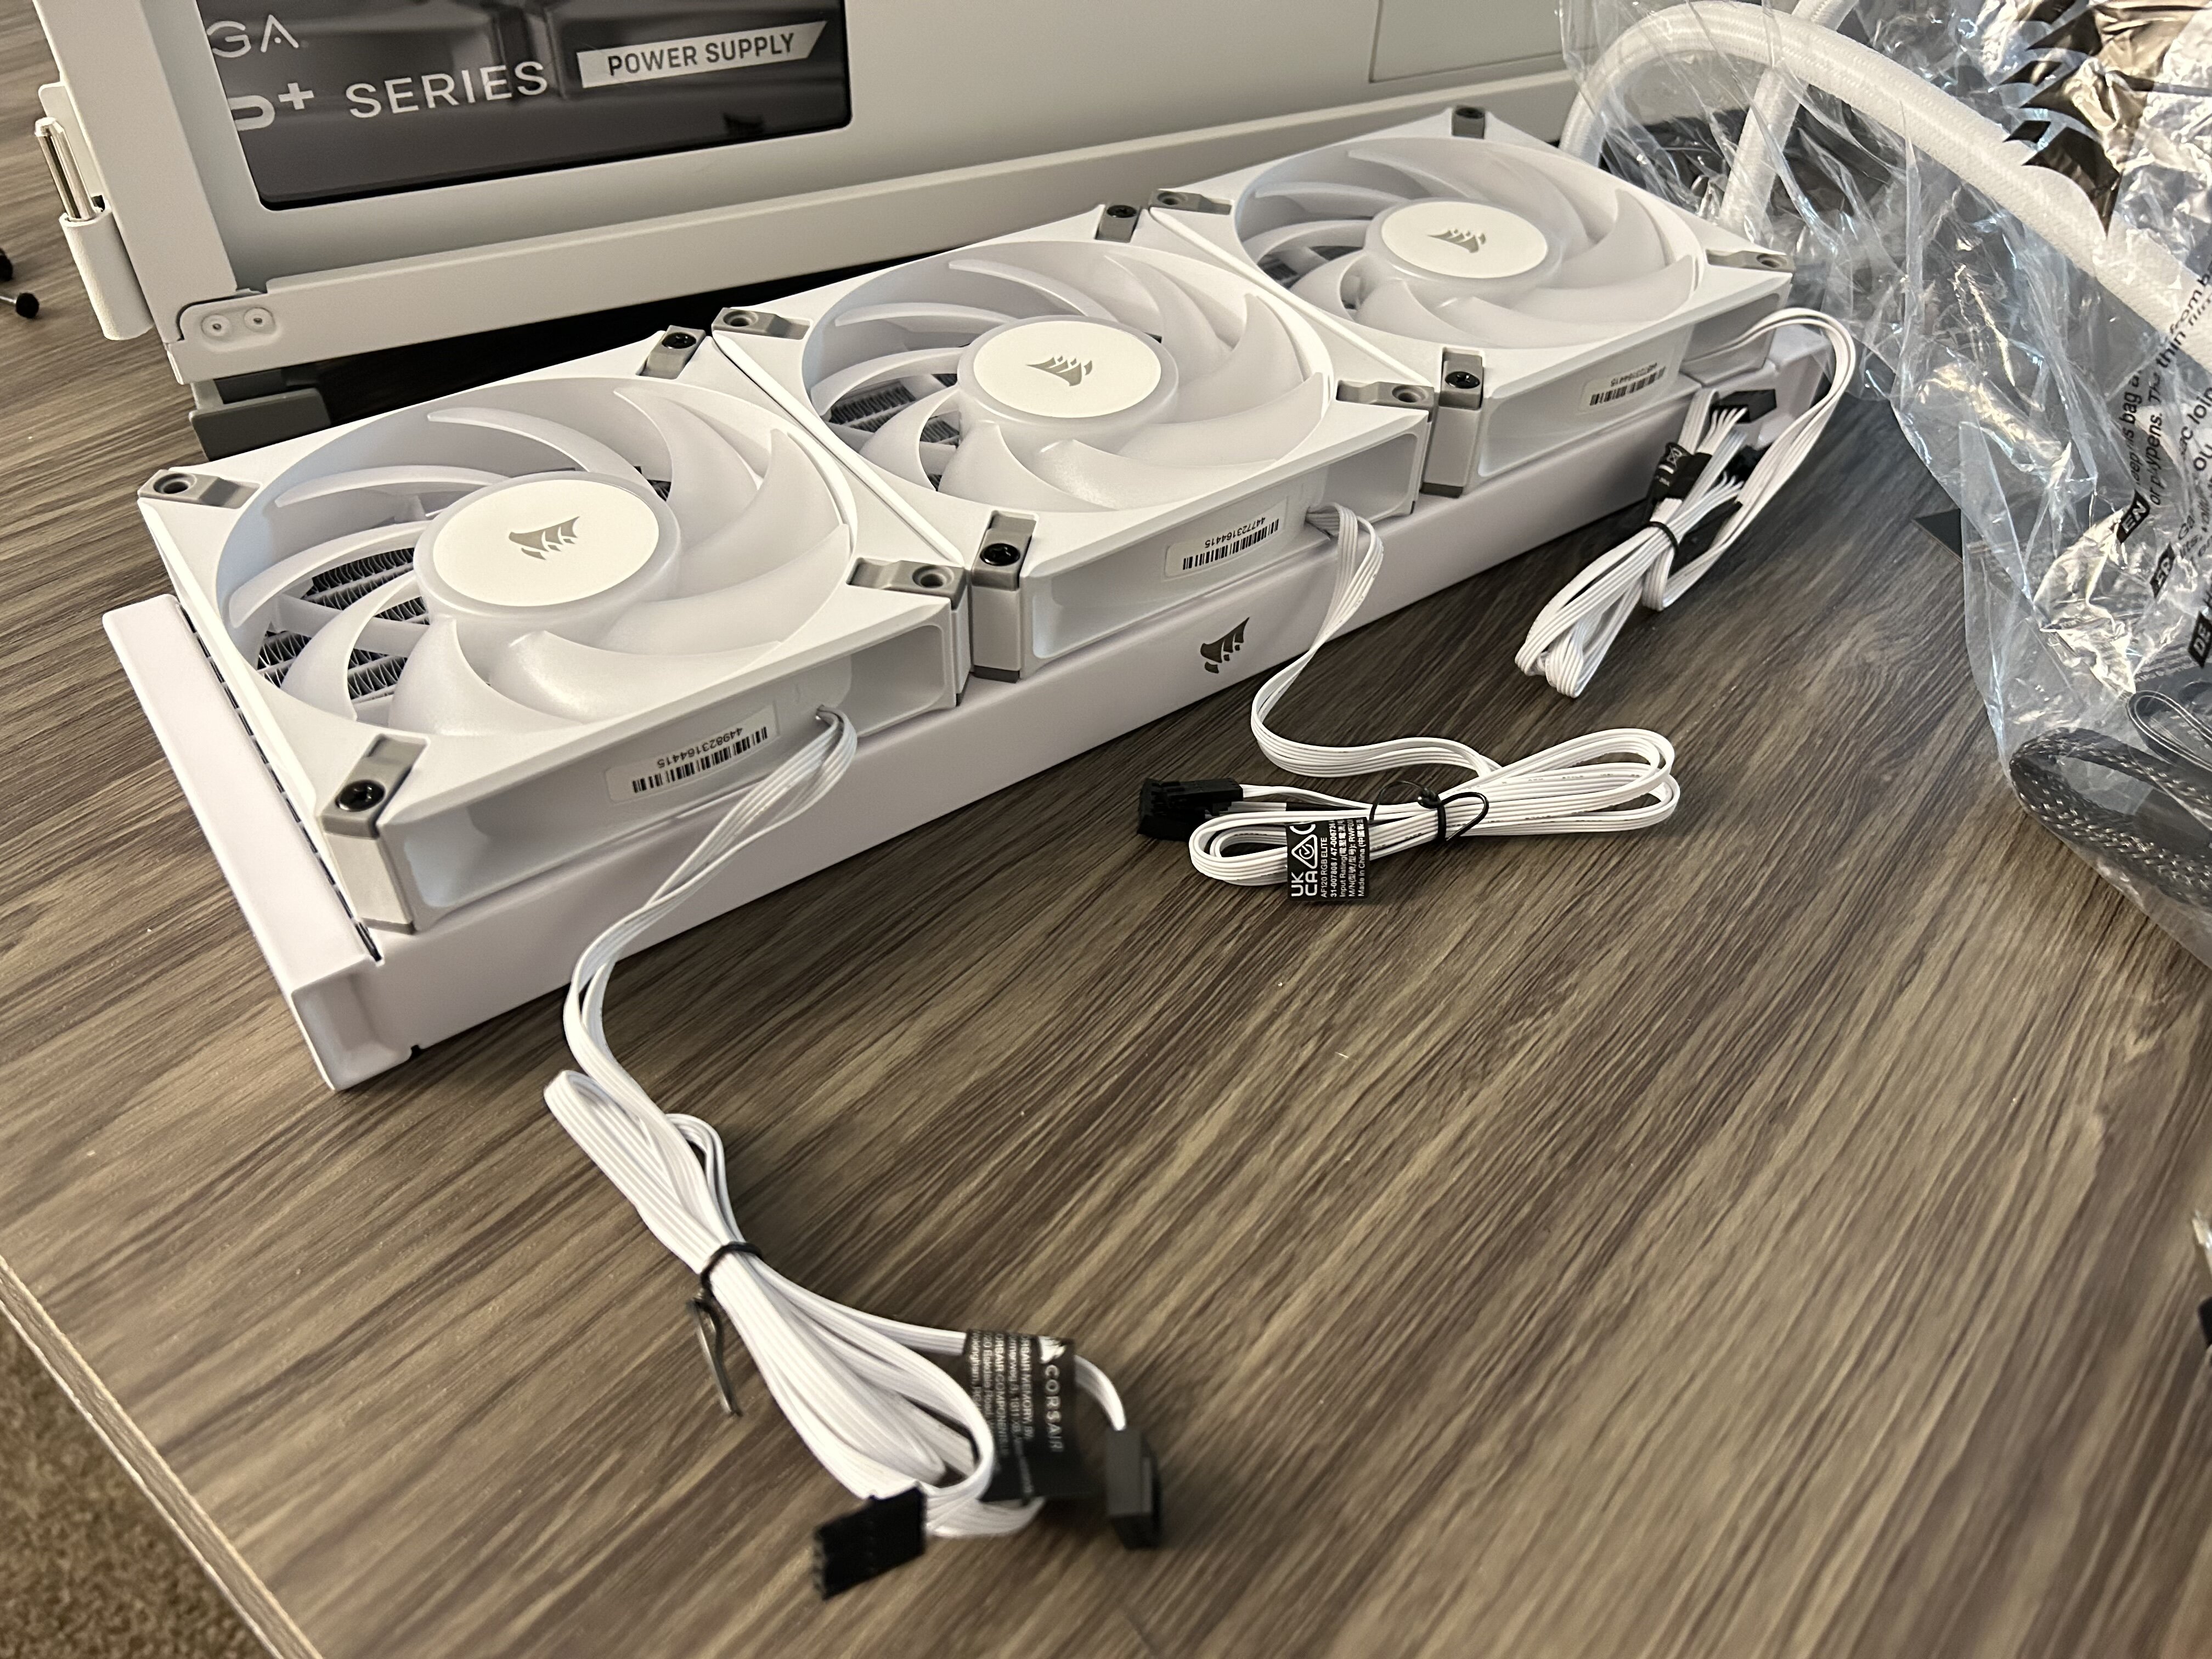
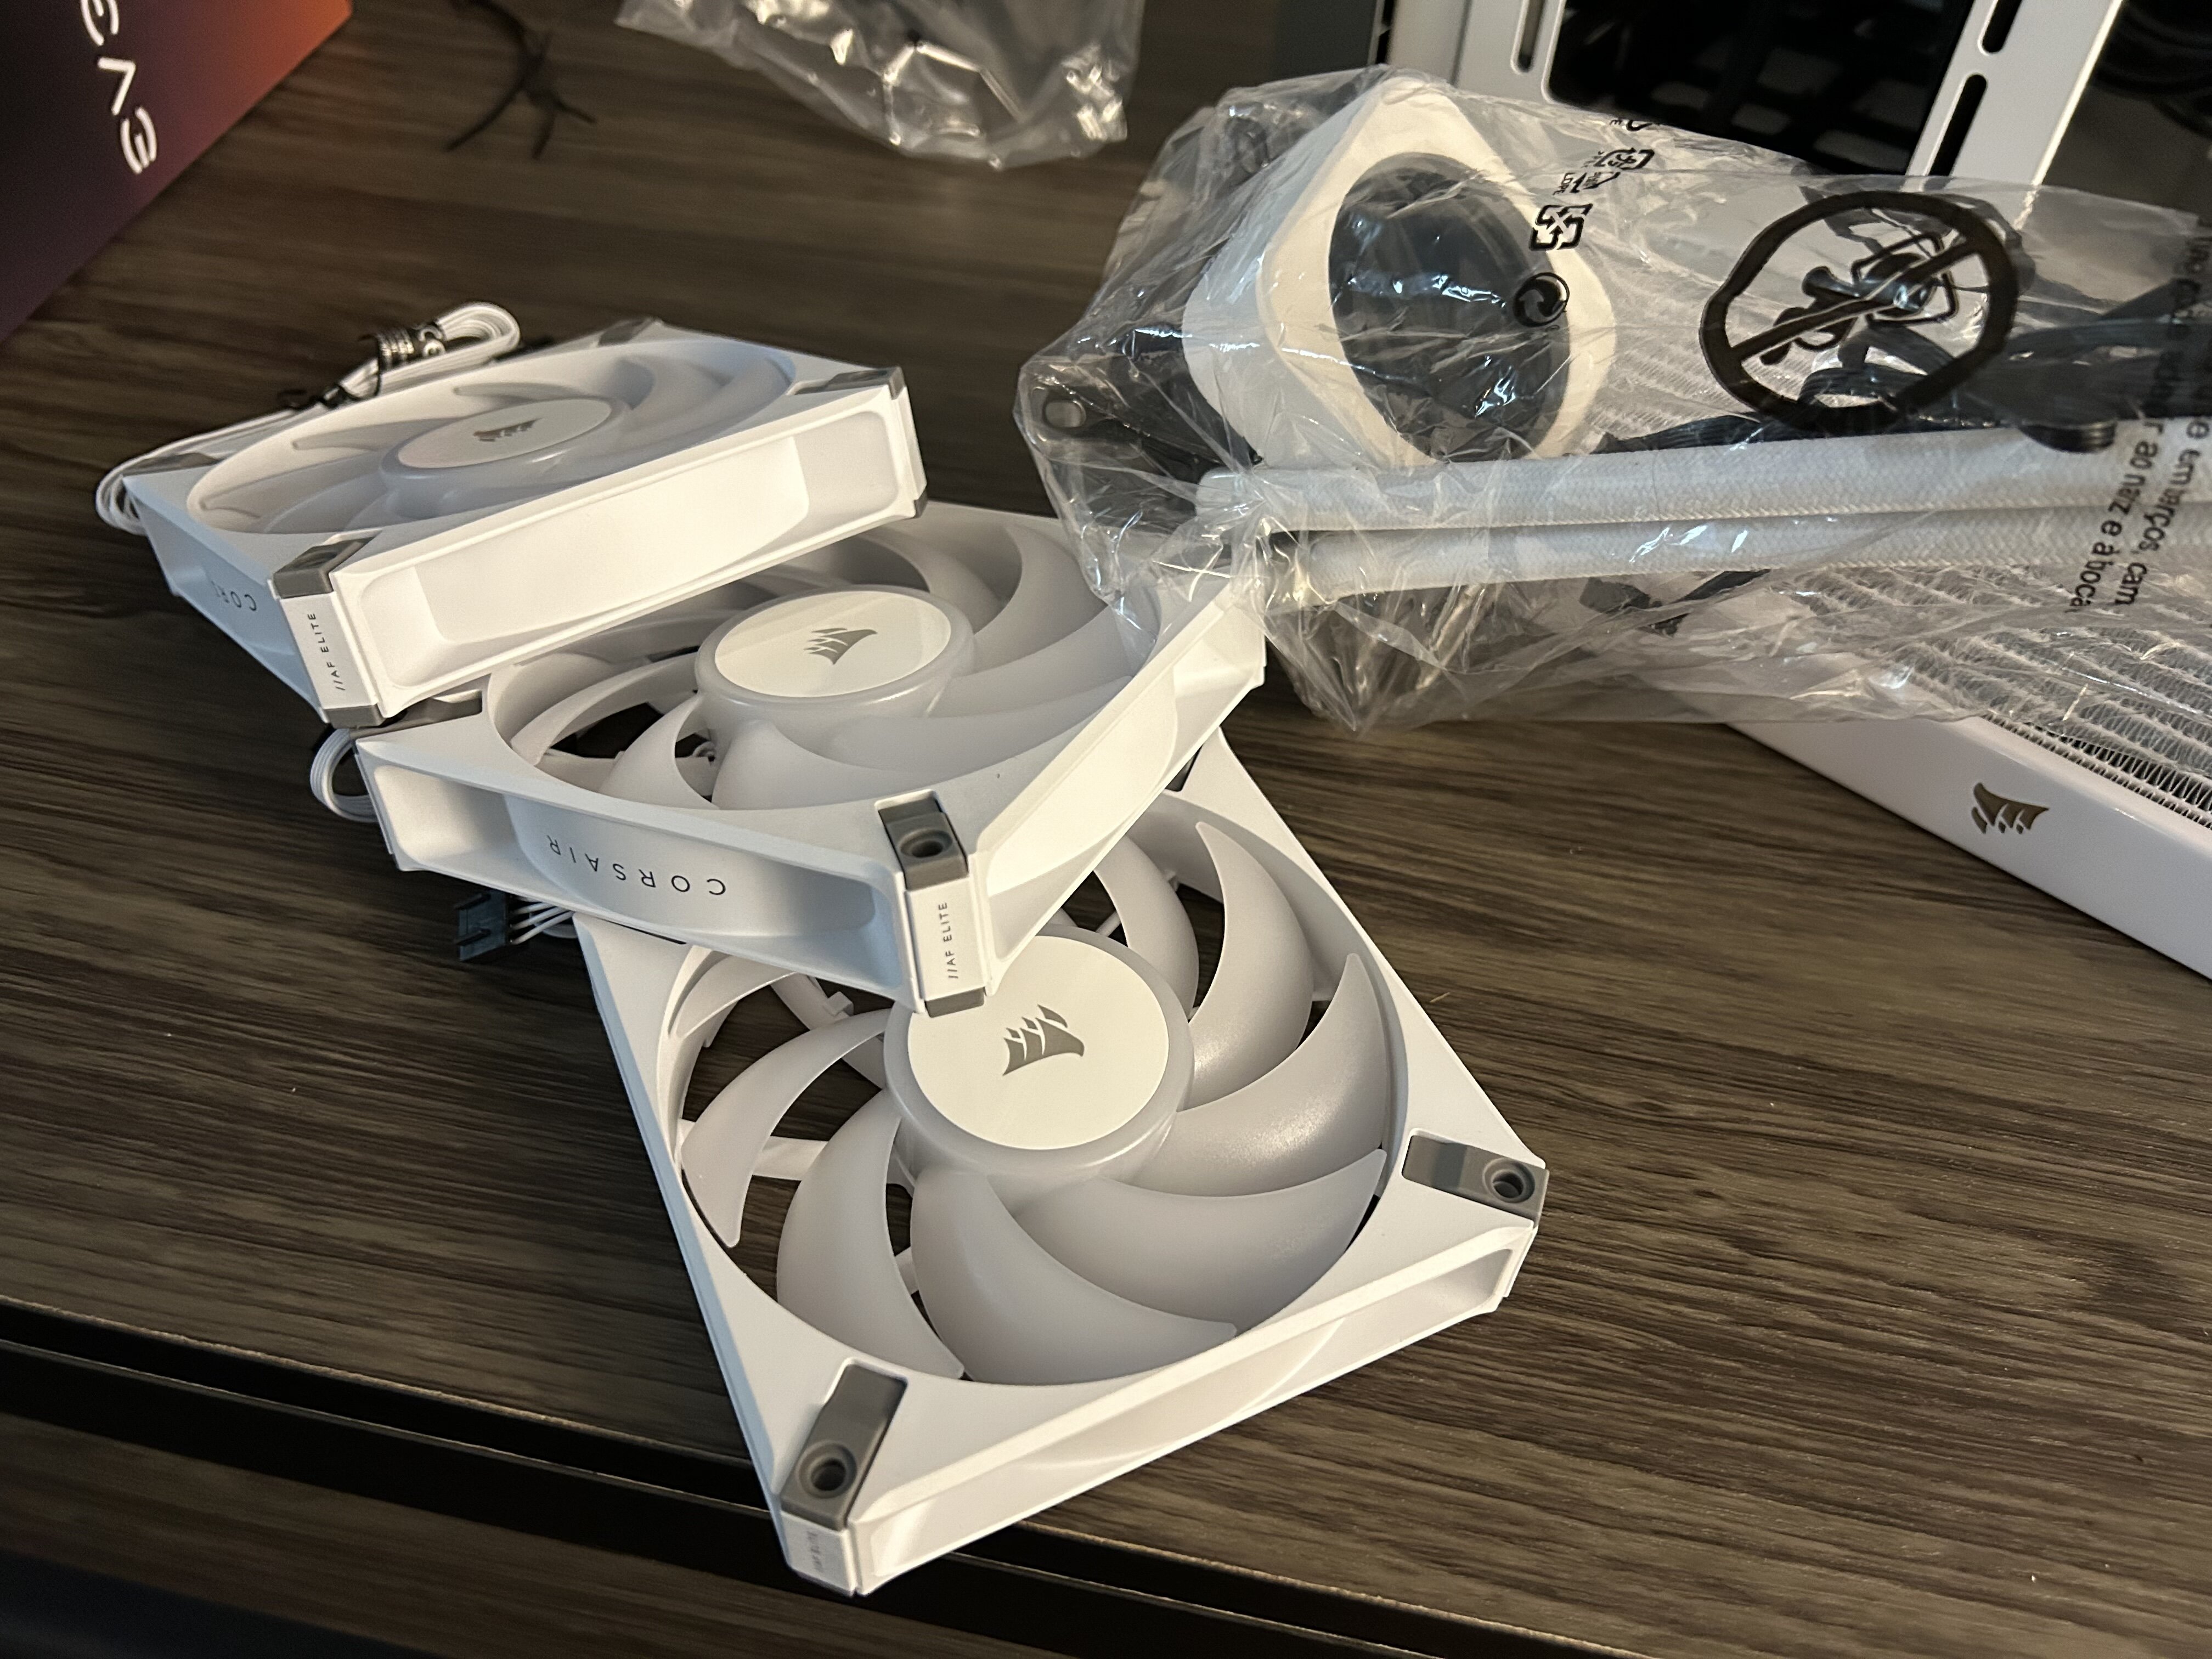
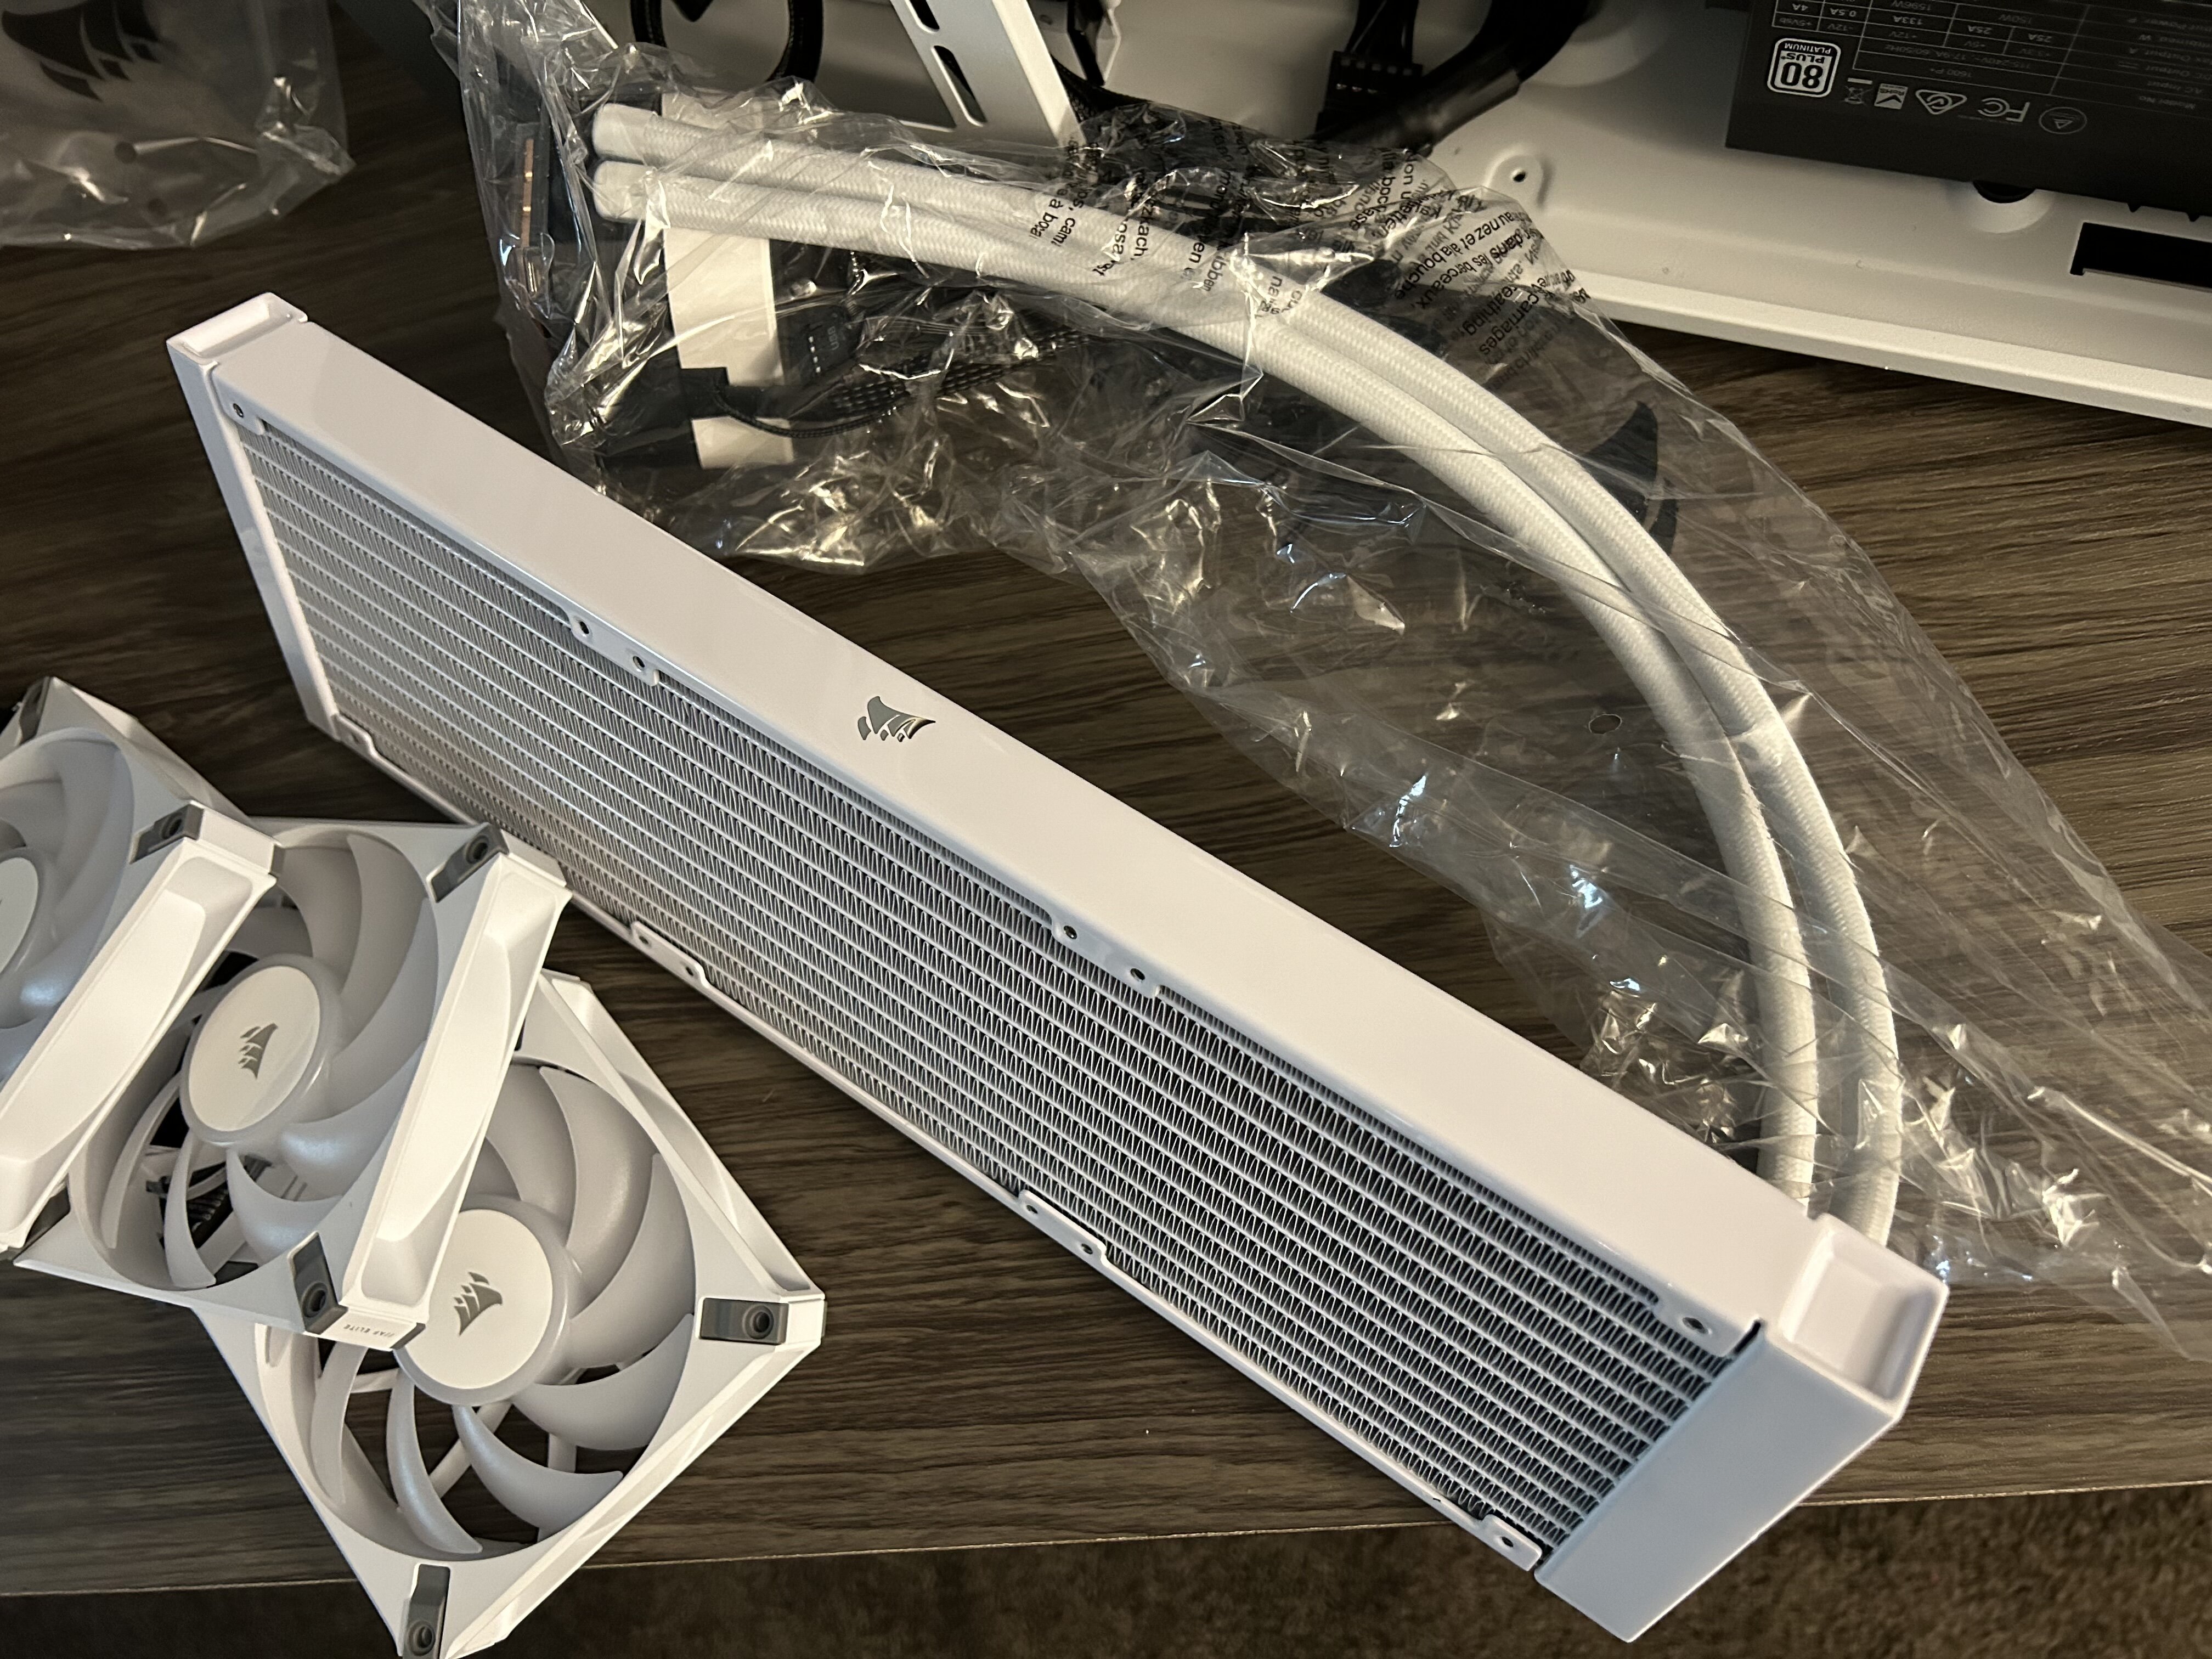
This case blows for air flow, ... add in temps being 3 digits for 6 weeks straight here, and, why not get a pump, cpu and gpu block,.. chuck a rad or 2 in there, and shove some water through things. Heat killer cpu block, EK gpu block, 360mm rad, 280mm rad, BEquiet silent wing pro fans, aquasuite quadro controller/software ( i dig this thing) , EK d5 pump,res, fittings,tubing. Just a simple gaming rig, nothing serious. HyteY60 case/7800x3d/7900xtx/DDR5-6400 CL30/Asus Strix x670e-e/Seasonic 1000 prime titanium Samsung g7 32" 240hz/Samsung g7 27" 240hz/ROG Azoth keys First go with a loop,... and, I think ill add a loop to my other rig. I have a flow sensor, and some other ish, ready to go in, when I get bored enough to stick it all in. Runs like a top.
1 point
-
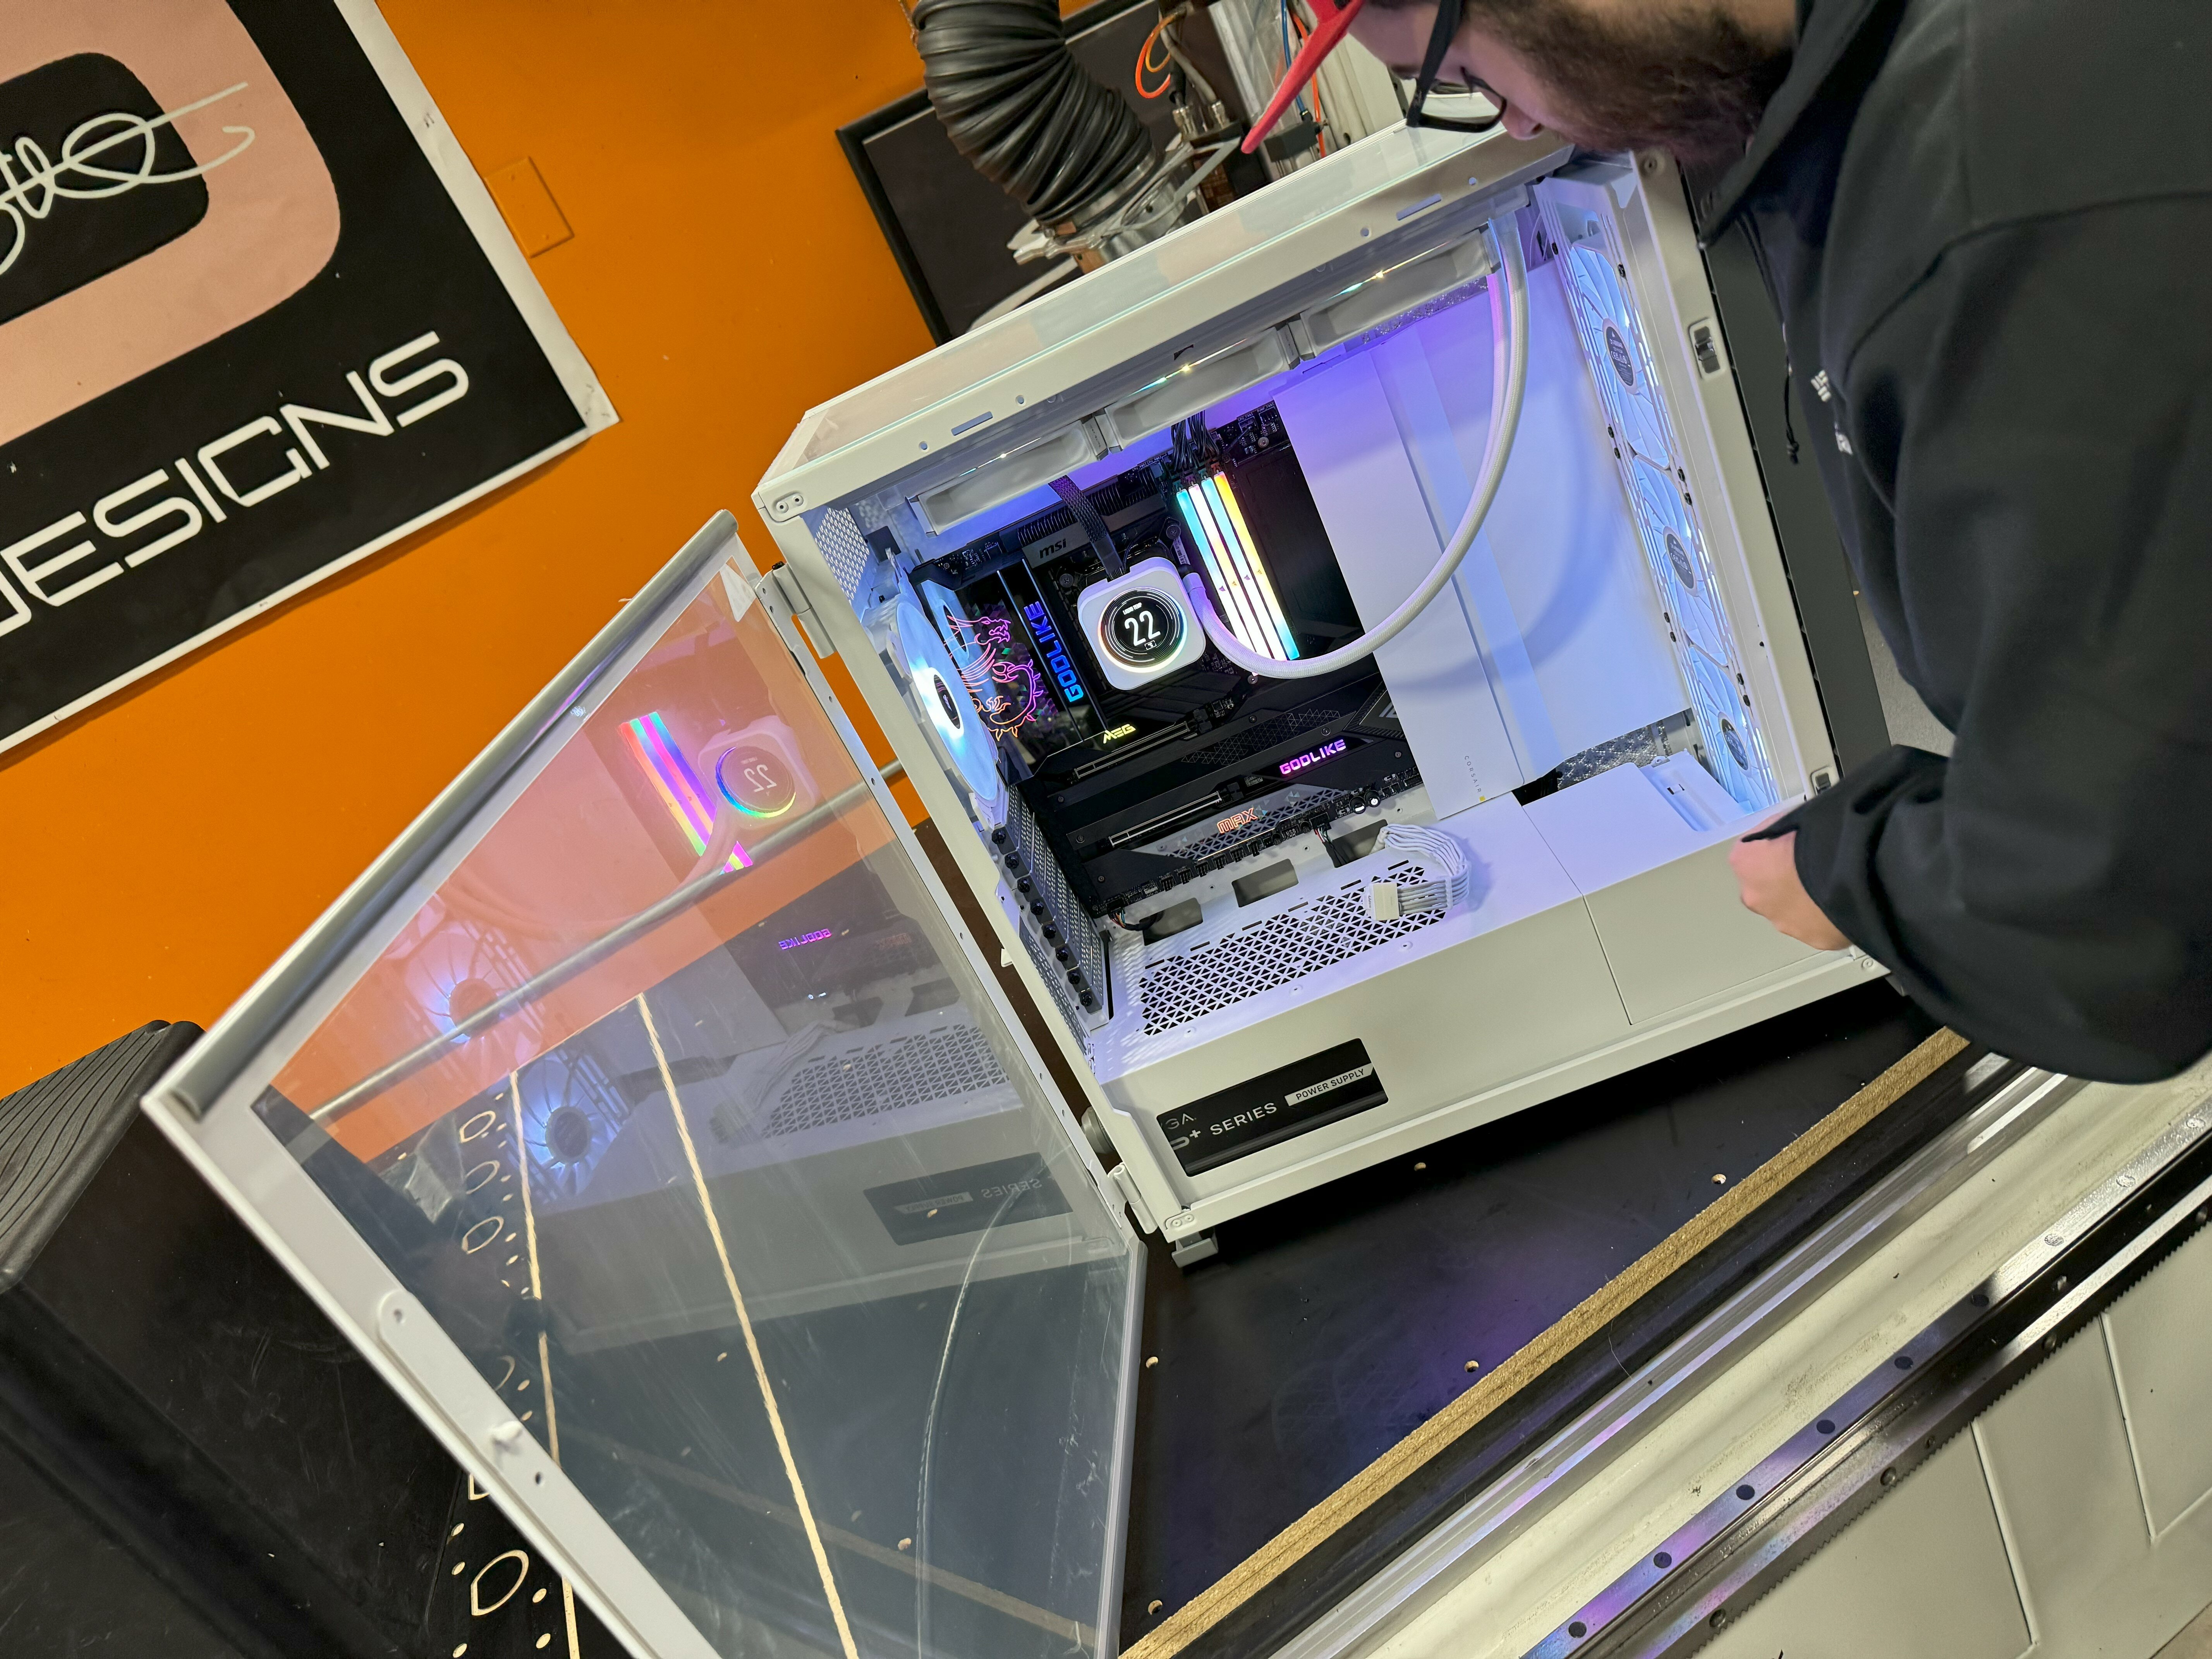
Personally I've never liked the soft line setups, they just don't look as mechanical like I like. If you are gonna try your hand at custom bent solid tubing get a few extra sticks and a bend kit...takes ALOT of patients. My first few unused compression fittings vs bends. Have done a few with fittings just bc I like the way it looks. Biggest tip is make sure you are all copper or using a good coolant that works with dissimilar metals or you get to do it again when the coolant turns to mud and destroys all your blocks. Ask me how I know! This is one of my last builds This is the one that taught me about dissimilar metals and wrong coolant can do. Turned sludge grey and ruined EVERYTHING in the loop. Tho did look friggin awesome!1 point
-
Looks solid! ------------------- I think you're on the right track using tinned OFC for exterior wire, but saving a few bucks using raw OFC for interior. Nothing wrong there. Nice to see another hydraulic crimper user. Only thing I'd add is to mind the lugs you use. Closed ended, tinned copper lugs are the way to go. Solder and crimp lugs are quite different! For heat shrink on exterior wiring: Make sure ya grab adhesive lined. Or, if that's not in the cards for one reason or another, you can get away by putting a thin layer of high temp hot glue over the area, then putting the heat shrink over that and warming until the glue melts and oozes out. Not as cheesy as it sounds, that's all the weather-sealed heat shrink is - just pre-applied for ease of use. I'd also get some wiring loom to add some protection to the cable. Bumps and abrasion can take their toll over the years. Get the woven variety - less apt to trap and hold moisture than the plastic corrugated stuff. ------------------- Other notes: - Don't forget the grommet when passing wires into the vehicle. Butyl putty is awesome for sealing stuff up and excluding salt/moisture long-term. It doesn't cure - stays soft like chewing gum. - Can also consider a pass-thru bulkhead if that's up your alley - Alternator wise, mechman, singer are the favorites. I've used DC power and been happy but that was many years ago. Not sure where they stand now1 point
-
You can also setup your gains low making sure power delivered is within drivers specs. No one is to say if that distorted signal will make any difference, It's all about being prepared to prevent a bad outcome. Much luck and if you have any other questions let us know.1 point
-
You can wire the second battery in parallel to the existing battery. The main concern typically is the difference in battery technology (lead acid as OEM and AGM for aftermarket). In reality, there isnt anything special you need in between the stock battery and the new AGM. The only suggestion I would make is in a few years when the stock fails (due to age and use), to replace it with a like in kind battery to the AGM. Your battery wont get "too much charge". Alternators only output to what they are asked. If you arent blasting music, they will have a low output to supply the bare minimum the car is asking for (A/C, lights, radio, etc.) and when you crank the volume it will output more as it sees a larger "load" and output as much as it can up to 220a to do whatever it can to try to maintain good voltage.1 point
-
Post pics and specs (box specs, amp, electrical, etc) of your previous setup, Sure enough the X subs are for the lows and not SPL but two 18s (if properly setup) should not be so disappointing unless the box is wrong or the subs are not driven properly.1 point
-
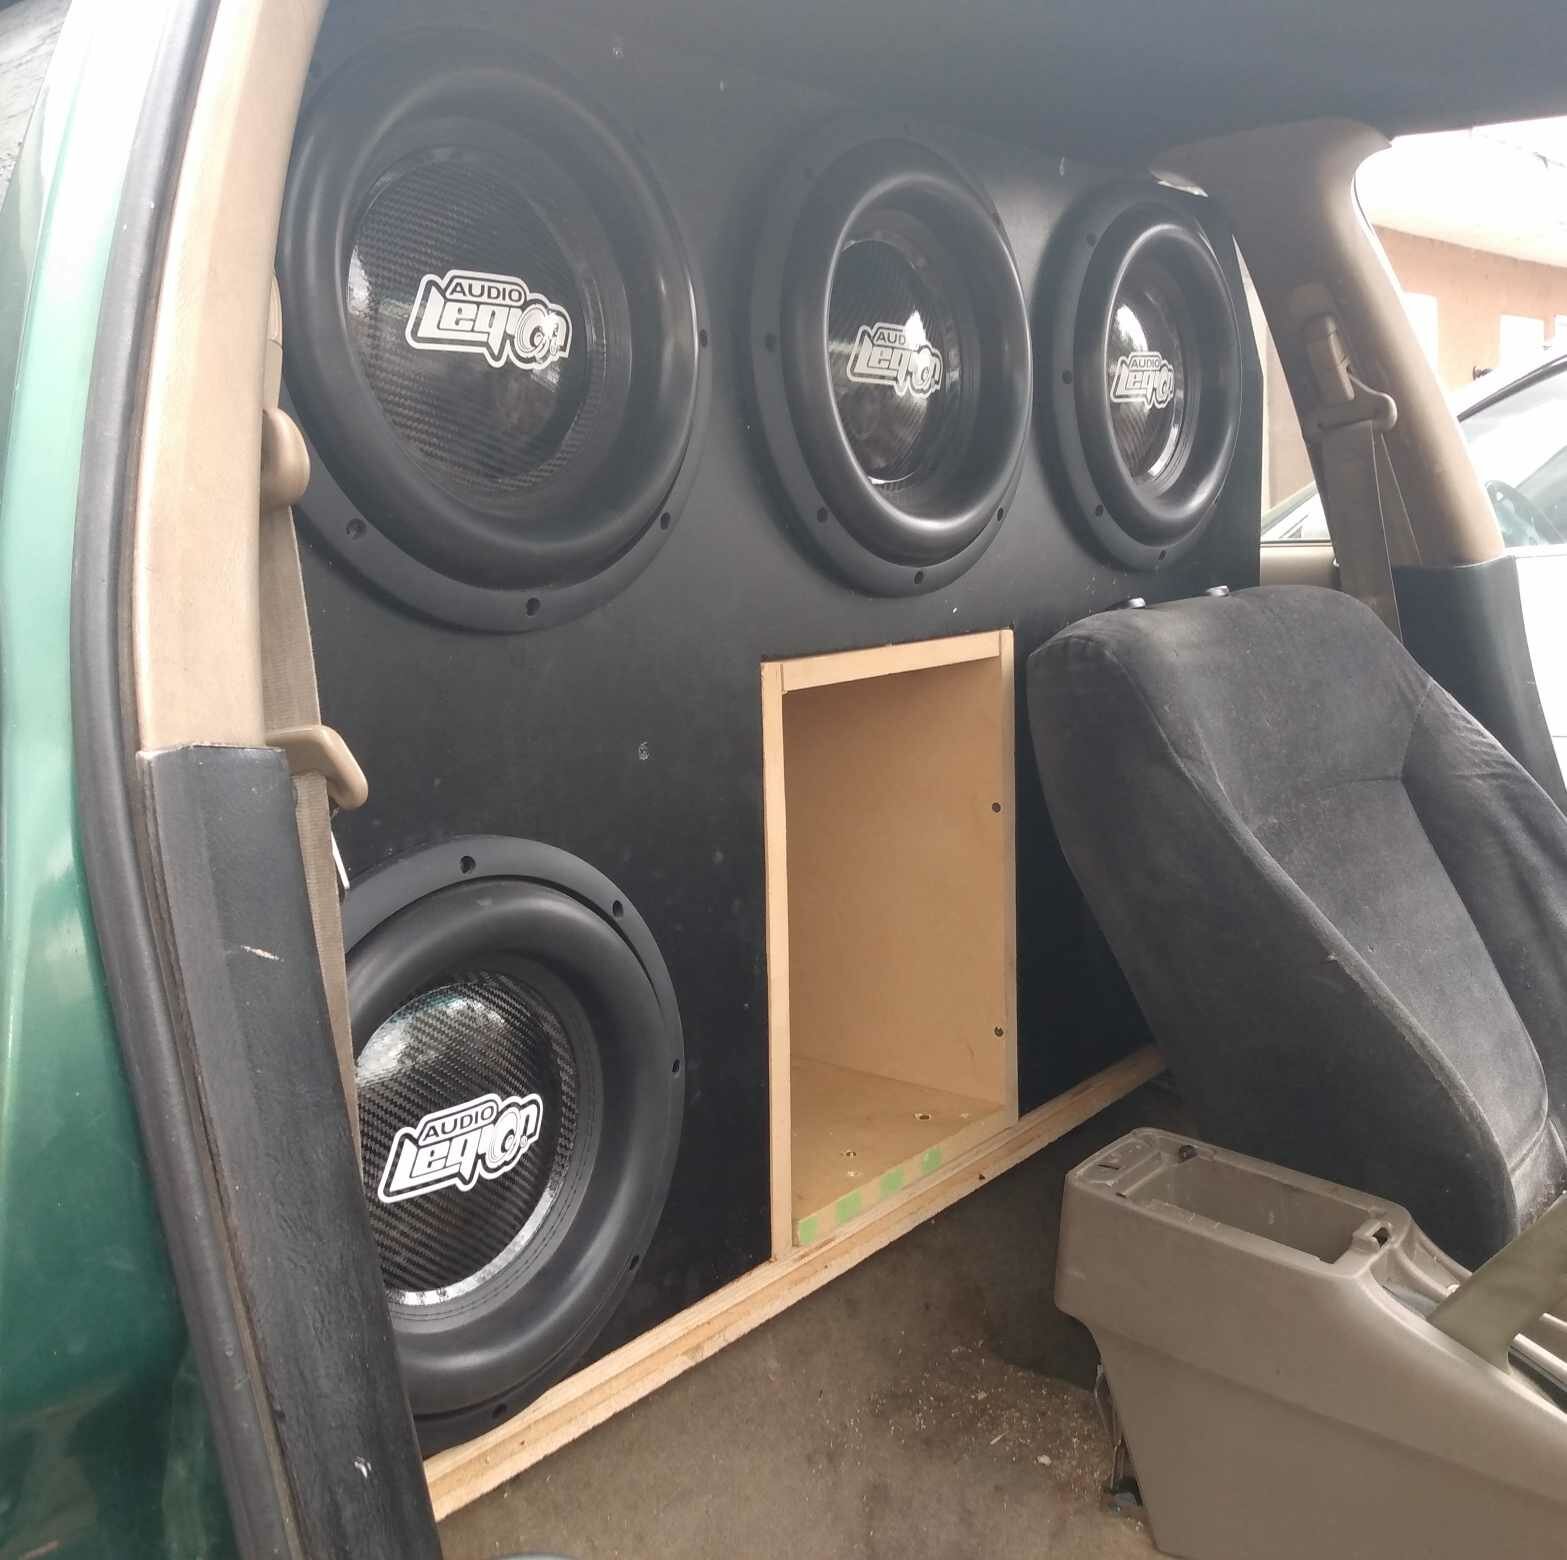
got all the bracing in and done and reinstaleld the front baffle its now permantly attached and sealed , while i was at it i decided to invert the top center sub just for looks , not sure if im going to leave it inverted hence why i just pulled the speaker wire out of the port to hook it up for now . the motor is dangerously close to drivers and passenger heads , im a lil owrried somone might smack there head on it in an accident or say in an panic/emergency braking situation so not sure if im going to leave it inverted, ill do some testing with it this way in 2 days when the glue and edhesives i used are fully cured
1 point
-
The subsonic (high pass) is generally 4th order not 2nd order filter in most amps so it will need to be set higher to better control excursion, also, WinISD doesn't account for cabin gain so your frequency response just show how the box will play outdoors. But you can still compare your plot with a 4.75 net box tuned to 29Hz (the prefab) to see how much are you expected to gain, that actually is useful information you might be interested in.1 point
-
Depens on what you mean by "together" but if I imagine right you would have a parallel tuned 6th order bandpass, still that would be useless because in such enclosures the chamber sizes are of different sizes, port area and port tuning of each port are vastly different, in other words that wouldn't work at all.1 point
-
You are running 1300W of power in your audio, no need for any other electrical upgrades if just playing music, No need to be checking your voltage unless something in your car is not working properly, the amps will work just fine in the 12-14V range no problem. If you are just curious as to why the voltage is being regulated the way it does, just have your electrical checked and then ask your concerns, to me, if your car works fine and your audio works fine I would just leave it alone.1 point
-
Usually the negative speaker wire output is fine to use, however on some amps if it don't work then the negative battery terminal will work as well. Most amps the negative speaker terminal and the negative battery terminal are tied together, but thats not always the case and thats really the only time you need to use the negative terminal or vice versa.1 point
-
Some but not all headunits will not distort at max volume when only using rca preouts. Now if you're using the internal amp of the headunit that will usually distort long before the rca preouts will so you will want to use that as your max volume setting.1 point
-
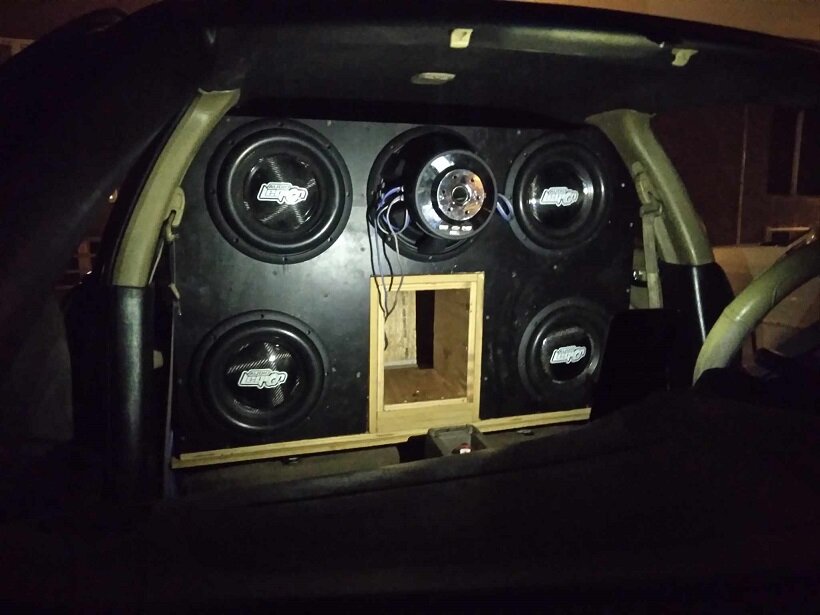
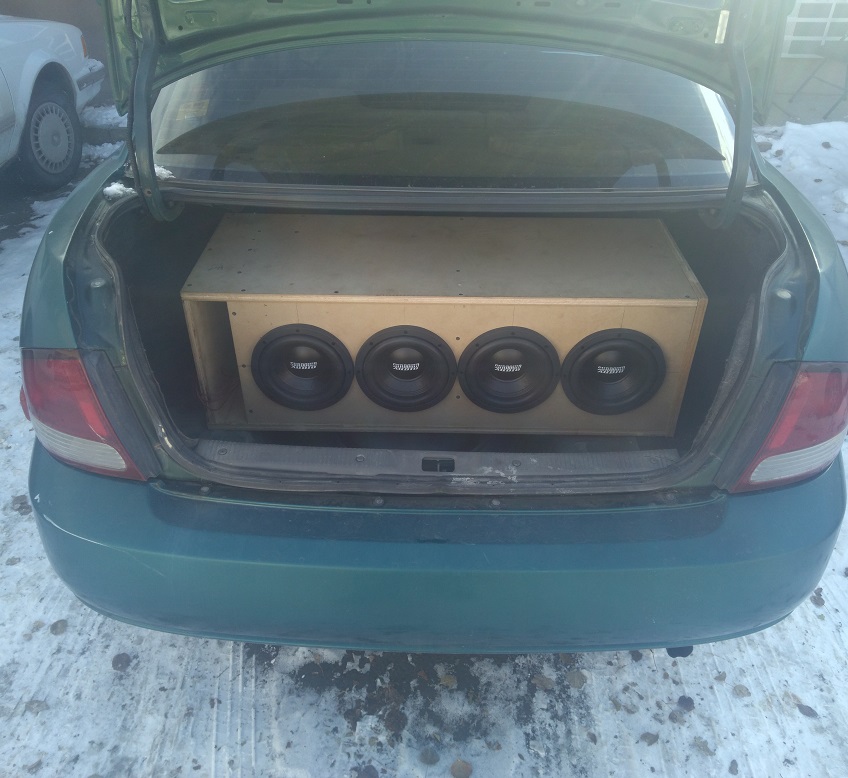
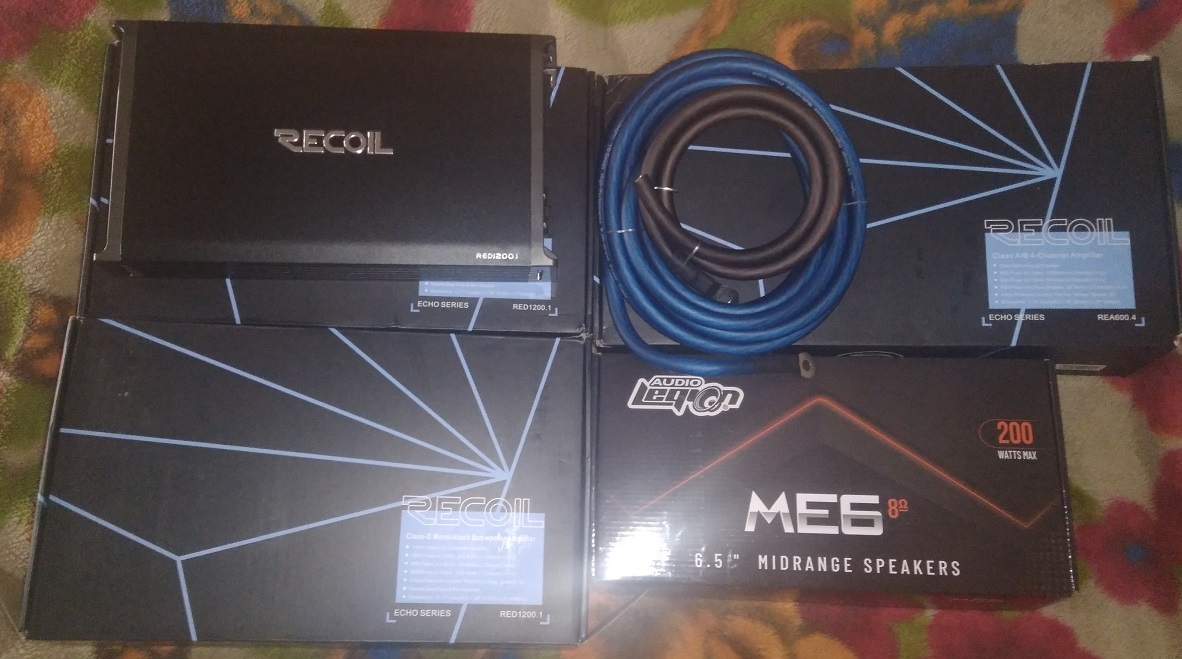
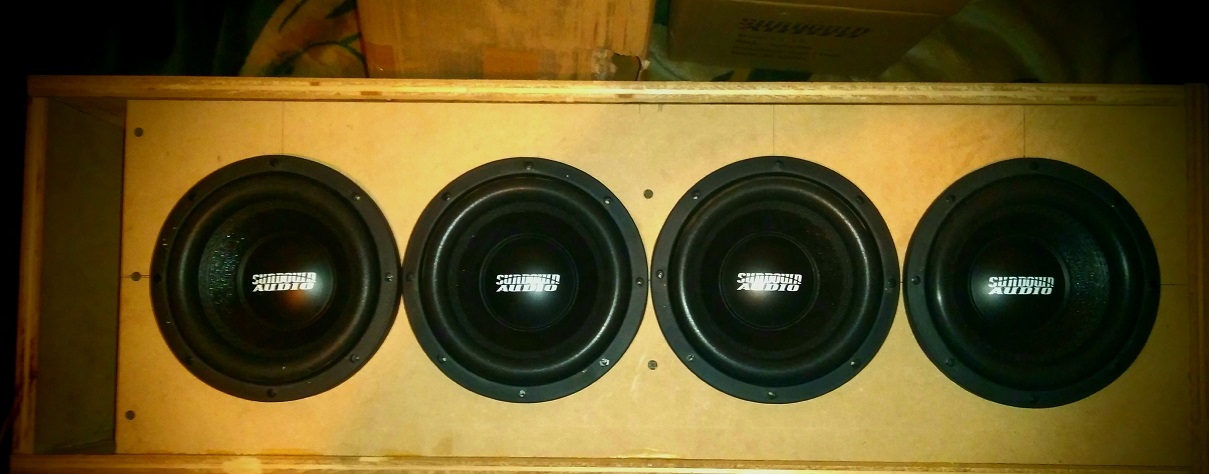
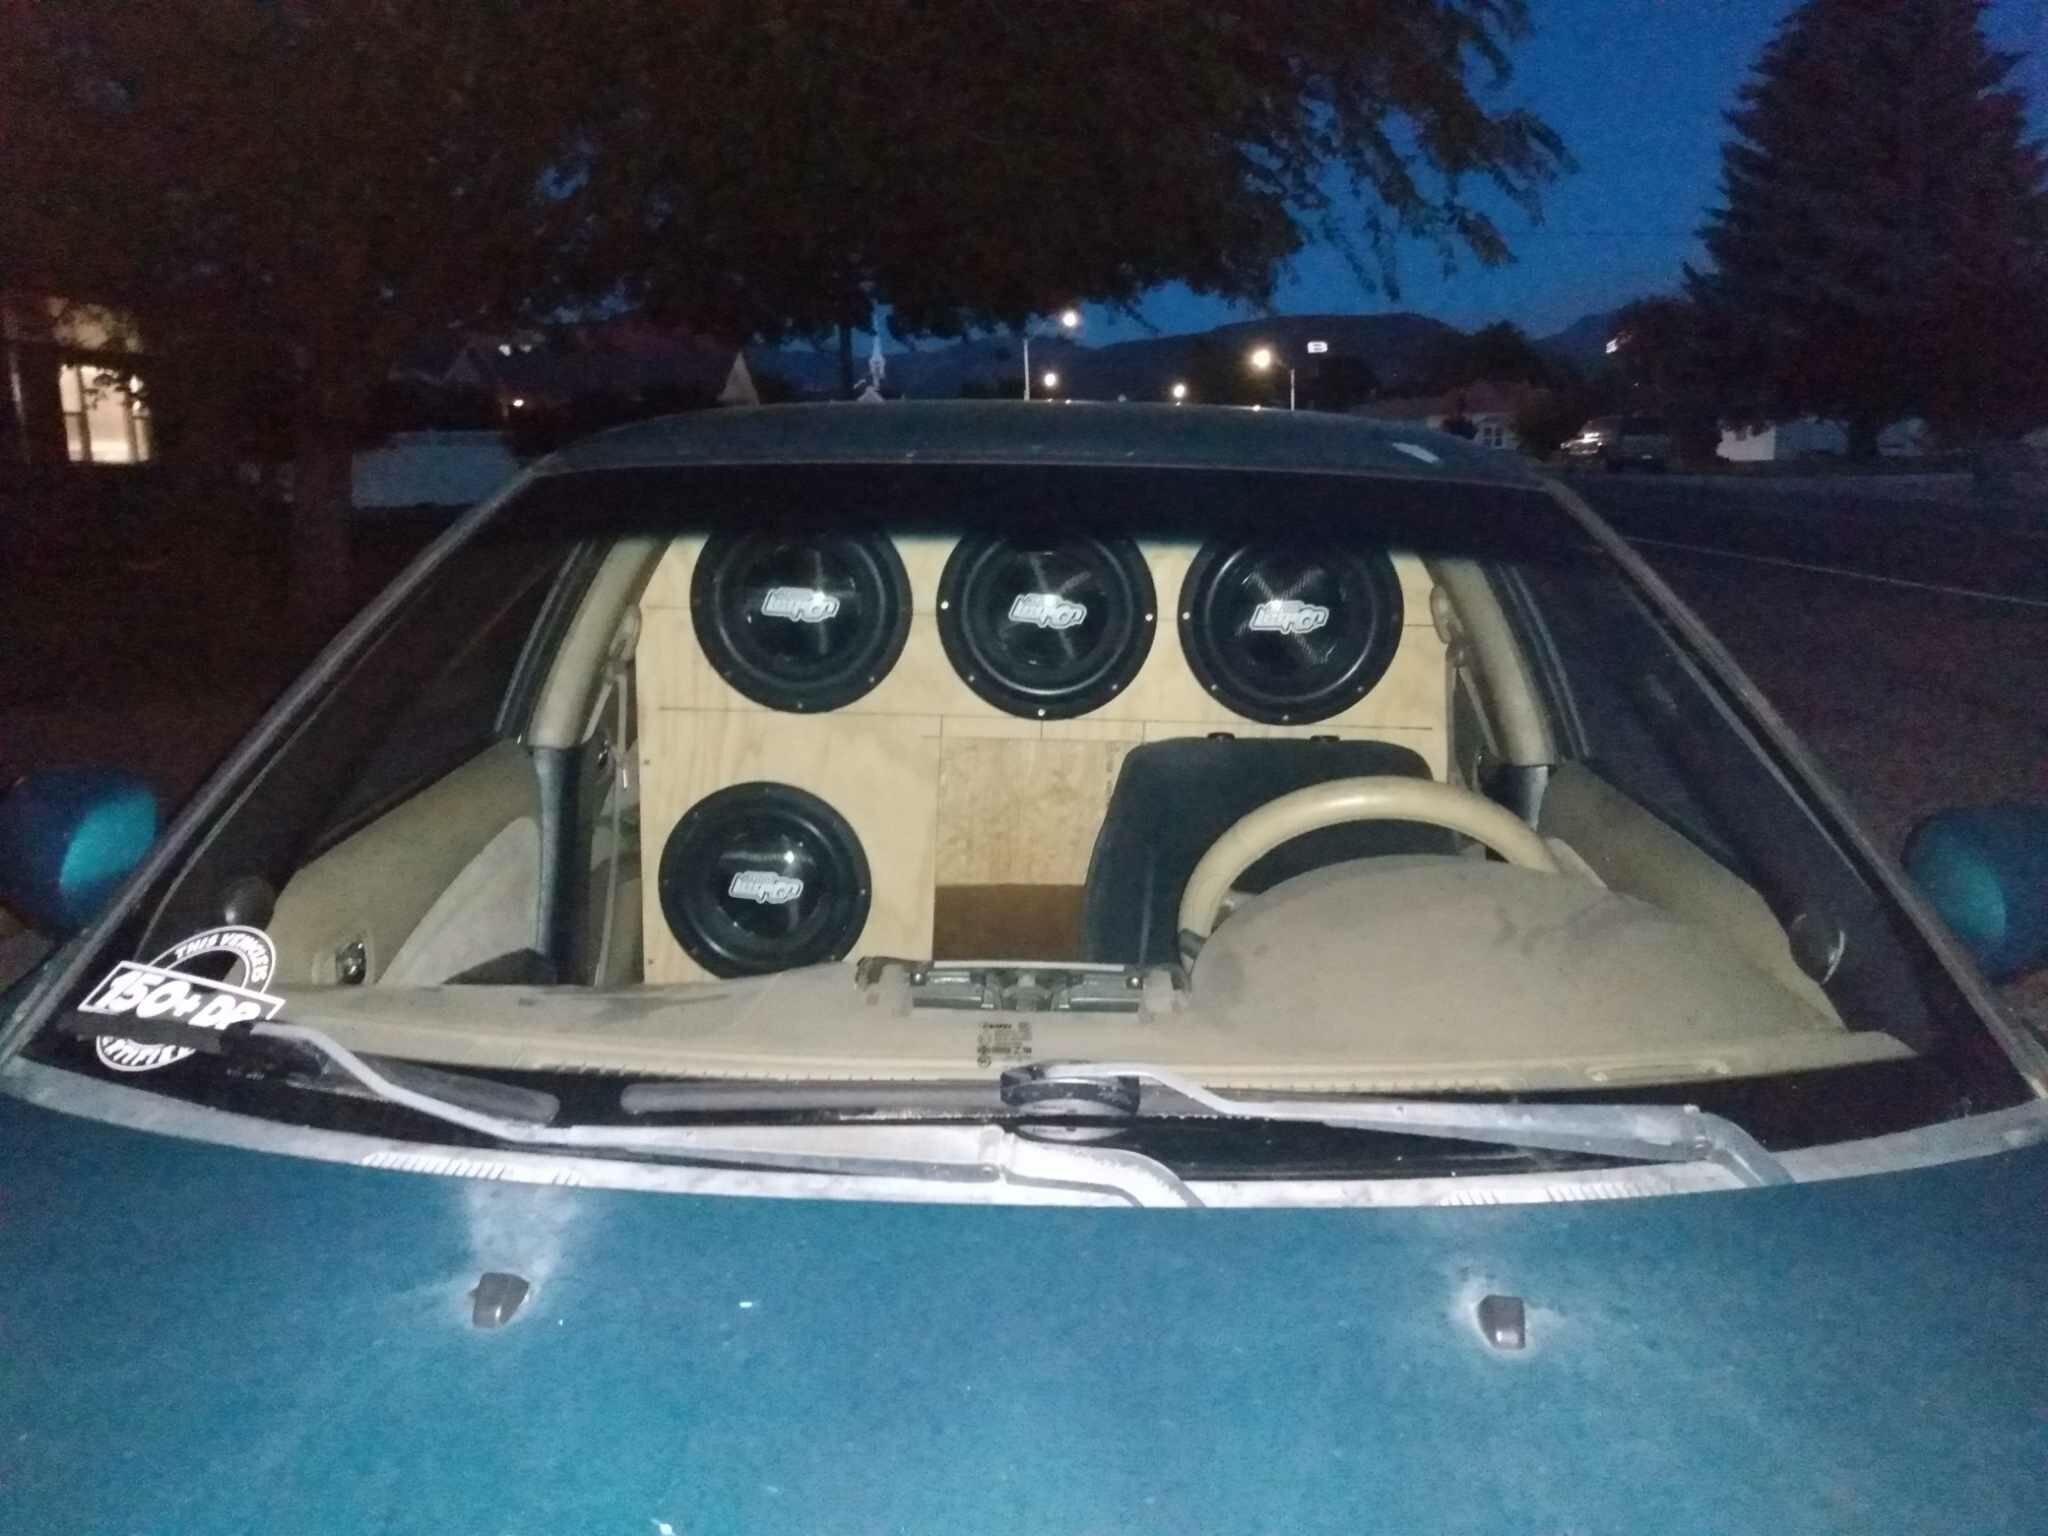
figured id share my build this is my first build on over 20 years , my last build was 2x alumapro bp-12's built into the cabin of a 89 camaro, this build specs out as follows 4x sundown audio e8 v6's built my own 3.6 net cf slot ported box tuned to 34 hz the front doors each are getting 1x 8 inch dayton audio midbass , and 2x 6.5" recoil midranges along with the same in the rear doors for all the amps im originally wanted to run 2x jp23's and 2x jp34ab's but i ended up deciding to run 4x recoil audio red 1200.1 for the subs ( 1 amp for each sub at 1 ohm ) and 2x recoil audio rea 600.4 ab amps for the mids and highs unfortunately for me the biggest alt i can find for this car atm is a 250amp so im going to have to figure something out here more then likley building a bracket to mount a second alt im also building a 96ah headway bank 4 runs of 1/0 from front to back due to it being winter progress is slow even though i have most of the pieces needed to get this together first things to get done will be the alt and running all of the 1/0 runs as of right now i put the raw box in the car and im running it on a single red1200.1 and i must say i am very pleased with it on the single amp and i also got the front door baffles made and screwed to the panels but they need all the fiberglass work done which i cant do till it warms up for right now i have some pyle 6.5's in the doors that were given to me for free and the dayton 8's the amp rack itself is being built inplace of the rear seat bottoms anyways heres a few pics for the time being the one video is just them on a 60x2 amp i had laying around
1 point
-
That is not normal. Your car is possessed most likely.1 point
-
Those subs indeed need their space 4 to 6 cubic feet per driver is what they usually are given for ported use, if will use those in your room rather than a car tuning should be in the mid 20s not in the mid 30 which is what is given for car use. It all depends on the application, you will need to be more specific on your dimensions, music you play, or movies or whatever you are doing with them, how are you powering the subs, etc.1 point
-
Passive crossovers are custom to the drivers they come with, both crossover points and attenuation levels need to match the drivers being used. Wish you luck getting that sounding right.1 point
-
WHATS UP EVERYONE NEW MEMBER HERE. IM JOING THE FORUM TO DOCUMENT MY BUILD AND FOR ANY HELP AND/OR TIPS ANYONE CAN GIVE ME AS THIS IS MY FIRST "OFFICIAL" BUILD. REALLY AIMING FOR SQ I THINK ON THIS NOT REALLY SURE SINCE EL CAMINOS ARE SO COMPACT ON THE INSIDE ANY SUB WILL SOUND GREAT AND LOUD AS HELL LOL. BEFORE REDOING THE SYSTEM I HAD 2 3.5 speakers in the dash, 2 tweeters on the A pillars and a 12in p2 behind the seat. NOW IM LOOKING TO DO IT RIGHT SO BELOW IS EVERYTHING IM PLANNING ON RUNNING. SO FAR THE ONLY THING I HAVEN'T DECIDED ON IS THE NEW AMP FOR MY SUBS AND THE MIDS THAT I'LL BE RUNNING IN MY DASH ANY SUGGESTIONS ARE GREATLY APPRECIATED. A Pillar: 2 - tweeters from morel maximo comp set (ran active) DASH: 2 - 3.5in Speakers Mid (Ran Active) DOOR PANELS(ea.): 2 Morel Maximo 6 comp Ran active (only will use one set of tweeters which will be Ran to the A Pillars) Subwoofers: 2 Alpine S-W10d4 DSP: Dayton Audio DSP AMPS: Dash and Tweeters: 4/2 channel Undecided Door Panels: Pioneer Gm-Dx874 1200w 4ch I WILL RUN ALL THE DOOR SPEAKERS AS 4ohm unless it's convenient to wire them parallel and run them as 2ohm saving me two channels to use for the dash and only needing a compact 2ch for my tweeters SUBWOOFER: Rockford Fosgate 5001xd AS OF RIGHT NOW ILL RUN THEM IN PARALLEL SO THAT ITS 2ohm AND GETTING 600 RMS BUT THATS REALLY UNDERPOWERING IT IMO. LOOKING FOR A A MONO BLOCK THATS ABOUT A 1000watt rms Also here's a link to the box i made online im thinking of building as is fits right into the Elcos smuggler box. Is it a good design? thinking of making a new one but the design won't have the sub facing the back of the seat they'll be facing into the smuggler box and im unsure how that will sound and play into effect because i'm planing on having one of these boxes on each side of the smuggler box in the corner (for sq). https://subbox.pro/en/b/4tisUQAUi1 point
-
So bear with me as this may get a bit long. The first step is the box, you have a big rectangle port fully internal BUT then looking at the pic you have a fully external port that is clearly smaller that I imagine goes through the ski hole and that has a different (smaller) port area and port length that you don't specify. To match your box specs you should only have a fully internal port 56 square inches in area and 16 in length. That external extension lowers the overall tuning and also reduces the port area significantly.1 point
-
yooooooo. been a minute. this just brings back good memories. still alive, and now i choose the go fast life instead of the bass life. 2 kids and a wife since I last logged on.1 point
-
No, I didn't miss word it. I was just wrong. Thank you for the clarification. I thought it measured both. I must admit, I only skimmed through the manual lol.1 point
-
Wrong, I still cant understand how people think this or maybe you worded it wrong but the DD-1 will NEVER measure clipping. You will have distortion long before clipping is ever seen on an oscilloscope. Once the red light on the DD-1 lights up you hit 1% THD so by the time the wave is becoming deformed on an oscilloscope you are so far beyond that 1% THD that the DD-1 is looking for.1 point
-
I'm still alive...... and still an asshole!1 point


.jpg.f809fa8c50cc4818e85a732427df03ed.jpg)


.thumb.jpg.4043adc314d5bac18bb7000ad64bcbbb.jpg)


.jpg.33a367b6fc2f5d7a95824b88a57329dd.jpg)